• The CraftSessions Story
  • Our Past Retreats
  • Blog
  • Newsletter
  • Contact
Menu

The Craft Sessions

Street Address
City, State, Zip
Phone Number

The Craft Sessions

  • About
    • The CraftSessions Story
    • Our Past Retreats
  • Blog
  • Newsletter
  • Contact

Stash Less - I got a gold star!

March 27, 2015 thecraftsessions
Still at a mainly iPhone stage of life - yes that is a thing - when you have been sick and single parenting :). I did however, pick up my camera while making this, to take photos for the Sewing 101 - Alterations post. I will get to it next week…

Still at a mainly iPhone stage of life - yes that is a thing - when you have been sick and single parenting :). I did however, pick up my camera while making this, to take photos for the Sewing 101 - Alterations post. I will get to it next week. As always - arm at a jaunty angle to show you the swing of the top. Pattern is the Hemlock Tee by Grainline with alterations.

The series where we talk about having a thoughtful stash.

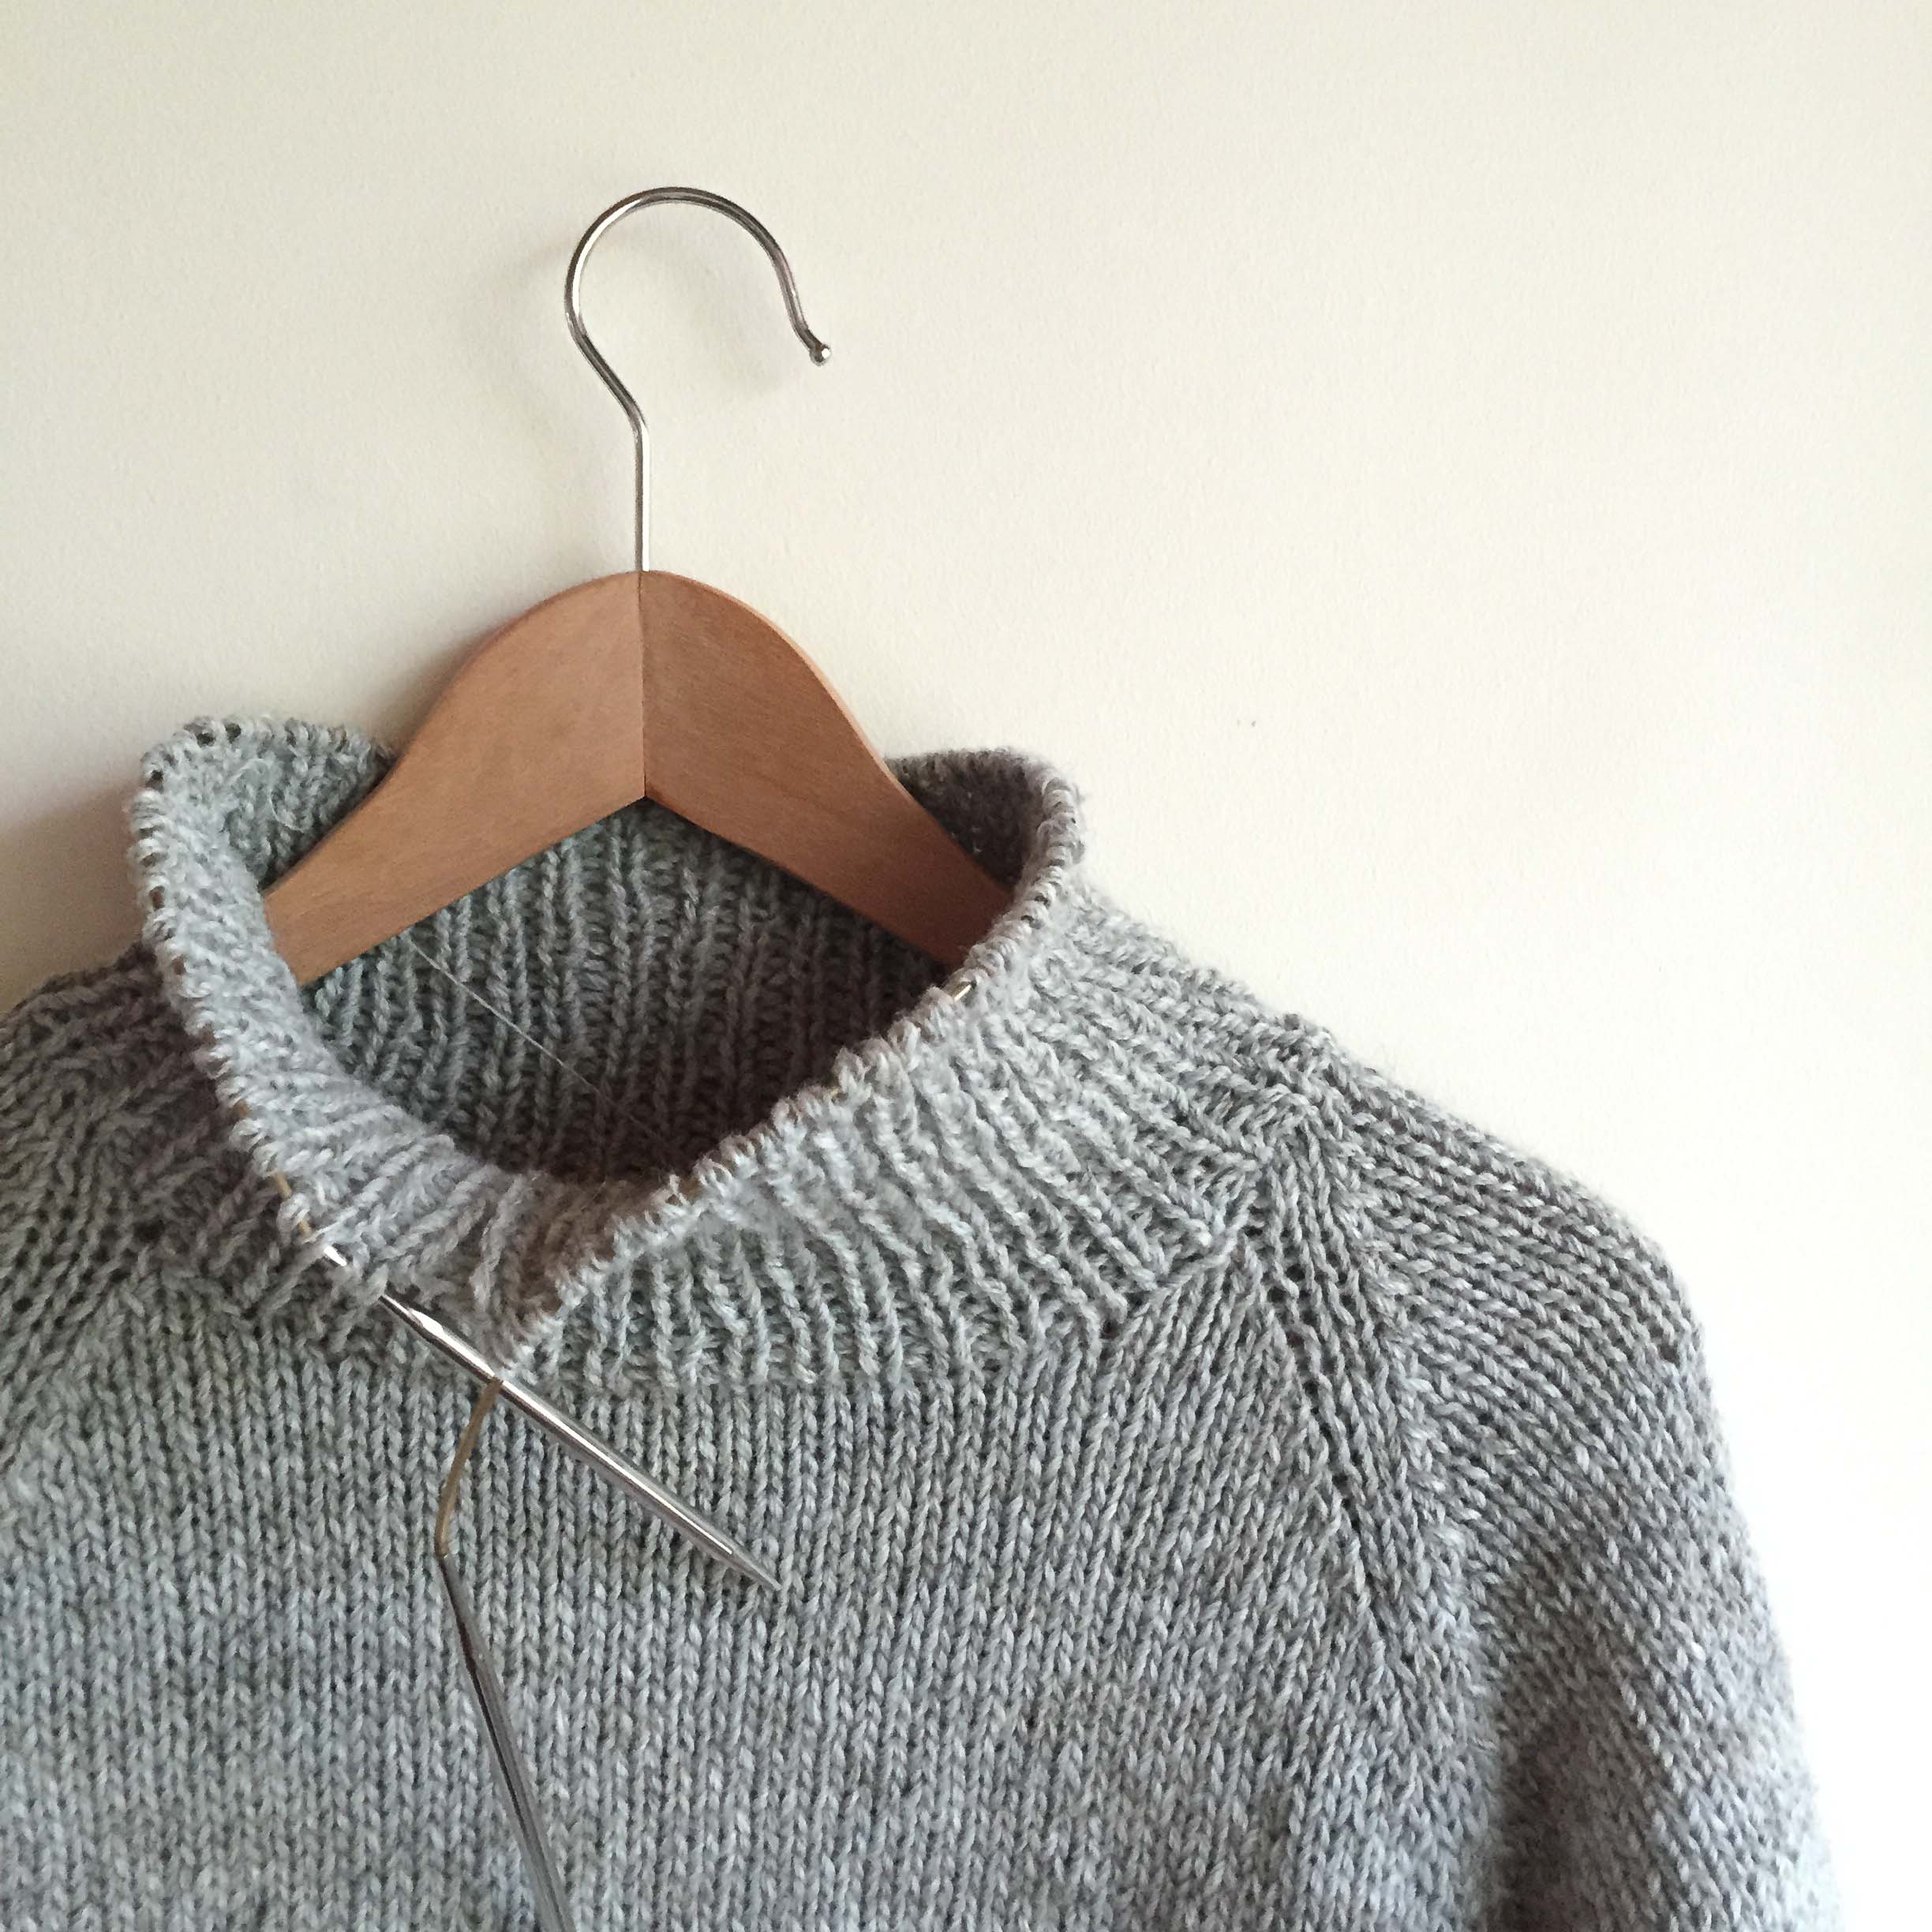
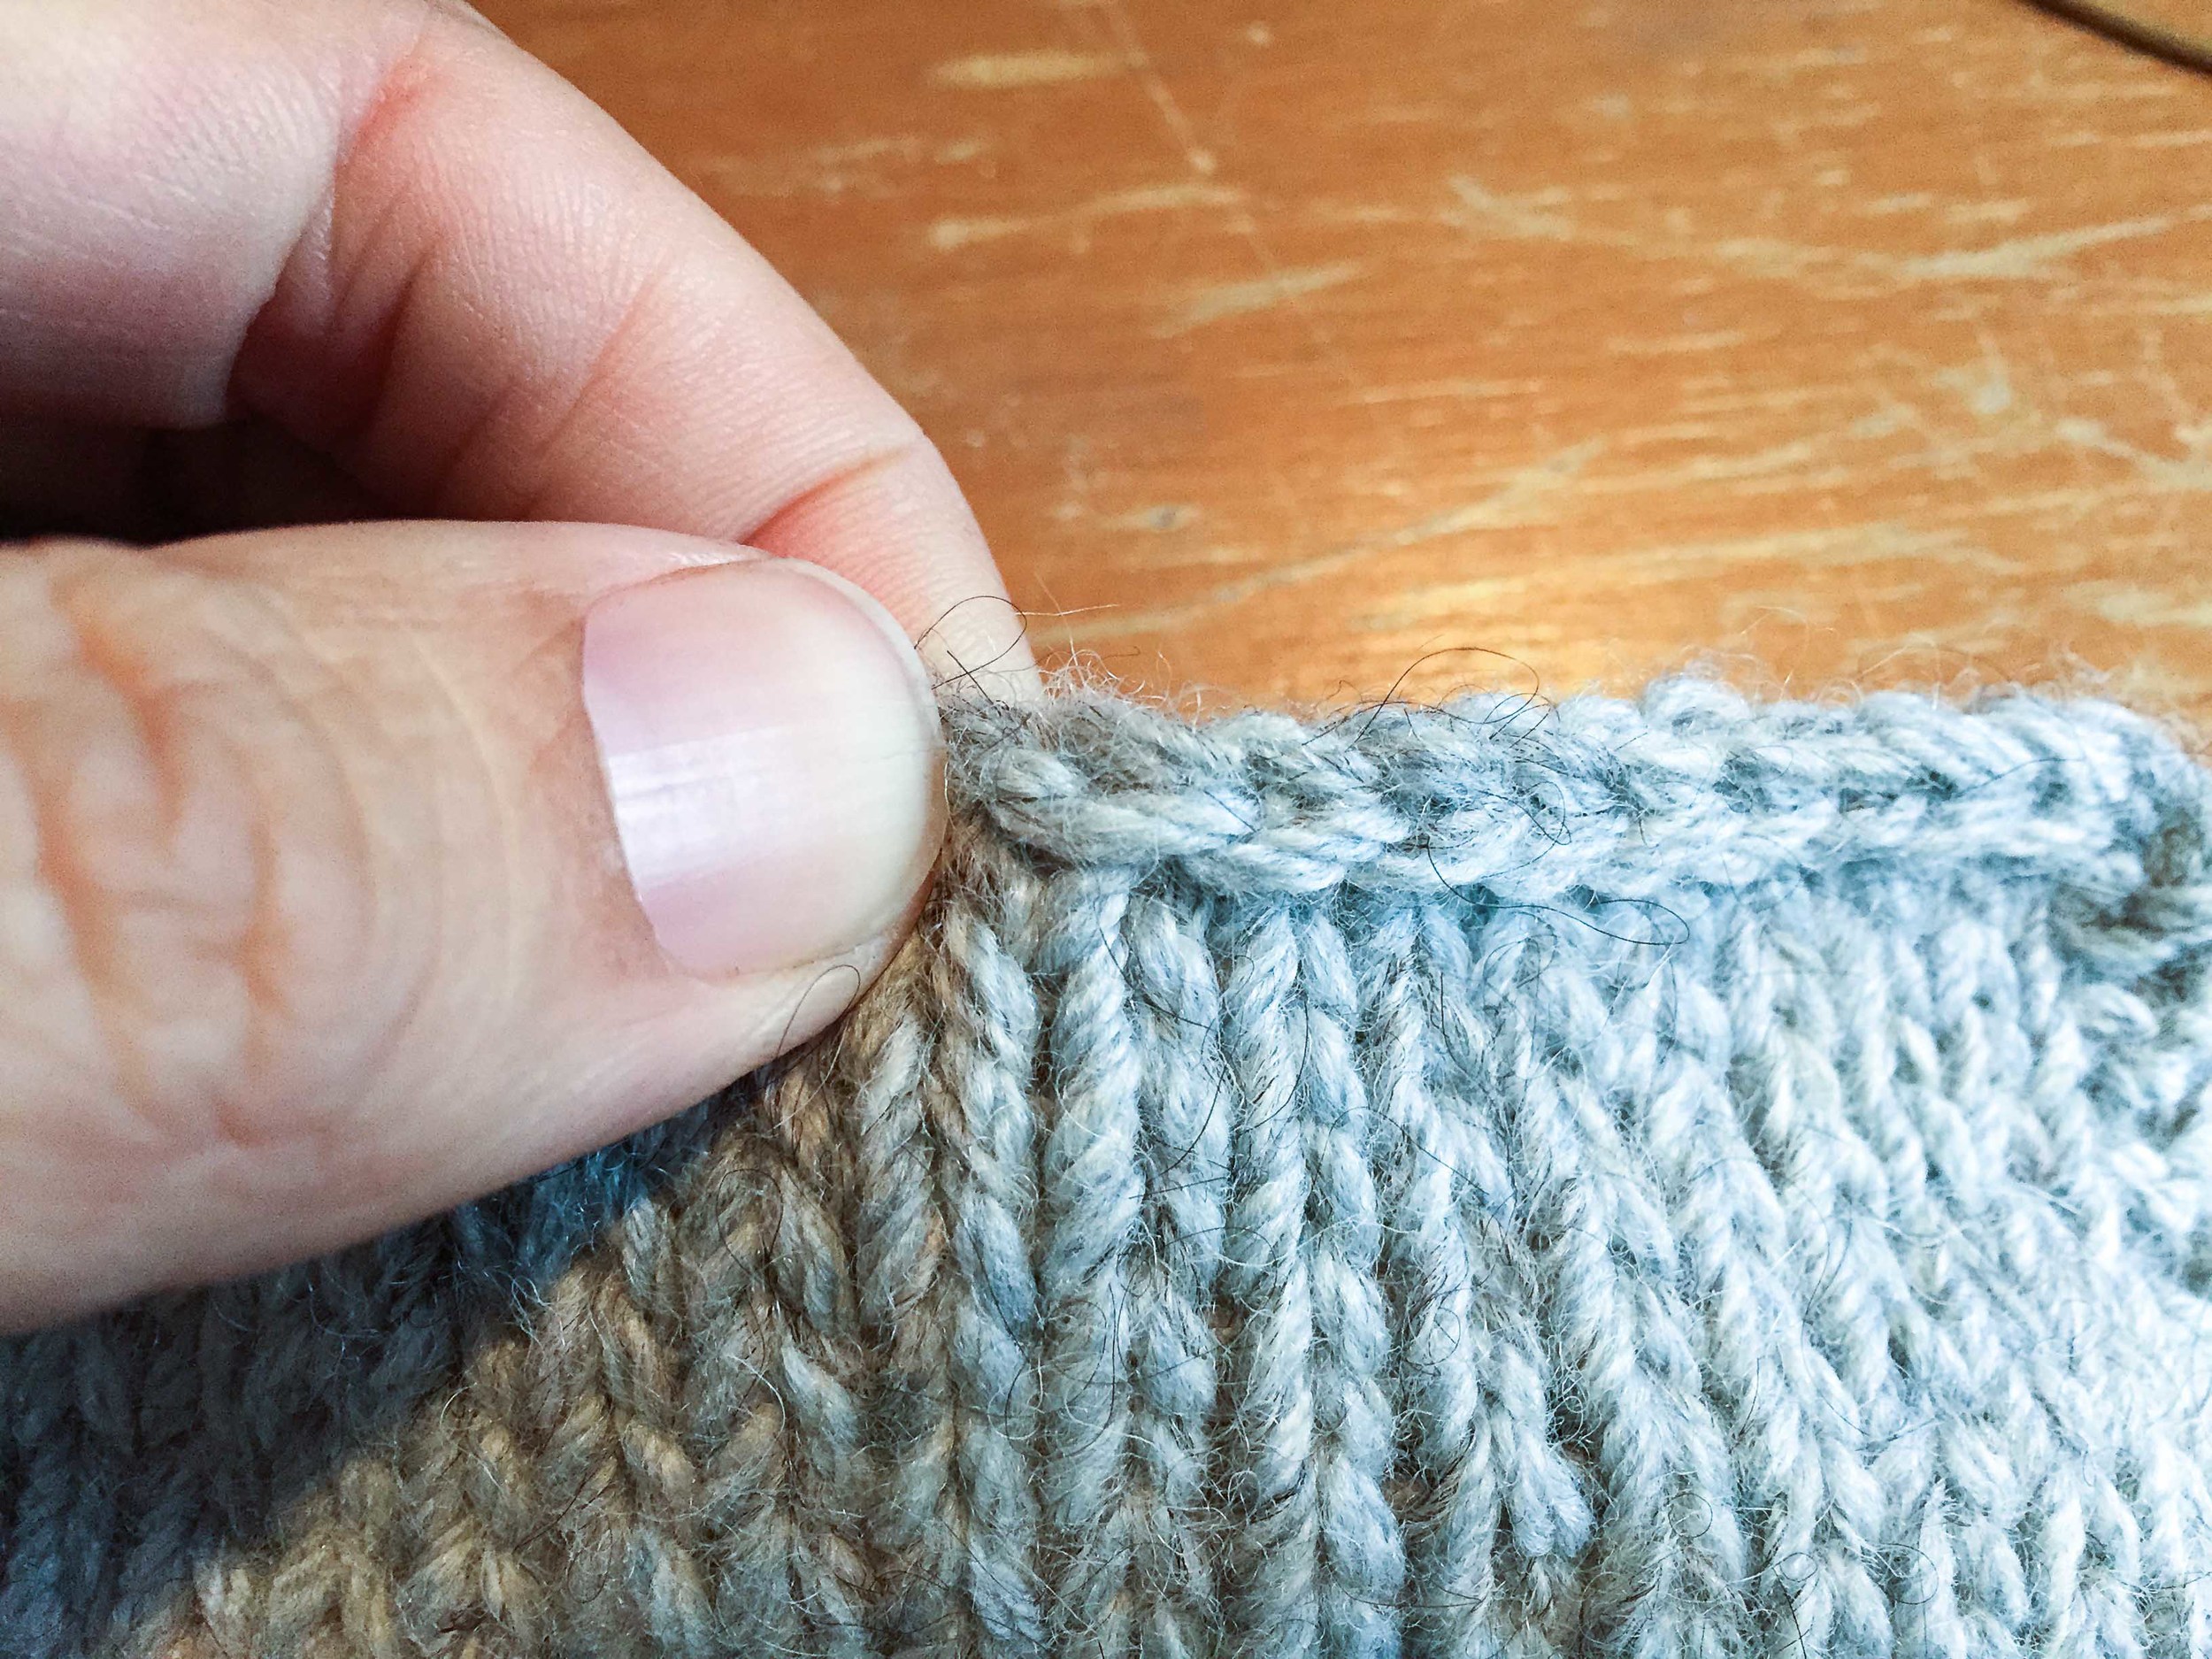
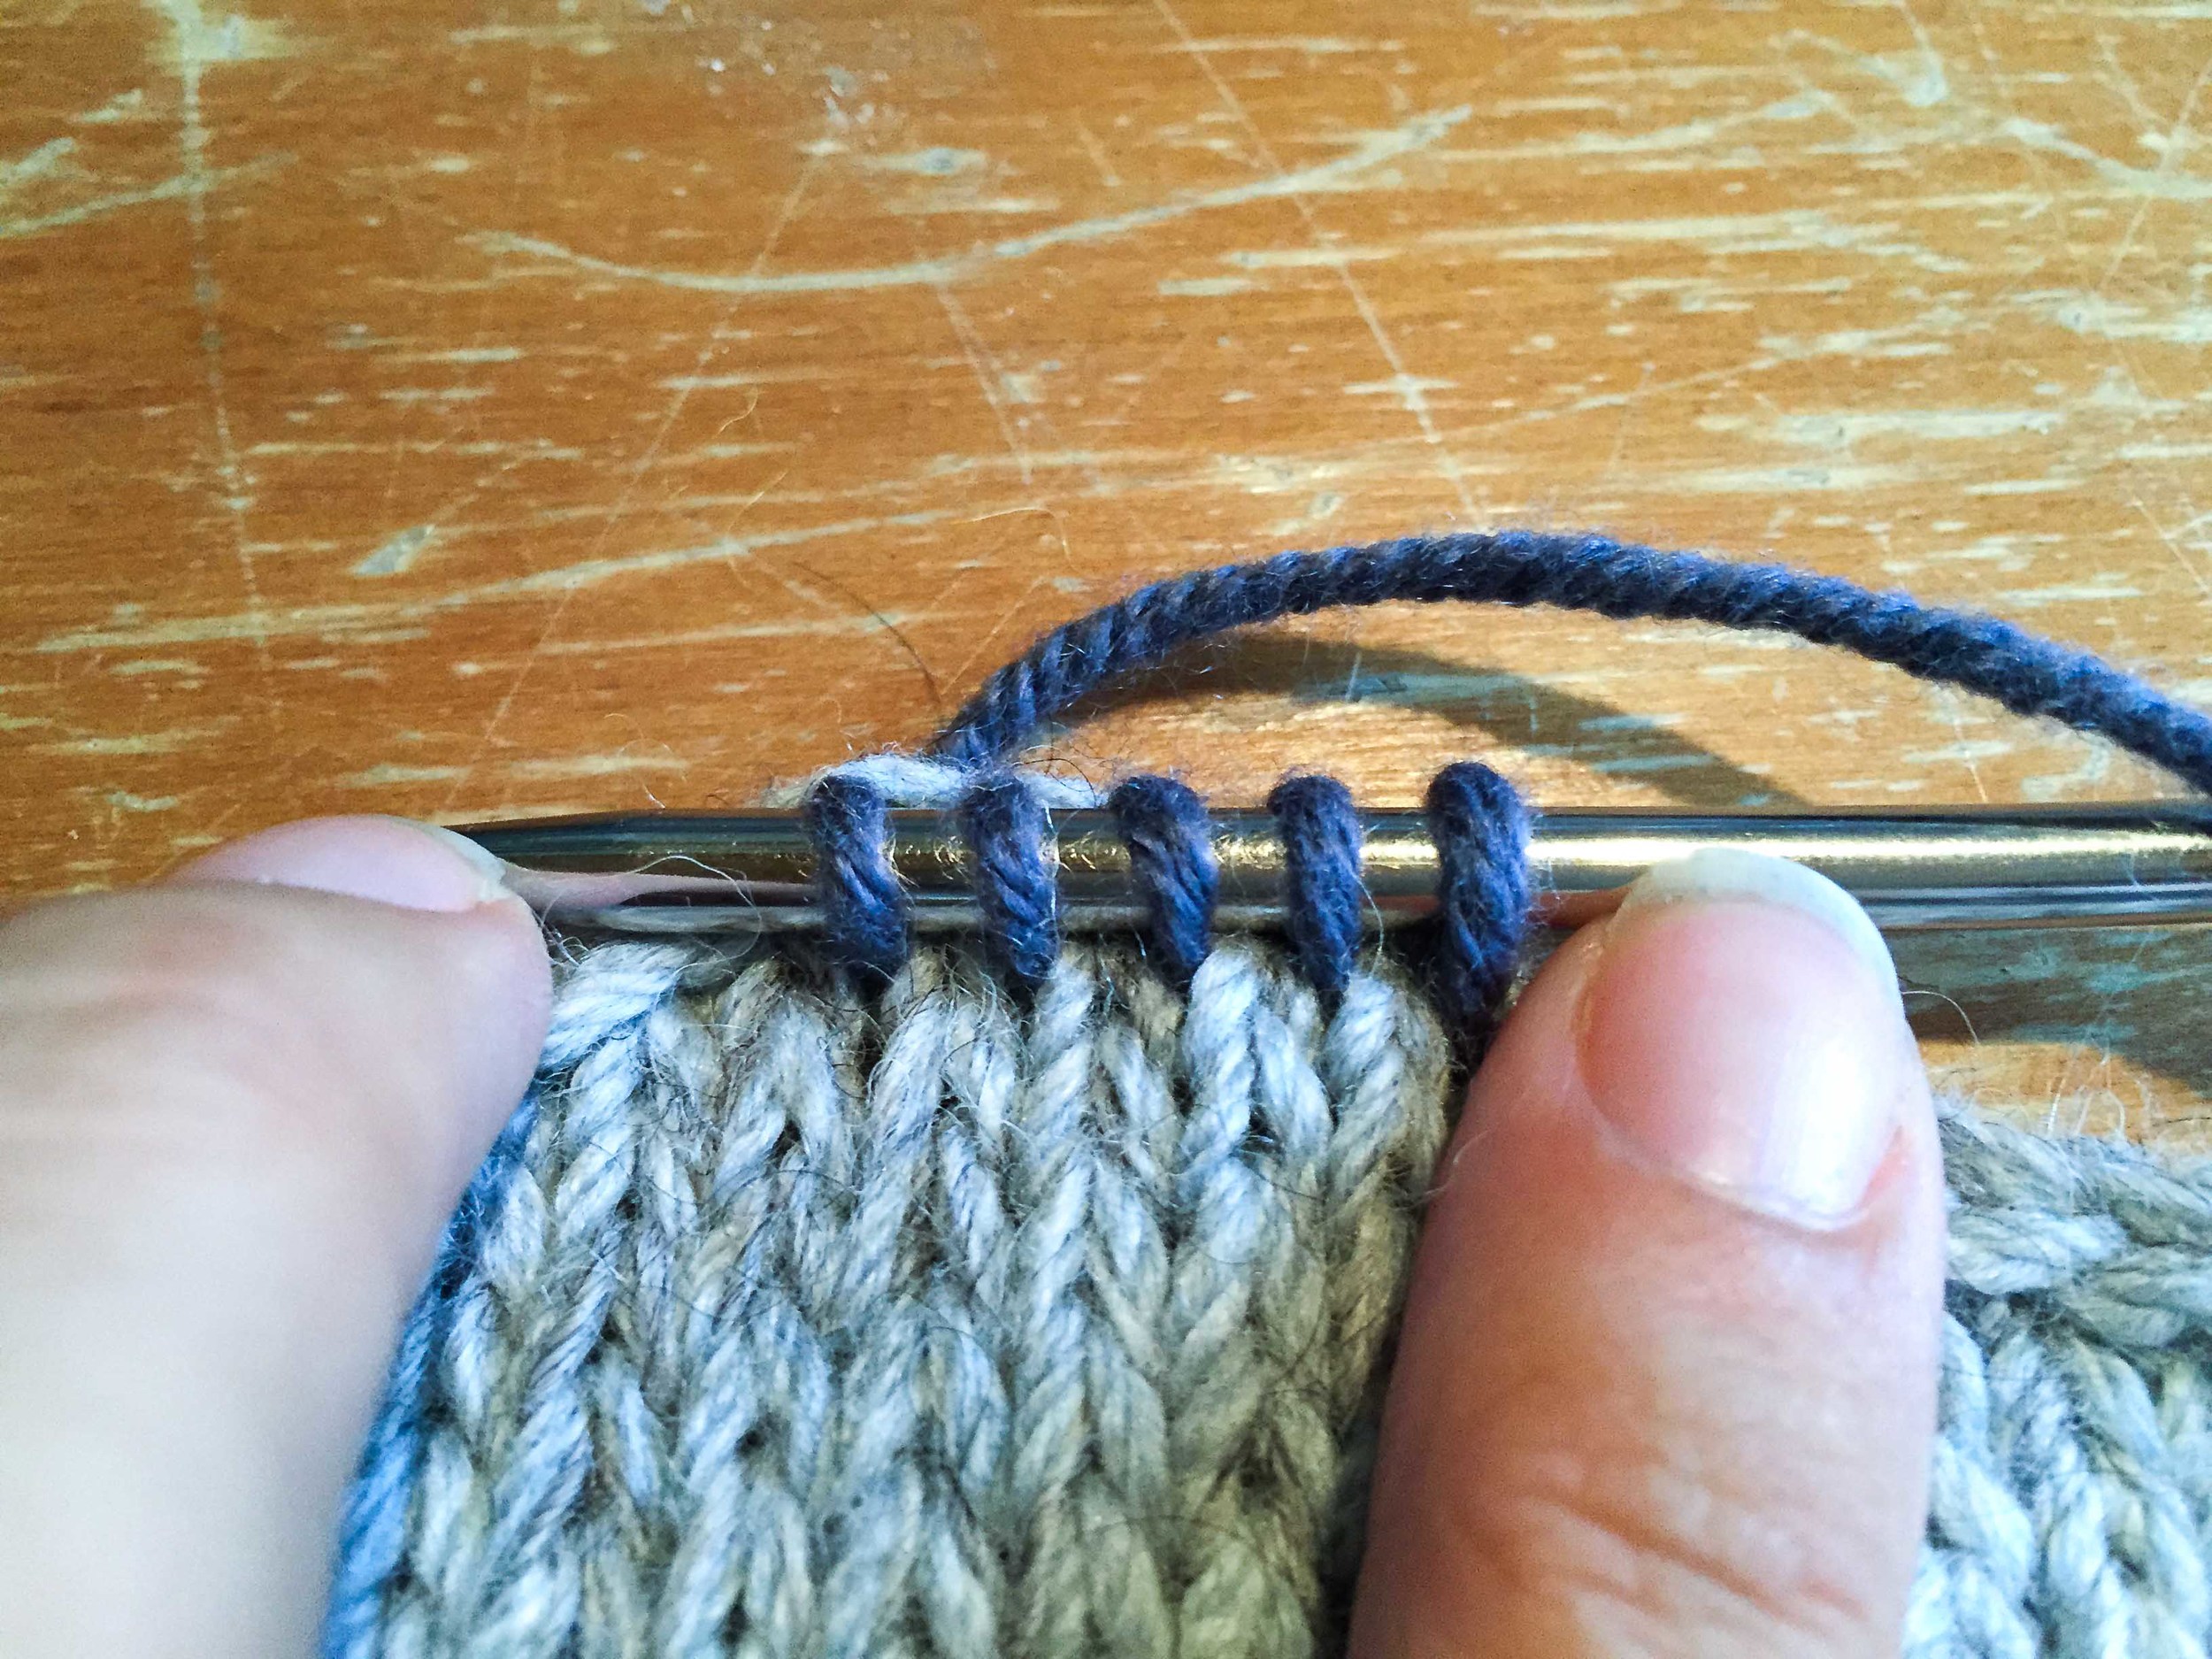
Stash Less began as a challenge to myself last year - to regain consciousness over my stash over the course of a year. And because I made it up, then I got to make up the rules. And so I'm giving myself a gold star this week - the highest achievement possible of the challenge! "What did I do to achieve it?" I hear you ask? I finally cut the Nani Iro! Not just any Iro but the Iro.

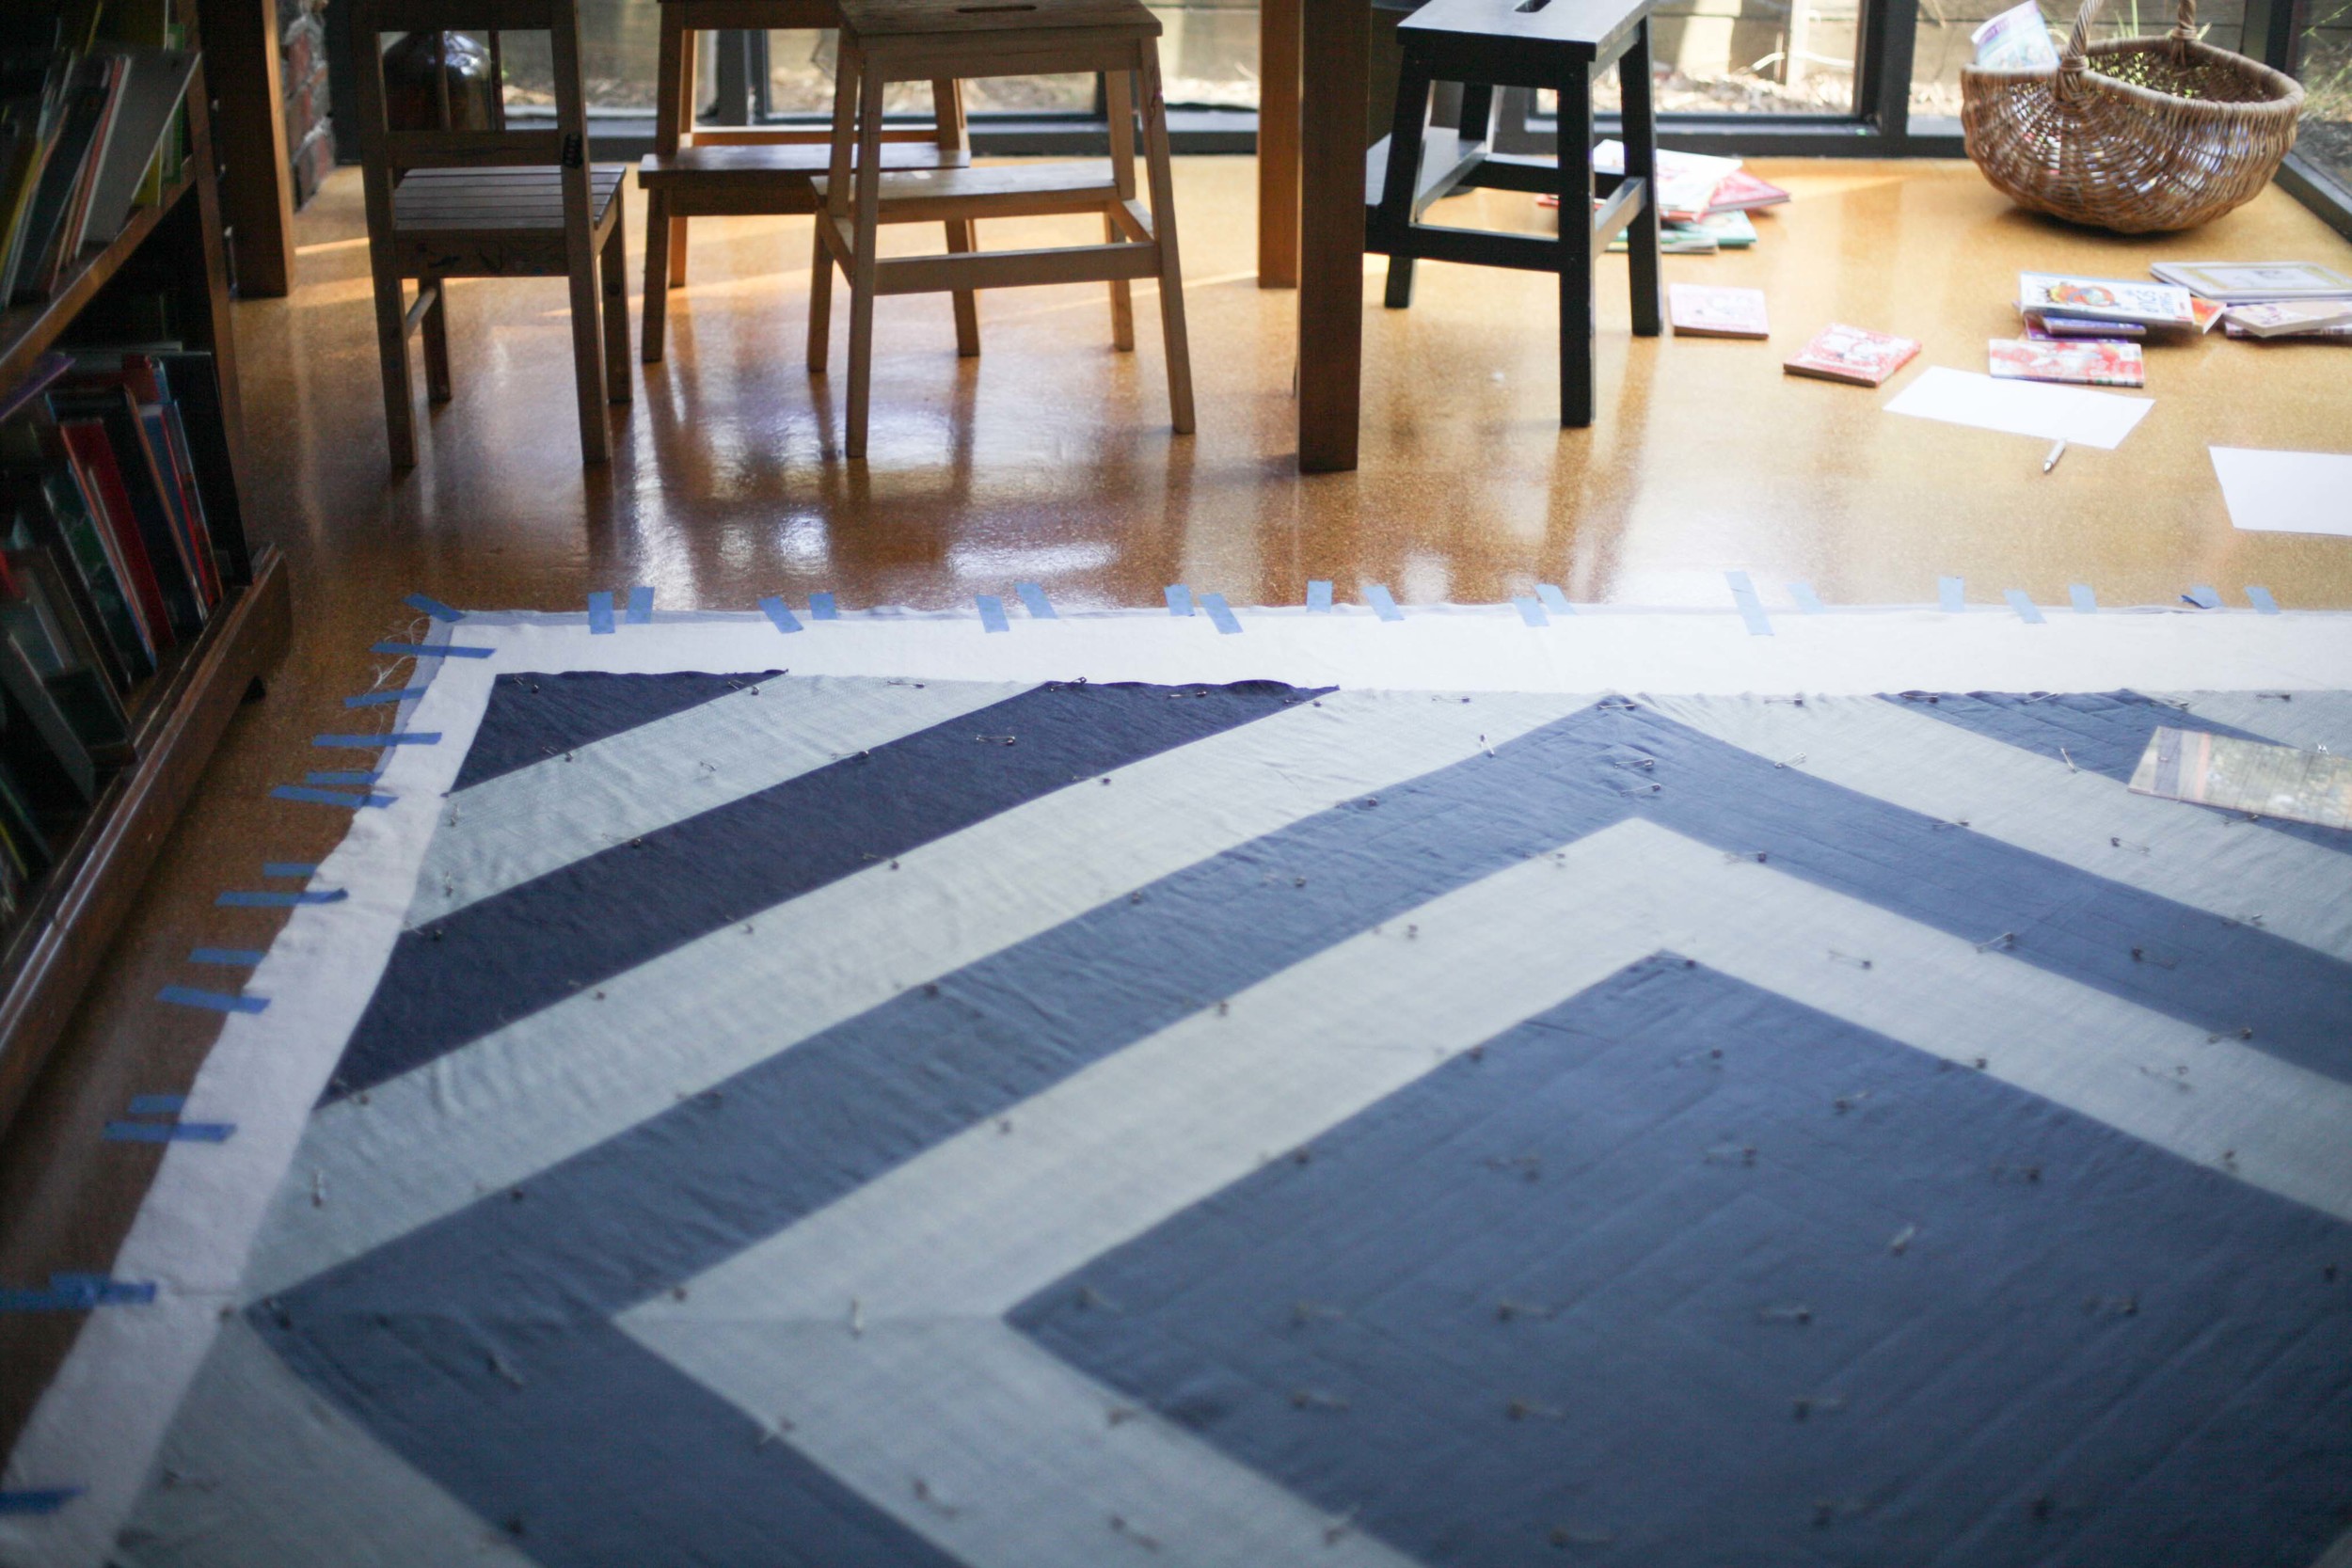
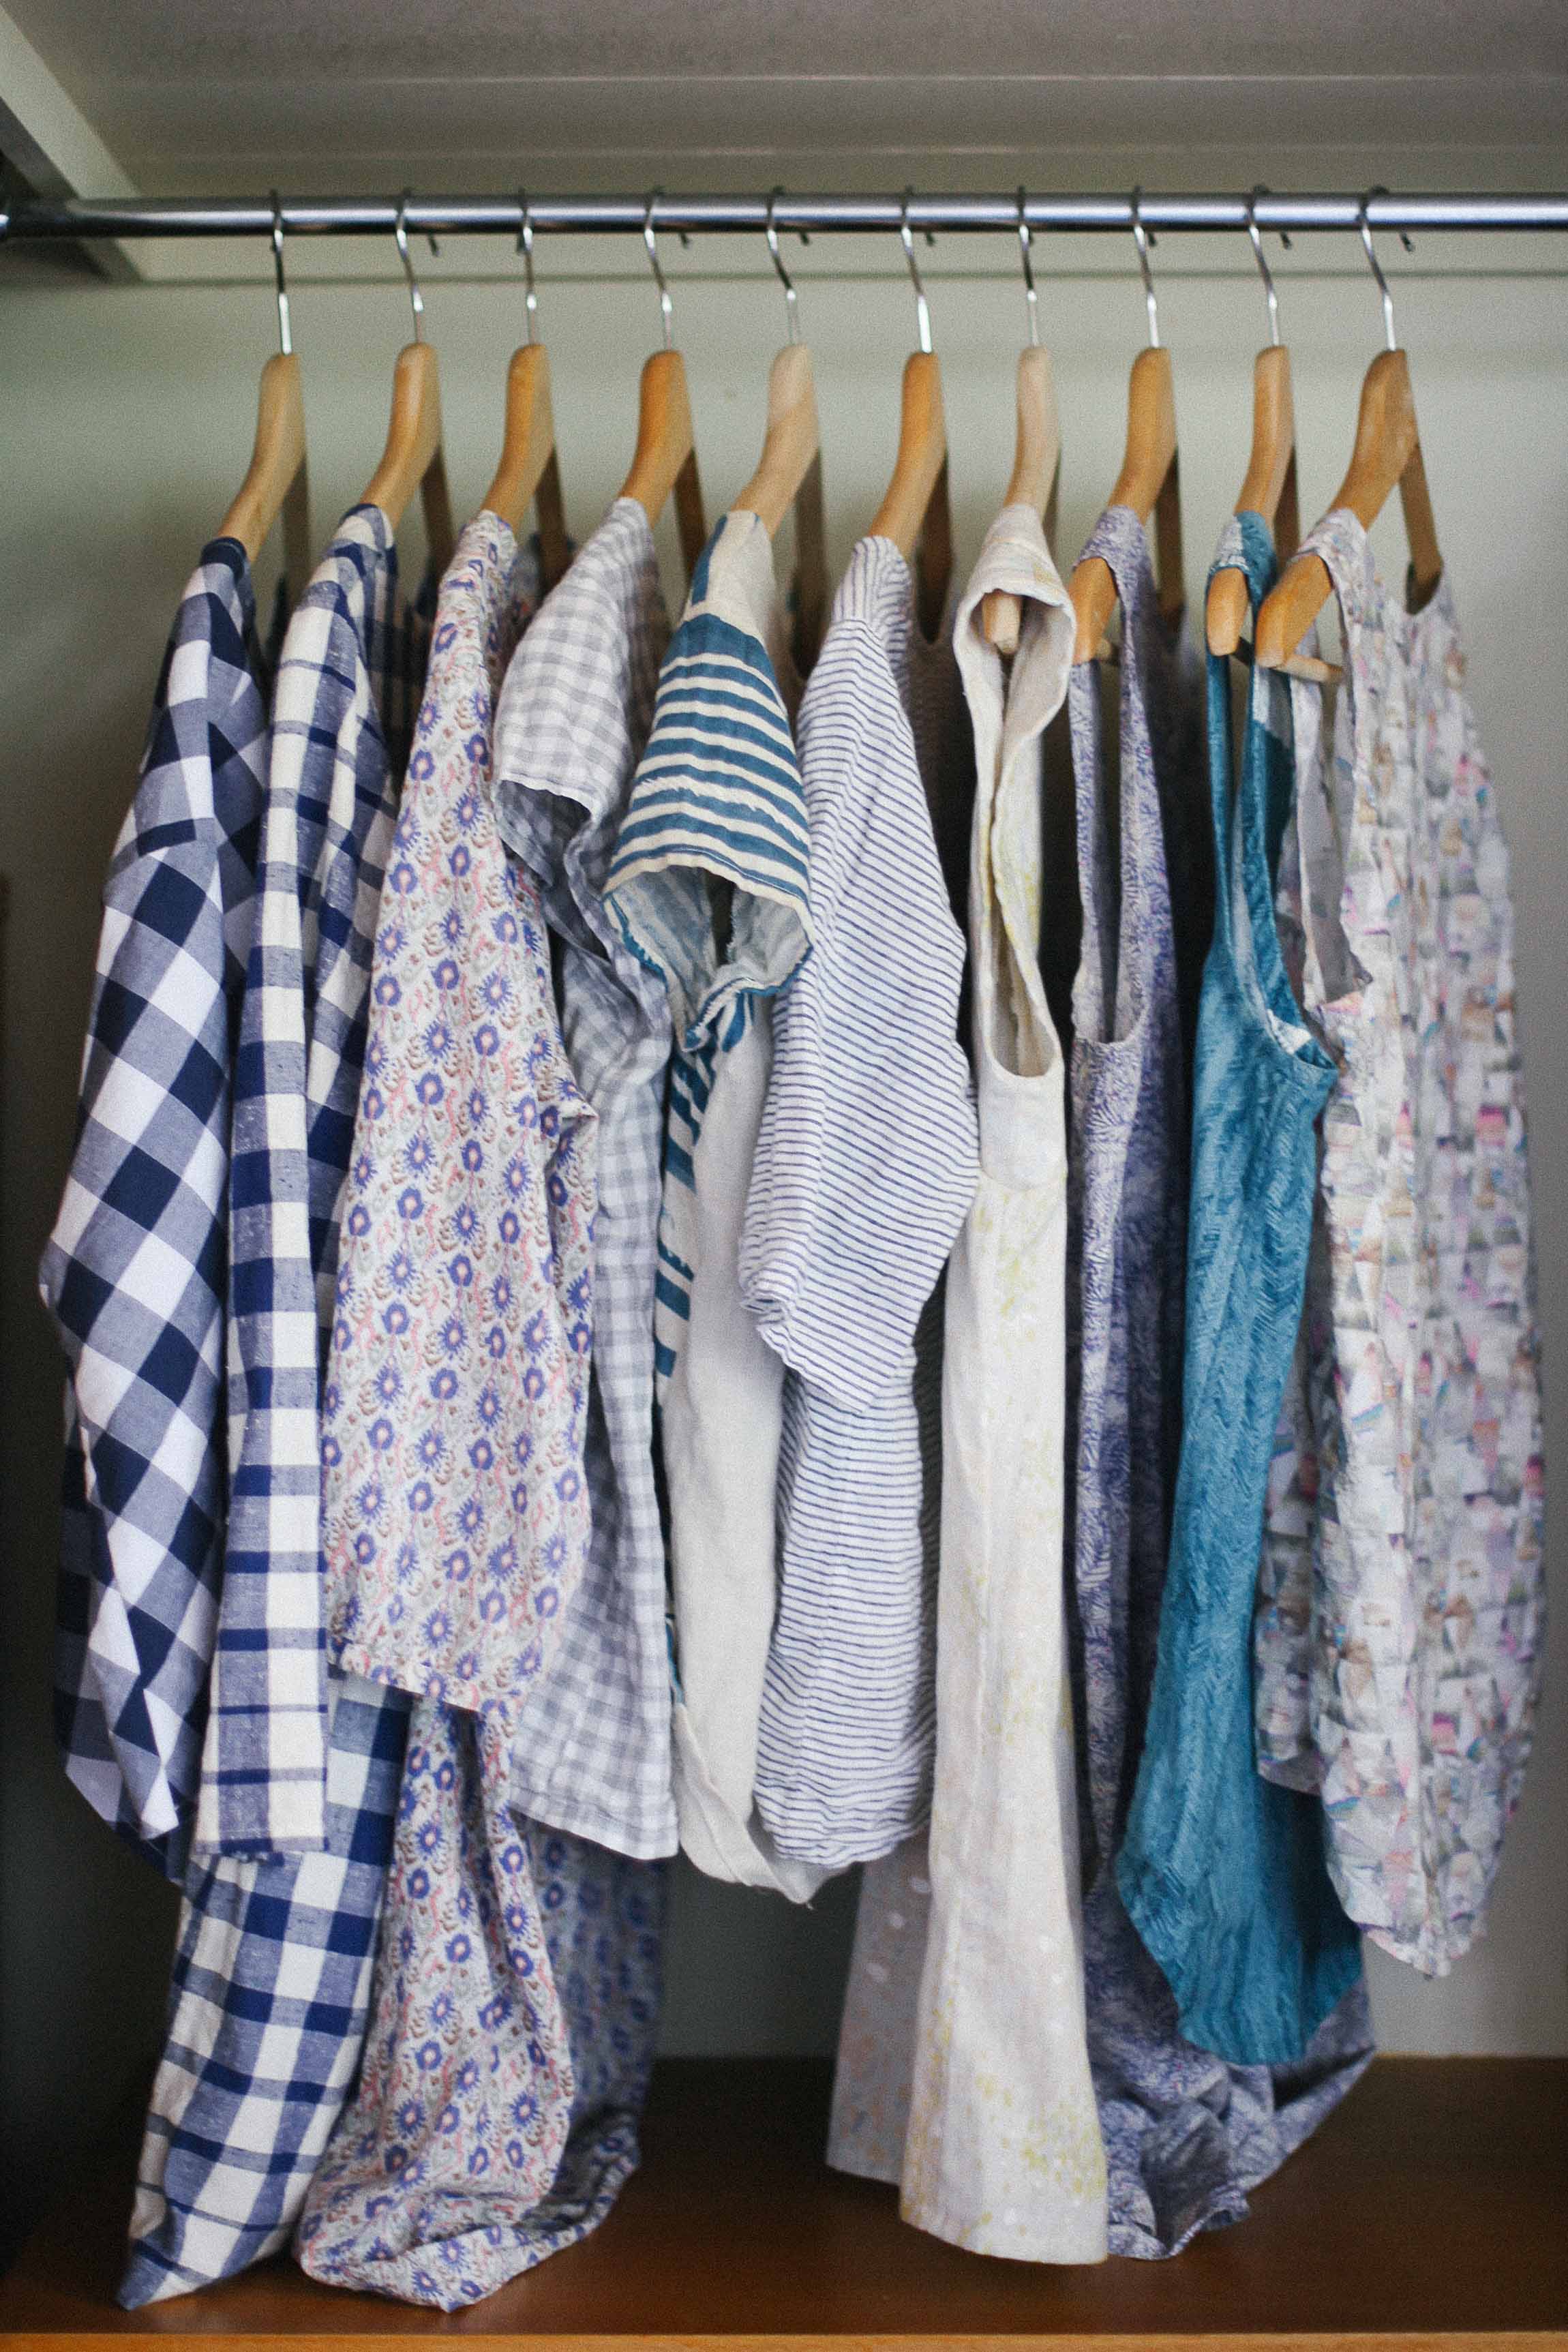
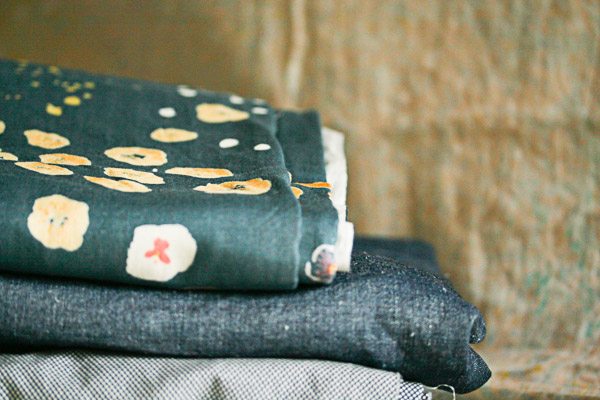
Those of you who have been around since The Craft Sessions began will remember the image below. It was our homepage image on the day we launched in June of 2013. And the blue Nani Iro is still on our homepage as part of the new stack. But my history (and attachment) with this piece of fabric goes back much further than that. I looked up my Etsy purchasing history and can see that I purchased it way back in Janurary of 2011. In a strange way it is not as bad as I thought. So I've held on to it for four years. Loving it way to much to cut into it. Waiting for the perfect pattern. Too special to do anything but sit there. I just think it is beautiful. 

My hope for Stash Less was that I would start to use my stash. I would stop the purchasing that had me avoiding cutting my favourite fabrics and I would use it. Because I had to. Because in order to make pretty things, I had no other option. No avoidance mechanisms at my disposal….

This week I achieved it - so GOLD star for me!

"OK….but Stash Less has been going for six months already and you hadn't touched it. There must have been a final driver that got you there?" I hear you say. Well you would be right…. I did need a push.

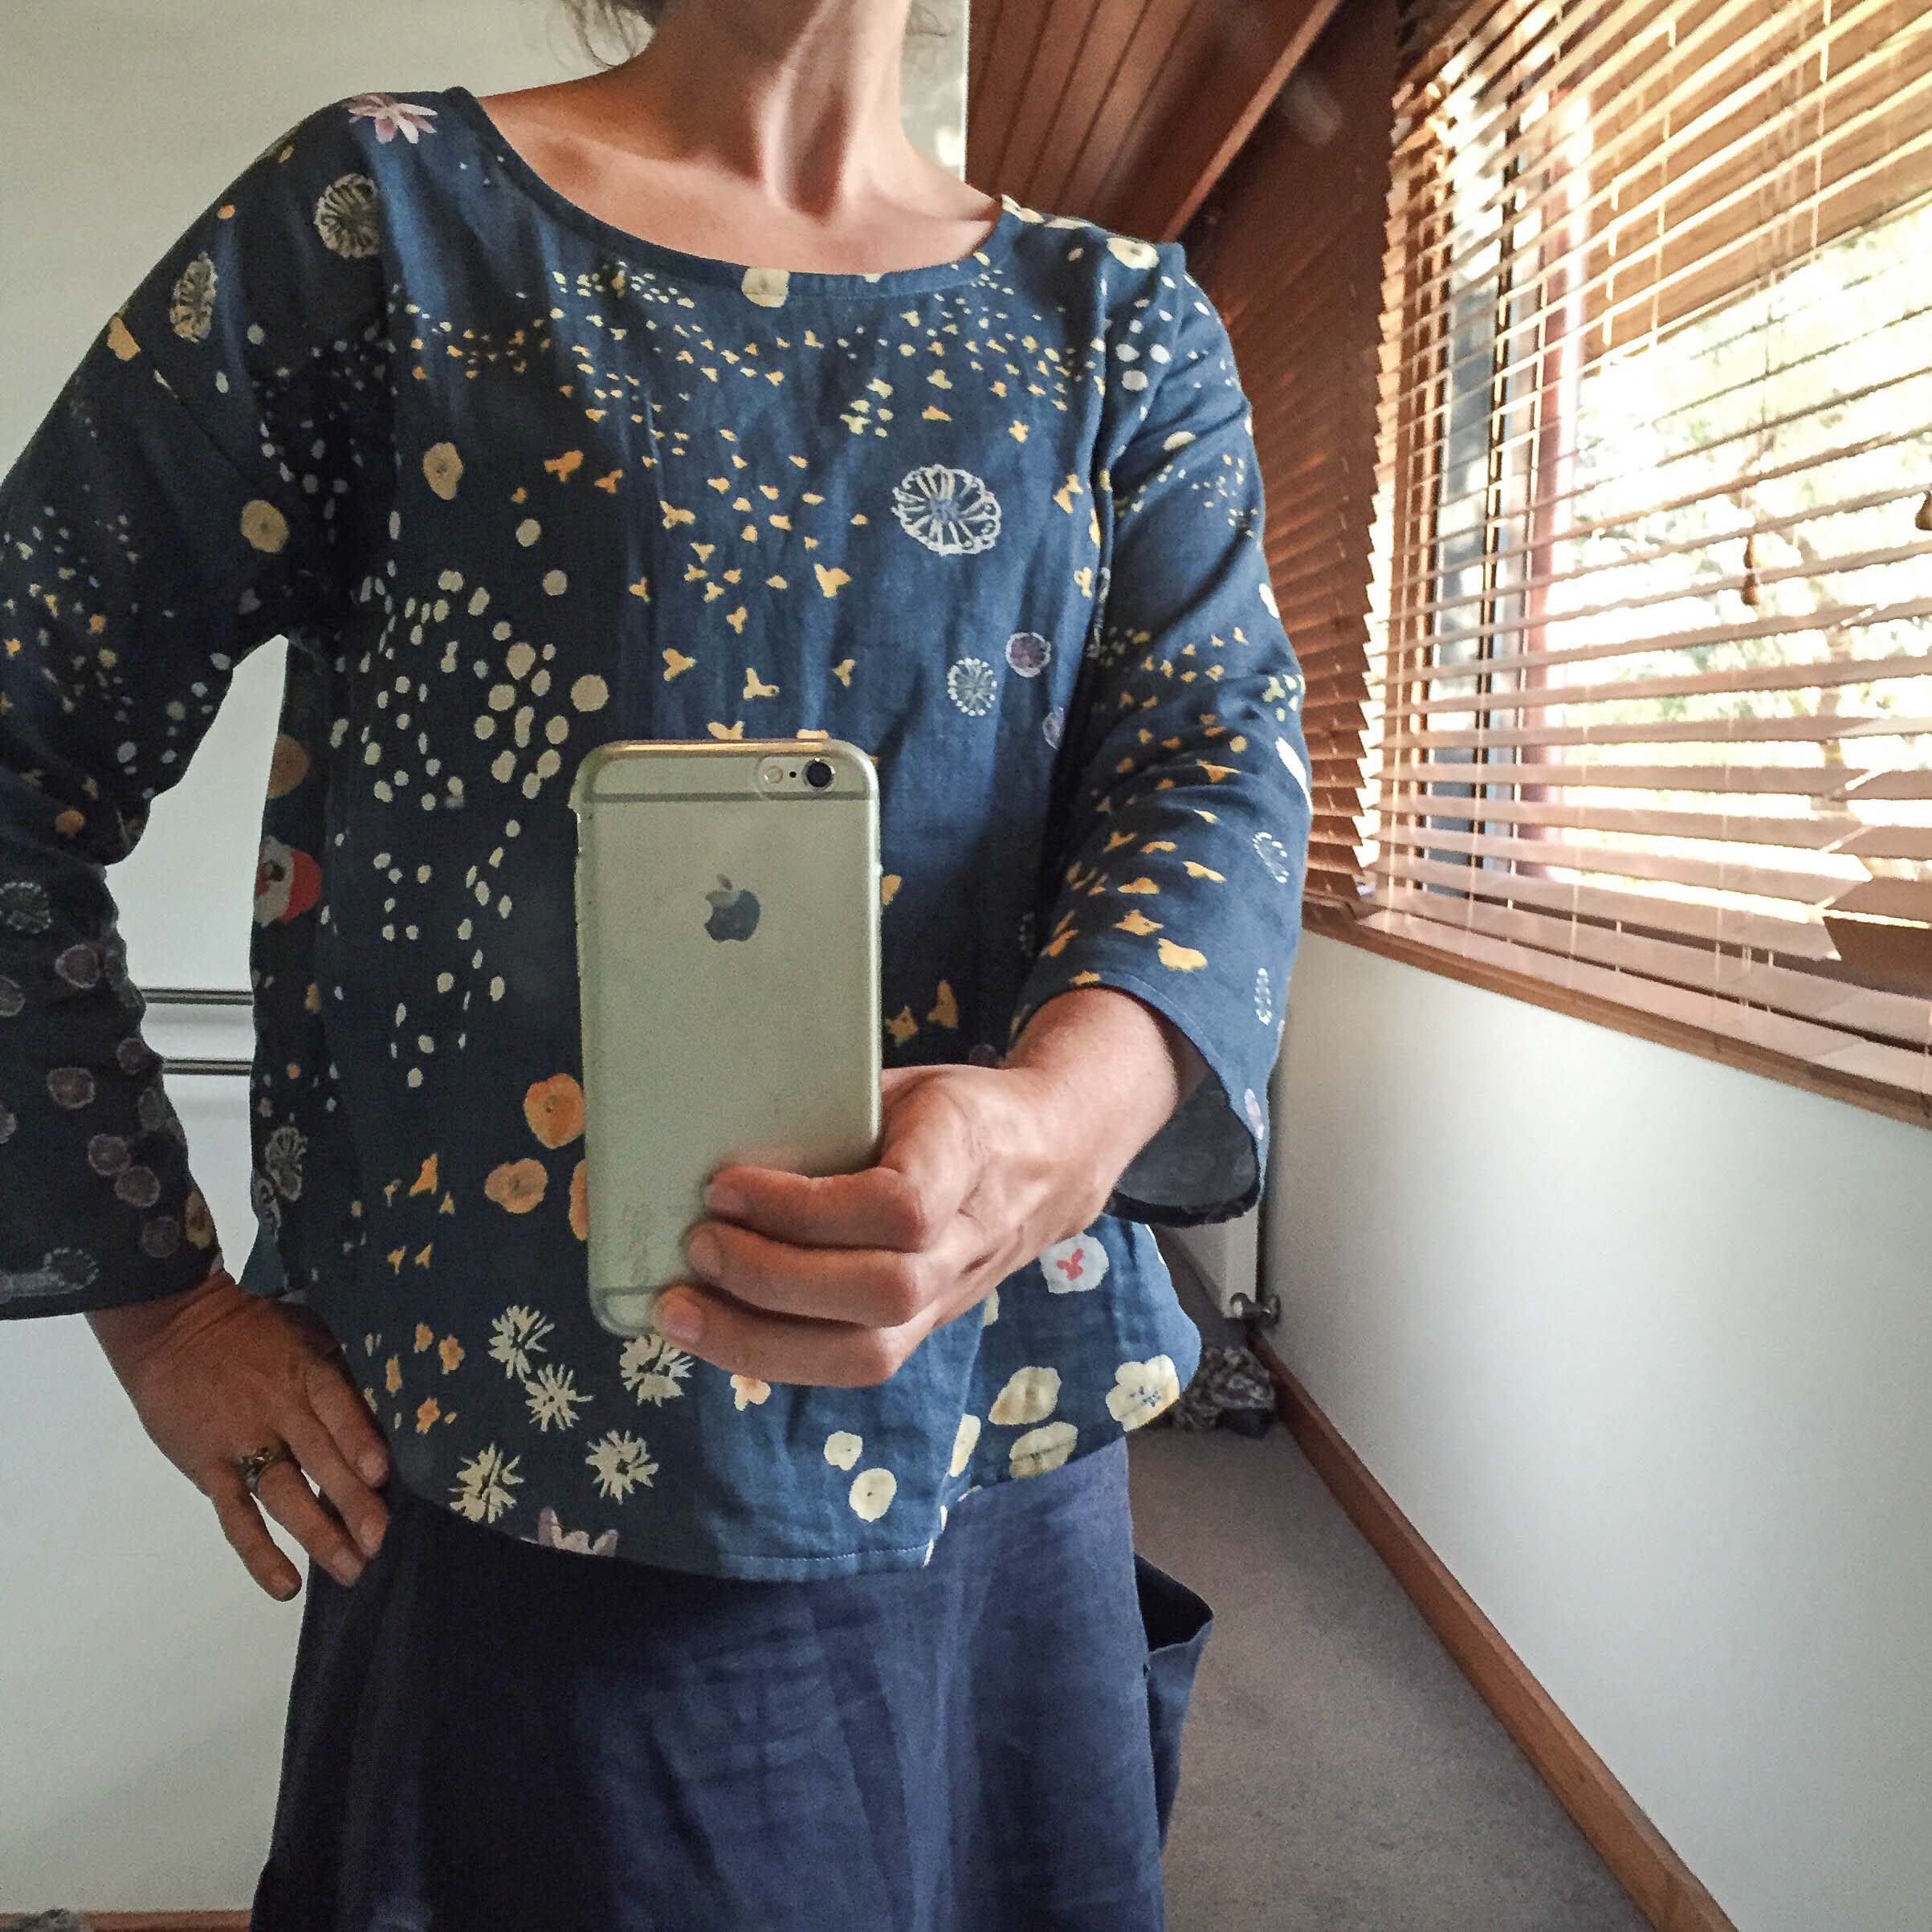
Last week I was asked to do interview about Stash_Less for an ace publication. It was lovely they thought of me, and I was feeling pretty chuffed about it, until they sent a second email which stated that they needed to have someone take a photo of me. OK….. so just a little confronting - I've been pretty happy running around in a headless fashion for the last two years - so I was feeling pretty awkward. Knowing I was going to do the interview however, got me to thinking about Stash_Less, and how it was starting to change me and my habits. I sat and went through my original thought process. I thought about what I was trying to achieve, what I had achieved, and I realised there was one thing I hadn't done yet. I'd skirted around the edges using less precious Iro here and there. But not the big guns. The blue Iro was my white whale. …..Alright, maybe that is taking it a little too far. But it is big none the less.

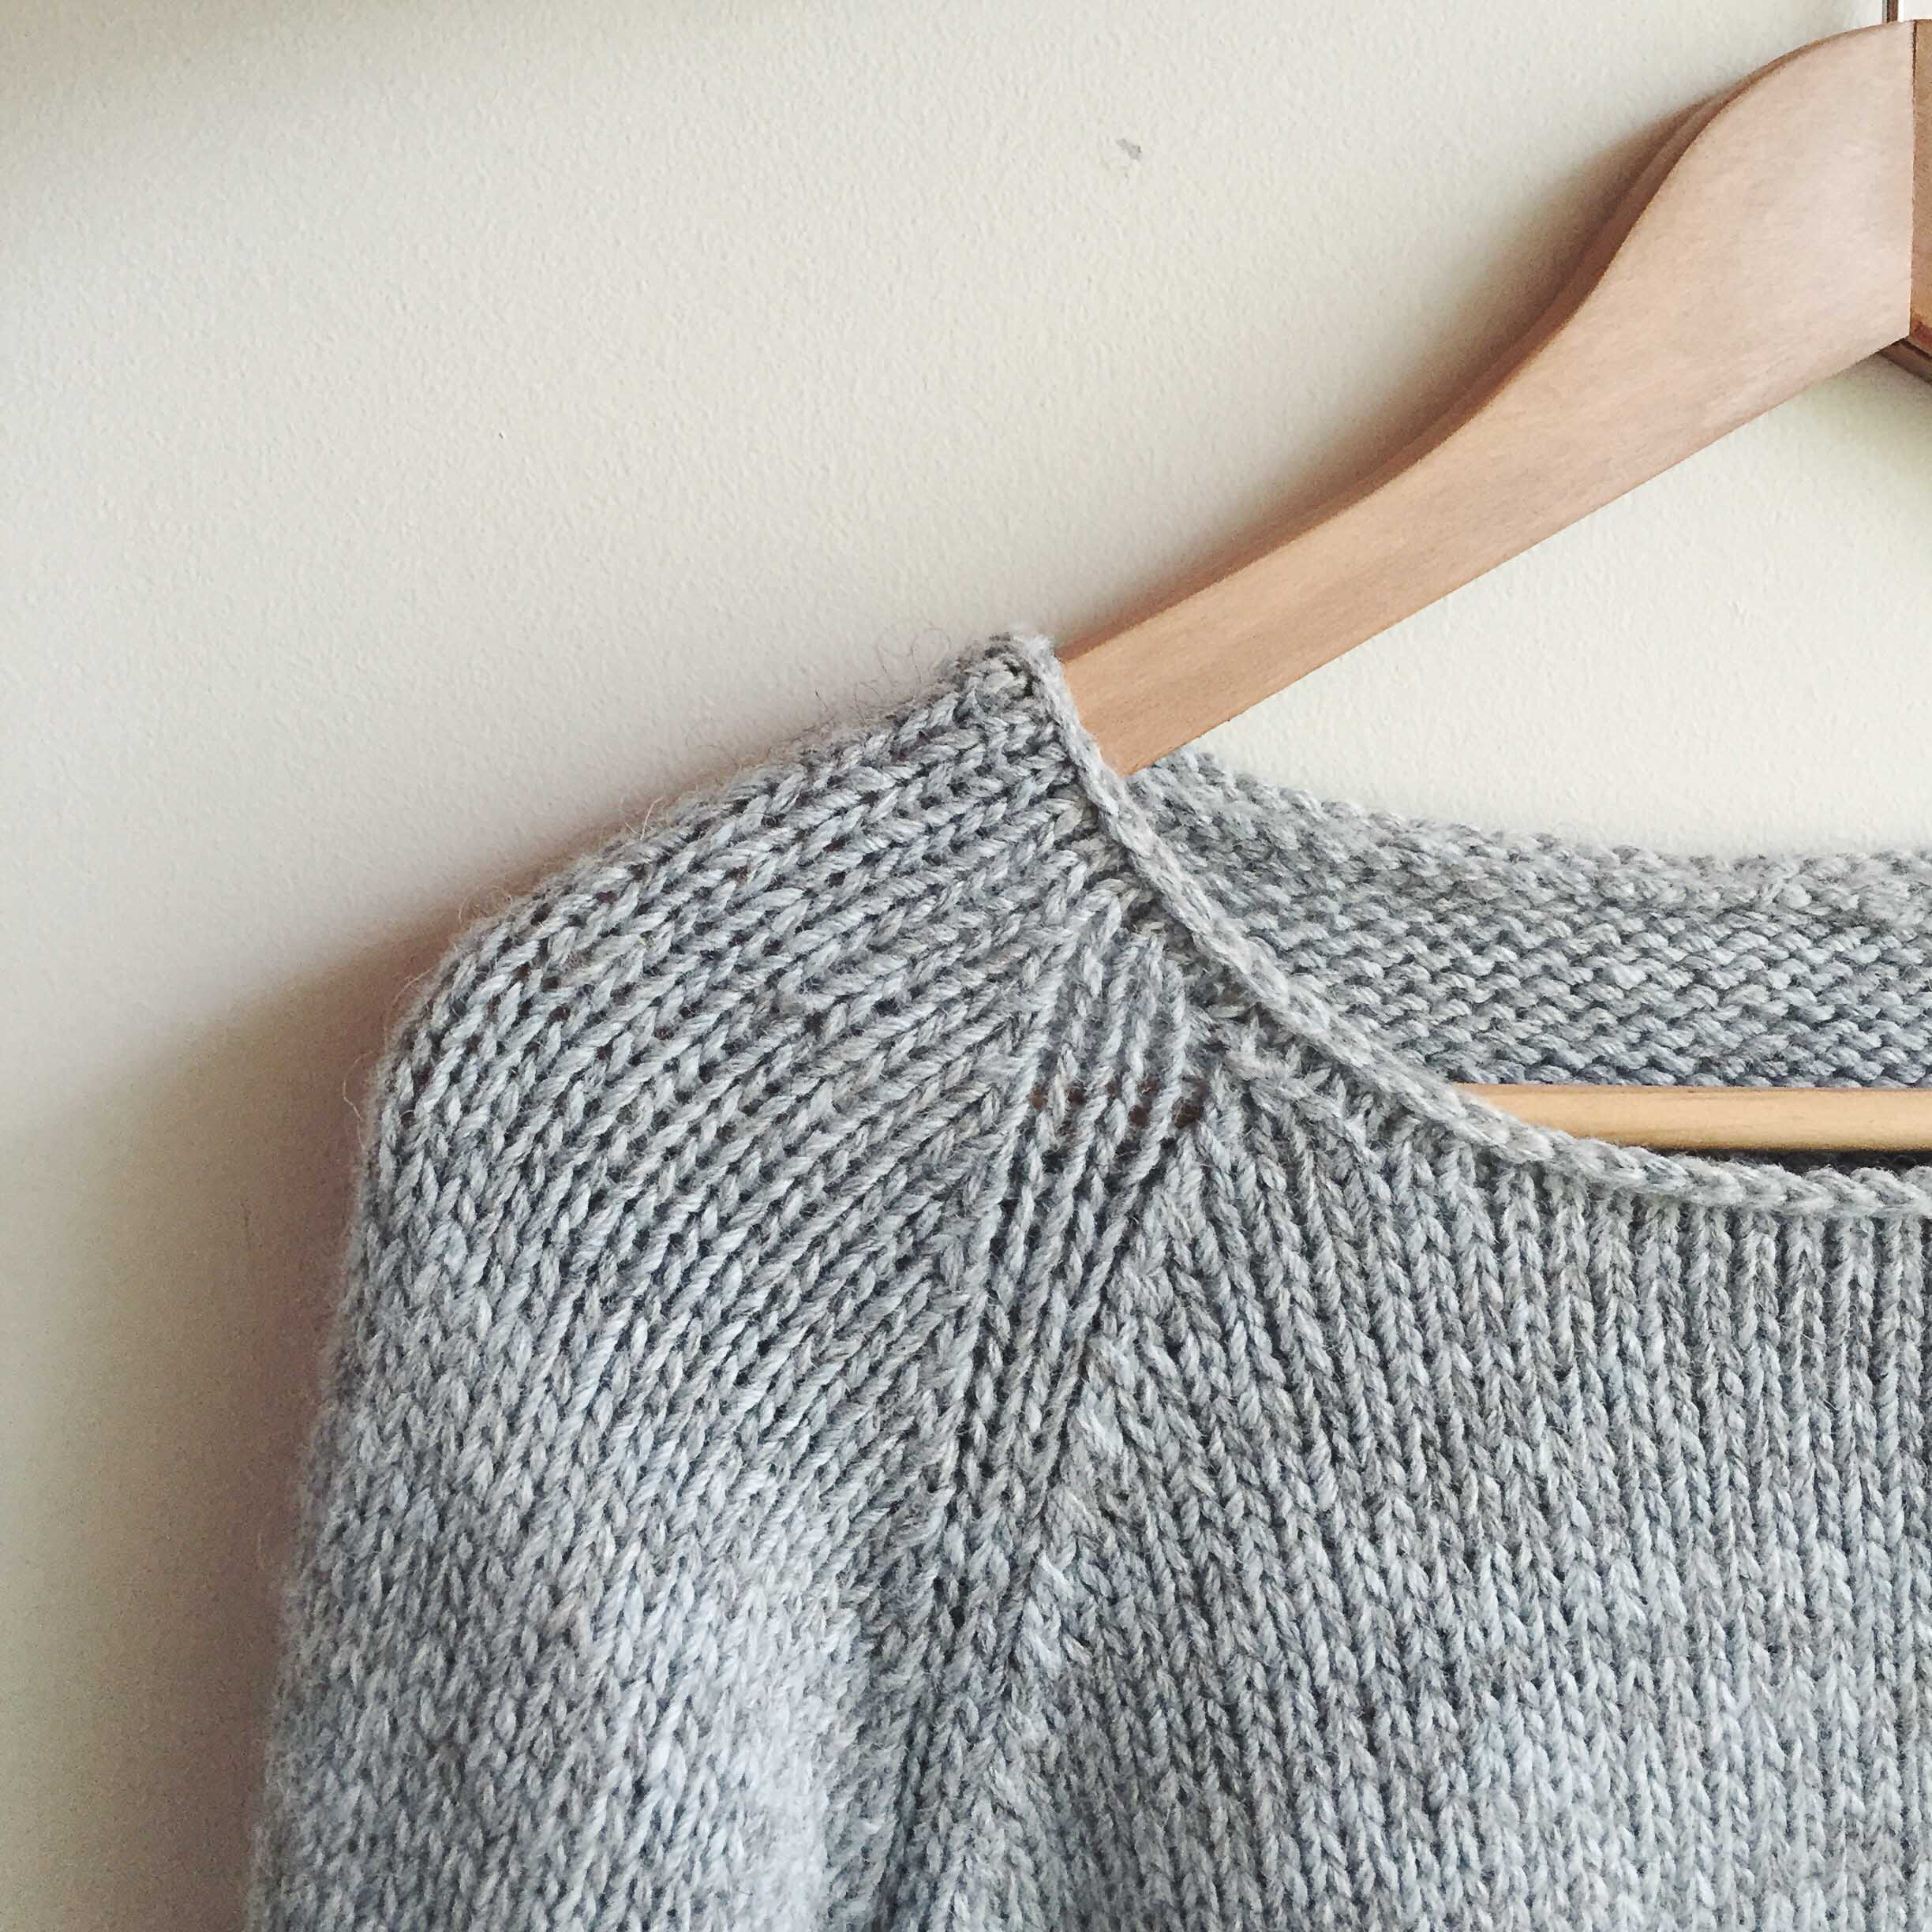
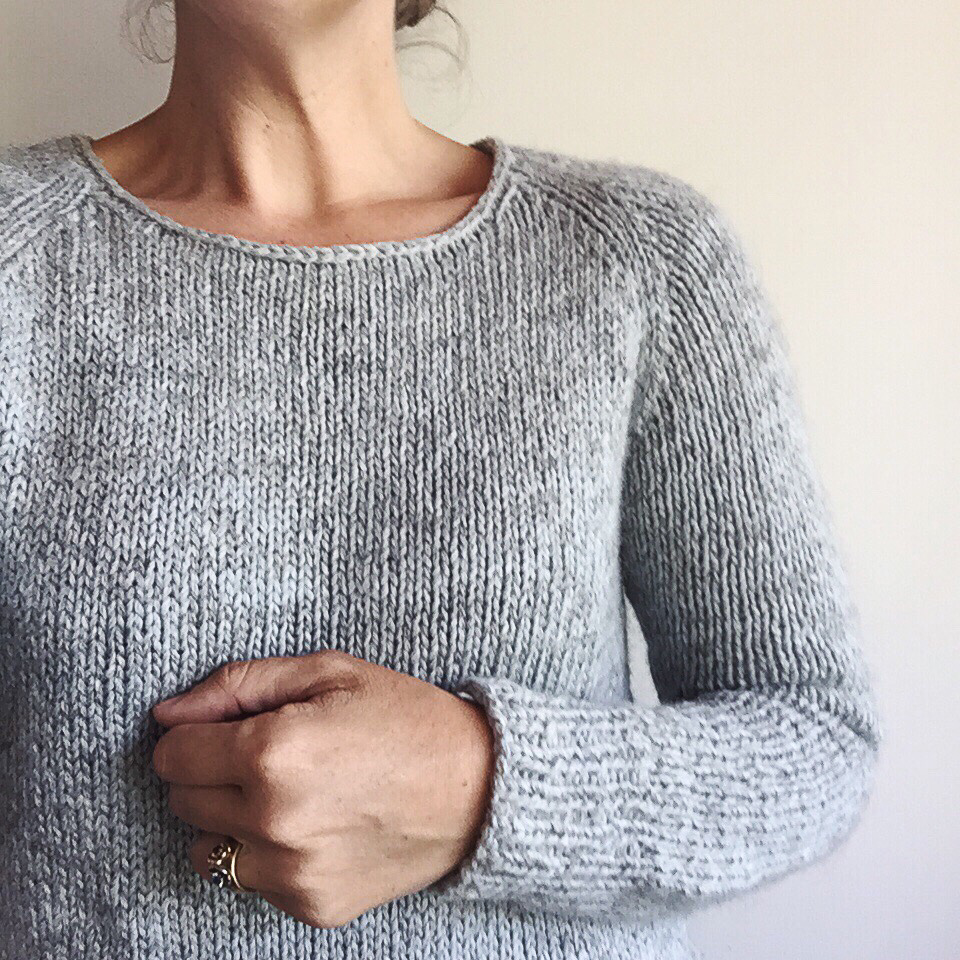
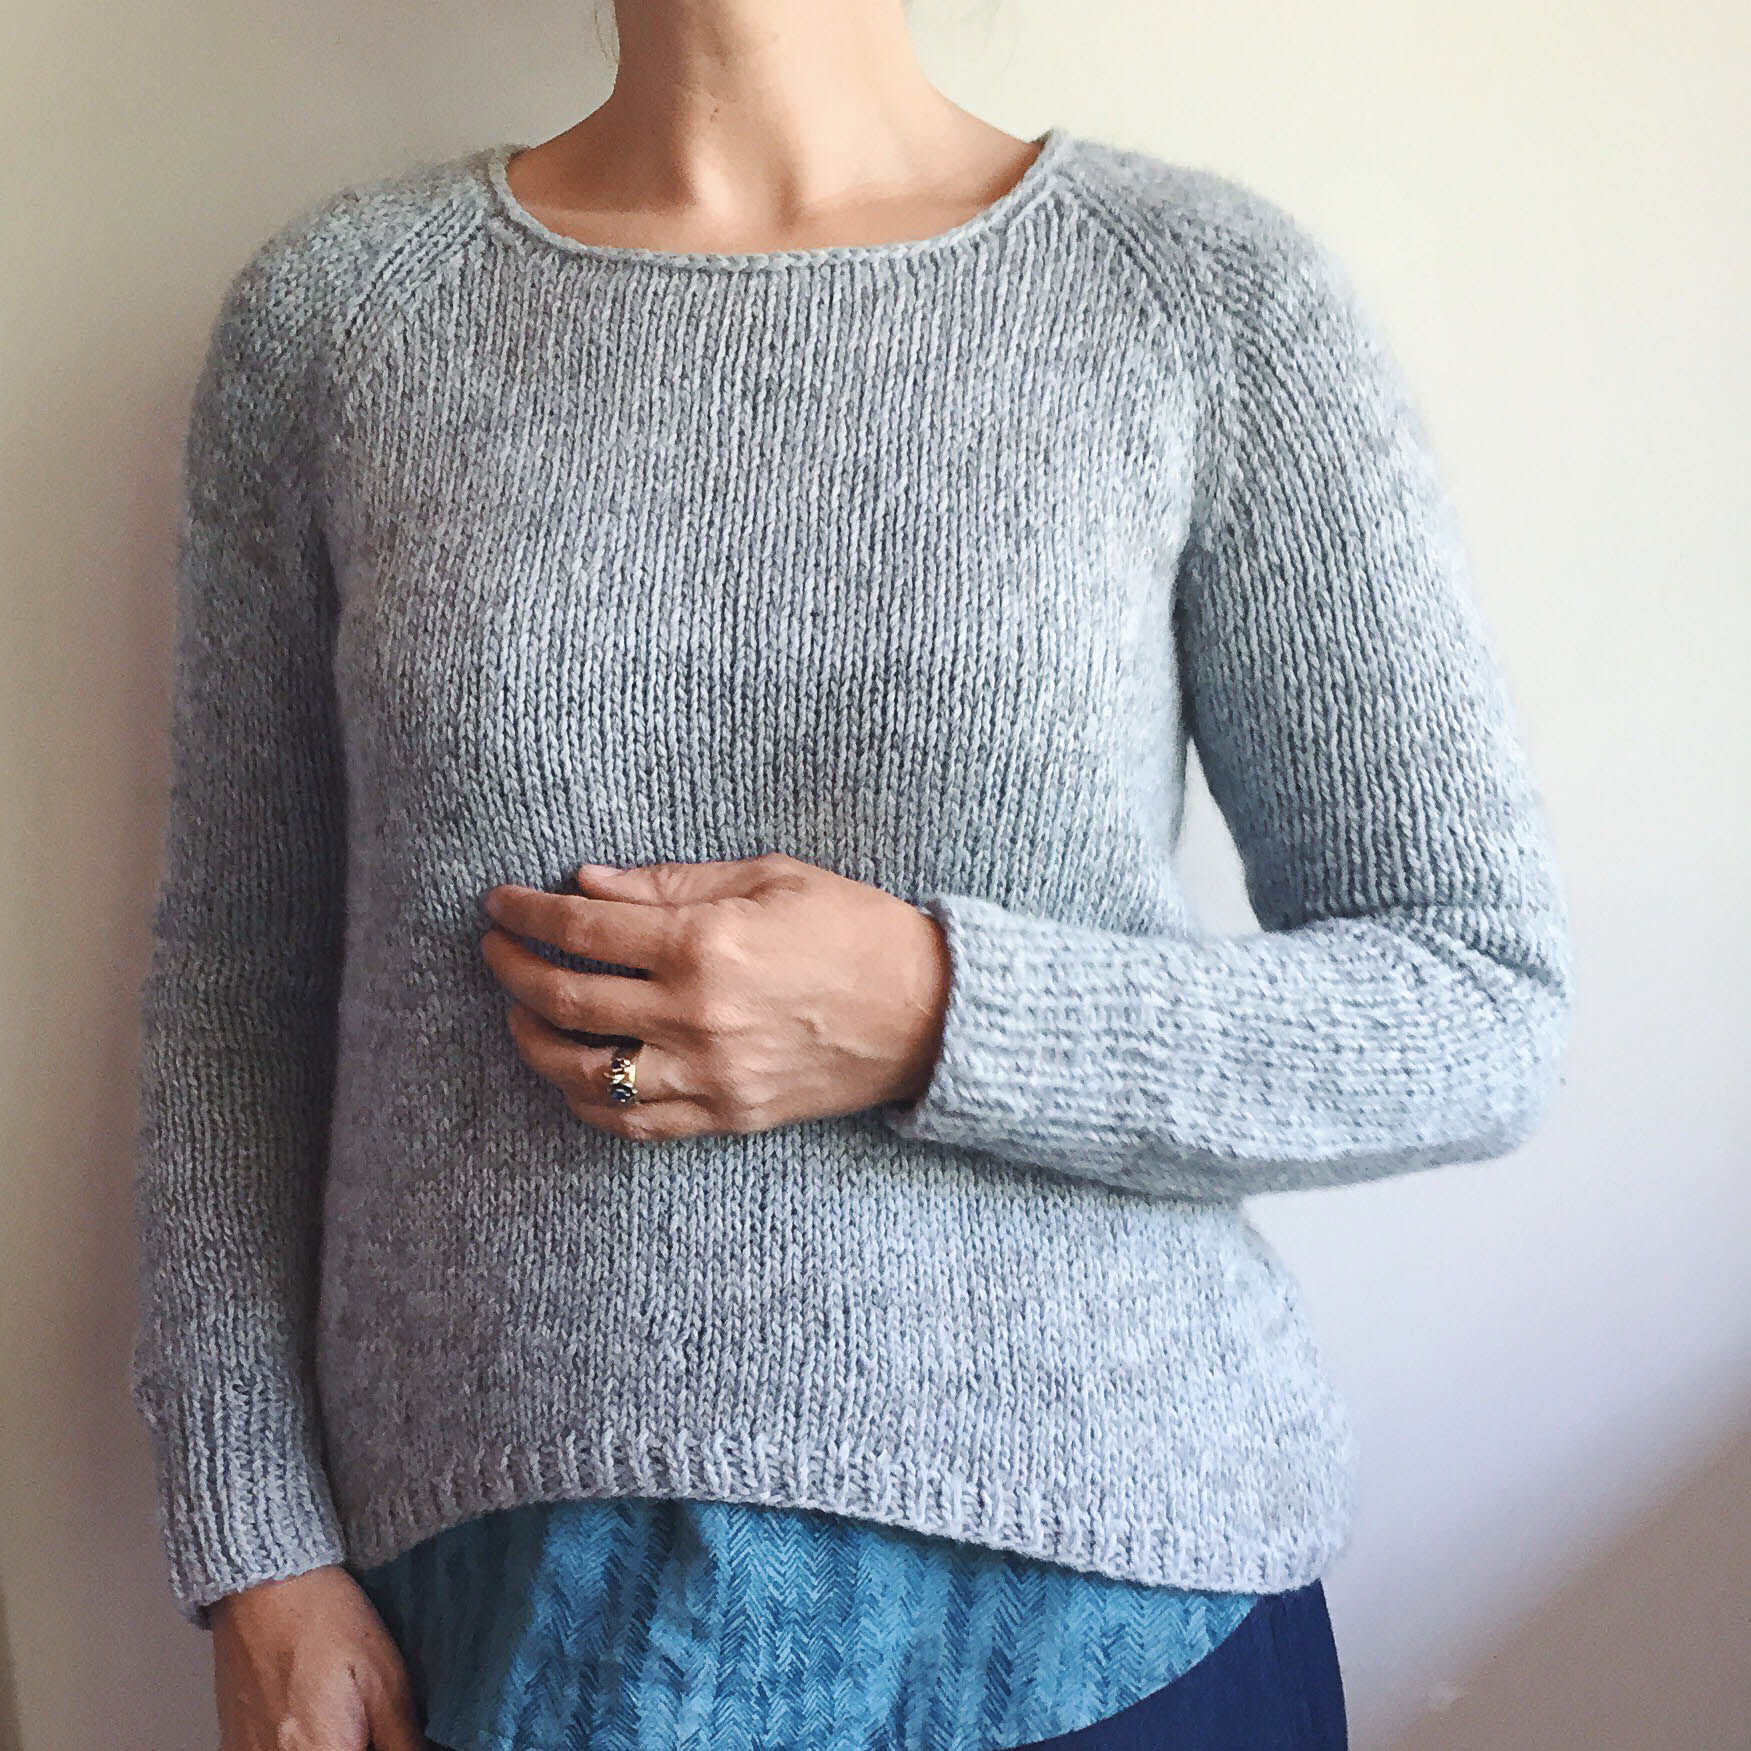
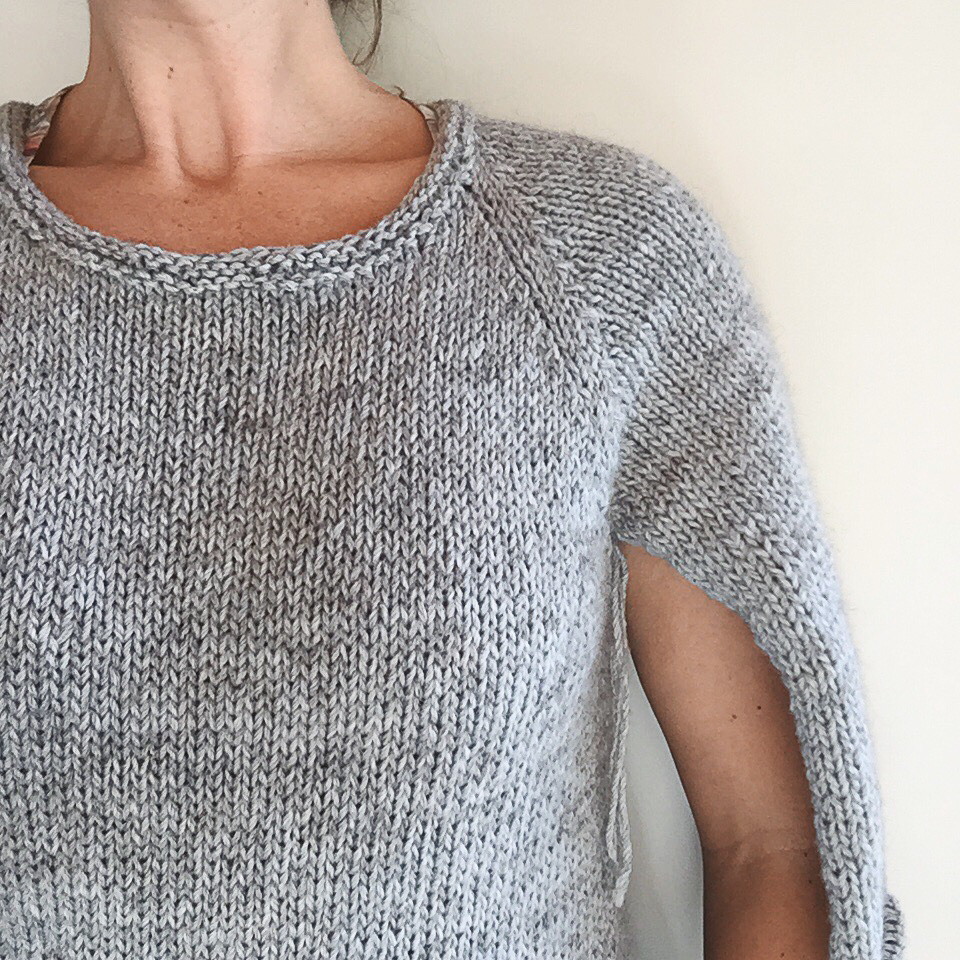
I decided to make an effort. Y'know you have some big event, you make a frock - right? Well this was that for me. I was going to be talking about this project I created - I should try to achieve all it's aims right? I would make something to wear for the photo! As we have been talking Simple Sewing a lot lately, so I decided I should go with what I love, and I love a woven Hemlock. The woven Hemlock fits my everyday wardrobe like a glove, and who wouldn't want to wear the blue Iro everyday. The simple shape of the pattern was made for beautiful fabric. 

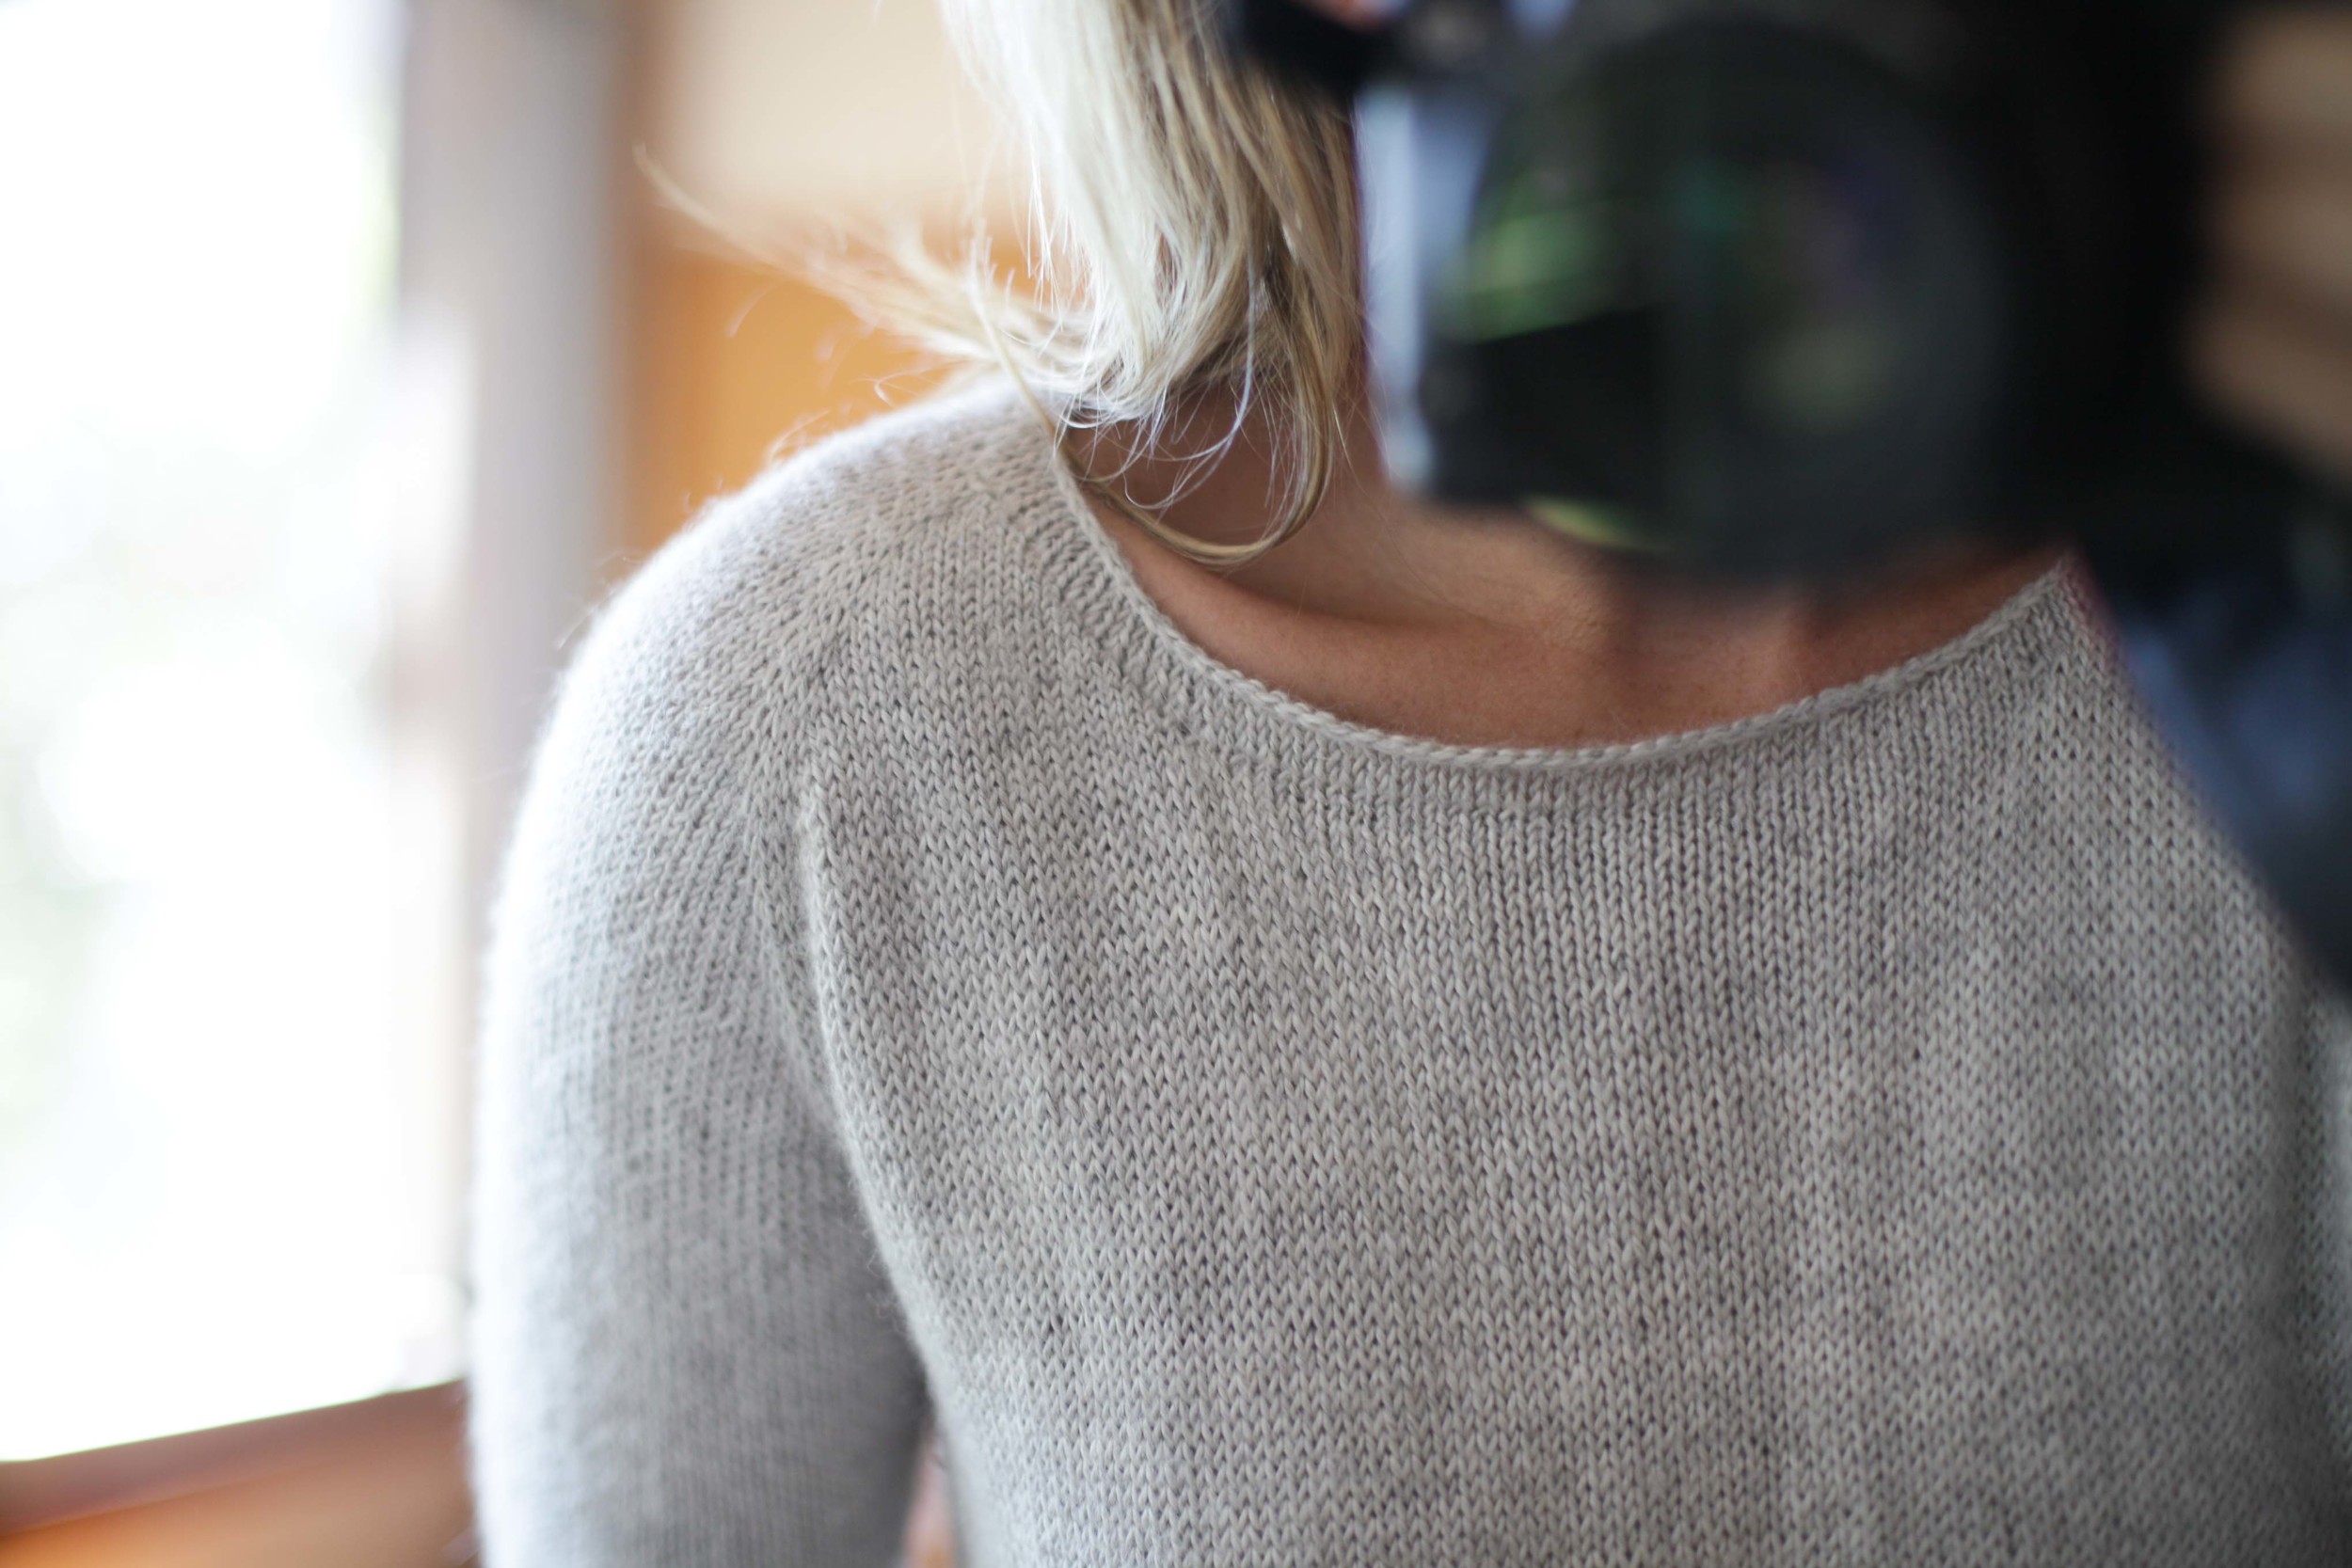
Lucky for me the actual photo taking was a dream due to the skill, generosity and kindness of Emma Byrnes from Heartland Projects. We had such a great day, full of ideas and joy, and she had me totally comfortable. I'll show you some of her photos as soon as they get published. Emma's photos are totally stunning and some photos even have heads. You can find her gorgeous instagram feed here. 

Your stories always make me happy so to celebrate with me, tell me what is the thing/s that you are avoiding using. Or if you used it, how did you get there. 

Felicia x

In Stash Less
12 Comments

Hamstrung by choice

March 24, 2015 thecraftsessions

Quilts are doing my head in a little. I've developed a big love since getting over my issues. And the ongoing pinning I'm doing on pinterest has me dreaming of oh-so-many ideas and plans and designs. 

And then there is reality. Reality means that I only get to make a few quilts in my life. I'm not a quilter by trade which means I'm really only making them for me and my peeps. The reason I'm making them is because I want to use the quilts, and so I know that at the absolute most I can probably make three bed quilts for me (without feeling excessive). More than three will just take up cupboard space. So if that is my limit then the question becomes which three????? Such a big big question.

Now I can hear Claire and Anna talking to me in my head as I write this telling me I am making this into a much bigger thing than it needs to be. And that I could make something and maybe not like it and then give it away. But that is not how my brain naturally thinks. I really want to love what I make and I really want to plan them well. So while I accept what they are saying, I still feel like I should be putting the time into the planning which quilt stage, rather than making things I'm unsure about only to find after all that effort they aren't what I want to live with, year in, year out. 

So what do I want to make?

Well I'm making the dirty linen/denim quilt you can see in the top photo and I am chuffed to bits with how that is going. And then….

I would love to do a lone star (here are two examples). Just for the challenge and because they are traditional and beautiful. I may be able to get away with doing one of these for my daughter as she loves this design. It would scratch the itch and wouldn't be counted as part of the three. Win win methinks.

I would totally love to do a two colour traditional design with a lot of negative space. Something like this or this or this or this. But what? And what colours - blue and white because blue is my first love or should I branch out? Feels like a risky time to be going off piste.

I also have it in my head that I want to make this star into a much bigger design. One with maybe 16 stars on a linen denim background. How pretty would that be? So so pretty. But would I love it in years to come - again there is that pesky and creativity-stifling question about longevity.

I also have a naturally dyed number that involves the most beautiful indigo and madder dyed fabrics. And then and then….so many ideas.

Then there are my kids. They all need single bed quilts, and are being very patient with their waiting, but I know theirs need to go on the list alongside the ones I want to make for me. Which means that mine will have to sit on the back burner for longer than I might hope - so why am I wasting all this brainspace daydreaming about quilt ideas??

When you finally get through the list of ideas, then you have to consider all the time  it would take to hand quilt them. Knitting takes up much of my couch time and so to ask myself to give that up for another passion….well the needles might get a little jealous. It almost feels like cheating with on my one true love - with some smokin' hot babe. Just because she is hot. But I've been with my love for many years… y'know surely that means I could have a free pass? It is all a little unsettling.

Now I realise that this stream of consciousness, that I am allowing to flow straight from my brain into my fingers, is not the most well thought out or the most consciously considered. And I know that Anna and Claire are right and that I am making this into something bigger than it needs to be. But do you ever get stuck on this stuff? The "if I make this then I can't make that so what on earth do I choose" dilemma?? I'd love to hear yours. Or do you feel freedom in the idea of boundless options?

Fel x

PS. This post really validates the message in My Making List 2015 about the freedom that can come with restricted choice….

In Thoughts On Craft
9 Comments

I Made This - Carolanne Graham

March 20, 2015 thecraftsessions
Photo by Karyn Valino.

Photo by Karyn Valino.

I Made This is a weekly blog series that features makers from around the world and aims to talk about the things we are proud of; of the objects we make that have meaning to us and the journey we take to make them.

So many of you will remember the I Was Totally Wrong About Patchwork series. I've come a long way since then - I've come as far as making my own patchwork queen size quilt after years of whole cloth work. And part of why I've come as far as I've come is because of someone I met on instagram - Carolanne Graham.

Some work from Carolanne's instagram feed. 

Some work from Carolanne's instagram feed. 

I first found her through the feed of Lindsay Stead (who is one of the feature quilters in the patchwork post). Lindsay and Carolanne both work at the amazing Workroom in Canada. Anyway down the instagram wormhole I went and it happily lead me to Carolanne's insta feed. The work in her feed seems to have such intention and the space to become what it wants to become. I've never met her but her work really inspired me. I obsessively made my star as a direct result of seeing the star Lindsay made while taking Carolanne's star class. By obsessively, I mean the kind of making where you feed your kids toast for dinner just so you can keep making the thing. And then give them a Sparkle Story rather than reading them books. Anyway….a long intro to say that because I don't get to meet her in person, and because I don't get to go to one of her classes, I asked her to share something about her making here. And I love what she wrote. Thanks Carolanne. x


I Made This - Carolanne Graham

I initially described my whole cloth star as “accidentally wonderful” like so many creative endeavors. I never intended to make it as a sample, but I’ve been bringing it to classes for years and I’m delighted to know that this quilt has inspired many dyeing and whole cloth projects. It also makes a guest appearance every year under a tiny Christmas tree on my sewing table.

The cloth was dyed in the summer of 2009 in the workroom’s first natural dyeing class. I tried to stay very busy back then. Having recently finished graduate school I was dreading stagnation and questioning the copious changes I had recently made in my life.

I arrived for class late and unprepared (again). It was indigo week and I had no plan for my shibori. The week before, our instructor Julie Sinden showed us a star that she had made in art school so I told her I wanted a star too – like I had planned it all along. My classmates were tactfully impressed. But I was so disappointed that I hadn’t put thought into my piece. There were no grades to assign yet, when I had the freedom to do whatever I wanted – I had no idea what to do. I had wanted to work with natural dyes for years and when I finally had the chance, I didn’t really show up.  

In the winter of 2011, I had bought my first home since the dye class and homeownership left me feeling perpetually nervous and preoccupied; like I was constantly moving, but never in the right place. I returned home from teaching an intro to handwork class, sat down to work on a project and I realized that I had left my rotary cutter and my scissors at the shop. I tried to salvage the evening by reorganizing my fabric and that’s when I found my star.    

Photo by Karyn Valino.

Photo by Karyn Valino.

The decision to make a whole cloth was easy because it was the only sort of sewing I was going to do that night. My star became the sort of project that you start on autopilot; when you need to sew something to get out of your own head.  I marked and basted it quickly and after a few rounds of stitching, this underwhelming, flat piece of pale blue vibrated with life. Though it started in the midst of creative struggle, I added the best part of it when I was too tired to question my instinct.

I made this; out of two circumstances when I was exhausted from trying so hard.  I no longer reproach myself for the shibori pattern. You make for many reasons in your life. There are times when you can’t contain your brilliance and others when it’s been nearly depleted. Taking inspiration doesn’t mean the work isn’t your own. Sometimes what you add is your love and commitment and I promise you – that’s more than enough. 

In I Made This, Inspiration
1 Comment

How to knit a simple neckline

March 17, 2015 thecraftsessions

I took part in the #LilaKAL that is going on at the moment. On My Making List 2015 was a warm sweater for me and I decided that this would be a quick way of getting it done. I held two yarns together - a strand of Pear Tree 8ply seconds and a strand of Isager Tvinni. It gave me a gauge of 16 stitches rather than 19 which meant I got to knit the smallest size and still get a 36" sweater. I used my bottom up/top down technique to get the fit how I wanted it. The result is simple, warm and fast. 

As I made Lila last year in orange and wear it all the time I didn't want an identical sweater. And then soon after my orange Lila I made a blue Maeve (also by Carrie and also with a lot of garter) and so was a bit gartered out. So I decided to go garter-less for the bottom and the sleeves.

Ribbing was the obvious answer - I did four or five rows of ribbing on the bottom and then did 20 rows of ribbing on the sleeves.  

Blurry iphone photos are where it is at at the moment! This was meant to be a shot of the ribbing.

Blurry iphone photos are where it is at at the moment! This was meant to be a shot of the ribbing.

Simple, rustic and warm.

Simple, rustic and warm.


But then what to do with the neck?? I wrote on the bottom of my instagram post that #thirdtimesacharm but it actually took about six tries to make the neck worked. I tried a ribbed neck, which looked untidy and wonky as 1x1 ribbing has a tendency to do. I also didn't like the way it pulled in and then flared out. Dodgy. 


Next up I decided to try the garter. I've seen many a mixed sweater with some garter bands and some rib in my time and quite like them. But with the thick wool it looked terrible. I went down a needle size and tried again. Still ghastly. I then decided to try just with the 8ply to see if thinning it down would work. Too skinny which just looked weird.

Try number 4! Ghastly is the only word.

Try number 4! Ghastly is the only word.


And this is where I got to the stage where I nearly ripped the whole thing out. Discouraged and annoyed I nnnnneeaarrrly just pulled it off the needles and pulled it out in a child-like fit of annoyance. This whole process had taken a few days. Try and try again. And patience isn't something that comes very naturally to me. However, what I have learnt in my years of knitting is that if I take the time to get it how I will really like it, then I have the joy in the longterm.

So enough rambling.

James I - where I had quite a lot of rolling.

James I - where I had quite a lot of rolling.

James II - which had no rolling.

James II - which had no rolling.

The art of knitting a simple neckline.

I've now used this a few times and it is one of my favourite ways to finish a sweater. I first came across something similar in a children's pattern Little Ancolie before seeing it again in a different form on James. There are a few little tricks to getting it right. 

A couple of quick notes;

  1. Don't be tempted to leave the stitches on the needle at the end of knitting pieces of your sweater. You must have the stability of a castoff neckline for this to work well.
  2. This is as much an art as a science and may take some patience to get it right each time. It depends on the type of yarn you are using and how tightly you knit. You will need to tweak it (unless you are a neckline savant) and that will probably involve ripping. I used in on James in both instances as you can see above. On the first one I didn't redo it - and it rolled. On my second James and I redid it 5 times (with two glasses of wine and my friend Jenn keeping me company through my swearing) to get it right. Practice patience. Hastag #rippingforjoy is what you need to remember.


Steps to do the neckline.

Step 1: Pick up and knit the stitches around the neckline at a ratio of 1:1. The exception to this is if the front neckline dips (which it normally does!) in which case skip the odd stitch here and there as you go down the slight angle on either side of the neck. I always drop a needle size but this may depend on you, your knitting and the yarn. For Lila above I switched from a 6mm to a 5.5mm for the neck.

It is totally critical that you pick up the stitches from the holes in the middle of the Vs of your cast off edge. This what give it it's lovely looking simplicity - it looks like you haven't knitted on a neckband - but you have! You clever thing you! 

Look at the pictures below if you aren't sure what I mean OR go back and read The Secret to Becoming A Great Knitter - Part 1 to learn about the Vs.

The left side of the V is sitting right next to my thumb nail just below the cast on edge.

The left side of the V is sitting right next to my thumb nail just below the cast on edge.

I roll back the cast on edge a little with my thumb to make sure my needle tip can easily slide into the hole of the next V.

I roll back the cast on edge a little with my thumb to make sure my needle tip can easily slide into the hole of the next V.

Each picked up stitch comes out of a V.

Each picked up stitch comes out of a V.

A clearer view of how each picked up stitch has a row of Vs under it.

A clearer view of how each picked up stitch has a row of Vs under it.


Step 2: Knit between 1 and 3 rounds. This will depend on the sweater. For James which has a gauge of 25 stitches then the neckline requires 3 rounds of knitting. For the neckline of Lila above, which has a gauge of 16 stitches I only did a single round of knitting.  You should decide based on how it looks. I think a general rule would be that thicker yarn needs less rounds?

Step 3: Simply cast off - at the right tension - knitwise.
So the art of this neckline is all about the at the right tension. Too loose and it will roll. Too tight and it will be inelastic and pull the whole neckline in making it smaller. You might need to do part of the neckline more tightly than another - for example the back of the neck slightly tighter than the scoop of the front. You may need to experiment! 

Based on the fact that the wool for Lila was thick and that I only did a single round of knitting (for step 2) then I simply cast off loosely and it worked perfectly. However, the castoff was the part I did 5 times for my last James as I kept getting it not quite right. By casting off more tightly/more loosely I was using 20cm more/less yarn when I was casting off for James. In the end I cast off tightly across the back of the neck (so I didn't get rolling) and more loosely around the curve of the front. At one stage I tried casting off with a bigger needle for part of the neck and a smaller needle for the rest. In the end it didn't work for me but it might for you. 

A final piece of advice - as is often the case with tricky parts of knitting - they are often done best with a glass of wine and a friend. Enjoy!

Let me know how you get on if you use it! Or ask any questions if I haven't explained it clearly. It's late and I'm still having a little trouble with that wisdom tooth so I'm not sure clarity is my thing tonight ;).

Felicia x

In How To
32 Comments

Simple Sewing 101 - Part 2 - For Beginners

March 13, 2015 thecraftsessions

Quite a few of you pinged me on social media after my post earlier on this week telling me that you were just starting on your handmade wardrobe journey AND you really really wanted to sew more of your clothes. As I said in the last Sewing 101 post, I've observed a couple of good friends start the journey towards a handmade wardrobe over the last few years, and there have been a couple of common "mistakes are how you learn" type moments. So to save you guys a little time here are my top four important pieces of advice before you start.

As always - these are just my suggestions. They may not work for you or you may think they are a load of rubbish. Feel free to comment!

1. Fabrics are the key to making beautiful things with simple sewing.

The reason that all those tops are so lovely and I love them, is that all of them are made from lovely fabric. Simple clothes only work if the fabric is lovely, as it is all about the shape, the drape and the print.

Take the time to find fabric that is a good weight for clothes. Feel the fabric of your favourite tops in your wardrobe - this will give you an idea of what you like. For tops I generally use 100% cotton or 100% linen or a blend. Depending on what you are making look for something a little lighter than a quilting cotton. 

Here is the mistake that often gets made - Your fabric doesn't need to be expensive, but it does need to not be a quilting cotton. A common mistake is to look at all the pretty quilting fabric on the shelves and decide they will be just the thing for your first project. Quilting cottons are lovely but they are made for quilting not clothes. When you are quilting you don't want the fabric to move; you want it to be stable. With clothes you are often looking for drape and movement. Not always but often and generally that is true of tops. 

I buy Liberty Tana Lawn sometimes and for those of you going "it's lovely but sooo expensive just remember that for a Wiksten Tank made from Liberty you need to spend about $30. $30 and then you have a Liberty tank. You can't argue with those maths. 

Fabrics that are good to start with include any kind of lightish cotton - a voile, a lawn, some kind of shirting fabric, a light chambray can be lovely, or even a double gauze. Cotton is good because it is relatively stable (unlike linen) but it isn't slippery (like silk). 

Fabrics from L to R: 100% cotton, homespun cotton, light cotton, light cotton, double gauze with a linen back, linen, double gauze, Liberty lawn, double gauze, Liberty Lawn.

Fabrics from L to R: 100% cotton, homespun cotton, light cotton, light cotton, double gauze with a linen back, linen, double gauze, Liberty lawn, double gauze, Liberty Lawn.

2. Good seam allowances are the train to happiness!

I talked about this in detail in Step 1 of the first Sewing 101.  But this really is the key so take your time to work out how to do this. 

3. Buy patterns from good INDEPENDENT companies

I wrote a post last year that talked a little about how we used to be surrounded by people that made. That making was part of life for many people. And that there were people around us that had skills we could call on. Which meant that pattern companies didn't need to put as much info into their patterns. Many old school pattern companies still write patterns like this. They assume that you know what you are doing. Which is fine when you do, but not so fine when you don't. 

Independent pattern designers have changed the game in terms of how patterns are written. They are writing patterns that are well written and teach you things as you make. They generally also have lots of diagrams. 

Some suggestions for independent pattern companies include Collette, Grainline, Tessuti, Wiksten, By Hand London, Made By Rae,  Liesel & Co, Megan Nielsen - all of these companies are thoughtful about how they put together a pattern and go through it step by step.

There are many other new independent designers popping up but as I haven't used them I don't want to recommend their patterns. I know you guys will have more (that you have tested) so please add them in the comments and I'll update the post with your suggestions.

And then there are the Japanese pattern books. However, while I love them and use them regularly for kidswear, they assume a lot of knowledge and are probably better after you have built up your confidence a bit.

4. Little things make a big difference

So now for some simple tips that will make your life happier - newbie or not. 

  1. Trim your threads as you go. This one is a little life changing if this isn't something you already do! I keep a little bowl right next to my machine to put them in.
  2. Iron your seams as directed. This makes a big difference to your outcome.
  3. Use a new needle for each (major) project.

Another tip (that is a little tricky to explain) is to think about flow. Read ahead in your pattern and figure out whether you can gather your steps together. Pin as many pieces together as you can when you are pinning, so you then have a pile of things to sew when you sit at the machine. Sew them all before heading to the ironing board. Do your ironing all in one go and then do your next load of pinning. For me, this makes the whole process feels more focused and simpler, rather than the up down up down up down of following the pattern instructions. 

Modeste made a couple of good suggestions in the comments of the last post -

  1. Ignore all the 2/3hr thing. It will take as long as it takes - so true!
  2. Do a muslin in a fabric that has a similar drape to the fabric you plan on using - I totally agree but I don't do it very often. For any given pattern, my first muslin is often my first wearable version. I just make it in a fabric that is not a favourite.


Next up in sewing 101, I'll start talking alterations. In the mean time - do you have any advice for newbies?

Felicia x

In How To, Simple Sewing 101
21 Comments
← Newer Posts Older Posts →

Welcome! I'm Felicia - creator of The Craft Sessions and Soul Craft Festival.

This blog aims to celebrate the connection between hand-making and our well-being.
These posts aim to foster a love of hand-making and discuss the ways domestic handcrafts elevate our everyday.

I love the contributions you make to this space via your comments and learn so much from each and every one. x

Thoughts On Craft

Simple Sewing 101

Stash Less

The RetreaT

Featured
Making Fast Fashion: Some More Of The Grey
Apr 19, 2022
Making Fast Fashion: Some More Of The Grey
Apr 19, 2022
Apr 19, 2022
Is My Making Fast Fashion?
Apr 12, 2022
Is My Making Fast Fashion?
Apr 12, 2022
Apr 12, 2022
Why Gauge Matters
Apr 5, 2022
Why Gauge Matters
Apr 5, 2022
Apr 5, 2022
Craft As Simple Mundane Forward Movement
Mar 29, 2022
Craft As Simple Mundane Forward Movement
Mar 29, 2022
Mar 29, 2022
Craft As A Virtuous Cycle*
Mar 22, 2022
Craft As A Virtuous Cycle*
Mar 22, 2022
Mar 22, 2022
Craft & The Slow Nostalgic Finish
Mar 15, 2022
Craft & The Slow Nostalgic Finish
Mar 15, 2022
Mar 15, 2022

popular posts

Craft As A Project V’s Craft As A Practice

Our Fear Of Going Back

Making Is Not Inherently Creative

Why All Crafters Need A Visual Diary

Craft As A Manifestation Of Love And Loss

Moving On From Perfectionism

The Secret To Becoming A Great Knitter!

Simple Sewing 101 - Part 1

Craft In The Middle Of Motherhood

Another #theyearofthescrap #ellenscardigan using some #oldmaidenaunt alpaca silk from many years ago. What I love about this little cardy is it’s simplicity and how little yarn it uses. Perfect for scrap knitting. I now have a little pile of ba
New blog post: Craft as elevating the mundane! I think this idea is so important. 🌿 'Making is about enriching the moments of our lives; it’s about making the mundane (and not the extraordinary) more abundant and that bit more lush…. el
Block 8/12 - I’m so excited to be back making this for my smallest for her 10th birthday. It’s a #stash_less #theyearofthescrap quilt that is based on an incredible #geesbend quilt. And it’s all scraps and precious bits and pieces.
Another #theyearofthescrap #ellenscardigan using some #oldmaidenaunt alpaca silk from many years ago. What I love about this little cardy is it’s simplicity and how little yarn it uses. Perfect for scrap knitting. I now have a little pile of ba New blog post: Craft as elevating the mundane! I think this idea is so important. 🌿 'Making is about enriching the moments of our lives; it’s about making the mundane (and not the extraordinary) more abundant and that bit more lush…. el Block 8/12 - I’m so excited to be back making this for my smallest for her 10th birthday. It’s a #stash_less #theyearofthescrap quilt that is based on an incredible #geesbend quilt. And it’s all scraps and precious bits and pieces.
The Blog Archives!
  • April 2022
  • March 2022
  • February 2022
  • December 2021
  • March 2021
  • February 2021
  • November 2020
  • July 2020
  • June 2020
  • May 2020
  • April 2020
  • March 2020
  • February 2020
  • December 2019
  • March 2019
  • February 2019
  • January 2019
  • December 2018
  • November 2018
  • October 2018
  • August 2018
  • July 2018
  • May 2018
  • April 2018
  • March 2018
  • February 2018
  • January 2018
  • December 2017
  • November 2017
  • October 2017
  • September 2017
  • August 2017
  • July 2017
  • June 2017
  • May 2017
  • April 2017
  • March 2017
  • February 2017
  • January 2017
  • November 2016
  • October 2016
  • September 2016
  • August 2016
  • July 2016
  • June 2016
  • May 2016
  • April 2016
  • March 2016
  • February 2016
  • January 2016
  • December 2015
  • November 2015
  • October 2015
  • September 2015
  • August 2015
  • July 2015
  • June 2015
  • May 2015
  • April 2015
  • March 2015
  • February 2015
  • January 2015
  • December 2014
  • November 2014
  • October 2014
  • September 2014
  • August 2014
  • July 2014
  • June 2014
  • May 2014
  • April 2014
  • March 2014
  • February 2014
  • January 2014
  • December 2013
  • November 2013
  • October 2013
  • September 2013
  • August 2013
  • July 2013
  • June 2013
Featured
Making Fast Fashion: Some More Of The Grey
Apr 19, 2022
Making Fast Fashion: Some More Of The Grey
Apr 19, 2022
Apr 19, 2022
Is My Making Fast Fashion?
Apr 12, 2022
Is My Making Fast Fashion?
Apr 12, 2022
Apr 12, 2022

We Live and work on the traditional lands of the Wurundjeri people of the Kulin nation.
We acknowledge that sovereignty was never ceded and pay our respect to elders past, present and emerging.

Copyright the Craft Sessions 2020

Logo designed by the lovely Mara of Printspace and Girling Design