
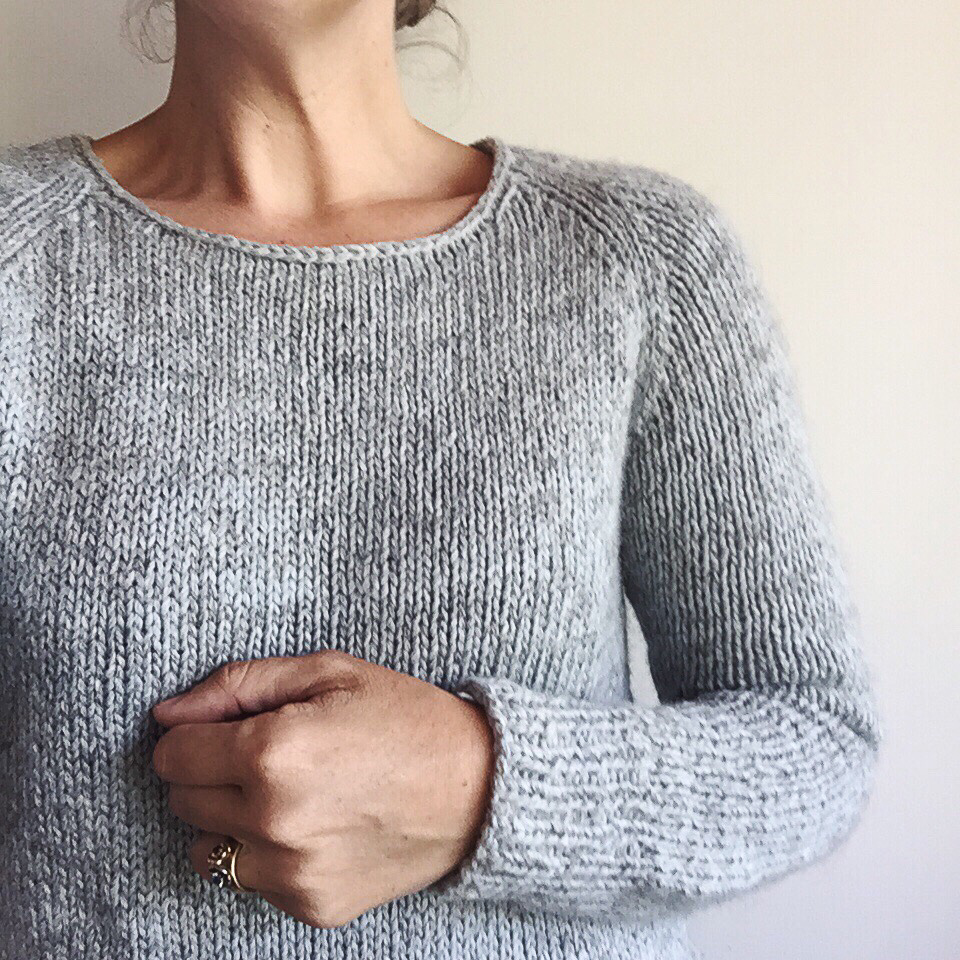
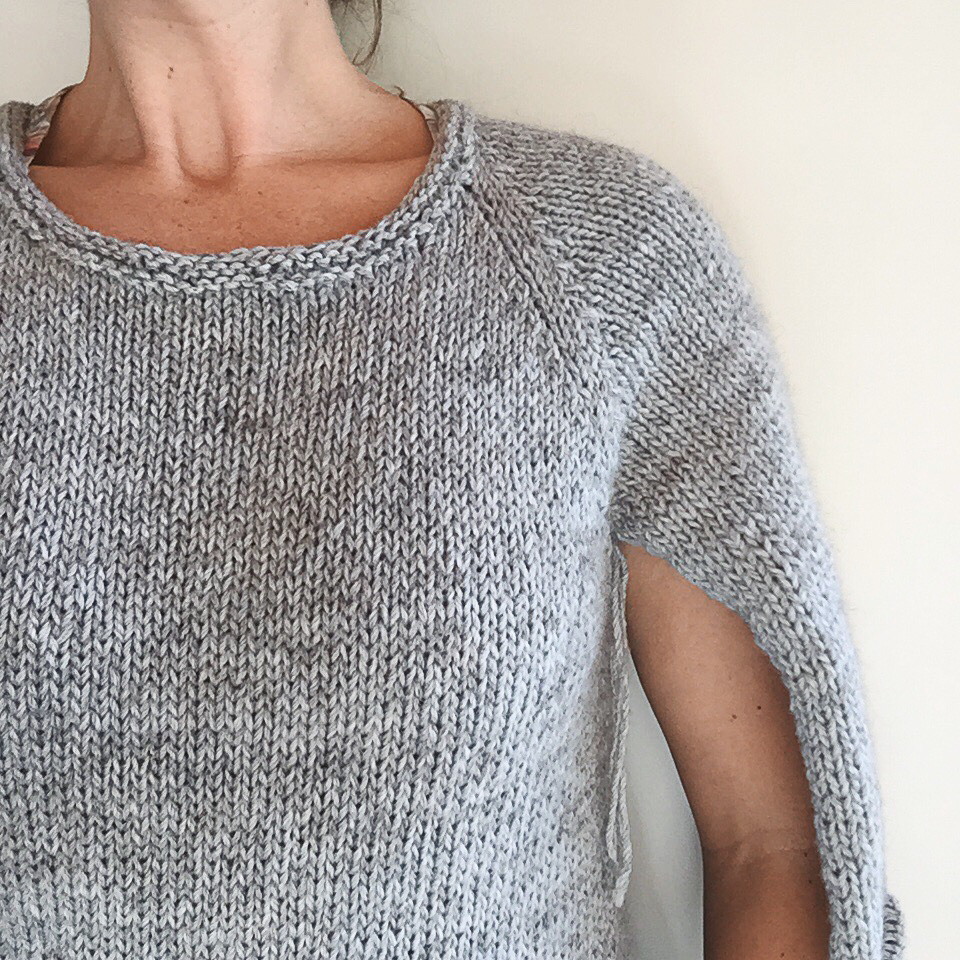
I took part in the #LilaKAL that is going on at the moment. On My Making List 2015 was a warm sweater for me and I decided that this would be a quick way of getting it done. I held two yarns together - a strand of Pear Tree 8ply seconds and a strand of Isager Tvinni. It gave me a gauge of 16 stitches rather than 19 which meant I got to knit the smallest size and still get a 36" sweater. I used my bottom up/top down technique to get the fit how I wanted it. The result is simple, warm and fast.
As I made Lila last year in orange and wear it all the time I didn't want an identical sweater. And then soon after my orange Lila I made a blue Maeve (also by Carrie and also with a lot of garter) and so was a bit gartered out. So I decided to go garter-less for the bottom and the sleeves.
Ribbing was the obvious answer - I did four or five rows of ribbing on the bottom and then did 20 rows of ribbing on the sleeves.
Blurry iphone photos are where it is at at the moment! This was meant to be a shot of the ribbing.
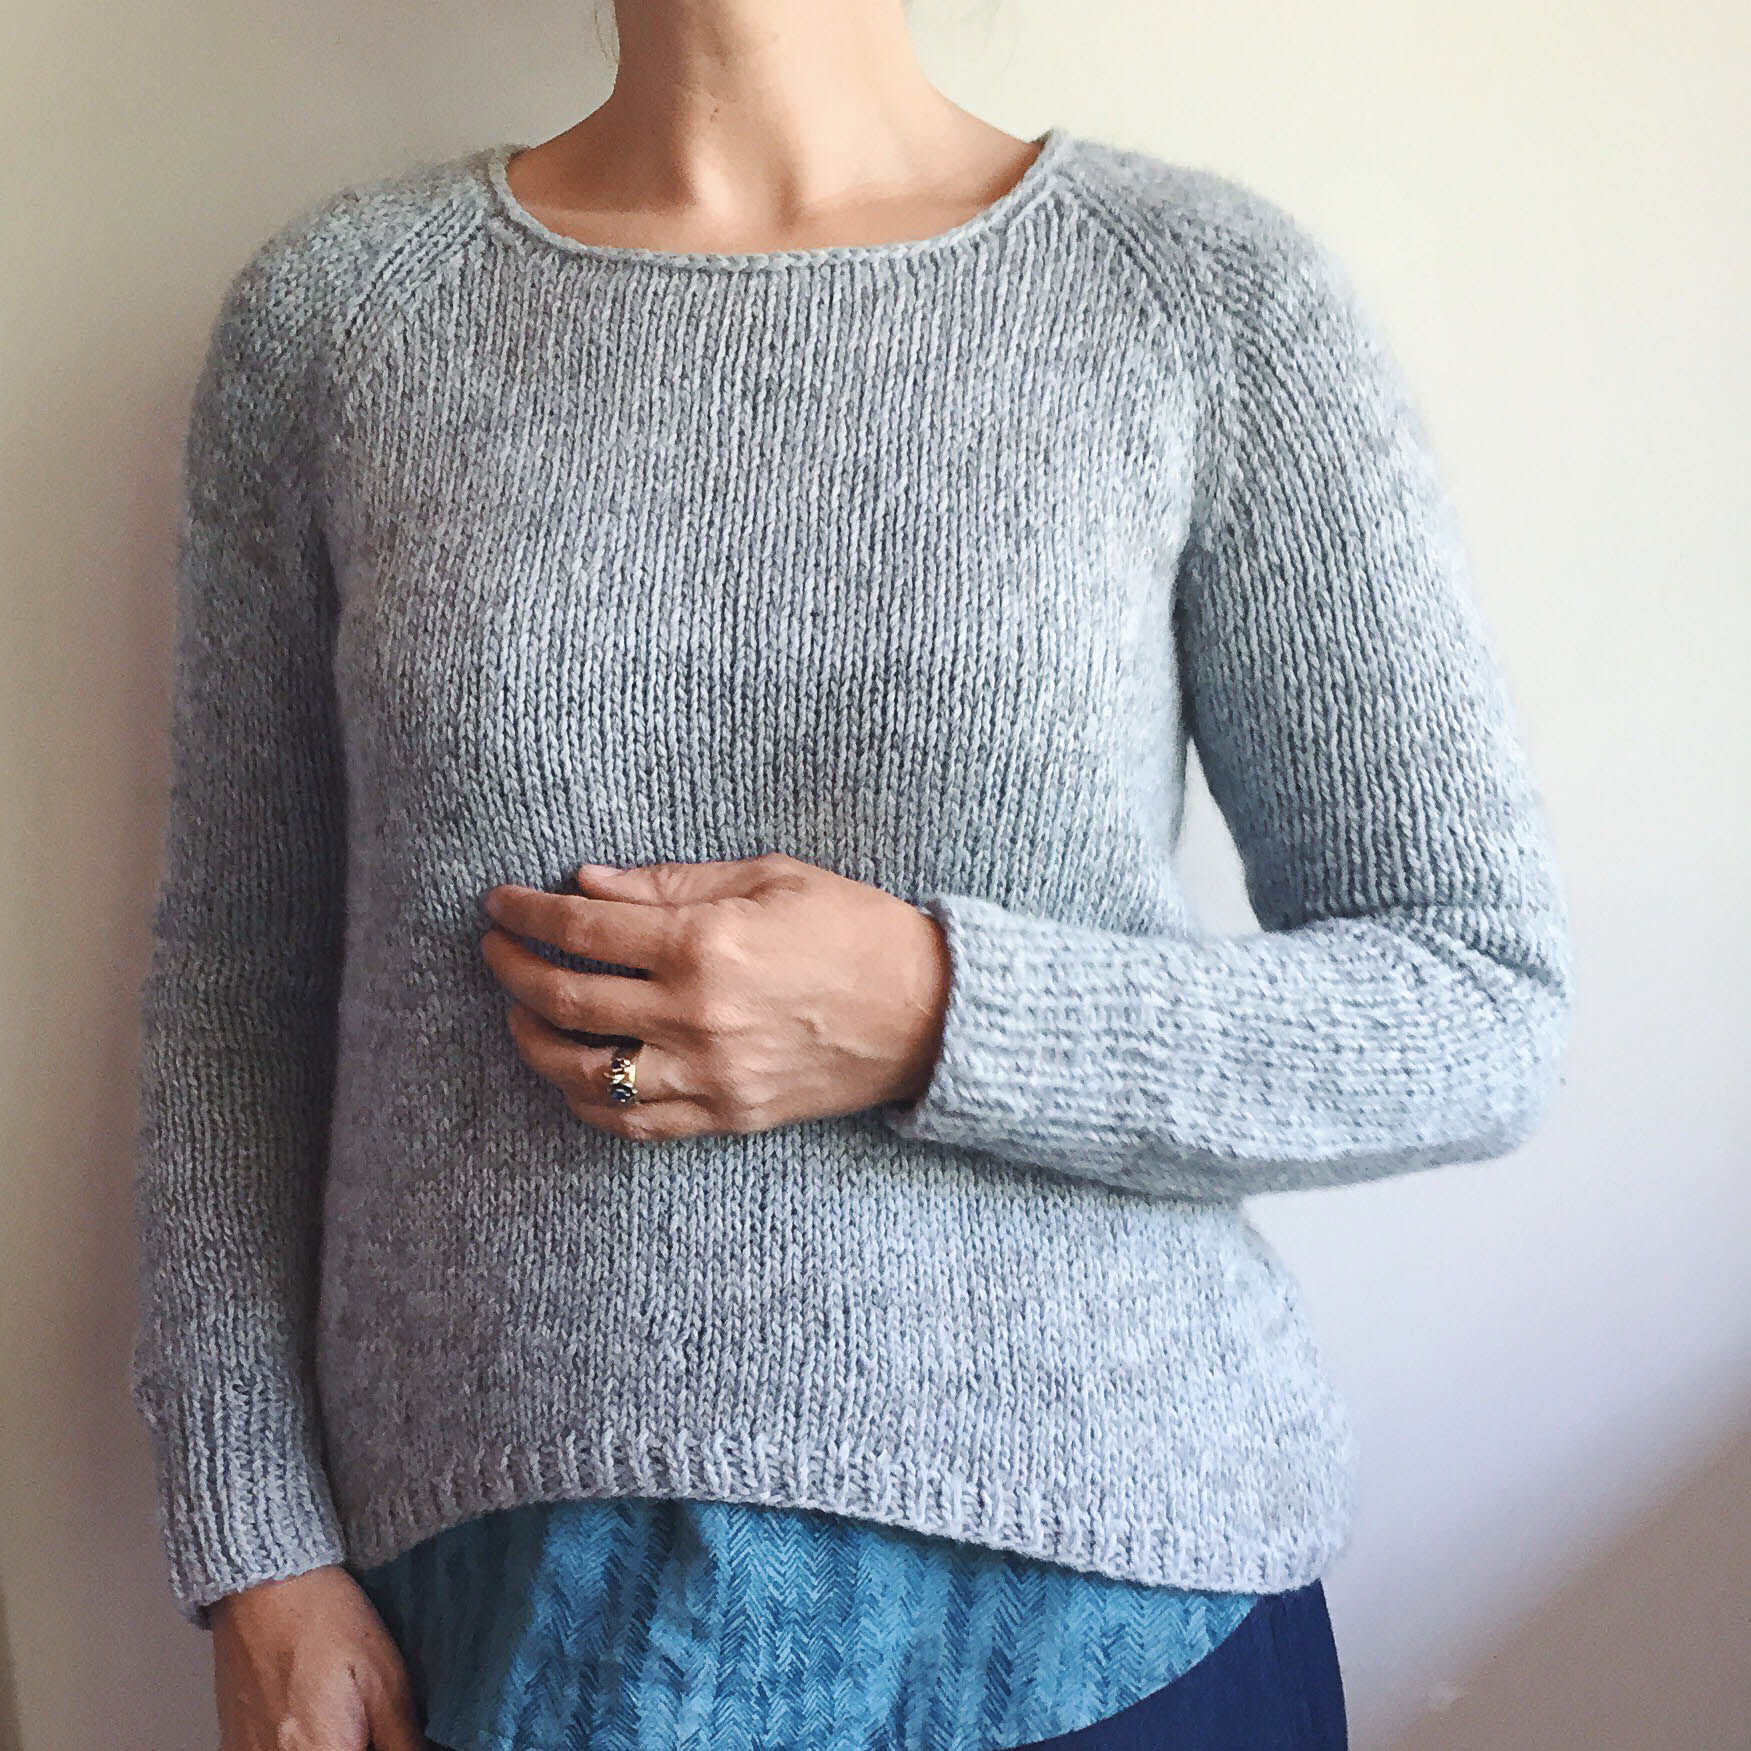
Simple, rustic and warm.
But then what to do with the neck?? I wrote on the bottom of my instagram post that #thirdtimesacharm but it actually took about six tries to make the neck worked. I tried a ribbed neck, which looked untidy and wonky as 1x1 ribbing has a tendency to do. I also didn't like the way it pulled in and then flared out. Dodgy.
Next up I decided to try the garter. I've seen many a mixed sweater with some garter bands and some rib in my time and quite like them. But with the thick wool it looked terrible. I went down a needle size and tried again. Still ghastly. I then decided to try just with the 8ply to see if thinning it down would work. Too skinny which just looked weird.
Try number 4! Ghastly is the only word.
And this is where I got to the stage where I nearly ripped the whole thing out. Discouraged and annoyed I nnnnneeaarrrly just pulled it off the needles and pulled it out in a child-like fit of annoyance. This whole process had taken a few days. Try and try again. And patience isn't something that comes very naturally to me. However, what I have learnt in my years of knitting is that if I take the time to get it how I will really like it, then I have the joy in the longterm.
So enough rambling.


James I - where I had quite a lot of rolling.
James II - which had no rolling.
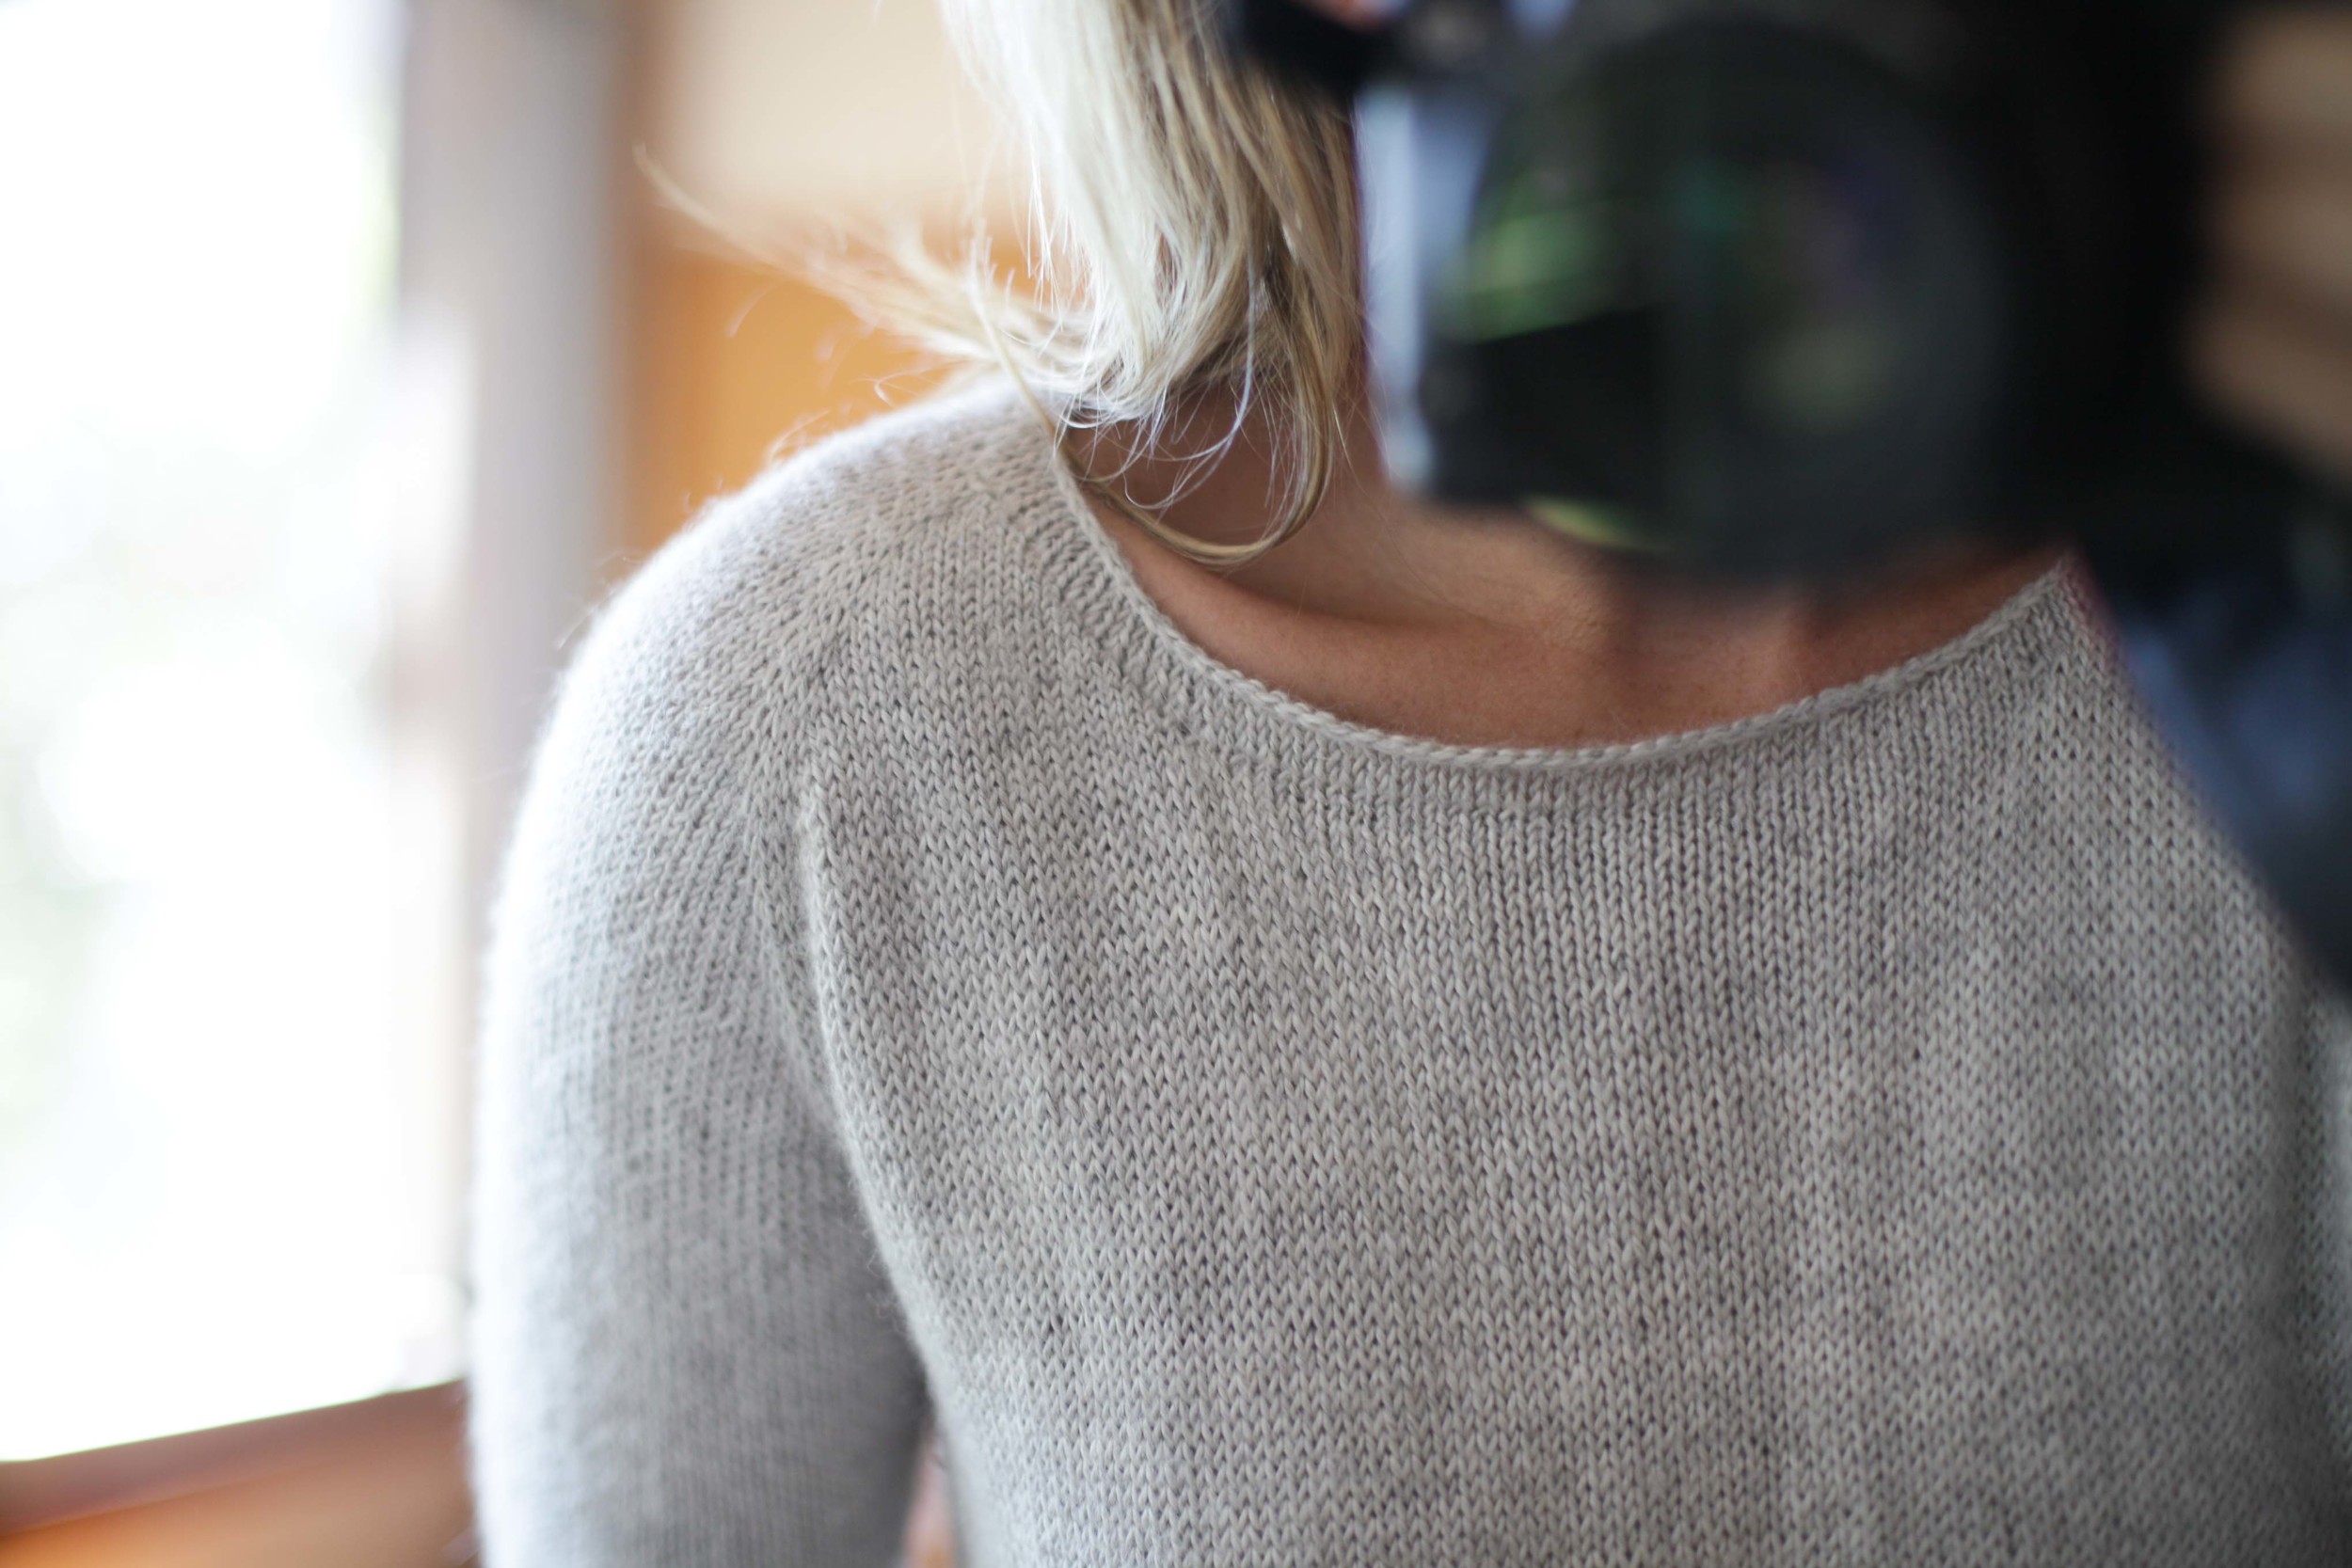
The art of knitting a simple neckline.
I've now used this a few times and it is one of my favourite ways to finish a sweater. I first came across something similar in a children's pattern Little Ancolie before seeing it again in a different form on James. There are a few little tricks to getting it right.
A couple of quick notes;
- Don't be tempted to leave the stitches on the needle at the end of knitting pieces of your sweater. You must have the stability of a castoff neckline for this to work well.
- This is as much an art as a science and may take some patience to get it right each time. It depends on the type of yarn you are using and how tightly you knit. You will need to tweak it (unless you are a neckline savant) and that will probably involve ripping. I used in on James in both instances as you can see above. On the first one I didn't redo it - and it rolled. On my second James and I redid it 5 times (with two glasses of wine and my friend Jenn keeping me company through my swearing) to get it right. Practice patience. Hastag #rippingforjoy is what you need to remember.
Steps to do the neckline.
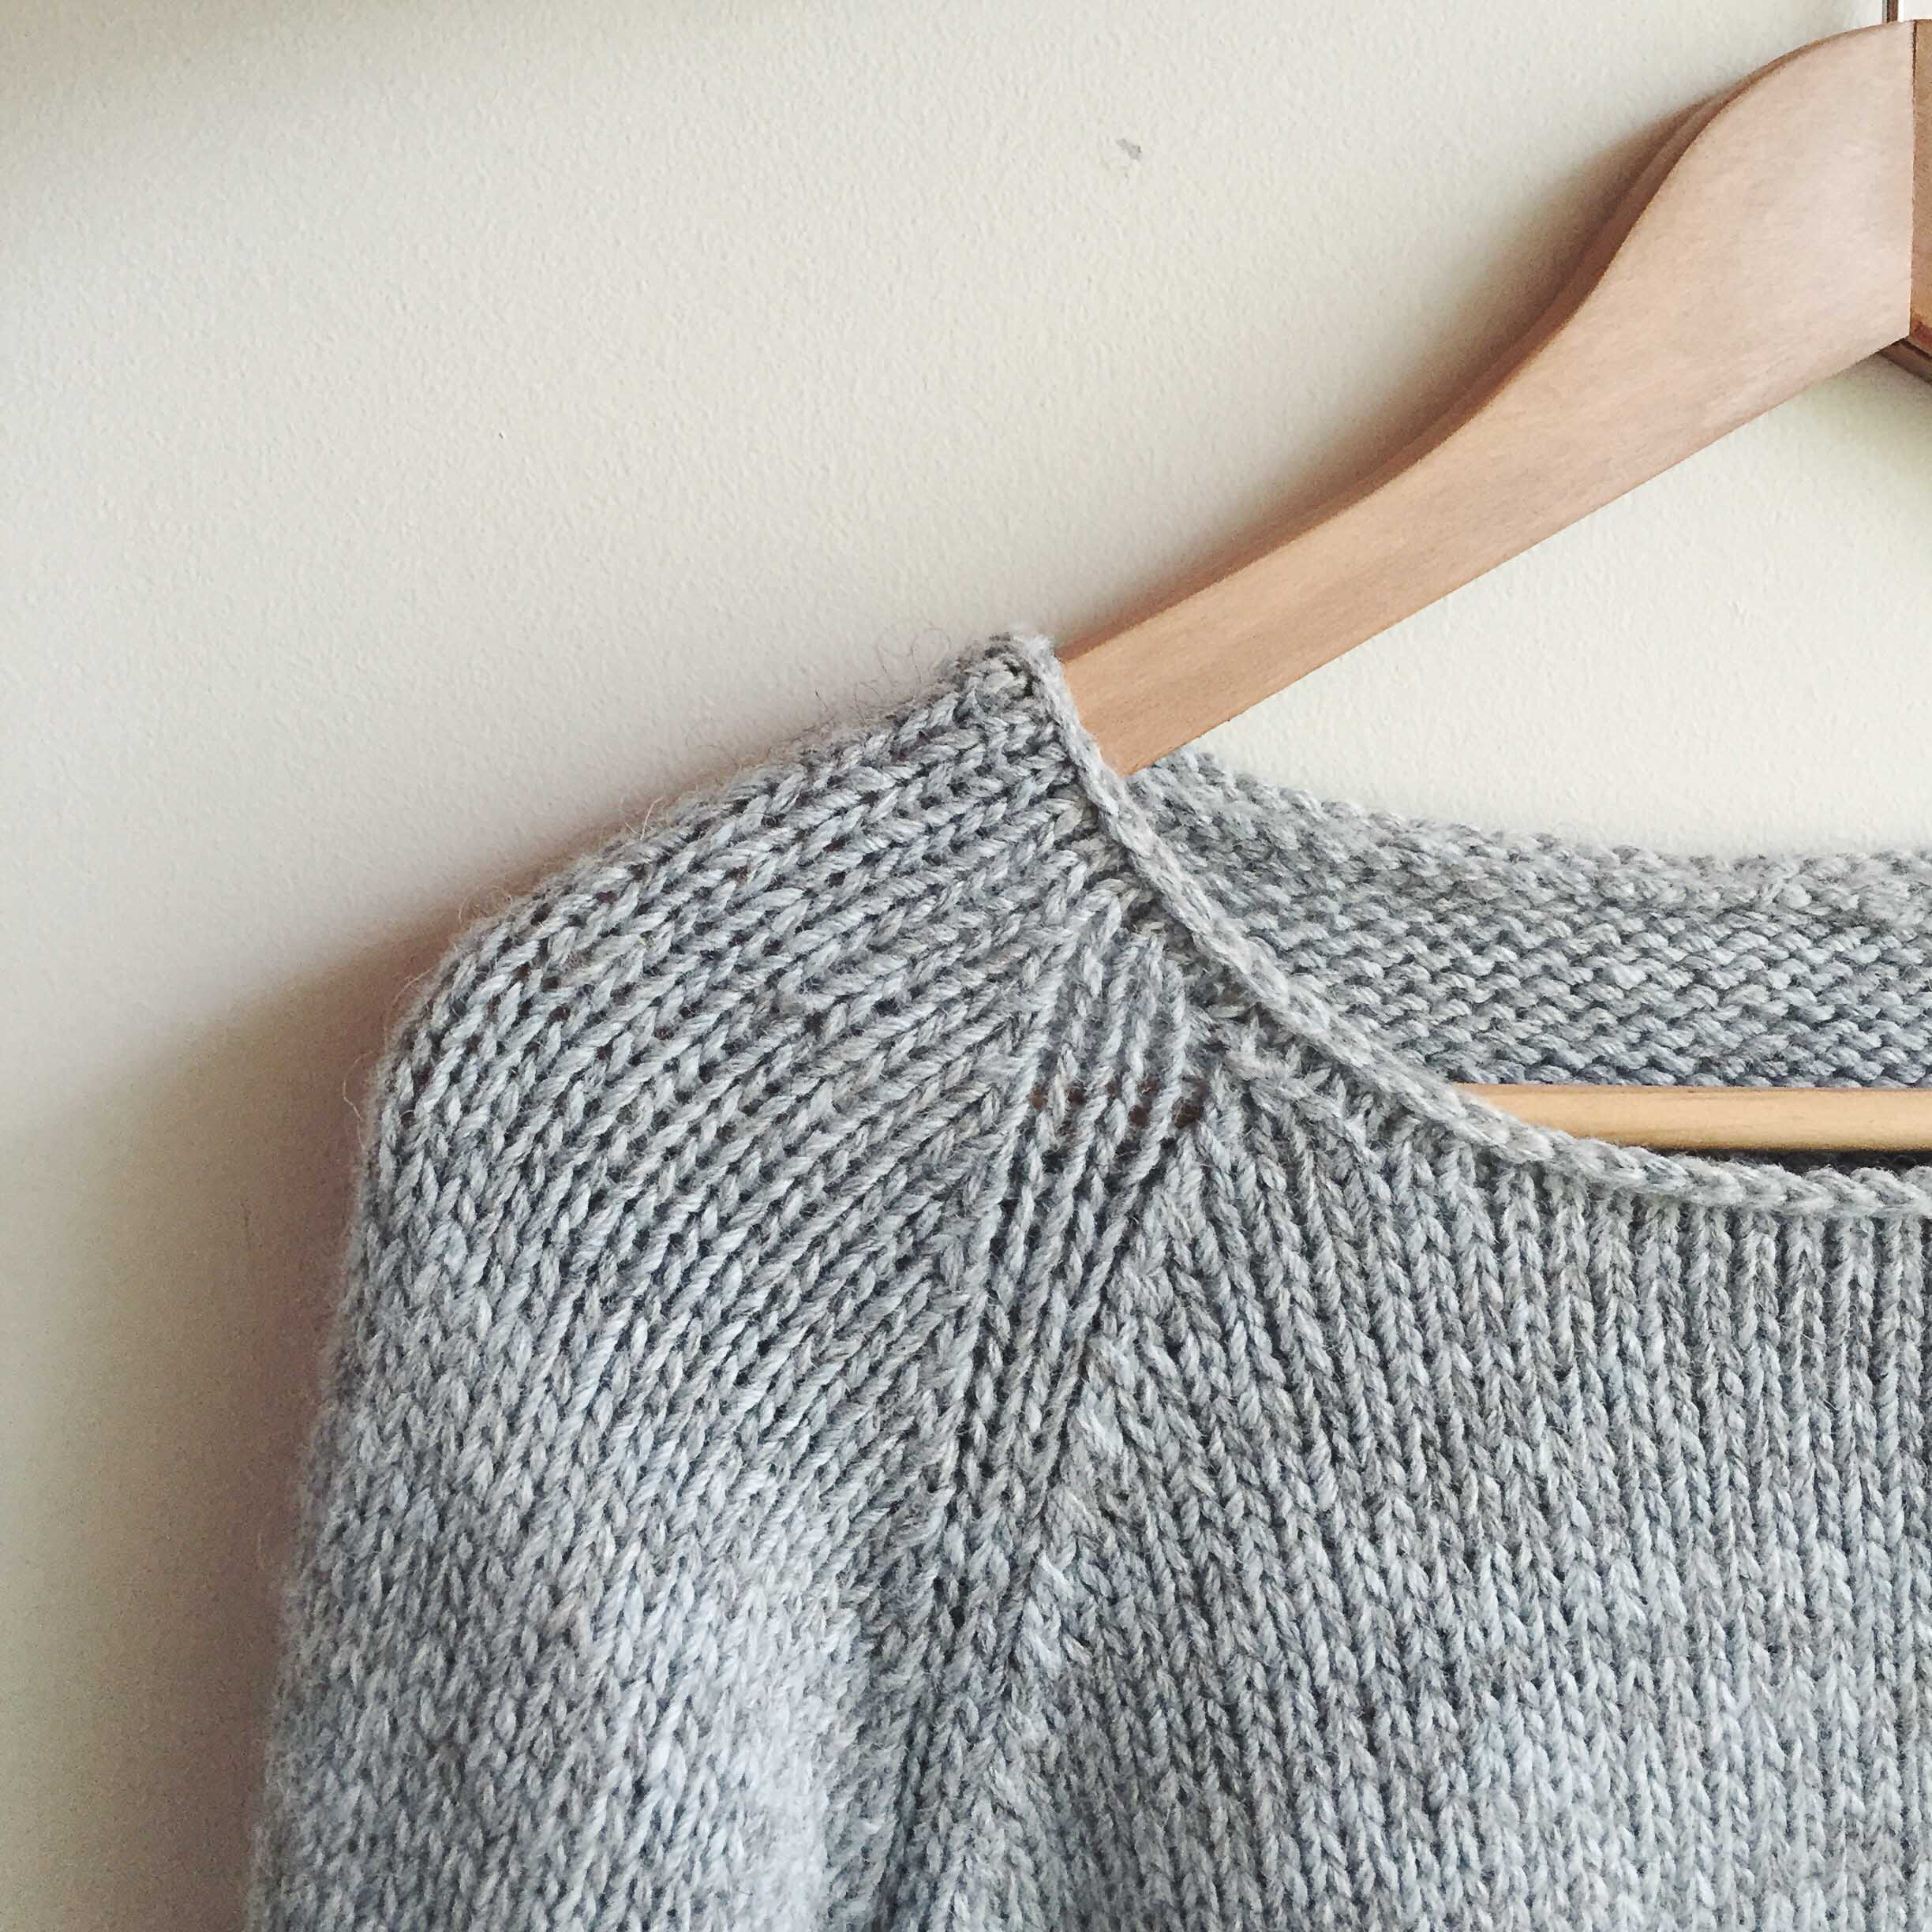
Step 1: Pick up and knit the stitches around the neckline at a ratio of 1:1. The exception to this is if the front neckline dips (which it normally does!) in which case skip the odd stitch here and there as you go down the slight angle on either side of the neck. I always drop a needle size but this may depend on you, your knitting and the yarn. For Lila above I switched from a 6mm to a 5.5mm for the neck.
It is totally critical that you pick up the stitches from the holes in the middle of the Vs of your cast off edge. This what give it it's lovely looking simplicity - it looks like you haven't knitted on a neckband - but you have! You clever thing you!
Look at the pictures below if you aren't sure what I mean OR go back and read The Secret to Becoming A Great Knitter - Part 1 to learn about the Vs.
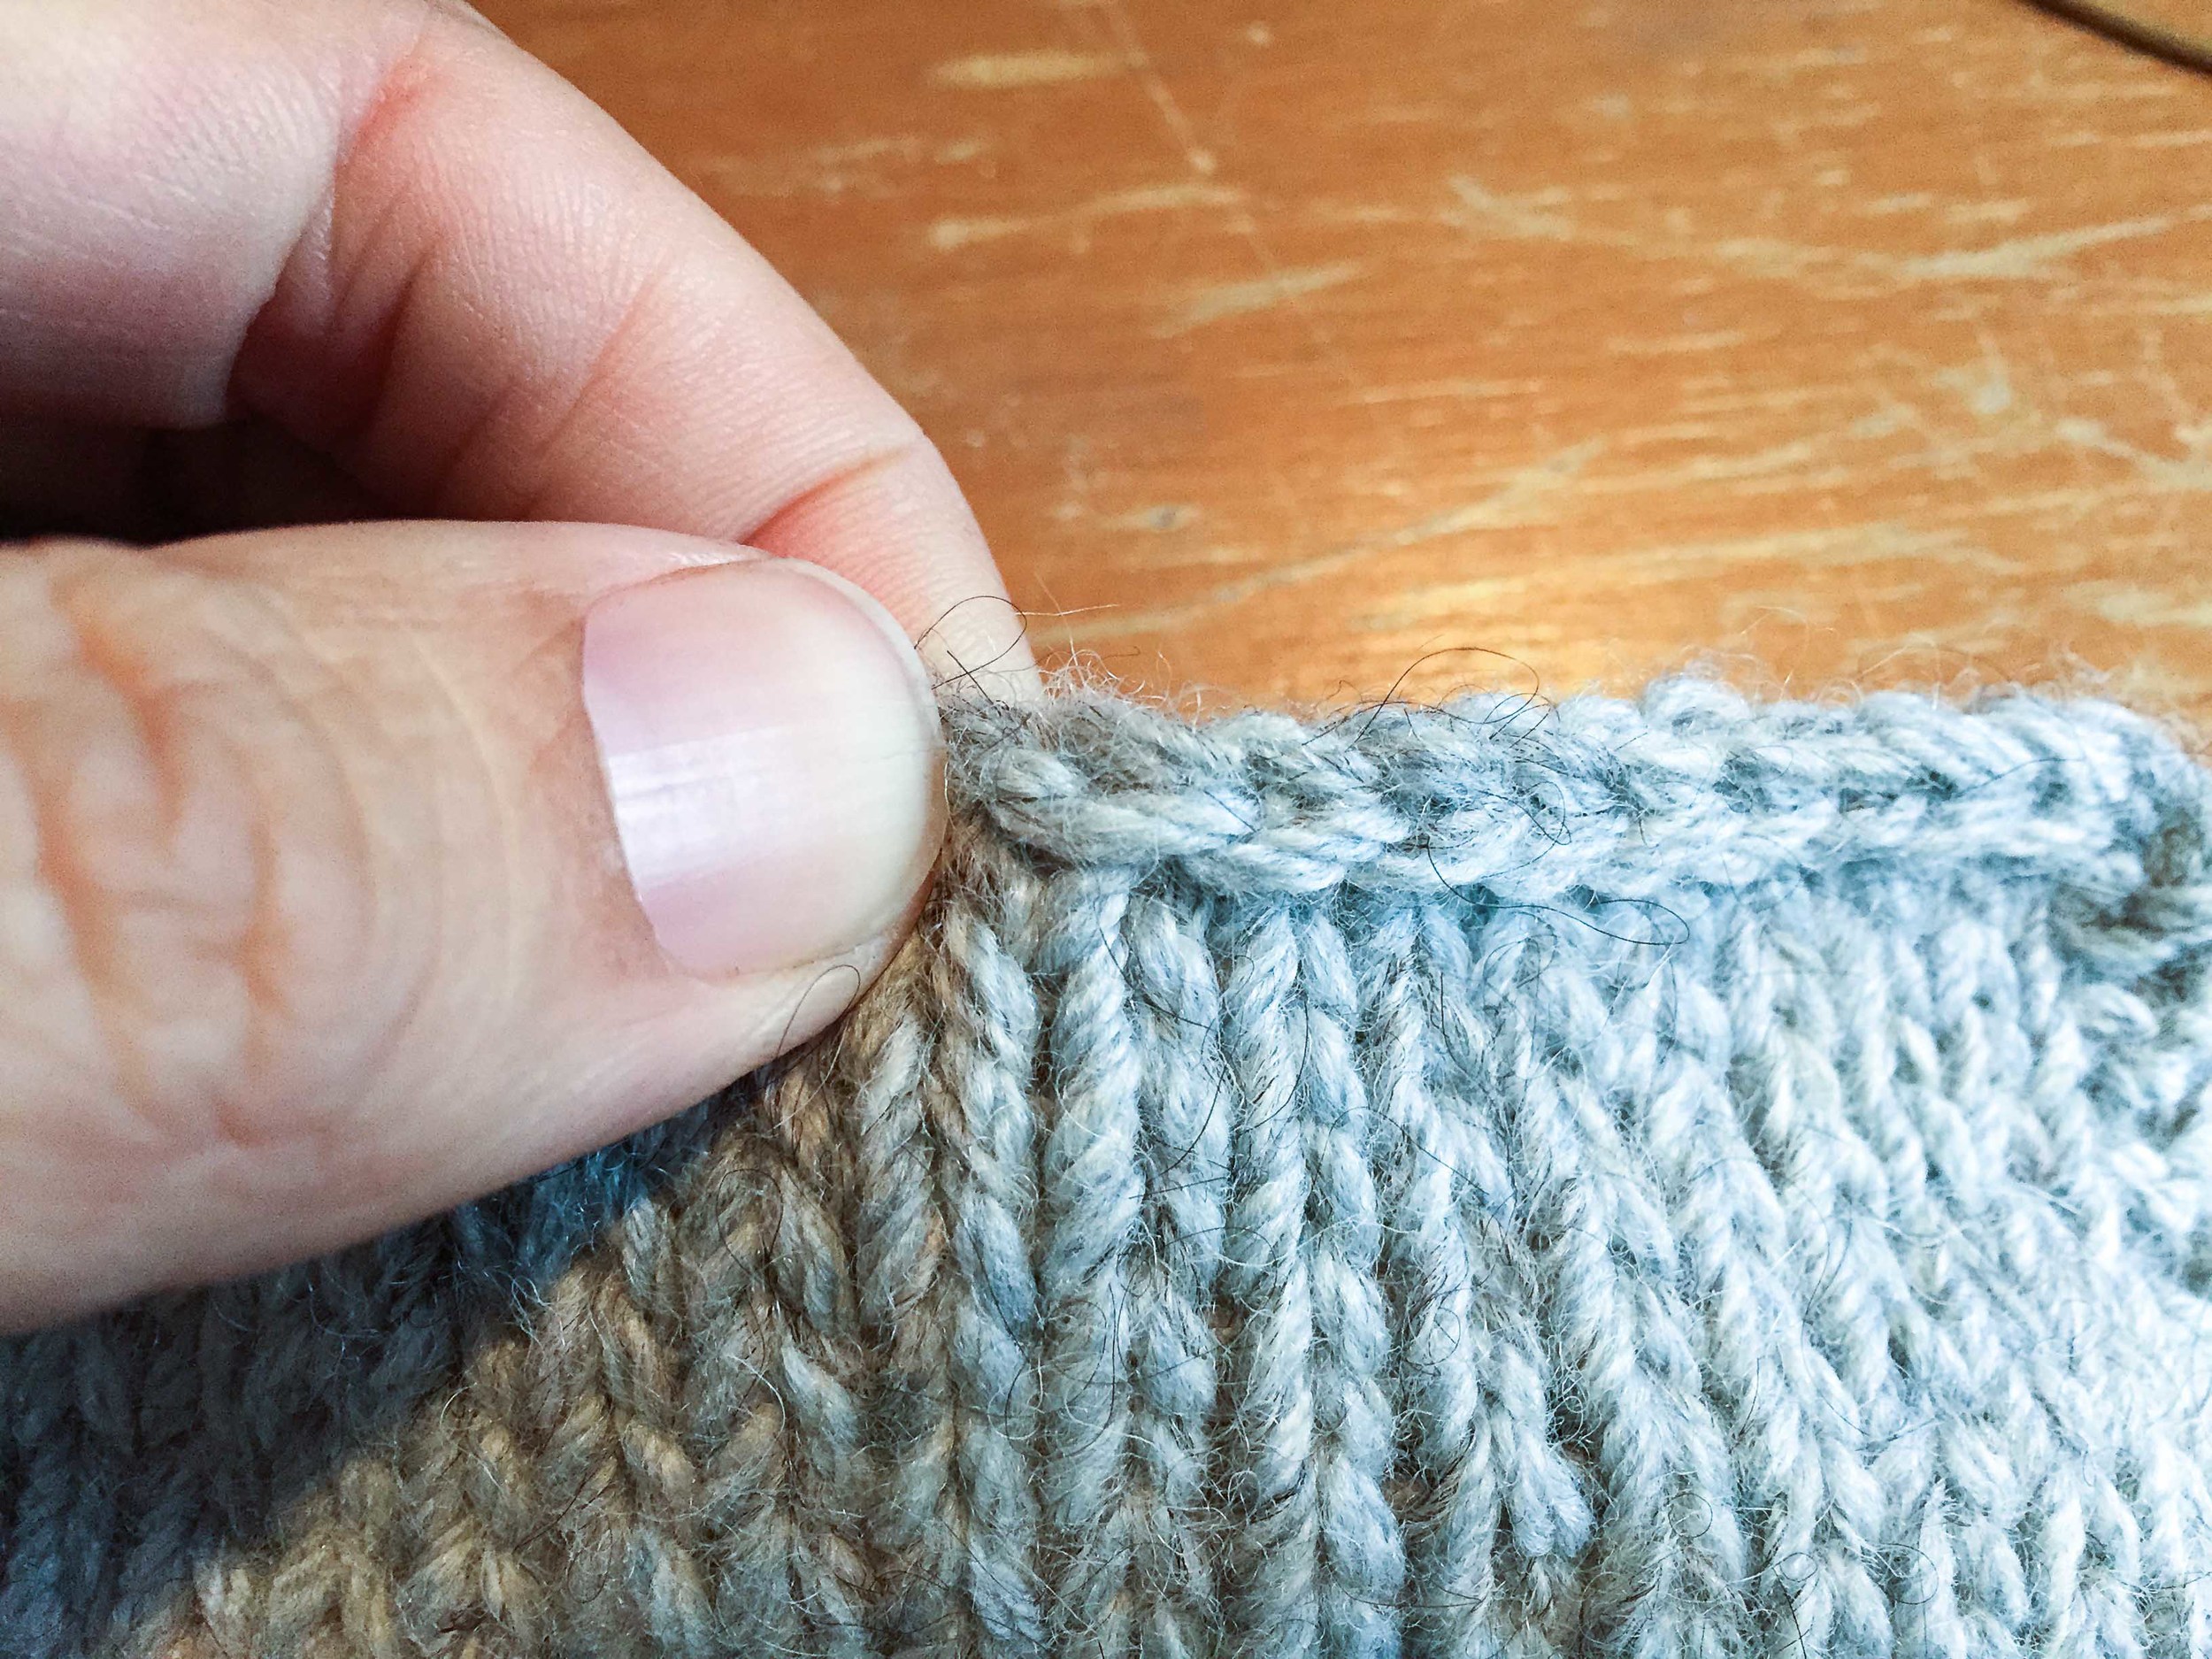
The left side of the V is sitting right next to my thumb nail just below the cast on edge.

I roll back the cast on edge a little with my thumb to make sure my needle tip can easily slide into the hole of the next V.
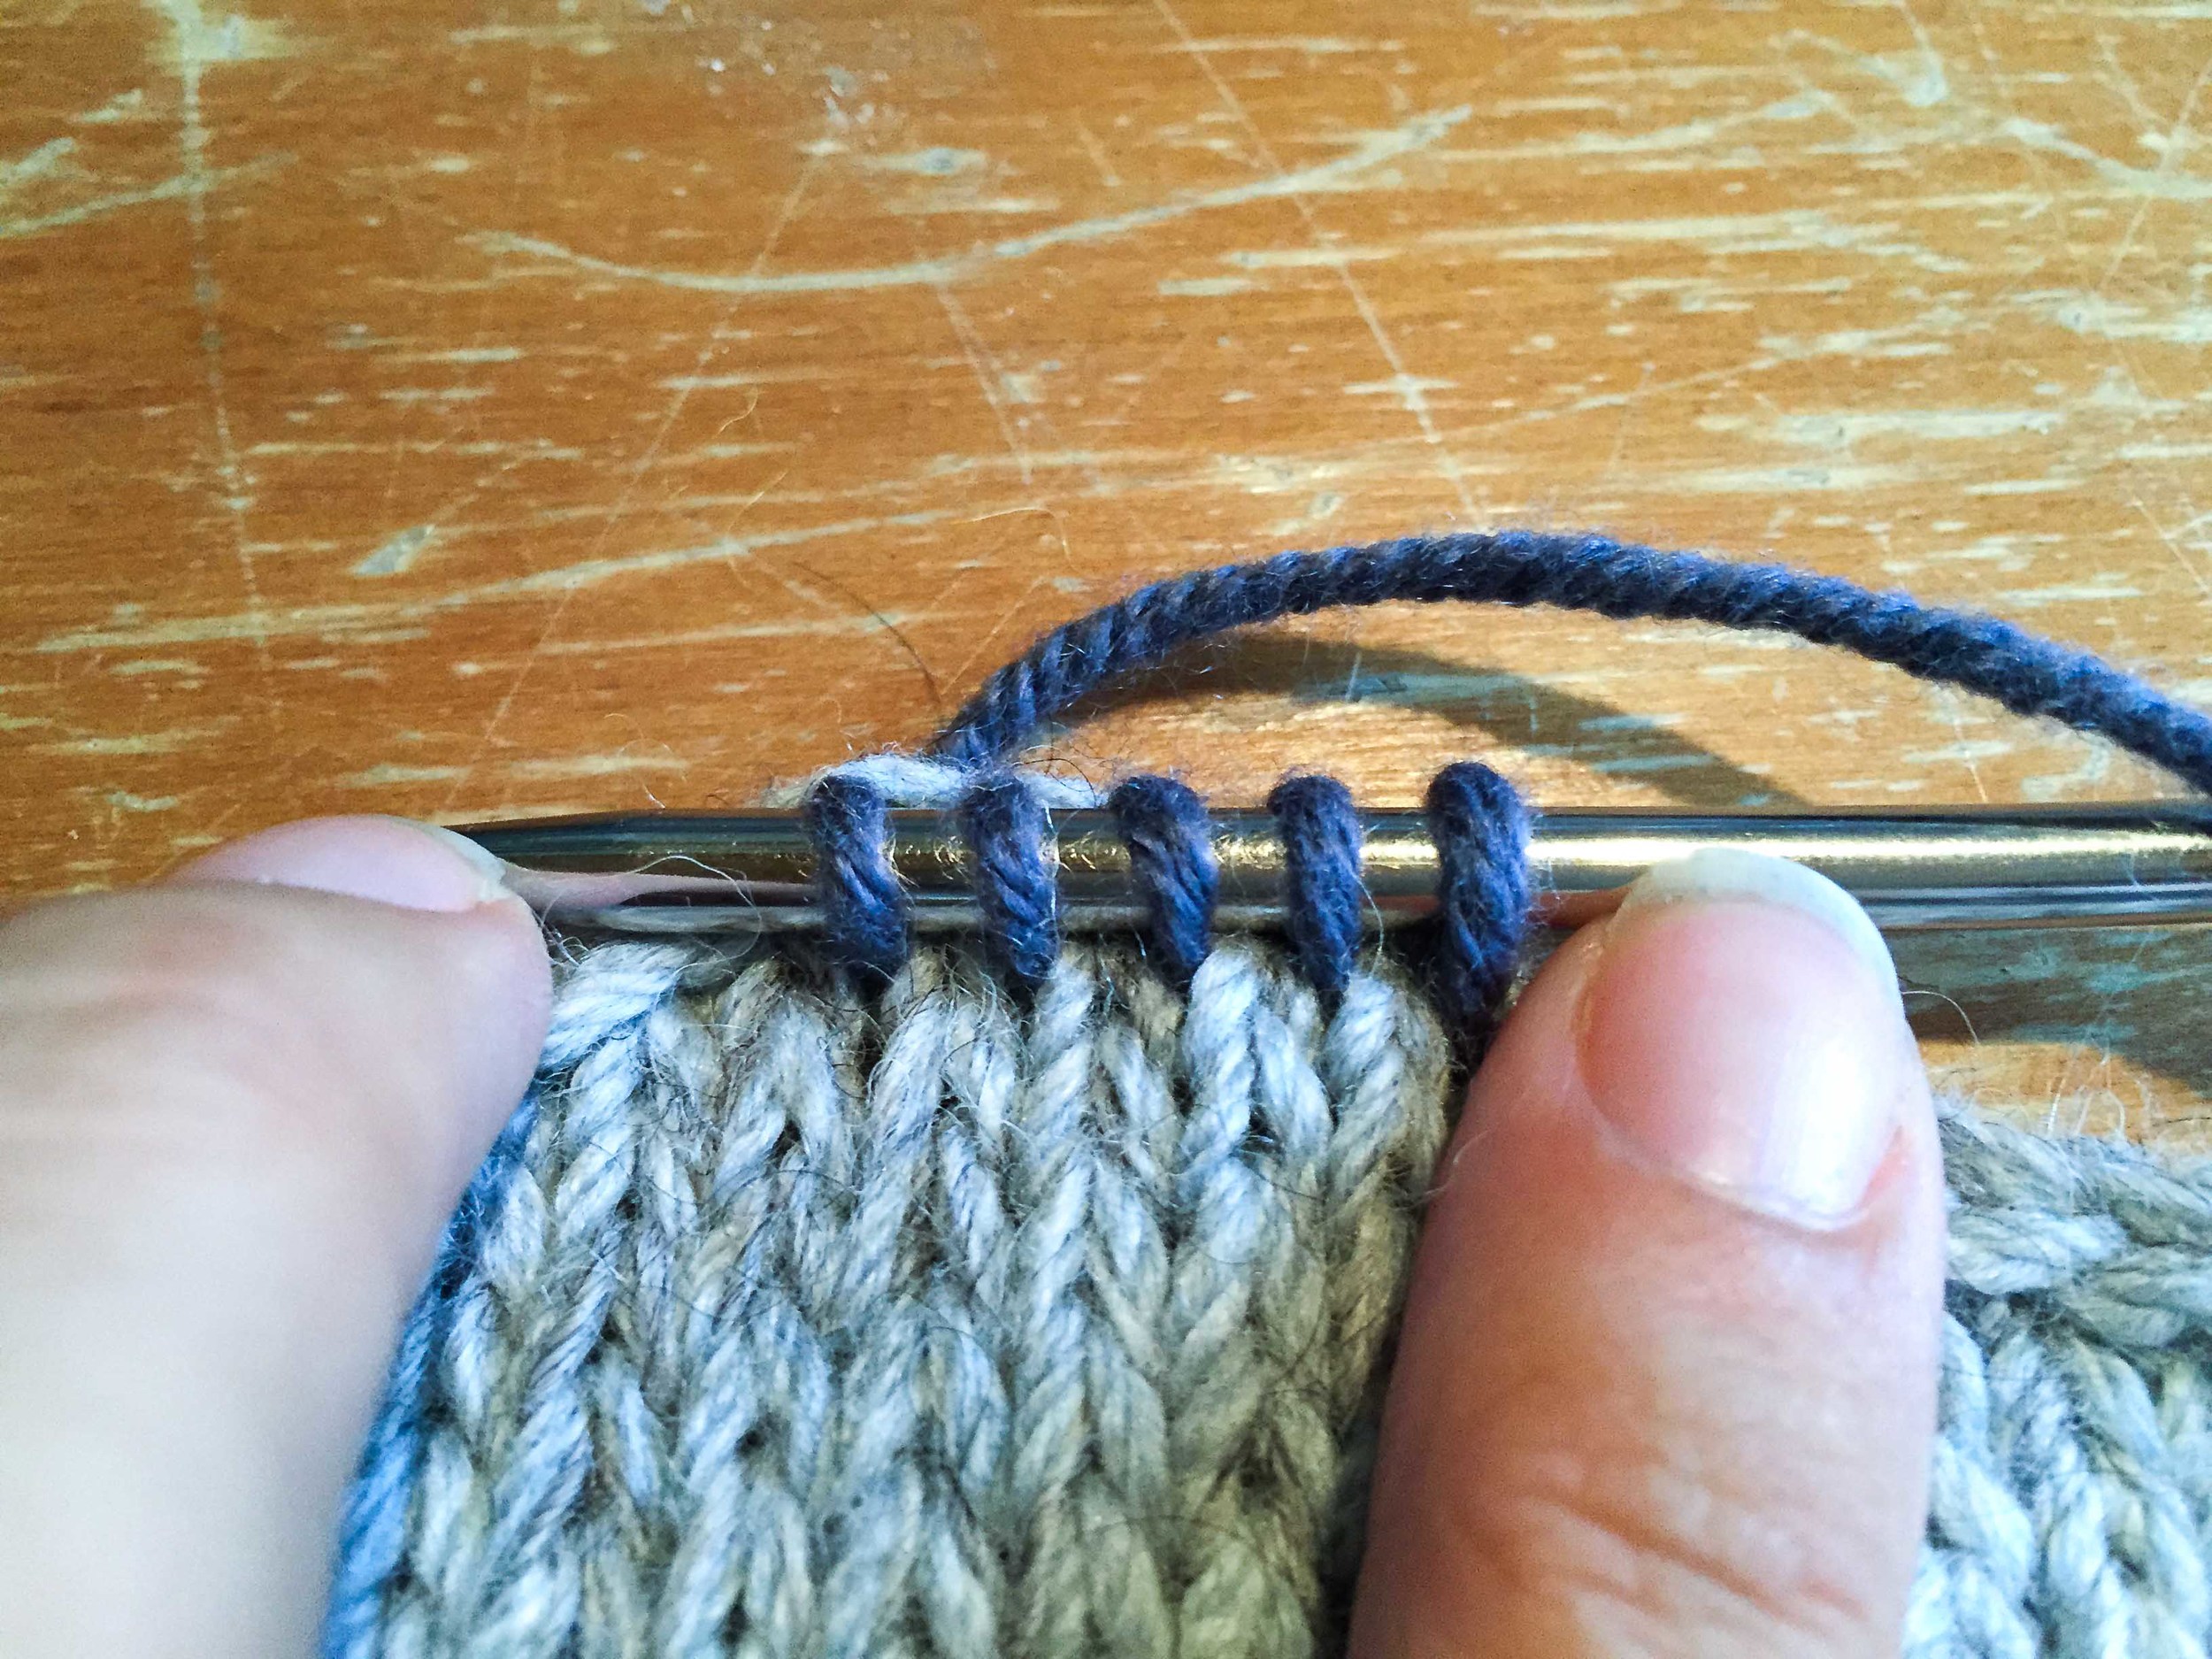
Each picked up stitch comes out of a V.

A clearer view of how each picked up stitch has a row of Vs under it.
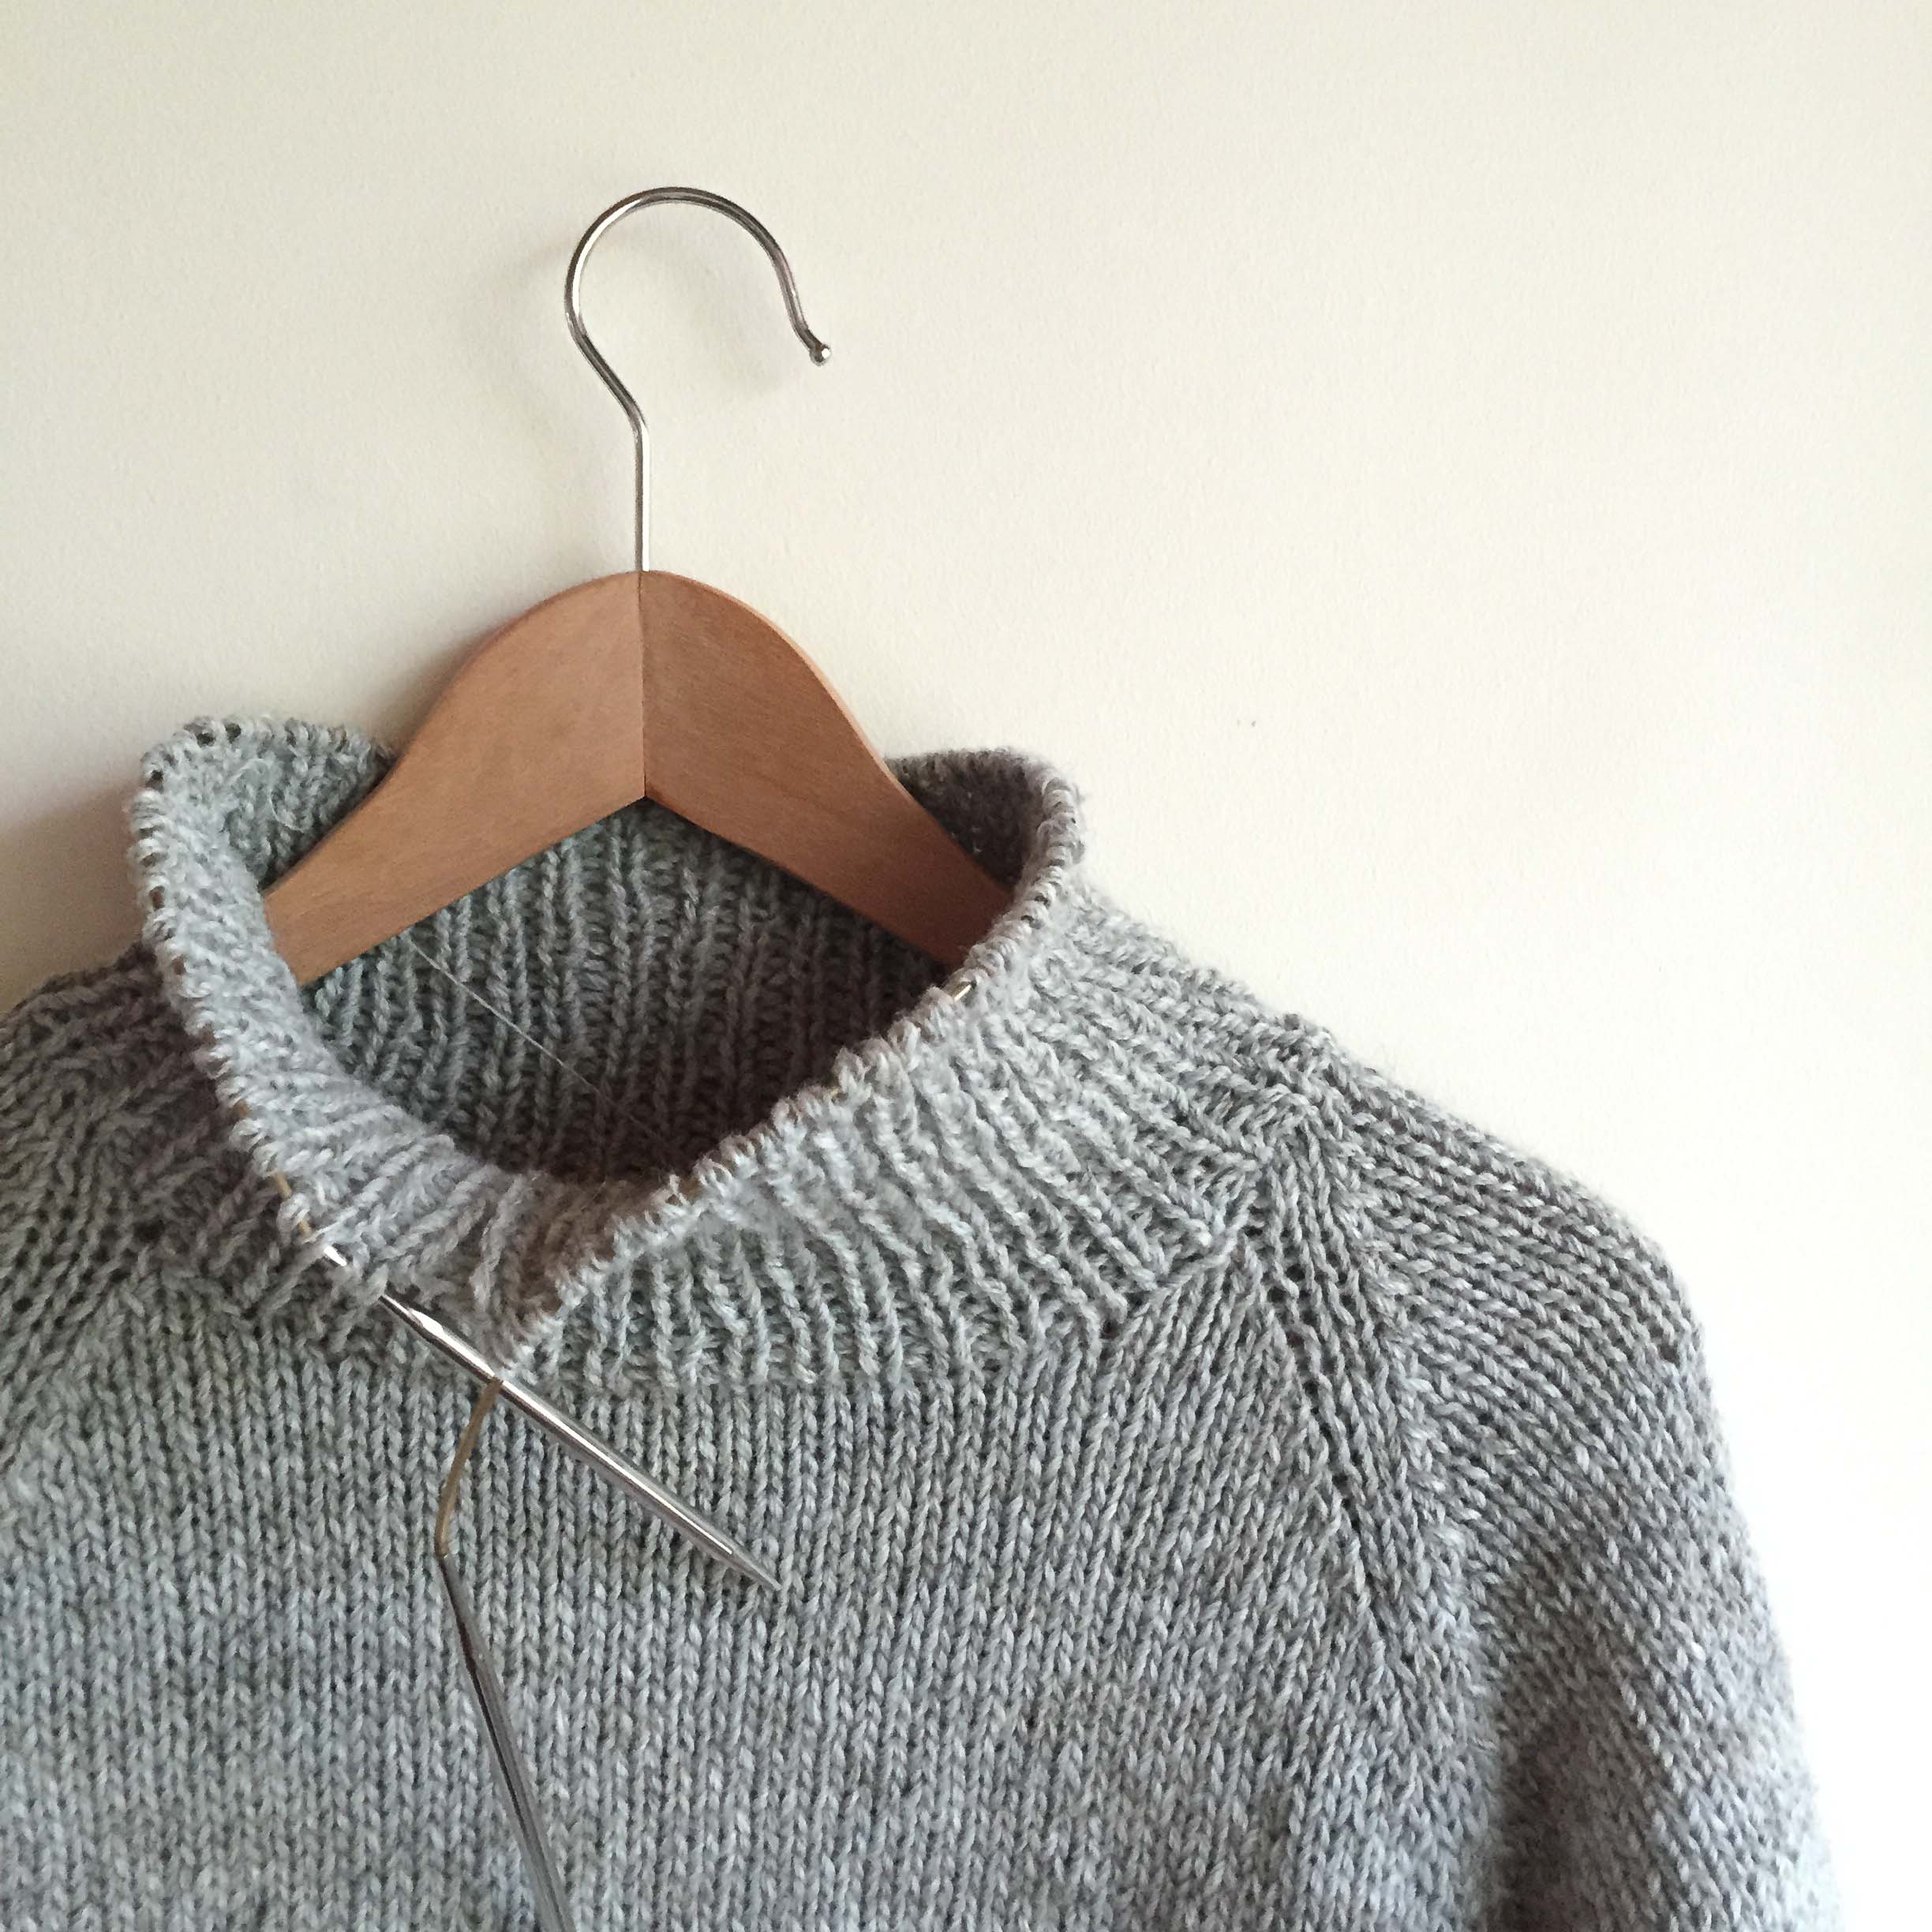
Step 2: Knit between 1 and 3 rounds. This will depend on the sweater. For James which has a gauge of 25 stitches then the neckline requires 3 rounds of knitting. For the neckline of Lila above, which has a gauge of 16 stitches I only did a single round of knitting. You should decide based on how it looks. I think a general rule would be that thicker yarn needs less rounds?
Step 3: Simply cast off - at the right tension - knitwise.
So the art of this neckline is all about the at the right tension. Too loose and it will roll. Too tight and it will be inelastic and pull the whole neckline in making it smaller. You might need to do part of the neckline more tightly than another - for example the back of the neck slightly tighter than the scoop of the front. You may need to experiment!
Based on the fact that the wool for Lila was thick and that I only did a single round of knitting (for step 2) then I simply cast off loosely and it worked perfectly. However, the castoff was the part I did 5 times for my last James as I kept getting it not quite right. By casting off more tightly/more loosely I was using 20cm more/less yarn when I was casting off for James. In the end I cast off tightly across the back of the neck (so I didn't get rolling) and more loosely around the curve of the front. At one stage I tried casting off with a bigger needle for part of the neck and a smaller needle for the rest. In the end it didn't work for me but it might for you.
A final piece of advice - as is often the case with tricky parts of knitting - they are often done best with a glass of wine and a friend. Enjoy!
Let me know how you get on if you use it! Or ask any questions if I haven't explained it clearly. It's late and I'm still having a little trouble with that wisdom tooth so I'm not sure clarity is my thing tonight ;).
Felicia x

