

So I'm away on a bit of a road trip. About 9000k in the last three weeks - so fun. And the super lucky thing about it is that I have got to share the driving, which means a fair whack of knitting time each and every day. Obviously the parenting malarkey has got in the way a little bit of the quiet-uninterupted-knitting-time-on-a-road-trip you may be imagining. But I have been productive none the less.
And so - I've finished Lila. The lovely Lila as she is known in our household. And lovely she is.
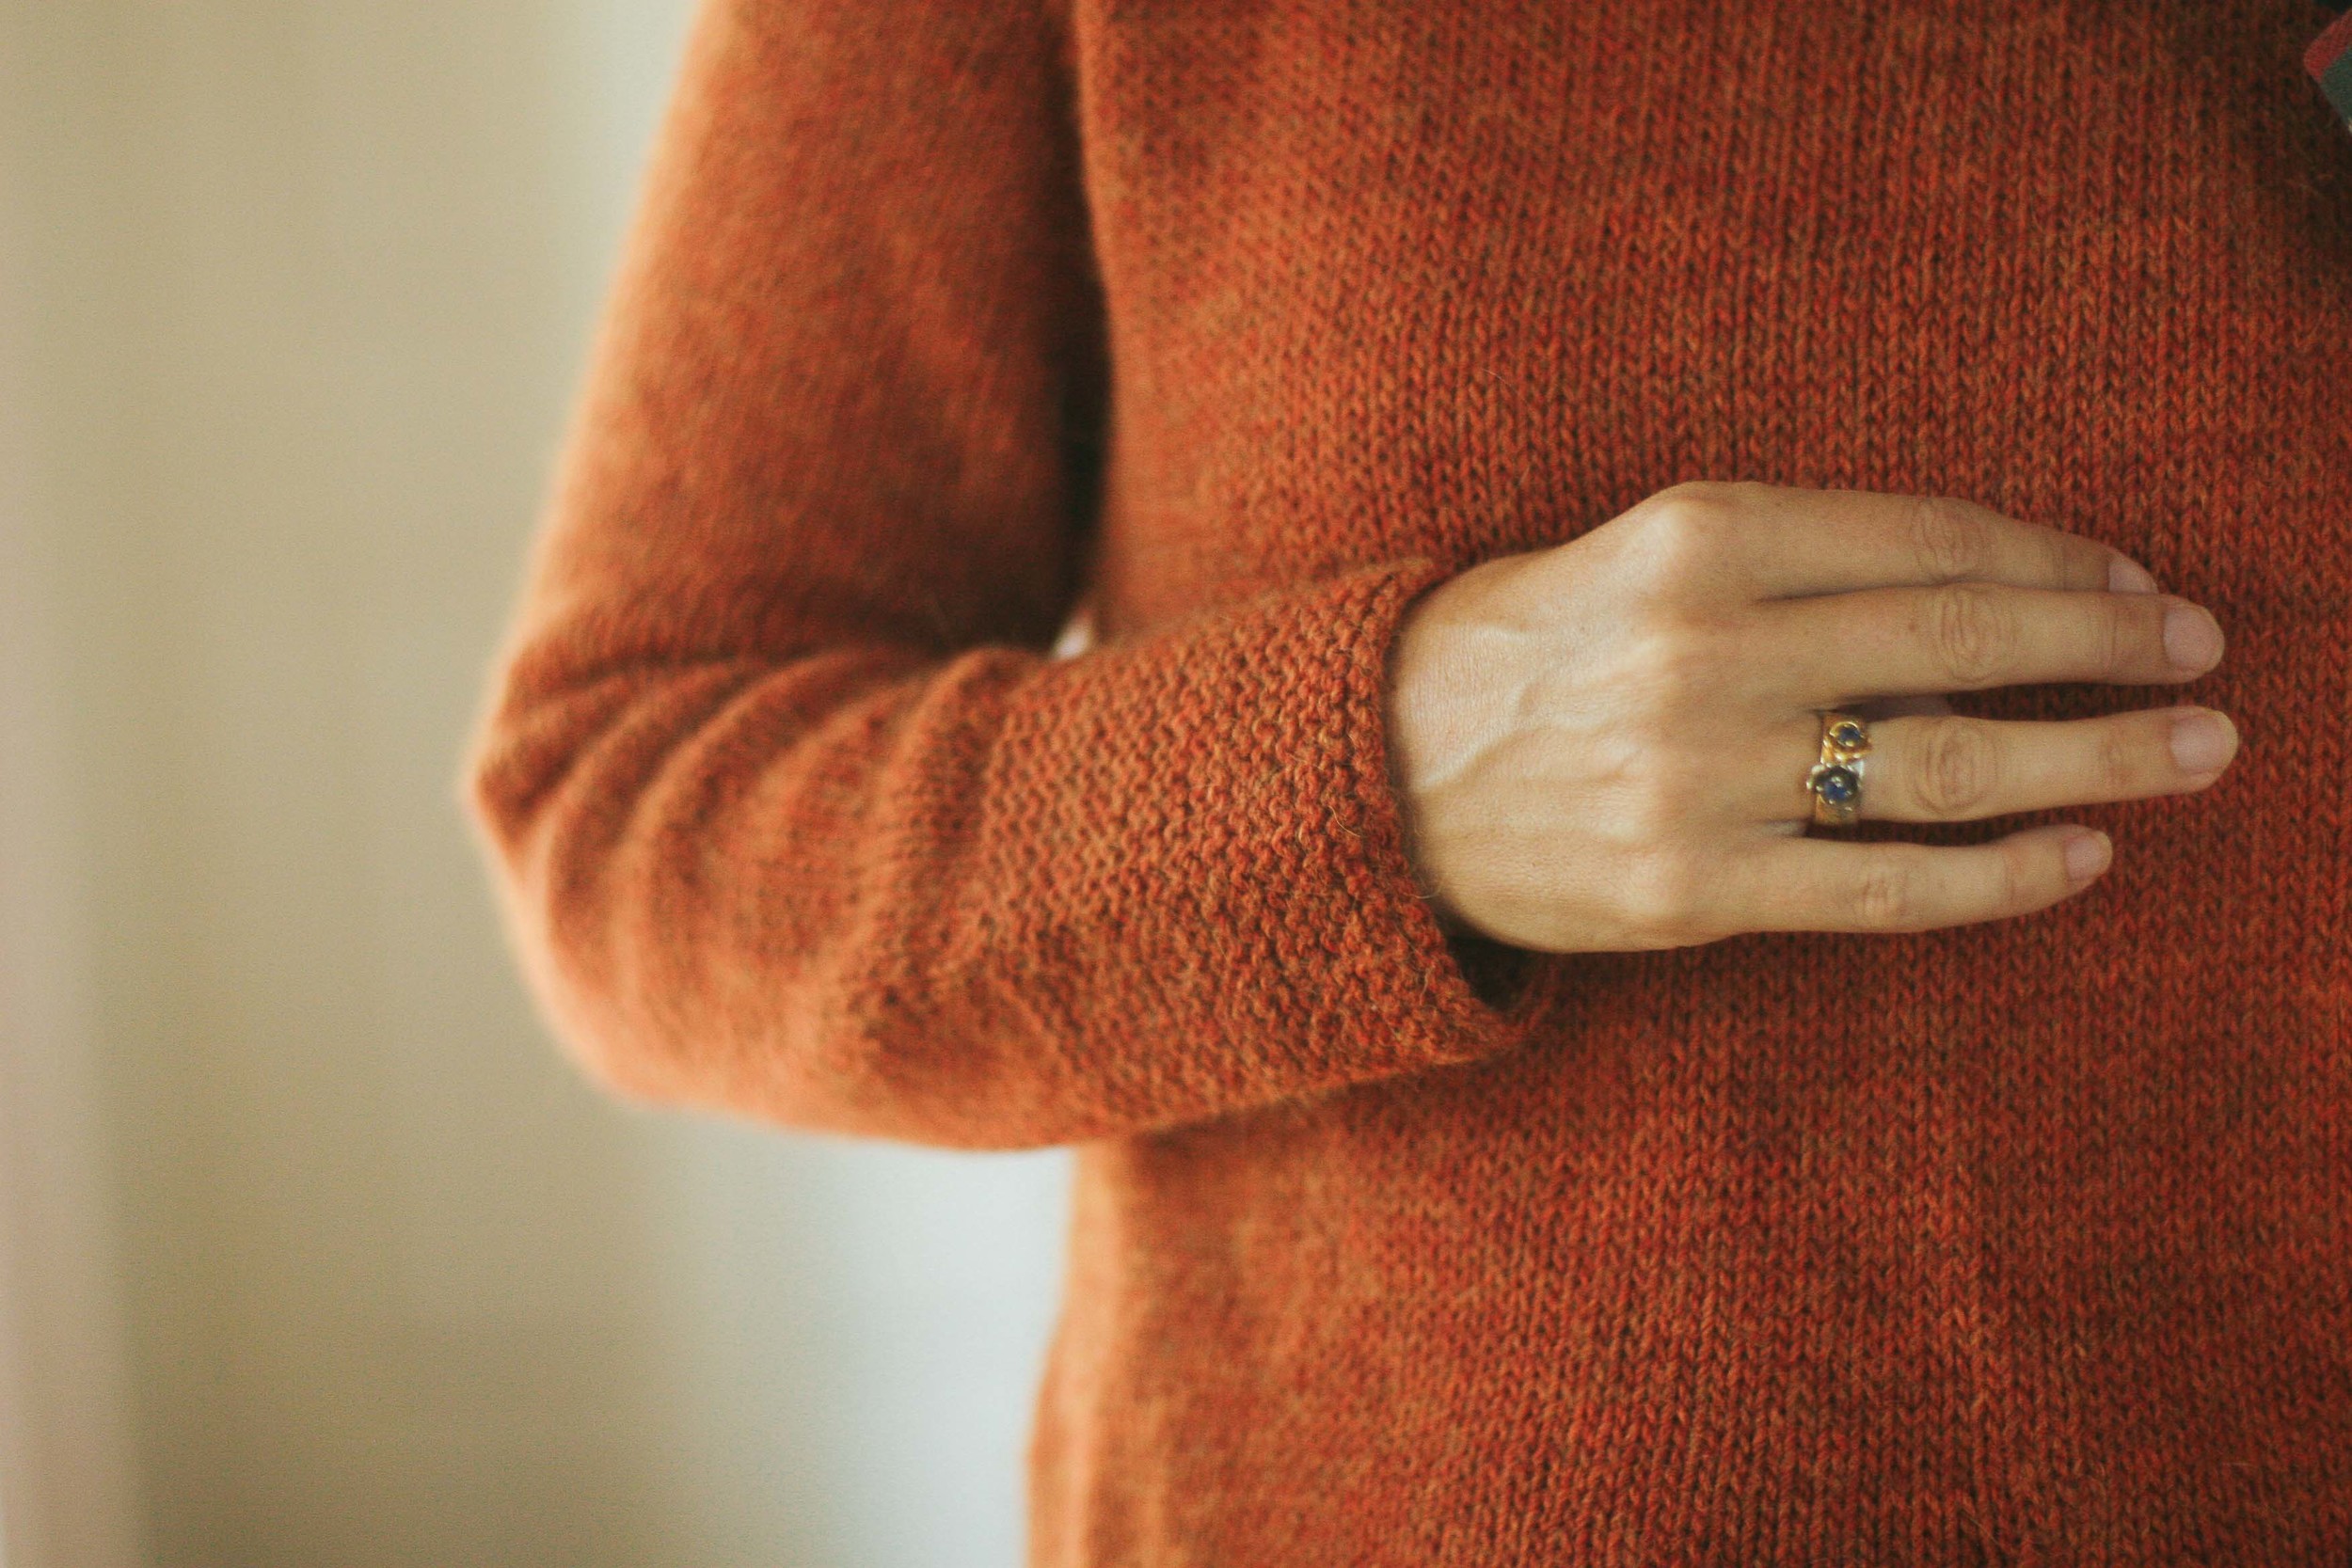
All details of my version can be found on Ravelry.

I really think Lila is the perfect pattern - and Carrie Bostick Hoge it's designer, is a genius. Genius!
What I love about the pattern is it's all round cosiness and comfort - while still retaining an elegant shape. Elegant isn't a word I use too often about something in my wardrobe but in this case it is appropriate. Lila may just be the perfect sweater for autumn, winter and spring. I see myself wearing it over a frock and tights, or maybe a Wiksten Tank dress and jeans. And over my pyjamas - totally perfect for that.
That said - while I love the result - my (first) version is a fairly major stuff up. I am trying to channel my mistakes are how you learn post and forget that I wrote a blog post about how to choose the perfect sweater pattern to enable you to make the sweater you really want.
I wanted ease - for the cosiness factor. The lovely woman with the curls in the photos has a few inches of ease and it looked great. What could go wrong?
Well friends, I chose the wrong size. See the critical bit with any oversized jumper, in my opinion, is that it fits you really well around the shoulders. This doesn't. It is sloppy and the arms are too big. I recovered it slightly after blocking by committing a cardinal knitting sin, and throwing it in the dryer. And it did pop back into size a little.

This shows too big sleeves and underarms...and probably the body too...

This shows the extra fabric around the underarm.
So how much ease is too much? I am have a 35" bust and I chose a 38" size in the pattern and ended up with a 38". And for me that is too big. And the lesson here is that for me I need a pattern that has little to no ease at the bust when the actual sweater is oversized.
But after saying all that I love it, and it was fun to knit and so am very happy to do it again. I see myself with other colours and will be knitting this again. Perhaps in lovely soft grey like the sample. Yum.
Anyway there was a point to this post and it was to tell you about how I knit my bottom up sweaters to give them a better chance of fitting. Knitting a sweater from the bottom up means that you can't try it on as you go. And trying it on as you go (like you are able to do when you knit top down) can make it much easier to get the fit right.

Getting bottom up sweaters to fit beautifully.
The order you knit a bottom up sweater is the critical bit. Normally you knit the sleeves and body up to the underarm, before joining them and knitting the yoke. The issue with this is that you don't know the length of the yoke (as it hasn't yet been knit) so your body or sleeve length might not finish where you want them too.
Huh? How does that work? Well the pattern might state a yoke length BUT your row gauge might be very different from the pattern, and therefore the length of your actual yoke could be anything from 1 to even 3 inches different to the pattern. What this means in reality is that a pattern that is supposed to fit right under your undearms doesn't, and instead ends up about 2 inches away from your underarm. This means that your sleeves will be two inches longer than the pattern states.
I hope that makes sense? Row gauge is the key and these days it isn't always stated AND I personally have never been able to get the same row gauge a pattern states. It seems to be a tricky thing to achieve - to get the same row and stitch gauge as someone else.
The difference of an inch or two of sleeve length can be really annoying. Say you like a sweater that you can pull down over your hands in winter, an inch or two shorter than necessary results in futile pulling. Or conversely you may be the kind of person who hates sleeves around your wrists. That extra inch or two could drive you nuts.

Love this sleeve length for a cosy winter jumper.
And once the body and sleeves have been knitted it is very difficult to fix without totally pulling out the yoke or some other crazy long-winded work around.
So what to do? How to get the sleeve and the body to the right length?
This is tricky but I have a super simple answer! The most common issue is sleeve length so initially I am going to deal with that but I apply the same thing to body length* at the bottom.
Step 1:
Choose the right size - Ha!
And swatch and wash your swatch. Blocking your sweater can drastically change the fit of your garment. The more you know about how your yarn will behave at a given gauge the better. So if you know that your swatch grows in length by about 10% then you need to knit your sleeves 10% shorter than your desired length!!
Step 2:
Knit the body up to the underarms. See below for clarification *.
Step 3:
Don't knit the sleeves!!
Step 4:
Read the pattern and look for the stitch count for when you knit to the top of the sleeve - so just before you join the body and the sleeves. Provisionally cast on that number of stitches using waste yarn.
There are hundreds of tutuorials for a provisional cast on. I am lazy and just cast on the right number of stitches, then purl one row. I then cut it off with scissors.....lazy lazy but I can never seem to remember provisional cast-ons without my friend youtube on hand and that is just a hassle.
Step 5:
Join the body and the sleeves as the pattern suggests BUT rather than joining actual sleeves join your provionally cast on sleeve stitches to the actual body.
Step 6:
Knit the yoke as described.
Step 7:
Undo the provional cast on (cut it off in my case) and knit the sleeves top-down. This ensures you get the sleeves to fit because you can try it on and modify the decreases as appropriate to your arms. AND you can ensure you get the sleeves the right length. Yihaa!

So - a simple answer that you can use on any bottom up in the round pattern, to help you get a great fit.
Wishing you a lovely week!
Felicia x
* This trick also works with the body length and fit if want more control over those. In that case you would just do a provisional cast on for the sleeve and the body. Join them together using the working yarn and then knit your yoke. Then knit your body and your sleeves top down. Best of both worlds. Bottom up yoke and top down sleeves and body.

