So here it is – a way of achieving a simple handmade wardrobe while improving your skills one by one. As I've been writing the post I've had more and more thoughts about stuff I want to tell you, so I think there will be more posts. Definitely one/a few on how I (super simply) alter these patterns to fit my body, another with some more advice for beginners and maybe ……well we will see where we get to.
For those of you that already make your clothes then this may not be so useful but for those of you that are beginning hopefully it provides some tips that help you on your way. Making these tops in order will build on your skills one by one!
The alterations post/s will detail how to do simple alterations that can customise these patterns for a better fit but for now I will simply list the alterations I make at the bottom of each step.
All the photos today have been ripped off my phone so apologies for the quality.

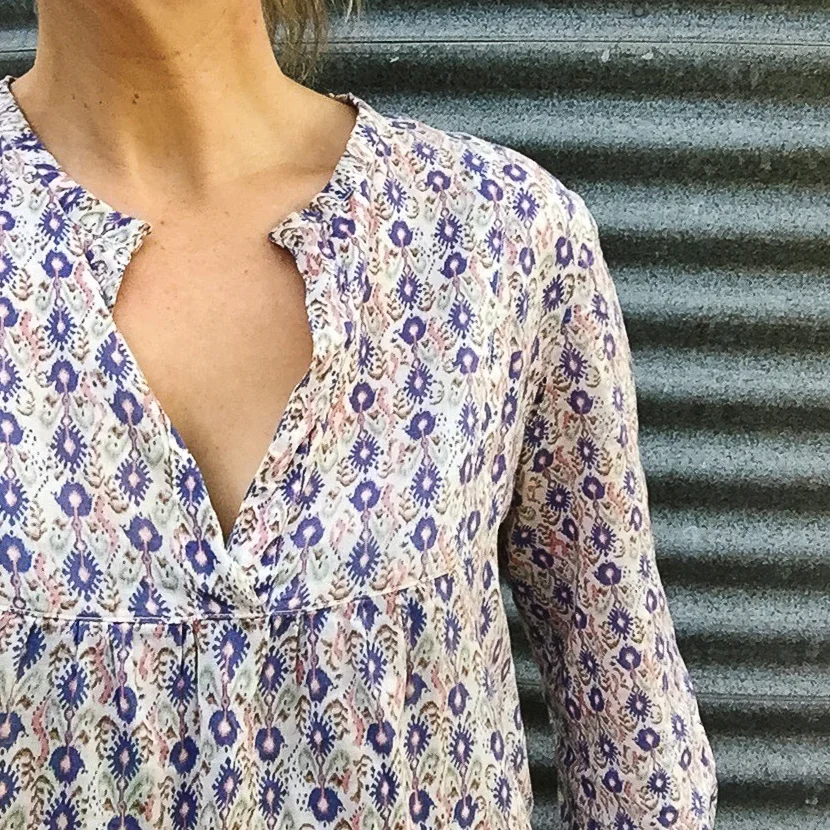
A collarless Wiksten Tova.
Step 1 – Advice for beginners about seams
This possibly seems obvious but I’ve watched a few people learn to sew over the last few years and I think that not enough time is spent learning this. A perfect (or even a good) seam allowance is the key to sewing. What does this mean in practice? It means that the two raw edges you are sewing together are in line AND that you are using the seam guide on your machine to ensure the seam is exactly the right distance from the raw edges.
Learning to do this is part practice/part science. If you are new then please pin your edges – a lot. Pin either end of your seam, then in the middle and then in the middle of those pins. Don’t start at one end and go to the other.
Use two light hands as you sew - a bit like how Jamie Oliver dresses a salad - nice and light.
Your left hand should be flatish and out wide, resting lightly on the fabric, not pushing or pulling. Guiding the fabric is how you should think about your hands. Your right hand should be controlling the raw edges. This can mean a few things. Sometimes you end up with extra fabric on the top which you can gently nudge under the foot as you sew. Other times you will need to make sure your edges are matching and hold them together as you sew in between the pins. Practice is the key here. And pinning.
You need to find a balance in your sewing speed. Fast enough that you are able to manipulate the fabric under the foot to go around a corner but not so fast you aren’t accurate.
When you hit a large angle you need to stop with your needle in and pivot, making sure after you have turned it that you are the right distance away from the new raw edge. I still get this wrong sometimes and need to turn back, do an extra stitch and then pivot again. We are always learning, aren't we?
When you are going around a sharp curve you may not just be able to guide the fabric – rather you may have to pivot three or four or eight times with a tiny movement each pivot. It may be the case you pivot, sew two stitches, pivot again etc.
Put your pins in sideways – so perpendicular to the raw edge with the pin tip on the outside. The reason you do this is so it is easy to remove with your right hand when the pin is about to go under the foot. Don't drive over your pins.
Practice all this stuff on scraps; go around corners and follow some squiggles (just draw them on the fabric) and lots of straight lines….. Get this right and you are on the train to being a great sewer! And joy!
Patterns to try: Pillowcases are always a good one. I love the Purl Bee one here.

step 2 - A woven Hemlock Tee by Grainline
You will learn: Straight stitch and zigzag. And a bias edge for the courageous (you can do it!!).
I made this for the first time a few weeks ago and I am totally in love with it. This is my new favourite top! And as a sewer I would say that it is simply the-biggest-bang-for-your-sewing-buck you can get. It took about 2hrs from start to finish and this was only because of how I did the neck. It could have been quicker!
This pattern is perfect for beginners - it is about as simple as sewing gets! Every seam is a straight seam until you hit the neck. I finished every seam with a simple zig zag but if you knew what you were doing and wanted to get fancy you could easily French seam it. You do need to do a simple pivot at the underarm when you are sewing the side seams (leave the needle in the fabric, lift the feet and turn 90degrees) but other than that it is all plain sailing.
So the neck. I'm going to talk about two methods. Both equally valid.
Jaime and Amber from Fancy Tiger talk about their versions here. They state that they fold the raw edge over and stitch it down. How I would suggest you do this is to use my hemming trick. First sew a basting stitch around the neckline 1cm away from the raw edge. Next finish the raw edges with a zigzag. Fold the edge over at the basting line, iron and pin. Stitch down neck edge by doing a straight stitch about 8mm from the edge.
I did it a little differently - using a double folded bias. For those of you that don’t know how to do a bias edge have a look at Grainline’s amazing bias tutorial (Grainline is one of the best sites on the internet for incredibly well written patterns and tutorials. Yay Jenn!)
That said I did it in an even lazier way that Jenn's tutorial. I cut a 3cm strip of fabric on the bias. I folded it in half with the wrong sides together and ironed it. I then pinned it to the neckline with the bias raw edge pinned to the right side of the fabric. Sew them together with a 6mm seam. I understitched (as in the tutorial)the seam allowance to the bias and then simply ironed it over and top-stitched it down from the right side. Grainline’s is tidier – mine is still lovely and quicker.
I know the Hemlock is a one size pattern with a finished bust of 42". If you are outside this size then skip to step 3 on the list, or if you are more advanced then adding a couple of cm to the body and sleeves would be easy peasy.
Alterations to consider: French seams, proper bias, swing top, increased sleeve width, bigger sizes and the shirt tail hem.
Other similar patterns to try: Purl Soho Boxy Tee which does the bias in the same way as I mentioned above. However I understitched it as in the Grainline tutorial AND I don't topstitch the bias down at 1/4" but rather a make the seam allowance a little larger to make sure I have caught all the raw edges inside the bias.
My favourite (modified) Wiksten tank which I will tell you about in a future post.
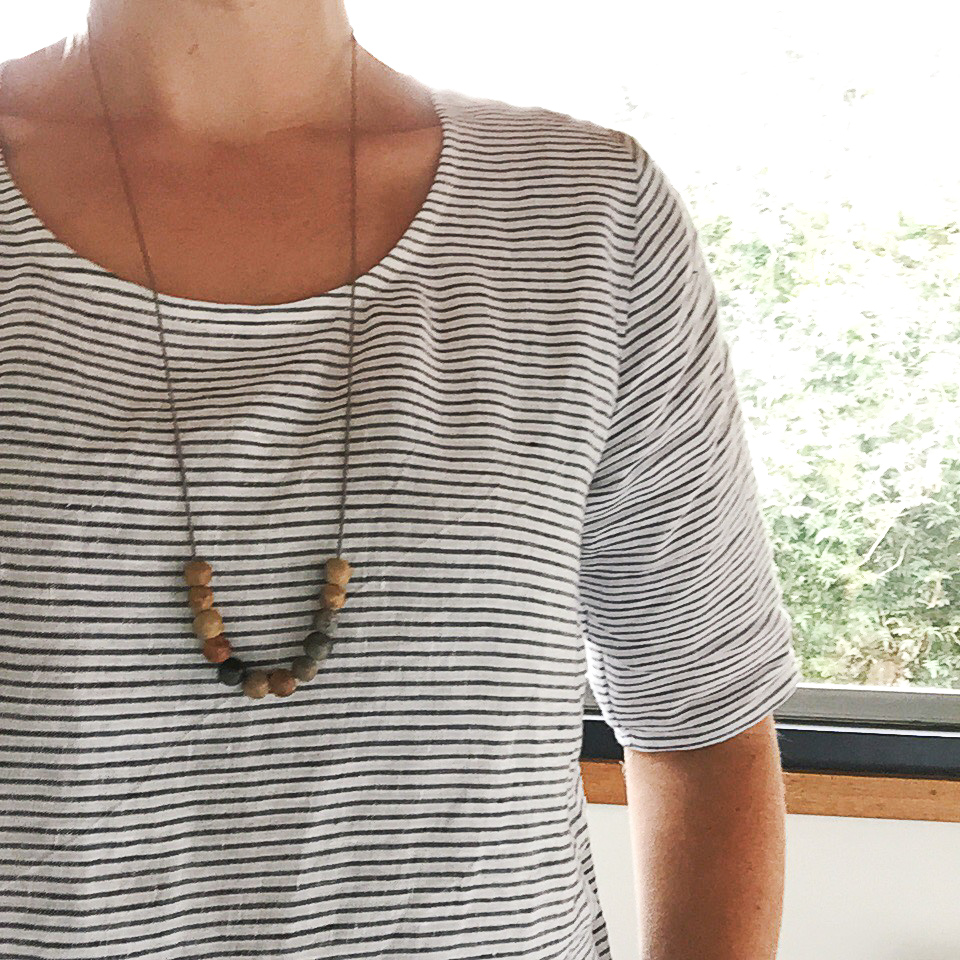
Step 3 - Wiksten Tank by Wikstenmade
You will learn: French Seams and beautiful bias edge.
The way this pattern is written gives you a beautifully finished top. It will make you feel like a total champion to have made something so well. It does take some time - for such a simple garment - but it is so well worth it. It is well written and you get to learn how to do French seams. Who doesn’t love those?
Follow the pattern exactly as it is written - the only change I make is to use the bias tutorial from Grainline I linked to above to do the understitching. It just makes the finish that little bit more professional. AND follow my hemming trick for the hem using the extra trick I've added at the bottom of the post for a shirt tail hem.
Make your first one a muslin out of a nice light fabric – but not a favourite fabric as I’ve found I needed to play with the fit a little to get it just right for me.
Alterations: Raise the neck if you don’t fancy having your boobs on show. Alter the length. Fix the width of the back.
Other similar patterns to try: Grainline Tiny Pocket Tank, Tessuti Ruby, Sorbetto by Colette
My favourite (modified) Scout Tee with long sleeves
Step 4 - Scout Tee by Grainline
You will learn: a set-in sleeve.
I have made many of them, wear them all the time and have written a post about how much I love it. This is the perfect replacement to dagging around in a tshirt. It has a lovely shape.
Normally I just do straight seams and finish them with a simple zig zag. I use my hemming trick for the hem and the sleeve hem.
So the new skill – the set-in sleeve. This pattern has great pictures and shows you step by step how to do this.
The only thing I would add to Step 14 for first timers doing a set-in sleeve is that you need to pin first - pin your underarm seams, pin at the notches - before then pulling the basting threads. When pulling the basting threads make sure you are pulling the two threads attached to the wrong side of the basting lines. Then smooth the gather out with your fingers to make sure that at a ½” from the raw edge the fabric is flat. Sew the seam with the sleeve on top to make sure you don’t catch any of the fabric. And unpick it if you do.
Alterations: scoop the neck, add the wiksten tank curve to the bottom, lengthen the sleeve.
Other similar patterns to try: The Lou Box Top is new from Sew DIY and it is even simpler than the Scout as it doesn't have a set-in sleeve. But it ends up looking a bit similar. I am totally obsessed with this version of it.

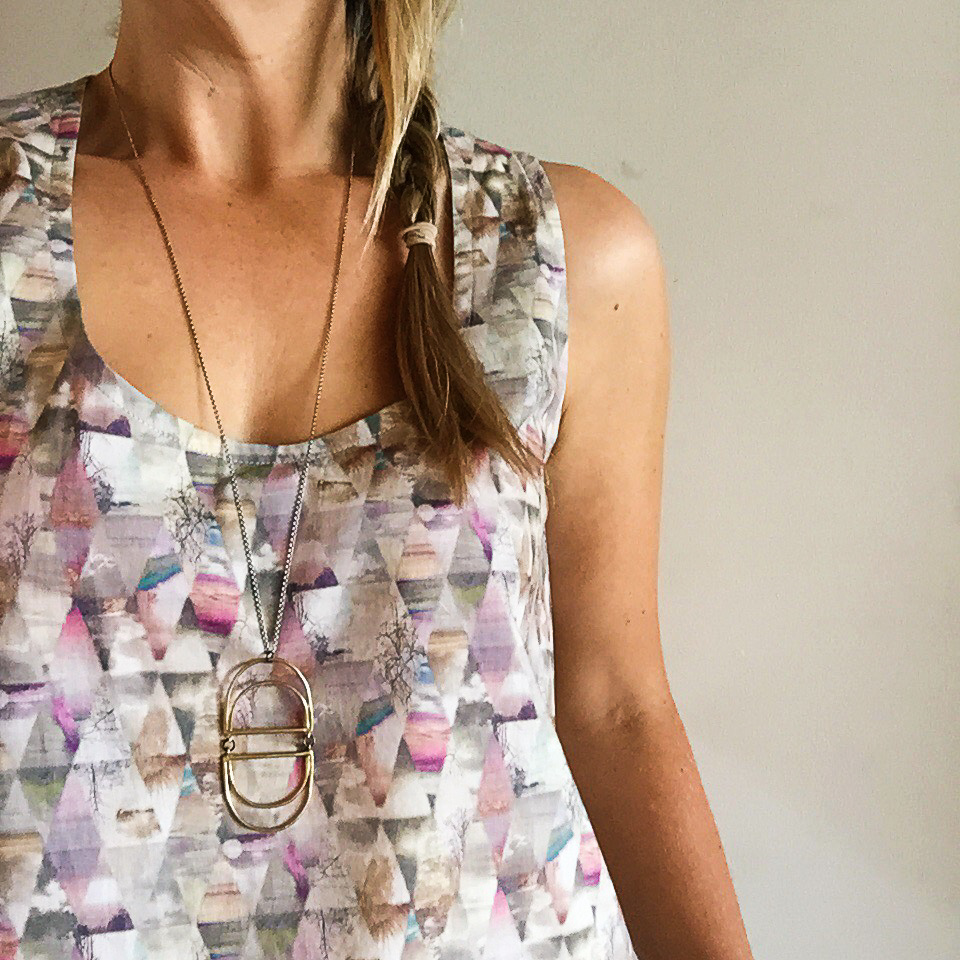
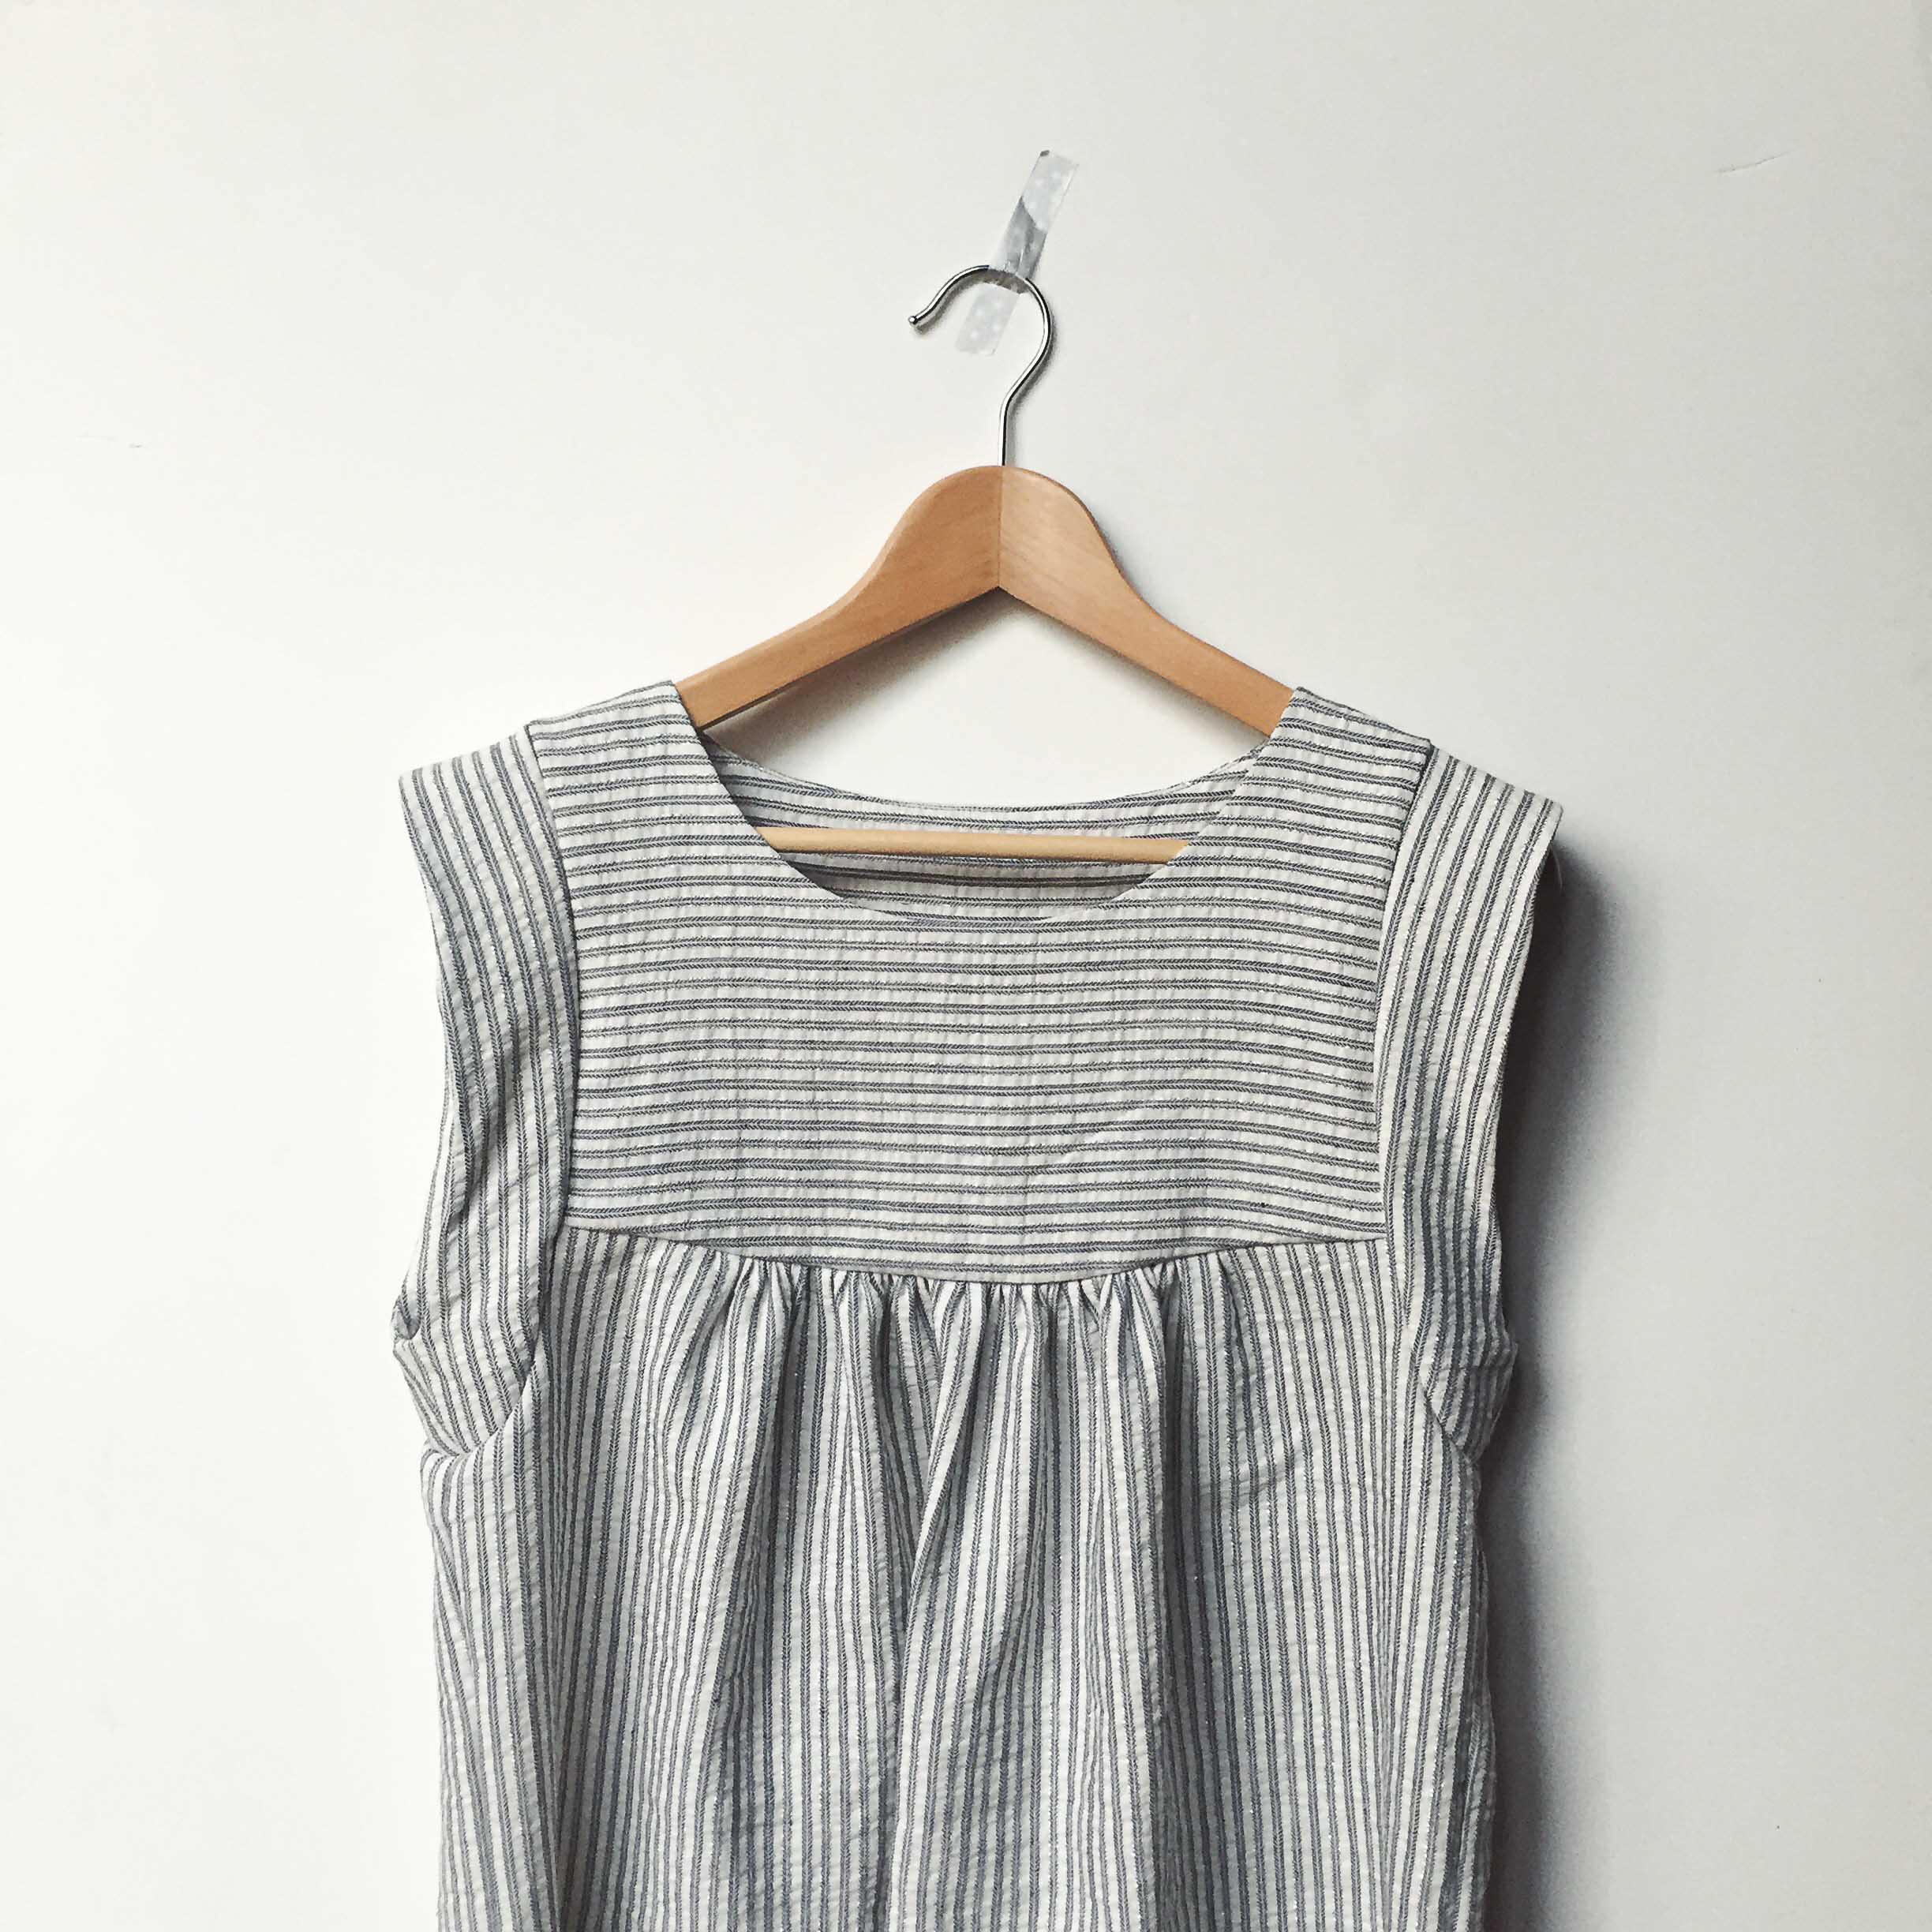
Step 5 - Alice Top/Dress by Tessuti
You will learn: Gathers, and to pay attention to what the pattern says about seam allowances.
This pattern is also new to me. I've made it twice now - and I love it! The construction is interesting and rather fun. While you are making it the first time it can feel a little slow but then it comes together beautifully and super fast at the end. Such a winner.
There are two things you need to know about this pattern!
- You need to pay attention to the seam allowance as it changes three times as you go through the pattern. It is clearly detailed in the instructions. There is a really sensible reason for it (that in some places in a garment you want wider seams from a construction point of view than others) but for the beginner it is something to watch out for.
- The sizing is a little wacky. I made an XS and it fitted well. Normally I am a S or a M. Read people's review on the internet before giving this pattern a crack.
So the gather - it is not much of a step up – you can easily do this! You ran a basting line for the set in sleeve for the Scout Tee – gathering is the same.
This is how I do a gather – and I ignore any pattern that tells me otherwise.
Run your basting lines 5mm either side of what you seam allowance is (I understand I am changing from inches to cm. Please forgive me - I use both). So if you have a ½” seam allowance run your basting lines at 3/8” and 5/8”. Don’t pull the basting threads yet – pin first. Divide the two pieces you are going to sew together into 4 sections (or 8 for a larger seam). Pin the raw edges together connecting the four pins. THEN pull the basting threads together. Smooth the gather out so that it sits flat between the pins and so that the gather looks even between the two basting lines. When the two pieces of fabric are the same length and flat add more pins. I put them in about every inch. Again sew from the side of the gather.
I get perfect gathers doing this!
Alterations: Length, leaving out the arm facing.
Other similar patterns to try: Ruby by Made By Rae, Valerie by Tessuti
My first Tova was a complete copy of one I saw on the Tessuti blog.
Step 6 - Wiksten Tova by Wikstenmade
You will learn: To sew a placket and to sew in a bib.
I love this pattern - it is well written and finished beautifully (as is usual for Jenny's patterns). So gorgeous and so wearable. You only need follow it as written to get a great garment. There are hundreds of gorgeous versions of this under google images so go take a look for some inspiration.
You have all the skills to do this! A gather, a set-in sleeve and some straight sewing is all you need except for one slightly trickier bit.
The tricky bit is attaching the front of the garment to the bib. Take your time, pin a lot and be willing to unpick if you get stuck. * I'll update this when I find ace tutorial someone did.
Alterations: The dress requires an arse adjustment for people shaped like me (and Jenn xx), no collar, sleeve alteration.
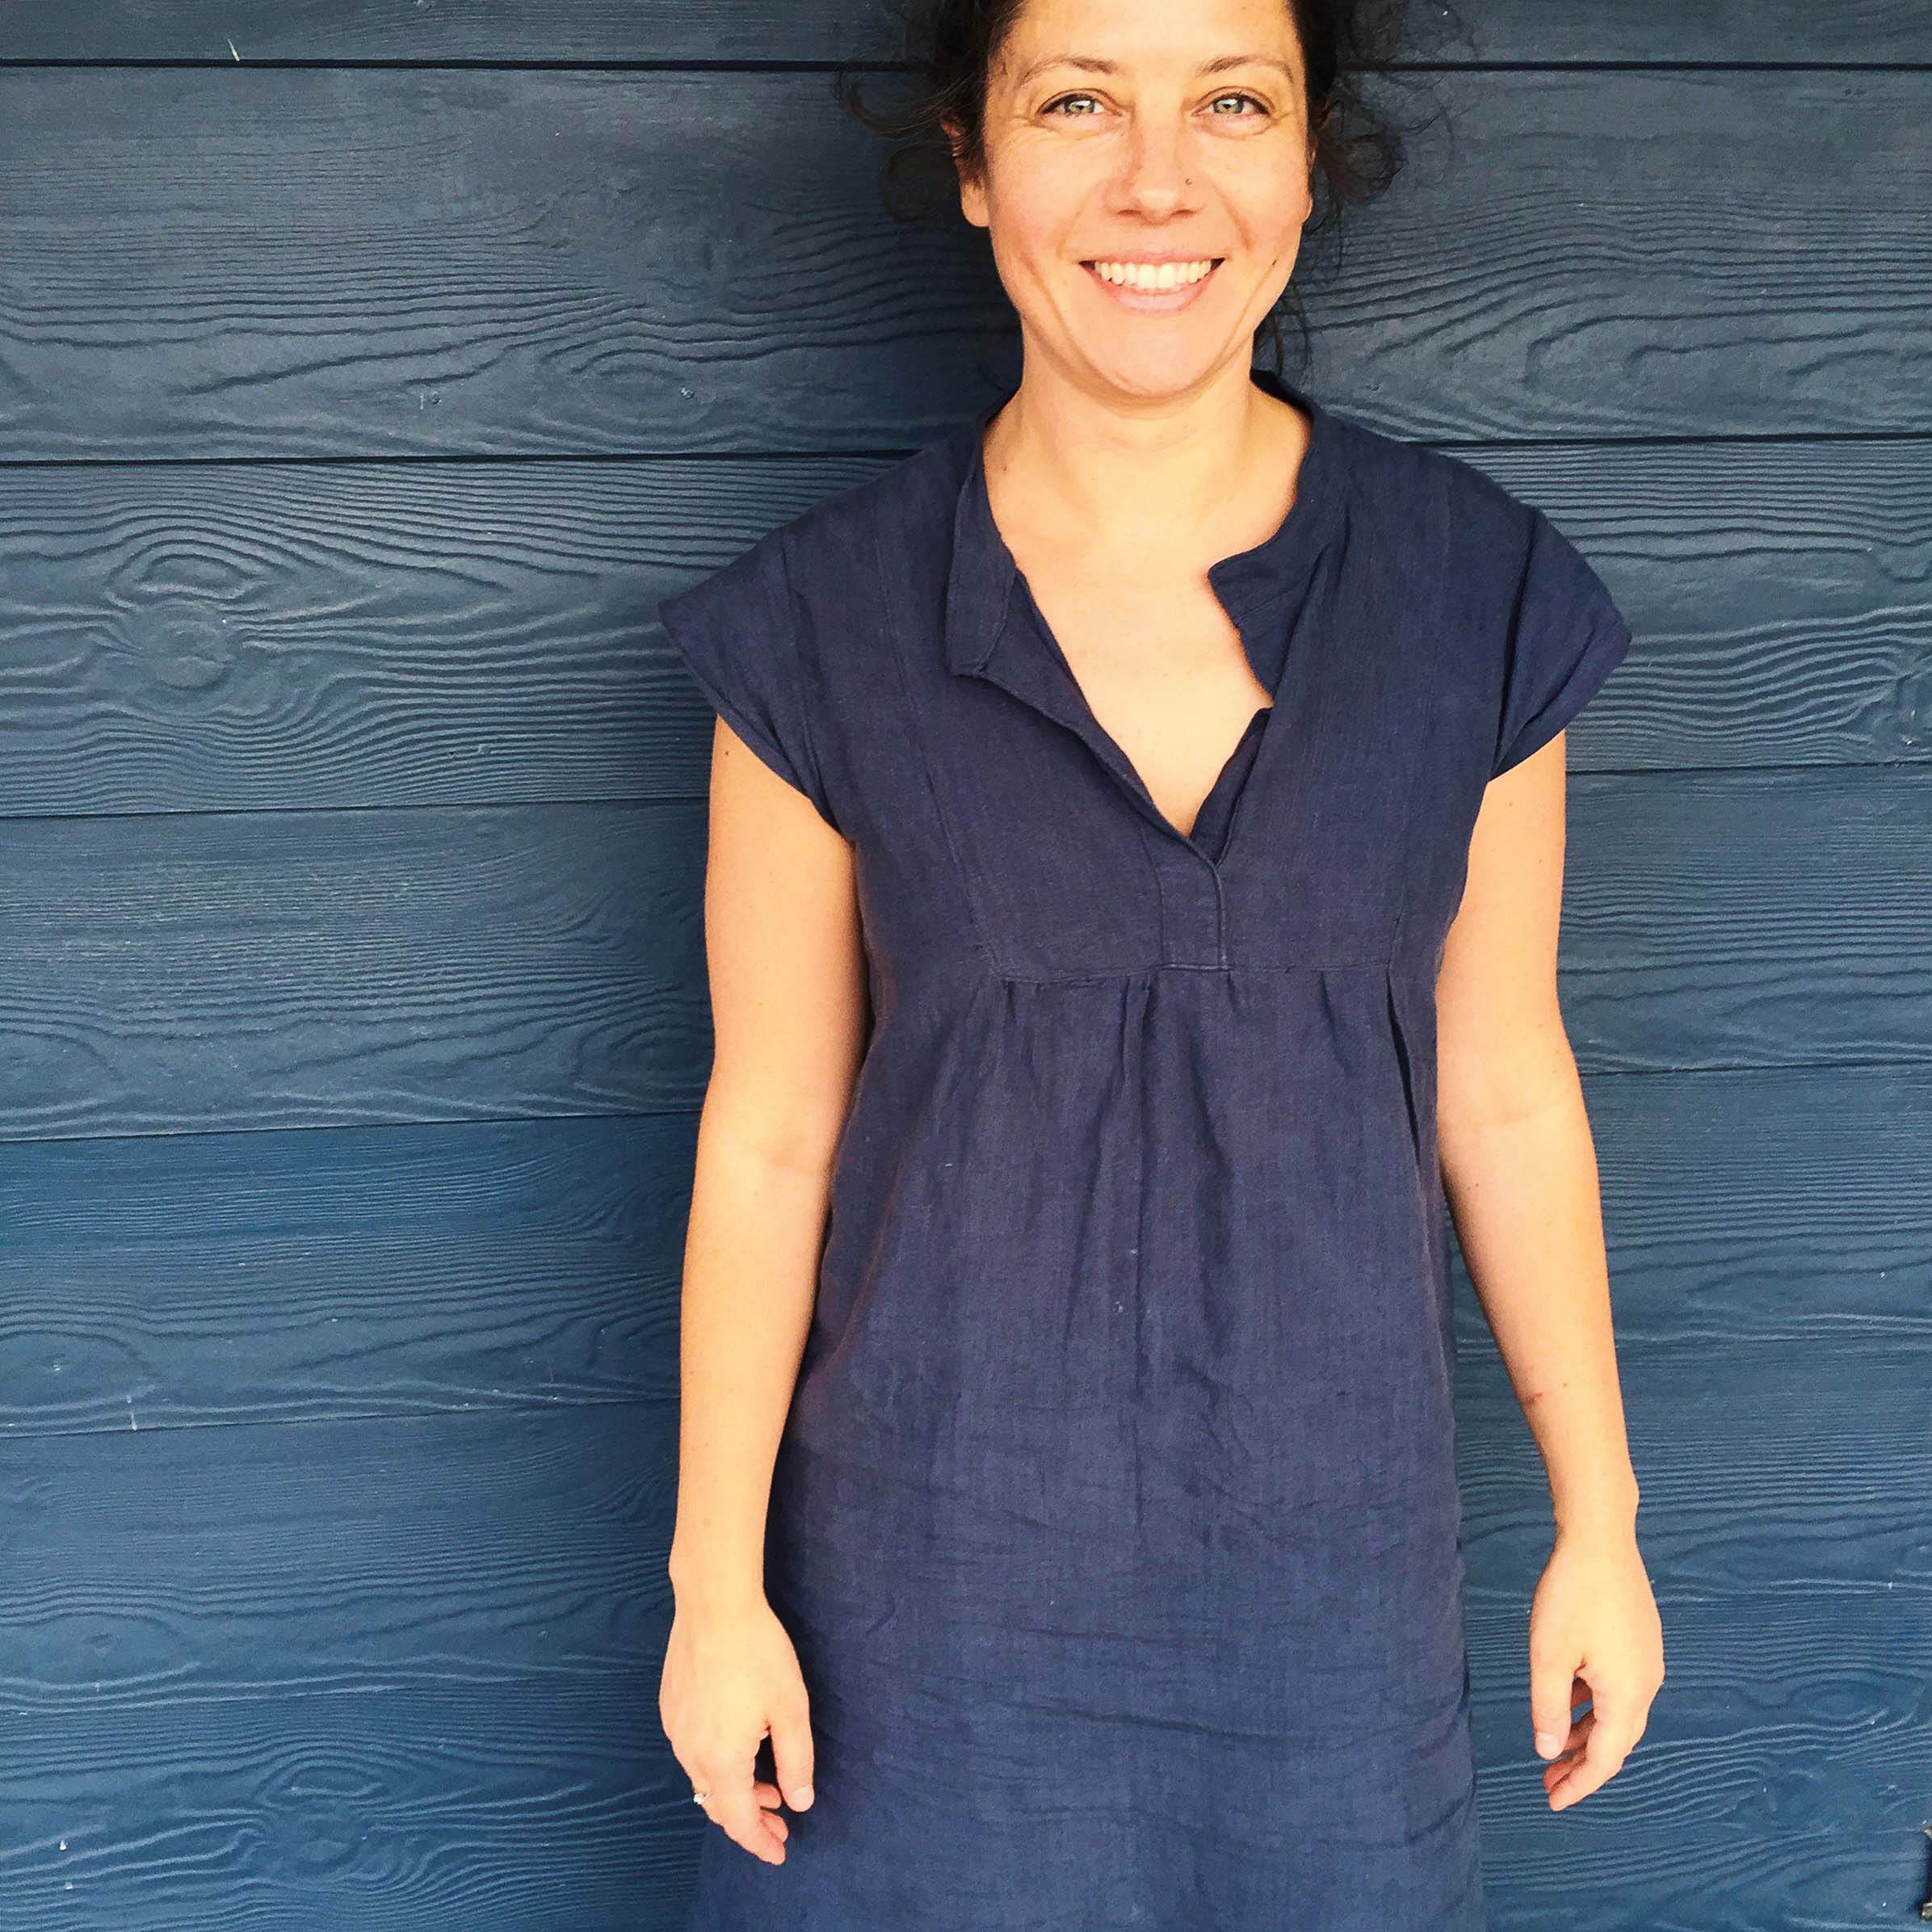
Jenn's gorgeous Tova with her improvised sleeve. I love it so much.
So there you have it. My favourite wear-everyday tops - with not a button or a zip among them - as a sewing 101 for tops. They are so simple that most of them only have a couple of pattern pieces!
Ask me your questions and I will try to help. Or tell me more about what you want to know.
Happy simple sewing.
Felicia x
PS. If you decide to make any of these tops and are posting to instagram then include the hashtag #simplesewing101 so I can see what you are up too!