This post is a diary entry. A visual reminder for when I inevitably forget this stellar piece of wisdom. Which I will. I seem to forget it periodically, and get stuck in the planning phase of a project. Stuck going round and round and round in my head.
So let's put it out there - into the bloggisphere (spelling anyone?) - where I will inevitably run into it when I am wandering around in past posts trying to find the one where I mentioned some "useful" thing. And here is what I want to say.
“Planning only gets you so far because you cannot plan the PERFECT outcome. You need to MAKE it to see if the materials, design and form you have chosen work together. Or not. The making is where the rubber hits the road. Pre-trip planning will help but really you need to be on the road to know what the conditions are like and what it feels like to be there. ”
I'm trying to gauge swatch for a second Colourwork Cardy; a few of you have mentioned that you wouldn't mind a pattern? So I'm going to try to make some time to do it. I have a simple plan to make another but I have sat on it for a good while. I already have the pattern - cause I wrote it as I was making it. I have materials - I purchased some naturally dyed yarn in an assortment of colours when I was in the UK last year. And there the project stalled.
You see the colours, well they aren't quite the same. They are pretty and I thought they might work. I've put them next to one another in the shop. Next to one another in my sewing room. I have put them up against the last Colourwork Cardy, and then up against a picture of the last Colourwork Cardy. And they are similar but different. I have sat them all in a row. I have sat them in piles. I planned and thought.

Then there was the matter of gauge. The yarn from the prototype and the yarn I'm using are both DK. Should be easy but I was worried as they had a different composition. Would they work or wouldn't they.
What happens to me when I'm not sure if something will work is I come down with a massive dose of procrastination. A terrible illness to befall a maker who really wants to make a thing. The not-knowingness causing the not-makingness which in turn causes the not-knowingness. And there I sat. Convincing myself that what I was really doing was planning.
The more I want to love the project, the more I'm excited about it, often the longer I procrastinate/plan.
Until I realised. No more planning was needed. No more planning would help. The only thing to be done was the making.
This week's example - colourwork Cardy Mark II
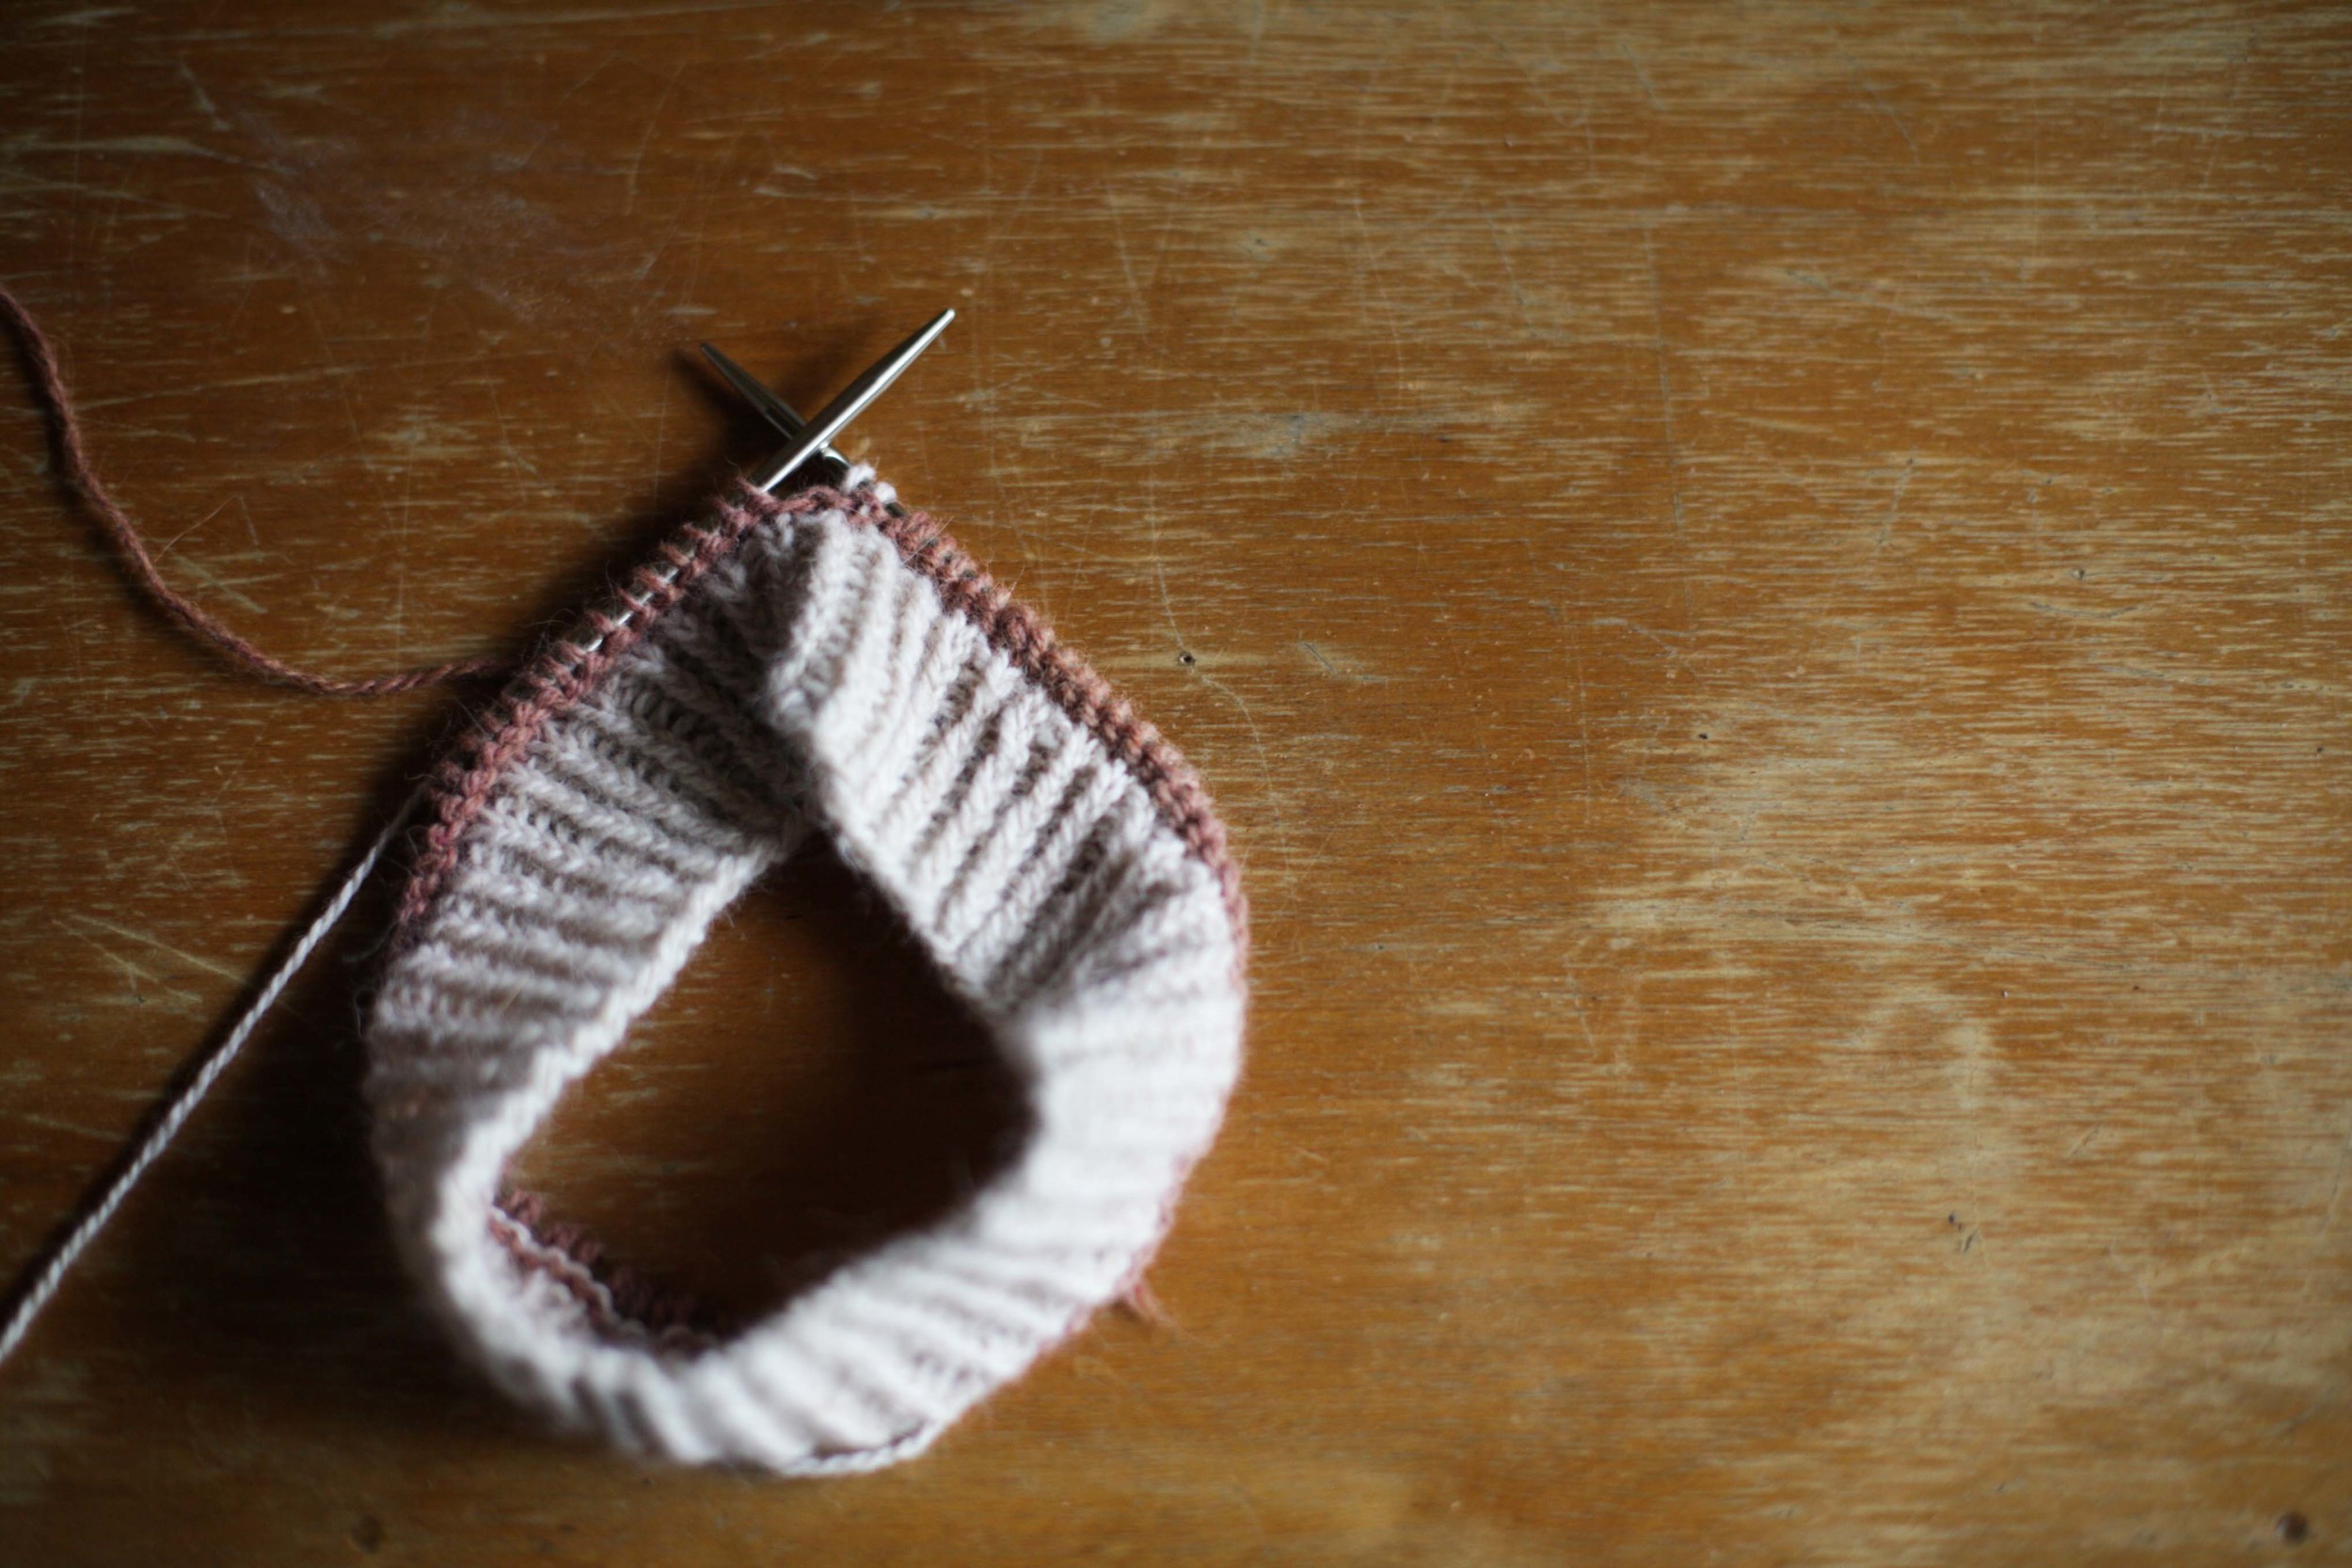
To make a pattern for the Colourwork cardy I need to gauge swatch with the new yarn. So I'm doing that by knitting some hats. The first on 4mm needles and the second on 4.5 to see if I can match the gauge of the last cardy while still liking the fabric it creates.
And then there is the colours. Piles of colours only help a little. Until I actually start knitting with them I have no idea how they will combine. In a ball they are super saturated. Knitted up they have light yarn between them and a whole lot of negative space. And they look totally different. Sometimes a colour sits beautifully next to another and makes it sing. Other times, not so much. Making actually allows you to see the subtleties of the colour combinations - not only are you asking if the colours go together, but how should they go together. An intense colour used too thickly can look too heavy. Too heavy and it makes the whole hat seem more contrasty than I want it to look. I can't see this in the planning.
So I made the first hat and I'm not thrilled with the result. It's OK. I can see it has potential but I need to refine. The bright red is too bright (it isn't in the pictures of all the yarn above). I need to mute the whole thing down and just have one or two hero colours. The blue and maybe one other. I've swapped the red out for another couple of colours I thought wouldn't work in the planning phase.

Trying to mute the palate down by using a mushroom instead of the blue at the edge. This didn't work either ;). One thing that had to go was the brightest red, which softened the whole thing up.
Combination of colours and patterns get refined each time I them. Yesterday's example was the crown shaping; I wrote out a shaping idea and started knitting it up. It was awkward and lopsided. I ripped it out, did another chart, and then another chart and started knitting again. Again it didn't work. I realised while I was knitting, that the blue lines were going to be a much bigger feature than the decreases, which was the opposite of my plan or what I thought. I knitted it up and then colour weighting was wrong. I ripped it out, did three more charts and then finally knitted what you saw in the instagram photo. I still think the blue lines are too heavy but I couldn't rip again. This version is done. It is a sweet hat for a small person. I am however going to try something different on the Colourwork Hat Mark II to see if I can crack it. I've planned it, charted it and now all that is left to do is the making; the only way to tell if the planning is sound or not.

Charts 4/7 and 5/7.
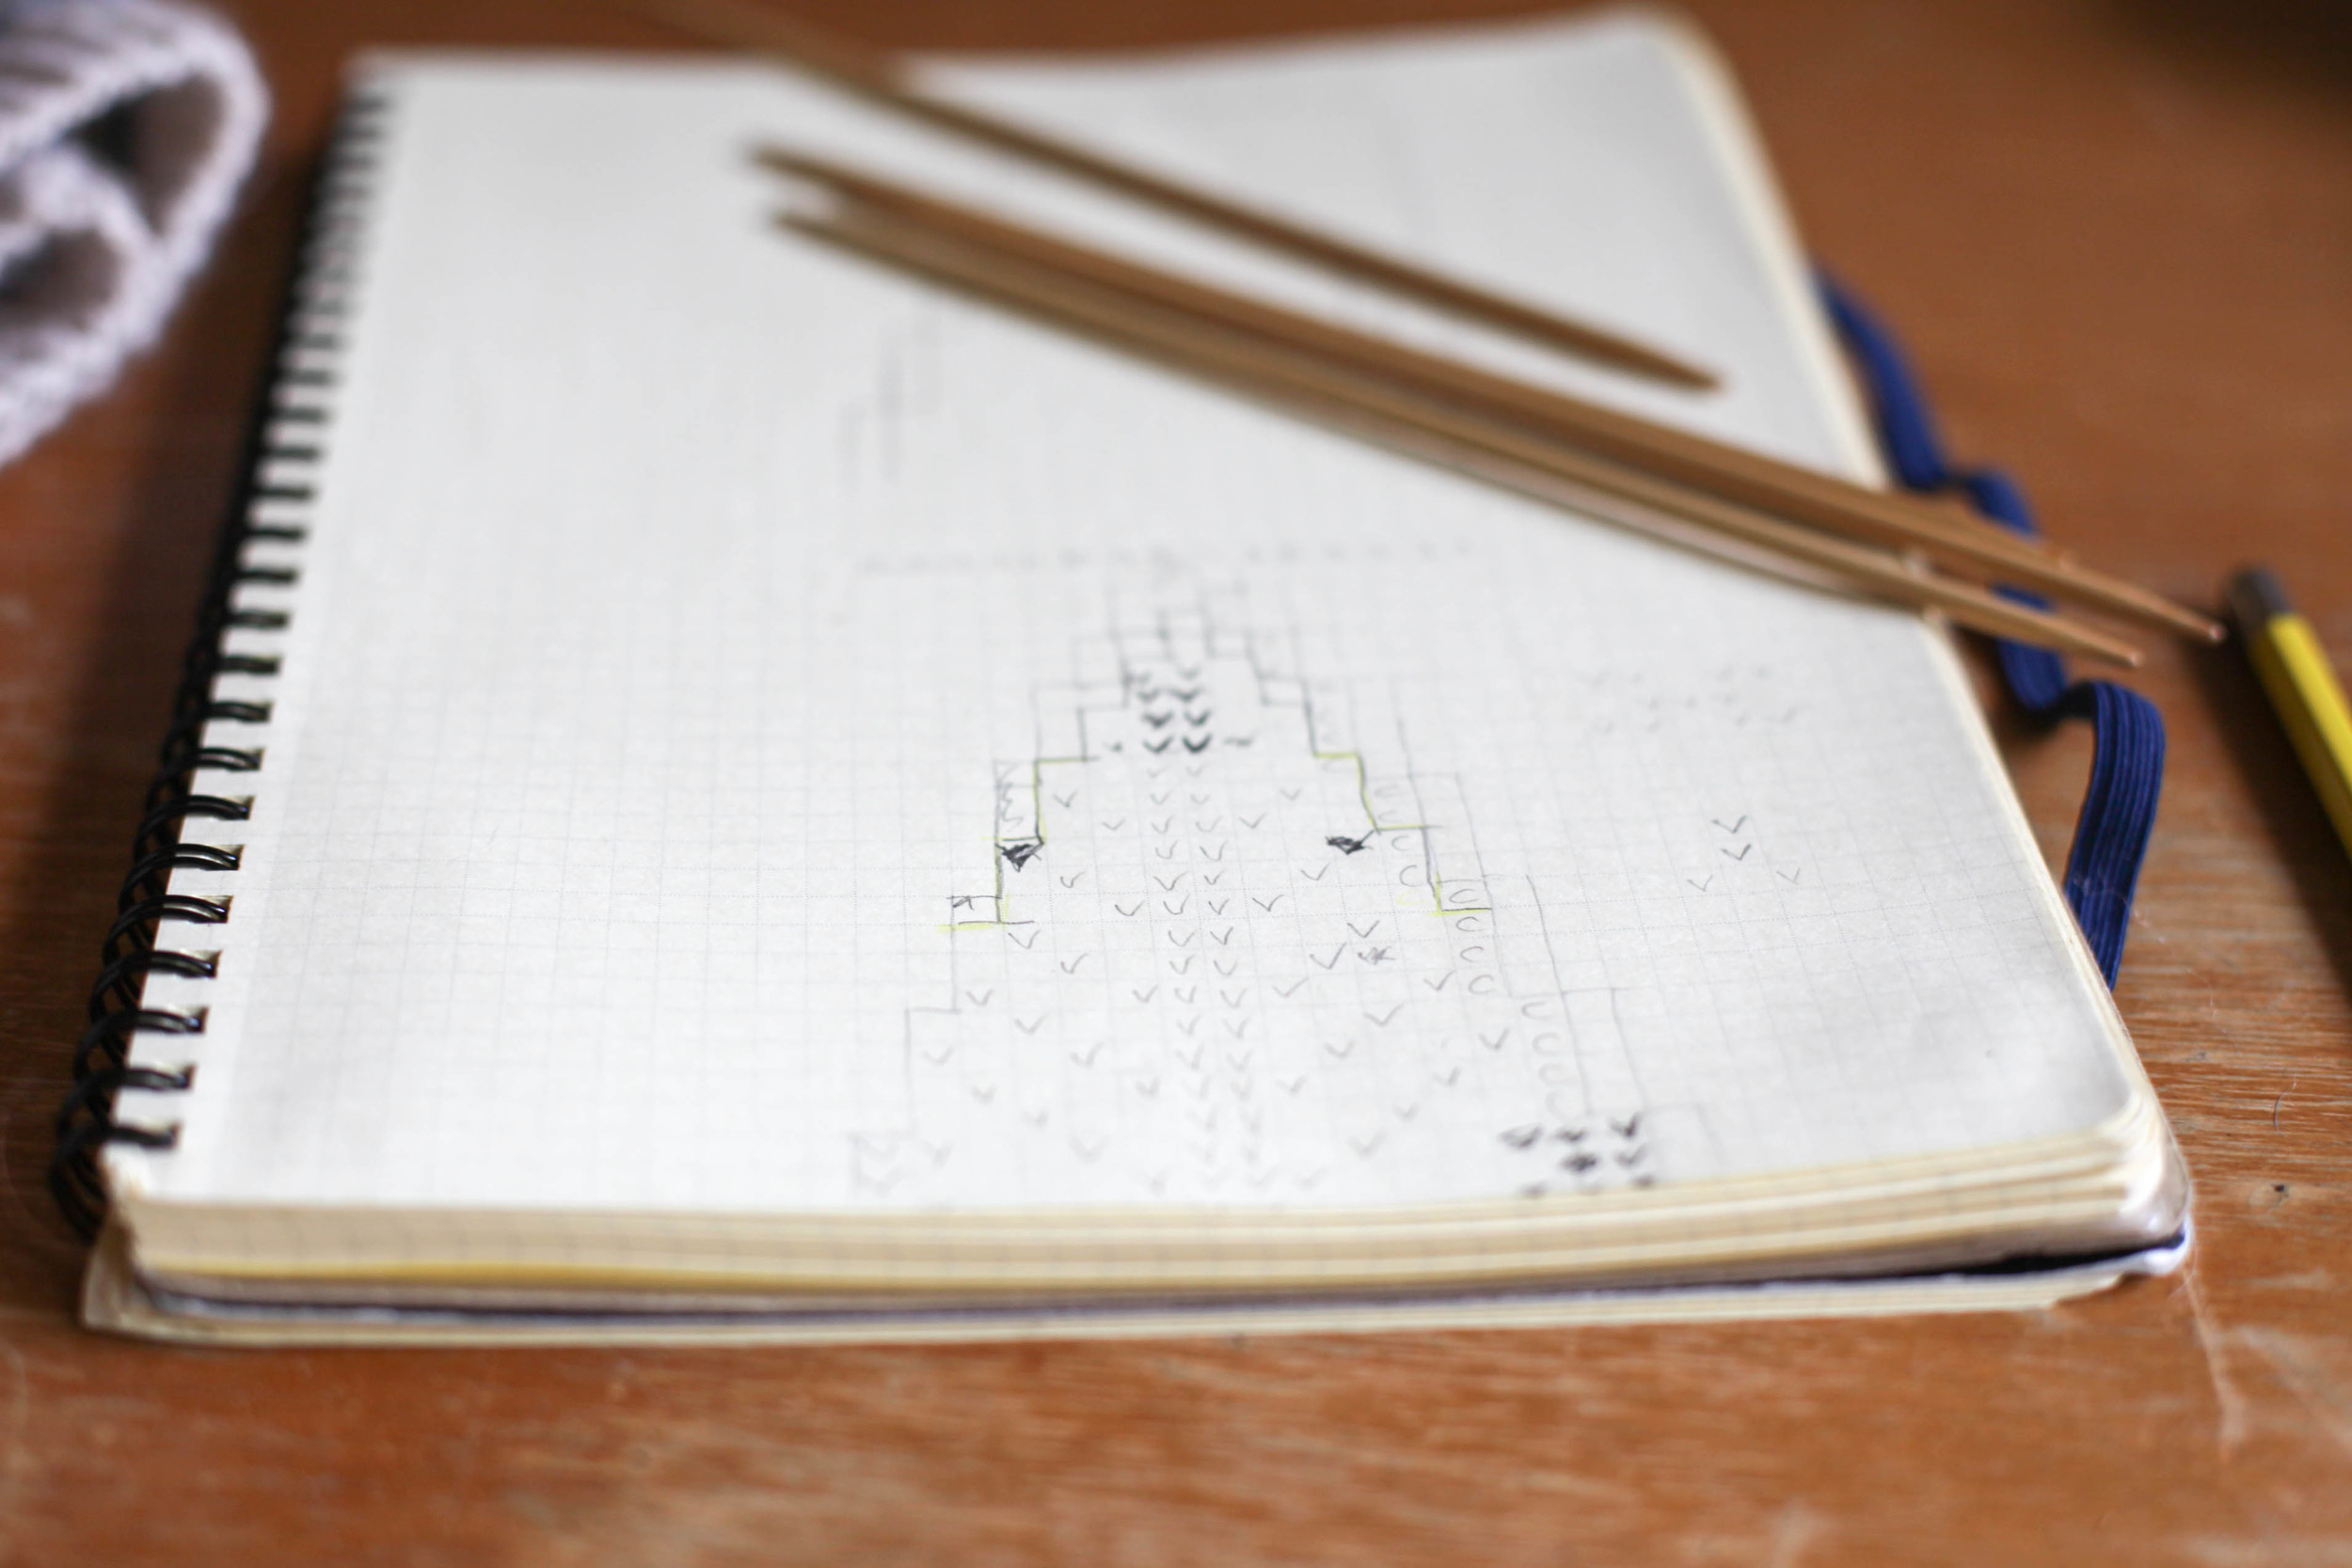
Chart 7/7 that I modified even as i was knitting it.

THE MAKING FEEDBACK LOOP OF LEARNING
So the important takeaway that I need to remember is to….
“Plan, then make, then revise, then plan and then make. And continue until in the feedback loop of learning until the project works. ”
The whole process has simply reminded me about how important it is to get things out of my head and into my fingers. I can think and think but there is something about watching a physical product come together that solidifies an idea or shows you where the flaws in your design are. The making provides the essential link in the feedback loop of creating something I will love.
Do you get stuck in the planning? or are you more like my friend Jenn who just makes?
Felicia