
So the camera is in the shop at the moment (It crazily takes nearly two months!) and the pictures aren't the best. But as I've been trying to post this for ages then I'm just going with what I have. Please note that one of the photos actually totally misrepresents what you need to do - so please read the captions. Hopefully the caption clarifies it, but ask questions if I've confused you! What a start to a post hey...
This post is part of our Simple Sewing series and contains my two most commonly used alterations. Put very simply both these adjustments add/take fabric away at the point it needs to be added/removed without really adjusting the shape of the garment. Minor surgery to achieve a better fit. They are in the spirit of simple sewing, in that they are a simple fix, to a common problem, that works, that isn't fiddly, that you can refine over time, as your skills develop. Gotta love a comma.
I use these adjustments on the Wiksten Tank, the Grainline Scout and tunics like the dress version of the Wiksten Tank and the Wiksten Tova.
My two most common alterations
Bottom adjustment.
Truthfully this is known as the arse-expansion technique* and it is super simple. It is useful for frocks such as the Wiksten Tank or the Tova (which are made for hipless people?) but it is also exactly the same technique I used on my woven Hemlock to give it the swing in the hem.
1. Measure from your shoulder down to your widest point (your widest hip point) - we will call it X. On the pattern, measure from your shoulder line to the hip length X and mark your pattern.
2. Measure your hips and add the amount of ease you need in order for the frock to not stick to your bum and hips - in my case it is about 8 inches. I did this by measuring a tunic I liked in my wardrobe.
3. Measure the width of the pattern at the hip point on both the front and the back. Add them together before taking away four times the seam allowance - normally this is something like 2" ( 4 x 0.5").
4. Work out the difference between the width I like (Measured in point 2.) and the pattern width (Measured in point 3.) - and divide it by 4. For me it is about 6" so 6/4 = 1.5" that I need to add.
5. Cut out the shoulder and armhole of the pattern as it is. Stop cutting at the bottom of the armhole. Don't cut out the sides or hem.
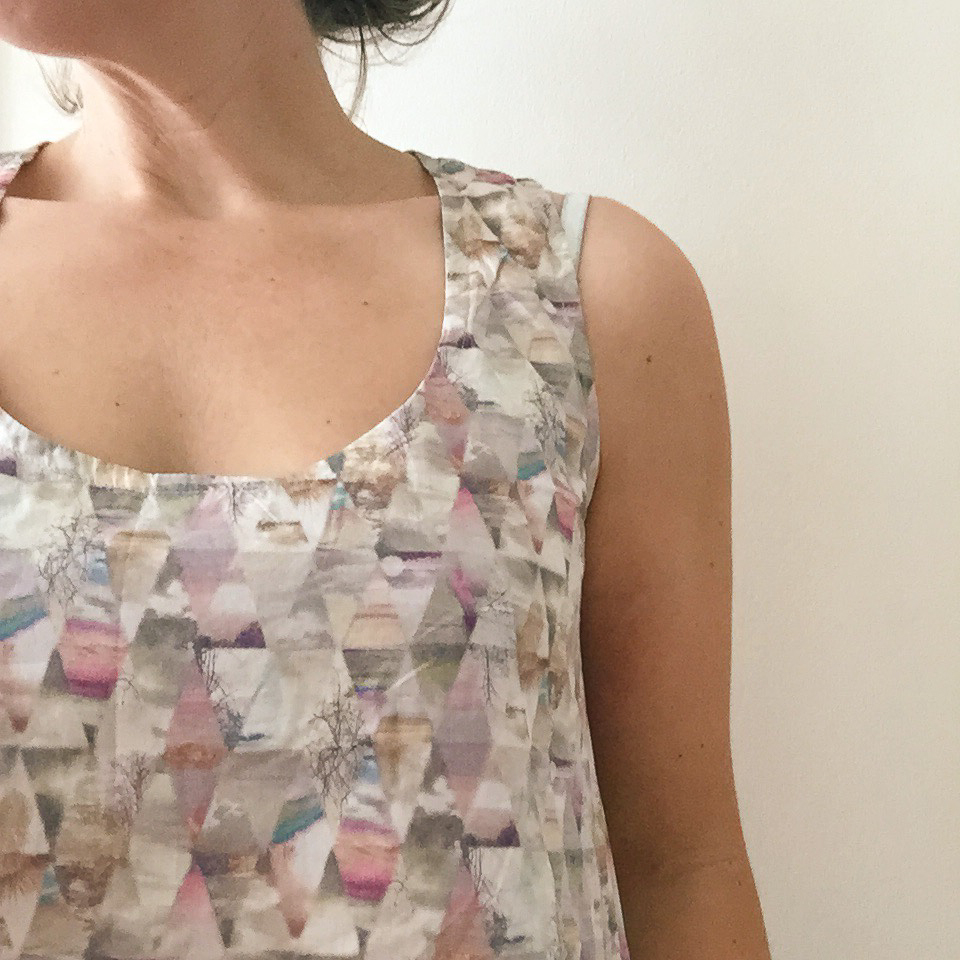
Cut out the neckline and then the armhole. Stop cutting at the "cut out to here" point. This pattern drawing is the representation of the front of a tank like the Wiksten Tank.
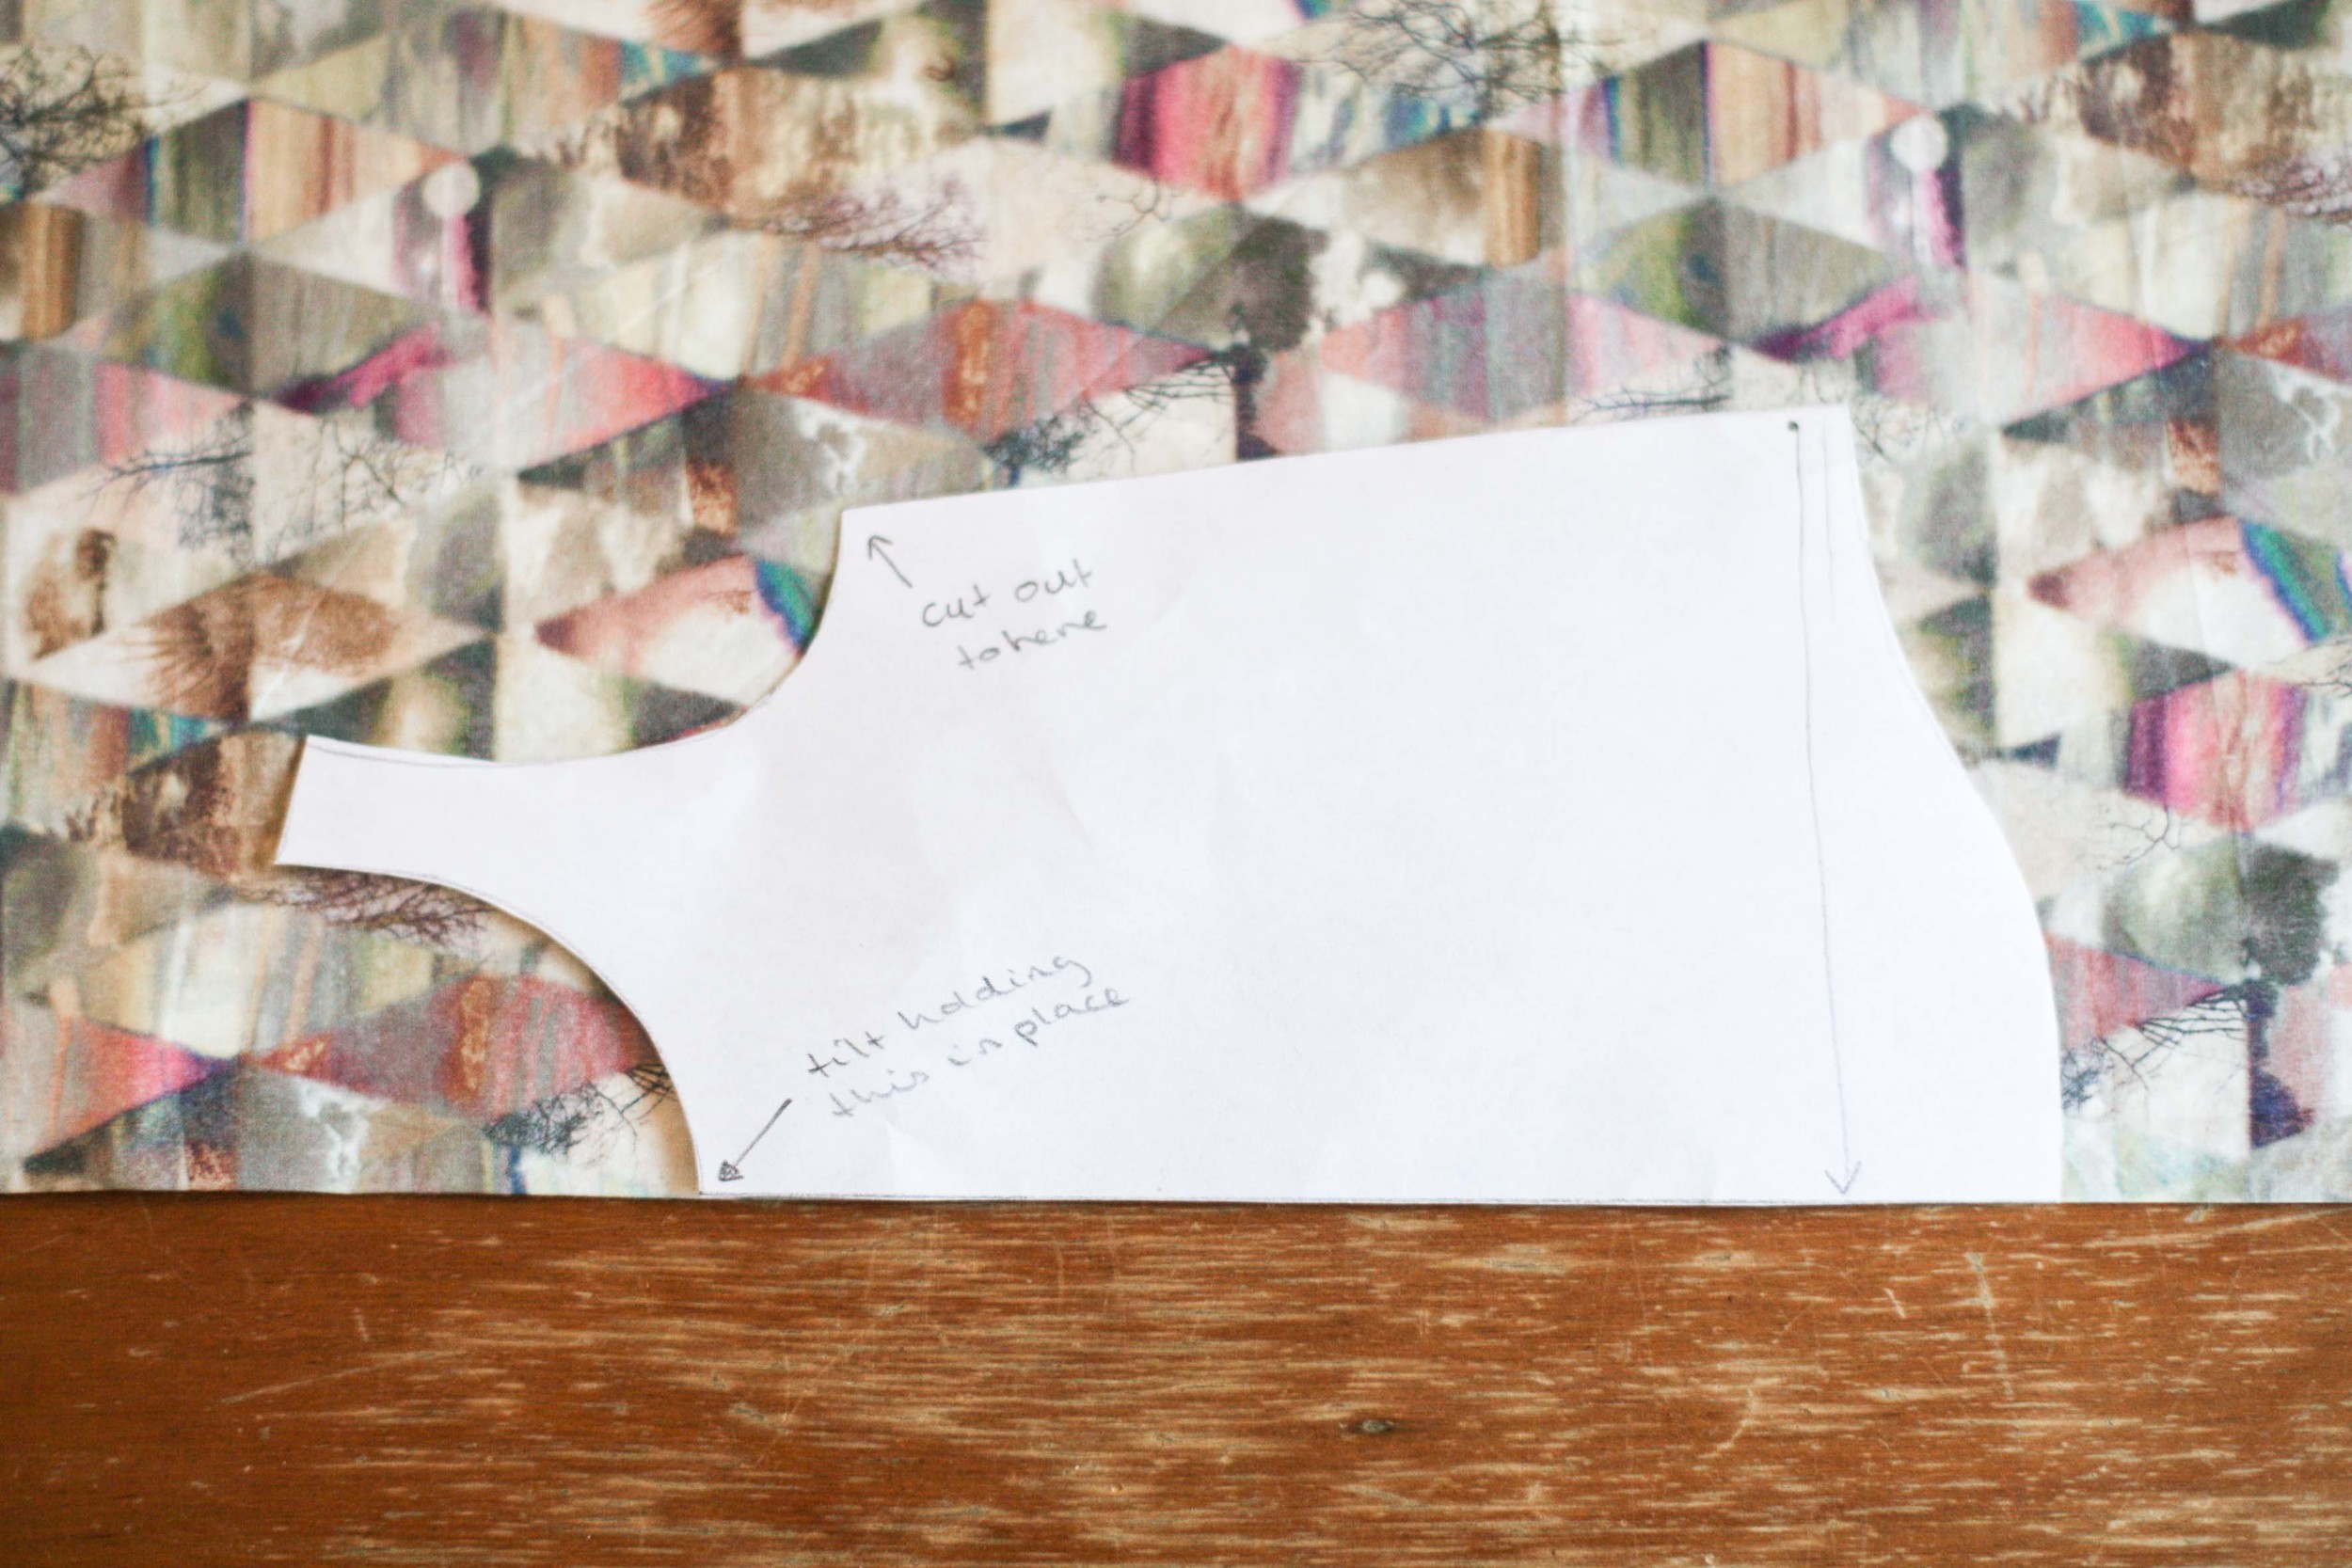
6. Holding the armhole point of the pattern in place on top of the fabric, pivot the hemline of the pattern away from the fold line of fabric. Keep tilting at the hip level until the pattern piece is the correct distance away from the fold - the distance you determined in point 4. In my example I pivot to leave 1.5" between the fold and the pattern piece. Note. The photo below shows the wrong pivot point.
This PICTURE IS WRONG but all I have to show what I mean. You actually hold the point at the armhole called "cut out to here" in place and tilt from there. I will update the photo soon. The aim is to have the 1/4 of the width of your desired hip (plus your seam allowances) from the edge of the fabric at the hip point (shown here by the line with the arrows at the end).
6. Repeat for the back! You might need to fiddle a bit with this if the front and the back are very different in their measurements. ie. Not divide exactly by four but add 1" to the front and 2" to the back.... I'm hoping this makes sense.
Back adjustment
This is very similar to the bottom adjustment except that it deals with a situation where the back of a top (like the Scout or the Wiksten Tank from the Sewing 101 post) is too wide or alternatively too tight.
This happens to me on the Wiksten Tank. The sizing is such that on me, if it fits across the boob then the back is too wide. By making this a few times I had a couple of muslins. I could see that I had about 1.5 inches of fabric more than I needed. I did this by pinching it out in the back of my neck while I had it on.
A word of warning: You need to trial this and probably start small. For the tank shown i the photo at the start of the post I went too far with the back adjustment. It then didn't cover my bra strap and pulled in around the shoulders.
Fixing it simply involves a single step.
1. Tilt the pattern of the back of the neck so that the pattern sits about 3/4 of an inch over the fold. It is really simple. The only thing you need to ensure is that although you have tilted the pattern piece that you cut the neckline at 90 degrees to the fabric for an inch or two before you start cutting to the edge of the pattern. You may need to fiddle with this a little - make a (wearable) muslin.
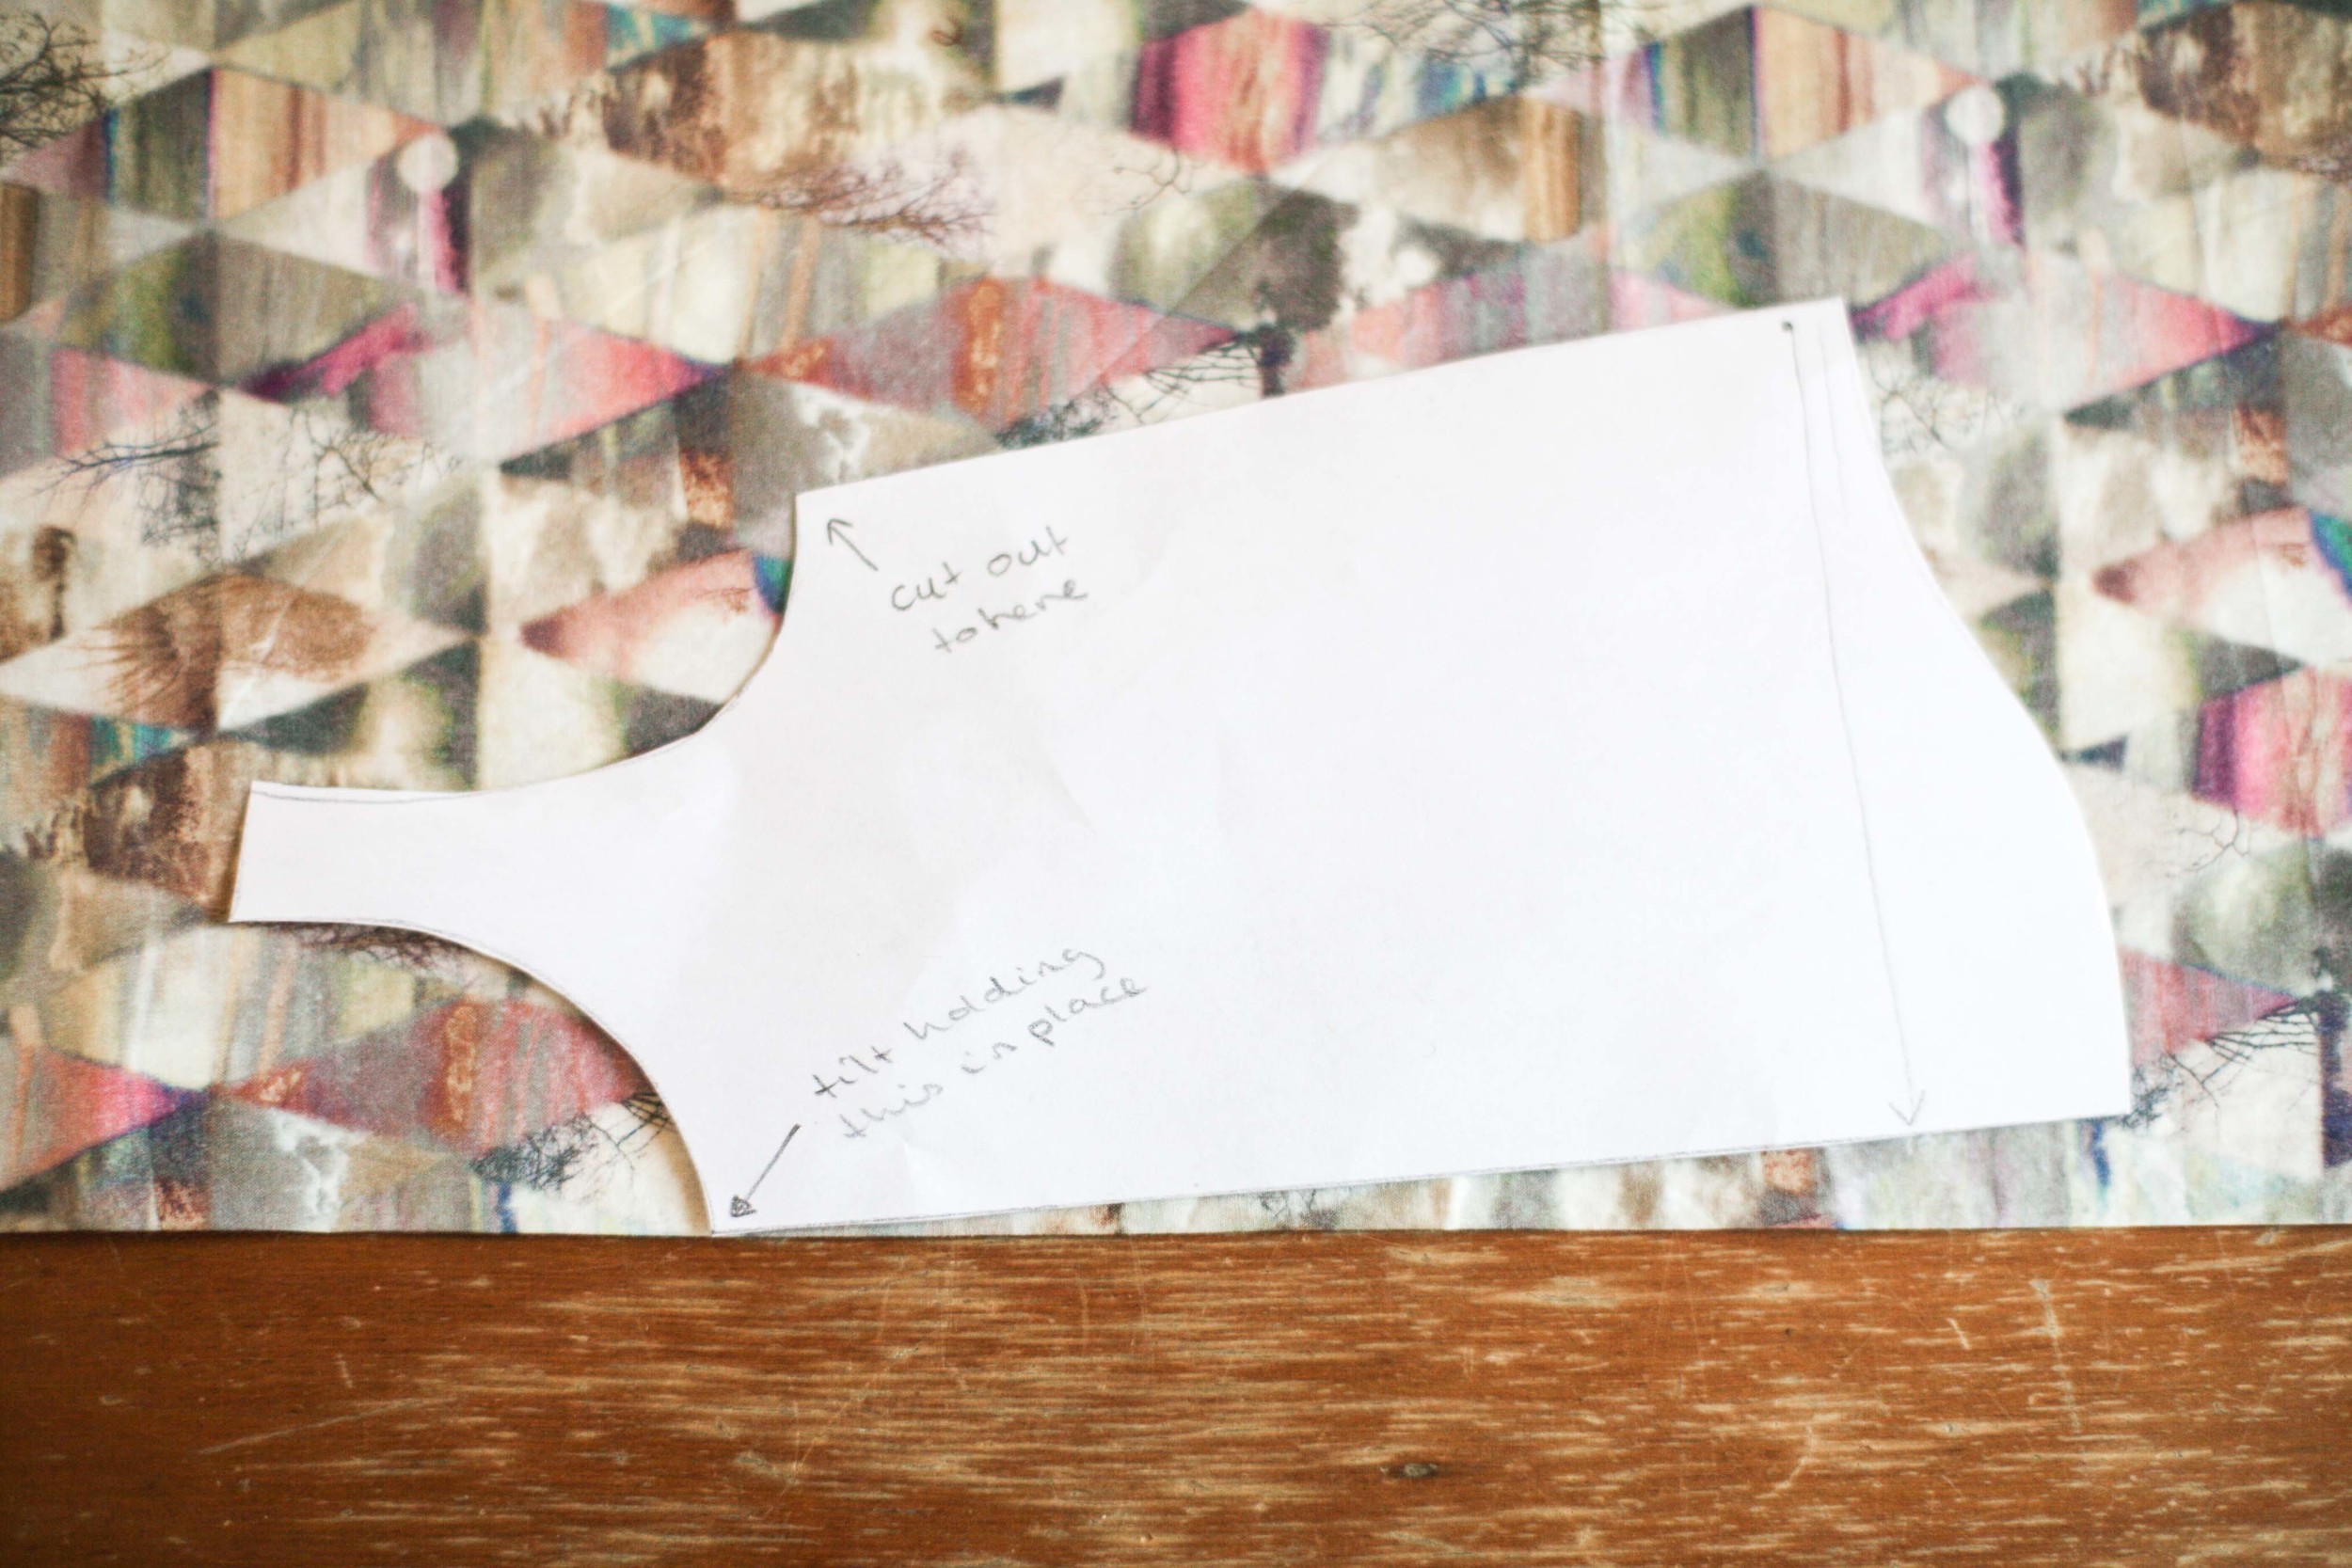
Shows the pattern sitting on the fabric as you would normally cut it. Don't!!

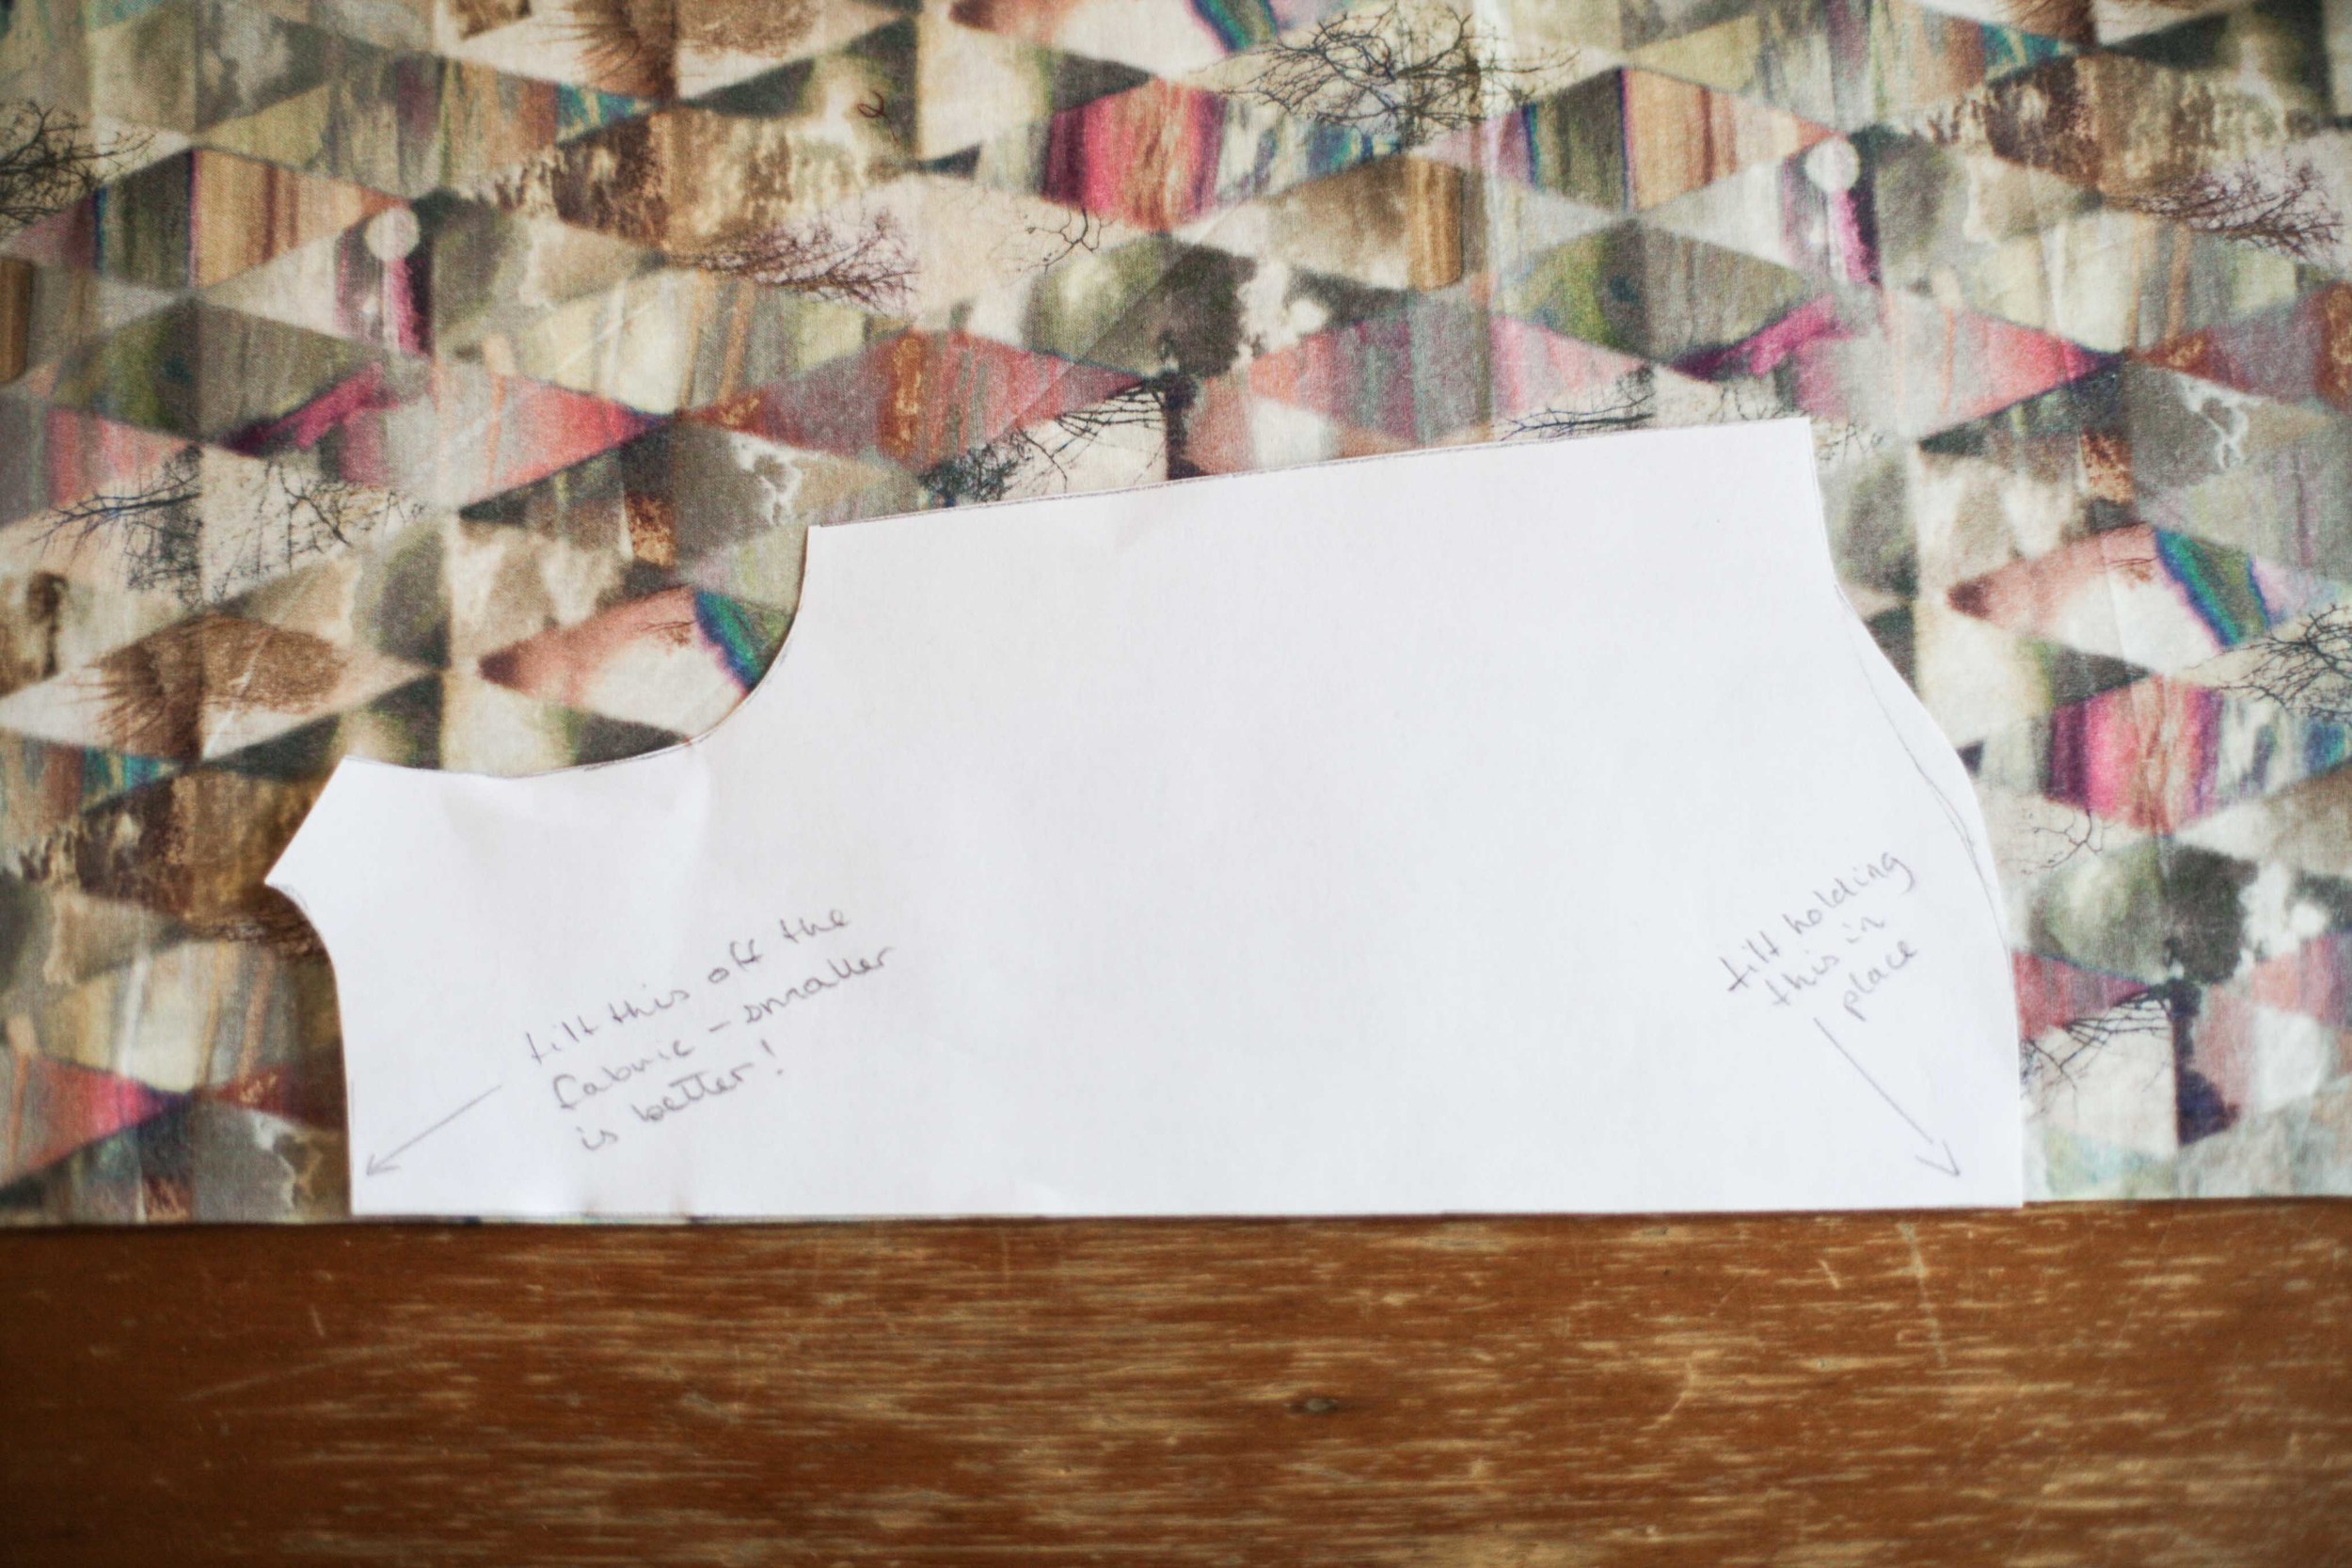
Tilt so that the pattern sits over the crease. Tilt from the bottom point where the hem of the back meets the fold of the fabric. Smaller alterations are better to start with as you will change the shape of the garment. Make sure you cut the fabric at the neckline at 90 degrees from the fold to ensure you don't get a little V.
You can also use the same trick to add a little more fabric - just tilt the pattern in the other direction!
As always - my little disclaimer - this is Simple Sewing 101 and not proper dressmaking.
Fel
*In the circles I run in.

