• The CraftSessions Story
  • Our Past Retreats
  • Blog
  • Newsletter
  • Contact
Menu

The Craft Sessions

Street Address
City, State, Zip
Phone Number

The Craft Sessions

  • About
    • The CraftSessions Story
    • Our Past Retreats
  • Blog
  • Newsletter
  • Contact

Stash Less - The Tipping Point

November 24, 2015 thecraftsessions

This post has another title. It's also called "How stashing has wreaked havoc on my kid's wardrobes." Now some of you might say that wreaked havoc is a little harsh - and maybe I'll concede on that point. I do have a point though - and that is that they definitely aren't the wardrobes they would have had if I hadn't been stashing for all those years. I need this post as a reminder - reminder that buying without thought leads to chaos.

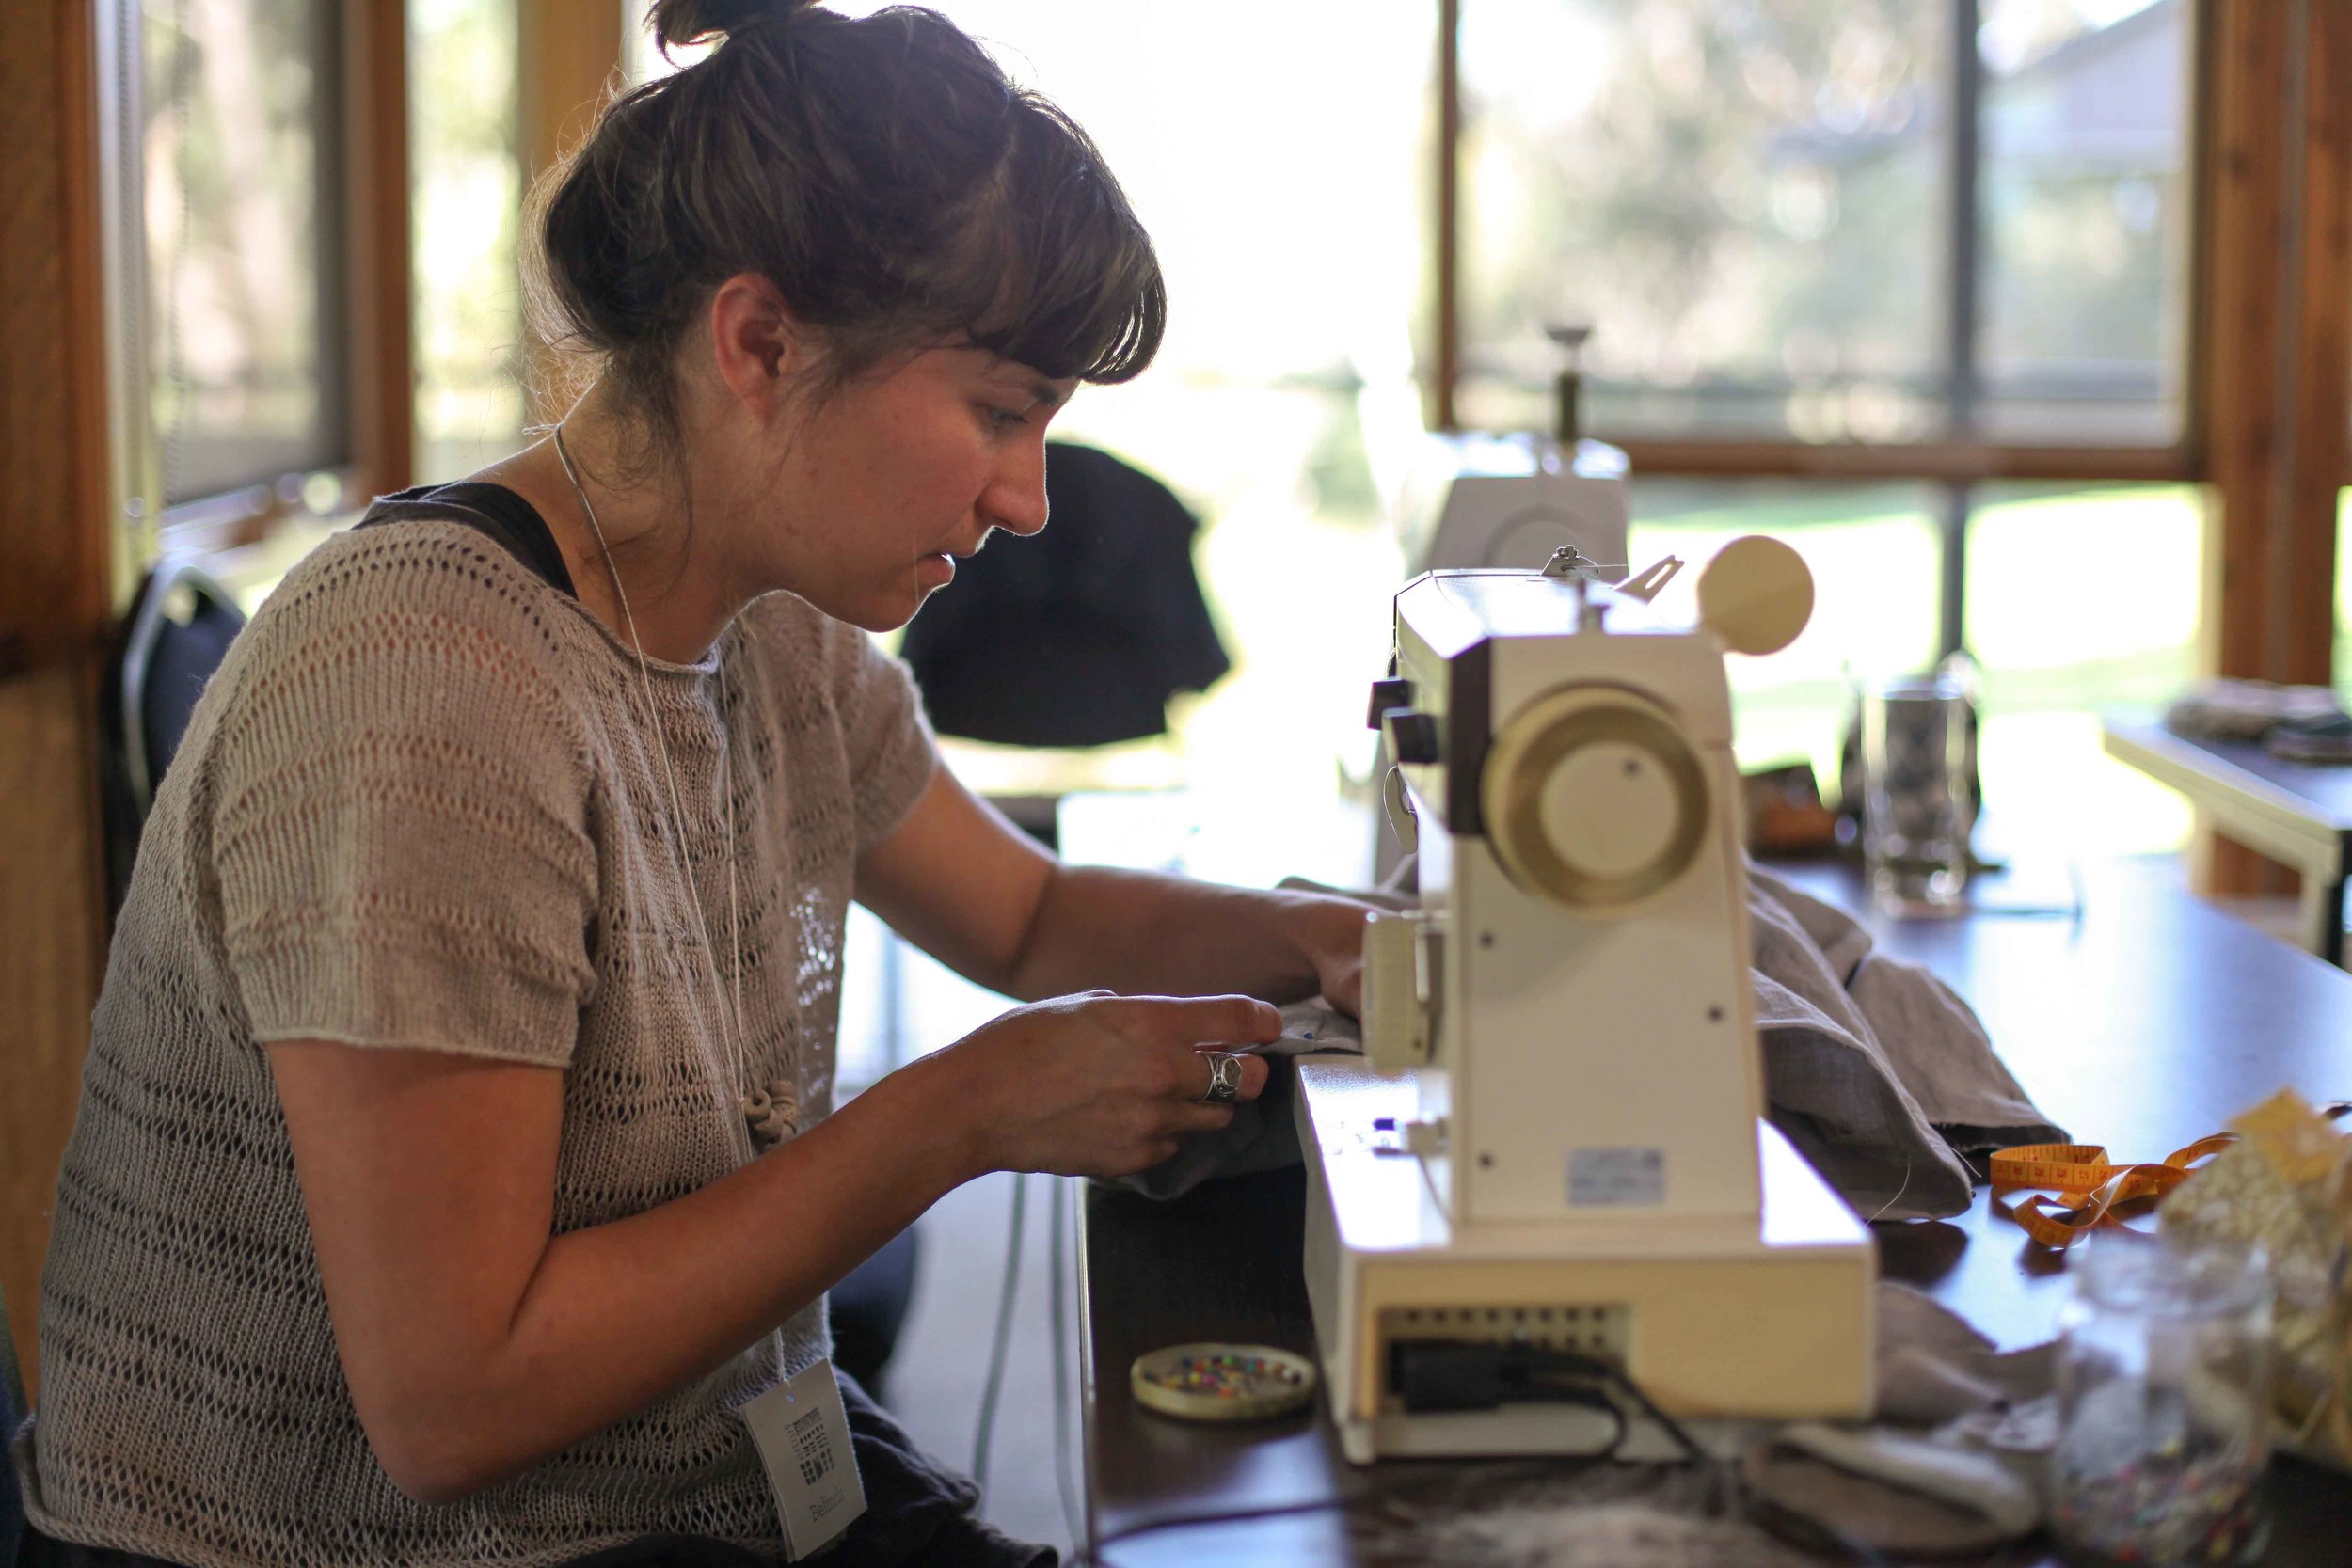
See the thing about stashing is that I bought without thought. For many years I didn't use my visual diary to consciously determine what I like and then purchase accordingly. Instead, on a whim, I purchased pretty sparkly things that I fell for on the day. My stash became a stash filled with fabrics that are attractive but that aren't my "deep style". And now, because I am the kind of person who wants to use up what I have, (due to this Stash Less Project I started and my desire to be a more conscious consumer), I am now making them clothes with what I have.

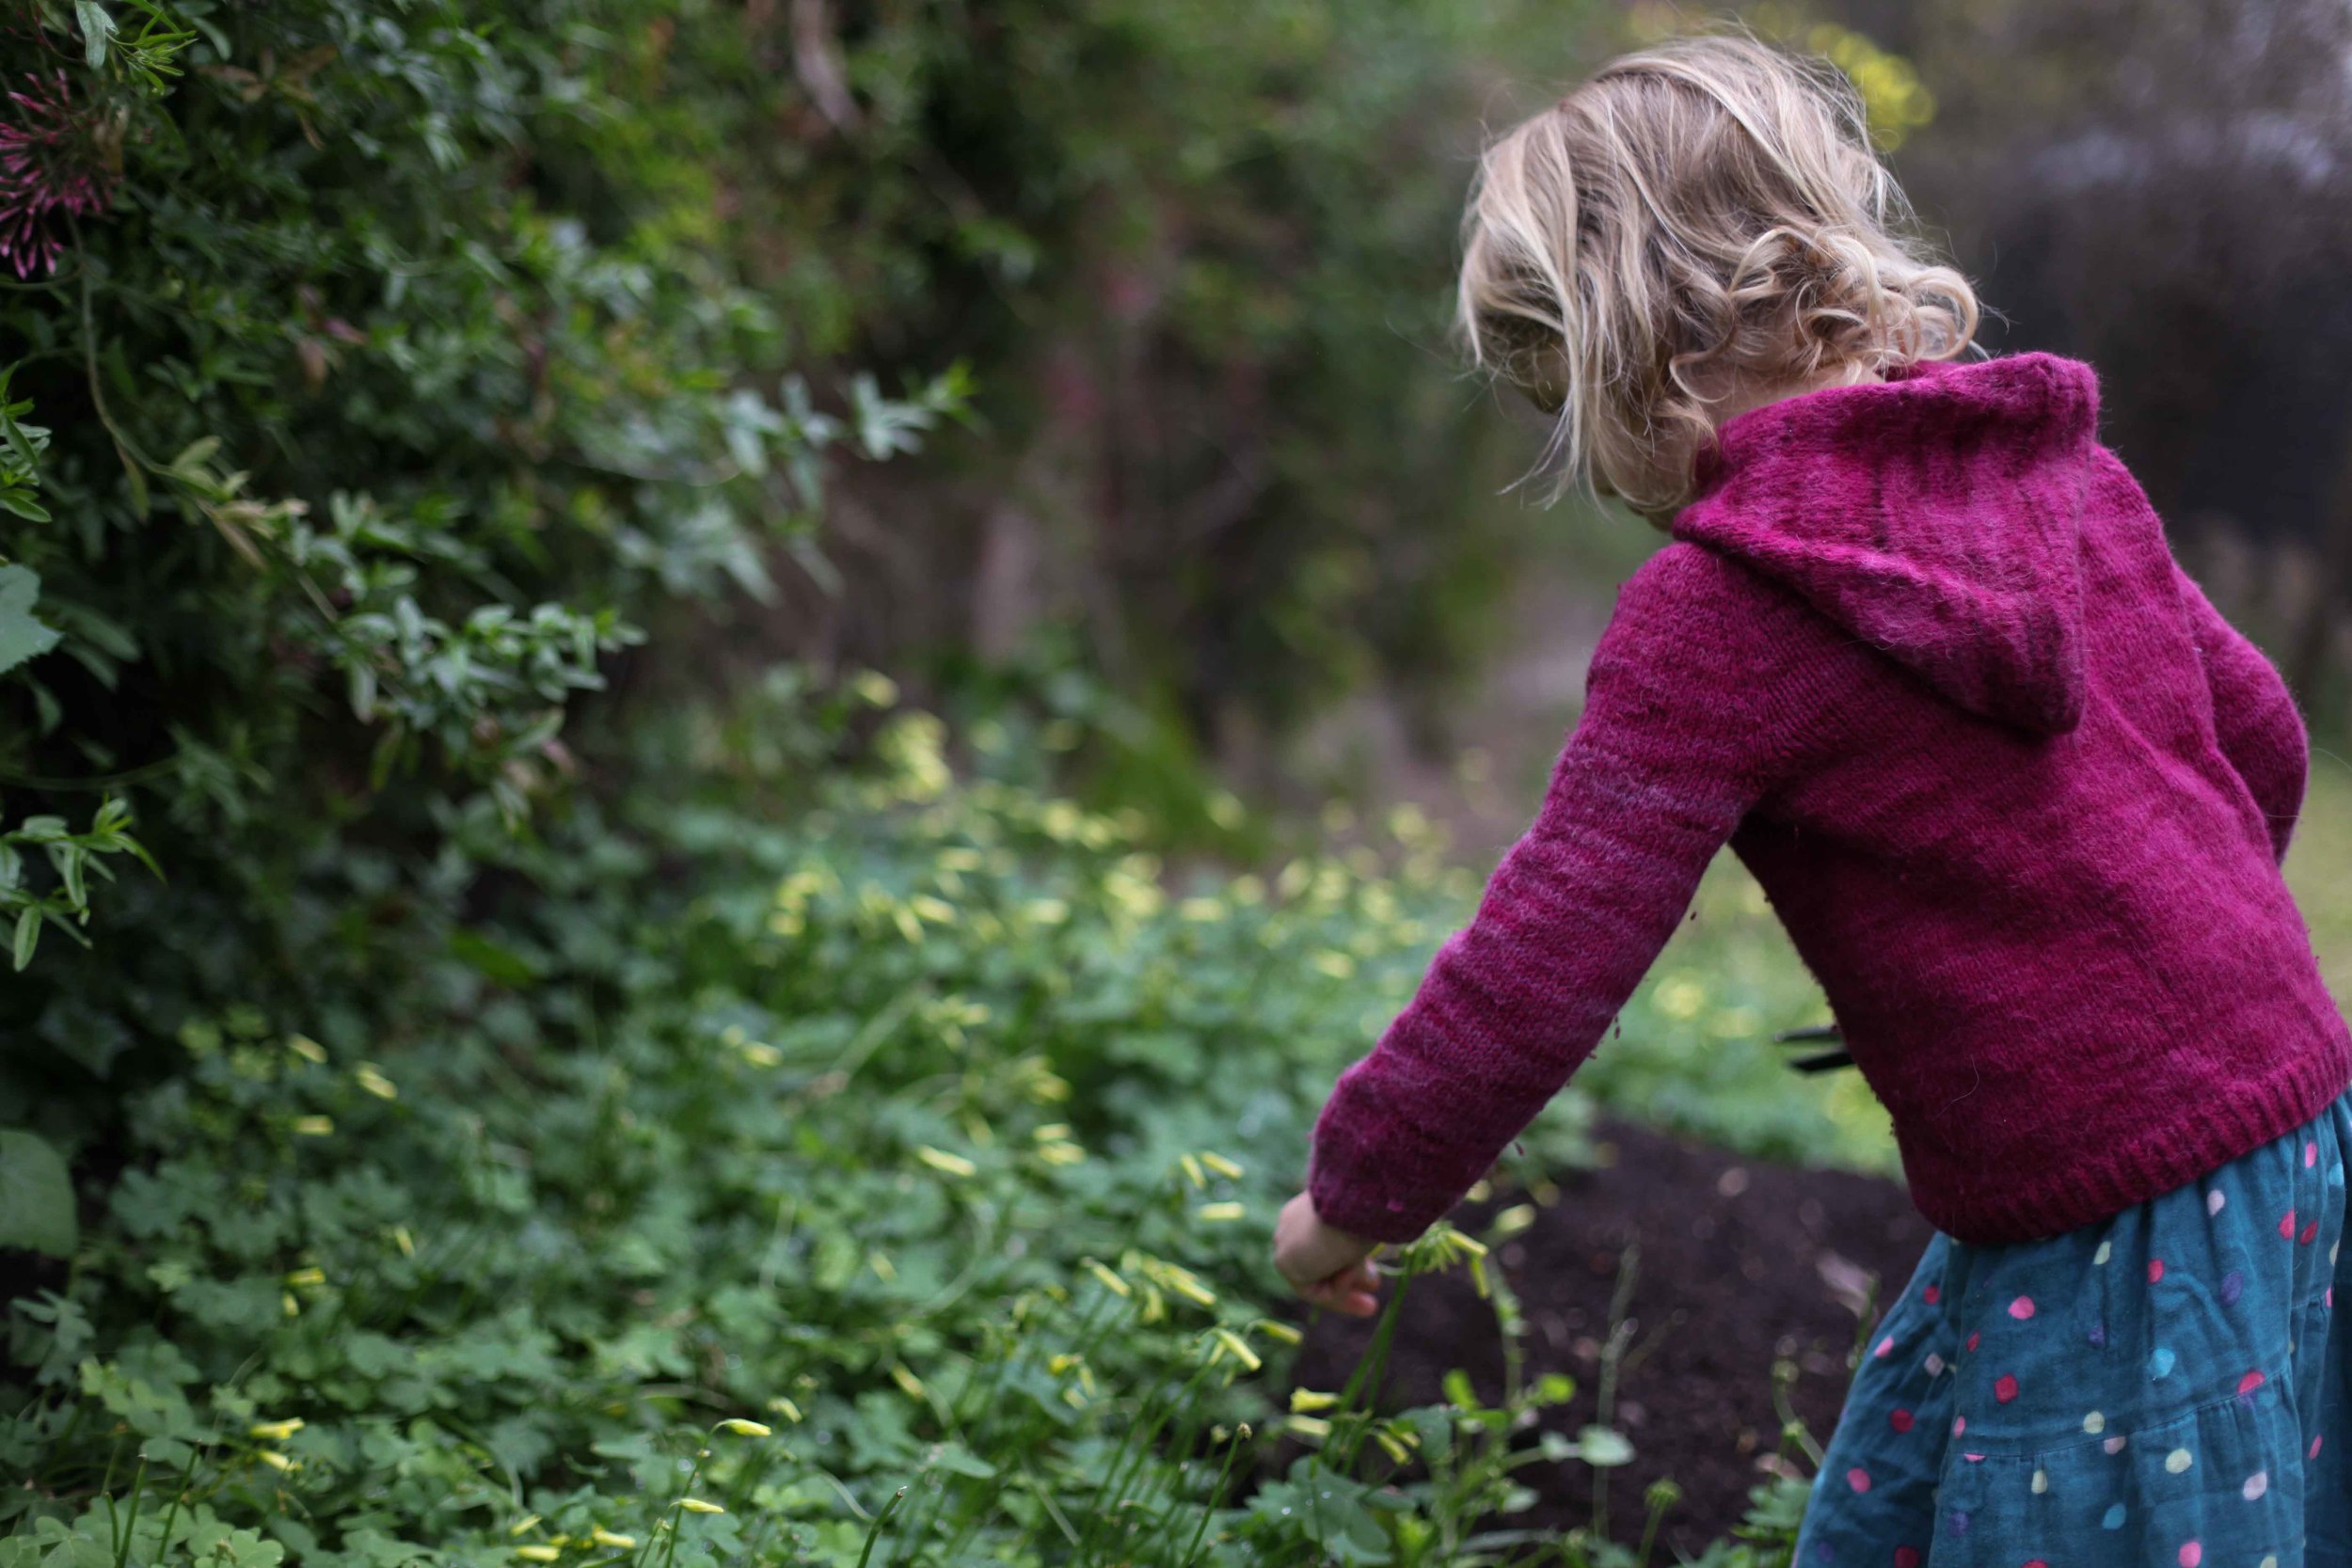
My “deep style" can be seen on my kid's Pinterest page. Lots of plain fabrics in soft colours. My kid's wardrobes however, are full of bright colours and lots of prints!

Don’t get me wrong. They look cuuute. Adorable even – when they aren’t kicking one another and complaining about having to eat “broc-ol-leee agaaain” - but that kind of isn’t the point. The point is that if I hadn’t stashed to the extent I did, and had put just a smidge more thought into coordinating my purchasing, then maybe they may have looked a little less circus-chic/urchin-unwashed and instead looked something more akin to “turned out”. And once in a while that would be y'know, nice.

I feel like now is the time I need to add a clarification. I love their look. But I guess sometimes as I look into the mishmash that is their wardrobes I wish that there was a teensy bit more coordination and a teensy bit less chaos. And I can see how my purchasing on a whim, and excessive stashing has contributed to this.

Their look is, however, theirs. As soon as my kids were old enough to talk they were picking their own outfits and wanted to have a big say in what I was making. They weren't/aren't dolls to be dressed. I have very limited input into their choices, and as such, if I offer them a plain fabric for a frock then they look at me with total horror. Like I am causing them physical pain. They will always go for the bright, and the mistake I made in the past was that I had bright on the shelves. Accessible and ready to go.

“What does all this have to do with a tipping point?”, I hear you ask. Well I've happy/sad news to report my friends! Happy because I've finally hit a tipping point in my quest to Stash Less. A point whereby I can see unequivocal progress. The stash – especially the fabric stash - is massively down in volume and my purchasing habits have changed - hopefully for good.

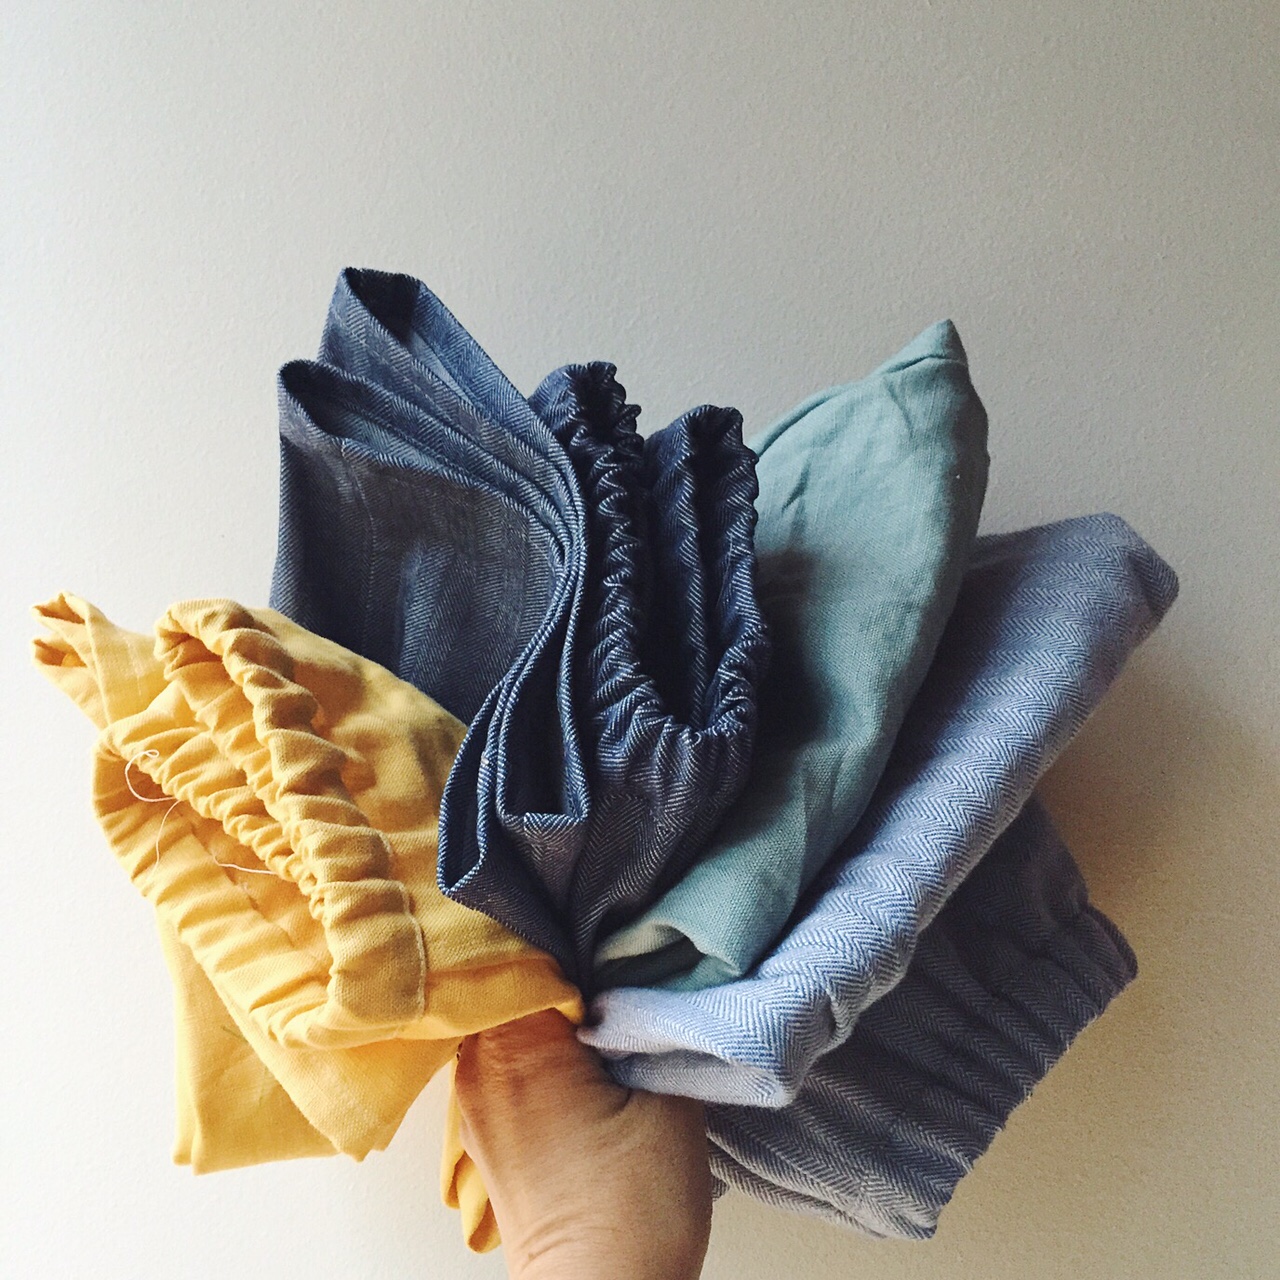
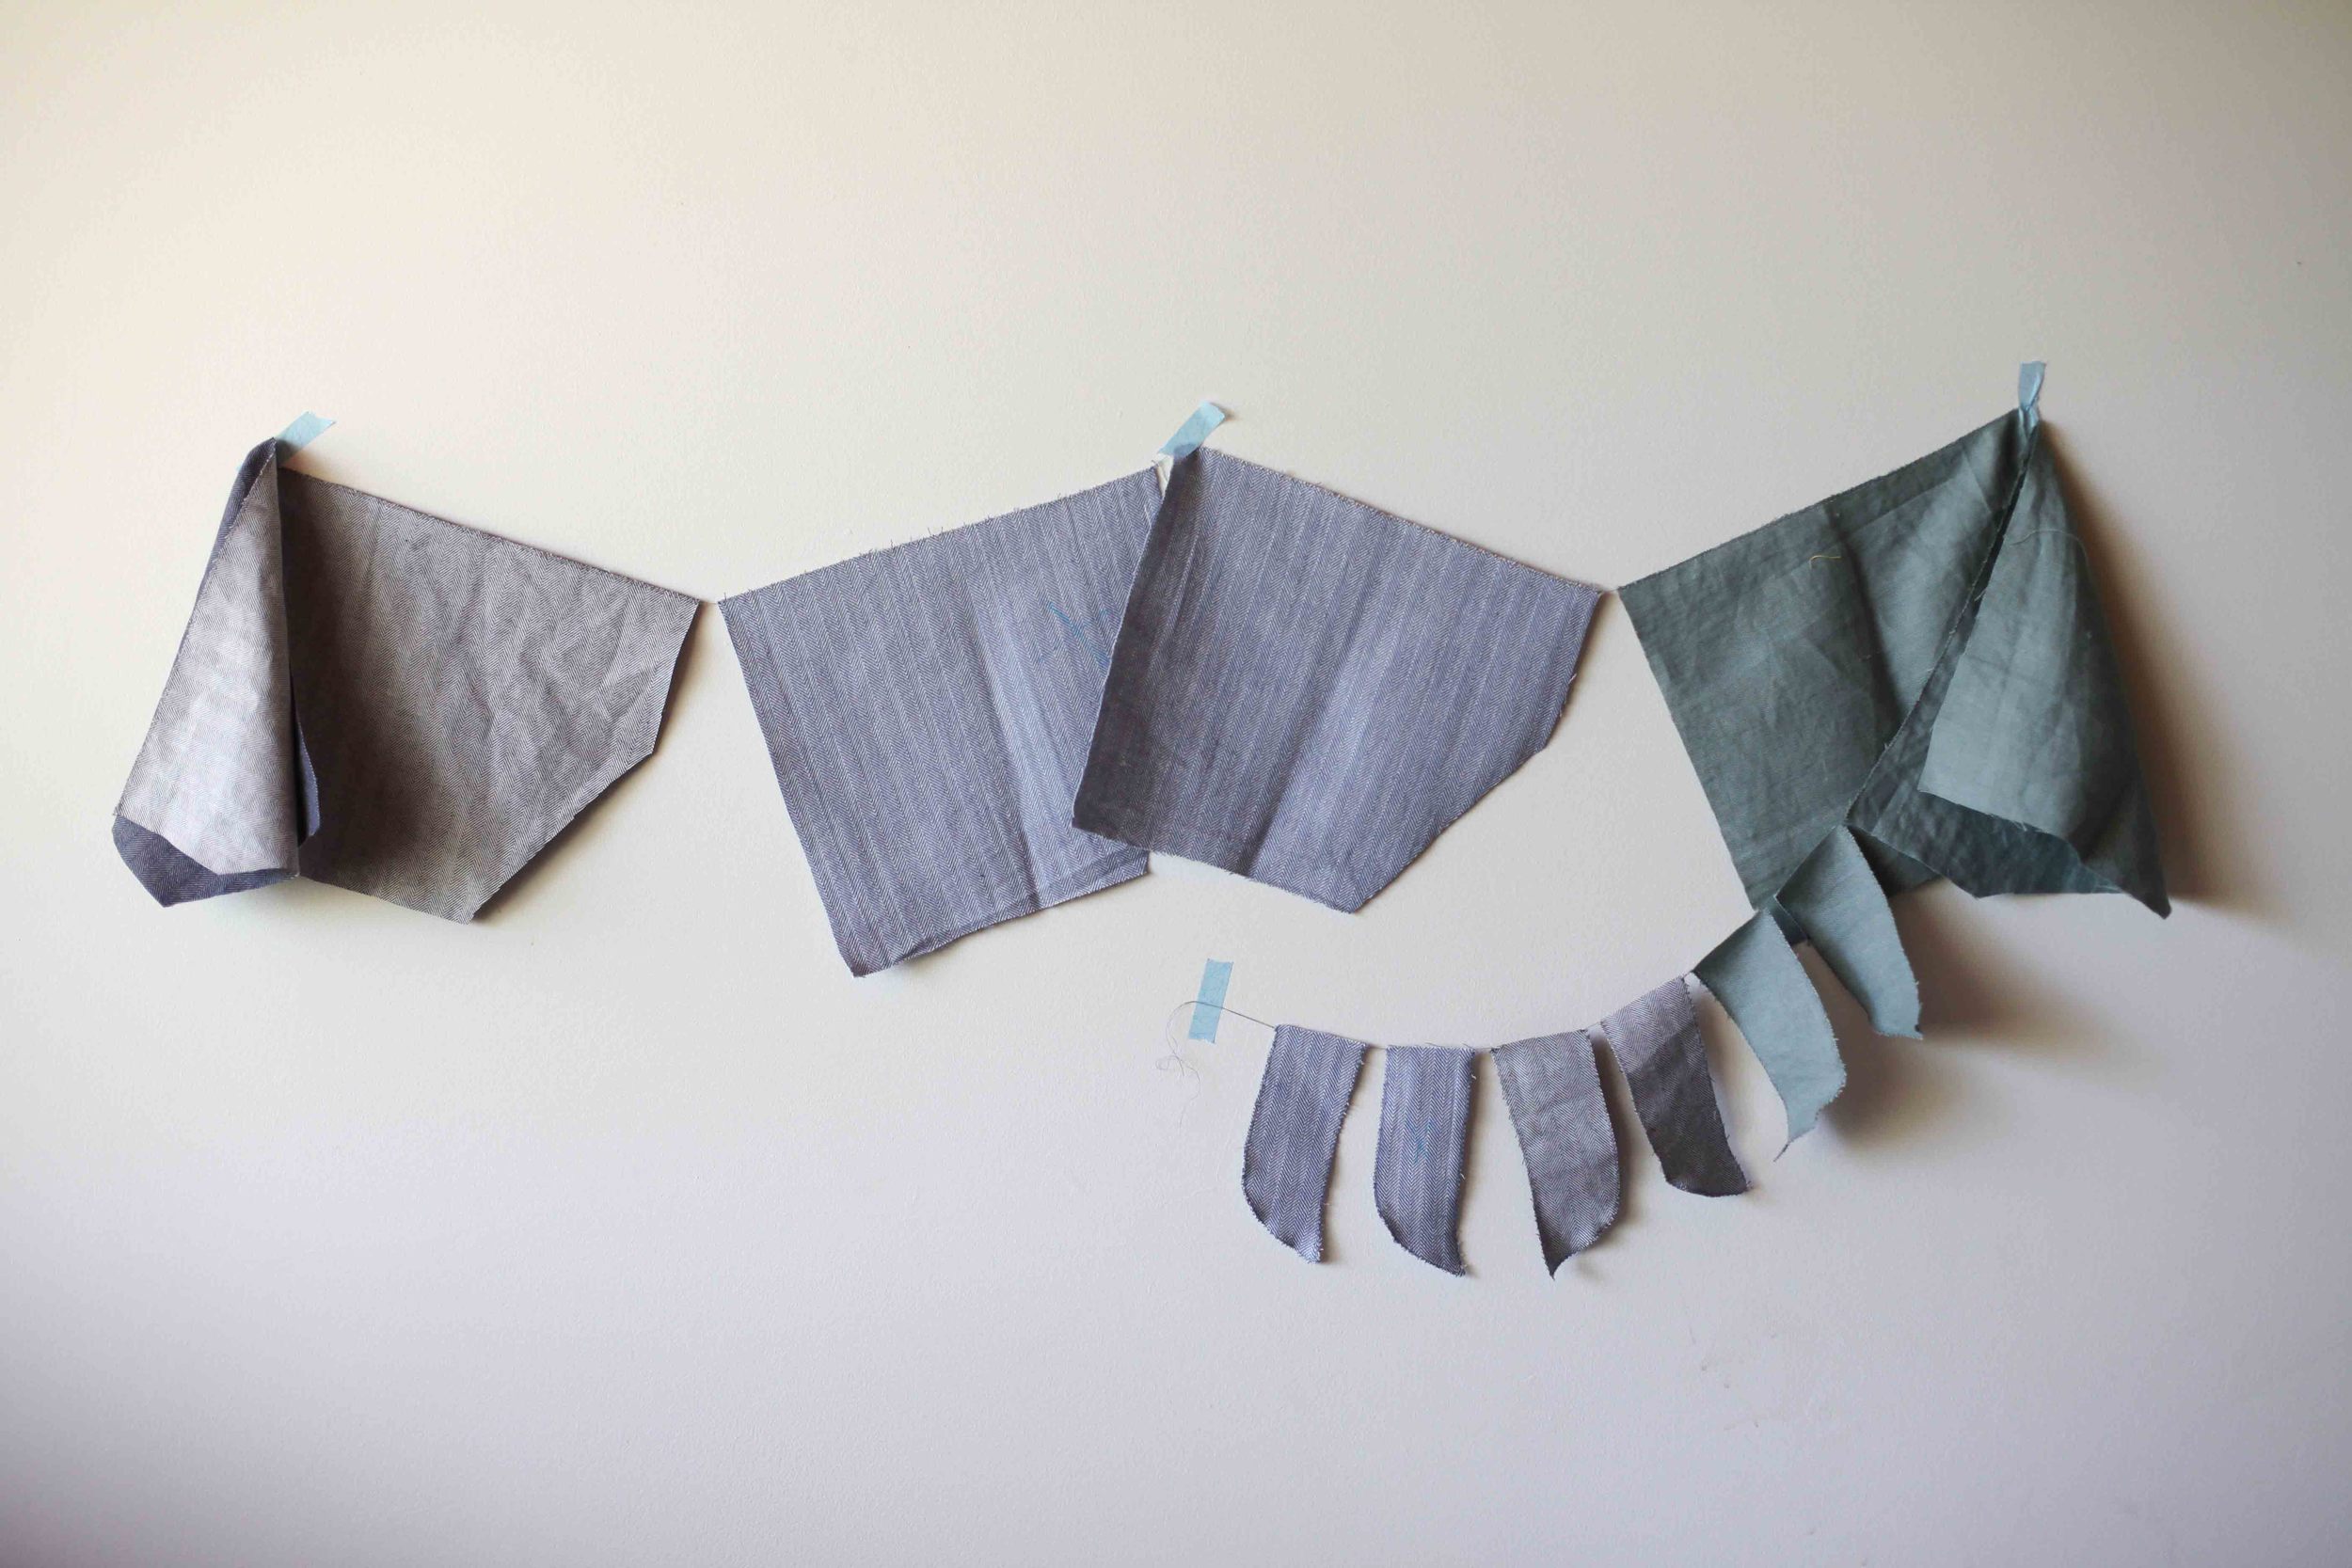
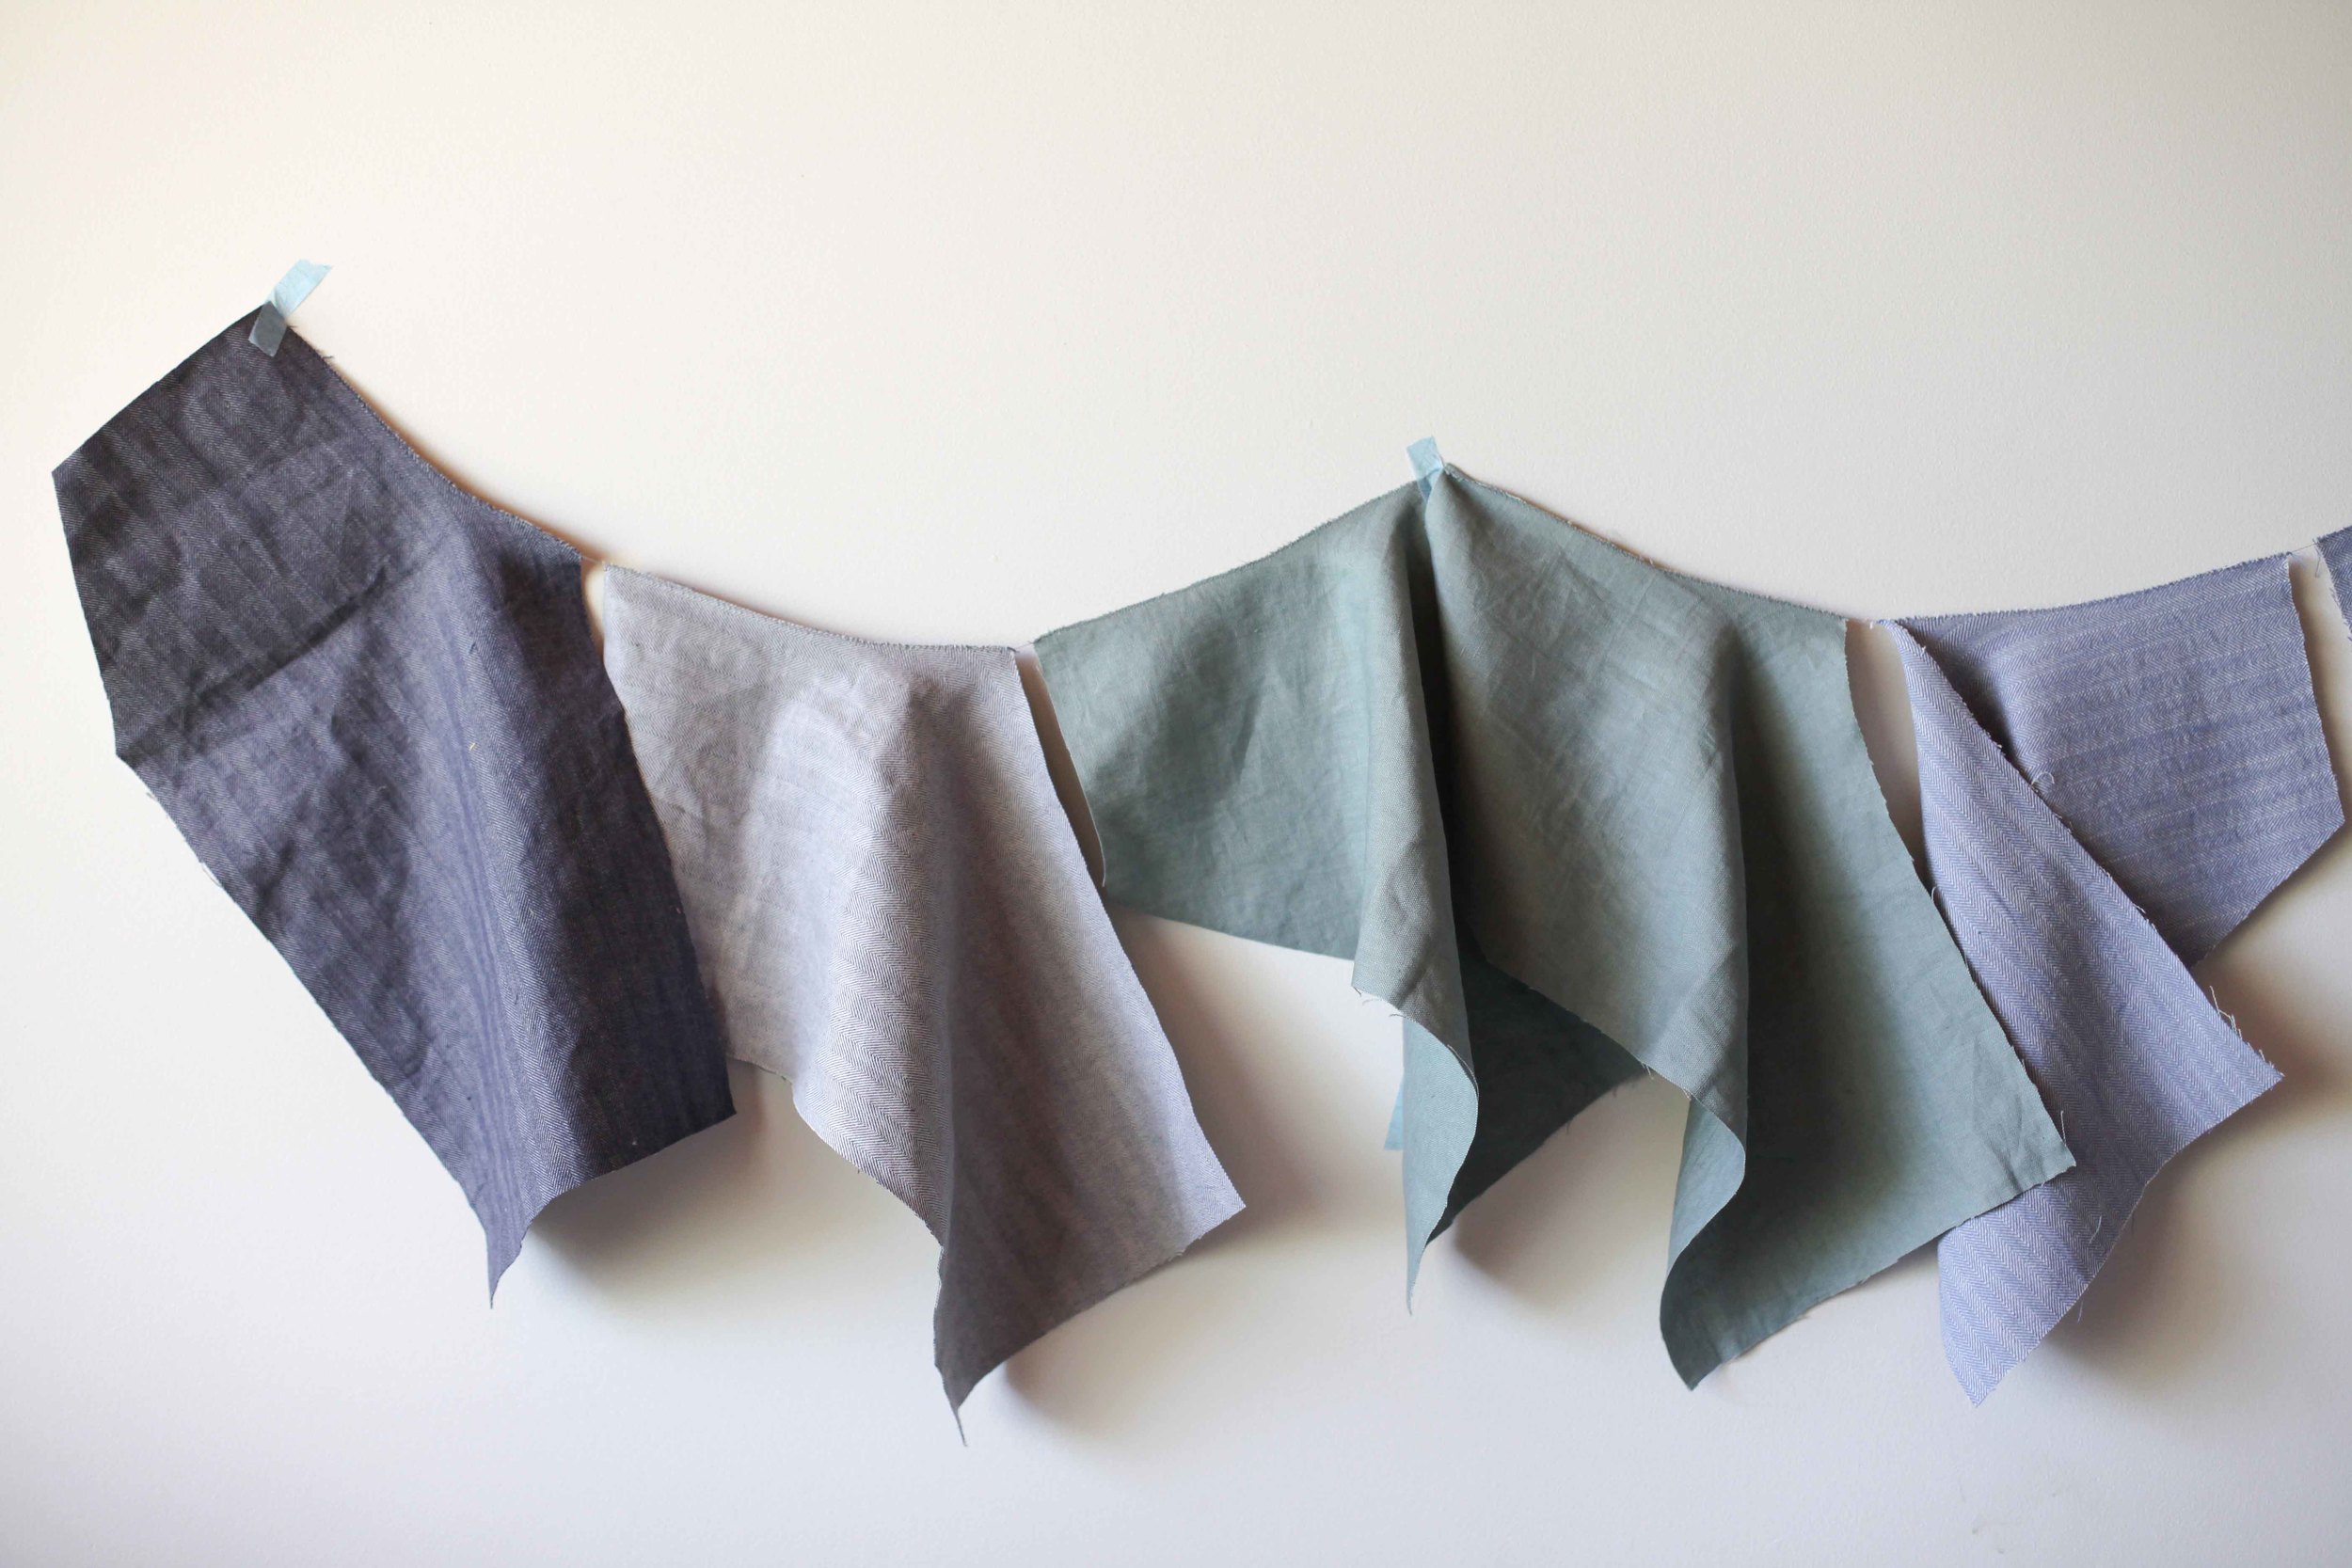
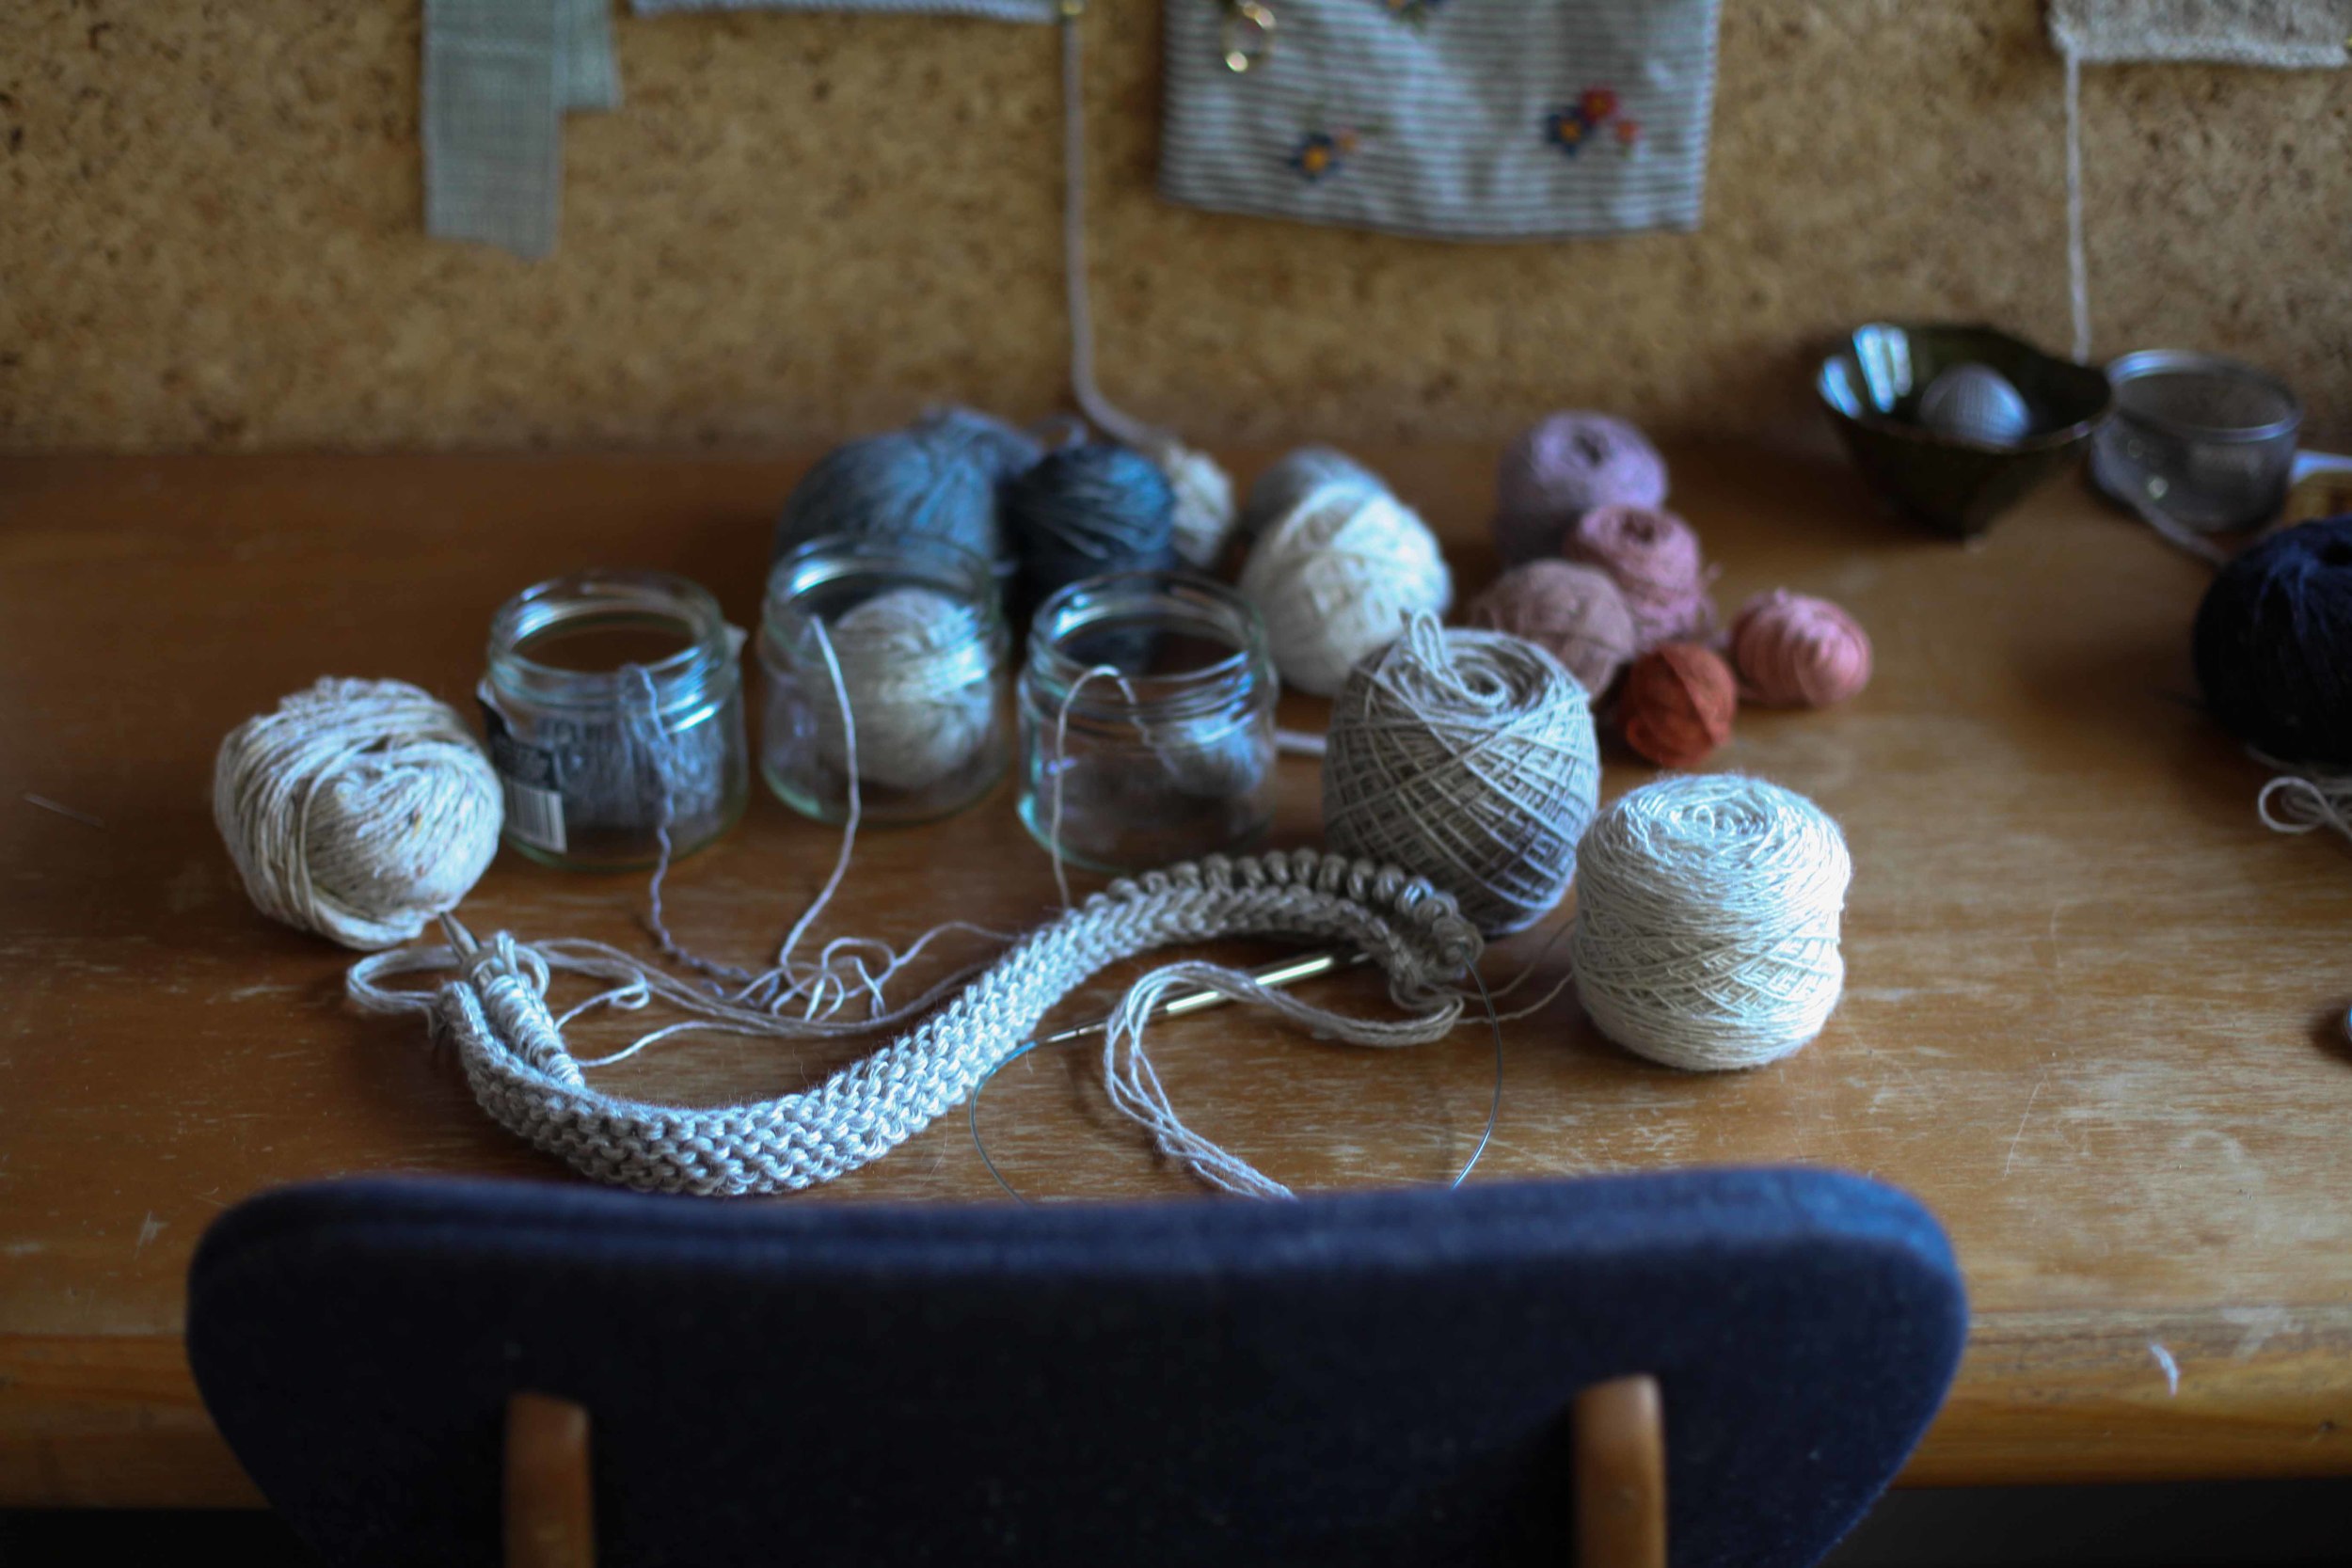
The tipping point occurred sometime over the last few weeks. I went to the fabric shelf, and lo and behold, I was stuggling to find exactly what I needed. Now I'm definitely not out of fabric and there are still about 15 pieces with some kind of meterage but at a guess I'd say I've at least halved what I had a year ago. And I’ve used many of the fabrics that I had hoarded for years due to their specialness. Big yay to me for being an achiever!

What this has to do with the kid’s wardrobes is that I’m now using the leftovers, smaller pieces and odds and ends, in order to make what I need to clothe them. I did a wardrobe edit a few weeks ago and the making list looked like this…

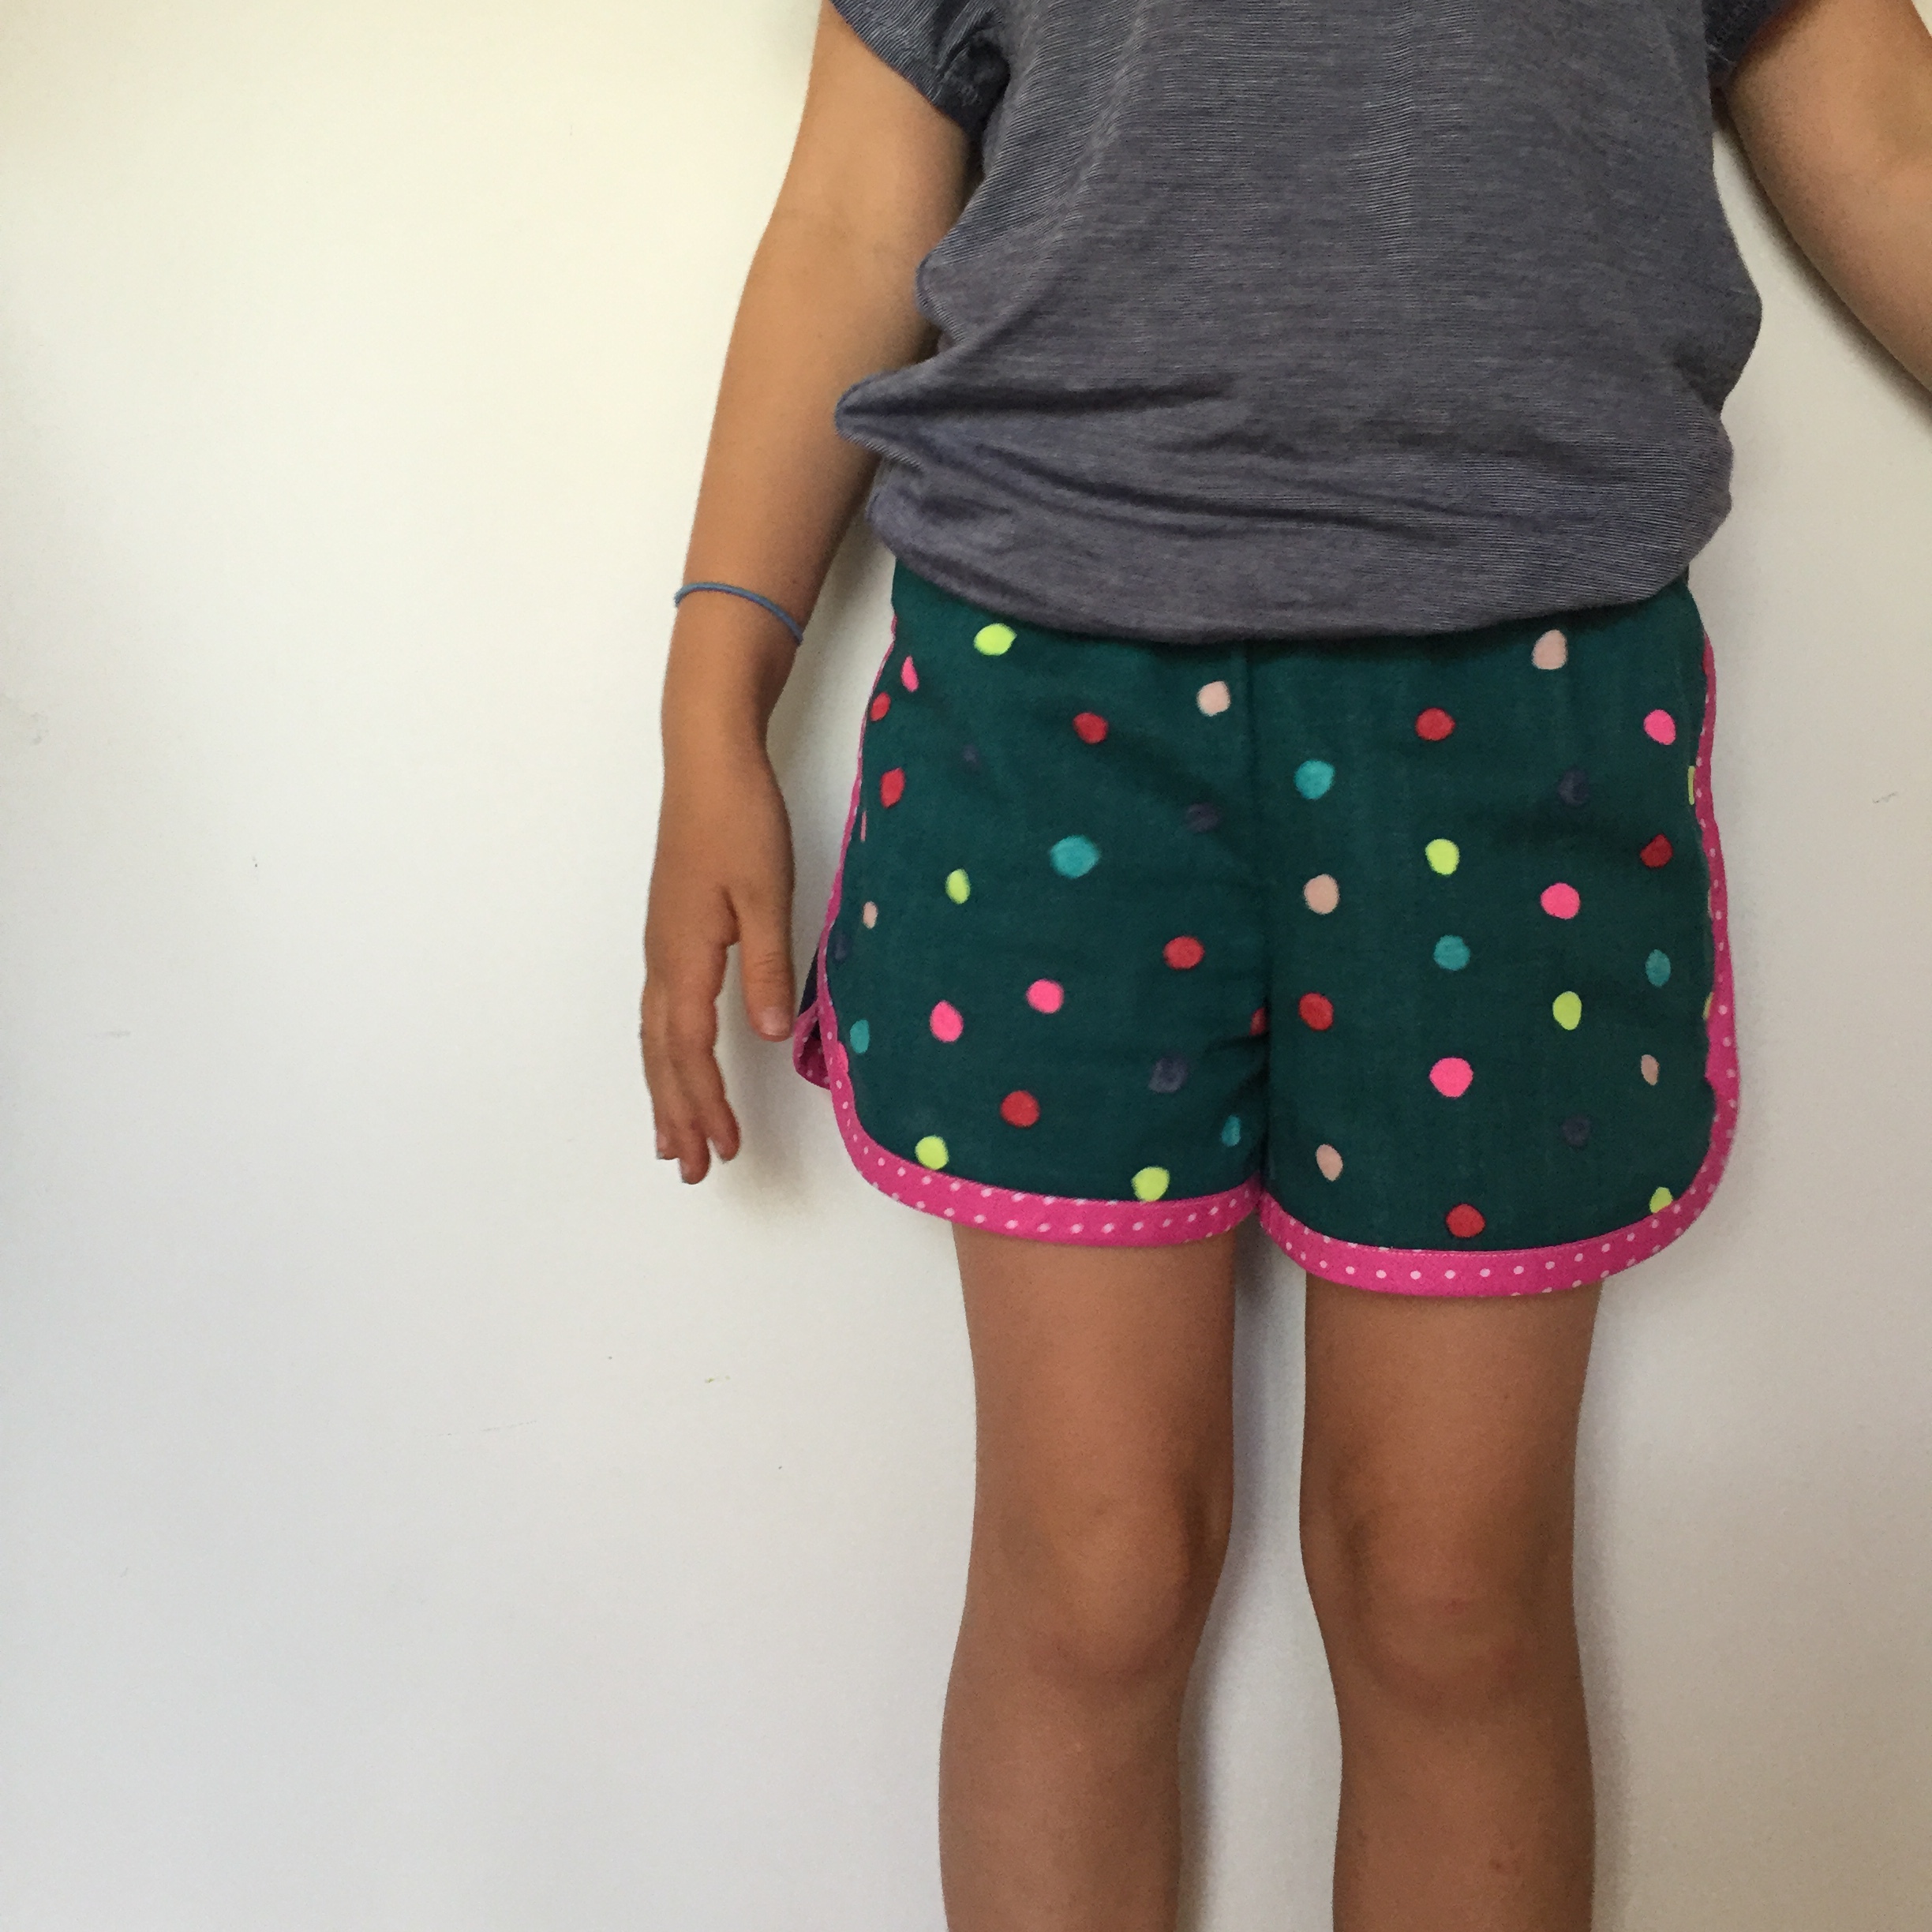
  • The boy child needed shorts x 4
  • The middle kid needed shorts x 2 and tshirts x 4
  • The smallest one needs dresses x 3 and shorts x 2.
  • The middle kid also wants some dresses. She has grown like a weed.

None of this is unusual; it is a time of year thing for me. October time is get-ready-for-summer time.

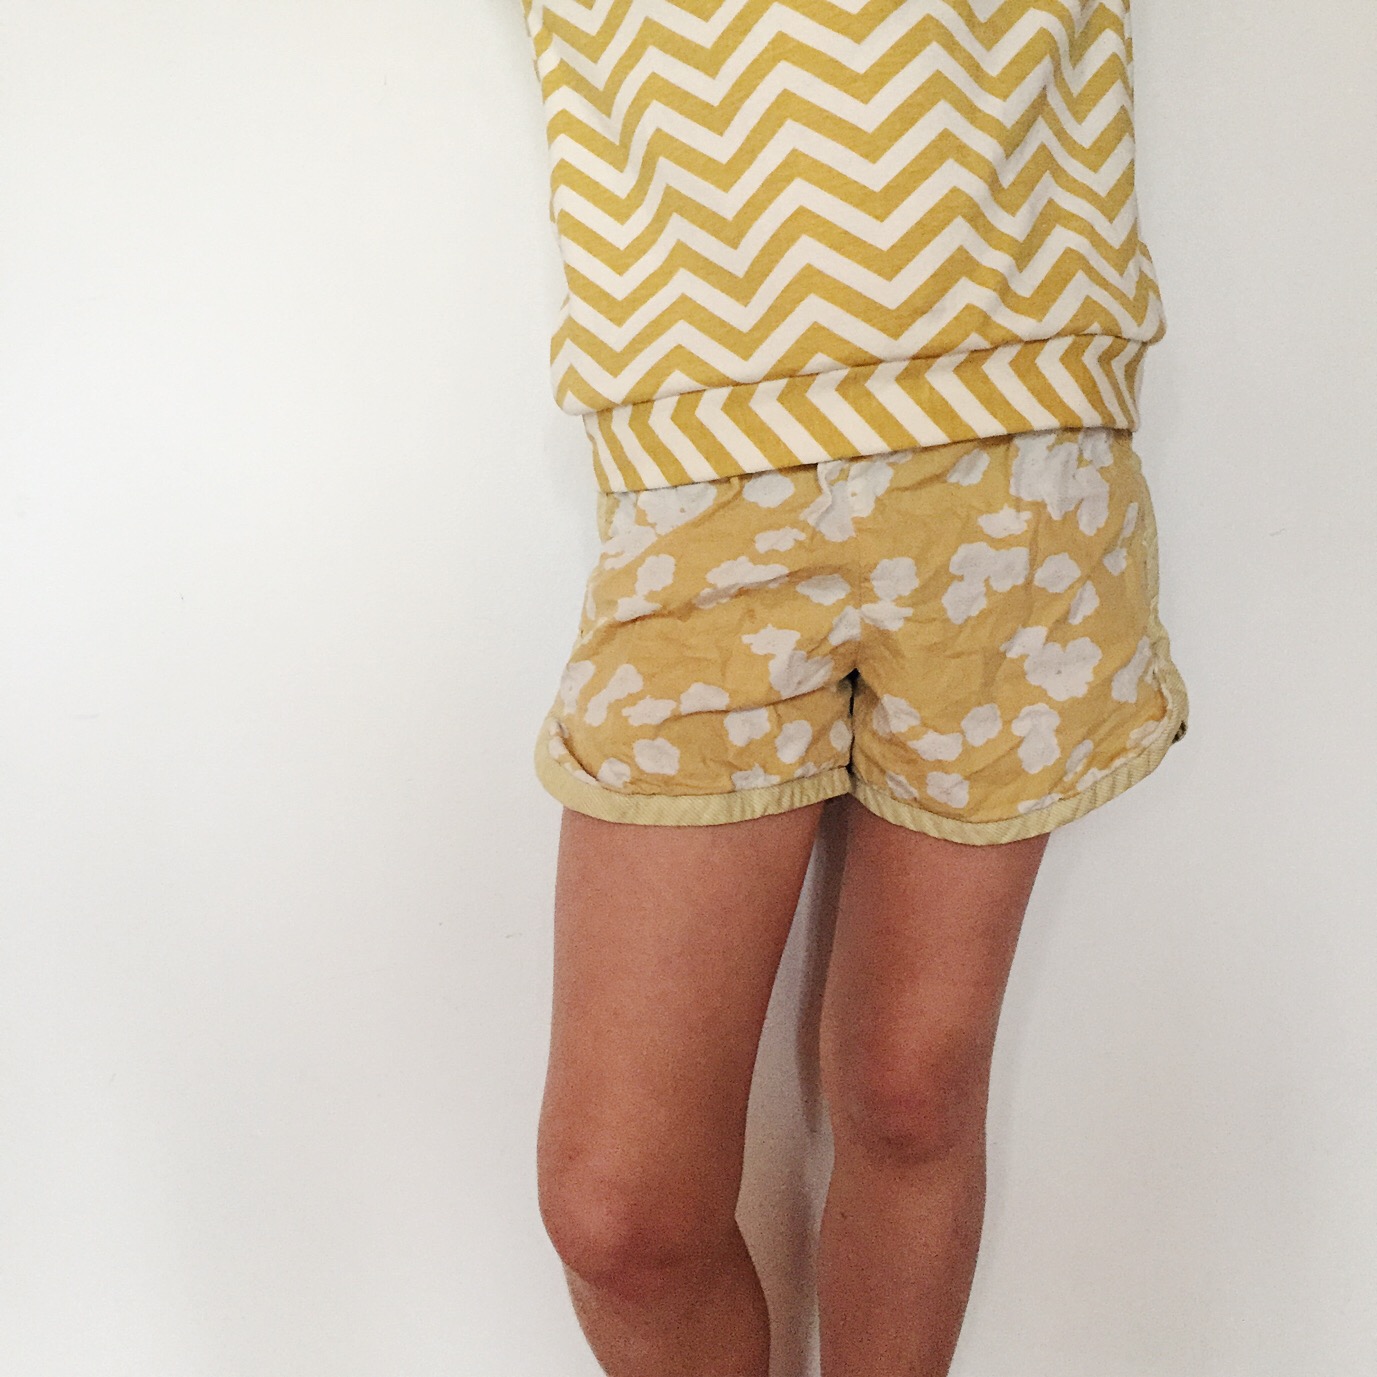
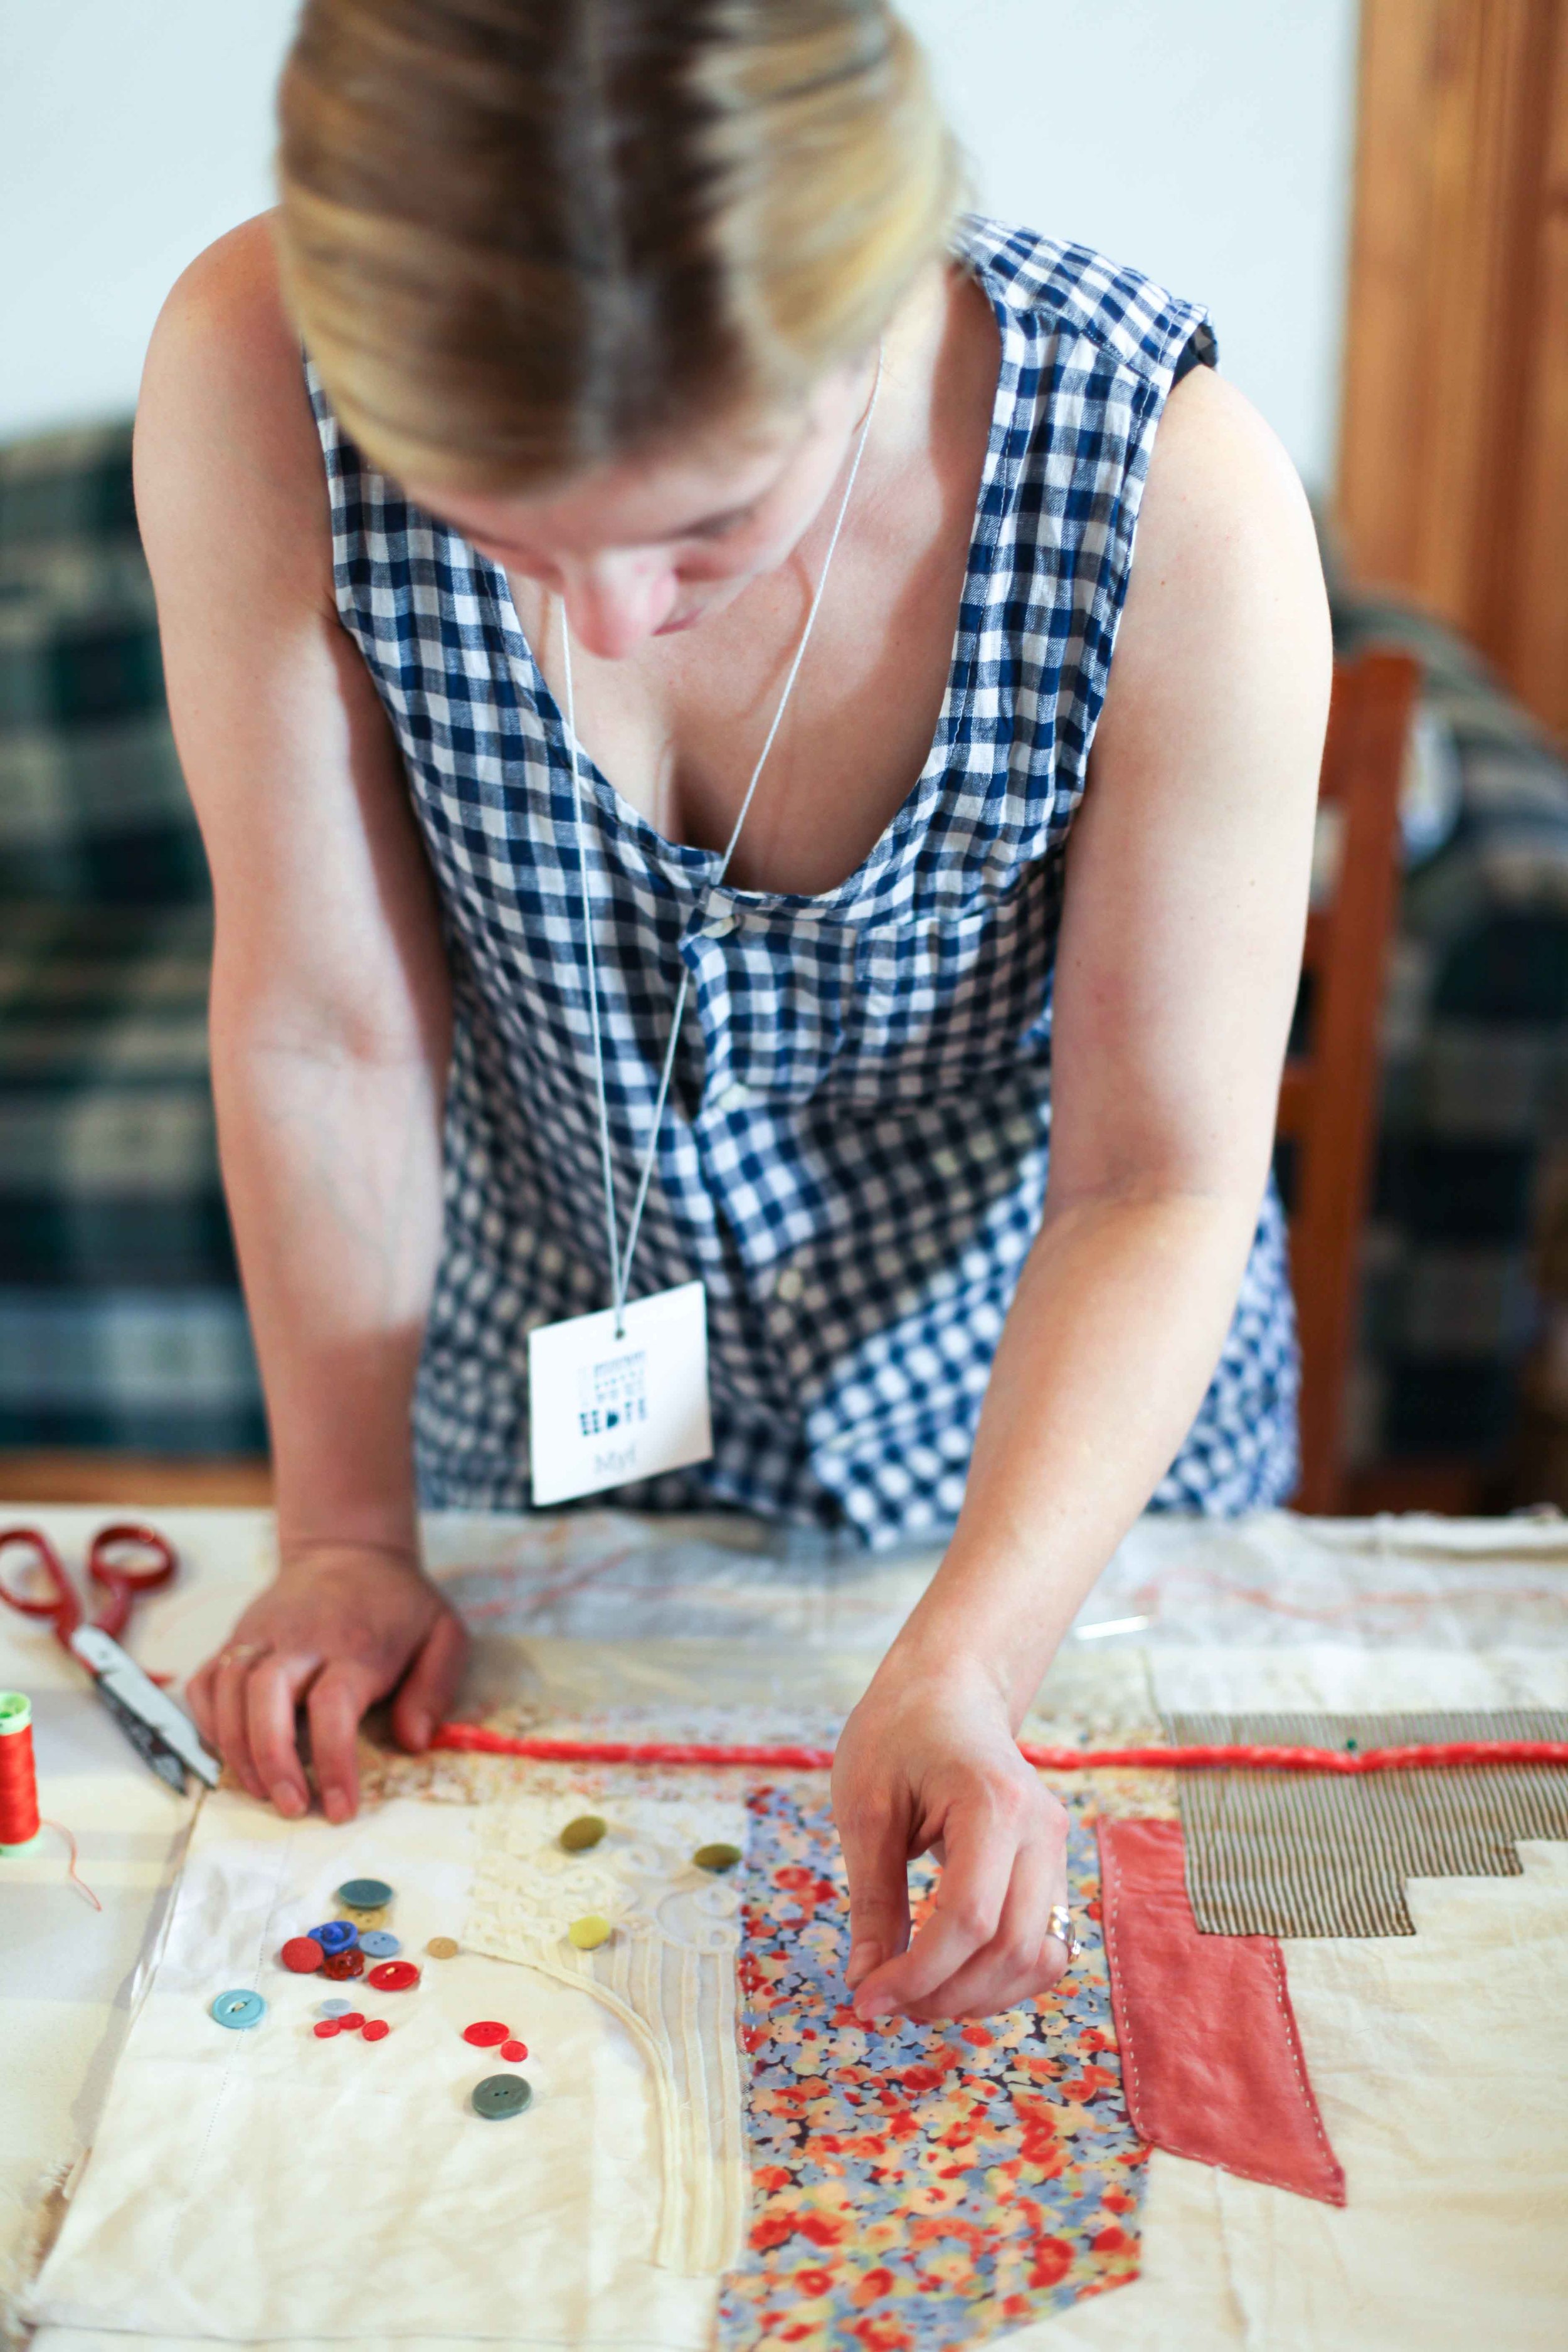
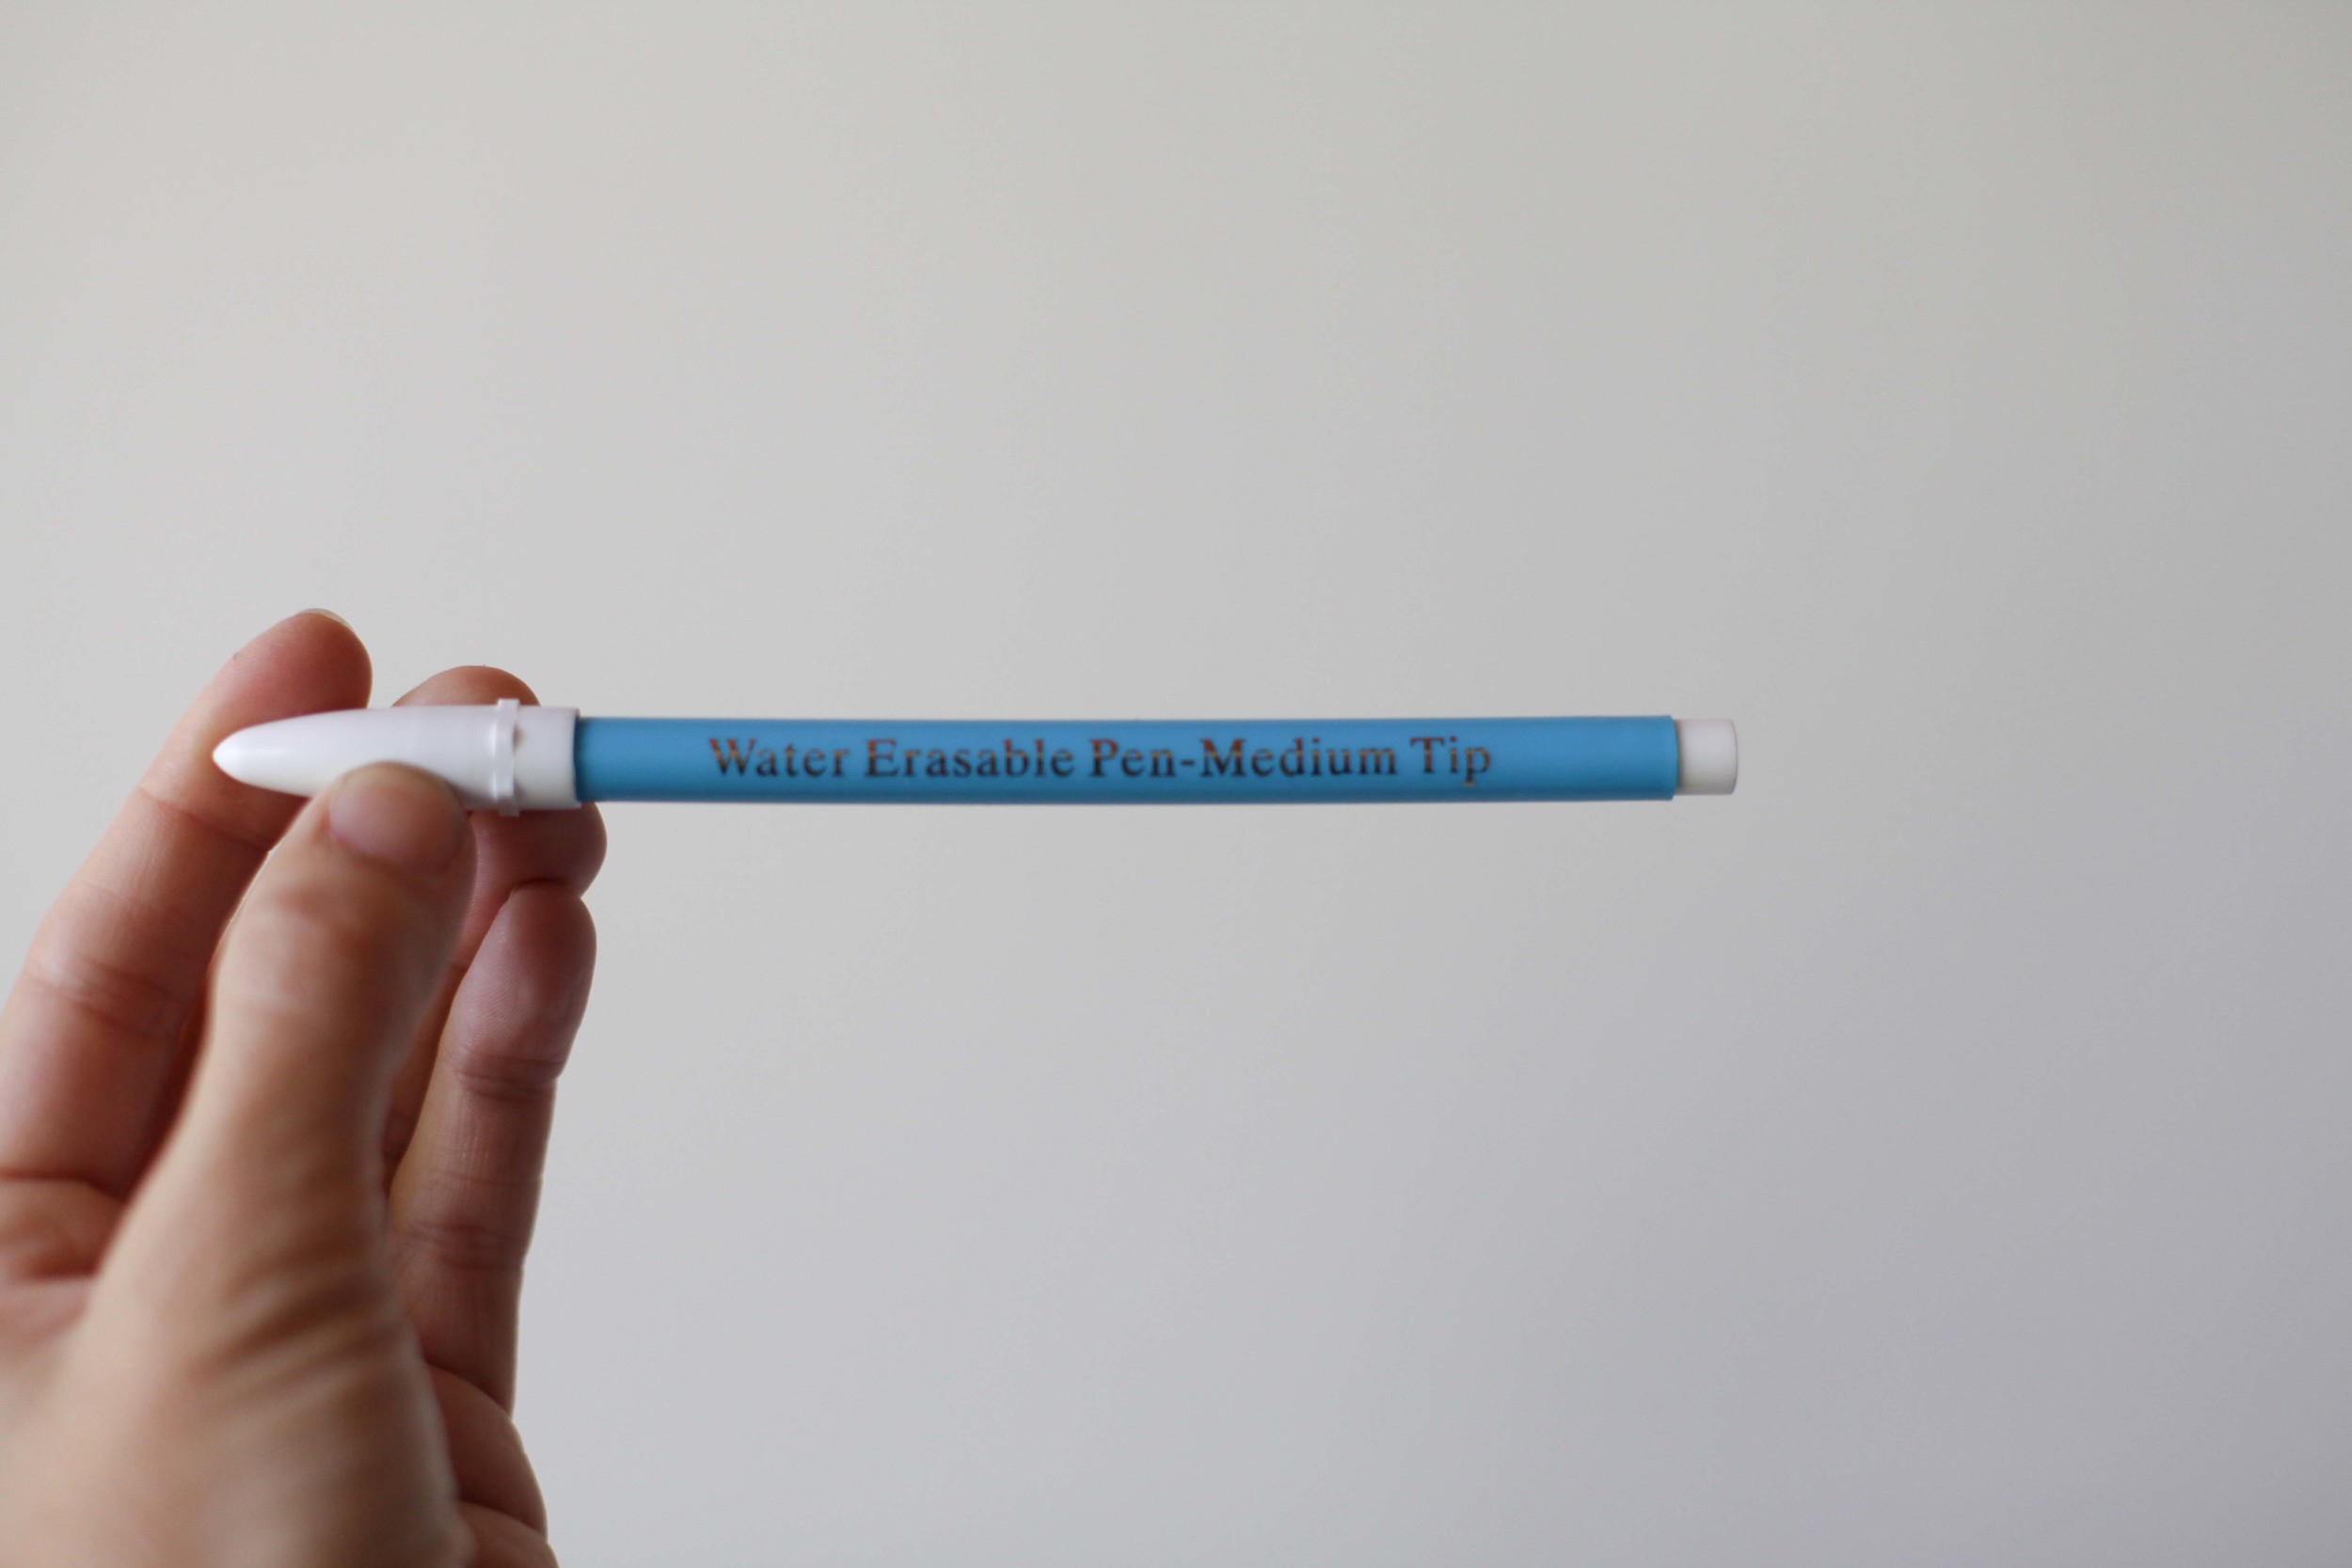
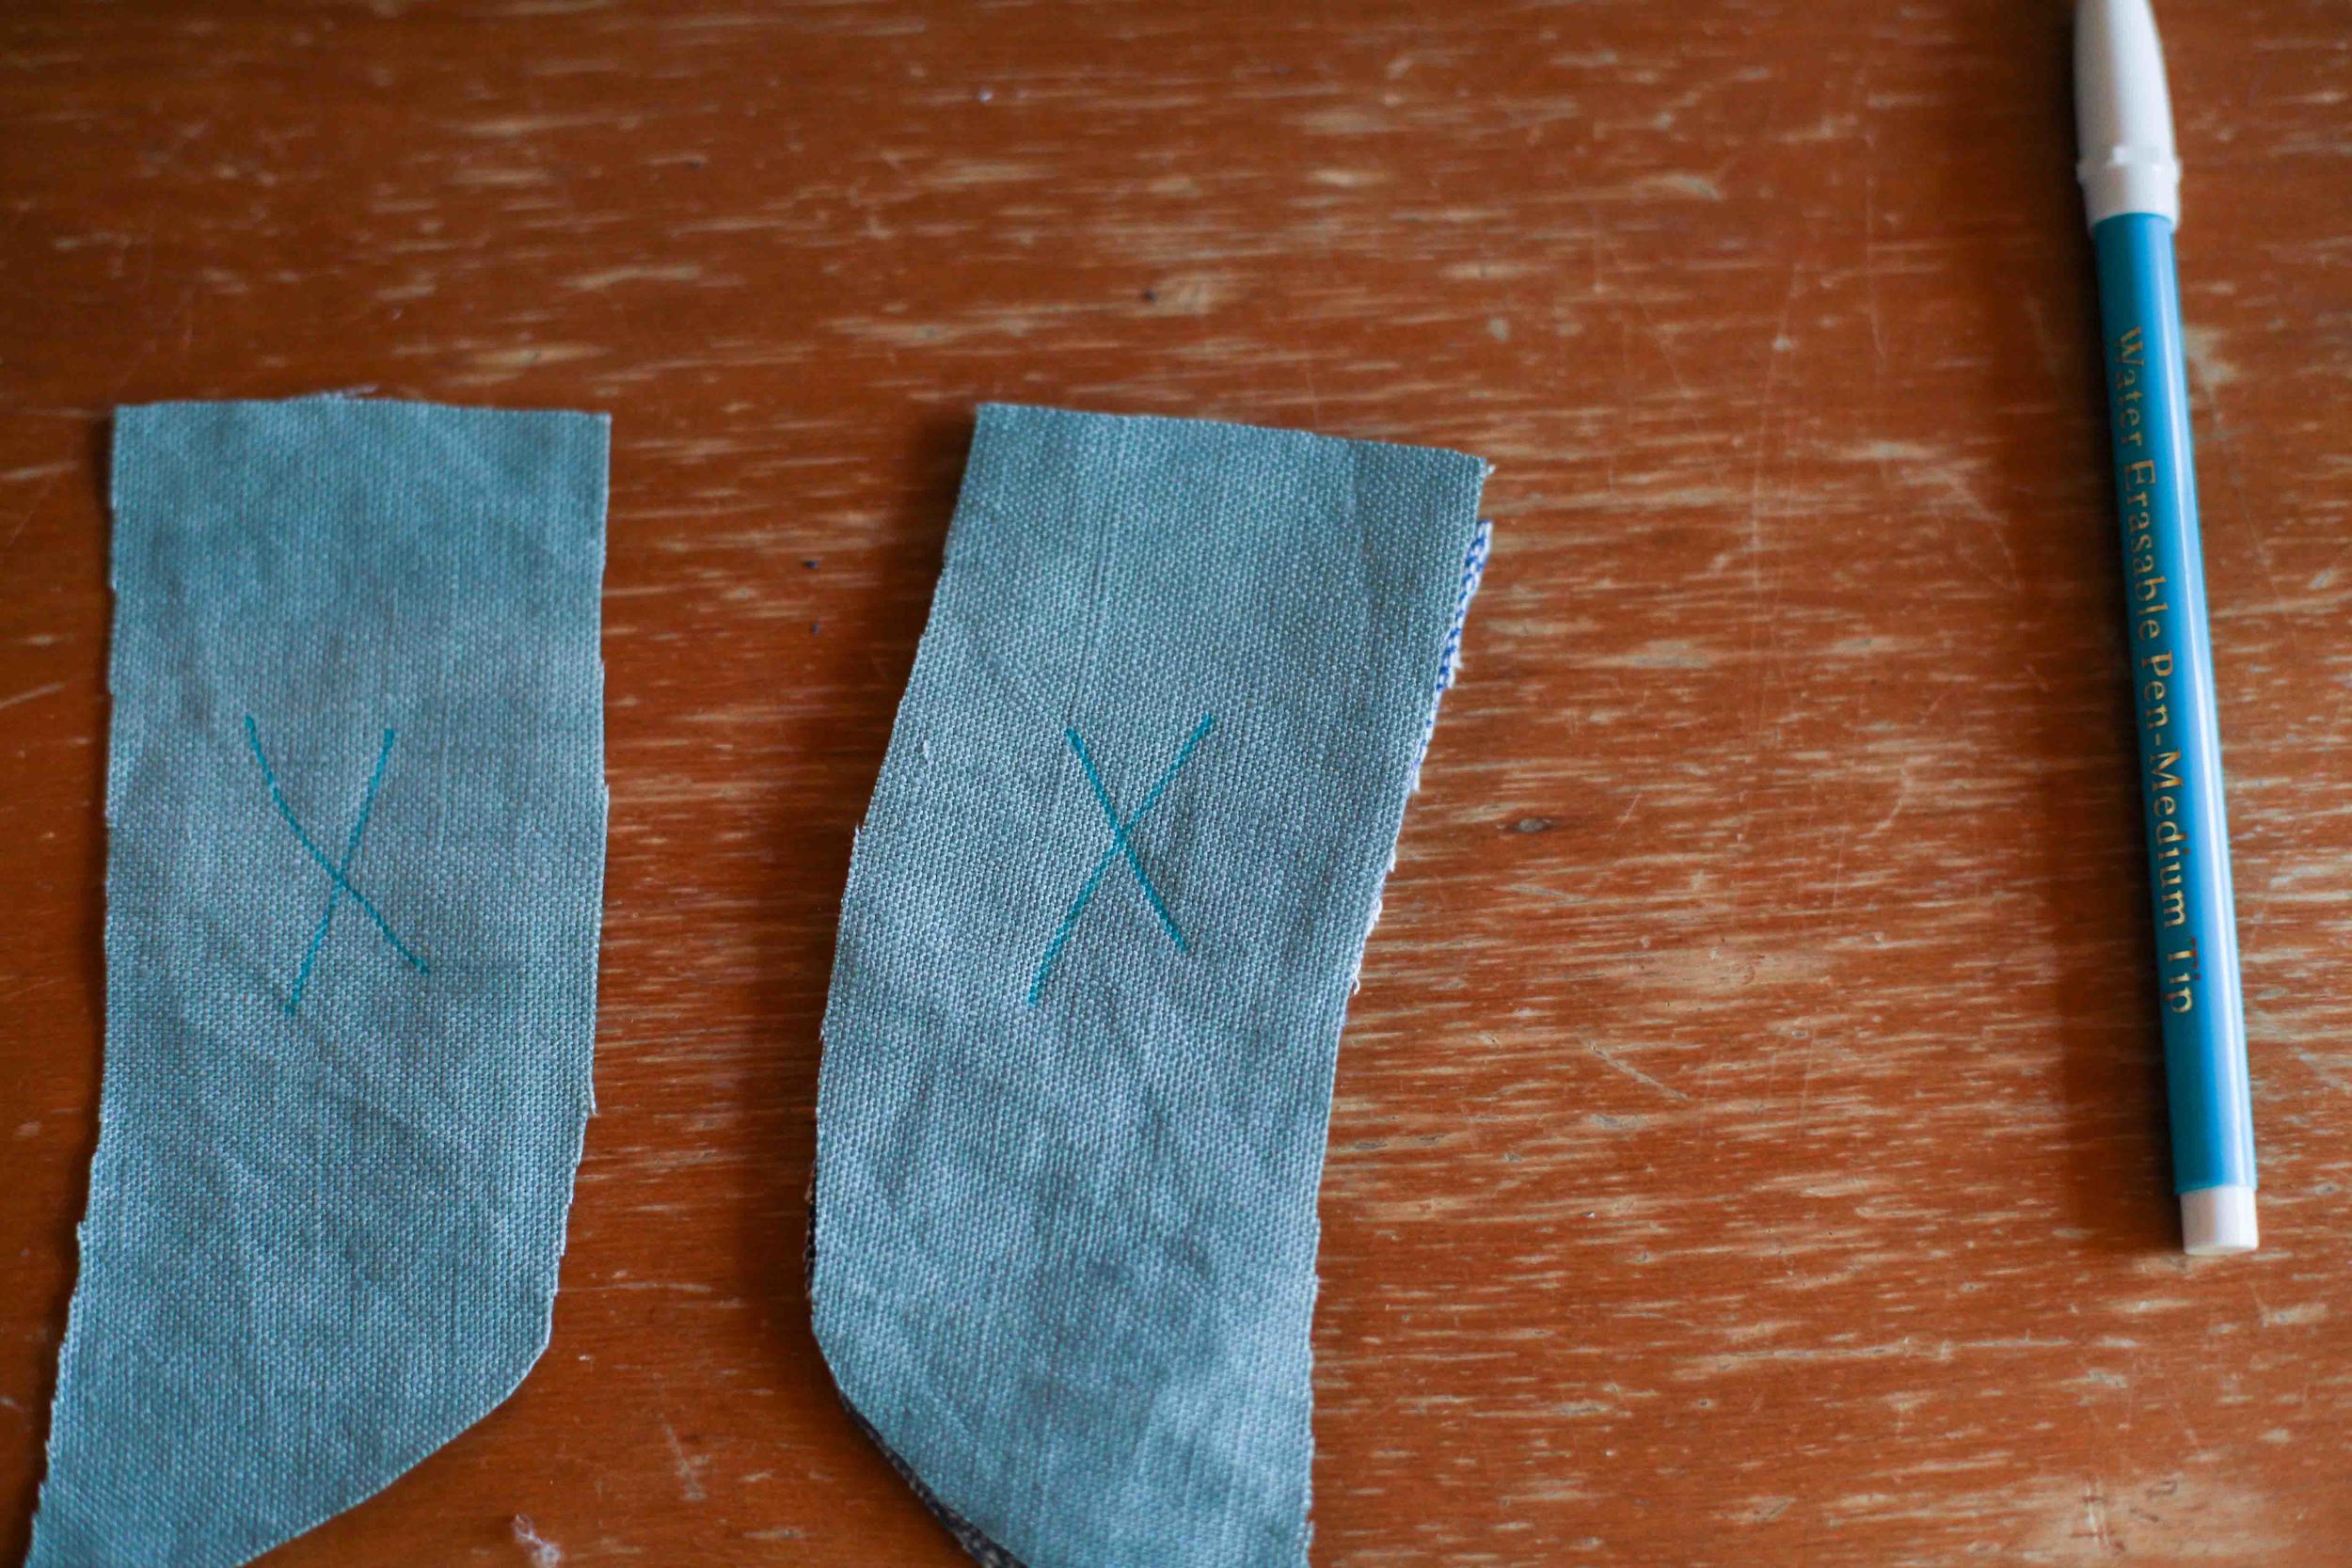
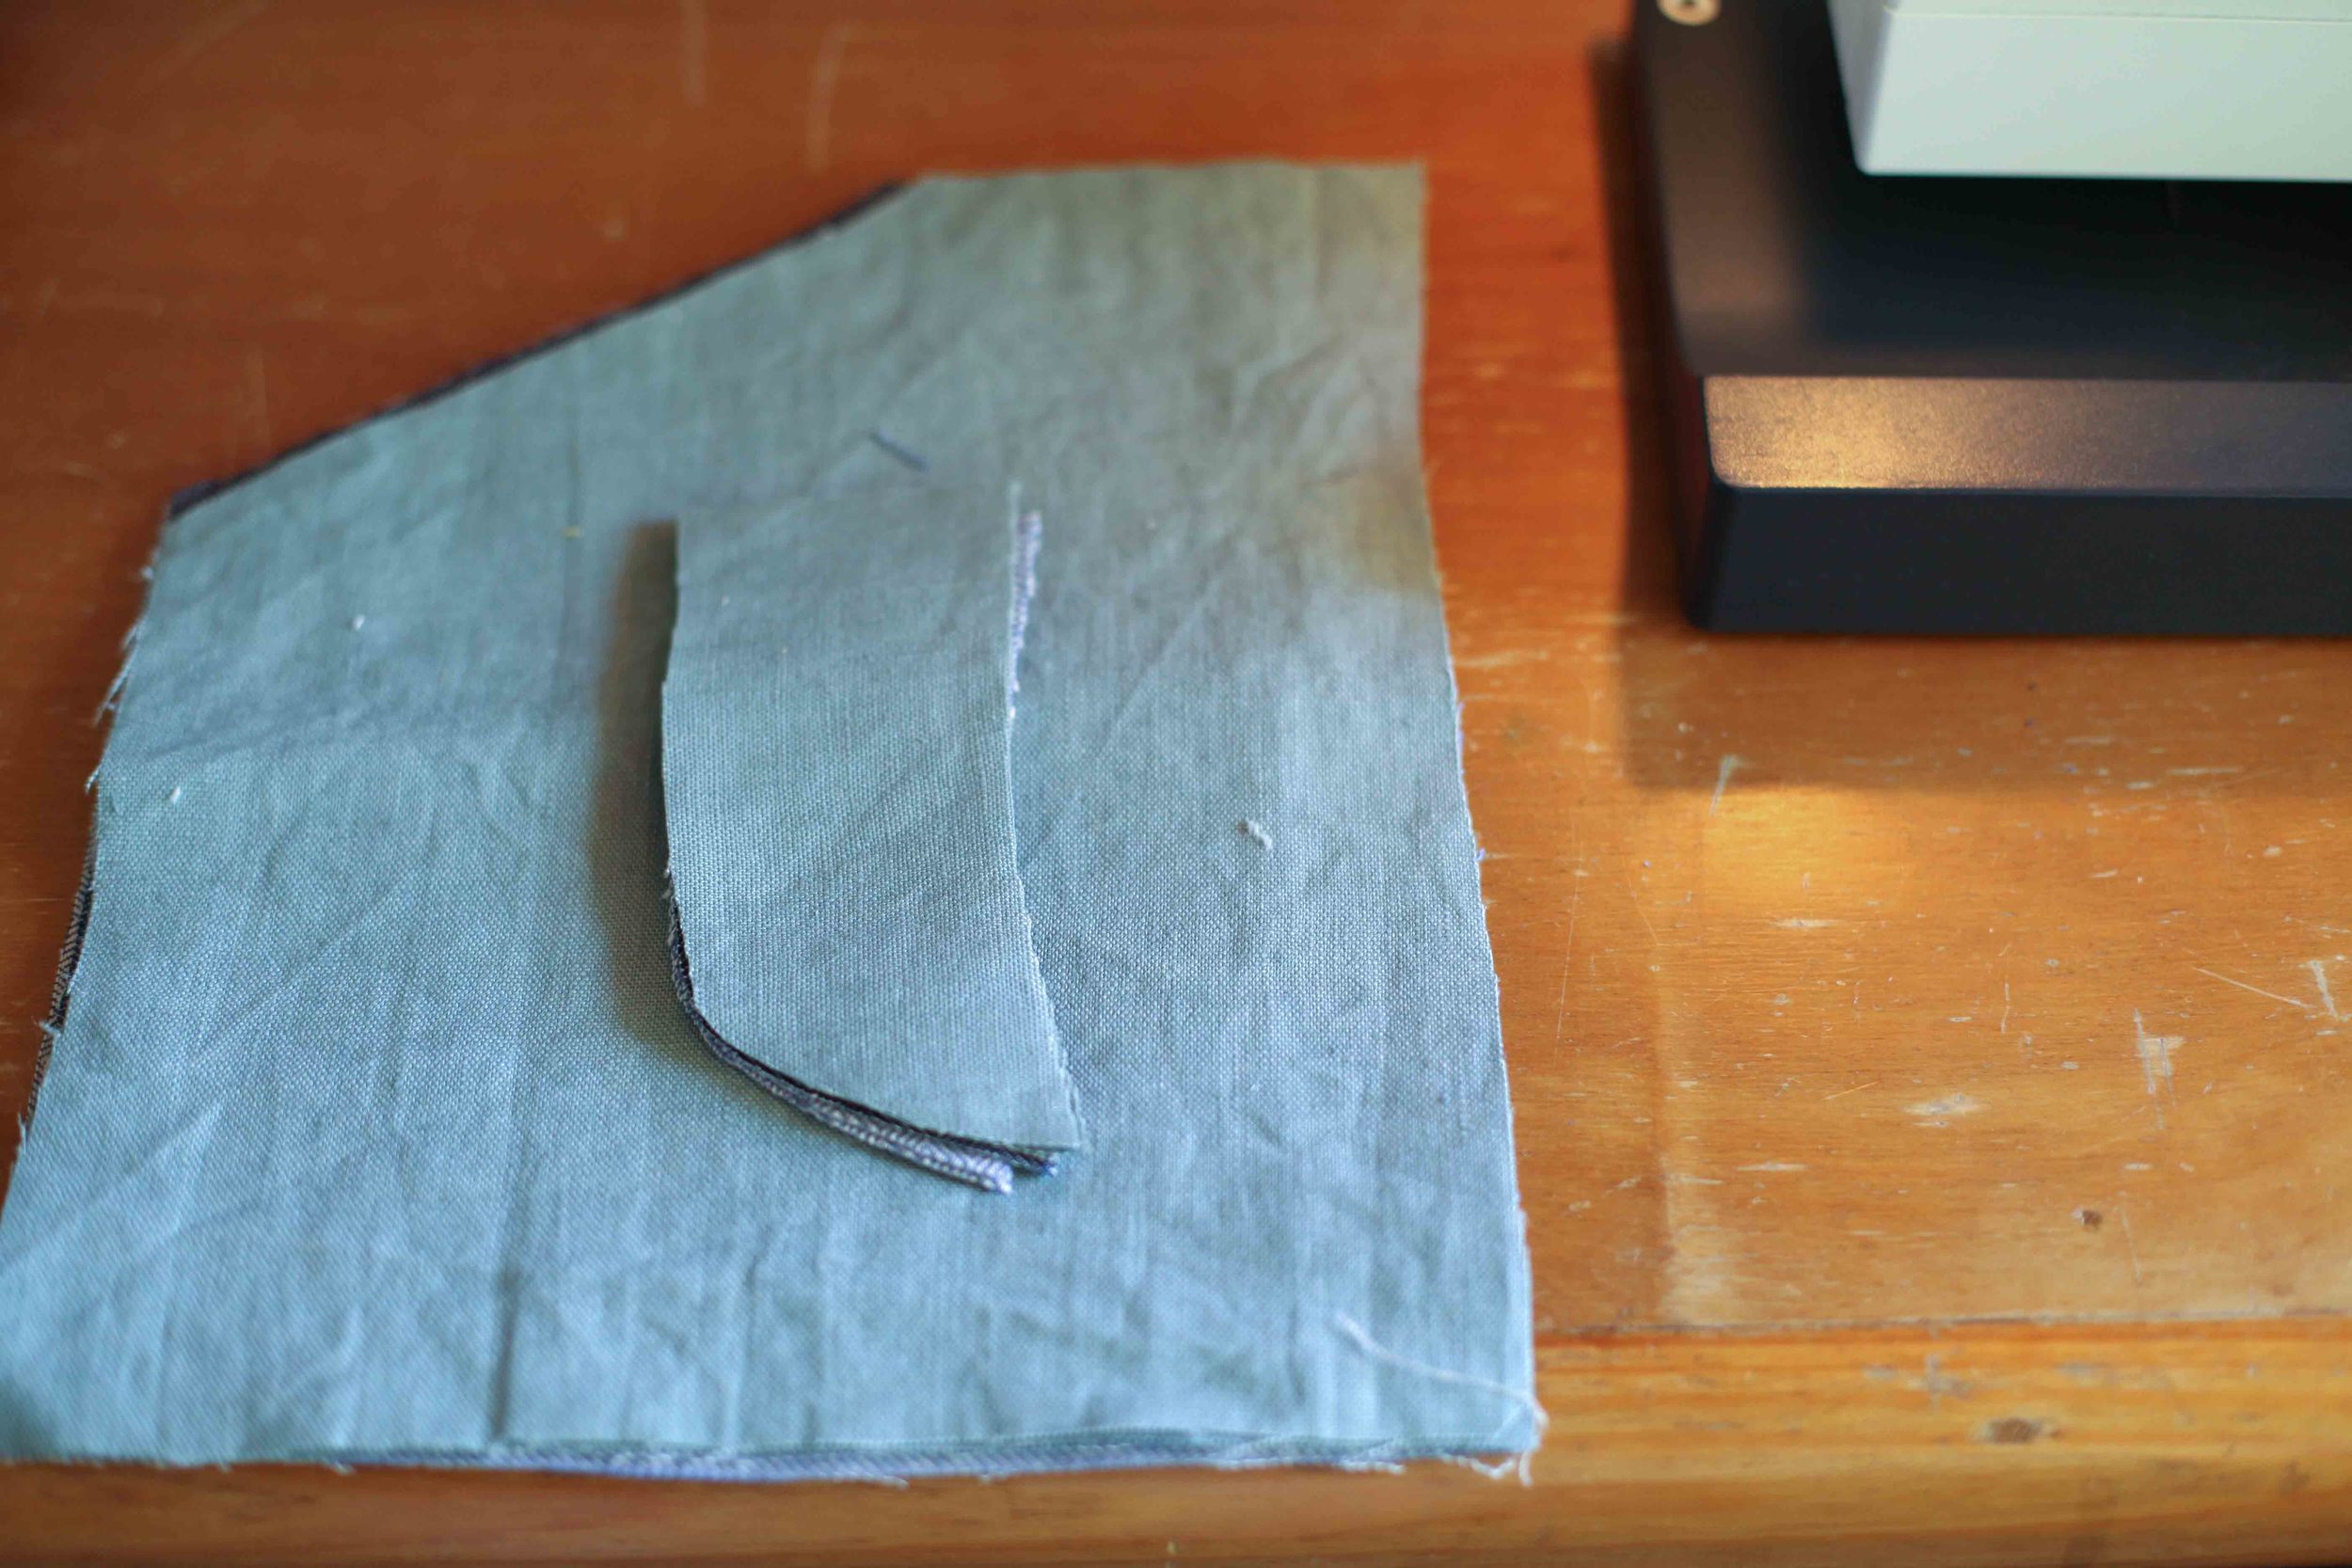
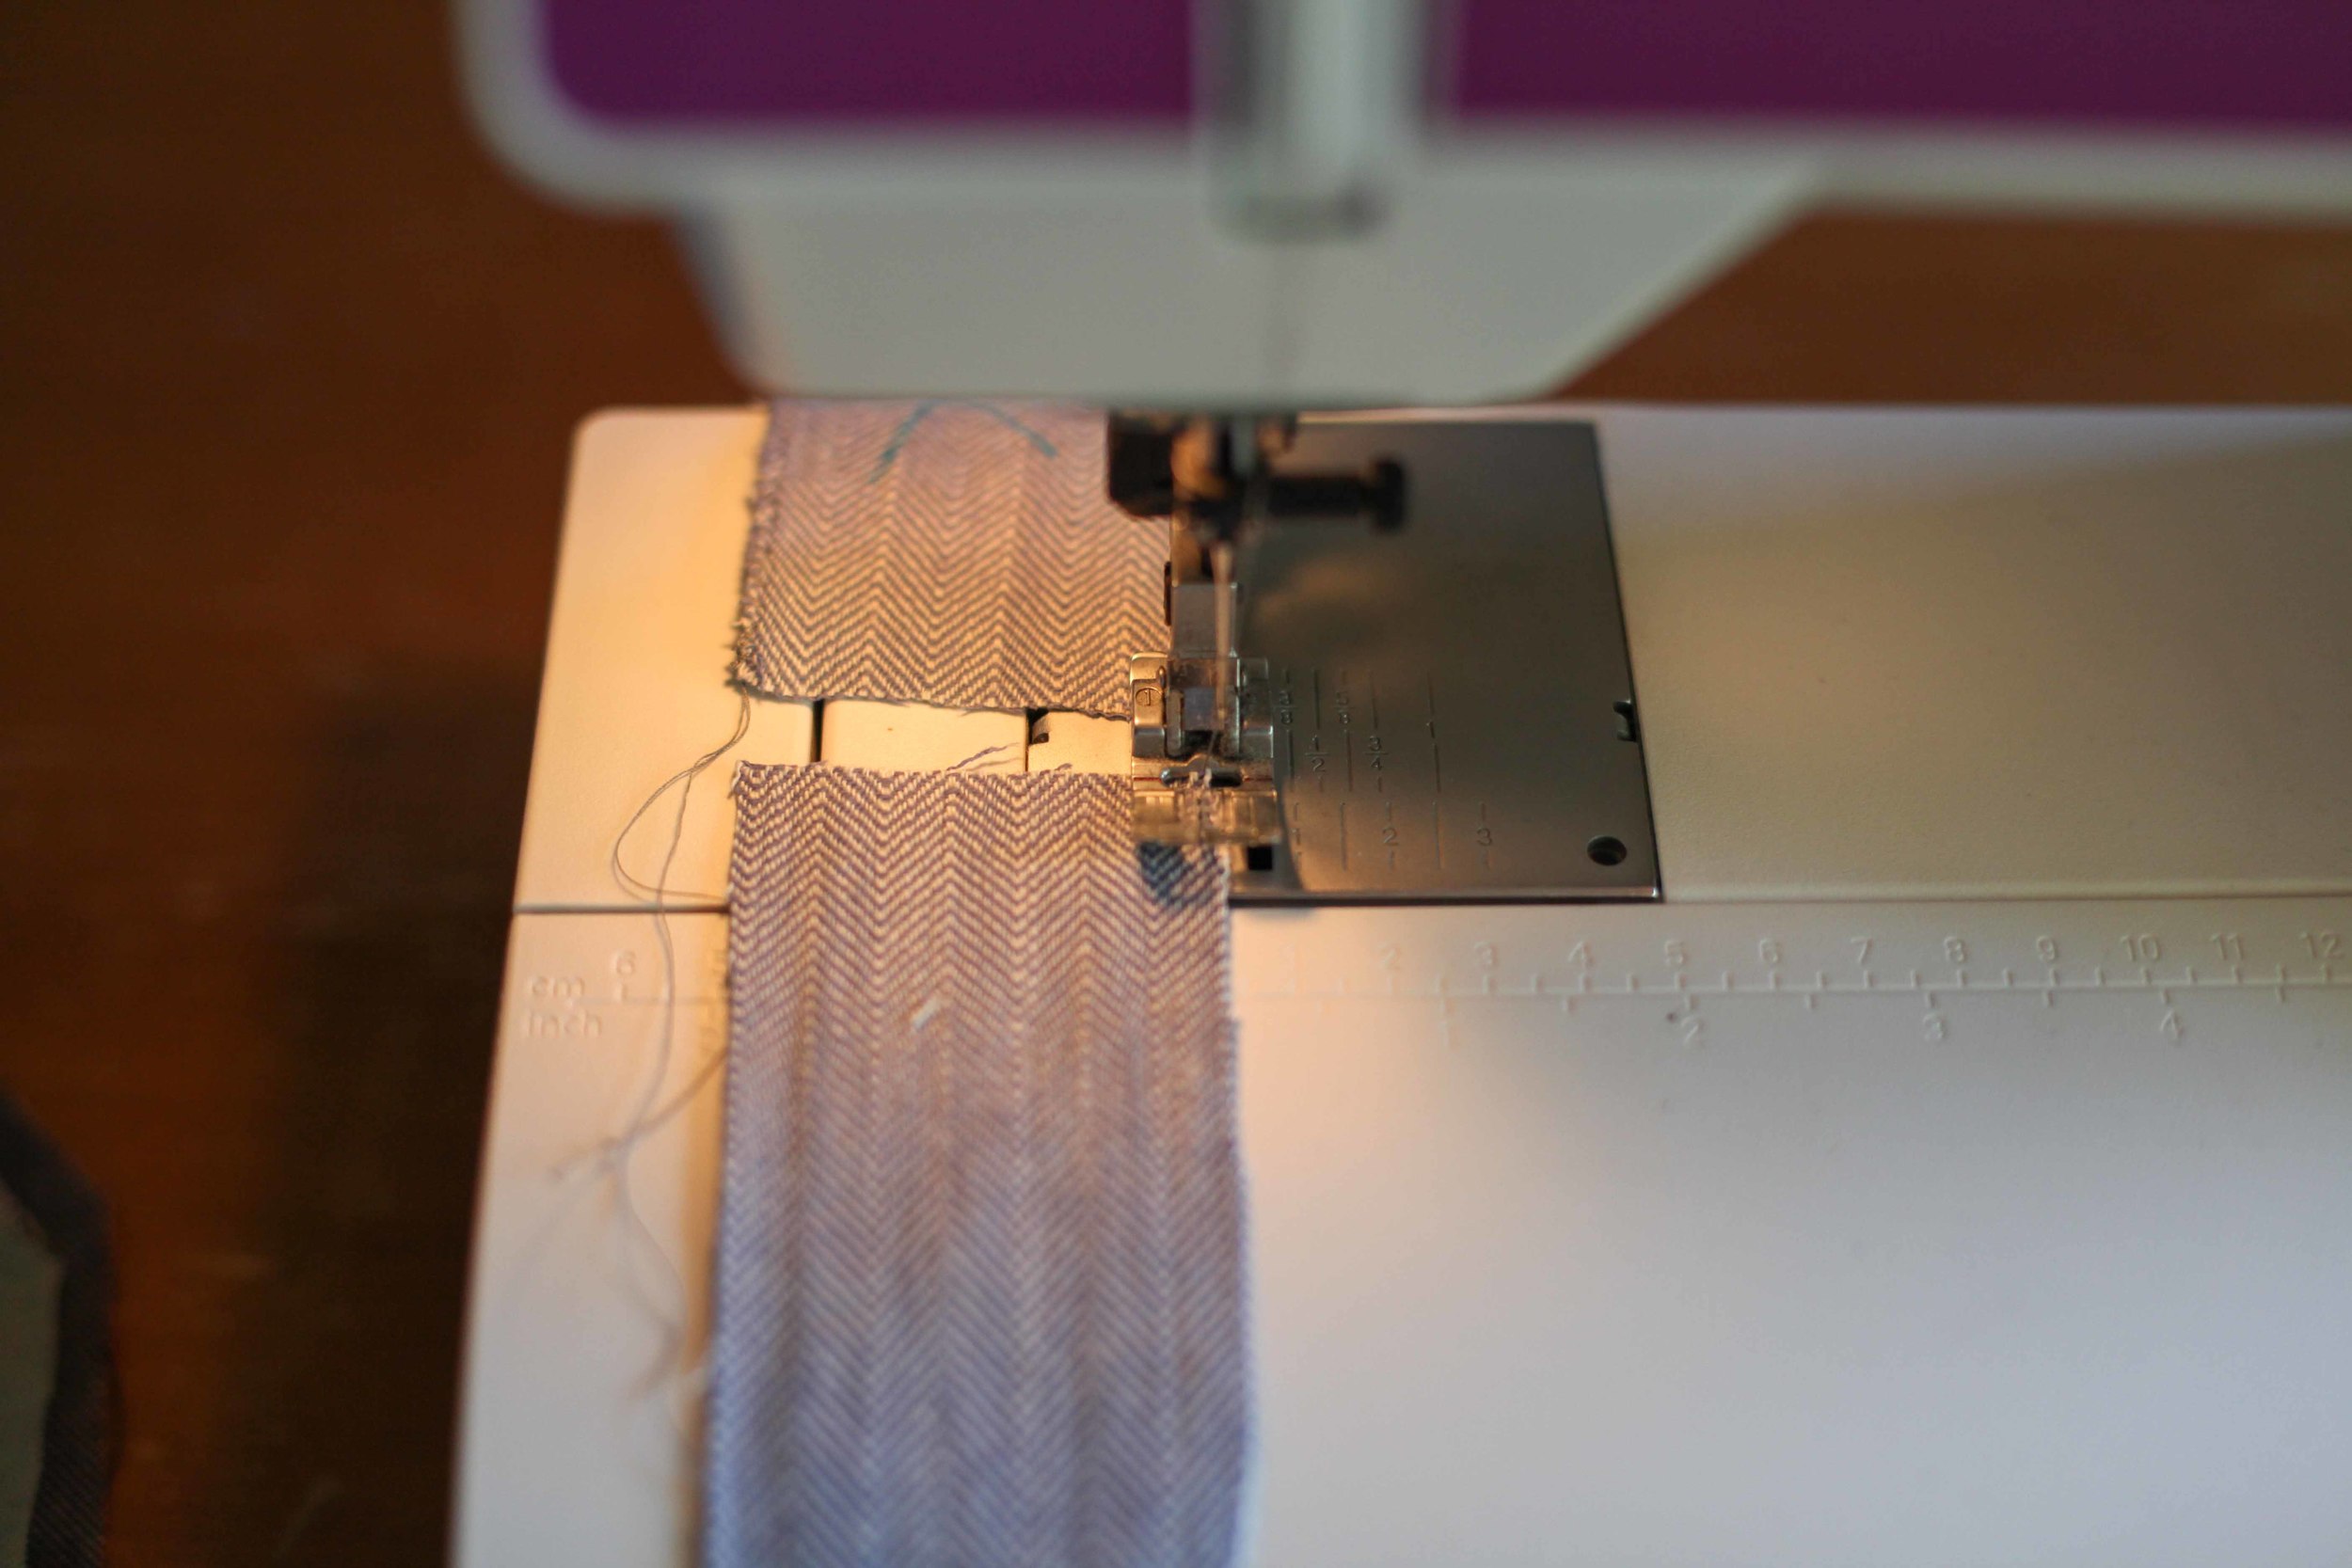
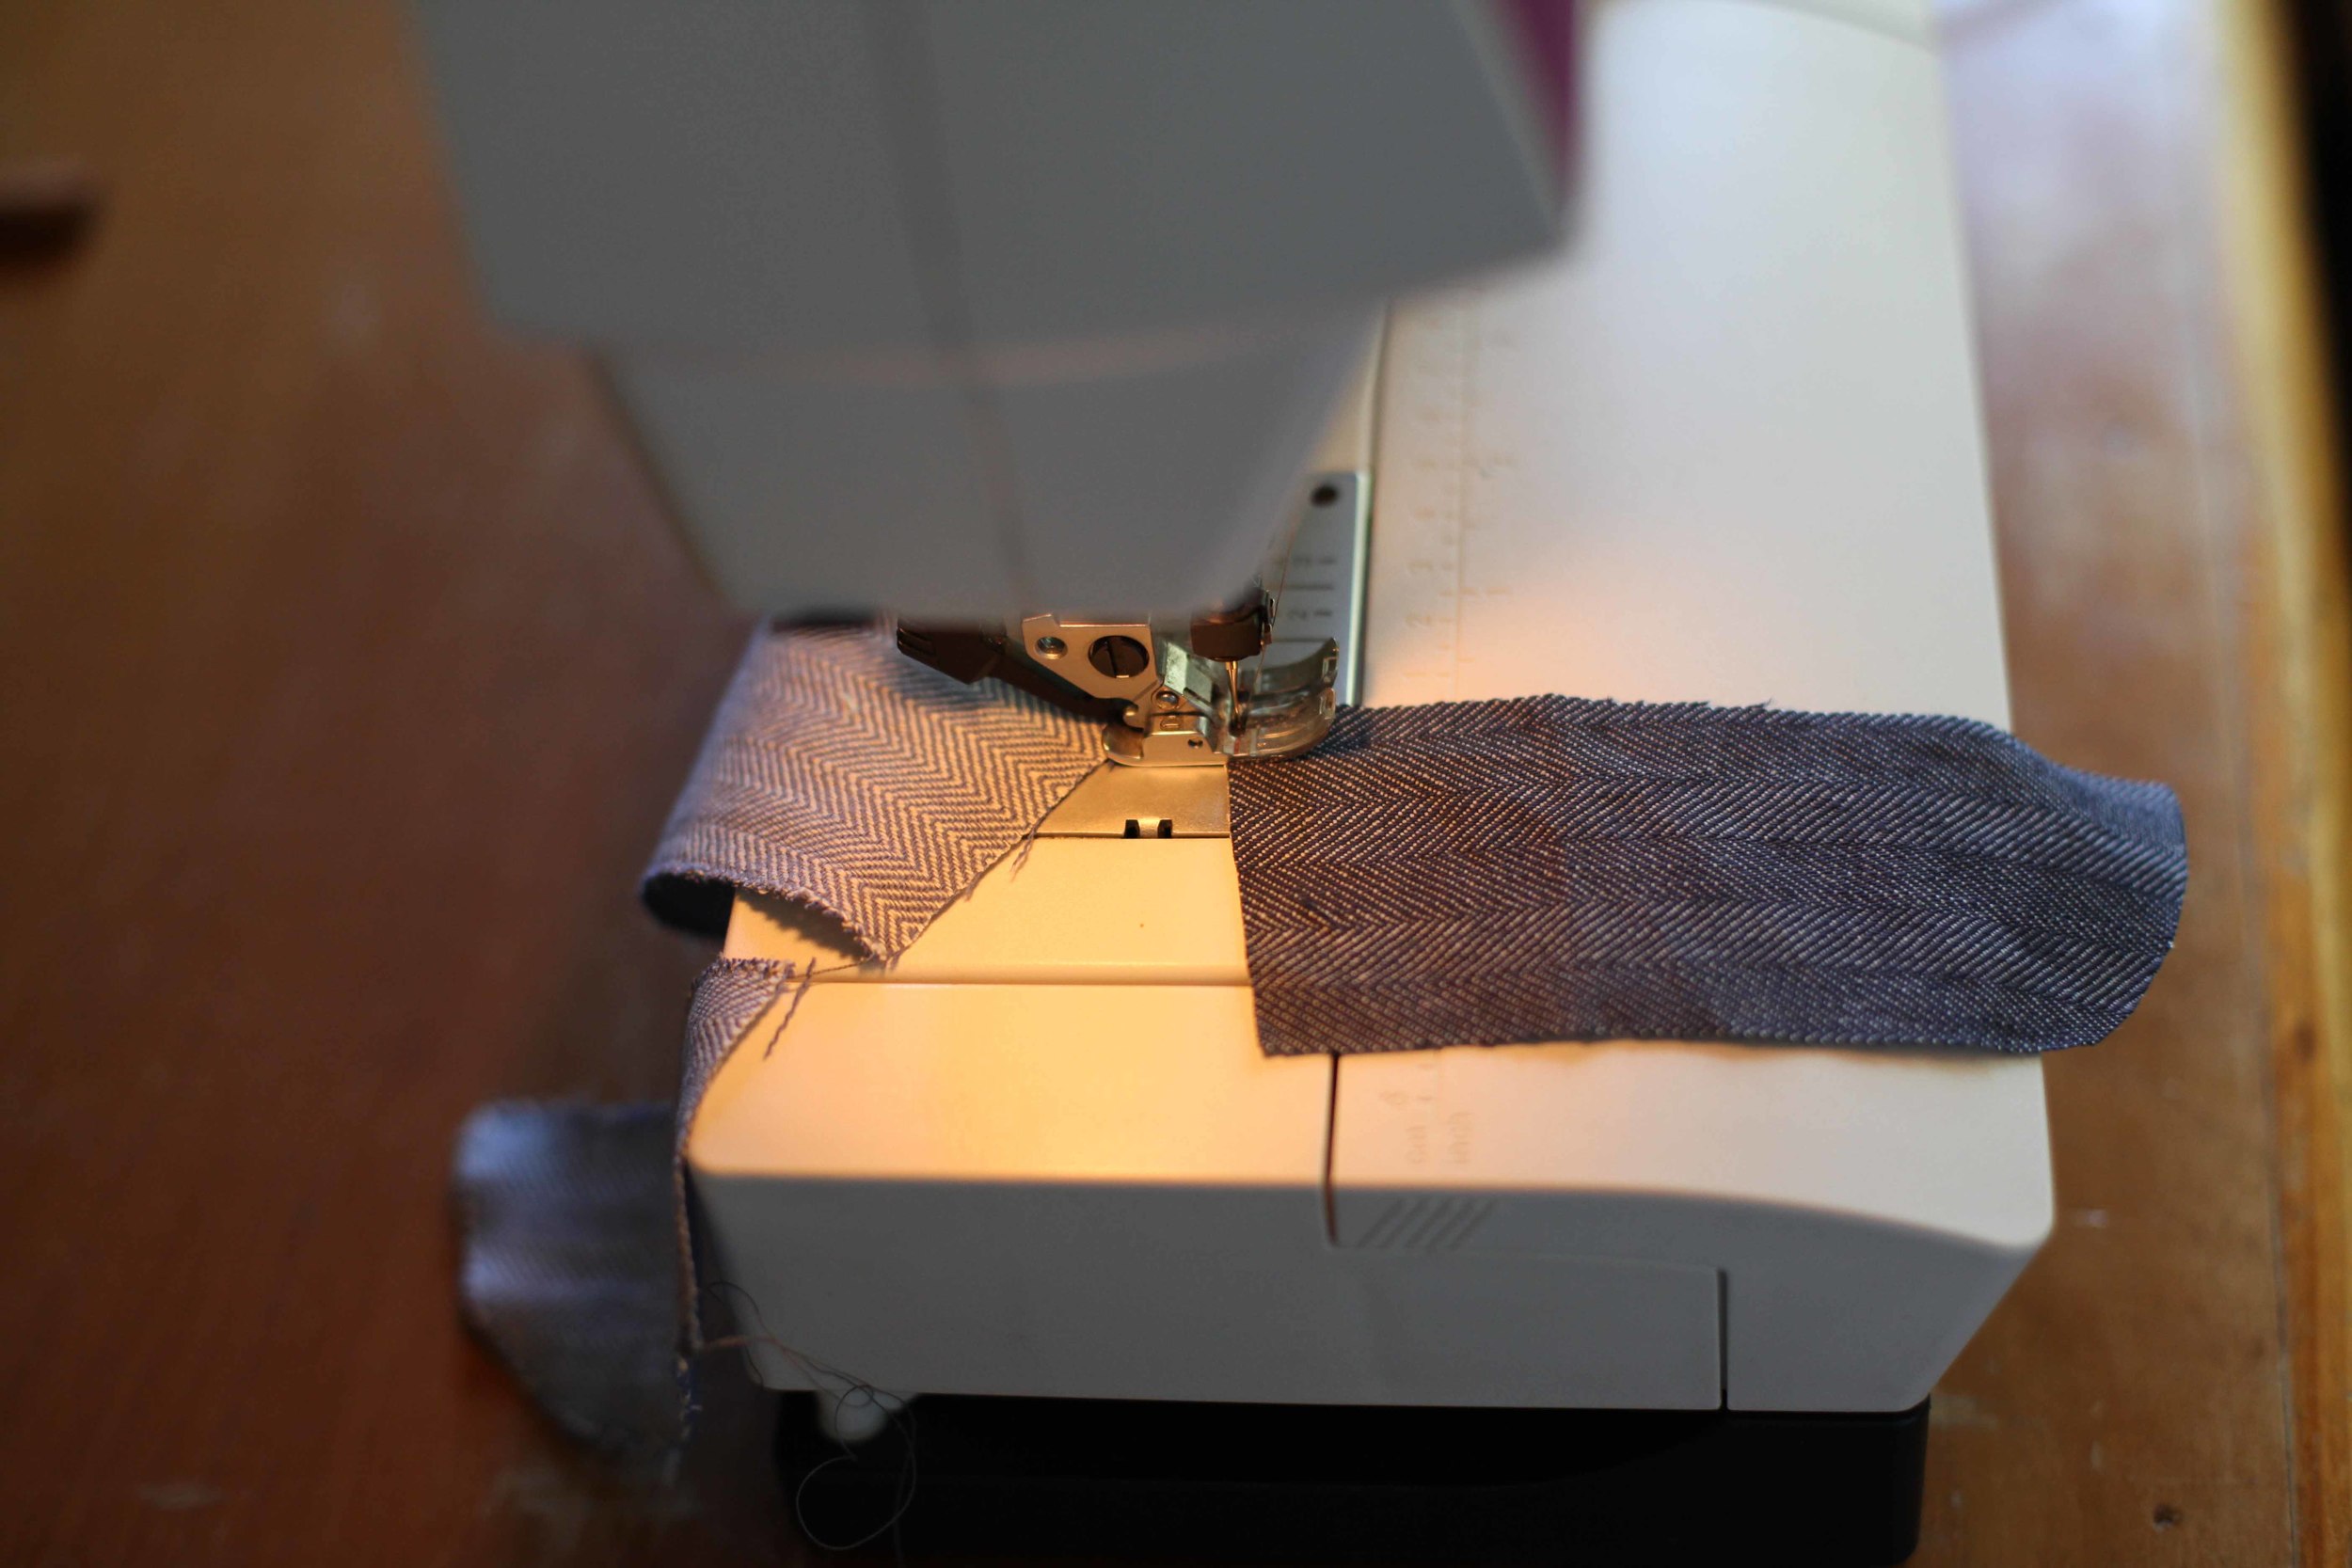
But what was unusual was that I didn't have endless choice. I made the shorts but am now out of boy short fabric. I literally have nothing left that would work for boy shorts. Then in order to get the aforementioned dresses cut out I had to do a bit of scrounging. Not quite enough of this or that fabric. I’ve been piecing things together, adding panels to the yokes and frills on the bottom, cutting on the crossgrain. Scrounging, using all that is left and thereby using fabric I don’t actually like to make dresses I’ll see twice a week for the next year or three. And I can't tell you how thrilled it is making me.

I’m thrilled because it’s finally got hard to find fabric; and because I’m really enjoying the challenge of figuring out how to use the dregs. I'm thrilled because I still have some special fabrics I can use for special projects. I’m thrilled because I’m enjoying sucking up the fact that their wardrobes are getting even crazier with weird fabric I don’t like. Thrilled because I can see the fabric stacks are small and I’ve used fabrics I love over the course of Stash Less. Thrilled because the preciousness of precious fabric is now has a more healthy perspective. Thrilled by how light I feel.

While I’m not there yet Ifinally feel progress has been made. We are exactly 13.5-months-and-a-bit in, and these last weeks have felt like total joy. I'm proud of my progress.

For those of you who are making your own changes to your stashing - how is it going?? Anything to report?

Felicia x

In Stash Less
11 Comments

What we can learn from watching kids craft

November 13, 2015 thecraftsessions

My kids craft a fair bit. Not because I am some generous, kind, and nurturing mother, who sits for hours on end with her kids, helping them to create wondrous things. I don't do that. I'm not that patient and I often have stuff to do. Instead they craft because they are surrounded by materials and I give them the freedom and the autonomy to start stuff. And make a mess. 

Want to make a bag out of felt for your sister? Sure thing. There is the box of felt, there are the sewing needles. Off you go kid.

Want to dye some yarn? Here is some yarn, there is a jar. You could use onion skins or turmeric or grab some leaves out of the garden.

You want to do some finger knitting? There are the scraps. Off you go. Please don't make a lasso and put it around your sisters neck. 

I help when they are trying something totally new. I help when they get stuck. I help when they are making something special as a present, and sometimes I help when they have an especially grand idea. 

Occasionally I give some advice on a way of doing something but I always position it that the advice is one way of doing it. Not the only way. I always add that they might come up with a better way. 

I want them to get that I don't have the answers, and that they control it, direct it, own it. 

So they make stuff.

They don't always finish stuff and that's OK too. Their idea of what is finished and my idea of what is finished are two separate things. 

I try really hard to stay out of it. Sometimes biting my lip in the process. Sometimes hard enough to draw blood :). Who doesn't want to control things.

Why do I try so hard to stay out of it? Why do I try not to "teach" them how to do stuff? Because I've seen that they actually have an advantage when learning to craft that we grownups don't have. And I believe that if I were to start trying to teach them stuff then I may kick that advantage right out of them.

Unlike many grownups, most kids - if left to their own devices from an early age - will experiment.

Experimentation and curiosity is how we learn. It's how we developed from apes, to tool-using apes, to upright walking bipeds, to the crazy, big-brained, inventive things we are. Experimentation allows us to be flexible and to run with possibility. Some of my favourite projects have come as a result of experimentation or accident. And for me the learning that comes out of experimentation feels different to the learning that comes from being taught. I feel more connected to it, my understanding is deeper and I retain it longer. 

As we get older, our willingness to spend time experimenting seems to fade.

Collecting dyeing materials.

Collecting dyeing materials.


I have a few theories about this. One issue for many of us seems to be that as we get older, we become more time poor and for many reasons, both cultural and personal, we start attaching judgements about our time. The simplest judgement about time is that we need to be productive with it. This judgement is so prevalent (and so culturally strong) that we then lose our natural inclination to experiment. We want results. We want an outcome. And we want that outcome to look like what we imagined. We place narrow parameters around what is a successful project.

And the situation actually gets worse. When something doesn't quite go how we planned it, imagined it, or dreamed it, we assign blame and often translate a projects "failure" into a judgement about ourselves. We say things like "I'm rubbish at ....." or "I'm not patient enough" or "I just wasted those materials" or "I obviously did something wrong ". Blah bloody blah. For some reason we turn the fact that the project wasn't a success into some kind of meaningful message about ourselves. 

It doesn't need to be this way as those aforementioned kids show us.

Unconsciously they allow themselves the time and space to just play. Because really they are just having a good time. Figuring it out. For fun.

We could allow ourselves to play, with materials and with time, thereby allowing ourselves the space to fail without it meaning anything. It doesn't need to mean anything. It just means the experiment failed.

Imagine how much more we could enjoy the process if we took the pressure off? 

You I know I love an example so here goes....

Over the last year the girls (who were 7 and 4) have been doing some natural dyeing. I need to stress that I actually don't know anything about natural dyeing. It isn't a skill set I currently possess. I've never been to a dyeing class at The Craft Sessions (nor any other class really - a small tragedy of being the event runner :)) and I don't understand anything about mordants and light fastness. I guess the one thing I do know is that you might want to use a mordant and think about light fastness. Obviously I'm not going to be very helpful. 

It started about 6 months ago when I showed my 7yo that Belinda had dyed some yarn using plants from our garden and jars. We talked a tiny bit about some of the things you could dye with, before the kid walked out of my sewing room. She got herself a jar, some onion skins, some flowers and some fabric, and chucked them out in the sun. And dyed some fabric.

About six months later the younger kid got it in her head that she wanted to dye some yarn. She was four and she just began. She got jars and avacodo pips and onion skins and purple carrots. Her kinder teacher had just done some dyeing with purple carrots and the kid knew she could get a result. 

So she began. She did this awesome kind of solar dyeing that we think we made up. We did solar dyeing without sun (as it was the middle of winter) by putting the jars on top of the hydronic heaters. This meant that the jars heated up during the day and cooled down at night. I made up mini skeins of scrap yarn for her and she went for it.

She decided when they were finished - sometimes she left them for two weeks, and other times she left them for two days. I didn't say anything. I simply gave her some bowls and some tongs and told her to rinse them and put them on the heaters to dry. 

She ran with it. She got results with her first round (which I will show you another day) which she totally loved. She then came to me asking what else, and so I told her I thought that sour grass (oxalis) worked, and turmeric, and black beans, and so on we went. 

Making the mud.

Making the mud.

Then not long ago, I met the very knowledgable and kind Samorn from Eastern Weft, and she told me that to get the black yarn they use in their weaving they dye using mud. I told my girls this, and so they found some dirt, made some mud, and put some yarn in it. They left it for a few weeks before trying to rinse it outside by the tap.

There were some issues. Firstly it was impossible to get all the mud off the yarn. And secondly, the yarn was still white. The mud washed off and left the yarn the same colour as it started. *

Rinsing the yarn a few weeks later.

Rinsing the yarn a few weeks later.

The final "result".

The final "result".

And do you know what they did? Literally they shrugged, walked inside and got another jar some more yarn and some gum leaves. 

That was it. I don't think they gave it another thought. There was no sadness about wasted time and materials. There was no judgments about their abilities with natural dyeing. 

The other interesting thing about it, is that while they like the yarn they have dyed, and want to play with it, they don't seem to consider it as a precious/amazing resource that they should use carefully and sparingly.

Personally if I had dyed yarn then I would be endowing it with some kind of "specialness". I would consider carefully how to best use it and probably get frozen in indecision. I might just leave it sitting there because of it's preciousness.

The girls don't think anything of randomly using it for a collage, or cutting it up to make bracelets and finger knitting. They have used it to make a leash for a stuffed toy dog. I have to bite my lip and smile admiringly at their creations.

It is their process, not mine. And I learn so much from watching it.

Are you still an experimenter? Were you ever?

Felicia x

*Samorn has since told me it is a special kind of mud.


In Thoughts On Craft
23 Comments

The Craft Sessions 2015 - Final Photos!

November 10, 2015 thecraftsessions

I went out to visit the venue this last Friday to chat about 2016 for our annual retreat. Chatting with them about the last few years and how the event has grown, got me excited all over again! I love what we have created - both the event and in this space - and being in the beautiful Yarra Valley and chatting about our ideas for next year was super fun. Planning in earnest starts this month! 

So I thought now was a good time to post this "last" set of photos from our 2015 retreat. You can see our first lot and our second lot here. They really do show the joy and beauty to be found on this weekend of magic. 

See you next year!

See you next year!

BTW. There aren't many photos of knitting in this post. Believe me - knitting is the most prominent, and well-loved, textile-based handcraft that we engage in at the retreat. I just didn't seem to get back to the knitting classes on the Sunday afternoon to show you their progress.... oops!! 

Hope you enjoyed them. 

Felicia x

In The Craft Sessions, The Retreat
8 Comments

Simple Sewing 101 - Smash it out!

October 27, 2015 thecraftsessions
Four pairs of shorts - three made in one go (using dirty blue/grey cotton) and the yellow ones made separately using off-white cotton. Yellow ones obviously only just completed - hence the threads sticking out ;).

Four pairs of shorts - three made in one go (using dirty blue/grey cotton) and the yellow ones made separately using off-white cotton. Yellow ones obviously only just completed - hence the threads sticking out ;).

It's Slow Fashion October so this post could be seen to be badly timed. It's not. But it could be. I'm going to talk about it some more on Friday, but to me Slow Fashion October doesn't necessarily mean that your making needs to be slow. It simply means being considered about what you make. Once you've decided what to make then game on. 

That said, obviously sometimes I love to create in a slow meditative way. Slowing down, using my craft as a way to provide daily nourishment for my soul. Other days I just want/need to get. it. done! I had three kids you see, and they go through (as in wear-out-in-an-unmendable-way) a lot of clothing. 

So this last weekend my oldest kid needed shorts. Lots of shorts. He is an all-year-round short wearer, which when combined with sport and hooning around the playground, means that he is particularly hard on his outfits - as you are when you are small and having fun. Of course that makes me glad, but it often means that he brings me shorts with the bottom part missing totally, or with fabric so thin they are unrepairable. He always believes that I am capable of repairing them - bless! - so I have on occasion, just had to "disappear" them. They do get to a stage where they are best left to RIP.

So I often find myself making in multiples - to fill the need quickly. This weekend past I set the ambitious target of four pairs of shorts, to be made in an hour here and another hour there, and one evening stint that finished just after midnight. As I was making them I realised that when I'm doing this kind of "smash it out" sewing, I actually have a whole heap of techniques that I use to speed up the process, and be more efficient. I know you guys like a bit of a trick, so I thought I'd share. 

Keep in mind that while these techniques work a treat if you are making a single garment, they work even more splendidly if you are making multiples.

Get set up.

  1. Pre-wind your bobbins so they are ready to go. If I am making multiples then I normally wind at least two bobbins, if not four. You can buy extra bobbins at your local sewing shop and they are a great investment. I have about ten for my machine, pre-wound with my "neutral" colours (see below).
     
  2. Change your needle. You need to do this for every 8 hours of sewing but I find that changing at the start of each major project works pretty well for me. Who would actually know what 8 hours looks like? It's worth the expense - the machine will work better. Your stitches will be more even and get tangled less often.
     
  3. Gather your other materials and read through the pattern to mentally combine the steps you can. 
     
  4. Use a water soluble marking pen to mark the right side of your fabric with a big cross. This means that you don't waste minutes of your precious time trying to figure out the right side of your linen. 
Prewound bobbins, thread-snips, bowl for loose cottons and spare thread.  

Prewound bobbins, thread-snips, bowl for loose cottons and spare thread.  

Pre-winding.

Pre-winding.

My favourite water-soluble marker that I use to mark notches and right sides of fabrics.

My favourite water-soluble marker that I use to mark notches and right sides of fabrics.

Texta marks to show the right side of the fabric. 

Texta marks to show the right side of the fabric. 


While you are sewing

  1. Where possible don't pin. Or pin minimally. This you can only learn with practice, but often you only need a pin or two for the seam - one at the start and one towards the end -  rather than 5/10/15 pins. Just hold the edges together as you sew with your right hand and use your fingernails to scratch the fabric into place rather than pinning.*
     
  2. When you need pins, pin perpendicularly to the raw edge of the fabric with the pin head sitting on the outside of the fabric. This means you can take the pins out easily without slowing your sewing down too much. 
     
  3. Minimise interruptions to flow. This one is critical. You want to minimise the number of times you need to get up and down from your sewing machine.

    There are basically three steps to sewing - pinning, sewing and ironing. You want to minimise the number of times you change from one to the other as it interrupts your flow. And flow is what it's about people.

    If there is pinning to do, then pin everything you can (as in the next two or three or even four steps of the pattern where you can) before moving onto the next step of sewing those pinned seams. 

    For example when I was making the aforementioned shorts I sat down and pre-finished all the edges the pattern suggested in one go before then moving on to the first step - which was to sew the pockets to the fronts, which I did without pinning, to save time. I then finished the edges of the pocket seam and only then did I get up from the machine to press them flat. 
     
  4. Always ALWAYS snip your threads as you go. This could change your life. Depends on your life obviously.
     
  5. Chain piece!!!! This is the single biggest thing you can do to improve your speed and output. It's super simple and probably easiest to explain through the diagrams below. 

    What chain-piecing involves is having multiple seams ready to sew, and then you sew them without cutting your threads in between each seam. It doesn't matter if they are the same type of seams or different seams. This is most easily understood by looking at the photos below.

    You still do a back stitch or two at the start and end of each seam where appropriate. But you don't then lift the foot, and pull up the needle, and cut the threads. Instead you sew 1cm without any fabric under the needle, and then guide the next seam you need to sew, into the machine. You do a backstitch so it doesn't come undone and then keep hooning through your seaming. When you are finished as many seams as you can then just snip the threads in between each piece. This is a technique borrowed from the quilting world that works beautifully with garment sewing.

  6.  
A pile of pieces ready to be sewn. In this case they don't need to be pinned as I was finishing the edges with a simple zigzag.

A pile of pieces ready to be sewn. In this case they don't need to be pinned as I was finishing the edges with a simple zigzag.

Backstitch just as you are finishing each piece to secure the thread before leaving a cm of sewing. Then guide in the next piece doing a simple backstitch as the needle hits that piece to ensure the thread doesn't unravel.

Backstitch just as you are finishing each piece to secure the thread before leaving a cm of sewing. Then guide in the next piece doing a simple backstitch as the needle hits that piece to ensure the thread doesn't unravel.

This is the third piece being added to the chain.

This is the third piece being added to the chain.

This is six pockets and six fly pieces all chainstitches together using dirty grey cotton for three different pairs of shorts.

This is six pockets and six fly pieces all chainstitches together using dirty grey cotton for three different pairs of shorts.

Up close showing also the thread between pieces and the  blue water-soluble text mark showing me the right side. 

Up close showing also the thread between pieces and the  blue water-soluble text mark showing me the right side. 

Chain pieced fronts of trousers. 

Chain pieced fronts of trousers. 

Chain-piecing finished the edges after sewing the pockets to the fronts.

Chain-piecing finished the edges after sewing the pockets to the fronts.


Some things about multiples.

If you can make multiples then do. The effort involved in making one of something versus three of something is really similar. At a guess I would say that I can make three pairs of shorts at the same time, in the time it would take me to make one pair, and then make a second.

This only works if;

  1. You choose fabrics that mean that you only use one colour cotton. With the shorts above I chose kinda wisely. For the denim, duck-egg linen and herringbone shorts I used the same dirty blue cotton. For the yellow shorts I used an off white which meant that I needed to sew them separately. ** 
  2. You choose fabrics that are similar in weight so you don't need to change the needle.


A couple of things to note.

*About pins - There are times when you need pins and lots of them. Gathers, bindings, waistbands that need to be spread evenly, set in sleeves AND every time you are matching a seam with another seam. 

** A note about neutral cottons - This is something that I do with all my sewing. I use six colours of thread no matter what the project. I call them my "neutrals", and they are off-white, grey, dirty blue grey, red, navy and black. My two most commonly used colours are off-white and dirty blue grey. They go with nearly everything. The only time I change to a matching colour is when I change the top thread only in order to topstitch a waistband or a hem. I don't change my bobbin colour as it is on the inside. Obviously this is for everyday sewing - special birthday sewing gets matching cotton. Sometimes at least.

All three skirts were made at once with dirty blue grey cotton. Obviously not the ideal choice for the yellow spot skirt, but after over two years of wear I've never had anyone look inside the garment and be appalled by my cotton colour choice. It m…

All three skirts were made at once with dirty blue grey cotton. Obviously not the ideal choice for the yellow spot skirt, but after over two years of wear I've never had anyone look inside the garment and be appalled by my cotton colour choice. It meant I could make all three at once, chain piecing, which is infinitely faster than making things one at a time. I changed the top thread only to topstitch the waistband and the hem of the yellow skirt. Works a treat.


Anything you experienced sewers would add that I've missed? 

Felicia x

In Simple Sewing 101
13 Comments

Do you have the courage.

October 20, 2015 thecraftsessions

You know those times when it feels like the universe is talking to you? Well I've been feeling that quite a bit lately. But up until today I haven't felt like I've been able to hear what it's trying to say. 

The last month or so I've been distracted and tired and a little off. Like my spark has gone on holiday or at least for a little lie-down. I haven't been able to finish anything and I haven't really been able to write. I just went back through the blog to see what I had managed to write about, and I realised I've been so distracted I haven't even posted all the photos of the retreat yet. Even instagram (usually my easy form of social media) has felt like too much. I've been able to post but I'm not responding like I normally would. I think I've been a little creatively and physically worn out. I'm sure you've been there.

Anyway, back to the universe. So in the tiredness I've been reading and listening to podcasts and audiobooks. And the same book - Big Magic by Elizabeth Gilbert keeps coming up again and again. I've seen it on instagram, been tweeted about it and even received a few emails about it - one while I've been writing the post. And so today I downloaded it on Audible. 

She tells the story of Jack Gilbert, an inspiring poet, talking to one of his students who says she wants to be a writer....

“Do you have the courage to bring forth this work. The treasures that are hidden inside you are hoping you will say yes.”
— Jack Gilbert in Elizabeth Gilbert's Big Magic
“Creative Living Defined.
So this I believe is the central question upon which all creative living hinges. Do you have the courage to bring forth the treasures that are hidden within you....but surely something wonderful is sheltered inside you. I say this with all confidence because I happen to believe that we are all walking repositories of buried treasure. I believe this is one of the oldest and most generous tricks the universe plays on us human beings, both for it’s own amusement and for ours. The universe buries strange jewels deep within us all and then stands back to see if we can ever find them.

The hunt to uncover those jewels, that’s creative living. The courage to go on that hunt in the first place that’s what separates mundane existence from an more enchanted one.”
“When I refer to creative living I am speaking more broadly. I am talking of a living a life that is more driven more strongly by curiosity than by fear.”
— Elizabeth Gilbert - Big Magic

It turns out that like the people said* is just what I needed. I think I'm only about 30 minutes in and already it is soothing and inspiring the creatively tired soul. And reminding me that in order to live the life I want to live then I need to flex my courage muscle. Not this week - as I actually think I probably just need a rest - but soon. Soon I need to ramp up my next set of projects. The ones I'm afraid of. The ones that make me uncomfortable and the ones the feel most like me. The ones that mean the most to me. The ones that might fail. As I'm writing this, there is a spark of excitement in my tired eyes just imagining them all coming alive. But that will only happen if I'm courageous enough.

I need to say that although I'm only a little way into the book I think it's sensational. A must read. Already it's reminded me that I want to live a big life. A brave one. I can't help but return to that  beautiful and life affirming Mary Oliver quote "Tell me, what is it you plan to do with your one wild and precious life?" It's reminded me to step up. I think part of my tiredness has been fear of the next bit.

One of my ongoing experimental creative projects.

One of my ongoing experimental creative projects.


In particular the quote is ringing true for me in two areas; in my Slow Fashion October making AND in my "what's next for The Craft Sessions?" quest. I'll leave The Craft Sessions talk for another day and chat briefly about making. 

I've spoken before about getting stuck in middle of a project or even stuck in the dreaming. Dreaming but not doing. And inevitably I find that it comes back to courage! Courage to make mistakes, to practice and to take risks. To sit in the not knowing. 

Elizabeth Gilbert talks extensively about the connection between fear and creativity and that you can't have one without the other. That you have to step into the unknown to create! And that the unknown is not a comfortable place for fear. But she also talks about how you need fear. Of fear as a companion. I love this way of thinking. She says that if you give into your fear then your life will be so much smaller than you want it to be.

When I step into the unknown of my making, and try something, even though I have limited time and am unsure I am going to get the outcome I desire.....well that is where I really get to making the things that give me the most joy. When I experiment and let go of my need to control the outcome. Obviously there are disasters but it is also when I've made the things I'm most proud of. 

And for the moment that is a big component and focus of my making. Not churning things out but allowing myself the time to experiment and trying to be courageous and just get stuck in. 


I recently saw a beautiful example of the practice of courage and creativity and experimentation. We are renovating our house at the moment (another reason for the tiredness). It's a project that will take a few years, and a lot of research. So I've been spending a fair bit of my time getting quotes and looking up random things. Roaming around the internet looking at box shaped pendant lights or these beauties that I have just ordered for my kitchen (happy dance emoji)! One of those searches lead me to this amazingly innovative and beautiful house and the story of the two brothers who built it. Their story, which you can see in this video about the build (which is on the bottom this page) is so worth a watch. 

Three things that they said really struck me. 

“Chris - It is so rewarding doing stuff by yourself. I mean you don’t get the finish that a craftsman would, but you definitely get feedback, like tactile feedback, that you never do when you are sitting in an office.
Ben - It makes you a better designer. You learn from the material. There is knowledge that can only come from the hands. You can imagine all you like but...”
— Grand Designs Australia 2015 - Episode 1

You learn things through the physicality of the making about the shape/outcome of what you are making that you can't imagine at the design phase. I have come across this time and time again - especially while quilting. A quilt on paper is never the same as a quilt in the flesh. The materials I use are always forcing me to adapt as I make. Sometimes, before I've even started cutting, I get stuck in the fear it won't turn out how I imagine it, so I procrastinate. But the reality is that it won't. It can't. The only way to see it's final shape is to make it. Feel the fear and do it anyway.

“Anyway it is not that hard, building is really not that hard….….if you can ride a bicycle like you really can build a house. Ok we are not all going to be Cadell Evans. But.... you just undertake the process and you get there. ”
— Ben Gilbert - Grand Designs Australia 2015 - Episode 1

This point is one I think is so important - and his example is really similar to my running analogy from my post last year called "You're so talented" and other malignant myths. A post all about how talent is not a necessary component of creativity but getting in there and making is. 

“....a quarter of the build has been R&D, and that is what you do. You invest in yourself as designers and makers. ”

And finally that you need to invest in your learning. Both with your time and your materials. Making mistakes is not a waste! There is no such thing as wasted knitting time. 

I know this book is going to have many many more insights, so I'll share when I get further down the track but it sounds like it's probably one you should just pick up when you see it. In the meantime, I'd love to hear about your journey to live courageously, big or small. And also whether you have read the book?

Felicia x

*Thanks Brienne, and Pitch Perfect folks and Carolanne and Kate.

In Reading
14 Comments
← Newer Posts Older Posts →

Welcome! I'm Felicia - creator of The Craft Sessions and Soul Craft Festival.

This blog aims to celebrate the connection between hand-making and our well-being.
These posts aim to foster a love of hand-making and discuss the ways domestic handcrafts elevate our everyday.

I love the contributions you make to this space via your comments and learn so much from each and every one. x

Thoughts On Craft

Simple Sewing 101

Stash Less

The RetreaT

Featured
Making Fast Fashion: Some More Of The Grey
Apr 19, 2022
Making Fast Fashion: Some More Of The Grey
Apr 19, 2022
Apr 19, 2022
Is My Making Fast Fashion?
Apr 12, 2022
Is My Making Fast Fashion?
Apr 12, 2022
Apr 12, 2022
Why Gauge Matters
Apr 5, 2022
Why Gauge Matters
Apr 5, 2022
Apr 5, 2022
Craft As Simple Mundane Forward Movement
Mar 29, 2022
Craft As Simple Mundane Forward Movement
Mar 29, 2022
Mar 29, 2022
Craft As A Virtuous Cycle*
Mar 22, 2022
Craft As A Virtuous Cycle*
Mar 22, 2022
Mar 22, 2022
Craft & The Slow Nostalgic Finish
Mar 15, 2022
Craft & The Slow Nostalgic Finish
Mar 15, 2022
Mar 15, 2022

popular posts

Craft As A Project V’s Craft As A Practice

Our Fear Of Going Back

Making Is Not Inherently Creative

Why All Crafters Need A Visual Diary

Craft As A Manifestation Of Love And Loss

Moving On From Perfectionism

The Secret To Becoming A Great Knitter!

Simple Sewing 101 - Part 1

Craft In The Middle Of Motherhood

Another #theyearofthescrap #ellenscardigan using some #oldmaidenaunt alpaca silk from many years ago. What I love about this little cardy is it’s simplicity and how little yarn it uses. Perfect for scrap knitting. I now have a little pile of ba
New blog post: Craft as elevating the mundane! I think this idea is so important. 🌿 'Making is about enriching the moments of our lives; it’s about making the mundane (and not the extraordinary) more abundant and that bit more lush…. el
Block 8/12 - I’m so excited to be back making this for my smallest for her 10th birthday. It’s a #stash_less #theyearofthescrap quilt that is based on an incredible #geesbend quilt. And it’s all scraps and precious bits and pieces.
Another #theyearofthescrap #ellenscardigan using some #oldmaidenaunt alpaca silk from many years ago. What I love about this little cardy is it’s simplicity and how little yarn it uses. Perfect for scrap knitting. I now have a little pile of ba New blog post: Craft as elevating the mundane! I think this idea is so important. 🌿 'Making is about enriching the moments of our lives; it’s about making the mundane (and not the extraordinary) more abundant and that bit more lush…. el Block 8/12 - I’m so excited to be back making this for my smallest for her 10th birthday. It’s a #stash_less #theyearofthescrap quilt that is based on an incredible #geesbend quilt. And it’s all scraps and precious bits and pieces.
The Blog Archives!
  • April 2022
  • March 2022
  • February 2022
  • December 2021
  • March 2021
  • February 2021
  • November 2020
  • July 2020
  • June 2020
  • May 2020
  • April 2020
  • March 2020
  • February 2020
  • December 2019
  • March 2019
  • February 2019
  • January 2019
  • December 2018
  • November 2018
  • October 2018
  • August 2018
  • July 2018
  • May 2018
  • April 2018
  • March 2018
  • February 2018
  • January 2018
  • December 2017
  • November 2017
  • October 2017
  • September 2017
  • August 2017
  • July 2017
  • June 2017
  • May 2017
  • April 2017
  • March 2017
  • February 2017
  • January 2017
  • November 2016
  • October 2016
  • September 2016
  • August 2016
  • July 2016
  • June 2016
  • May 2016
  • April 2016
  • March 2016
  • February 2016
  • January 2016
  • December 2015
  • November 2015
  • October 2015
  • September 2015
  • August 2015
  • July 2015
  • June 2015
  • May 2015
  • April 2015
  • March 2015
  • February 2015
  • January 2015
  • December 2014
  • November 2014
  • October 2014
  • September 2014
  • August 2014
  • July 2014
  • June 2014
  • May 2014
  • April 2014
  • March 2014
  • February 2014
  • January 2014
  • December 2013
  • November 2013
  • October 2013
  • September 2013
  • August 2013
  • July 2013
  • June 2013
Featured
Making Fast Fashion: Some More Of The Grey
Apr 19, 2022
Making Fast Fashion: Some More Of The Grey
Apr 19, 2022
Apr 19, 2022
Is My Making Fast Fashion?
Apr 12, 2022
Is My Making Fast Fashion?
Apr 12, 2022
Apr 12, 2022

We Live and work on the traditional lands of the Wurundjeri people of the Kulin nation.
We acknowledge that sovereignty was never ceded and pay our respect to elders past, present and emerging.

Copyright the Craft Sessions 2020

Logo designed by the lovely Mara of Printspace and Girling Design