• The CraftSessions Story
  • Our Past Retreats
  • Blog
  • Newsletter
  • Contact
Menu

The Craft Sessions

Street Address
City, State, Zip
Phone Number

The Craft Sessions

  • About
    • The CraftSessions Story
    • Our Past Retreats
  • Blog
  • Newsletter
  • Contact

Simple Sewing 101 - I'm in love with Lou!

August 28, 2015 thecraftsessions

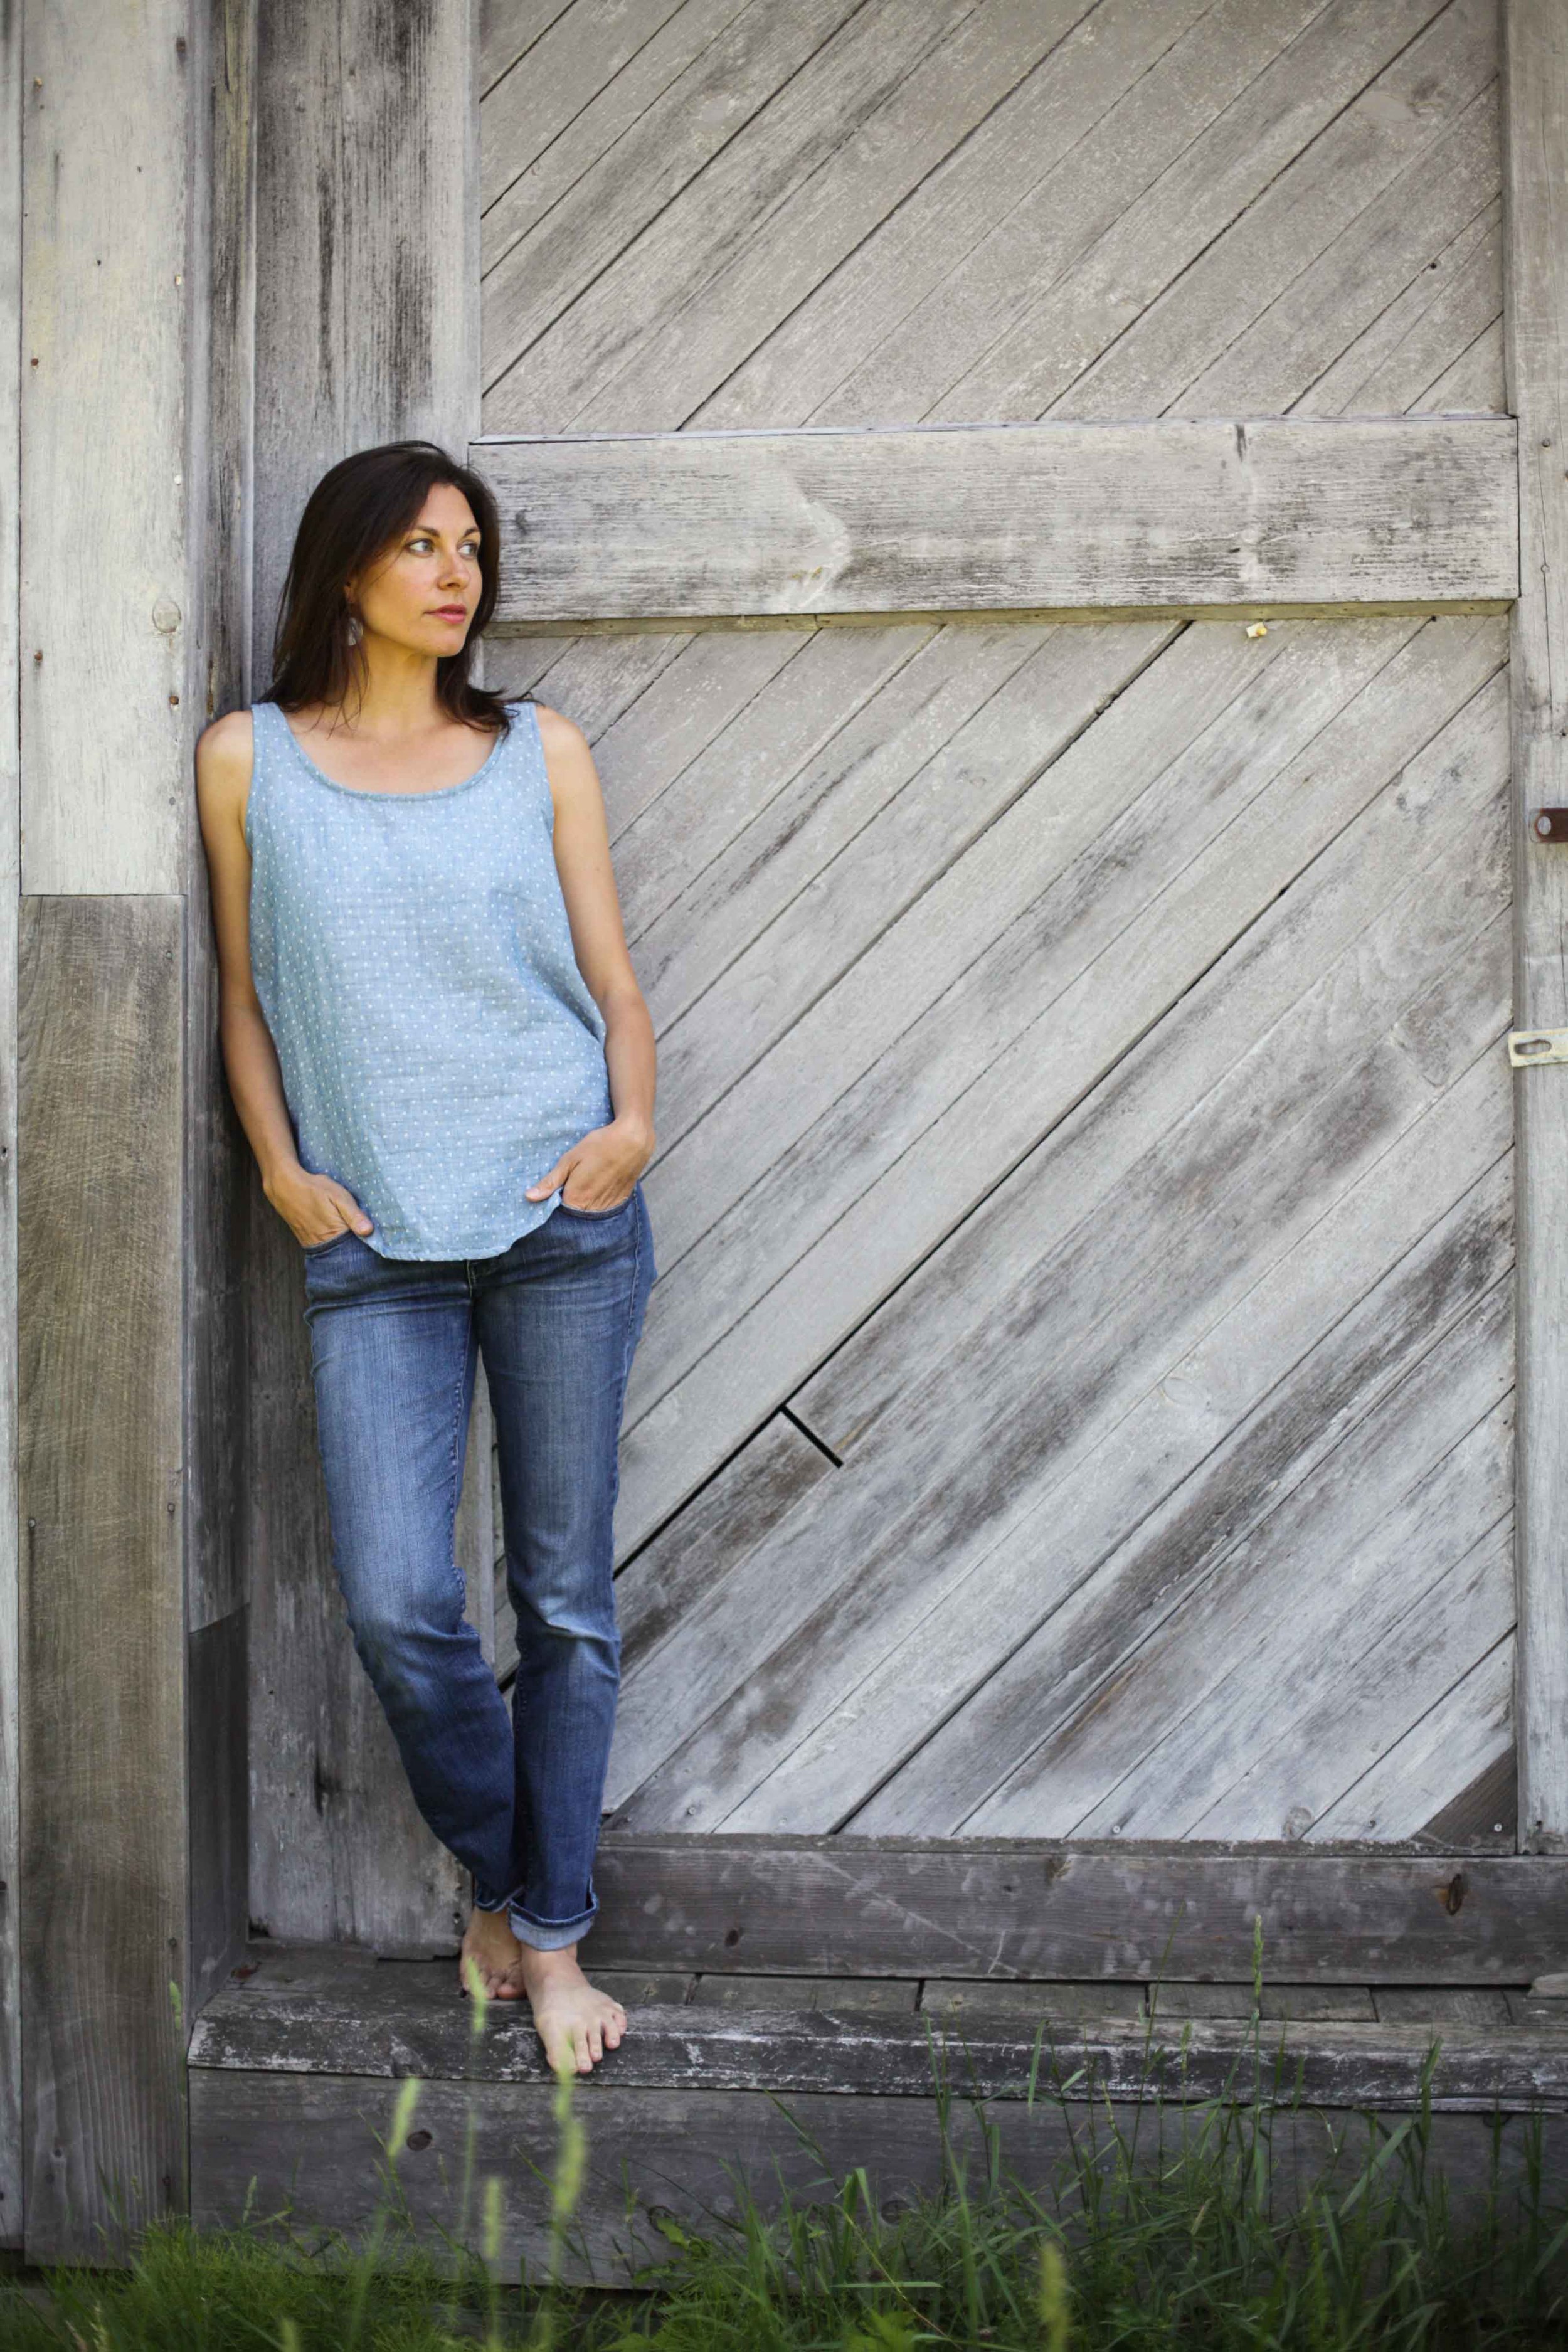
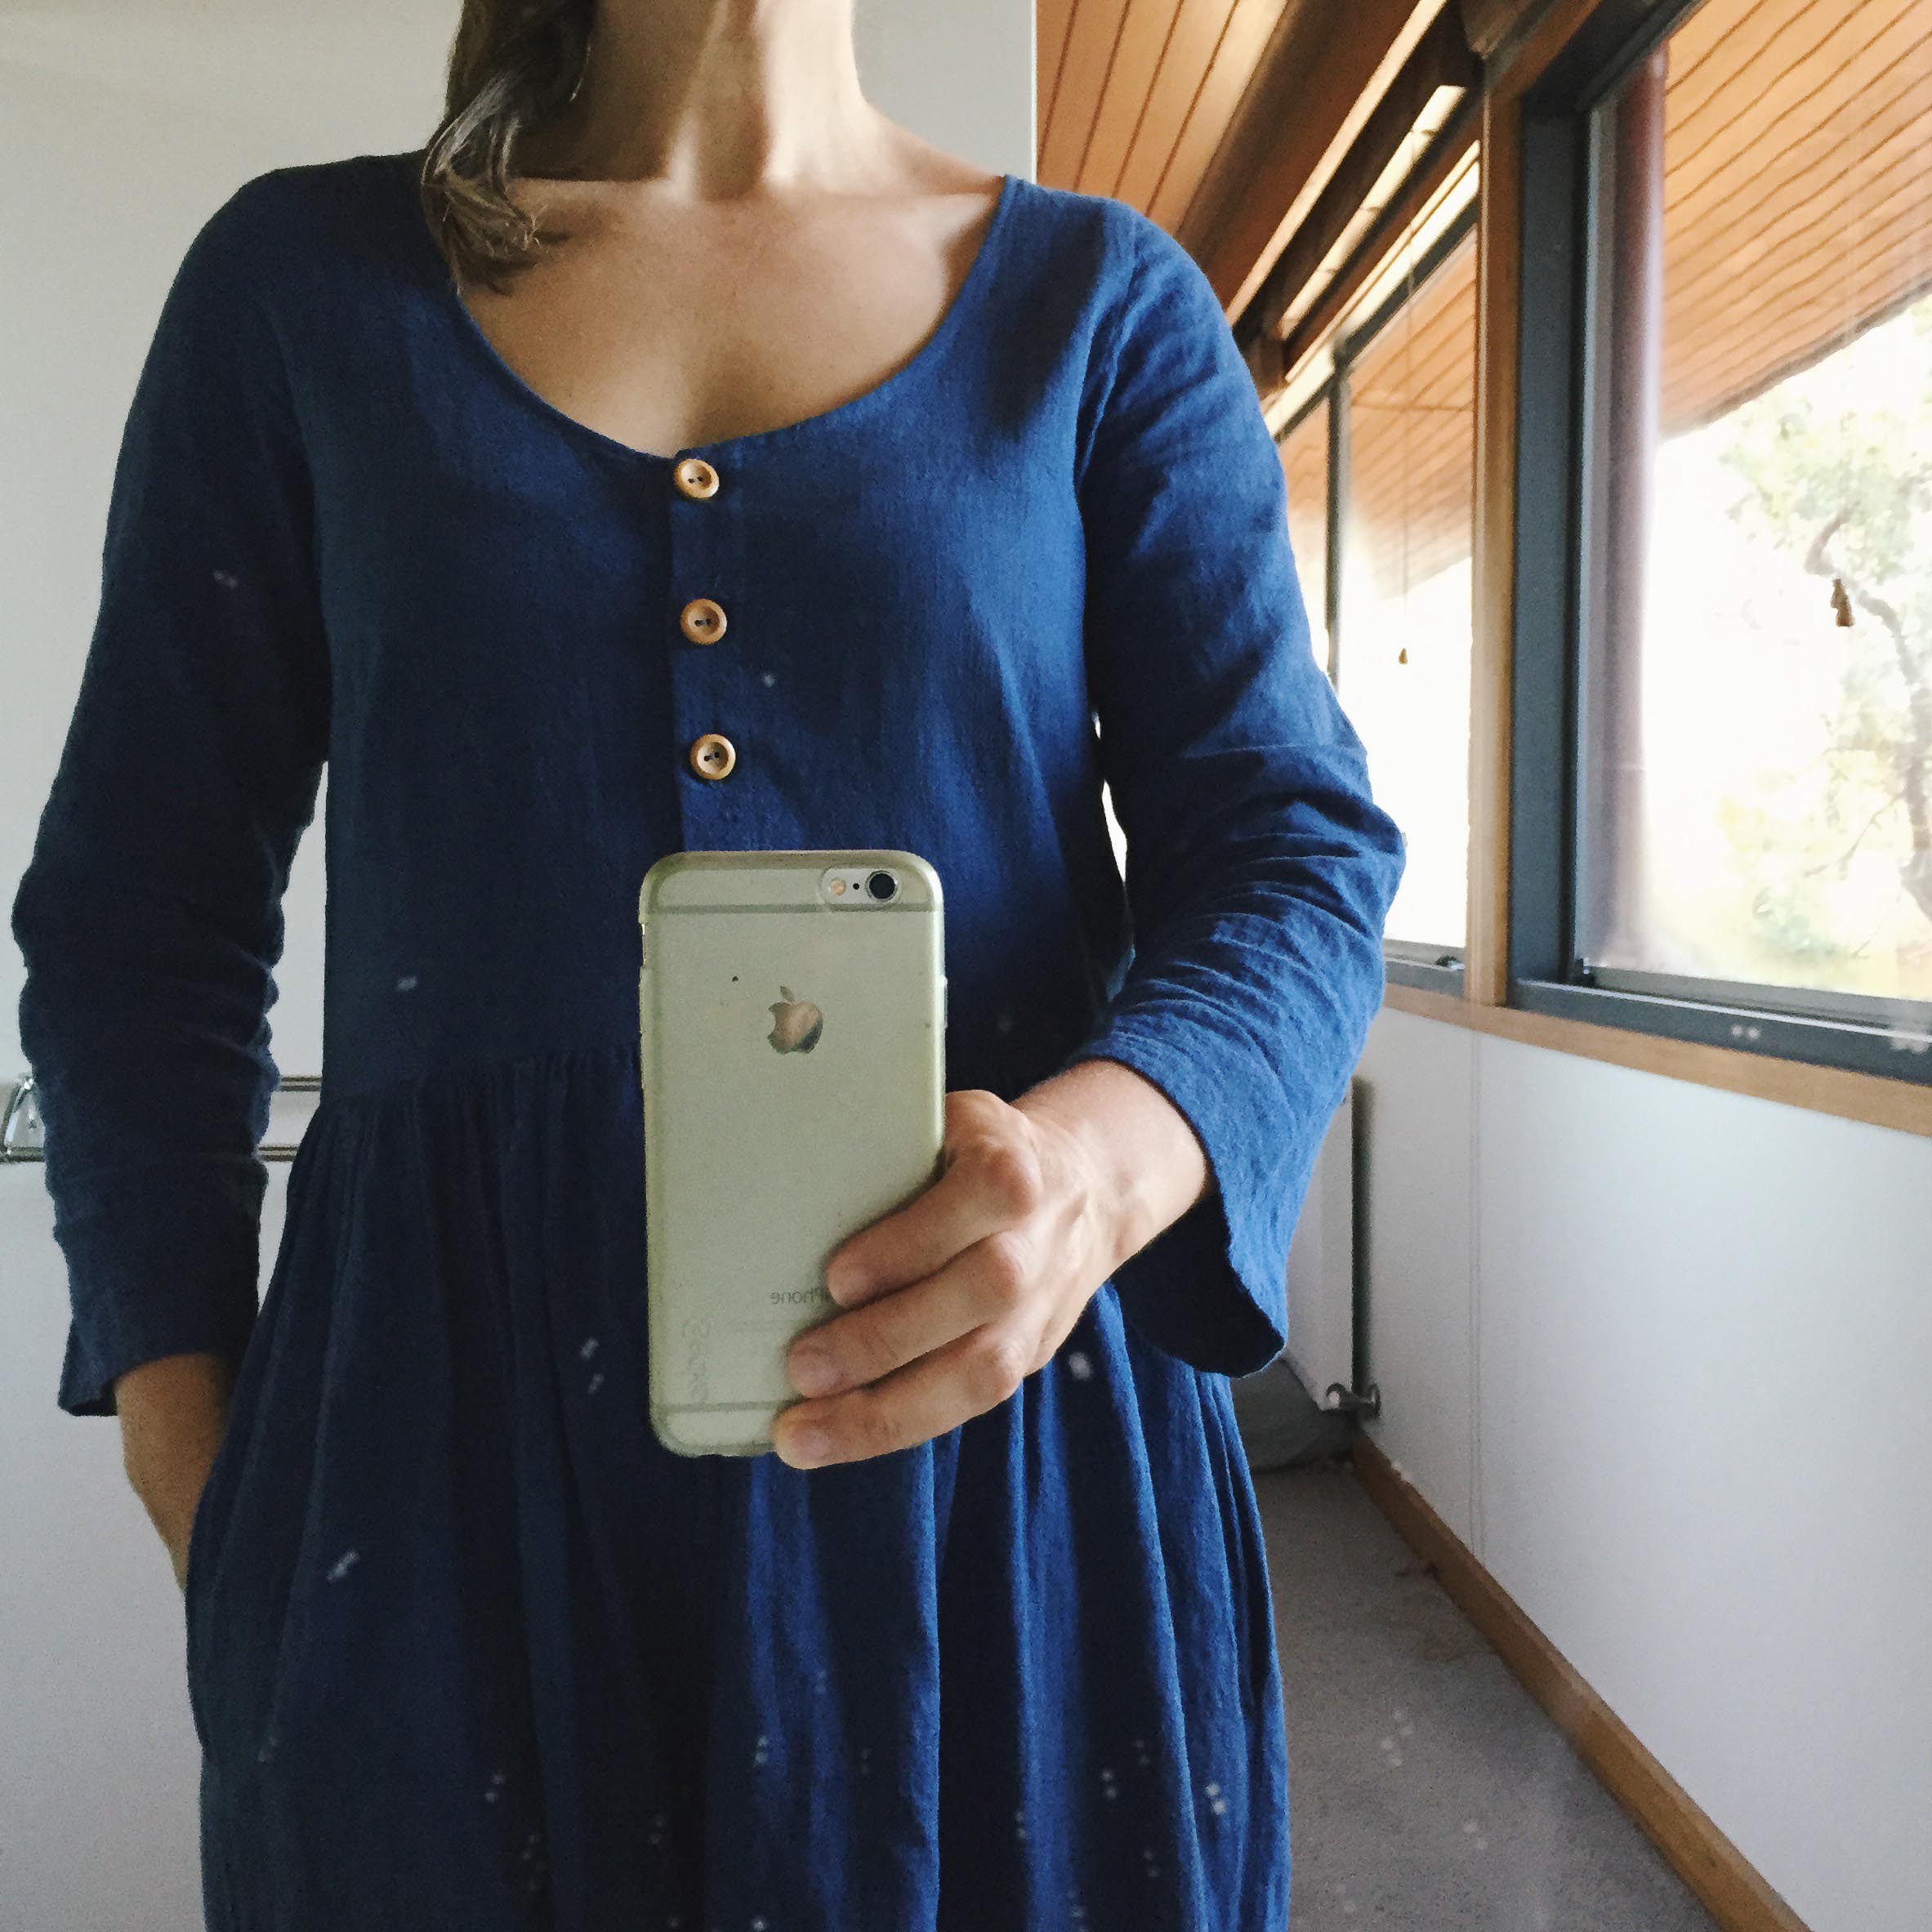
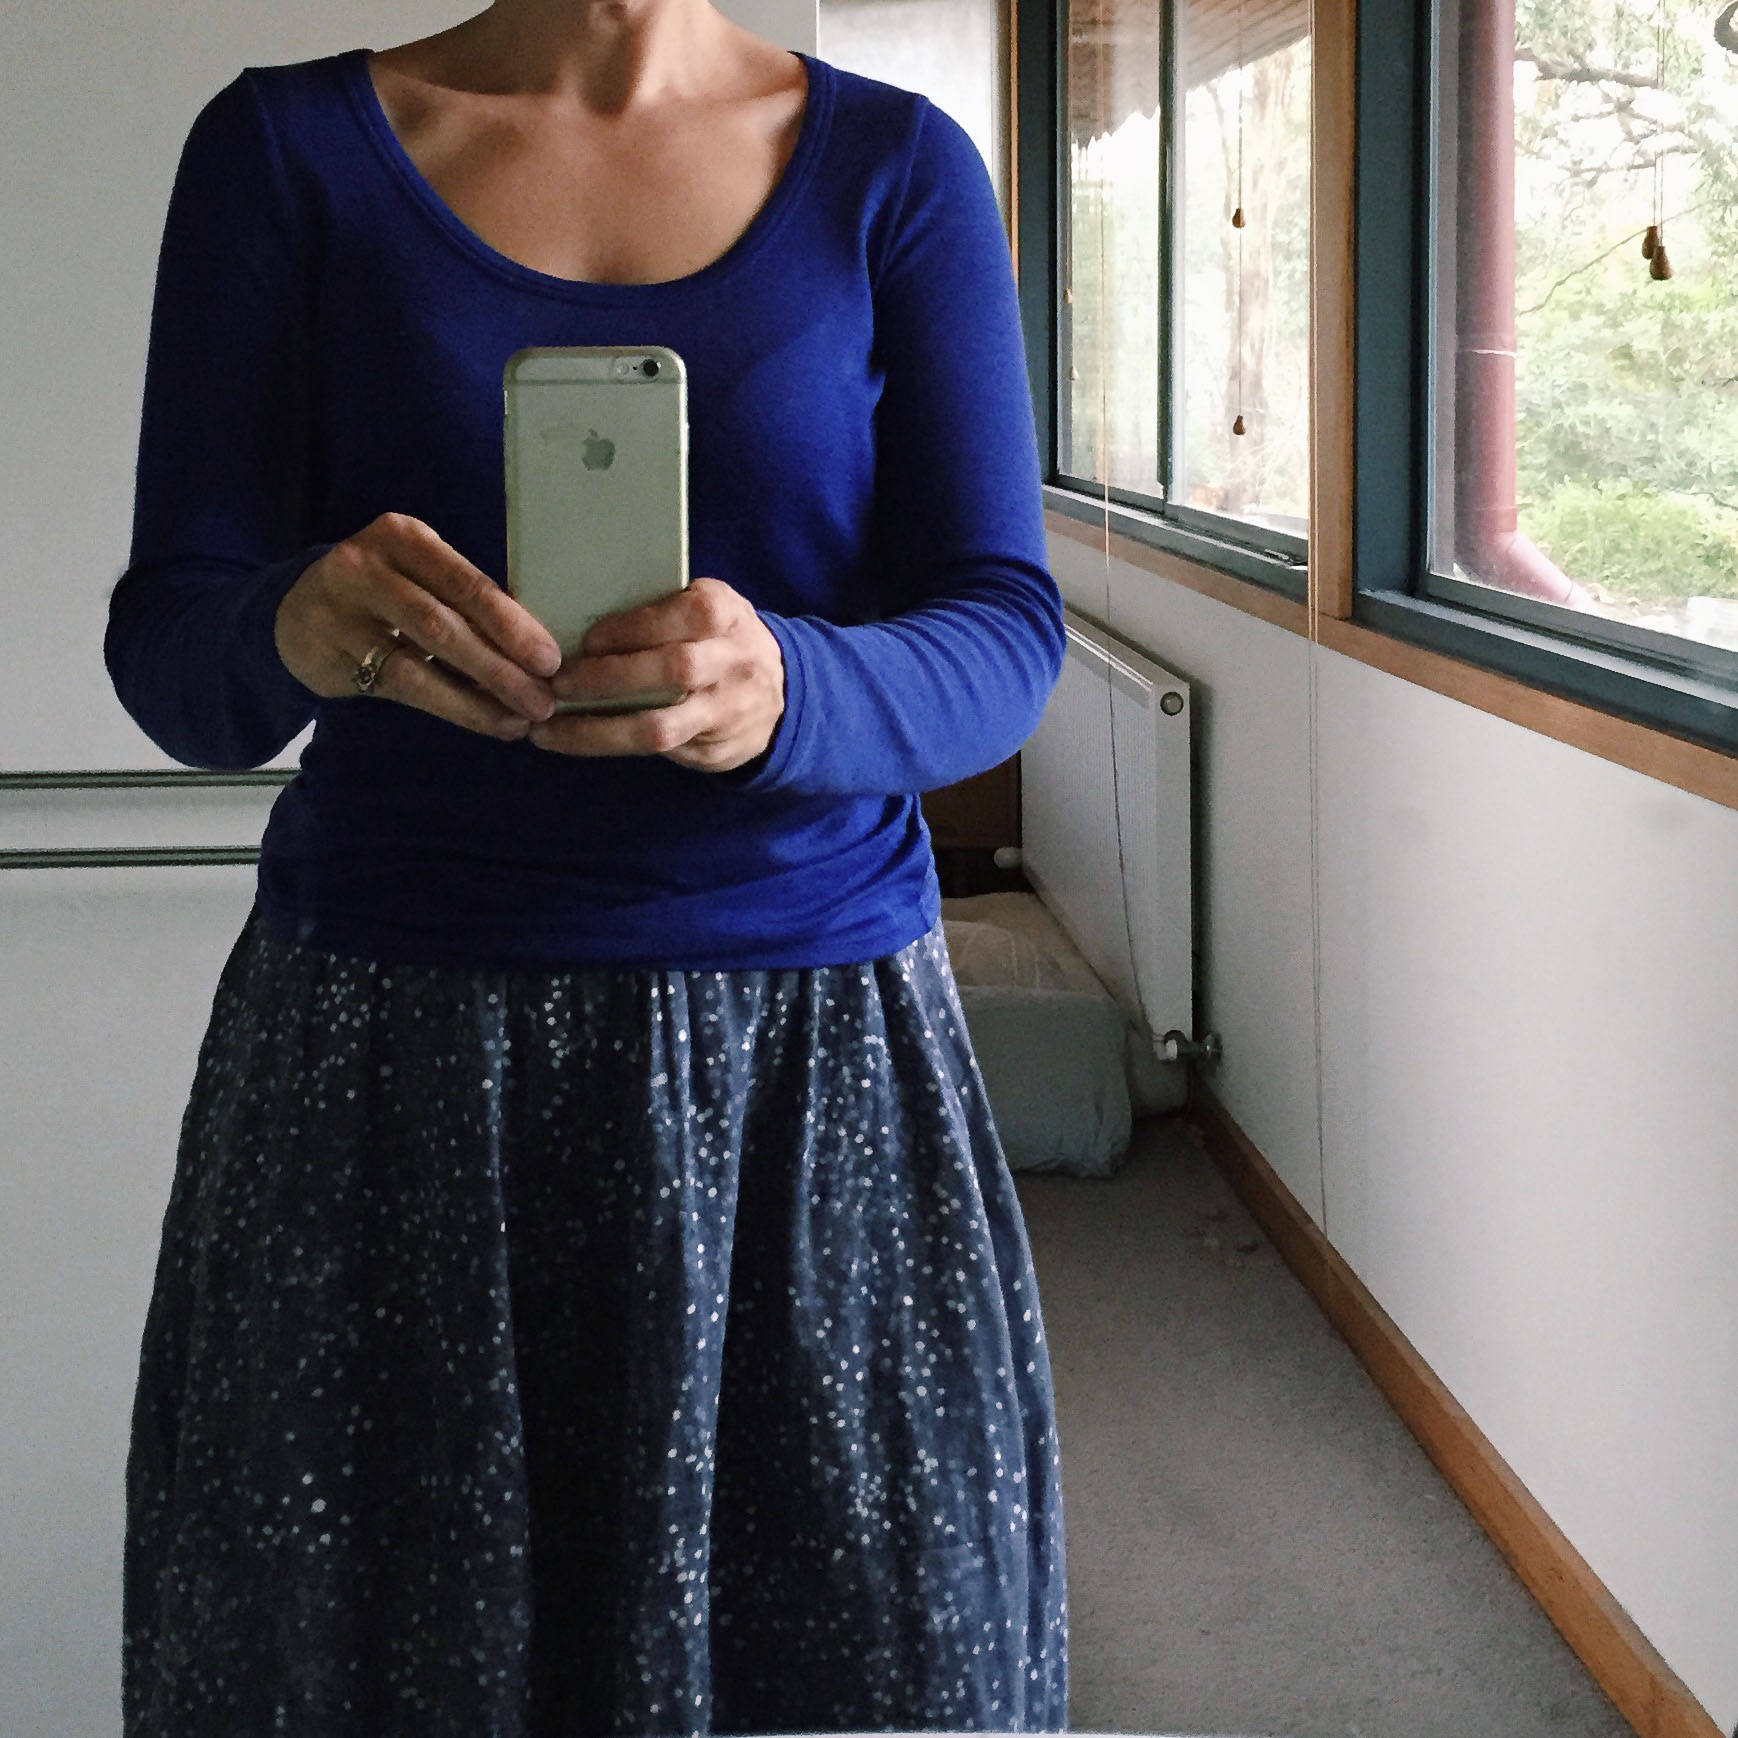
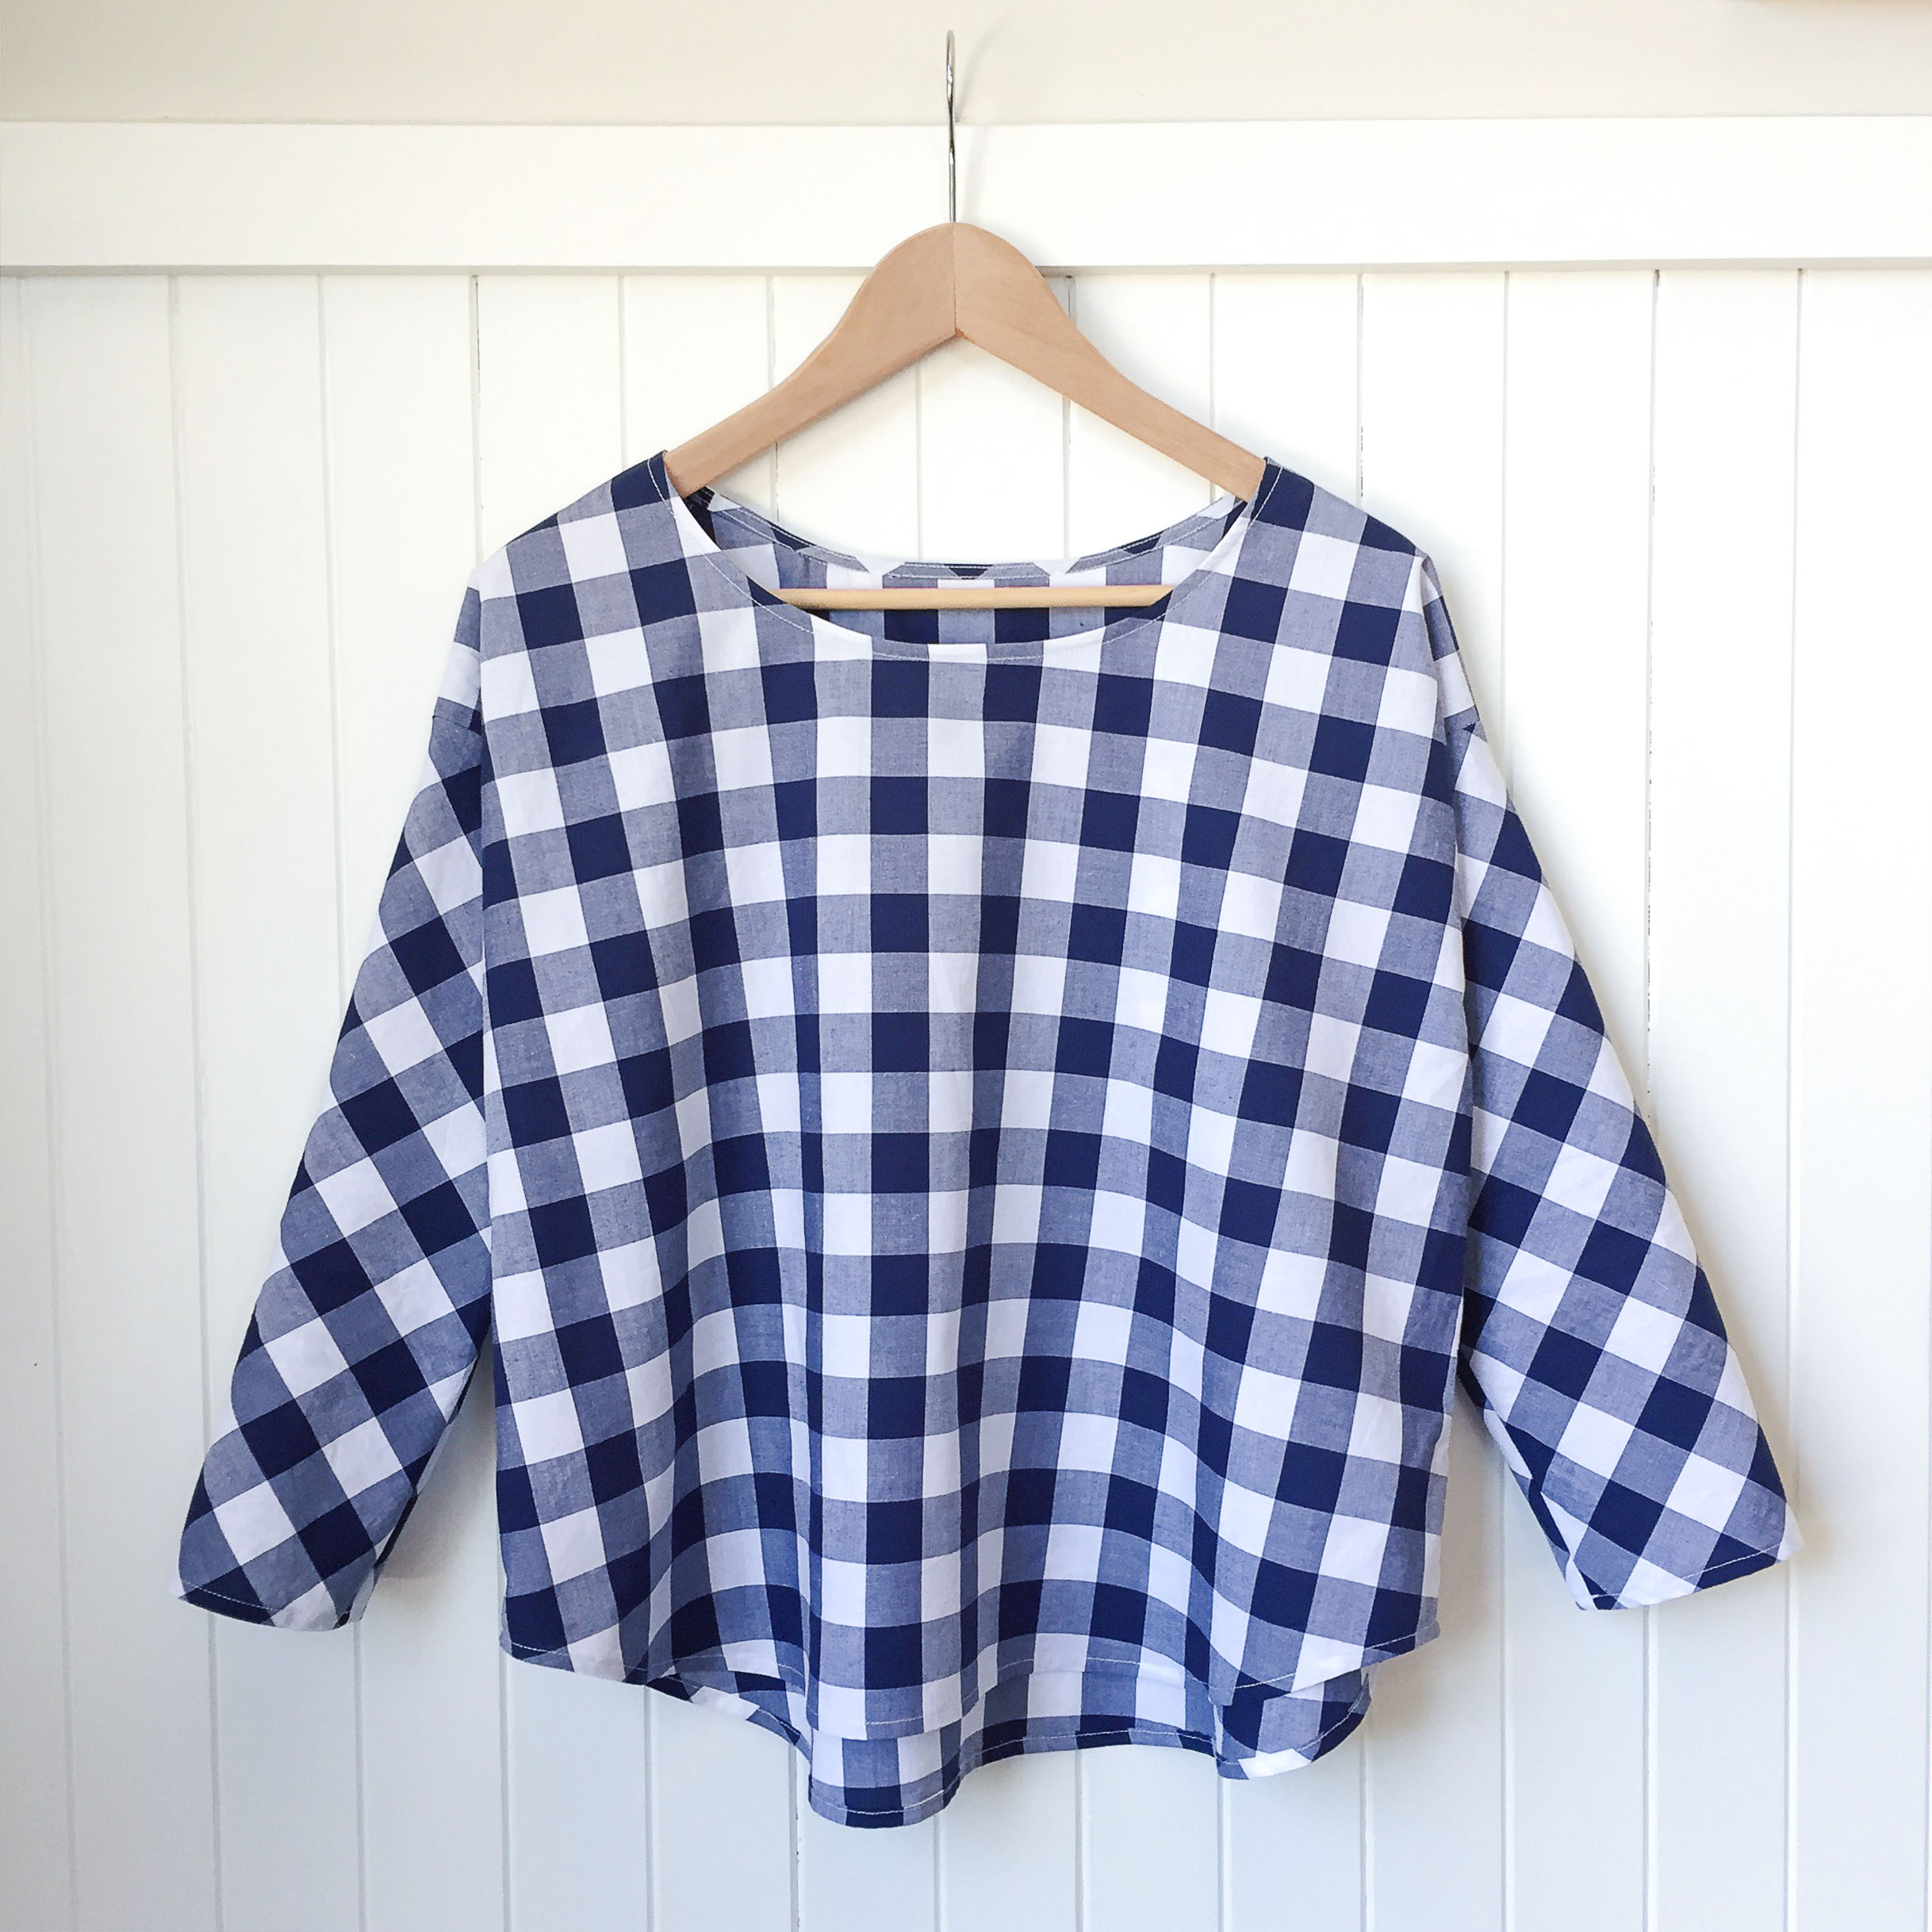
I LOVE this pattern - the Lou Box Top by Sew DIY. I made one the other day in the gaps between the washing and cooking and my goodness it's simple. In the original Simple Sewing 101 - Tops post I gave you my six step program to building your simple sewing skills. Step 2 was the simplest garment. My suggestion was a woven version of the free Hemlock Tee by Grainline.  The Lou Box Top is the same stage of sewing. Super dooper simple. 

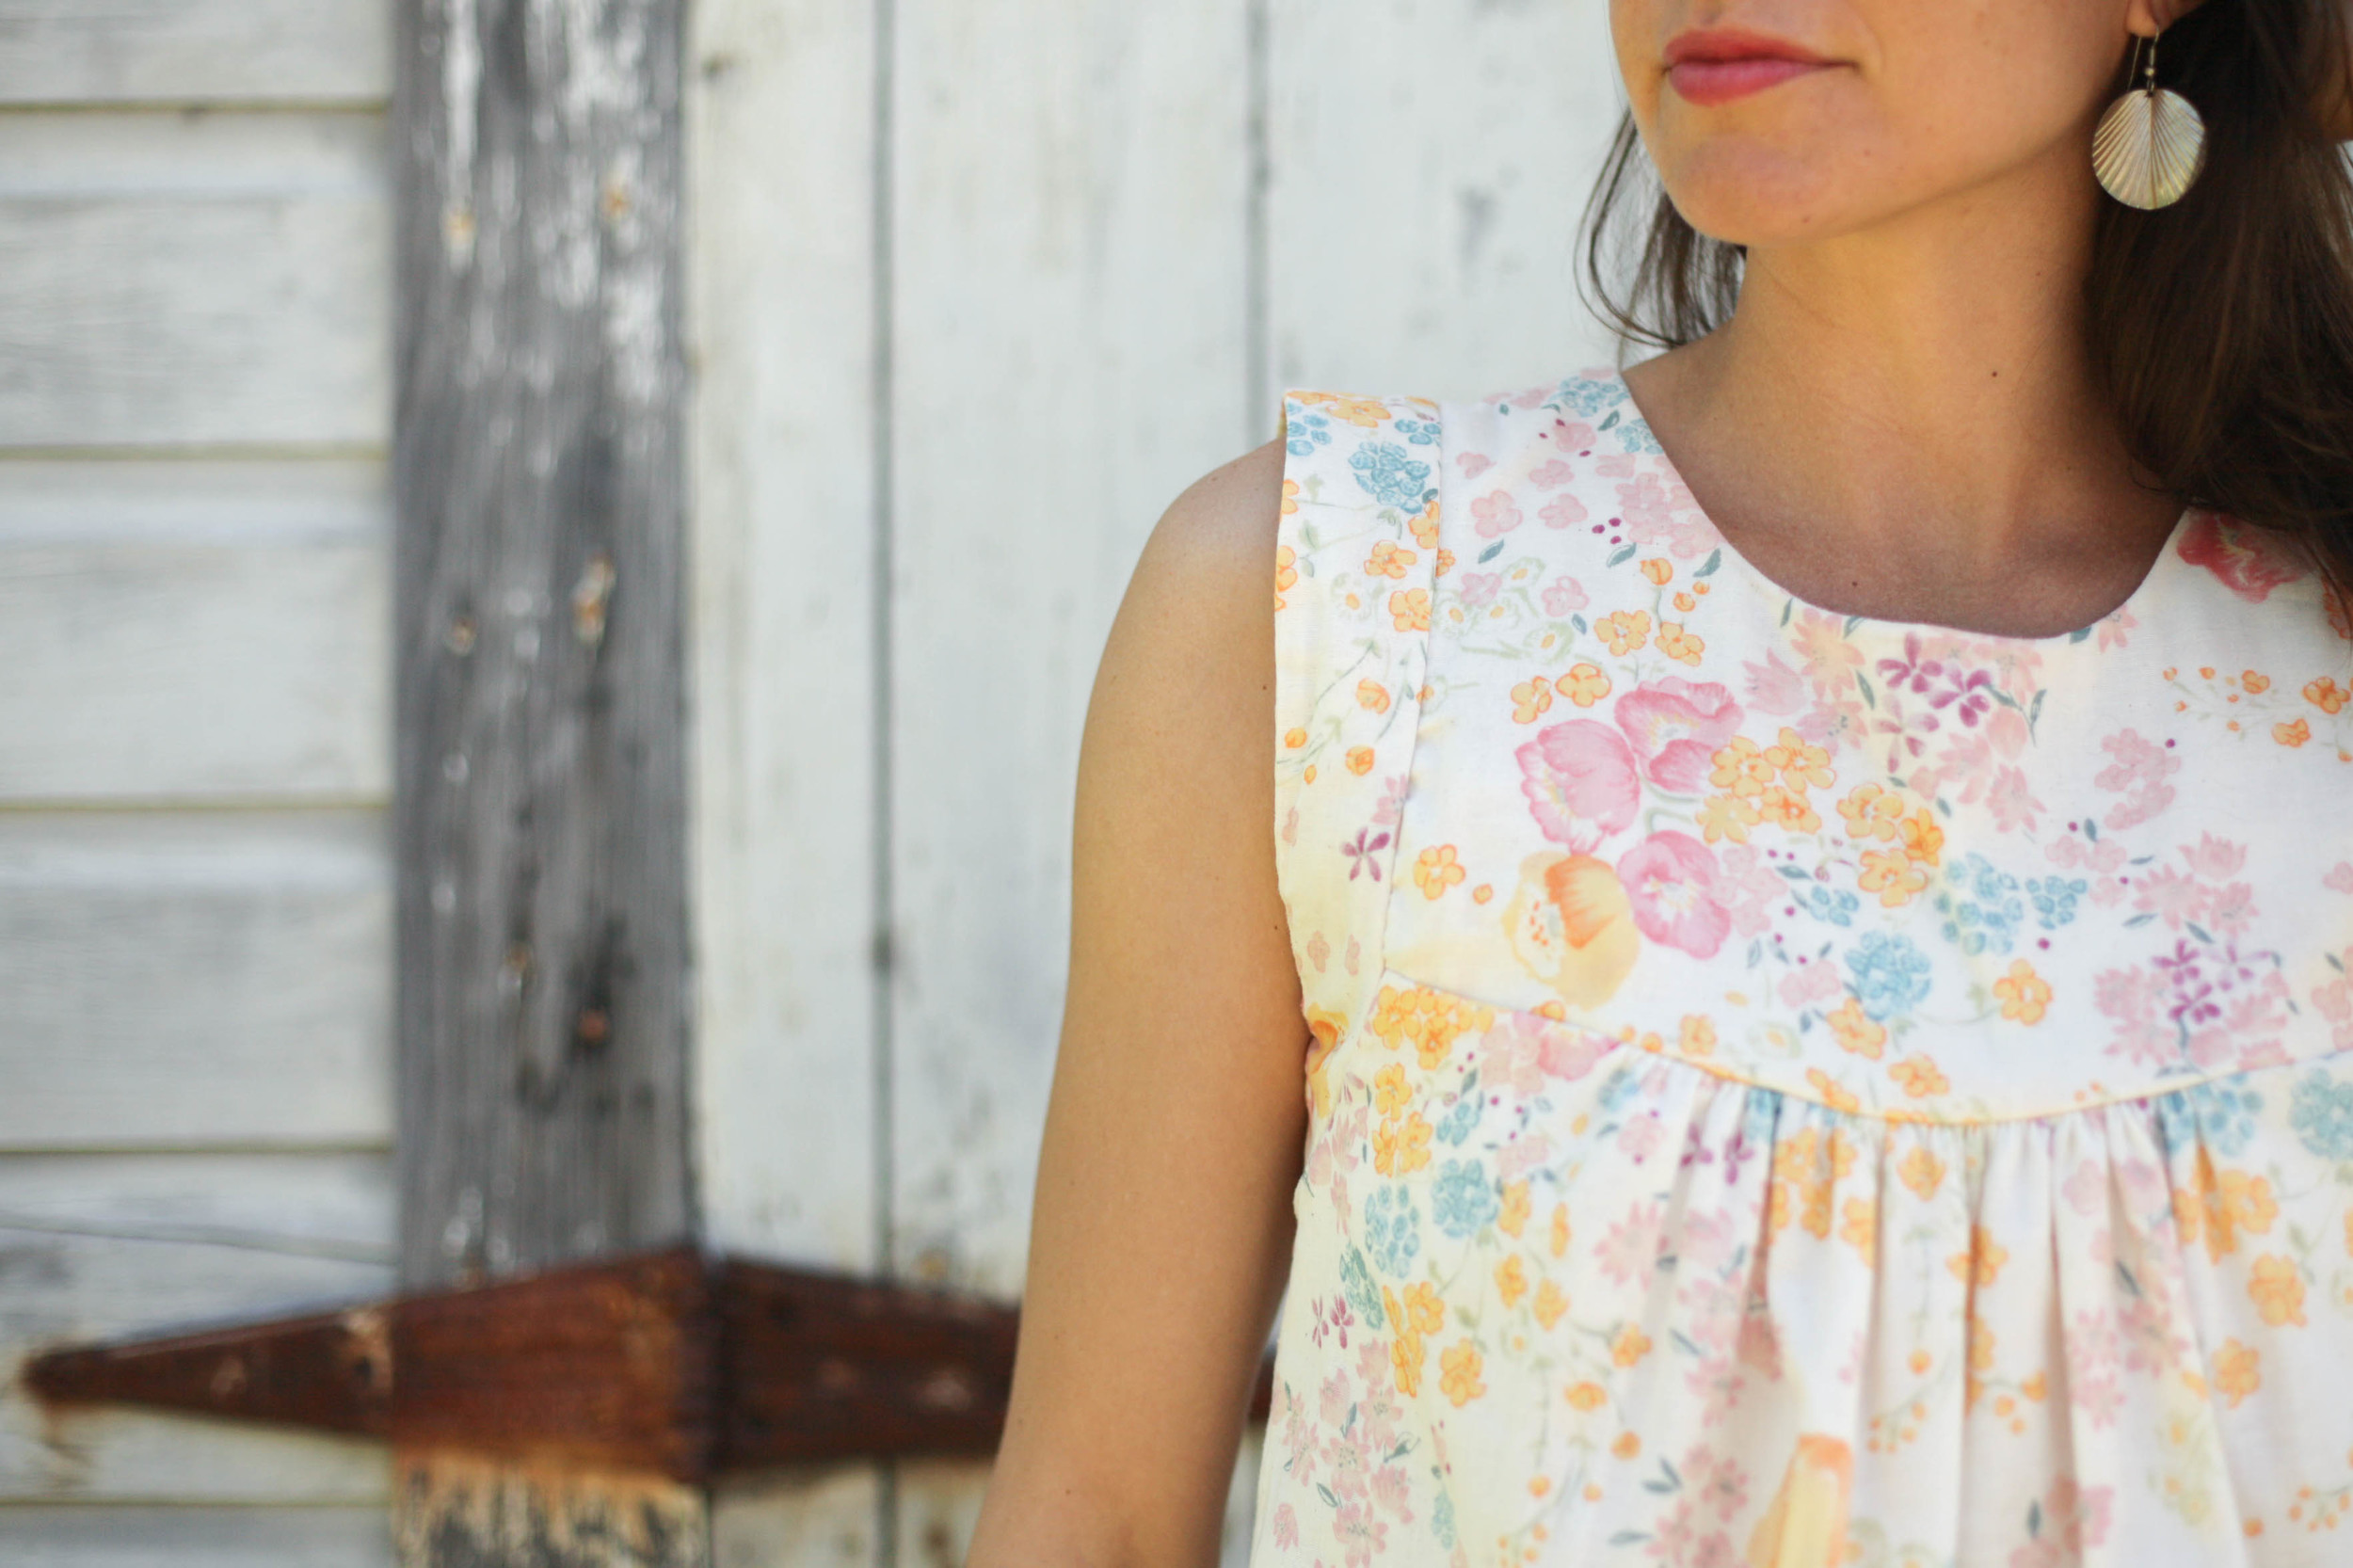
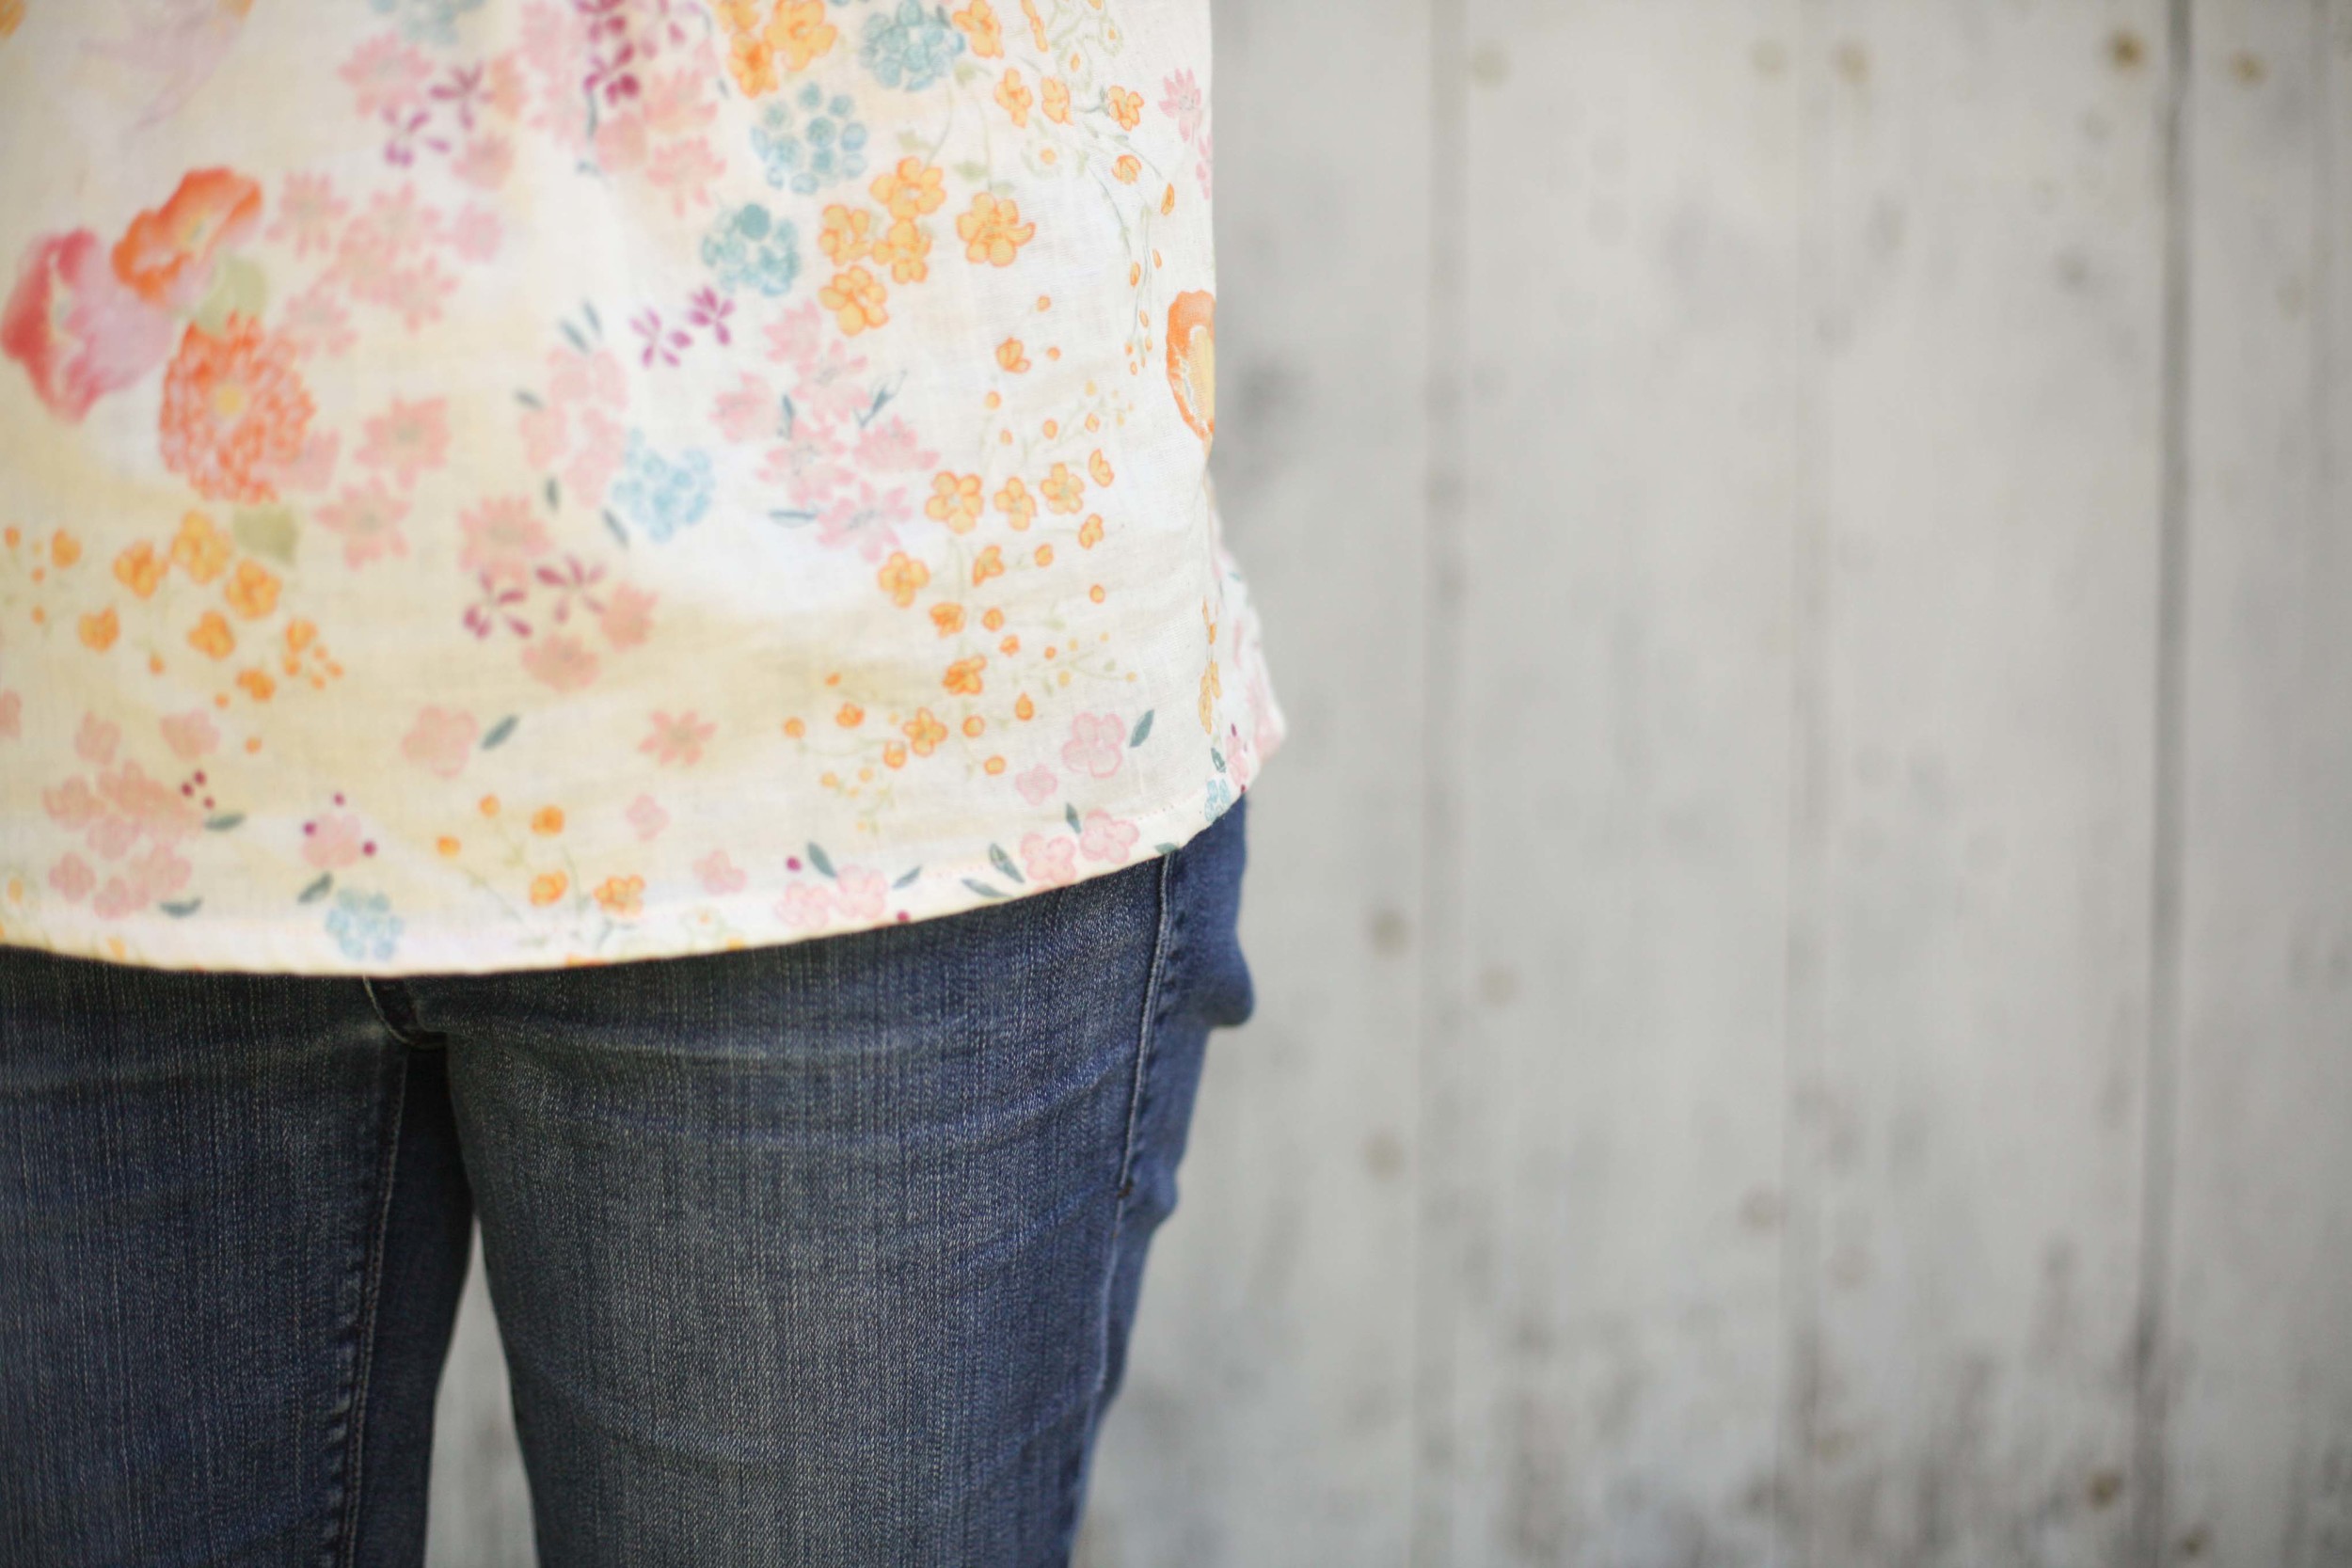
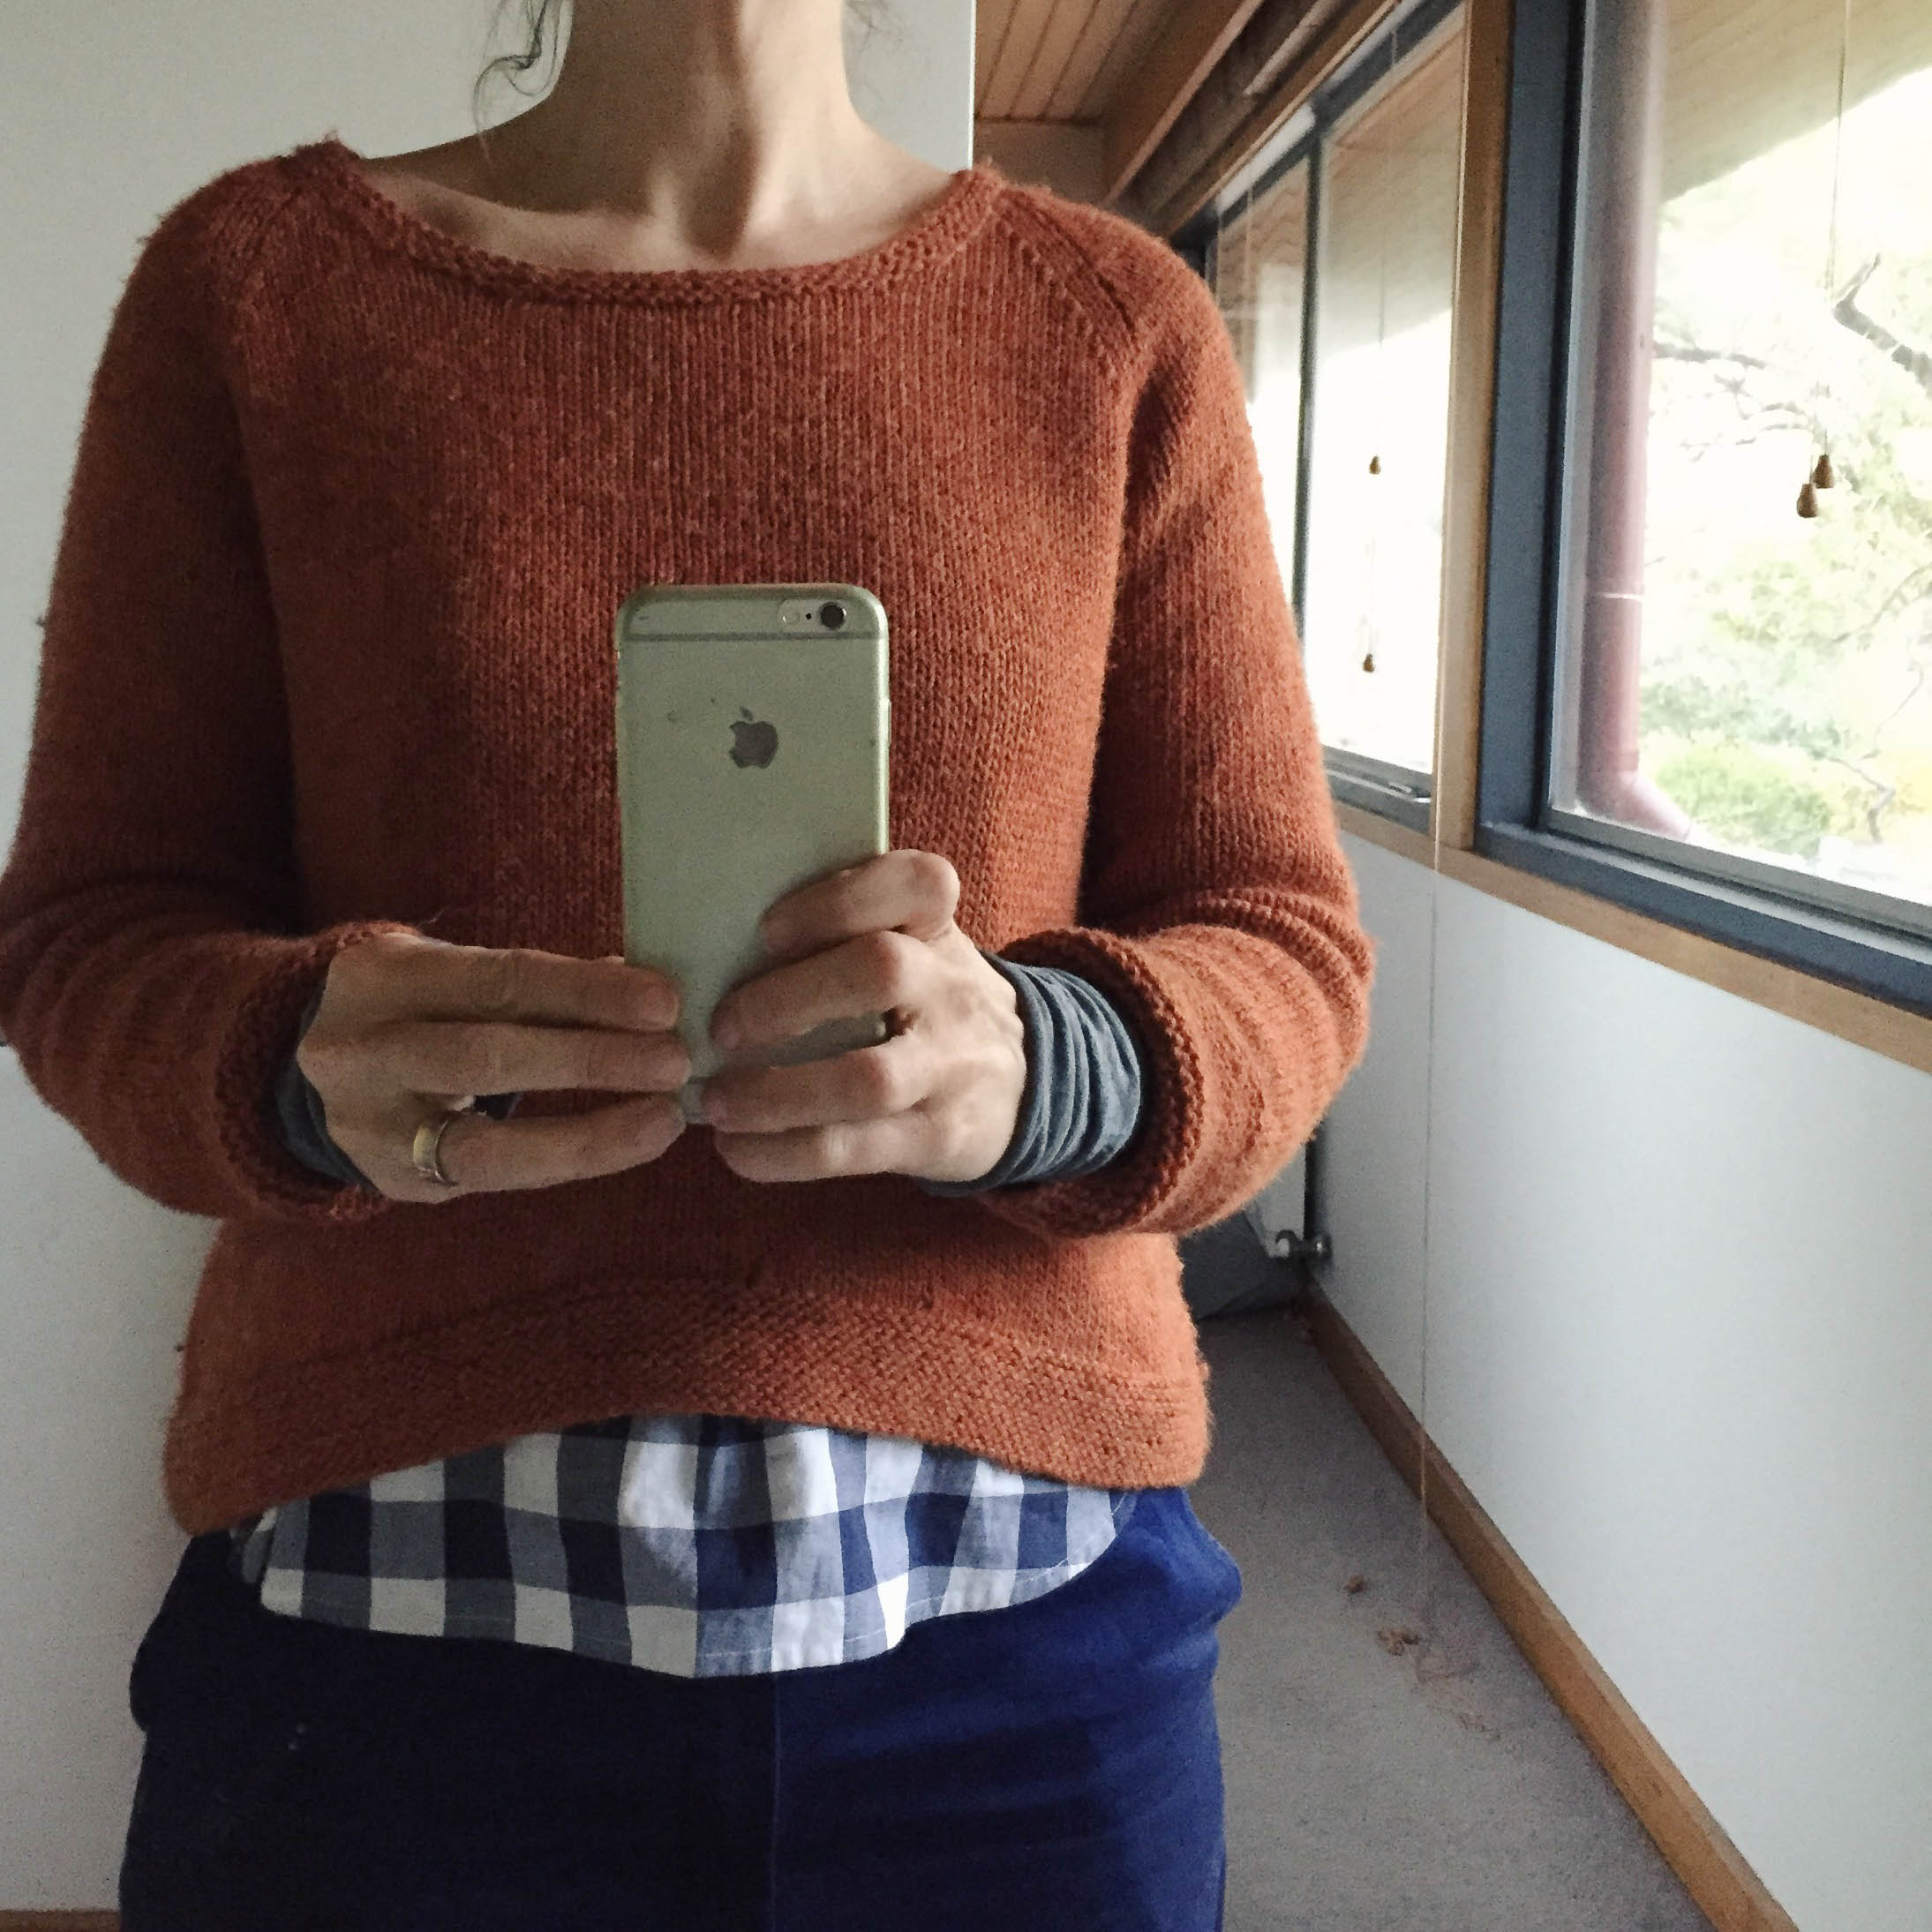
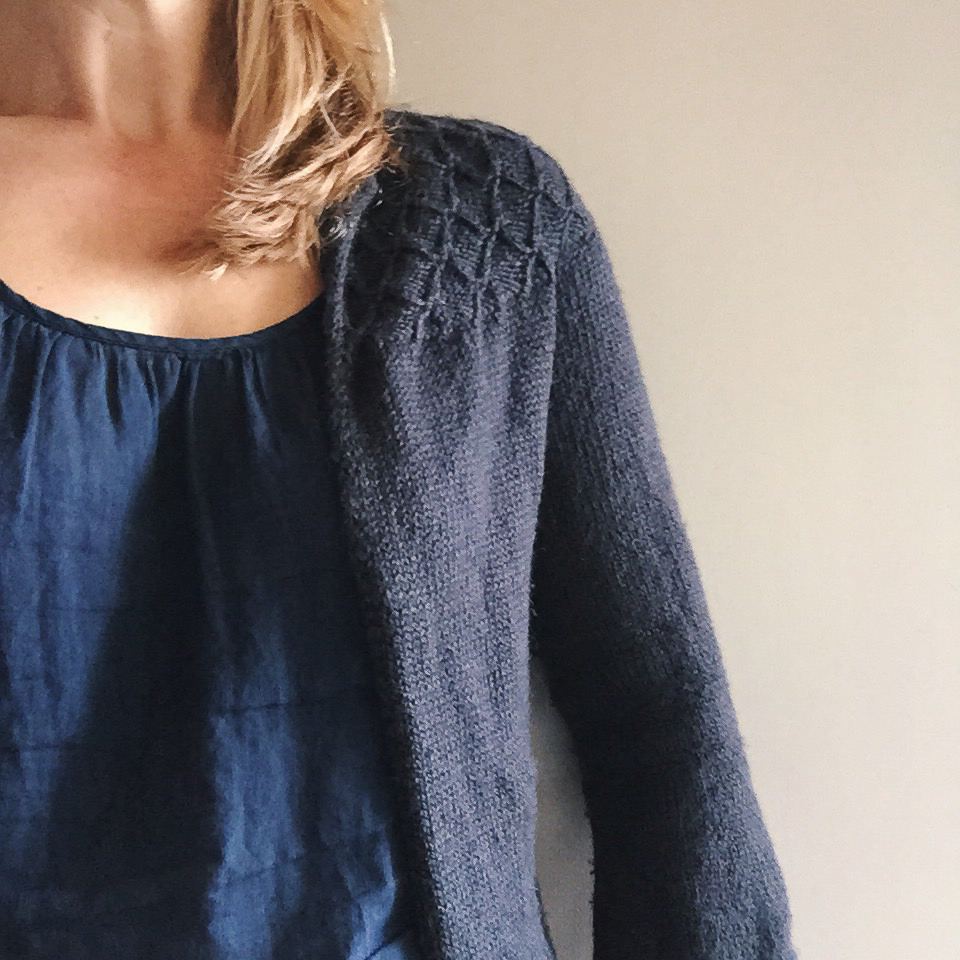
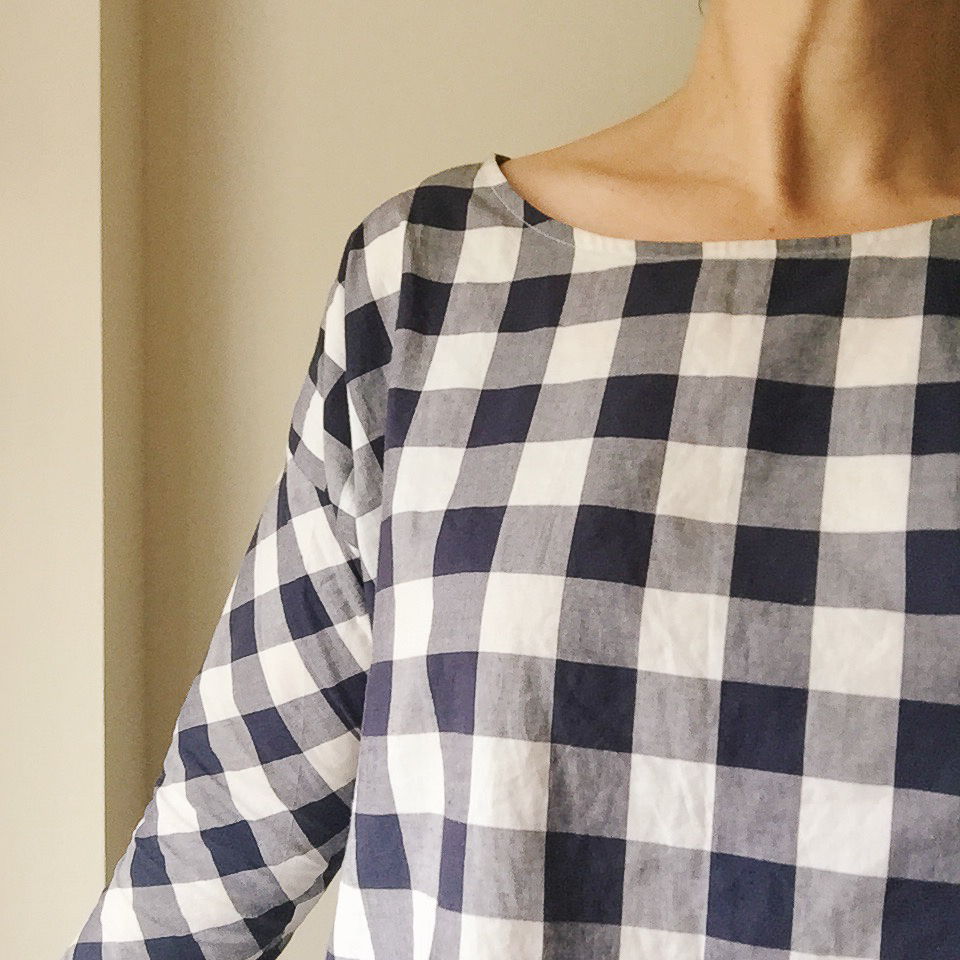
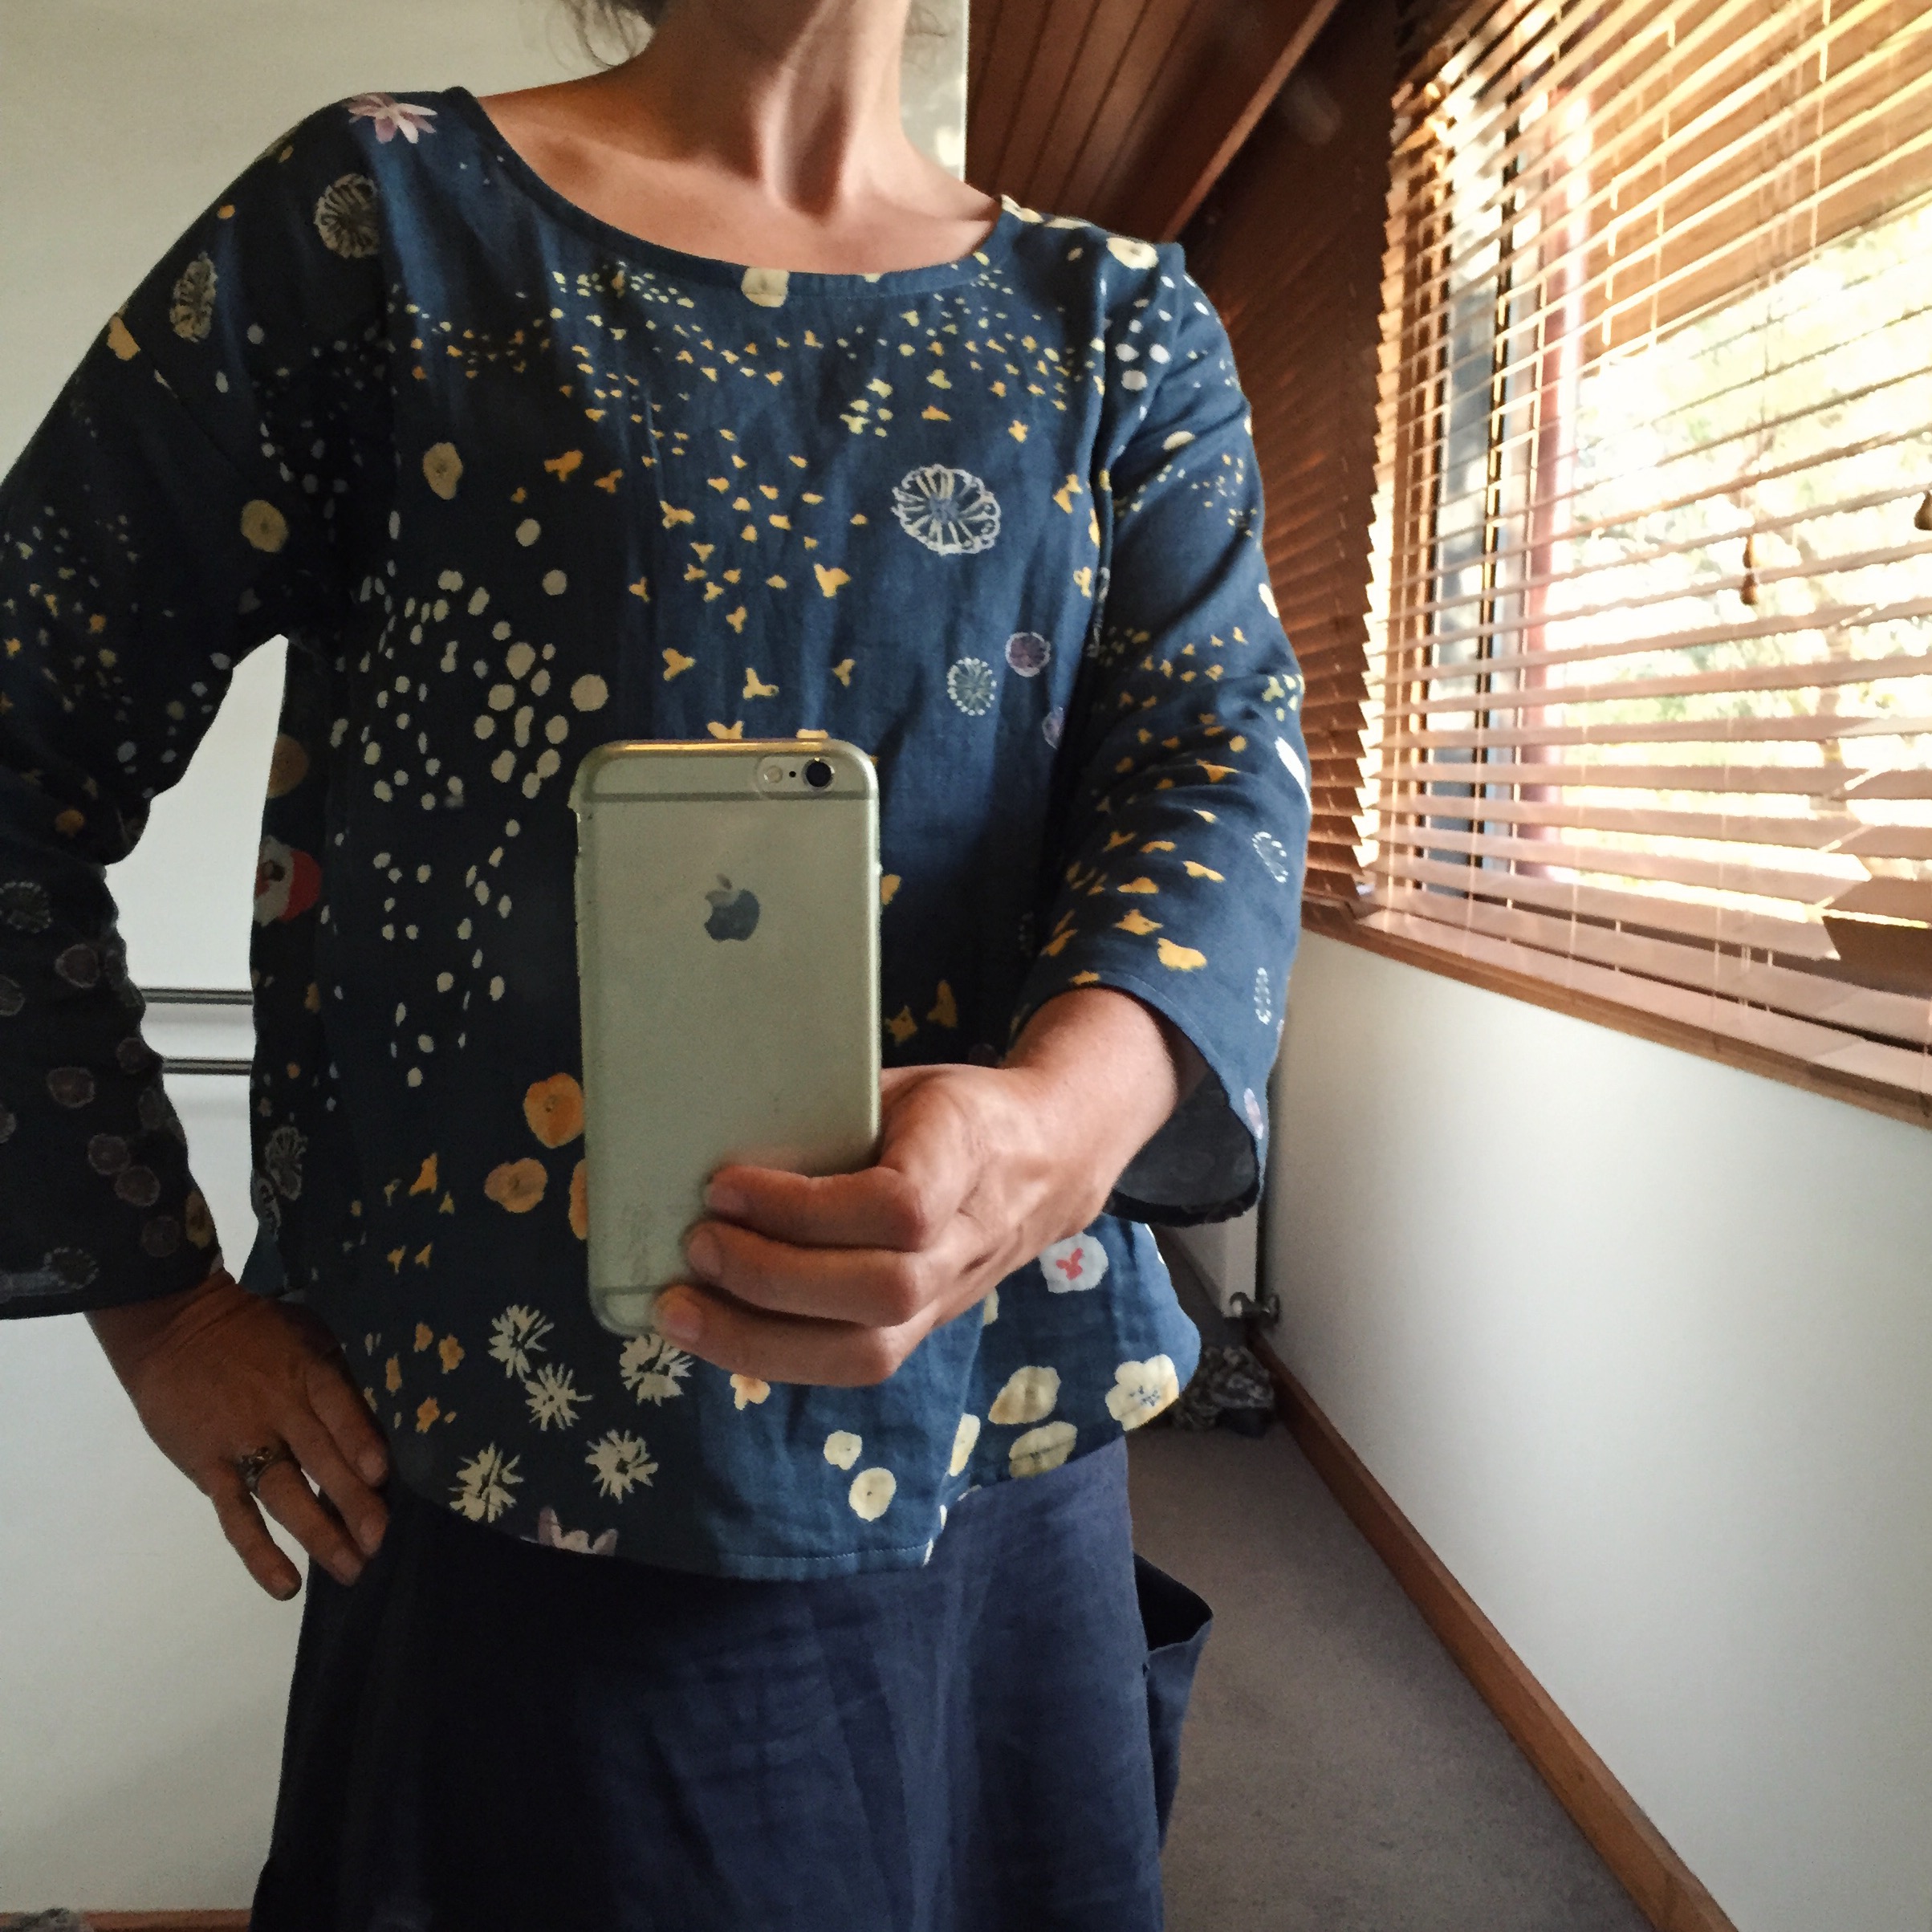
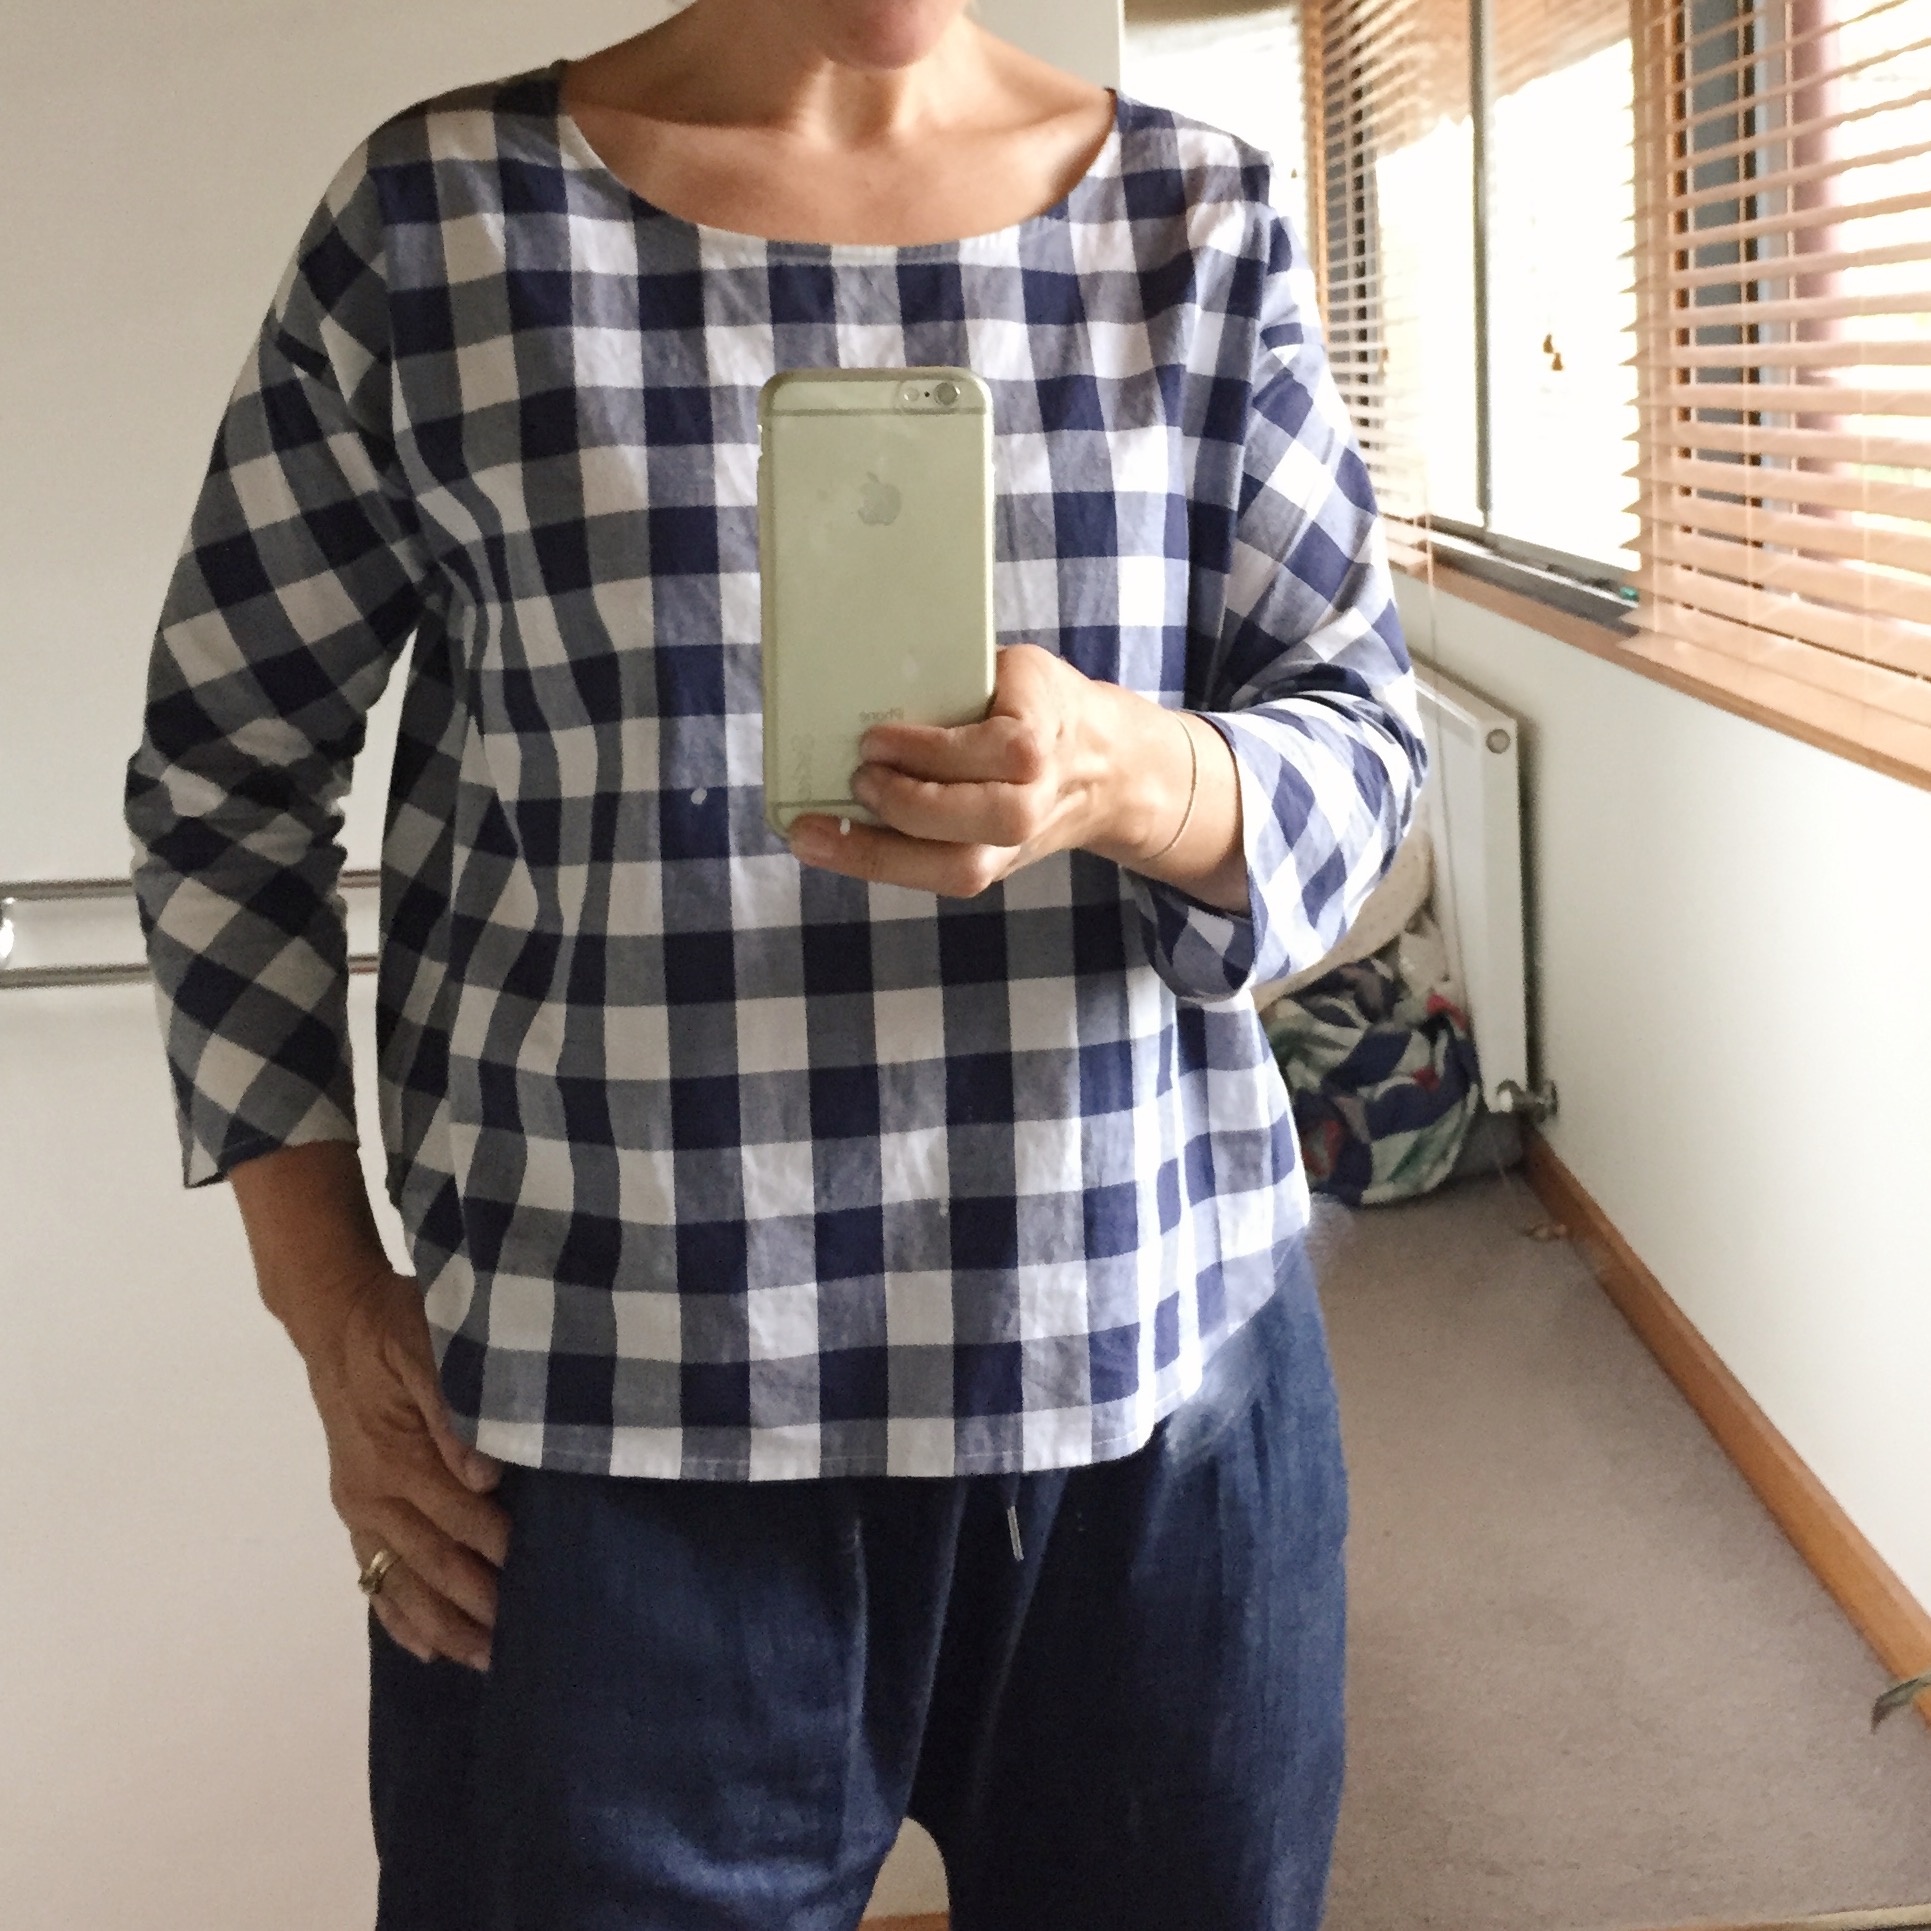
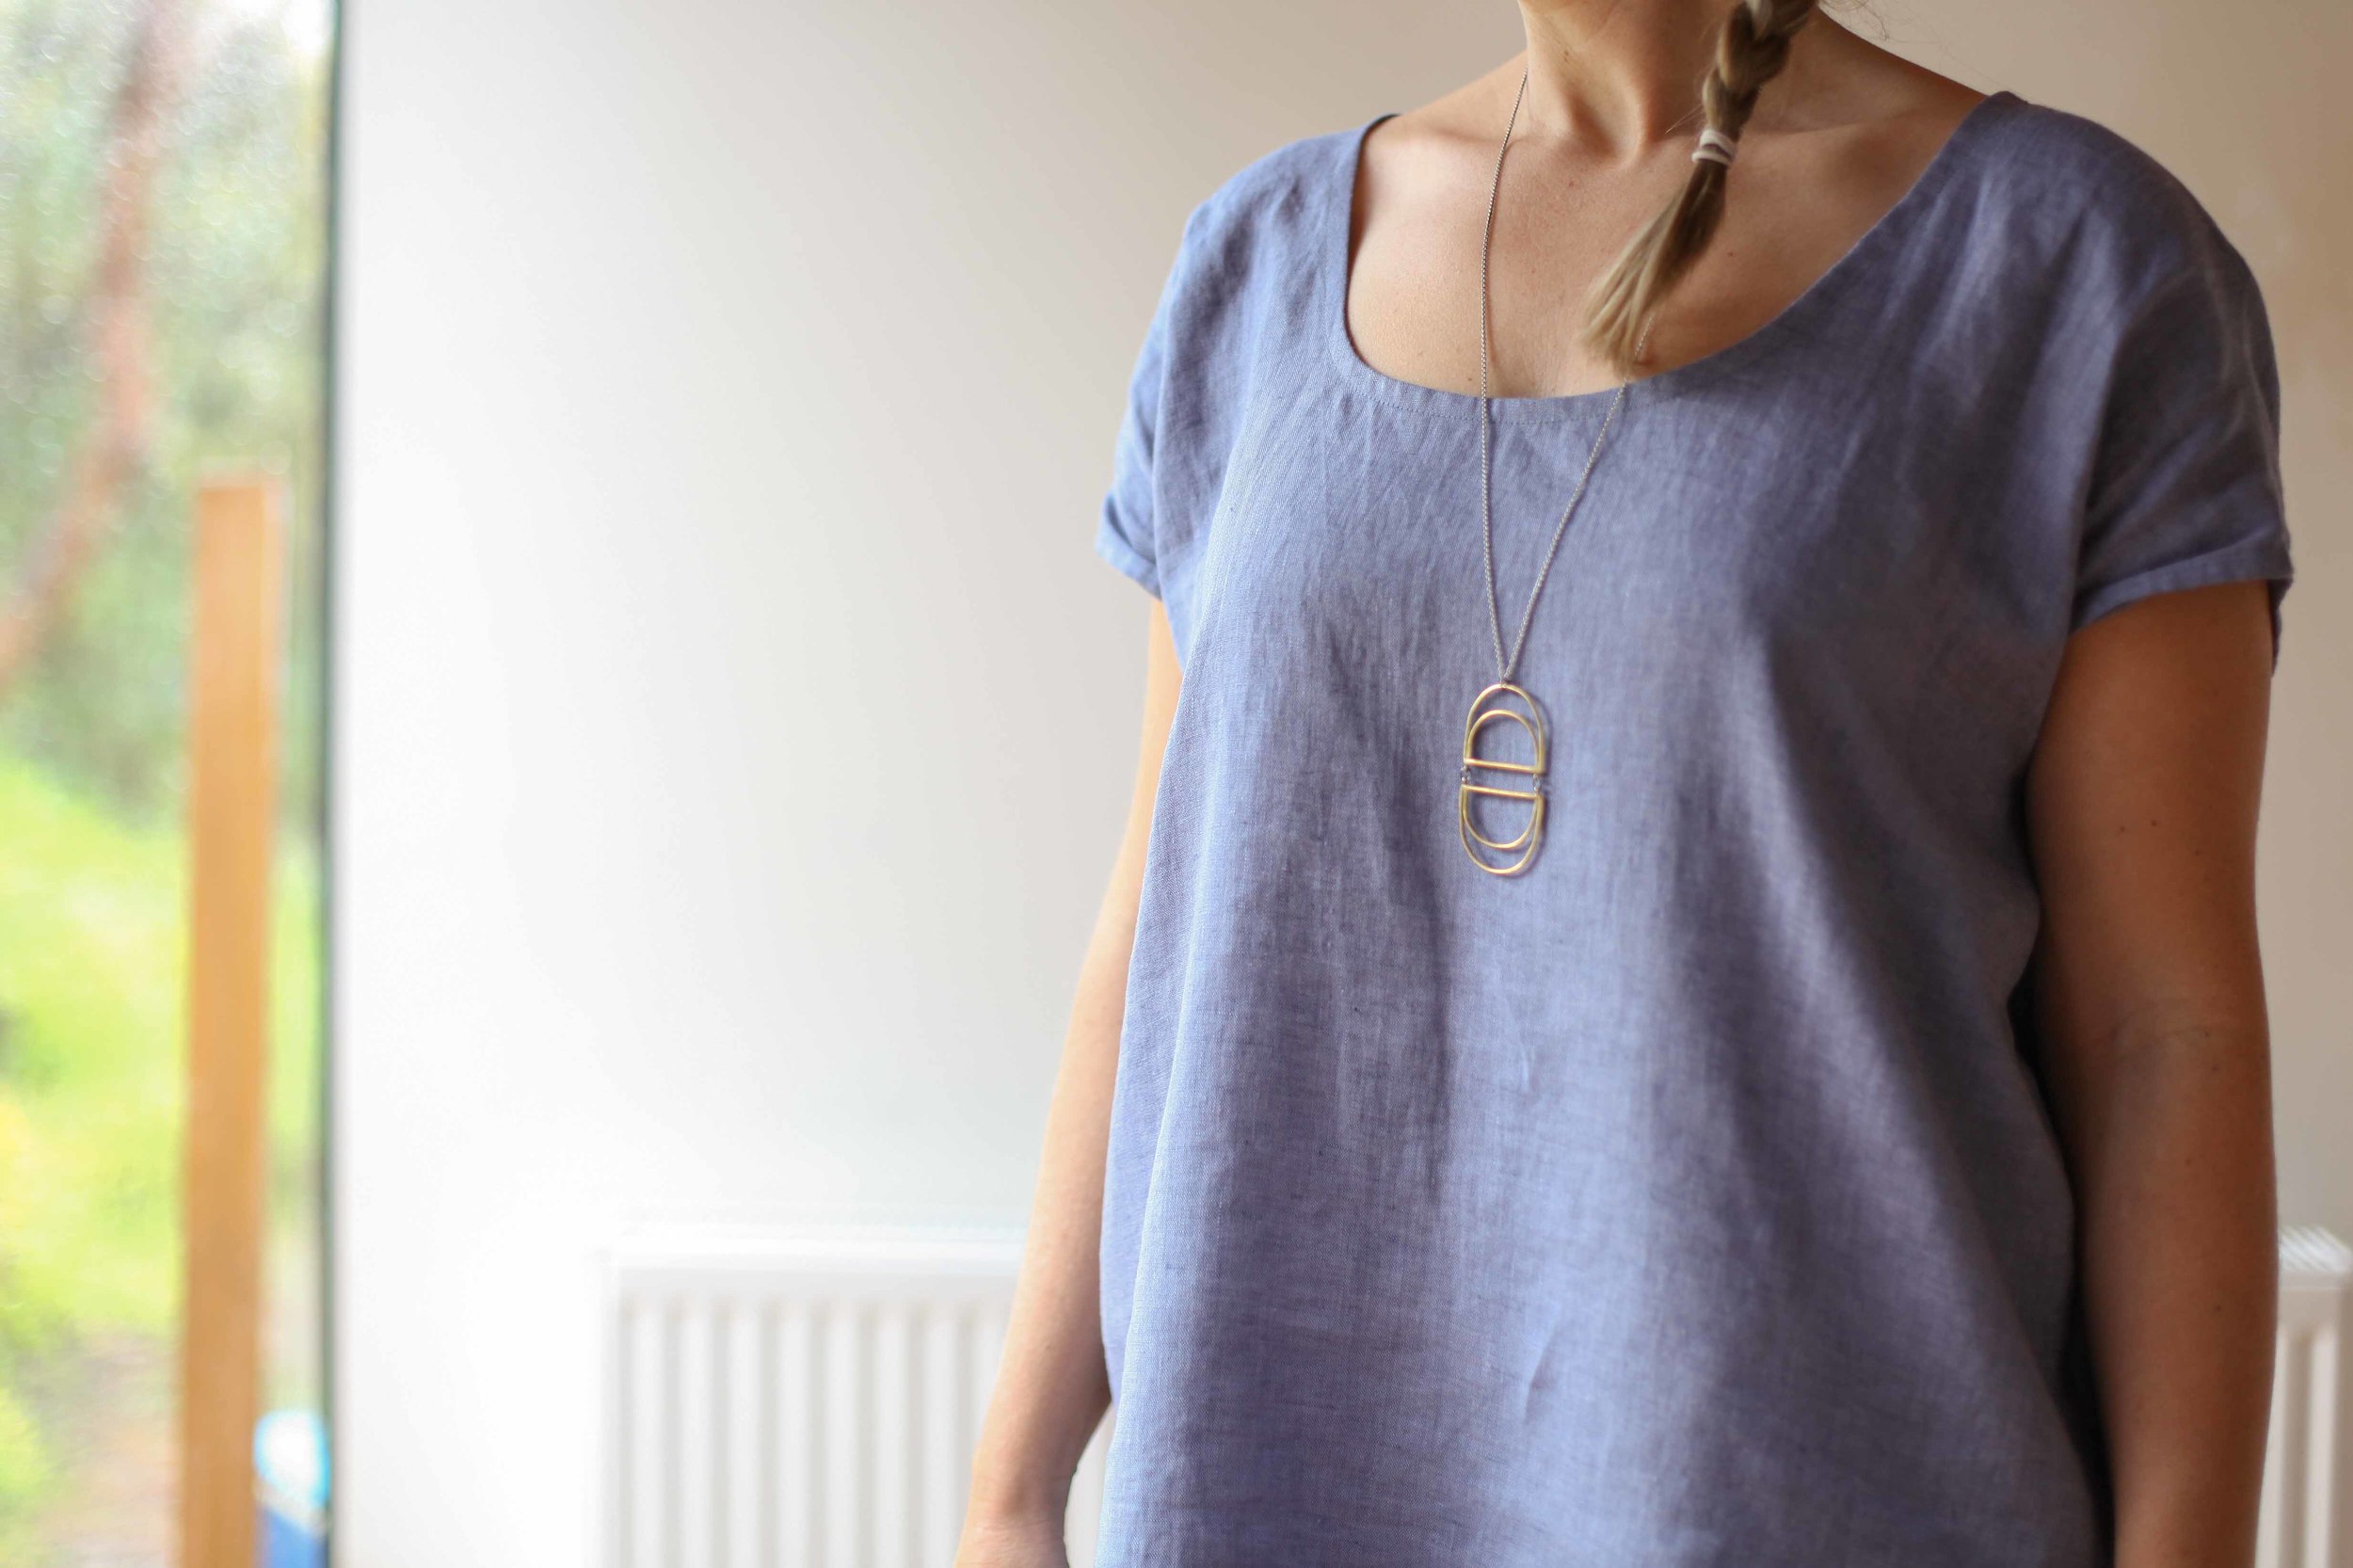
Now you all know I love my Hemlocks but The Lou Box is something else. It has this really neat shoulder shaping that just adds a little zing. Simple zing but zing none the less. And the shape falls beautifully, especially in the linen. I was originally inspired to make one because of this lovely specimen but now that I've made one myself I'm already planning about 4 more. 

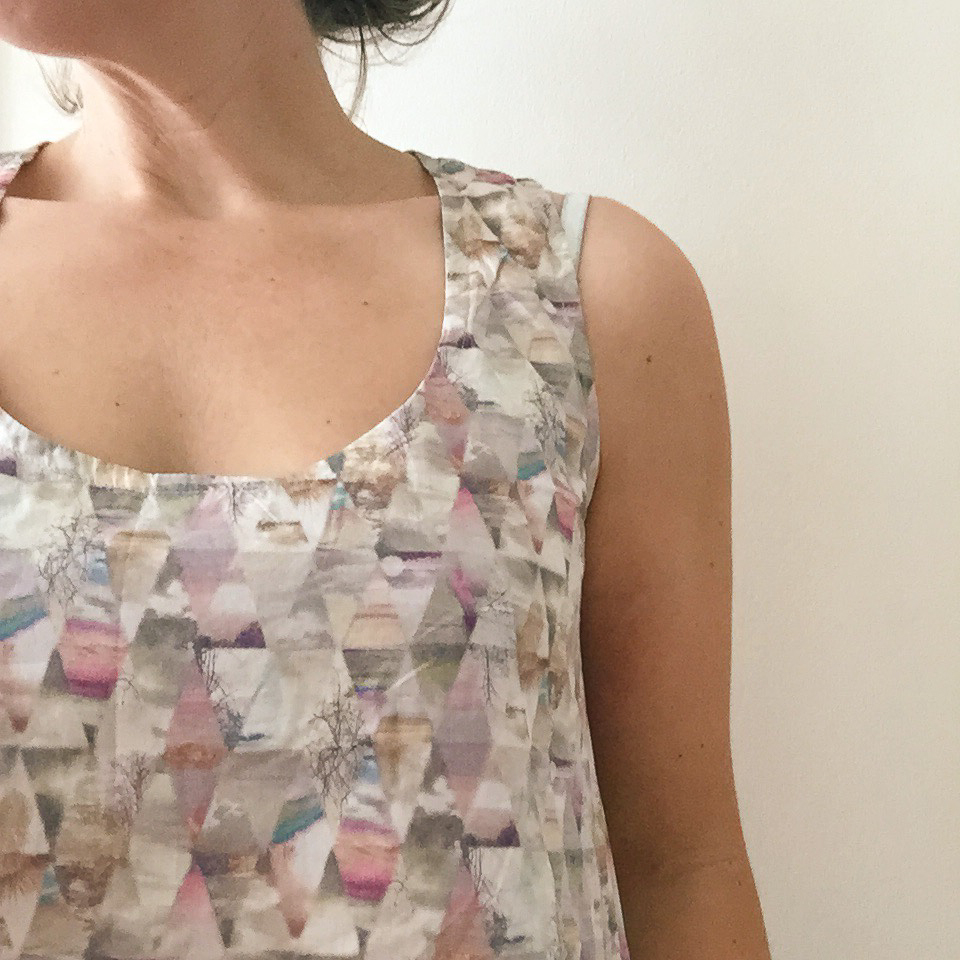
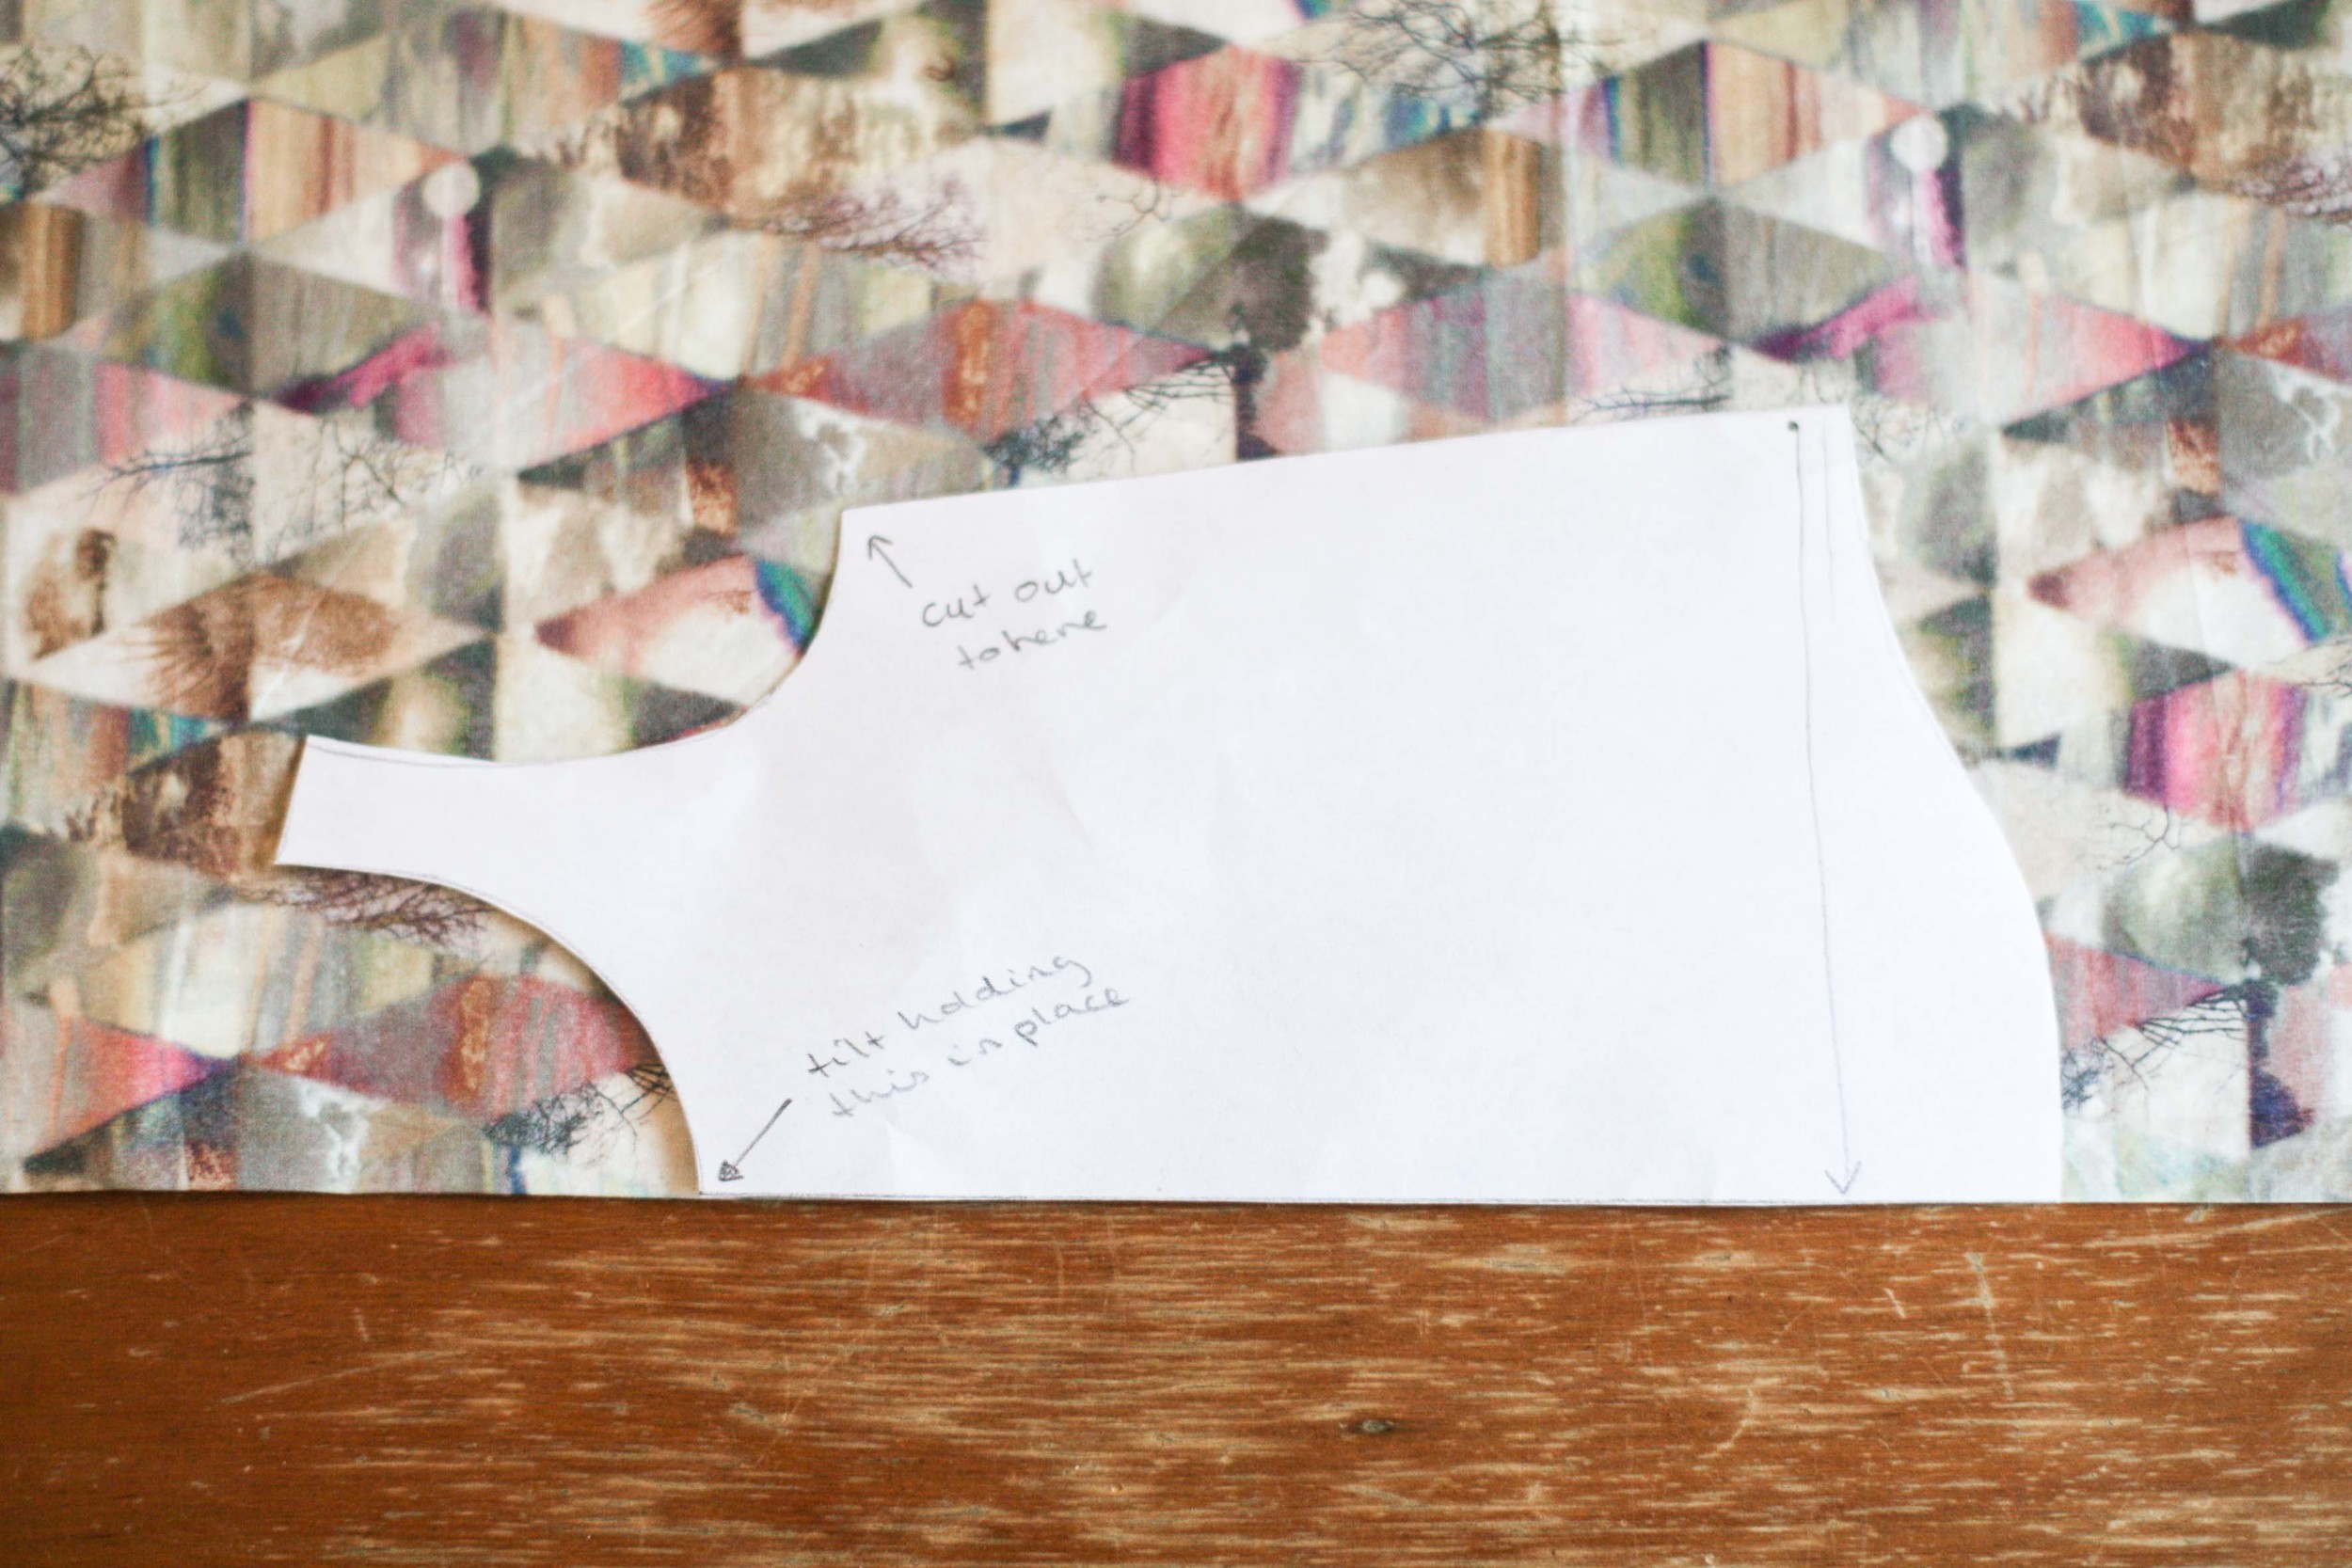
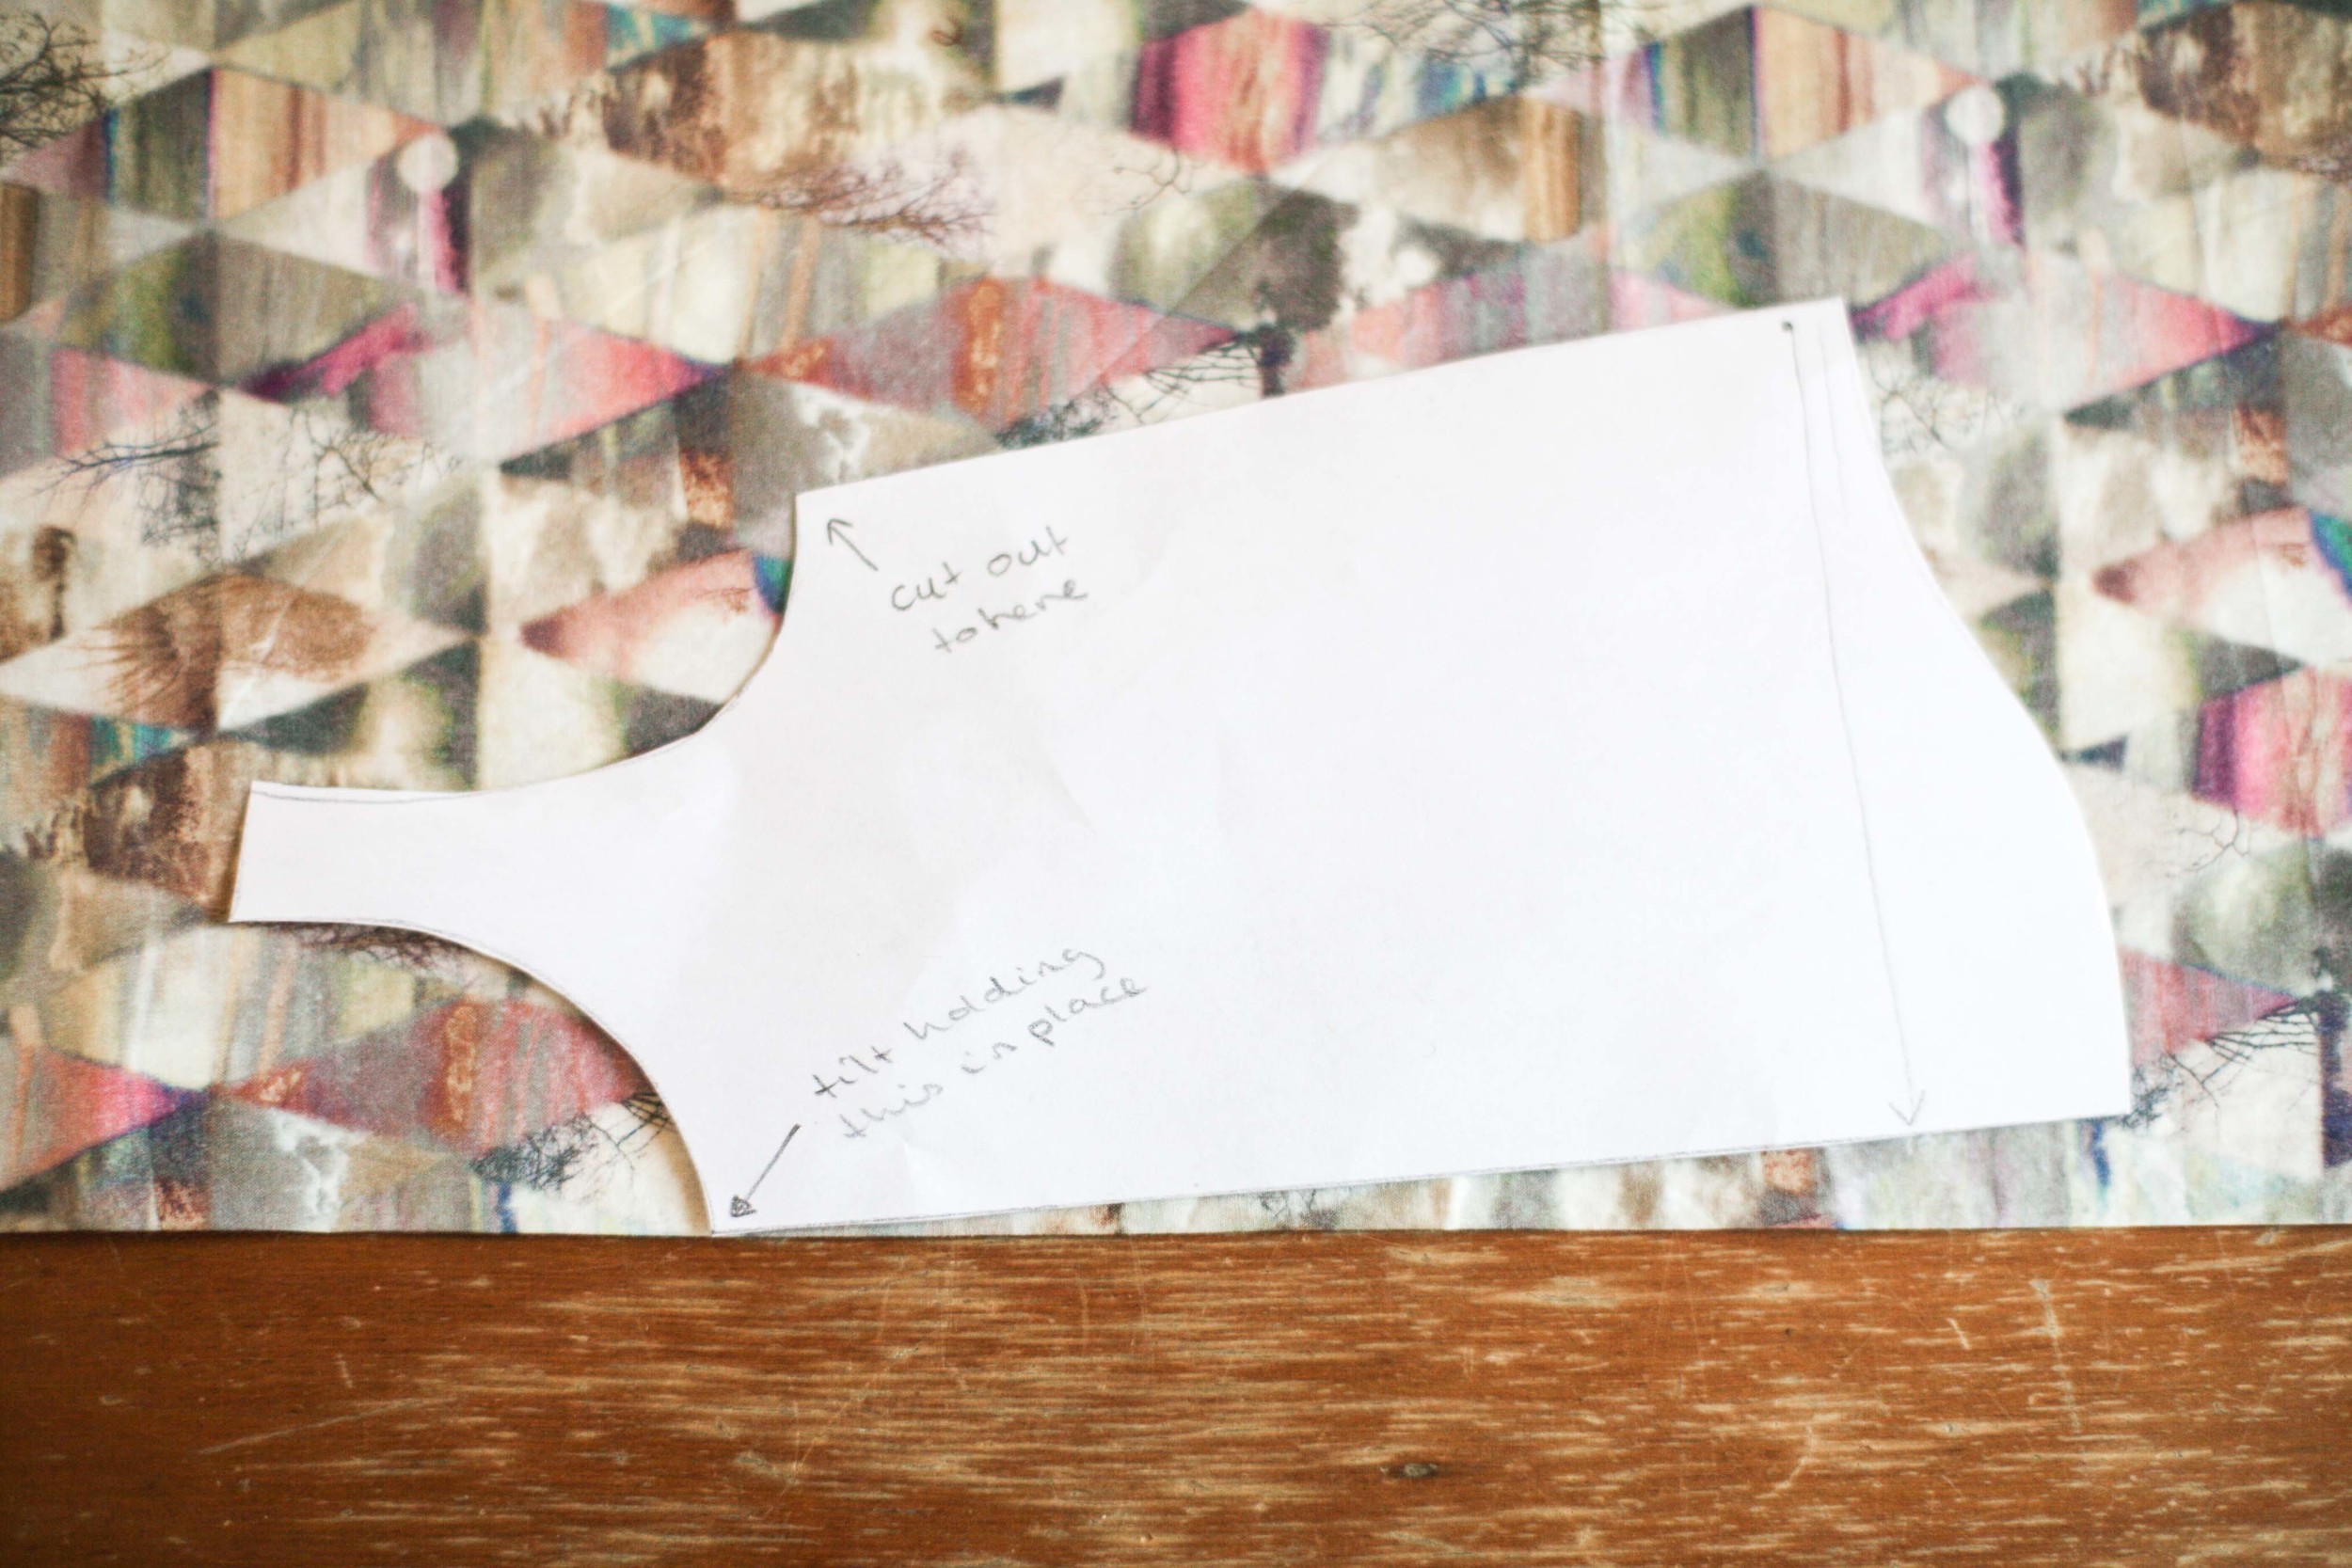
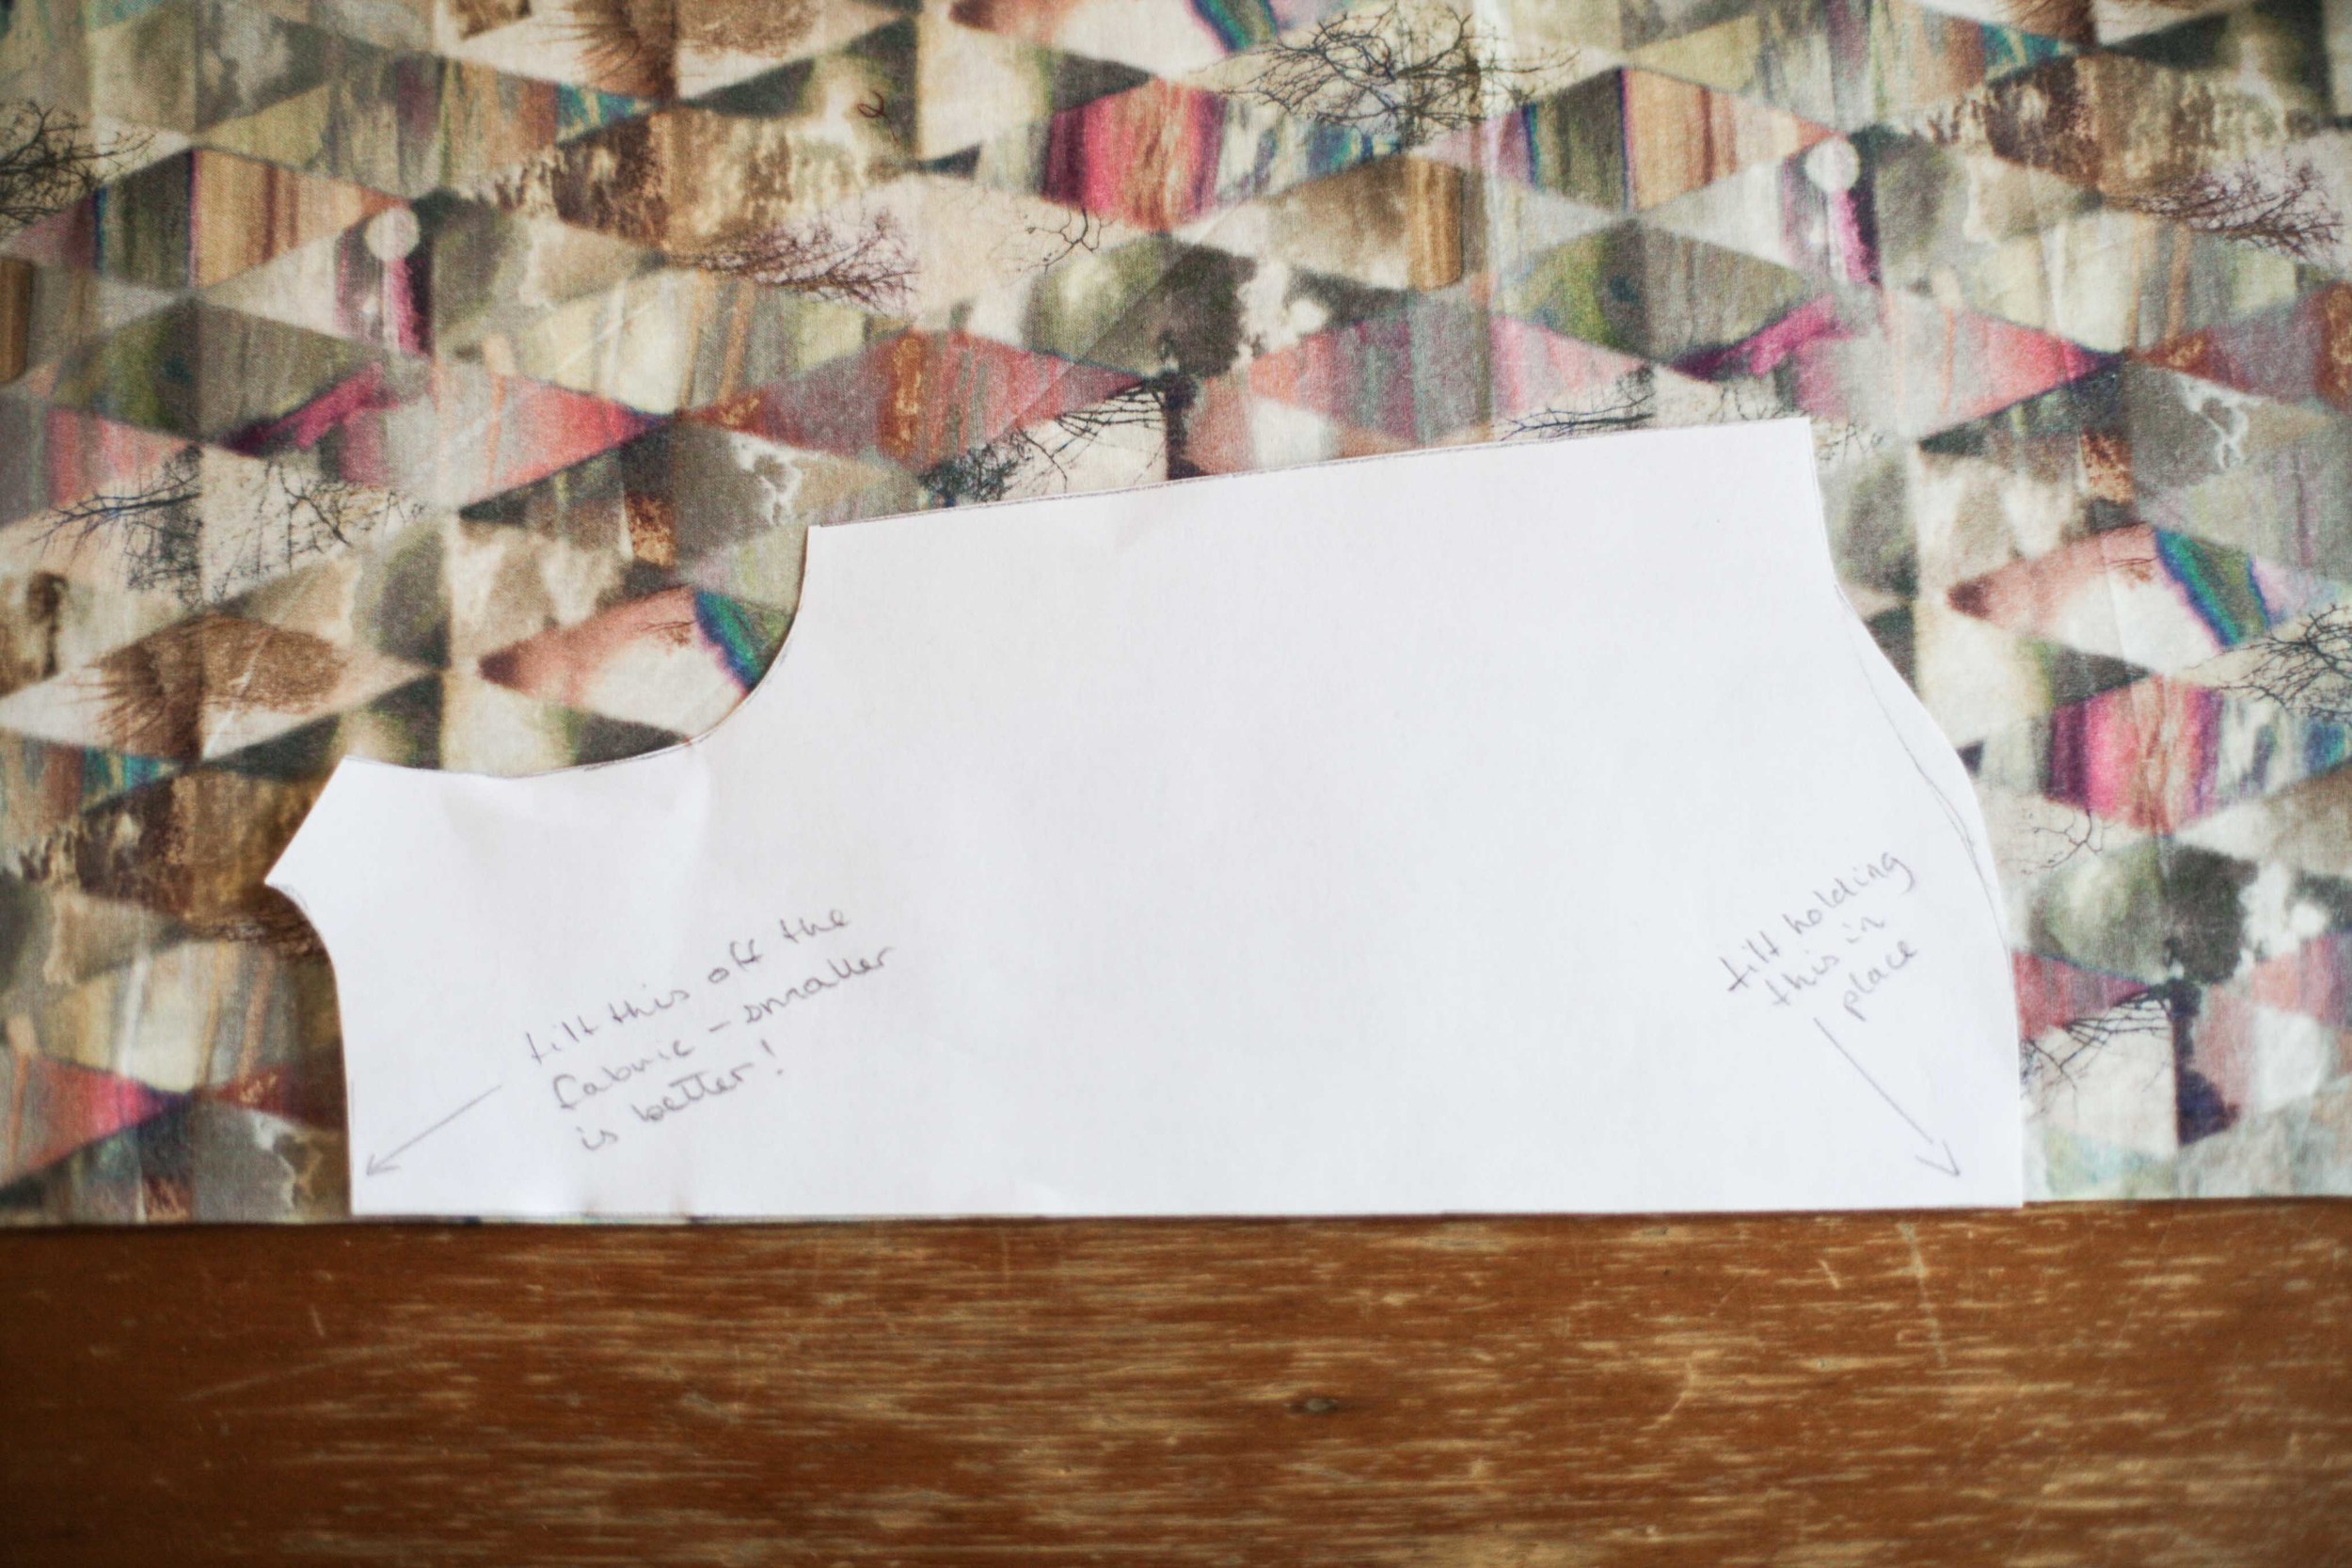
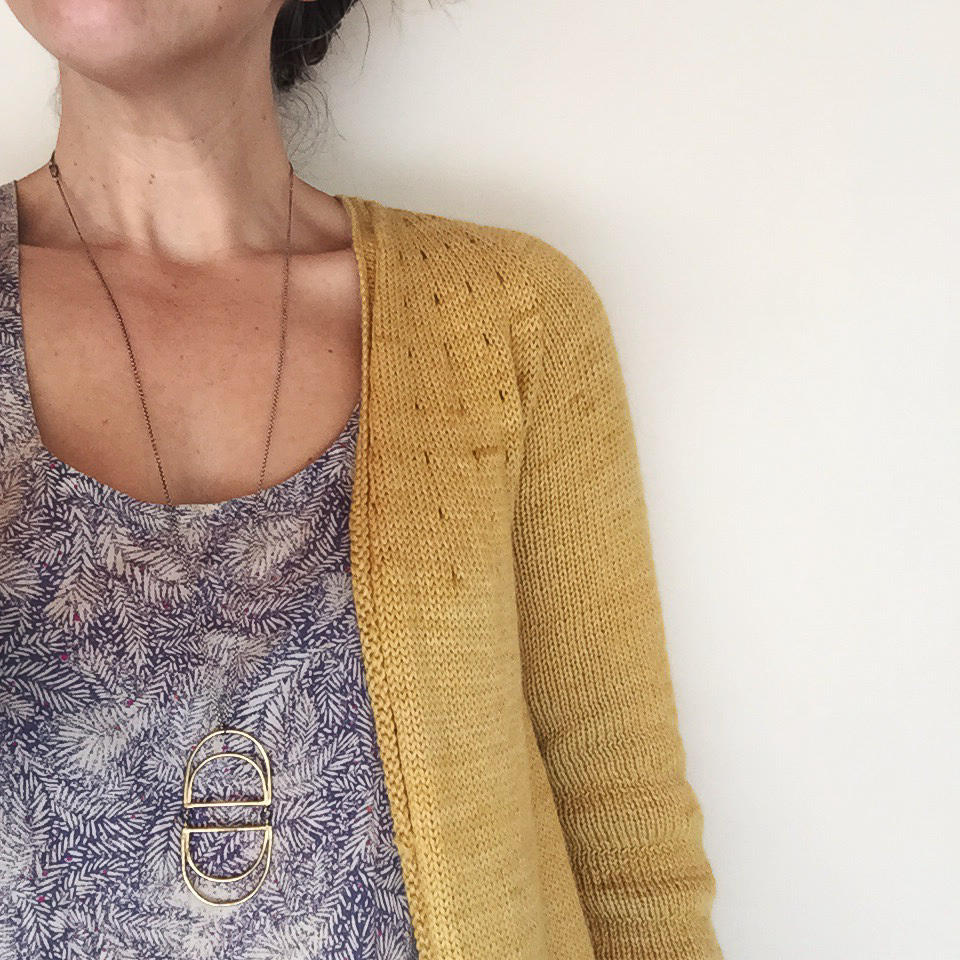
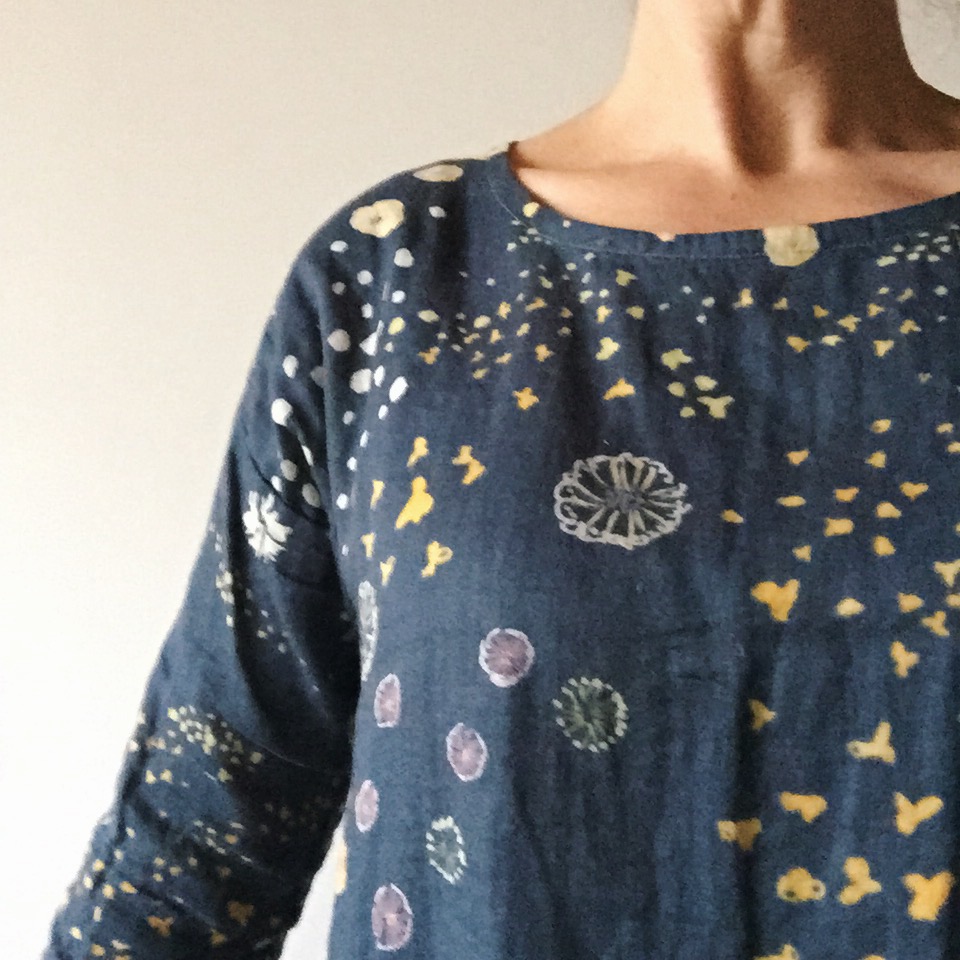
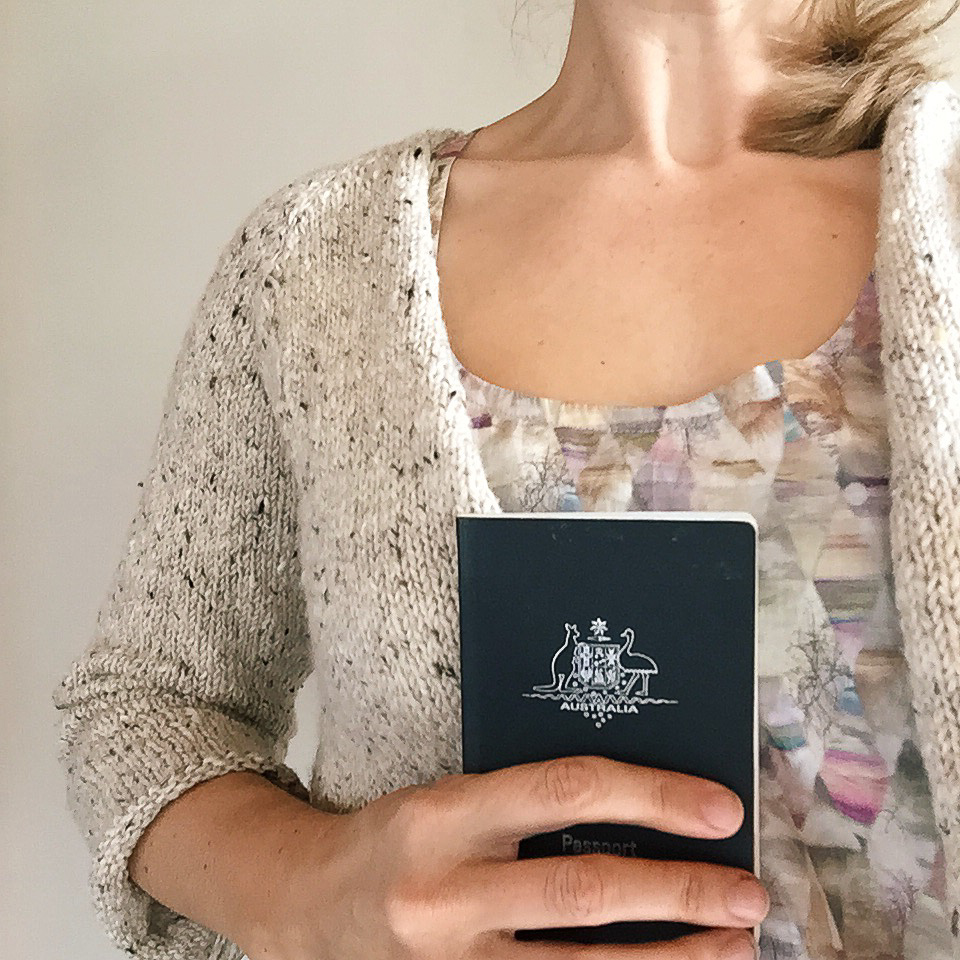
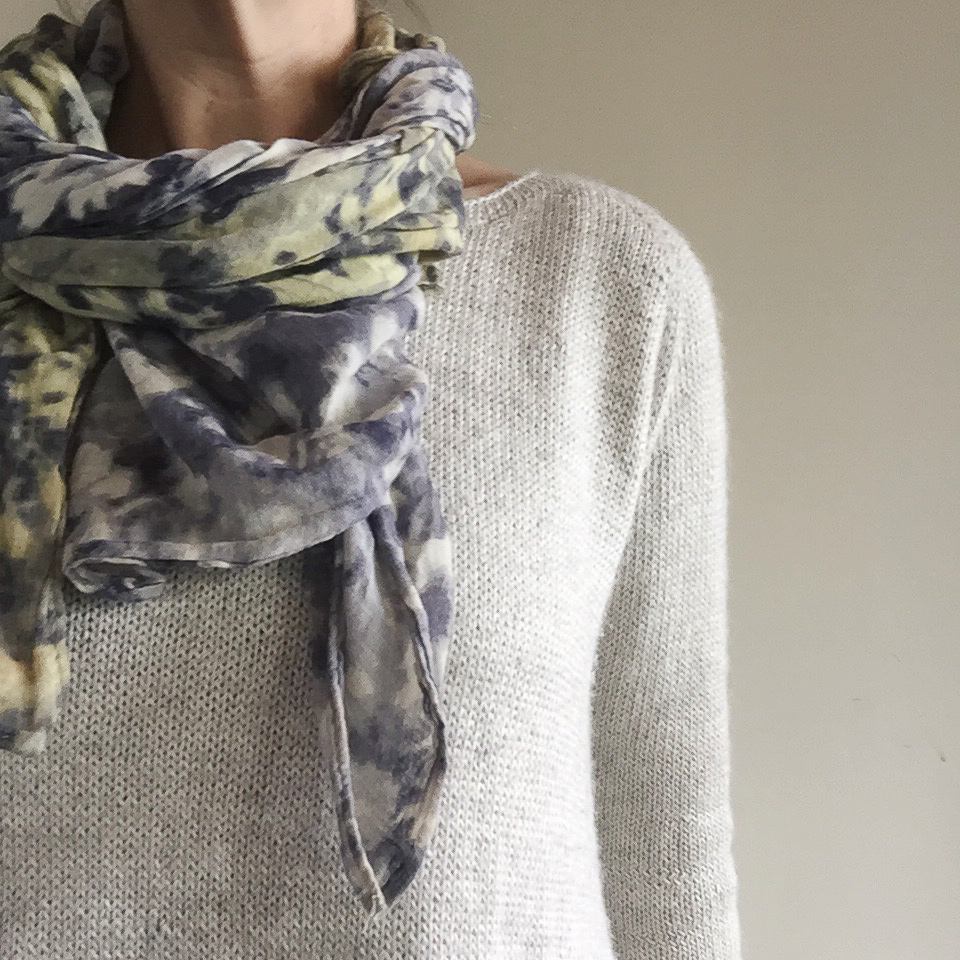
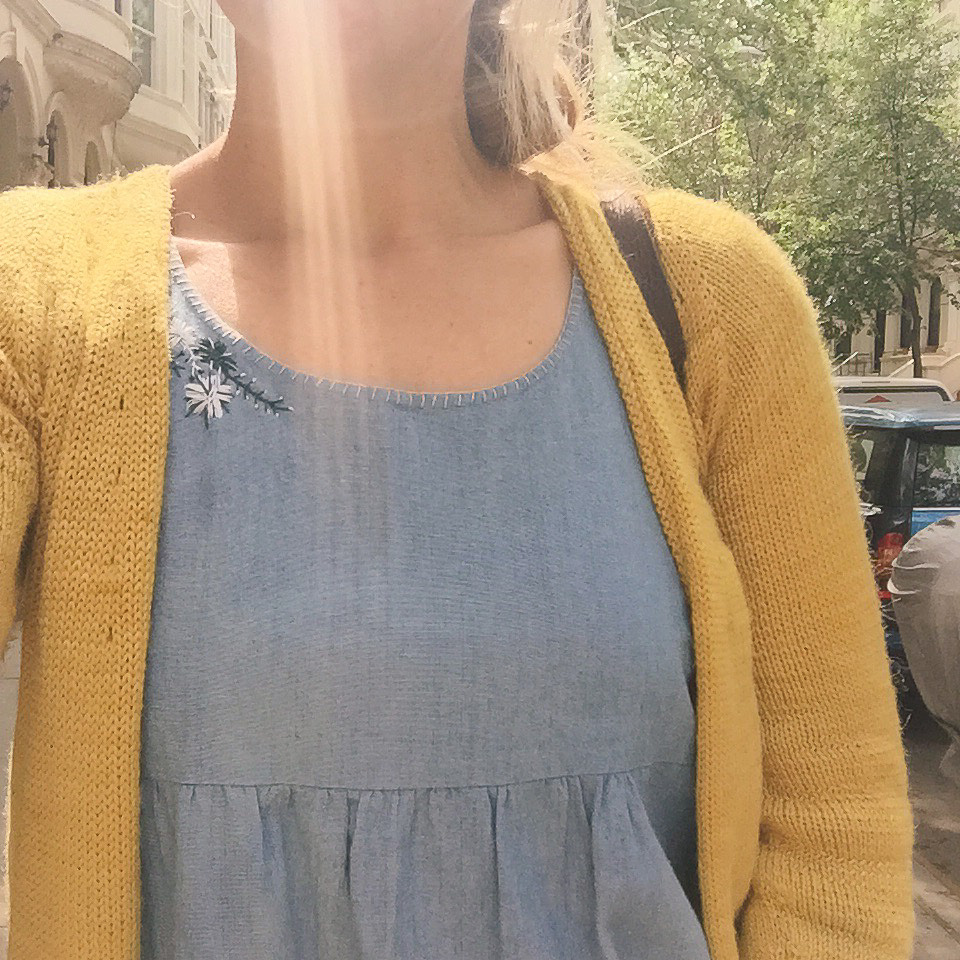
The plan for the next one is to use a fabric I've been saving (hoarding) for the perfect project. I have some of the linen that I used in this quilt left. It's going to be lovely. The only thing I'll change is the neckline. I already hacked it a little with this version but next time I'm thinking of doing a hack - a Lou Box with a Wiksten Tank neckline raised by an inch or so. I love the scoop of the Wiksten and as it stands the Lou Box is showing just a little too much boob for the school run. In my part of town anyway.

The photo isn't really showing the boob flashing as I pulled it up a little for the photo.

The photo isn't really showing the boob flashing as I pulled it up a little for the photo.

Let me walk you through how simple this thing is to put together and then I'll sign out because there really isn't anything more to say.. 

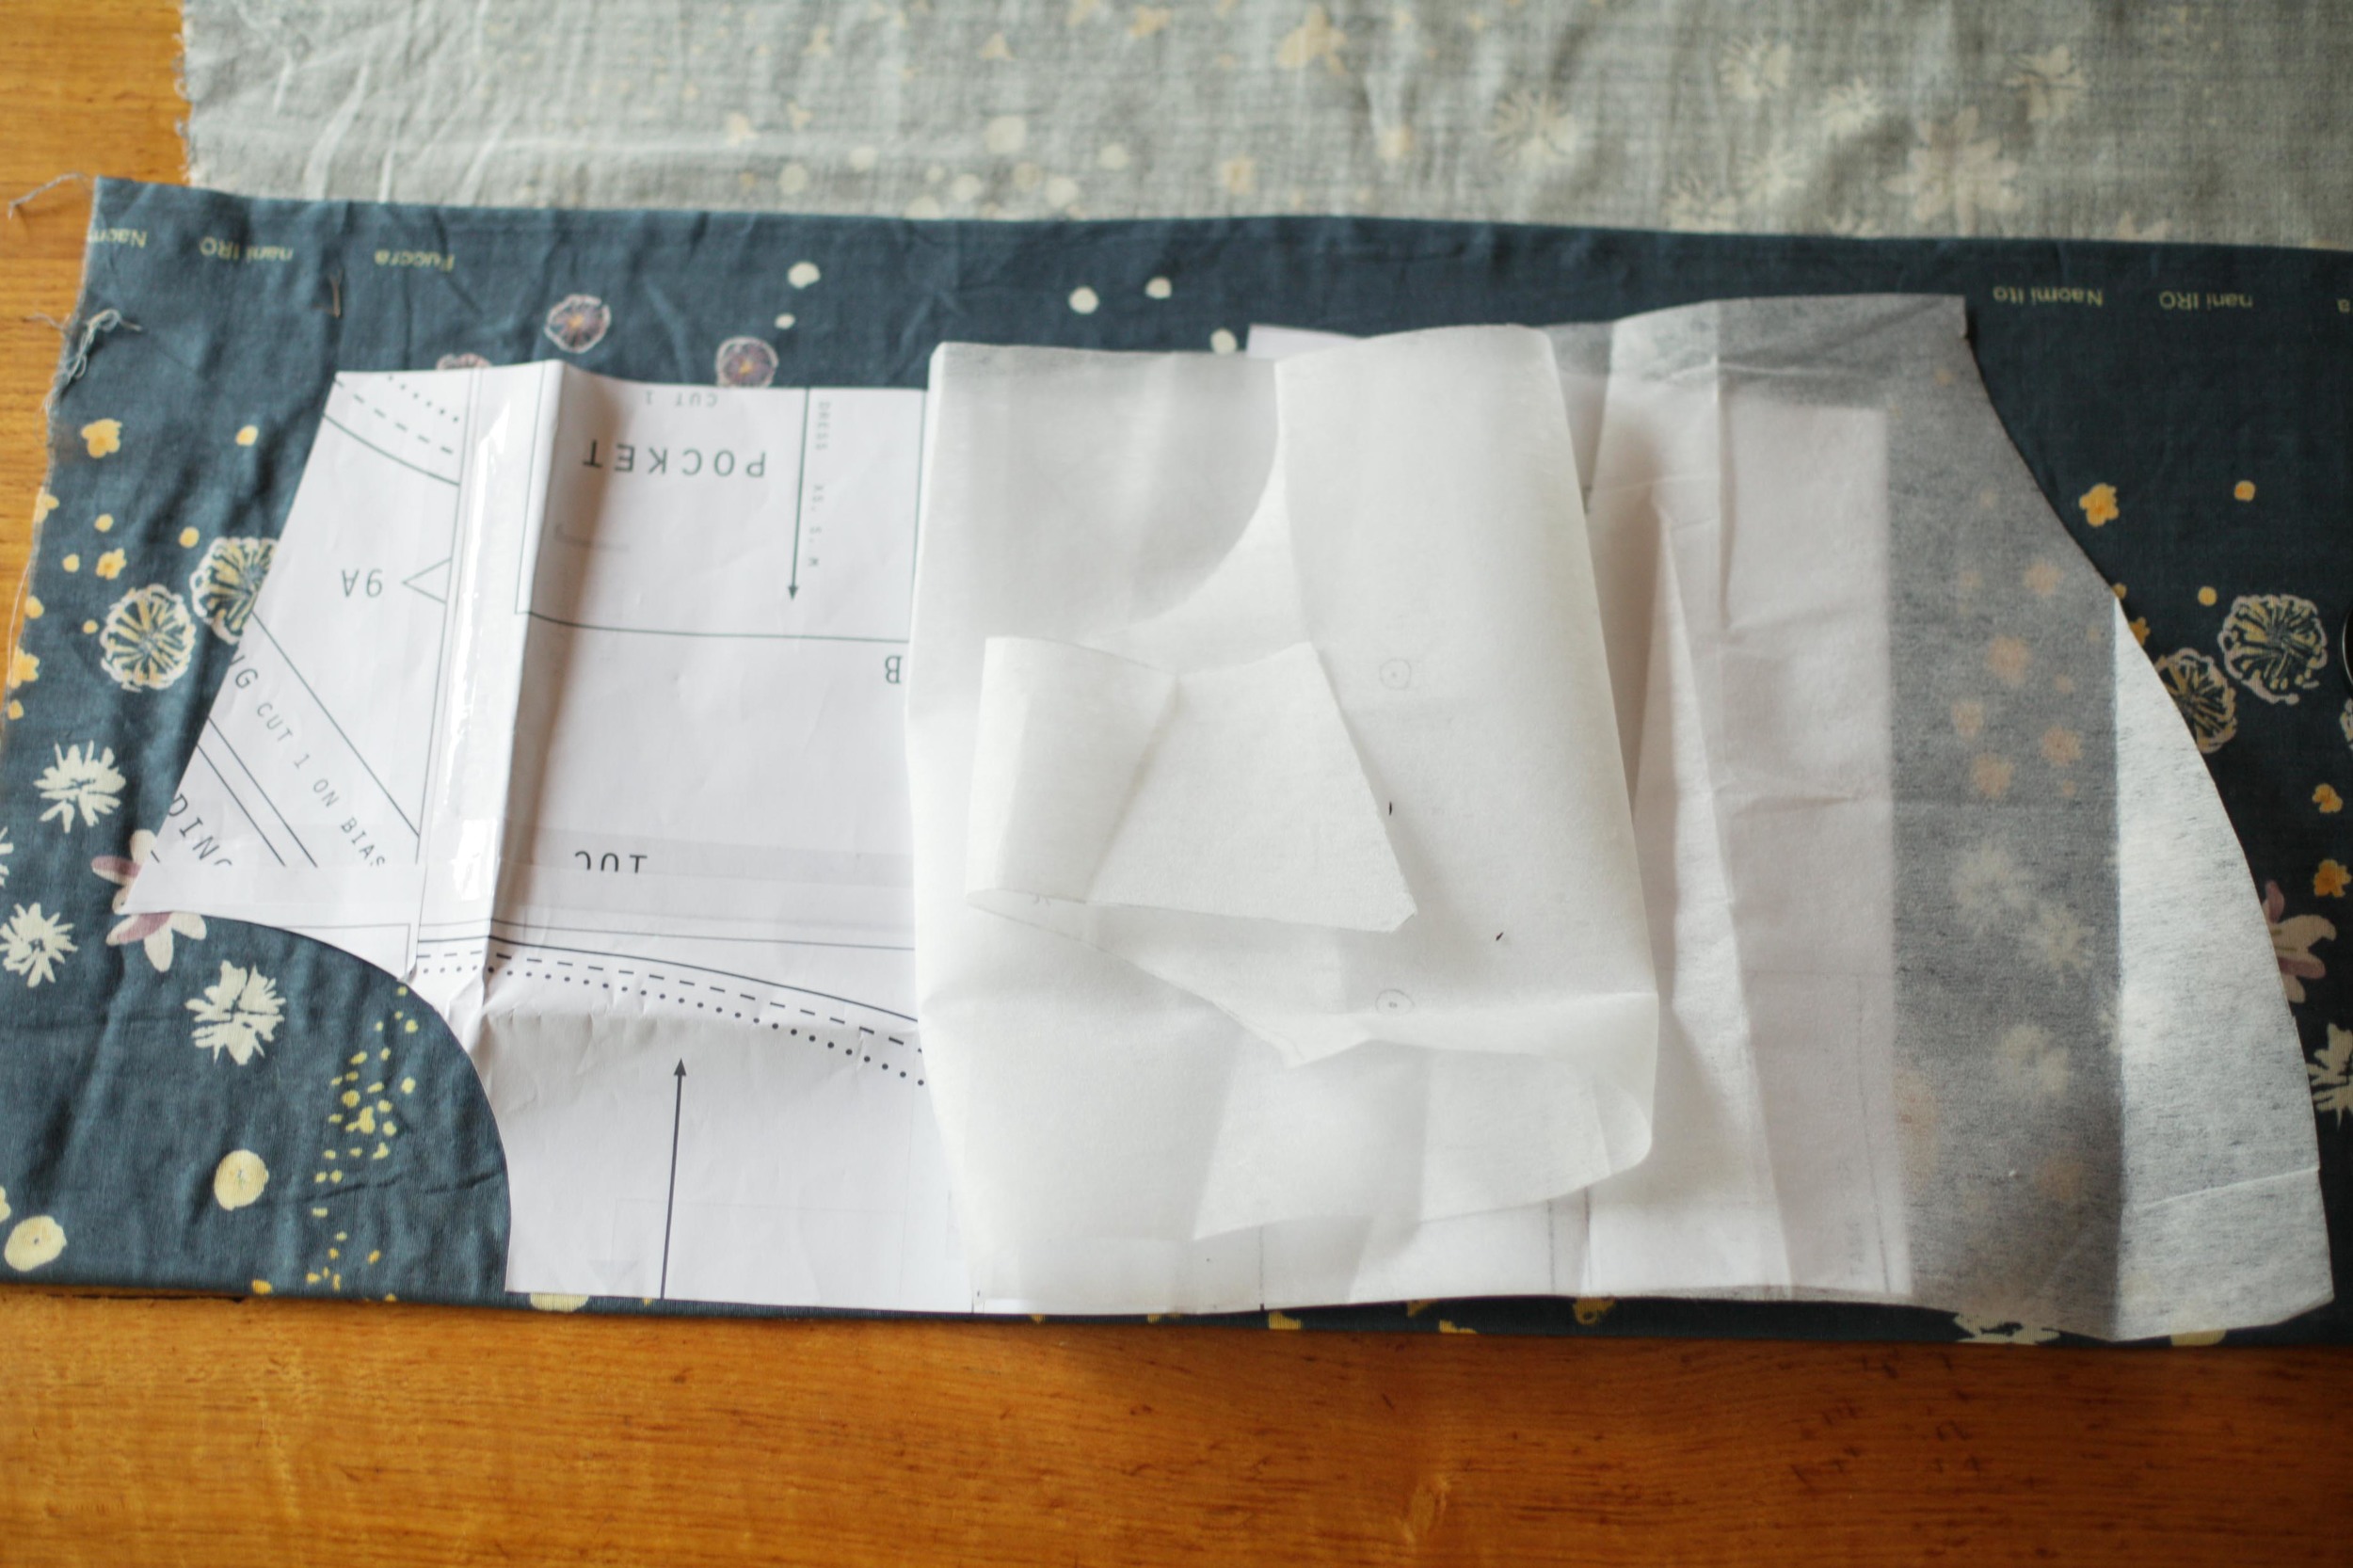
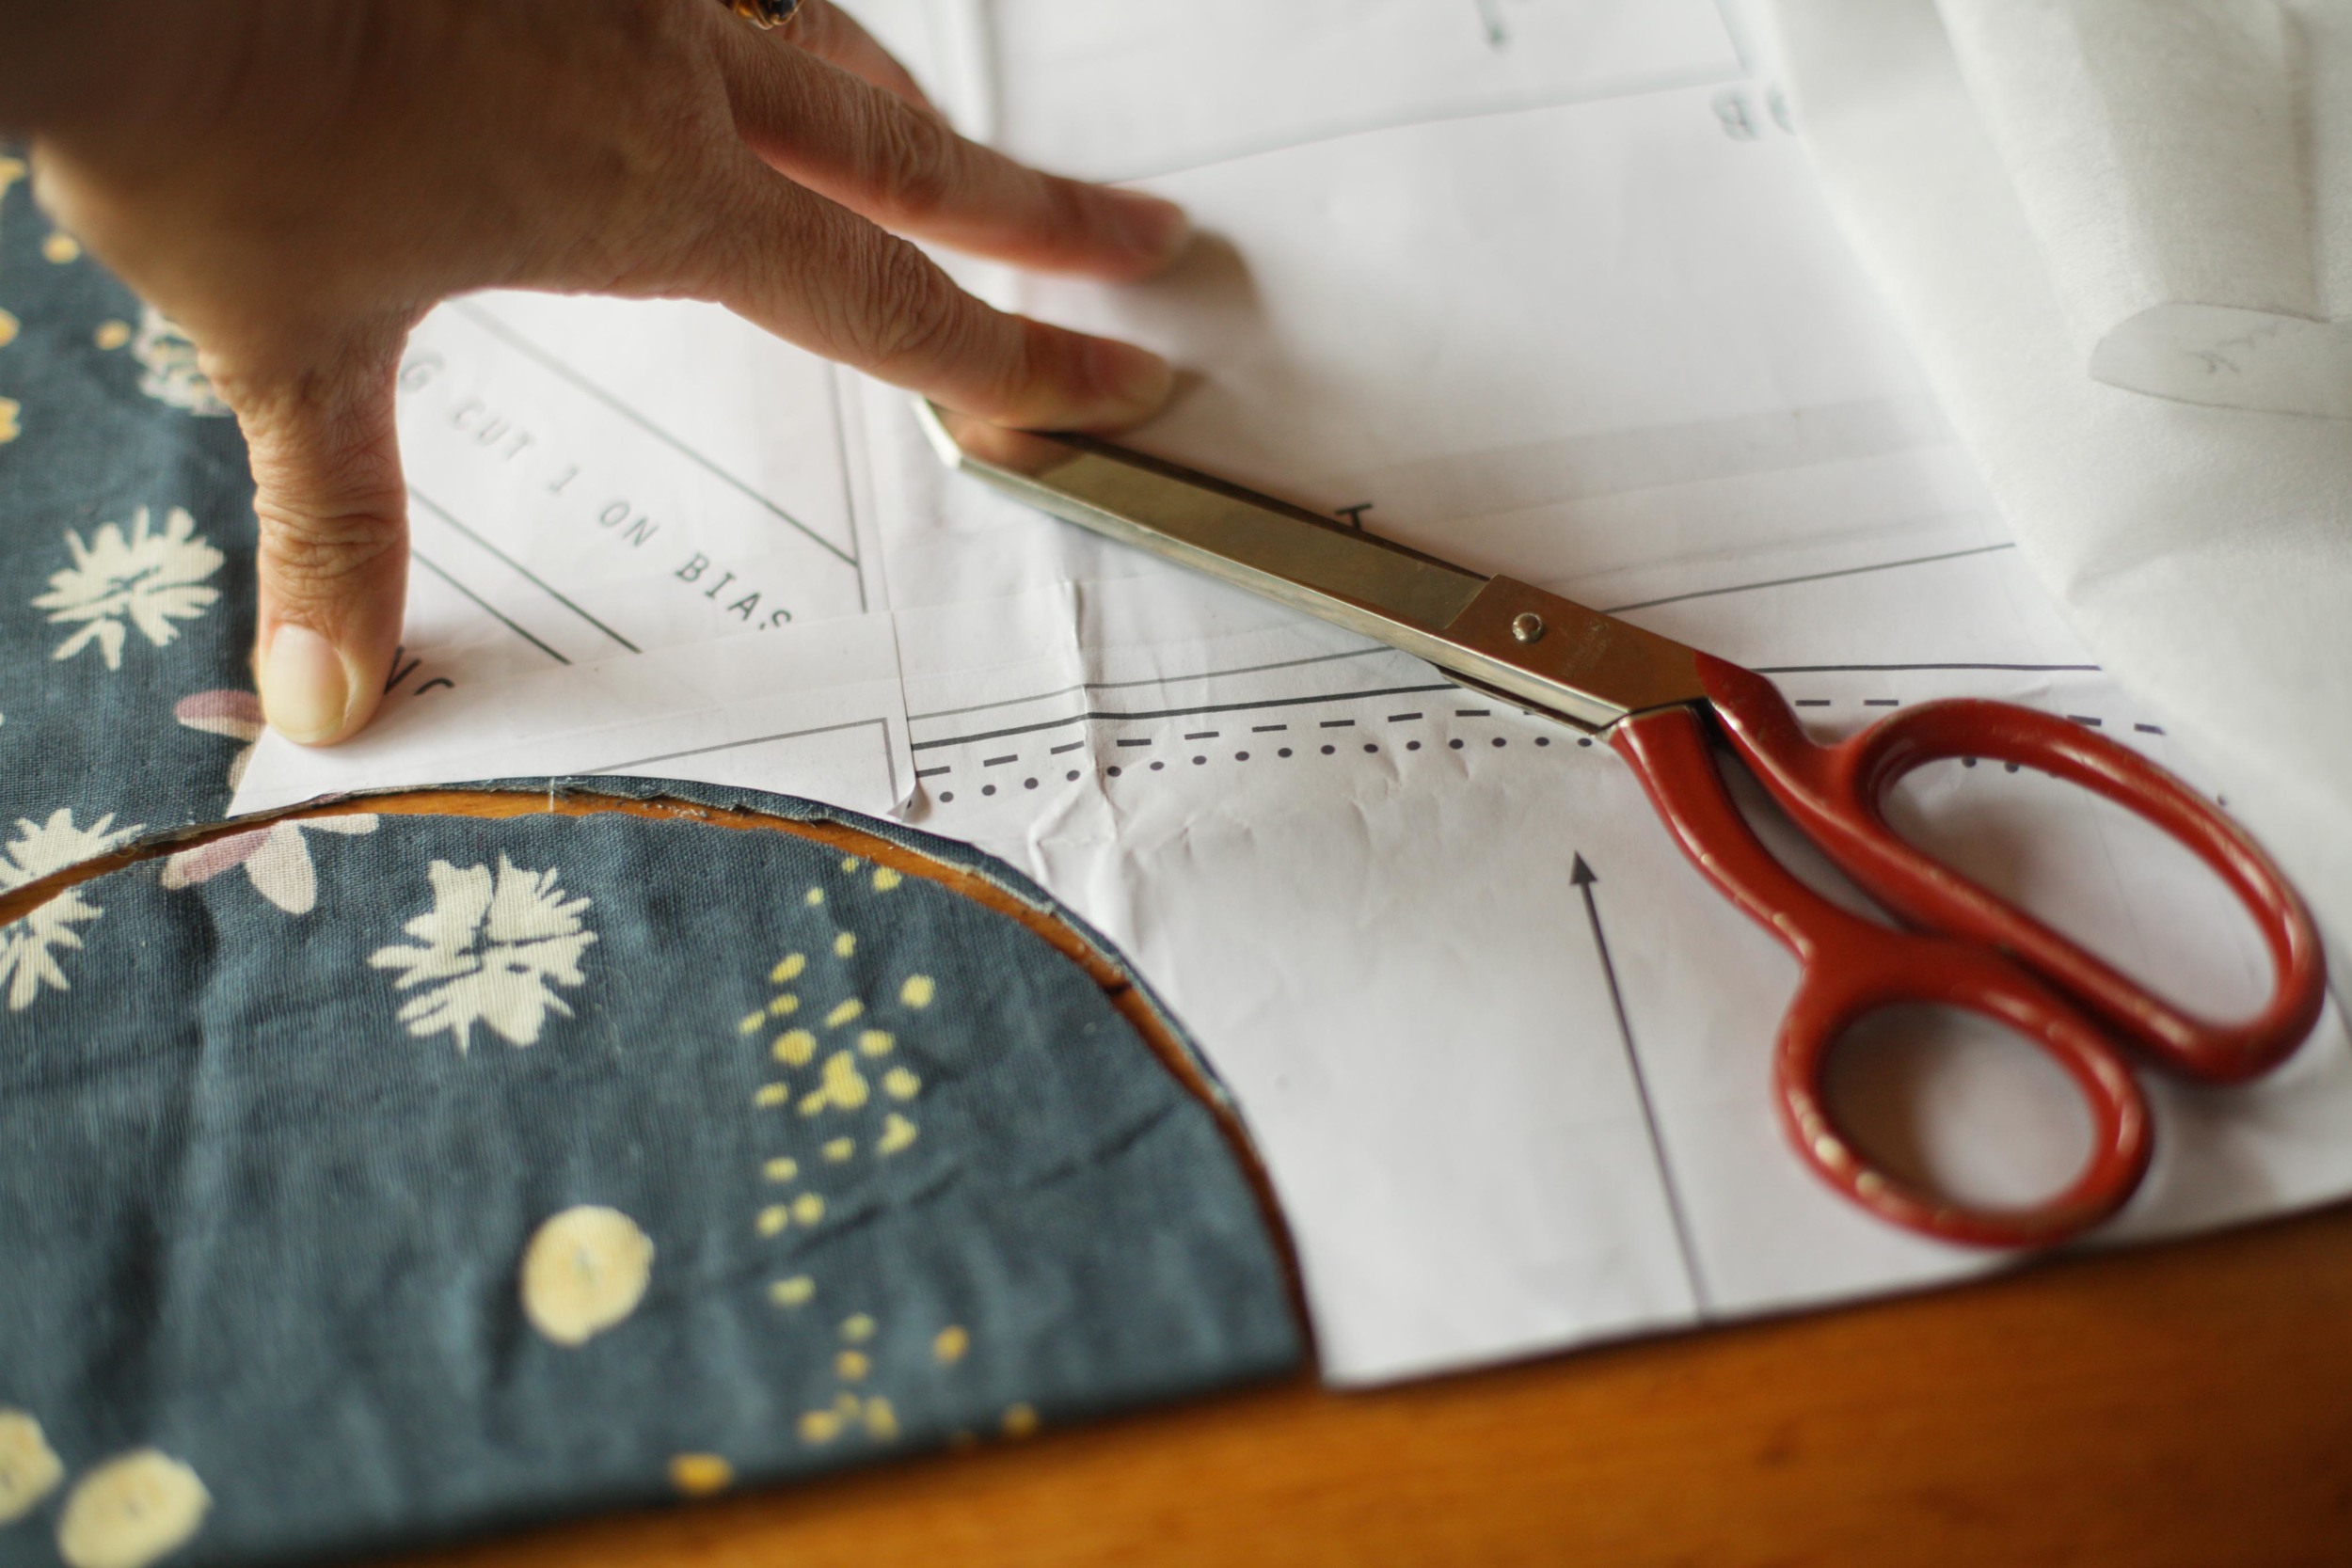
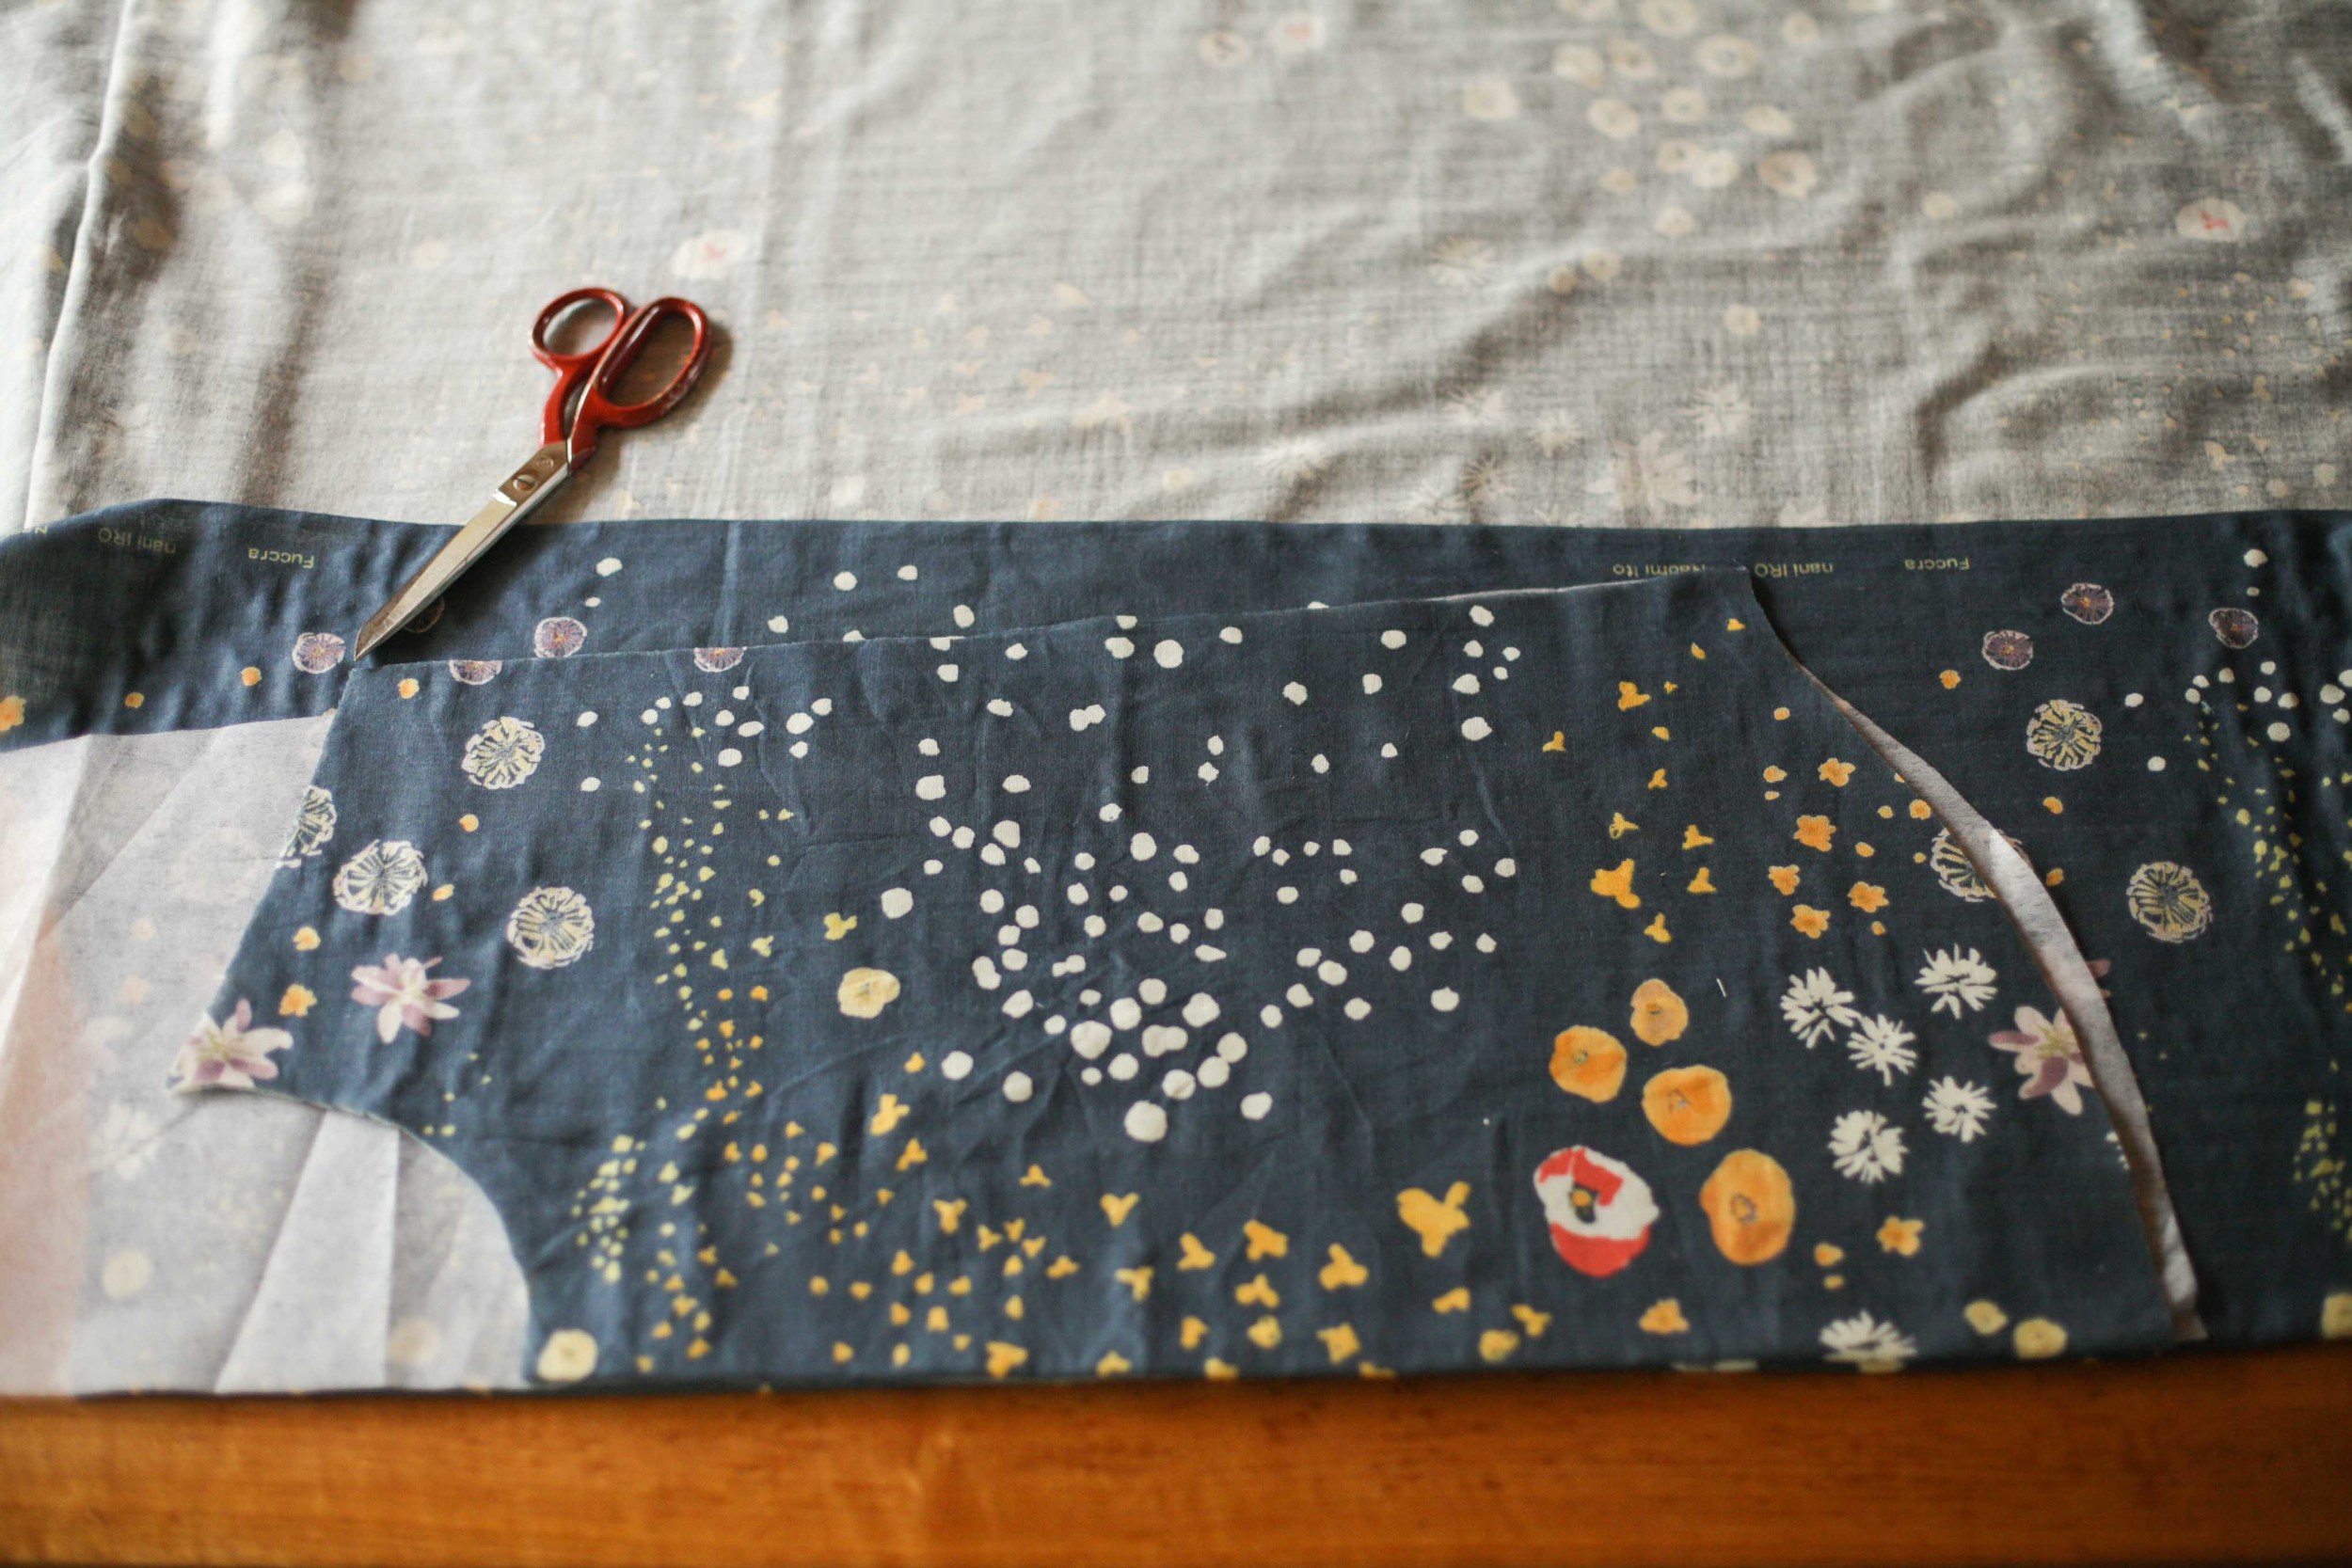
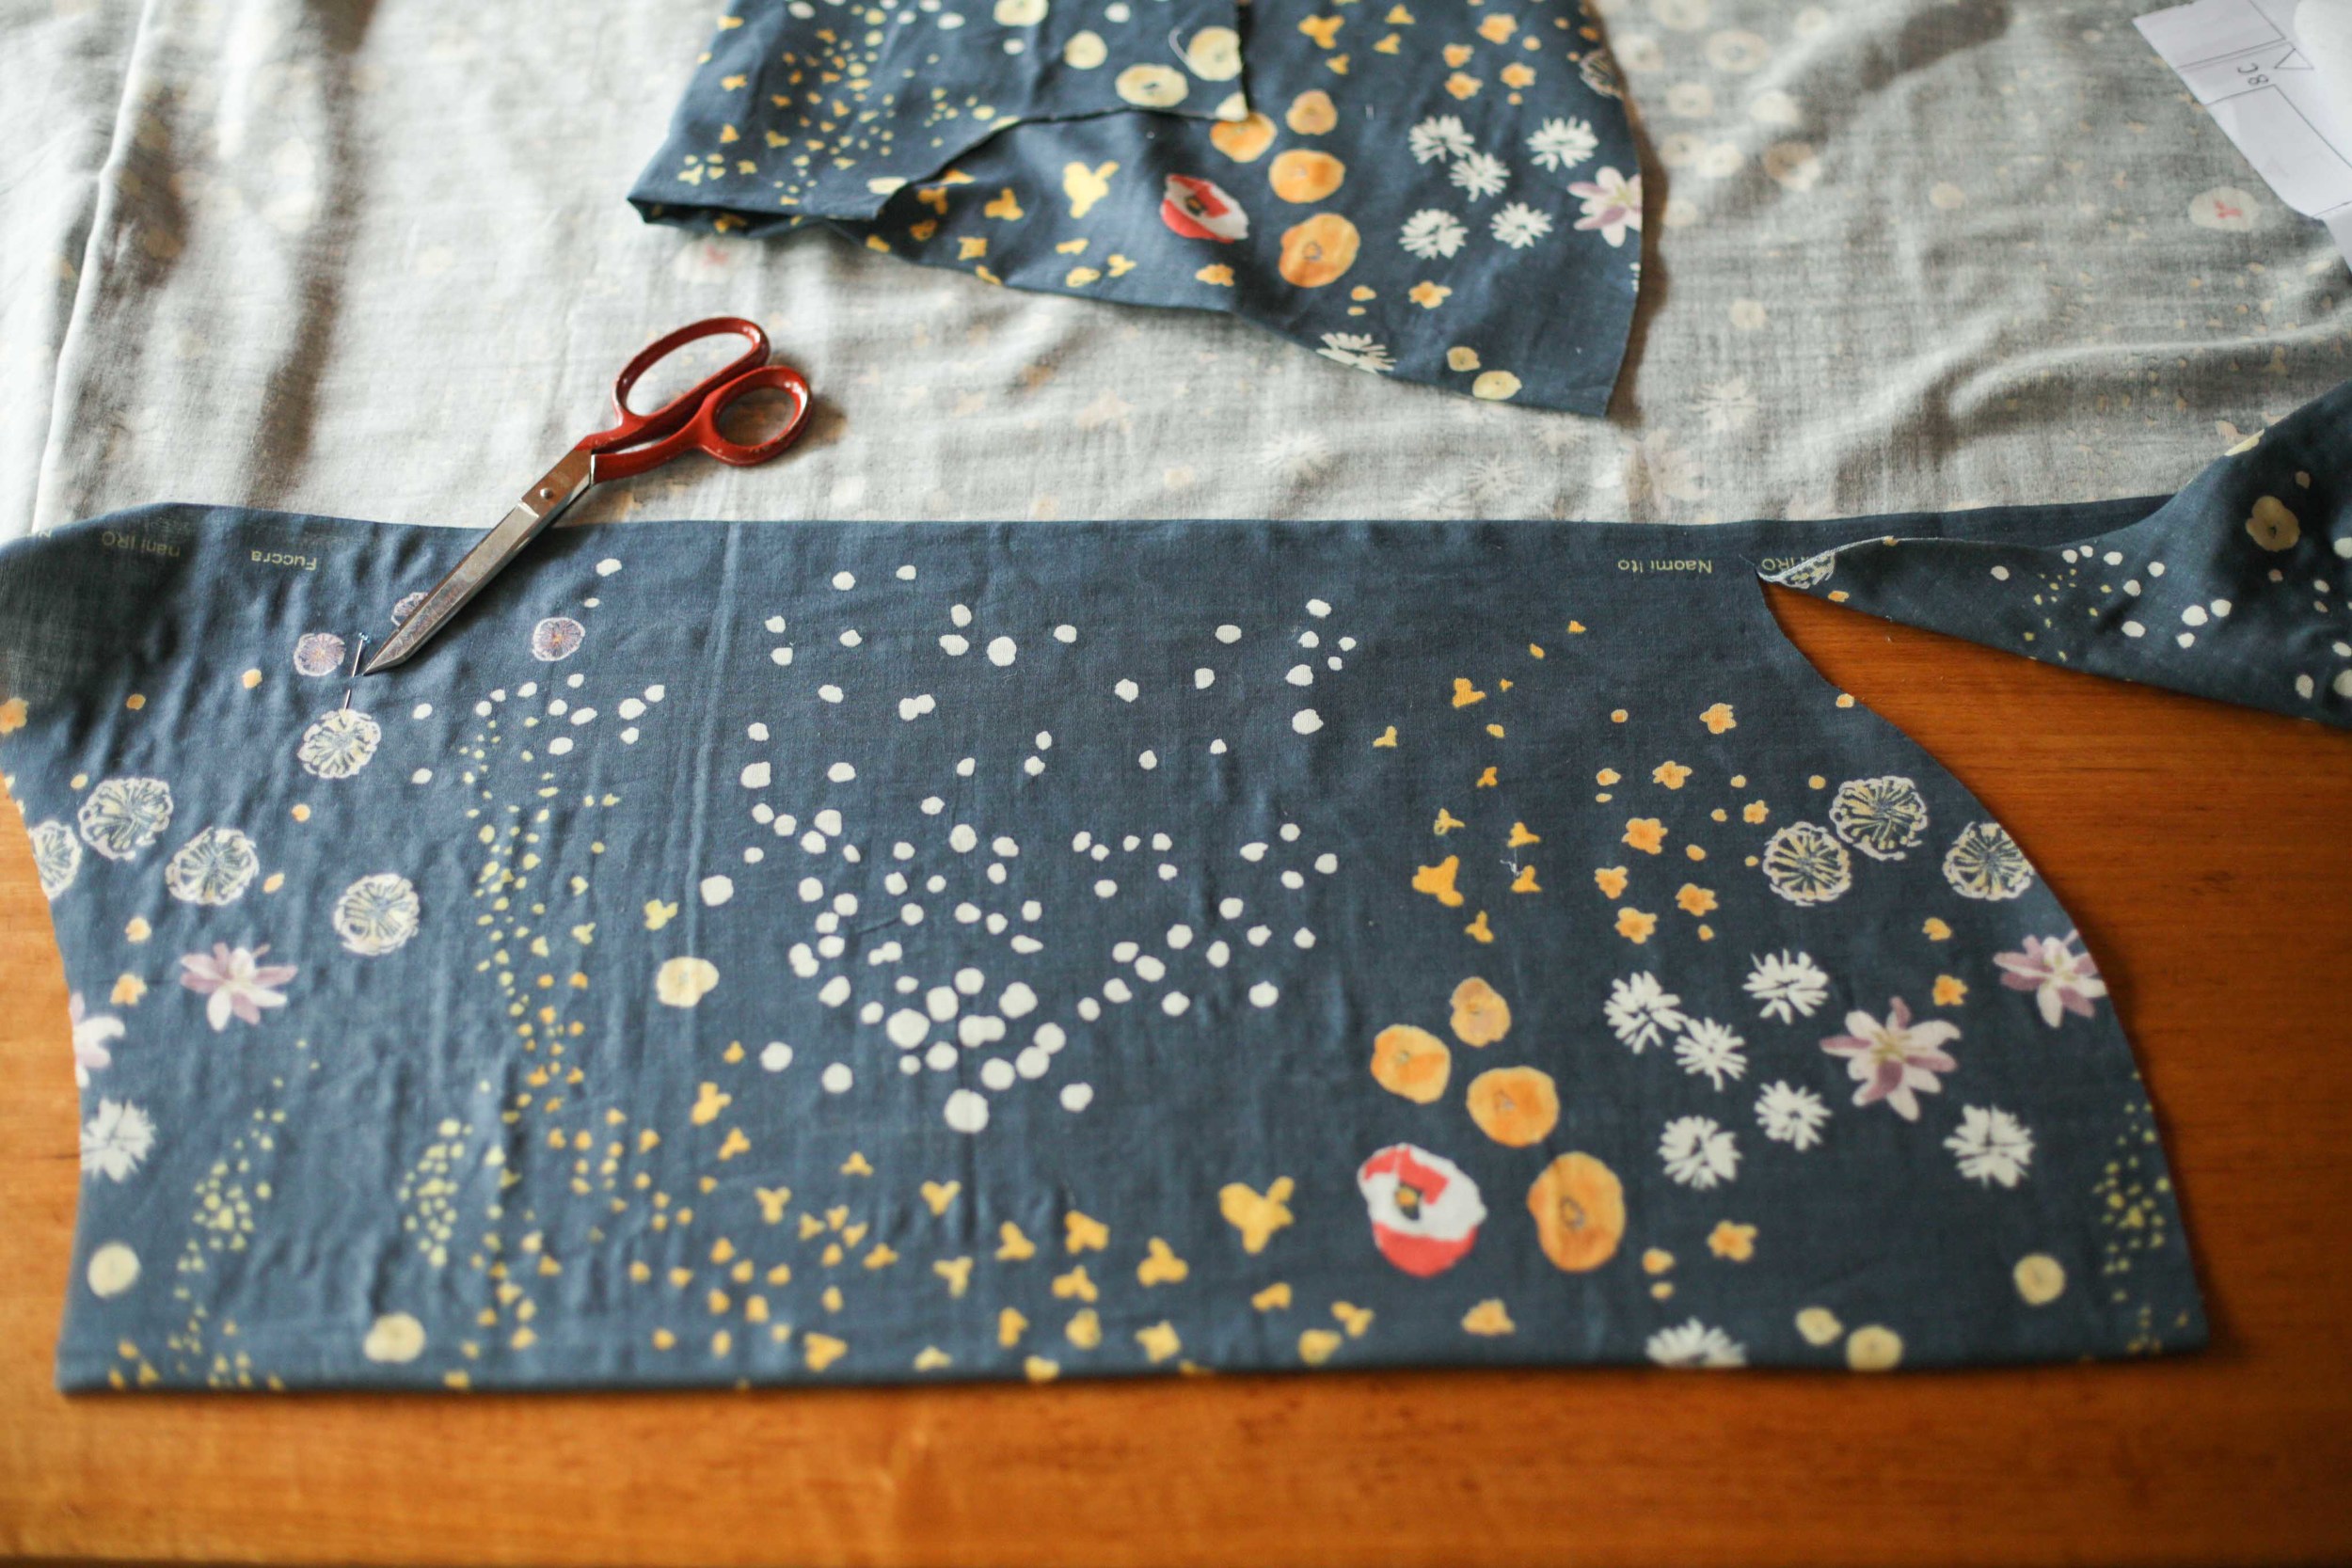
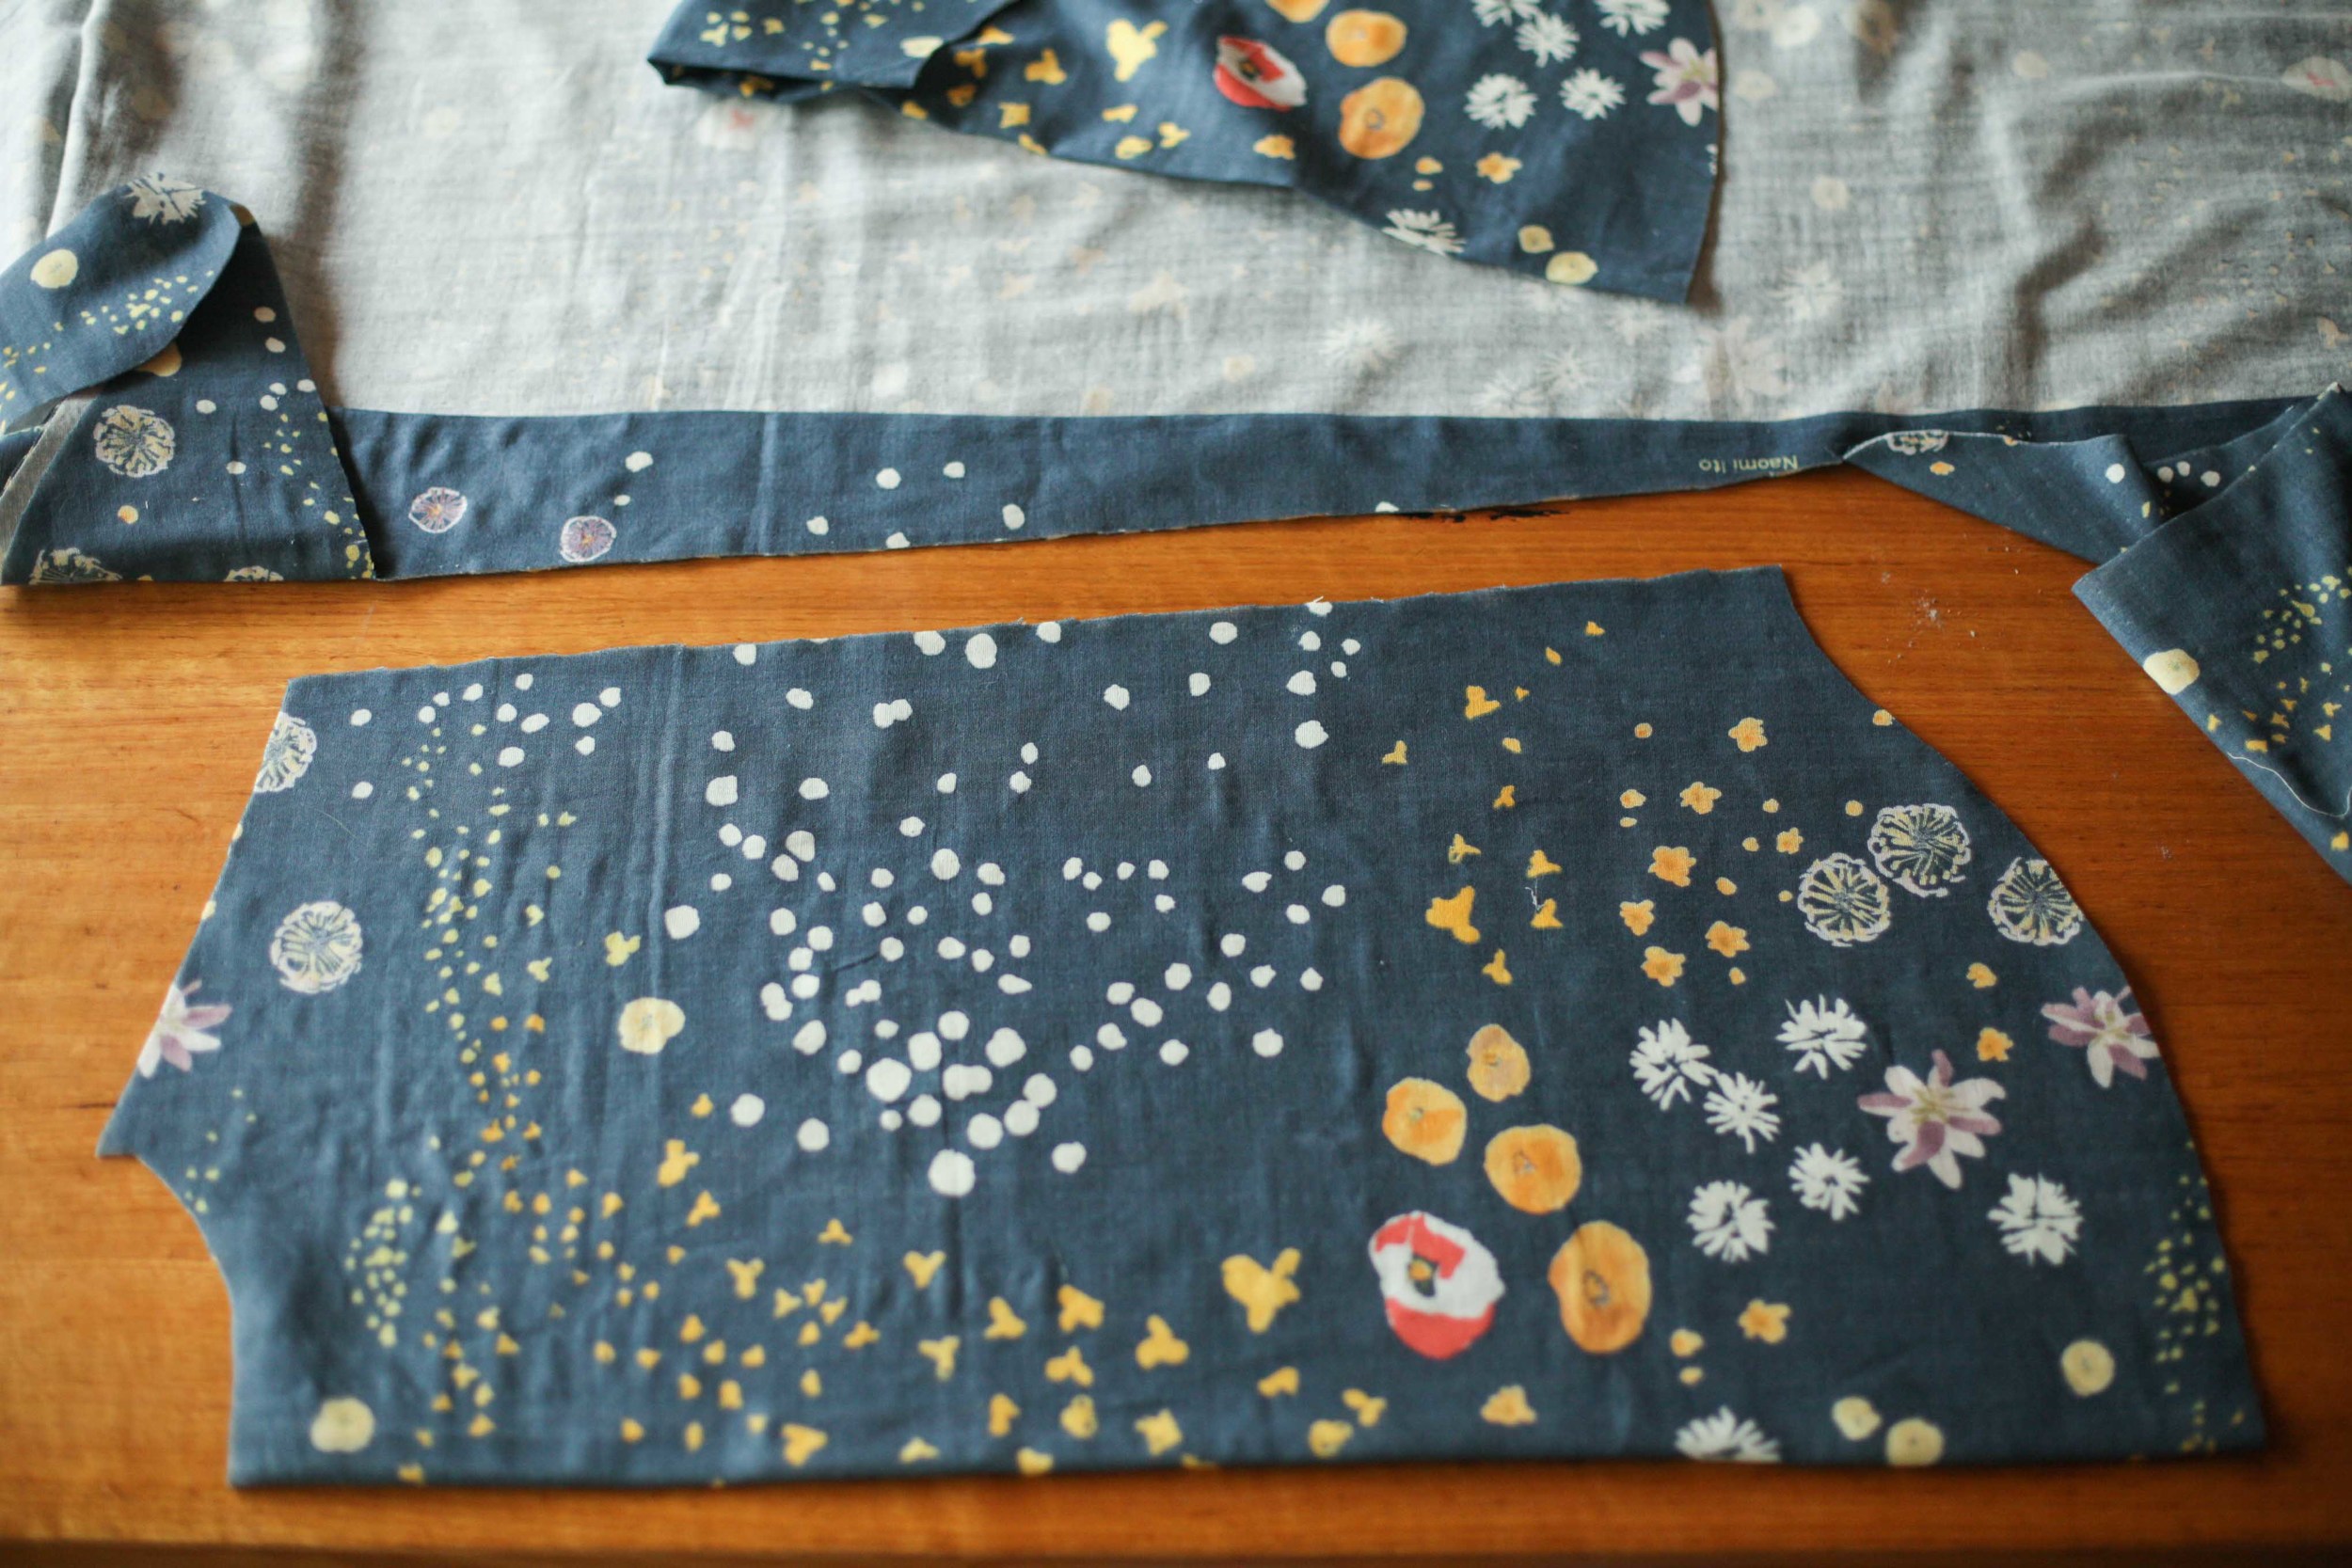
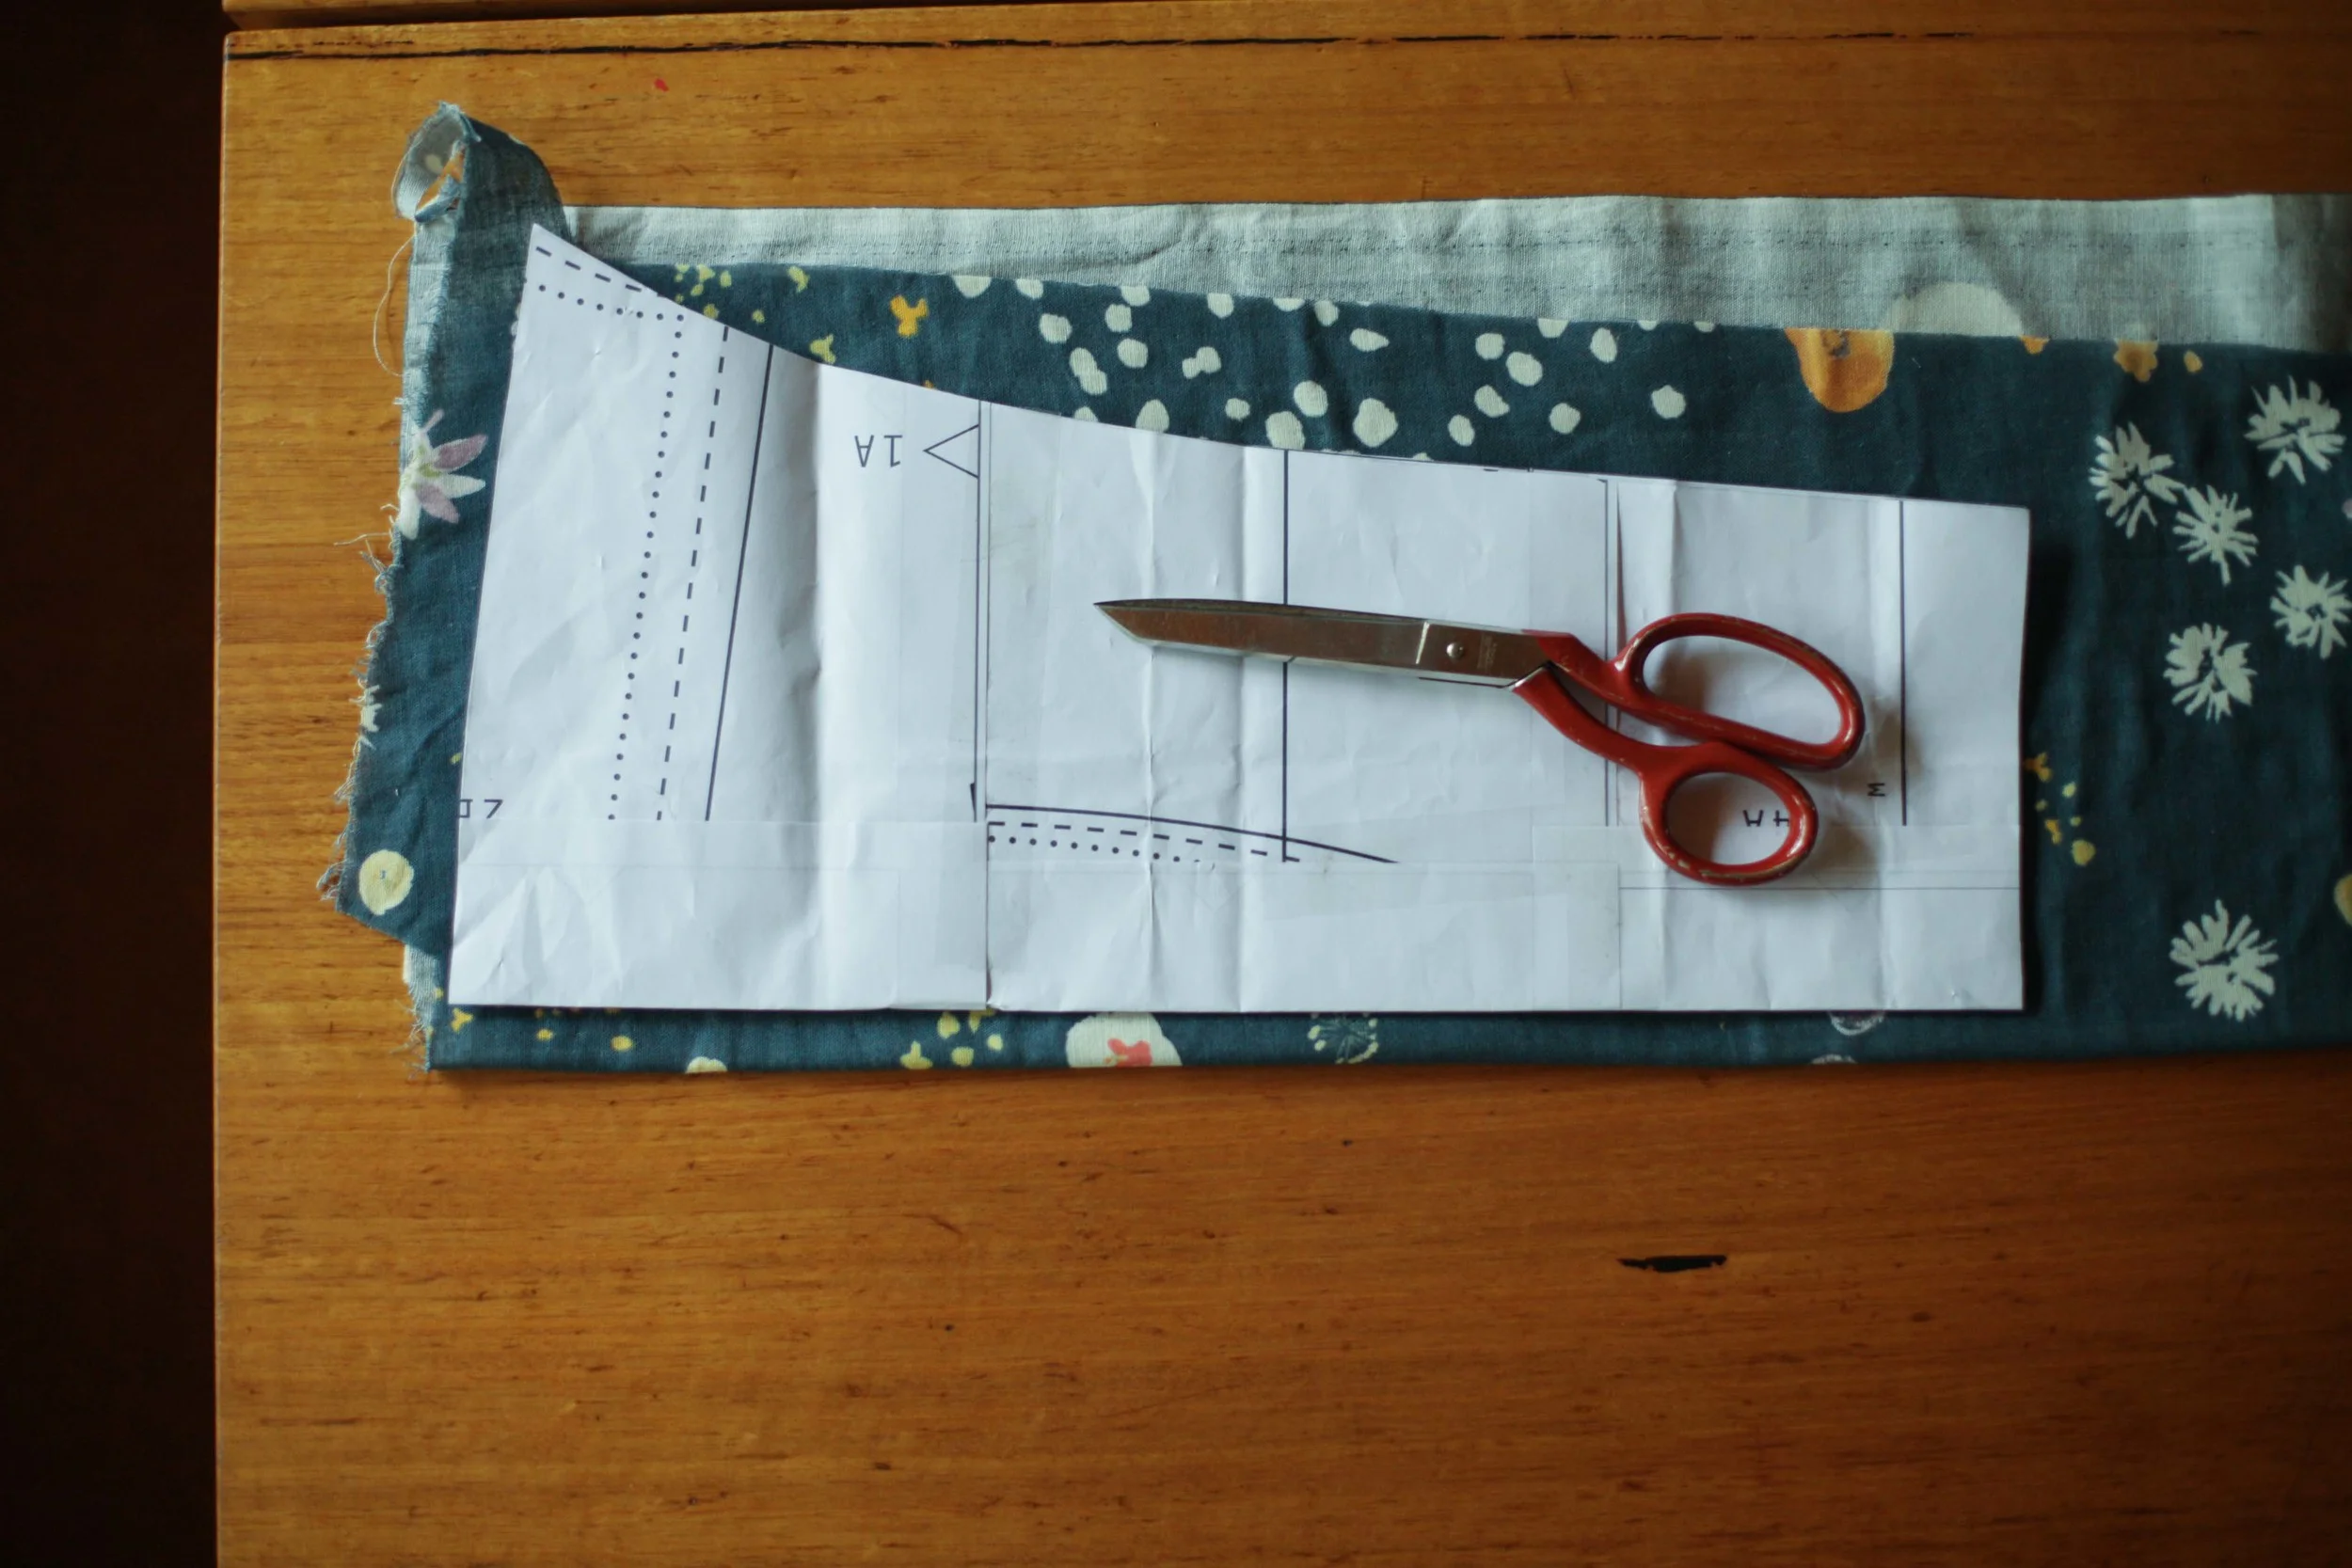
  • Two pieces - a front and a back. If you use the larger neckline then you don't need the split in back of the neck. So a front and a back. Can't get simpler than that.
  • Sew together your shoulder seams and your side seams.
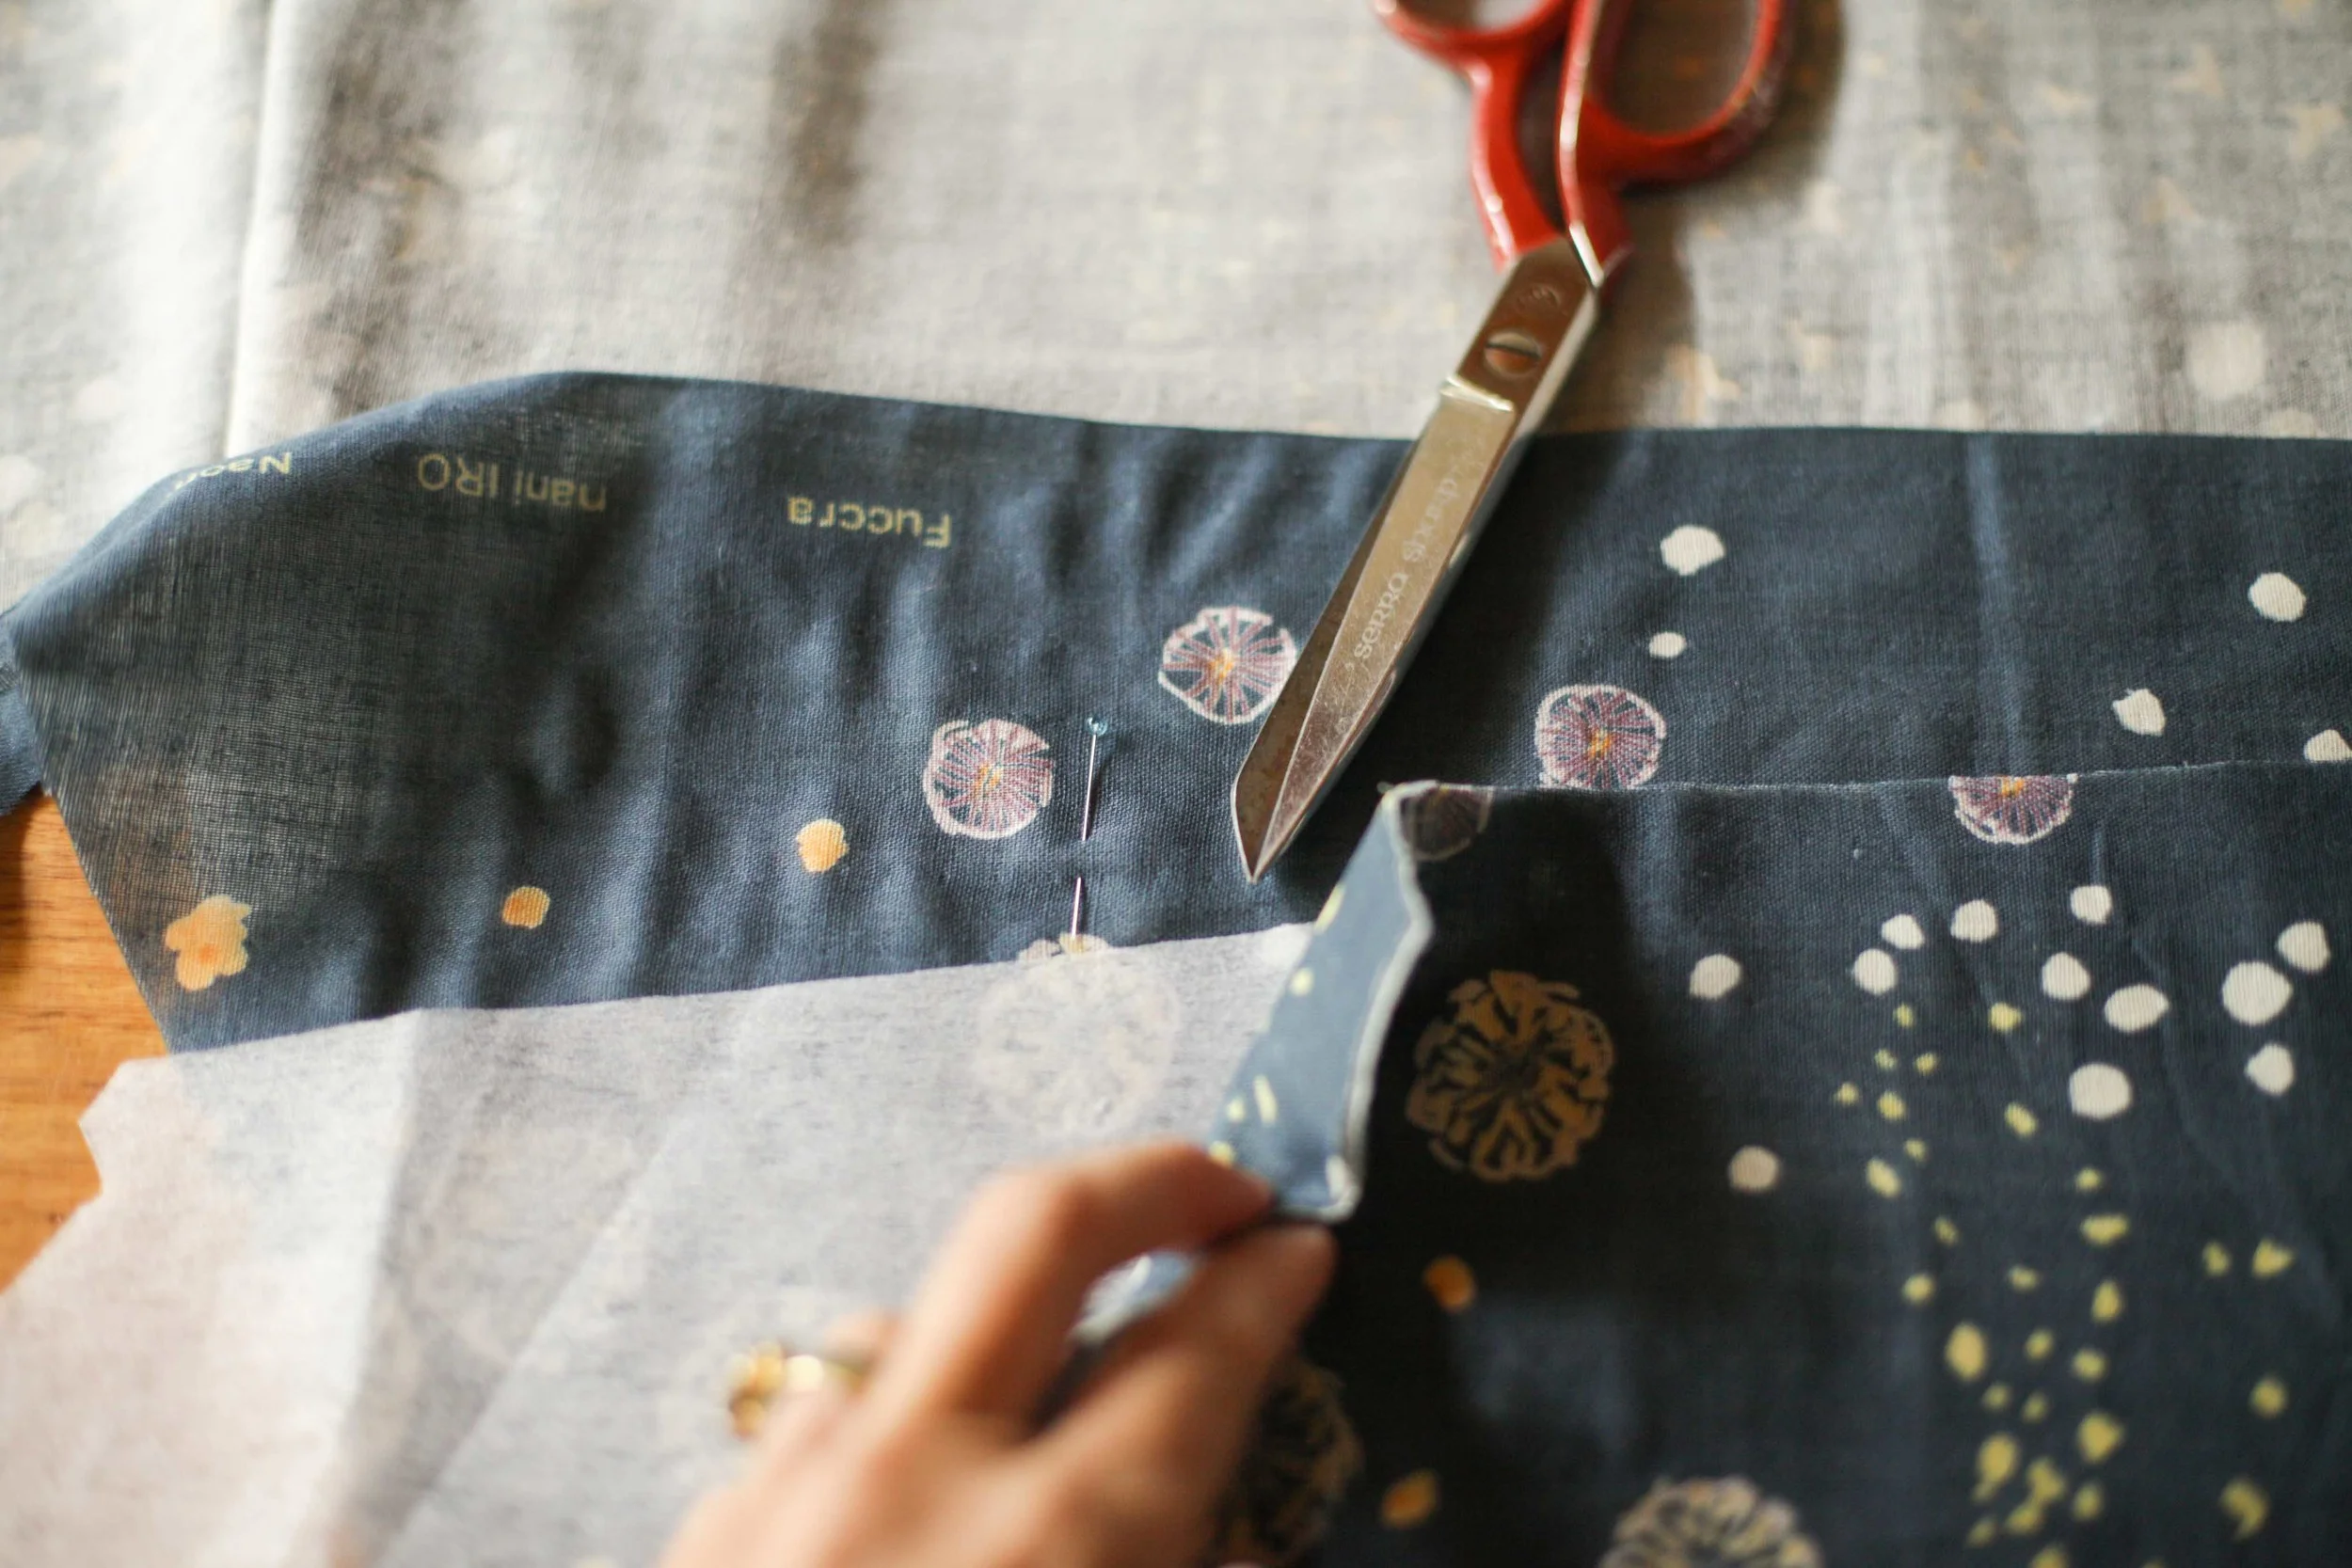
  • Finish your seams - I just used a zigzag. Nothin' fancy here.
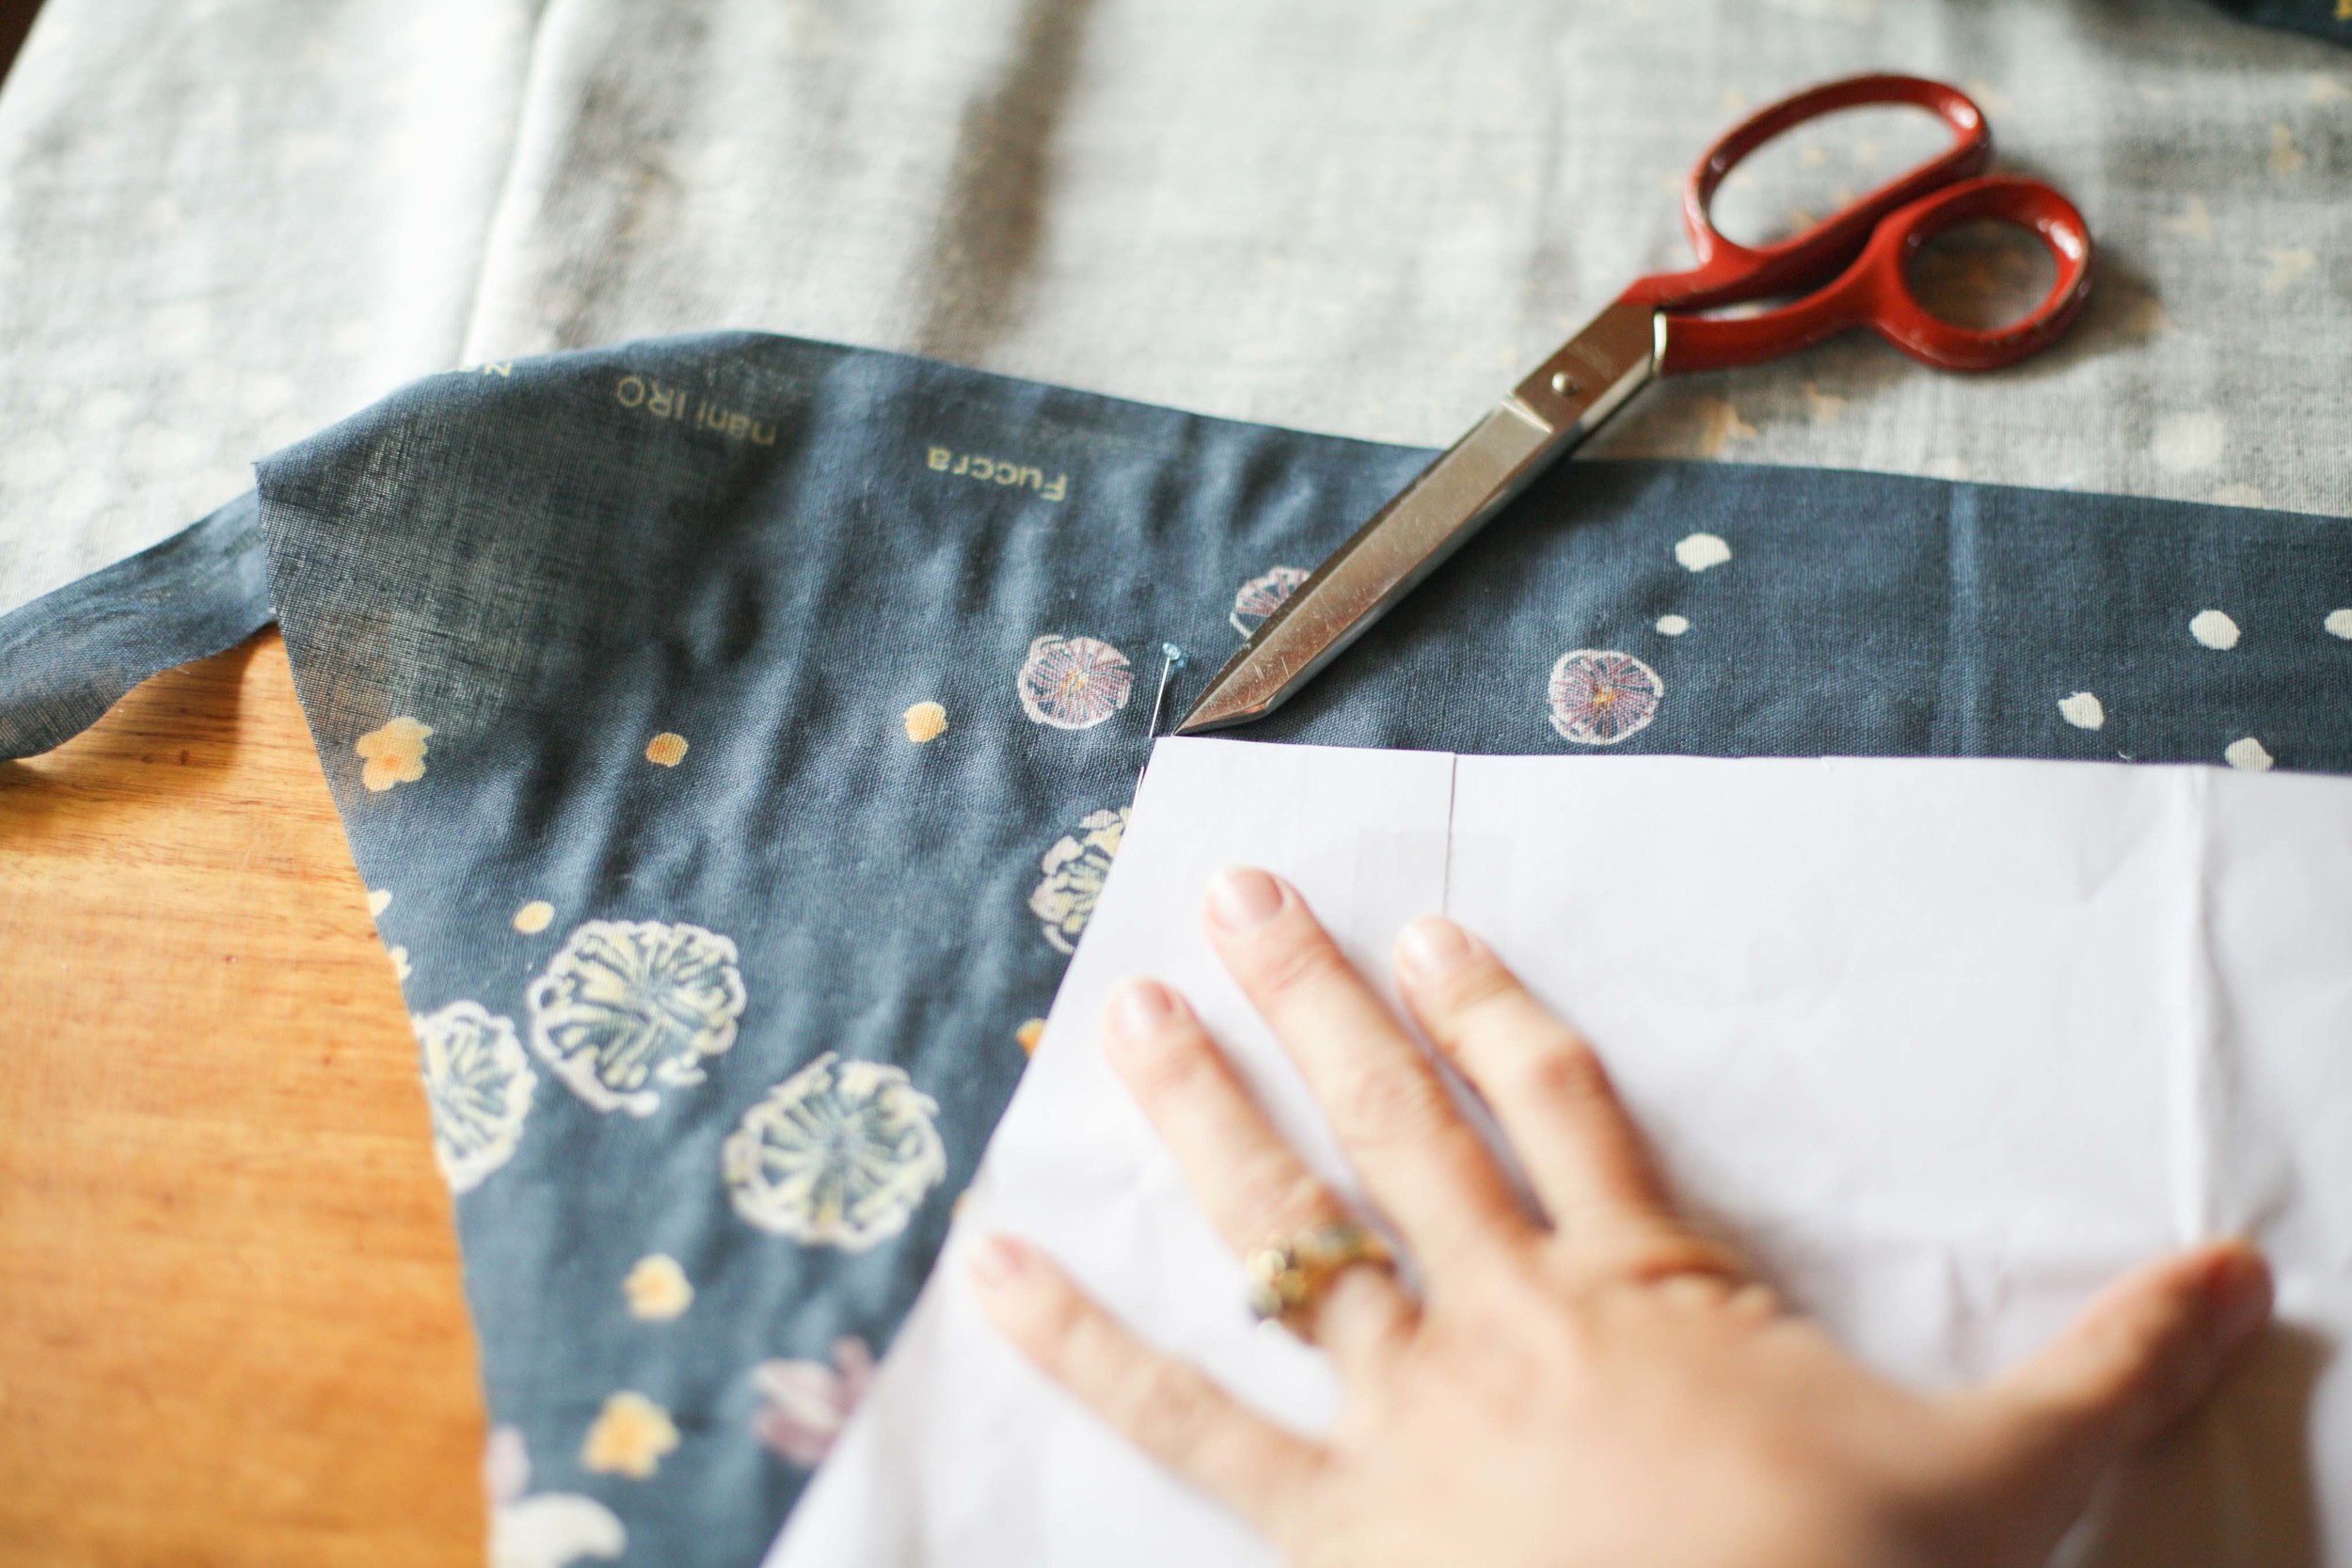
  • Hem the bottom and the sleeves using my super hem trick.
  • Bind the neck using Jenn's binding tutorial for perfect binding. 

Make a Lou Box. You know you want to!

Felicia x

In Simple Sewing 101
10 Comments

Simple Sewing 101 - Part 5 - Alterations #2

August 7, 2015 thecraftsessions
Fabric is Liberty Tana Lawn and the pattern is the Wiksten Tank.

Fabric is Liberty Tana Lawn and the pattern is the Wiksten Tank.

So the camera is in the shop at the moment (It crazily takes nearly two months!) and the pictures aren't the best. But as I've been trying to post this for ages then I'm just going with what I have. Please note that one of the photos actually totally misrepresents what you need to do - so please read the captions. Hopefully the caption clarifies it, but ask questions if I've confused you!  What a start to a post hey...

This post is part of our Simple Sewing series and contains my two most commonly used alterations. Put very simply both these adjustments add/take fabric away at the point it needs to be added/removed without really adjusting the shape of the garment. Minor surgery to achieve a better fit. They are in the spirit of simple sewing, in that they are a simple fix, to a common problem, that works, that isn't fiddly, that you can refine over time, as your skills develop. Gotta love a comma.

I use these adjustments on the Wiksten Tank, the Grainline Scout and tunics like the dress version of the Wiksten Tank and the Wiksten Tova. 

My two most common alterations

Bottom adjustment. 

Truthfully this is known as the arse-expansion technique* and it is super simple. It is useful for frocks such as the Wiksten Tank or the Tova (which are made for hipless people?) but it is also exactly the same technique I used on my woven Hemlock to give it the swing in the hem.  

1. Measure from your shoulder down to your widest point (your widest hip point) - we will call it X. On the pattern, measure from your shoulder line to the hip length X and mark your pattern. 

2. Measure your hips and add the amount of ease you need in order for the frock to not stick to your bum and hips - in my case it is about 8 inches. I did this by measuring a tunic I liked in my wardrobe.

3. Measure the width of the pattern at the hip point on both the front and the back. Add them together before taking away four times the seam allowance - normally this is something like 2" (  4 x 0.5").

4. Work out the difference between the width I like (Measured in point 2.) and the pattern width (Measured in point 3.) - and divide it by 4. For me it is about 6" so 6/4 = 1.5" that I need to add. 

5. Cut out the shoulder and armhole of the pattern as it is. Stop cutting at the bottom of the armhole. Don't cut out the sides or hem.

Cut out the neckline and then the armhole. Stop cutting at the "cut out to here" point. This pattern drawing is the representation of the front of a tank like the Wiksten Tank. 

Cut out the neckline and then the armhole. Stop cutting at the "cut out to here" point. This pattern drawing is the representation of the front of a tank like the Wiksten Tank. 

6. Holding the armhole point of the pattern in place on top of the fabric, pivot the hemline of the pattern away from the fold line of fabric. Keep tilting at the hip level until the pattern piece is the correct distance away from the fold - the distance you determined in point 4. In my example I pivot to leave 1.5" between the fold and the pattern piece. Note. The photo below shows the wrong pivot point. 

This PICTURE IS WRONG but all I have to show what I mean. You actually hold the point at the armhole called "cut out to here" in place and tilt from there. I will update the photo soon. The aim is to have the 1/4 of the width of your desired hip (pl…

This PICTURE IS WRONG but all I have to show what I mean. You actually hold the point at the armhole called "cut out to here" in place and tilt from there. I will update the photo soon. The aim is to have the 1/4 of the width of your desired hip (plus your seam allowances) from the edge of the fabric at the hip point (shown here by the line with the arrows at the end). 

6. Repeat for the back! You might need to fiddle a bit with this if the front and the back are very different in their measurements. ie. Not divide exactly by four but add 1" to the front and 2" to the back.... I'm hoping this makes sense.

Back adjustment

This is very similar to the bottom adjustment except that it deals with a situation where the back of a top (like the Scout or the Wiksten Tank from the Sewing 101 post) is too wide or alternatively too tight. 

This happens to me on the Wiksten Tank. The sizing is such that on me, if it fits across the boob then the back is too wide. By making this a few times I had a couple of muslins. I could see that I had about 1.5 inches of fabric more than I needed. I did this by pinching it out in the back of my neck while I had it on. 

A word of warning: You need to trial this and probably start small. For the tank shown i the photo at the start of the post I went too far with the back adjustment. It then didn't cover my bra strap and pulled in around the shoulders. 

Fixing it simply involves a single step.

1. Tilt the pattern of the back of the neck so that the pattern sits about 3/4 of an inch over the fold. It is really simple. The only thing you need to ensure is that although you have tilted the pattern piece that you cut the neckline at 90 degrees to the fabric for an inch or two before you start cutting to the edge of the pattern. You may need to fiddle with this a little - make a (wearable) muslin.

Shows the pattern sitting on the fabric as you would normally cut it. Don't!!

Shows the pattern sitting on the fabric as you would normally cut it. Don't!!

Tilt so that the pattern sits over the crease. Tilt from the bottom point where the hem of the back meets the fold of the fabric. Smaller alterations are better to start with as you will change the shape of the garment. Make sure you cut t…

Tilt so that the pattern sits over the crease. Tilt from the bottom point where the hem of the back meets the fold of the fabric. Smaller alterations are better to start with as you will change the shape of the garment. Make sure you cut the fabric at the neckline at 90 degrees from the fold to ensure you don't get a little V. 

You can also use the same trick to add a little more fabric - just tilt the pattern in the other direction! 

As always - my little disclaimer - this is Simple Sewing 101 and not proper dressmaking. 

Fel

*In the circles I run in.

In Simple Sewing 101
13 Comments

Around the traps - Simple Sewing 101

July 1, 2015 thecraftsessions

Alrighty then Simple Sewers. I haven't had enough wifi or computer time to do the next alterations post but I did want to show you some pretty pictures from a few weeks ago that I took of my friend Christine wearing a couple of her Simple Sewing 101 - Tops. In the photo above she is wearing her Alice Top which is Step 4 in the post and then in the photo below she is wearing a gorgeous version of the Califaye Basics Tank which is an alternative to the Wiksten Tank which was Step 2. You can get all the details (and loads more gorgeous photos) from the post on her blog about them. 

What is winding me up as I'm writing this is that I really want to try the Cali Faye Tank - and rather than buying the pattern, piecing it together, cutting it out and then trying it on, I could have just tried Christine's on..... rid-ic-ulous that I'm only realising this now. We had the whole weekend together!


Other Simple Sewing 101 superstars you should check out are my lovely friend Karen on Instagram who has been sewing up a storm - a few weeks ago she made the Cali Faye Tank as well as some gorgeous Nani Iro and Linen numbers I know you lot will love.

And while you are wandering the halls of instagram you could also have a look at the other tops with the instagram hastag #simplesewing101. There are so many alterations popping up like this gorgeous number! Or this. Or this.

Hopefully they have inspired you to whip out your scissors and get sewing? 

Felicia x

In Around The Traps, Simple Sewing 101, Inspiration
Comment

A Me Made May Roundup

June 12, 2015 thecraftsessions

Me Made May has wrapped up for the year and personally I am calling it a big success. Consciousness was raised!I I really loved participating in it, but more than that I loved sticky-beaking at other peoples wardrobes via the ever wonderful instagram hastags #mmmay15 and #memademay. Totally inspiring - and showing that handmade can easily be everyday. 

I wrote about my participation in Me Made May in this post. My pledge was simply to wear handmade everyday; as I wear homemade nearly everyday anyway I didn't think it was going to be any big deal. And really it wasn't. I took it a tiny step further, in that I aimed to wear my whole handmade wardrobe. I didn't quite wear everything as there were a few summer things that weren't weather appropriate but I tried. I didn't have a total repeat until Day 23 - which means that I was right in my post the other day when I talked about the idea of "enough". I'm there*. 

The thing was, I wasn't entirely sure what I was going to get out of it. I hoped for some awareness on what I really liked and didn't like in my wardrobe. And then maybe a little more consciousness around what I already had and more specifically, some consciousness around what I had, but didn't like. What I clarified is that over the last 2/3/4 years I have slowly but surely developed a wardrobe I really love. A handmade wardrobe that I wear nearly everyday without thinking about it. That fits my life and makes me feel good. 

FelicaSemple-3.jpg
Day 1 through to Day 9.

Day 1 through to Day 9.


That said I also discovered a few other things

1. I have few things I don't like and therefore don't wear. For each the things I don't like there is a very simple fix - I've been being lazy. I'll get to them when I get home in July. 

2. I discovered there were some holes in my wardrobe, that became clearer through the wearing.

a. I have a huge jacket sized hole. When I return to Australia the Morris is going to be tackled and won, before my kids have recovered from their jetlag*. 

b. I love frocks. Love them. Just peruse my pinterest board and you will find a wealth of frocks. In reality I only have two that I own and wear. Fixing this hole is my sewing goal over the next year or so. I aim to hunt down and perfect some frock patterns that fit and make me feel the joy. I have two ready-to-wear frocks I love, so I am thinking I might be doing some copying, in terms of size, shape and fit. I know I have been avoiding this as it seems easier to just bang out a top than to make a frock. This is a declaration of intent lovely people!!!

c. Some of my clothes are getting a little thin - like my favourite Liberty tank dress - and will need to be replaced over the next year. 

Day 10 through Day 21.

Day 10 through Day 21.

3. I also discovered something (quite liberating) about my handmade wardrobe limits!
When I was looking at the "bottoms" section of my wardrobe I realised that I had only one or two handmade garments and they annoyed me.  I am a classic pear with a set of rounded saddlebag bits on my outer thighs. That make pants/skirts trickier to fit and so I would much rather be able to try the thing on as a finished garment. The idea of fiddling with a pattern to get something to fit without being even 20% sure I would get something wearable at the end is not at all appealing. My heart feels constricted at the mere idea of looking for a pattern.

So my realisation?? - That in making my handmade wardrobe I do not want to make pants or even really skirts. In the future I might have the brainspace but I currently don't have it in me to fiddle with the fit. And so I am just going to cross that whole category off my sewing list. Letting go = happy days. 

Day 22 through Day 31

Day 22 through Day 31

All details for all patterns etc are on instagram. If you don't have an instagram account then go to http://instagram.com/thecraftsessions - just click on the individual photos for the details. 

I'd love to hear what you learned, and what you loved, from this year's Me Made May.

Felicia x

*Last time it took those little tigers 6 nights. SIX nights before they were sleeping between the hours of 12pm and 4am. This time I might need to resort to herbal sleeping remedies?

In Inspiration, Thoughts On Craft, Simple Sewing 101
11 Comments

Simple Sewing 101 - Part 5 - The Mashup.

June 3, 2015 thecraftsessions


So I forgot to post yesterday. Blame the time zone thing or the fact I'm on holiday. My apologies!

So let's get to it. Many of my pattern alterations are mashups. I like the top of one pattern but the hemline of another. Or the neckline of one and the shoulder of another. Because I'm not a pattern drafter, I generally leave that stuff up to those that are, and so I pinch the bits I like from different patterns.

Where do I do the alteration?

I often create the pattern for the mashup while drafting the pattern onto the interfacing - by this I mean that I trace the parts of the mashup onto my pattern interfacing to create a new mashup pattern. Generally I use patterns that I have already previously made but I also sometimes just use my measurements (we talked about this in Simple Sewing 101 - Part 4).

For example for today's pattern I would trace the neckline and shoulder line of the Hemlock, and the hemline of the Wiksten Tank along with an altered side seam, onto my interfacing . The reason for doing this is that when I come back to use the pattern the next time I can recreate it exactly. 

That is not what I did here. Partly because I was being lazy. But it turns out this was a brilliant move on my part, in terms of this "tutorial", in that it means when we are looking at the photos we can clearly see what's what.

Which bits do I not fiddle with?

Generally I don't fiddle with the fit of the shoulders if a garment has sleeves. Getting the fit of a shoulder right is a super tricky thing and not something I know how to mess with. And getting the fit of the shoulder right is the one of the keys to a good looking top.

I will alter a neckline, a side seam, the amount of fabric something has in the back of a neck, the width of the straps of a tank, and hemlines. I love to alter hemlines.  And necklines - practically all of my Scouts have altered necklines. 

Woven Hemlock Tee/Wiksten Tank MASHUPS

So here is the mashup. Super simple but it has resulted in two of my favourite, most wearable tops. Simple to make, joyful to wear. Can't beat that.

The Hemlock Tee pattern is the paper pattern. The Wiksten Tank pattern is the pattern on interfacing.

The difference between a woven Hemlock and this mashup pattern is simply that I used the hemline of the Wiksten Tank as my hemline. As the tank hemline is about three cm wider at the bottom than the Hemlock then the new pattern has more of a swing shape to it. This is made easy by the fact the Hemlock actually has no armhole to contend with (the pattern side is just straight) so I simply cut a the side seam line from the outside shoulder edge to the hemline edge. 

The other thing that I needed to do with this pattern in order to get a good fit is to alter the sleeve ever so slightly. This pattern is written for knit fabrics which have a lot of stretch and as such the sleeves are meant to be fitted. In the check version above I cut the sleeves on the bias which gave them stretch as woven fabrics often have stretch inherent in the bias of the fabric. In the floral version I needed to cut the sleeves with a little more width so they didn't make the arms stiff. I describe how I did that below also.

This whole thing is best described in pictures so here goes. 

Step 1. In this picture you can see the Hemlock pattern (ignore the markings on the paper - I used scrap paper) which is the paper pattern, and laying on top you can see the Wiksten Tank pattern which is the interfacing one. The interfacing one is scrunched up on top of the paper one to give you an idea of my plan.

I measured from the shoulder seam next to the neck, down to the hemline using the measurements I know I like for the length of a top. I made sure to include my seam allowances - 1/2" for the shoulder and then 5/8" for the hemline - into this length. I got this right this time but often I will get it approximately (making it a little longer rather than shorter) and adjust while I am making it.

Step 2. The first cut I made was the neckline of the Hemlock Tee. The pattern piece was held on the fold. My scissors need sharpening which is why the cut is jaggedy.

FelicaSemple-3.jpg

Step 3. I then cut the shoulder seam line to the corner. I don't muck with the shoulder line!

Step 4. I then cut the hemline of the Wiksten Tank pattern piece knowing the right position to put it in as measured in Step 1. 

This just shows you the cuts made so far. The neckline, the shoulder seam and the hem.

This just shows you the cuts made so far. The neckline, the shoulder seam and the hem.

FelicaSemple-6.jpg

Step 5. Holding the outer shoulder seam point in place, I pivot my pattern piece so that it creates a straight line between where the Wiksten Tank hemline outer edge is. I create a straight line as I am effectively following the style of the Hemlock Tee pattern here because it is where I am getting my shoulder line from. 

Note: If this pattern had an armhole I would cut the armhole out first and then pivot from the bottom of the armhole. What I did for this mashup creates a top with more swing AND more fabric in the chest area. If I didn't want the chest area to change I would figure out where on the side seam line the shoulder finished (problem around the letter P in POCKET on the pattern above) and pivot from that point. 

This photo shows the front of the top cut out.

This photo shows the front of the top cut out.

Step 6. Now to cut out the back. First we need to get the length right by laying out our pattern pieces. The curve on the back hem of the Wiksten Tank is slightly different to the front, so the first thing I did was to lay the back piece of the tank down on the fabric. I then added the front piece that I had already cut out and sat it on top. This gave me the length of the side seam by matching the hem outer corners (in the top right of the photo). Mark the shoulder outer corner. You can see in the photos that the scissor tips are showing you where that is.

Step 7. The outer shoulder corner is now marked with a pin.

Step 8. Cut out the Wiksten Tank hemline before removing the pattern piece. Note the pin in place for the outer shoulder (near the tip of the scissors).

Step 9. Lay the Hemlock Tee Back pattern with the pattern edge on the fold and the outer shoulder edge meeting the pin.

Step 10. Cut out the neckline and shoulder line. Tilting the pattern piece as you did in Step 5 and finish cutting out the pattern back.

Step 11. To add width to the sleeves is simple with this pattern as there is no armhole to contend with. Instead I simply moved the pattern piece away from the fold about 1cm. Next time I would only move it about 0.5cm as these sleeves are a little sloppy. 


A couple of companies that love a mashup/alteration are Made By Rae (who is about to come out with a great simple shirt pattern called Beatrix which is similar to the Scout), Colette, Grainline and By Hand London. They have a gazillion amazing tutorials on each of their websites - using their own patterns but there is a load of good things to learn on each site regardless of whether you are using their patterns or not. I particularly love the mashups by By Hand London - it's like their patterns were made for it. 

Next up in the series we will cover my two super simple favourite alterations. They are super dodgy but I use them on practically everything I make.  

Felicia x

In Simple Sewing 101, How To
11 Comments
← Newer Posts Older Posts →

Welcome! I'm Felicia - creator of The Craft Sessions and Soul Craft Festival.

This blog aims to celebrate the connection between hand-making and our well-being.
These posts aim to foster a love of hand-making and discuss the ways domestic handcrafts elevate our everyday.

I love the contributions you make to this space via your comments and learn so much from each and every one. x

Thoughts On Craft

Simple Sewing 101

Stash Less

The RetreaT

Featured
Making Fast Fashion: Some More Of The Grey
Apr 19, 2022
Making Fast Fashion: Some More Of The Grey
Apr 19, 2022
Apr 19, 2022
Is My Making Fast Fashion?
Apr 12, 2022
Is My Making Fast Fashion?
Apr 12, 2022
Apr 12, 2022
Why Gauge Matters
Apr 5, 2022
Why Gauge Matters
Apr 5, 2022
Apr 5, 2022
Craft As Simple Mundane Forward Movement
Mar 29, 2022
Craft As Simple Mundane Forward Movement
Mar 29, 2022
Mar 29, 2022
Craft As A Virtuous Cycle*
Mar 22, 2022
Craft As A Virtuous Cycle*
Mar 22, 2022
Mar 22, 2022
Craft & The Slow Nostalgic Finish
Mar 15, 2022
Craft & The Slow Nostalgic Finish
Mar 15, 2022
Mar 15, 2022

popular posts

Craft As A Project V’s Craft As A Practice

Our Fear Of Going Back

Making Is Not Inherently Creative

Why All Crafters Need A Visual Diary

Craft As A Manifestation Of Love And Loss

Moving On From Perfectionism

The Secret To Becoming A Great Knitter!

Simple Sewing 101 - Part 1

Craft In The Middle Of Motherhood

Another #theyearofthescrap #ellenscardigan using some #oldmaidenaunt alpaca silk from many years ago. What I love about this little cardy is it’s simplicity and how little yarn it uses. Perfect for scrap knitting. I now have a little pile of ba
New blog post: Craft as elevating the mundane! I think this idea is so important. 🌿 'Making is about enriching the moments of our lives; it’s about making the mundane (and not the extraordinary) more abundant and that bit more lush…. el
Block 8/12 - I’m so excited to be back making this for my smallest for her 10th birthday. It’s a #stash_less #theyearofthescrap quilt that is based on an incredible #geesbend quilt. And it’s all scraps and precious bits and pieces.
Another #theyearofthescrap #ellenscardigan using some #oldmaidenaunt alpaca silk from many years ago. What I love about this little cardy is it’s simplicity and how little yarn it uses. Perfect for scrap knitting. I now have a little pile of ba New blog post: Craft as elevating the mundane! I think this idea is so important. 🌿 'Making is about enriching the moments of our lives; it’s about making the mundane (and not the extraordinary) more abundant and that bit more lush…. el Block 8/12 - I’m so excited to be back making this for my smallest for her 10th birthday. It’s a #stash_less #theyearofthescrap quilt that is based on an incredible #geesbend quilt. And it’s all scraps and precious bits and pieces.
The Blog Archives!
  • April 2022
  • March 2022
  • February 2022
  • December 2021
  • March 2021
  • February 2021
  • November 2020
  • July 2020
  • June 2020
  • May 2020
  • April 2020
  • March 2020
  • February 2020
  • December 2019
  • March 2019
  • February 2019
  • January 2019
  • December 2018
  • November 2018
  • October 2018
  • August 2018
  • July 2018
  • May 2018
  • April 2018
  • March 2018
  • February 2018
  • January 2018
  • December 2017
  • November 2017
  • October 2017
  • September 2017
  • August 2017
  • July 2017
  • June 2017
  • May 2017
  • April 2017
  • March 2017
  • February 2017
  • January 2017
  • November 2016
  • October 2016
  • September 2016
  • August 2016
  • July 2016
  • June 2016
  • May 2016
  • April 2016
  • March 2016
  • February 2016
  • January 2016
  • December 2015
  • November 2015
  • October 2015
  • September 2015
  • August 2015
  • July 2015
  • June 2015
  • May 2015
  • April 2015
  • March 2015
  • February 2015
  • January 2015
  • December 2014
  • November 2014
  • October 2014
  • September 2014
  • August 2014
  • July 2014
  • June 2014
  • May 2014
  • April 2014
  • March 2014
  • February 2014
  • January 2014
  • December 2013
  • November 2013
  • October 2013
  • September 2013
  • August 2013
  • July 2013
  • June 2013
Featured
Making Fast Fashion: Some More Of The Grey
Apr 19, 2022
Making Fast Fashion: Some More Of The Grey
Apr 19, 2022
Apr 19, 2022
Is My Making Fast Fashion?
Apr 12, 2022
Is My Making Fast Fashion?
Apr 12, 2022
Apr 12, 2022

We Live and work on the traditional lands of the Wurundjeri people of the Kulin nation.
We acknowledge that sovereignty was never ceded and pay our respect to elders past, present and emerging.

Copyright the Craft Sessions 2020

Logo designed by the lovely Mara of Printspace and Girling Design