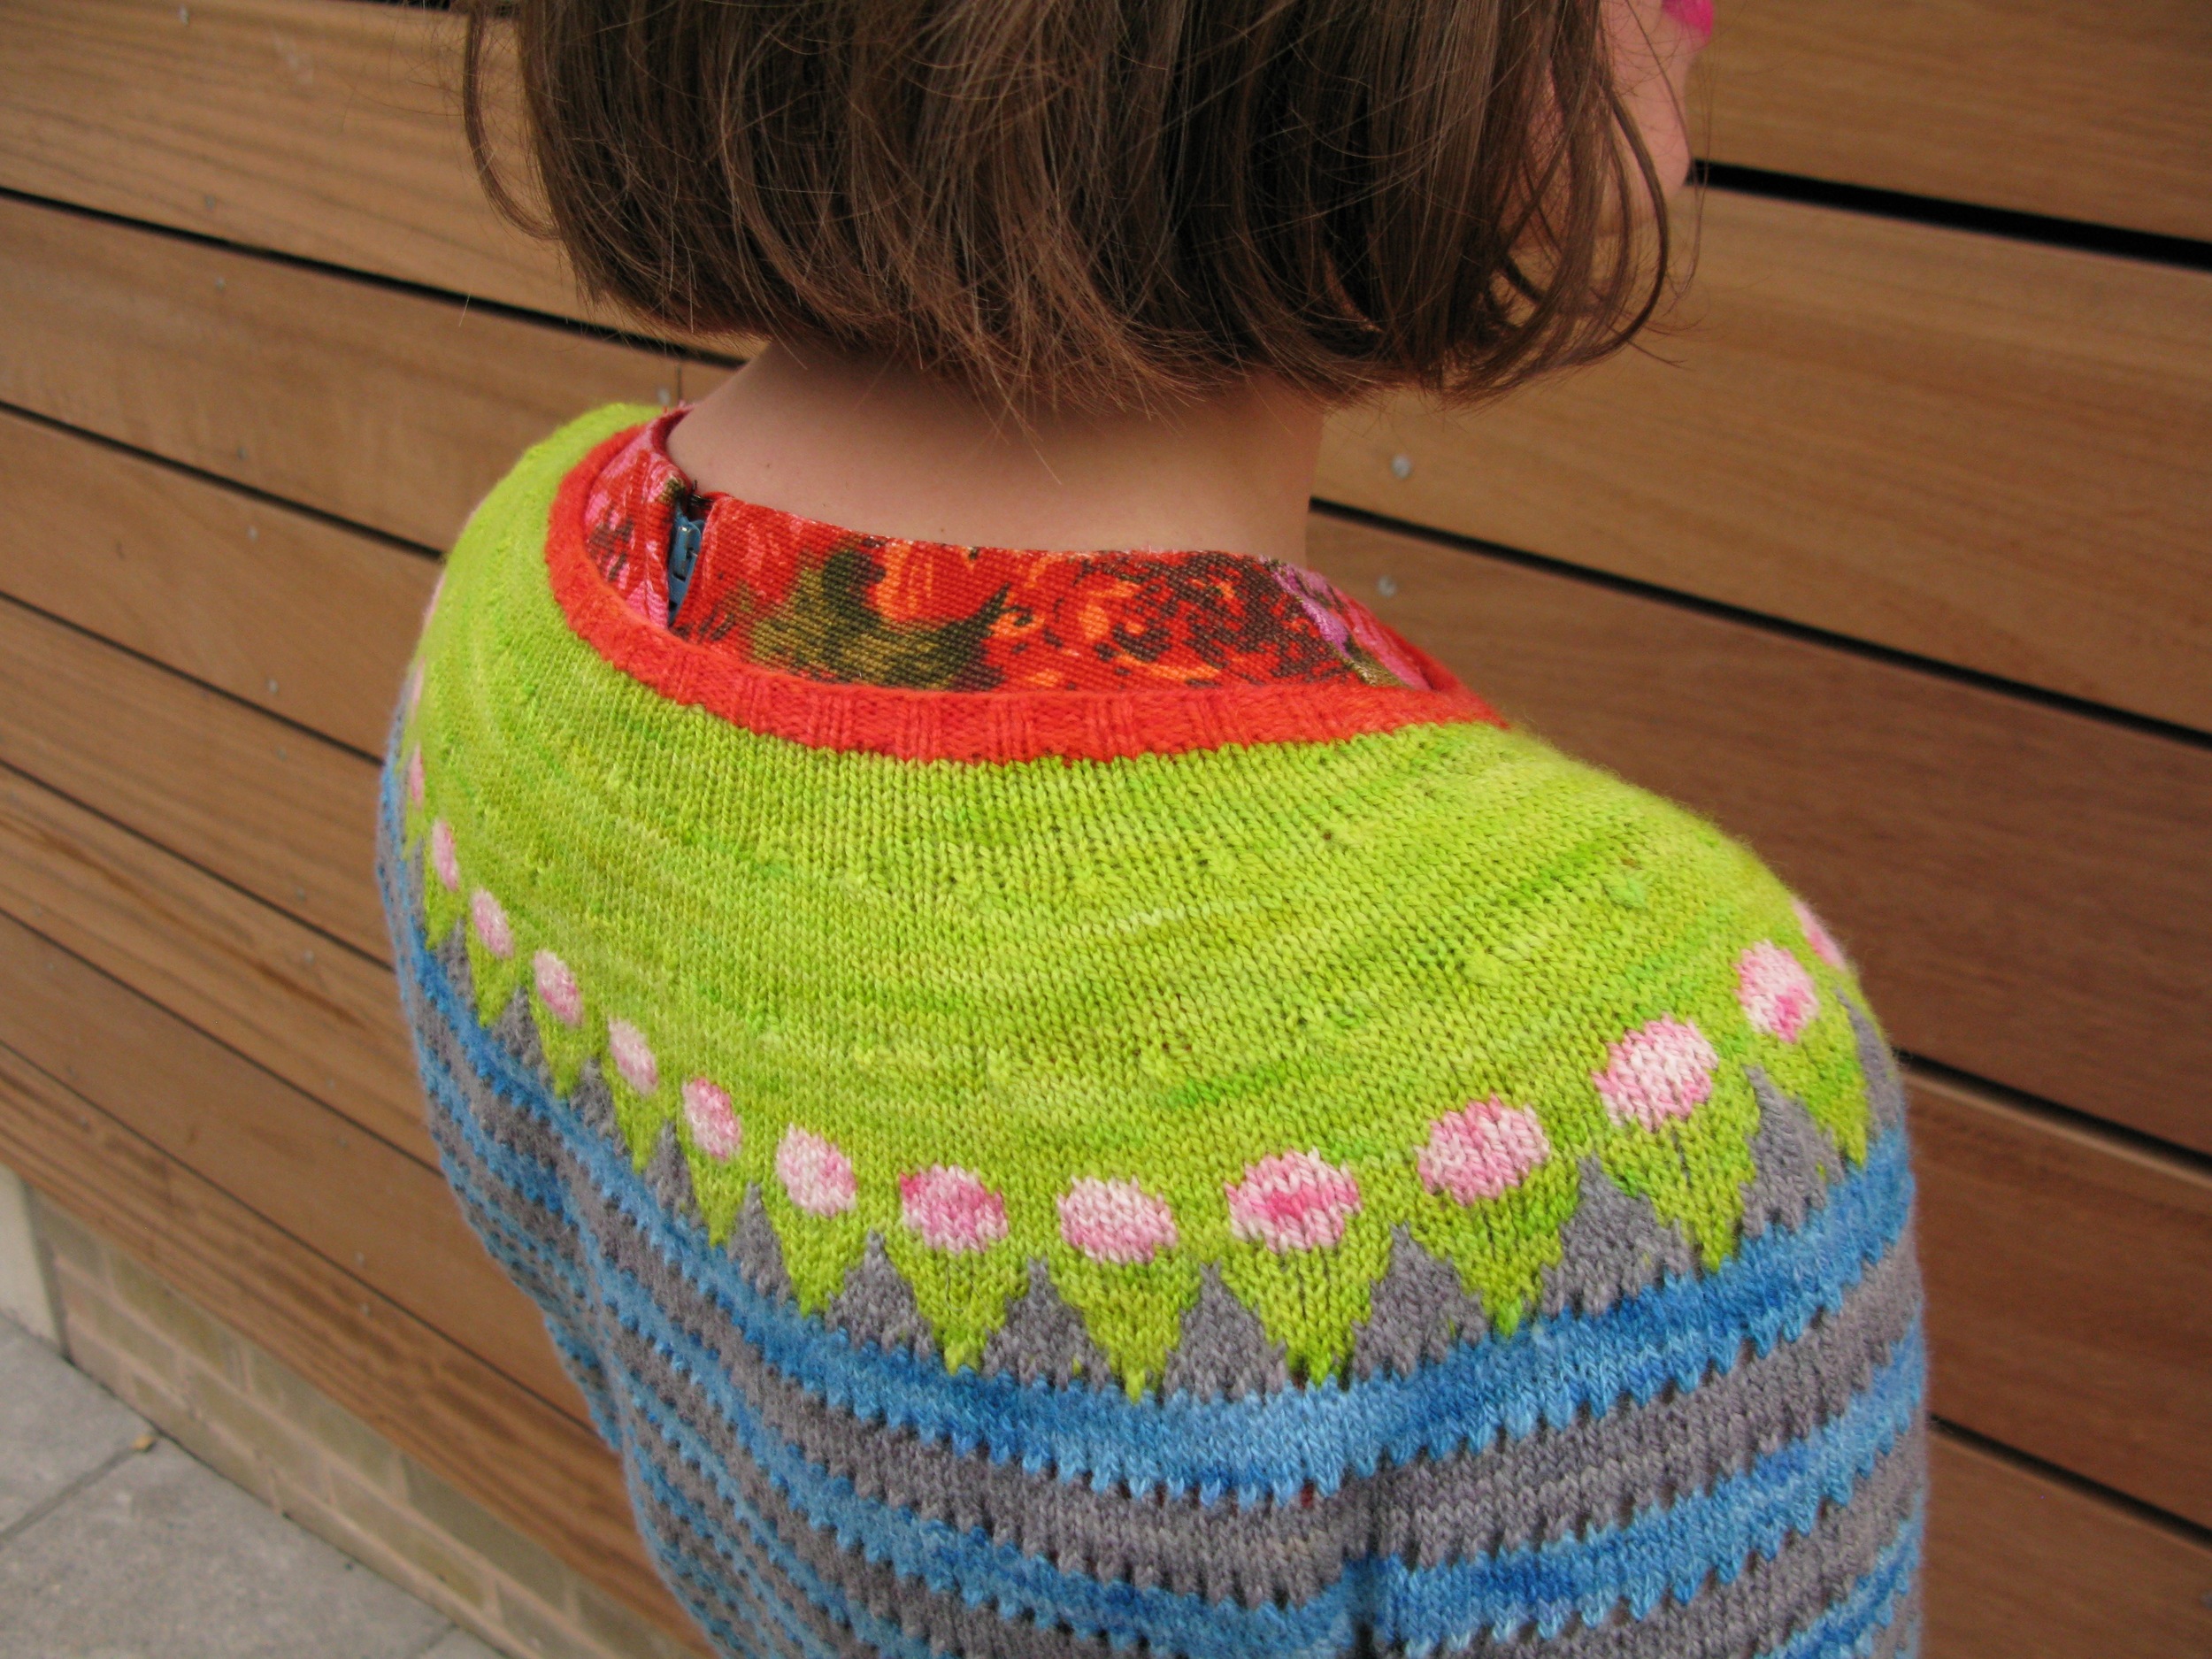
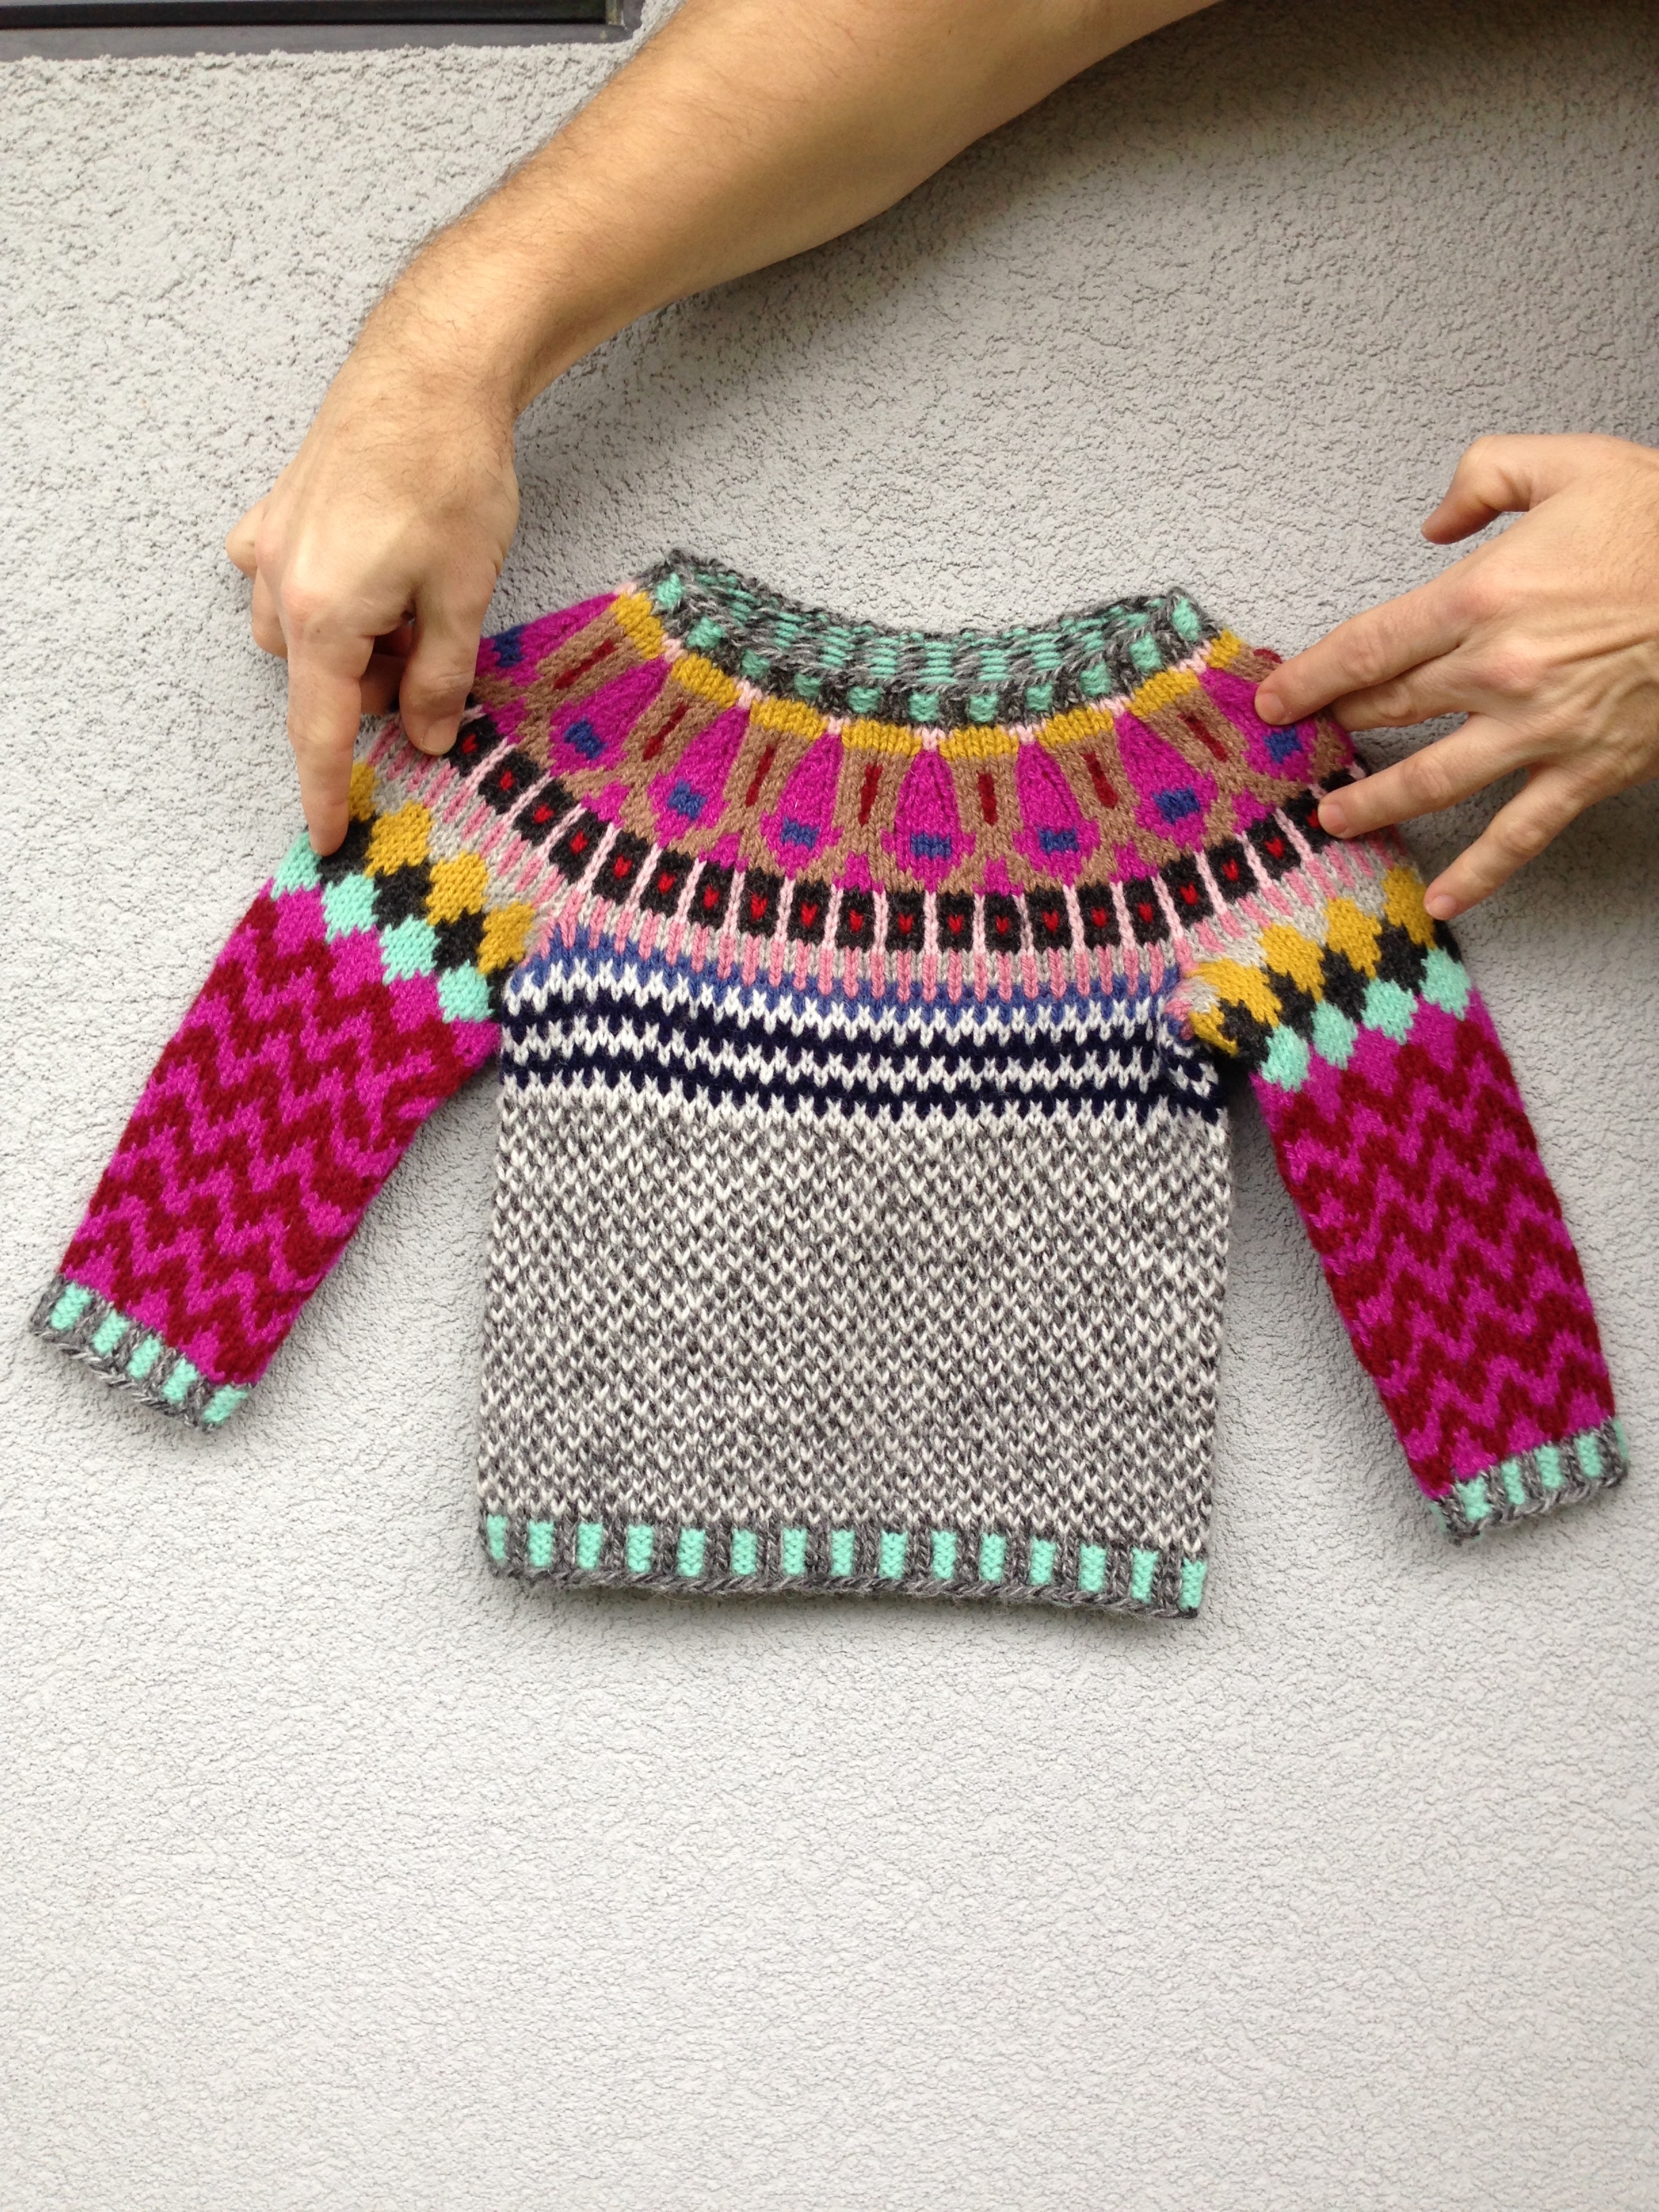
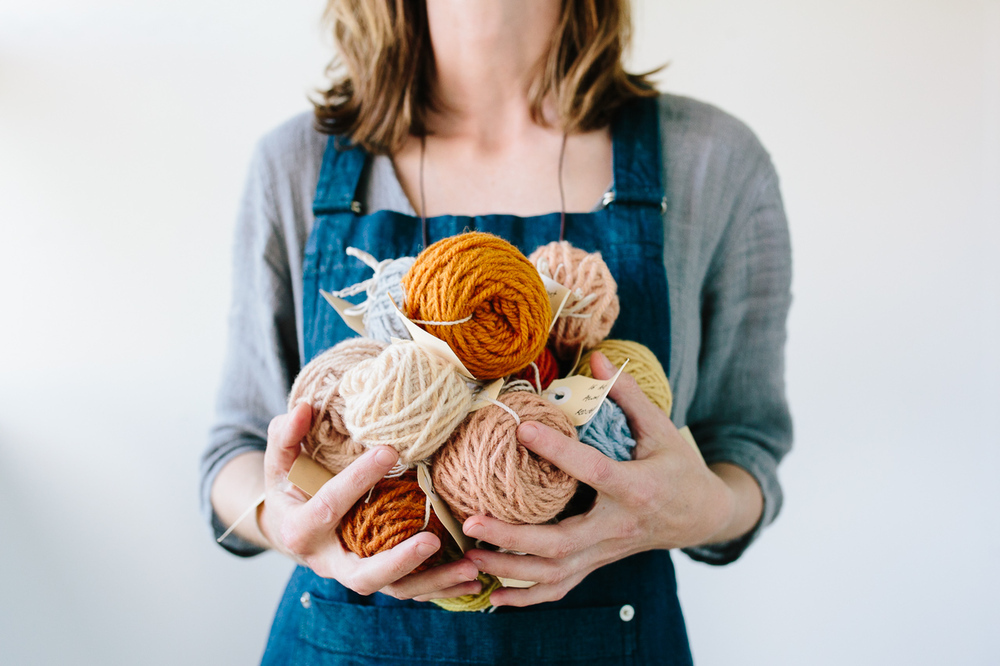
Develop confidence with top down knitting and seamless construction alongside designer Kirsten Johnstone. Using Kirsten's pattern Raiun as a base you will start to create a beautiful top down cardigan that fits and is beautifully finished.
Teacher: Kirsten Johnstone
Workshop Duration: Full Day
Description: Spend the day with Kirsten creating your own Raiun top down cardigan, learning the key elements of top down construction, and in particular, the design features of the Raiun cardigan. This cardigan is seamless, versatile and flattering. And with Kirsten's help you will start at the very beginning - taking your measurements, choosing an appropriate size, positive/negative ease and swatching. This class will take you through all you need to create a beautiful top down sweater.
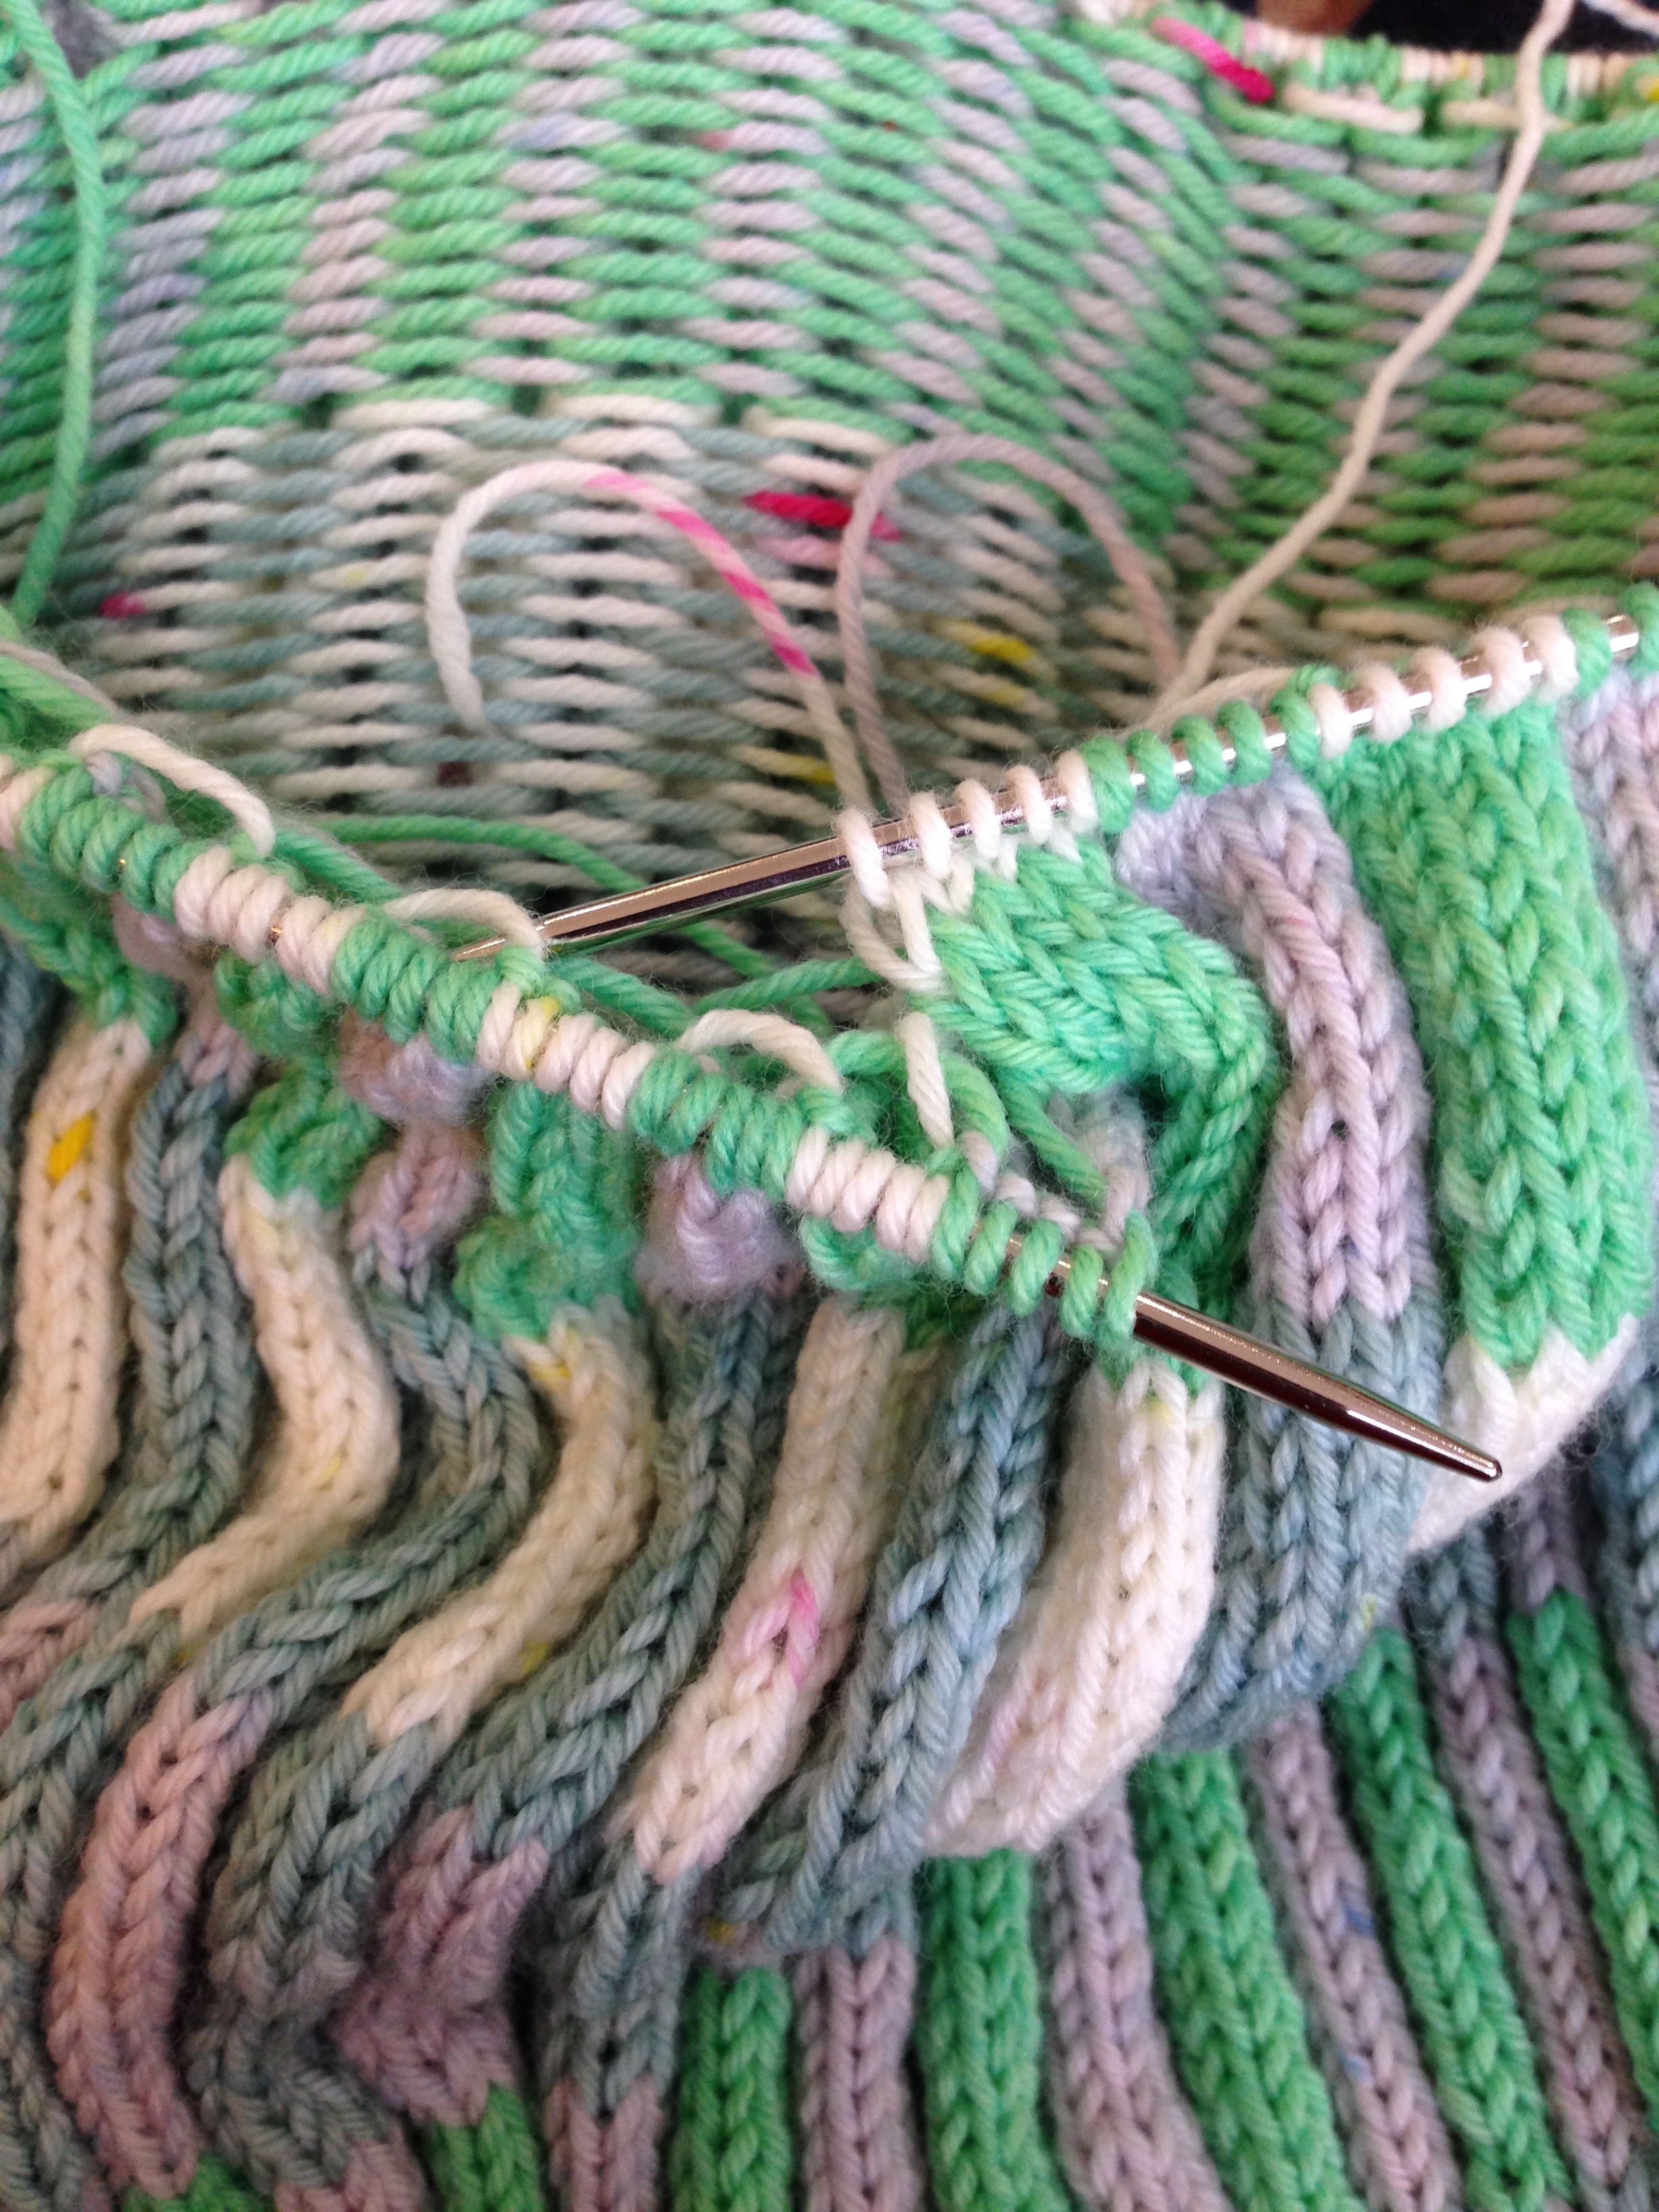
Knitting techniques include provisional crochet cast-on, ribbing, picking up stitches, raglan shaping, separating the body + sleeves in top down construction, backward loop cast-on, picking up underarm stitches for a sleeve, knitting sleeves in the round, bind off, weaving in ends.
Materials: Participants need to bring along their own yarn and tools.
Equipment/Tools:
Project Yarn - Pattern suggests Shibui Knits Staccato or 4 ply/Fingering yarn. Depending on size selected to knit, yardage varies from 5 to 8 skeins or 800 – 1330m.
You will also need:
- Tape Measure
- 4.0mm (US6) Circular Needles, length to suit work (60-100cm suggested), or needle to obtain gauge
- Stitch Markers
- 2 Large Stitch Holders
- Tapestry Needle
Participants to obtain their own copy of Raiun Cardigan Pattern from Ravelry and bring to class.
And then there is some homework - please bring the following (washed!) swatches:
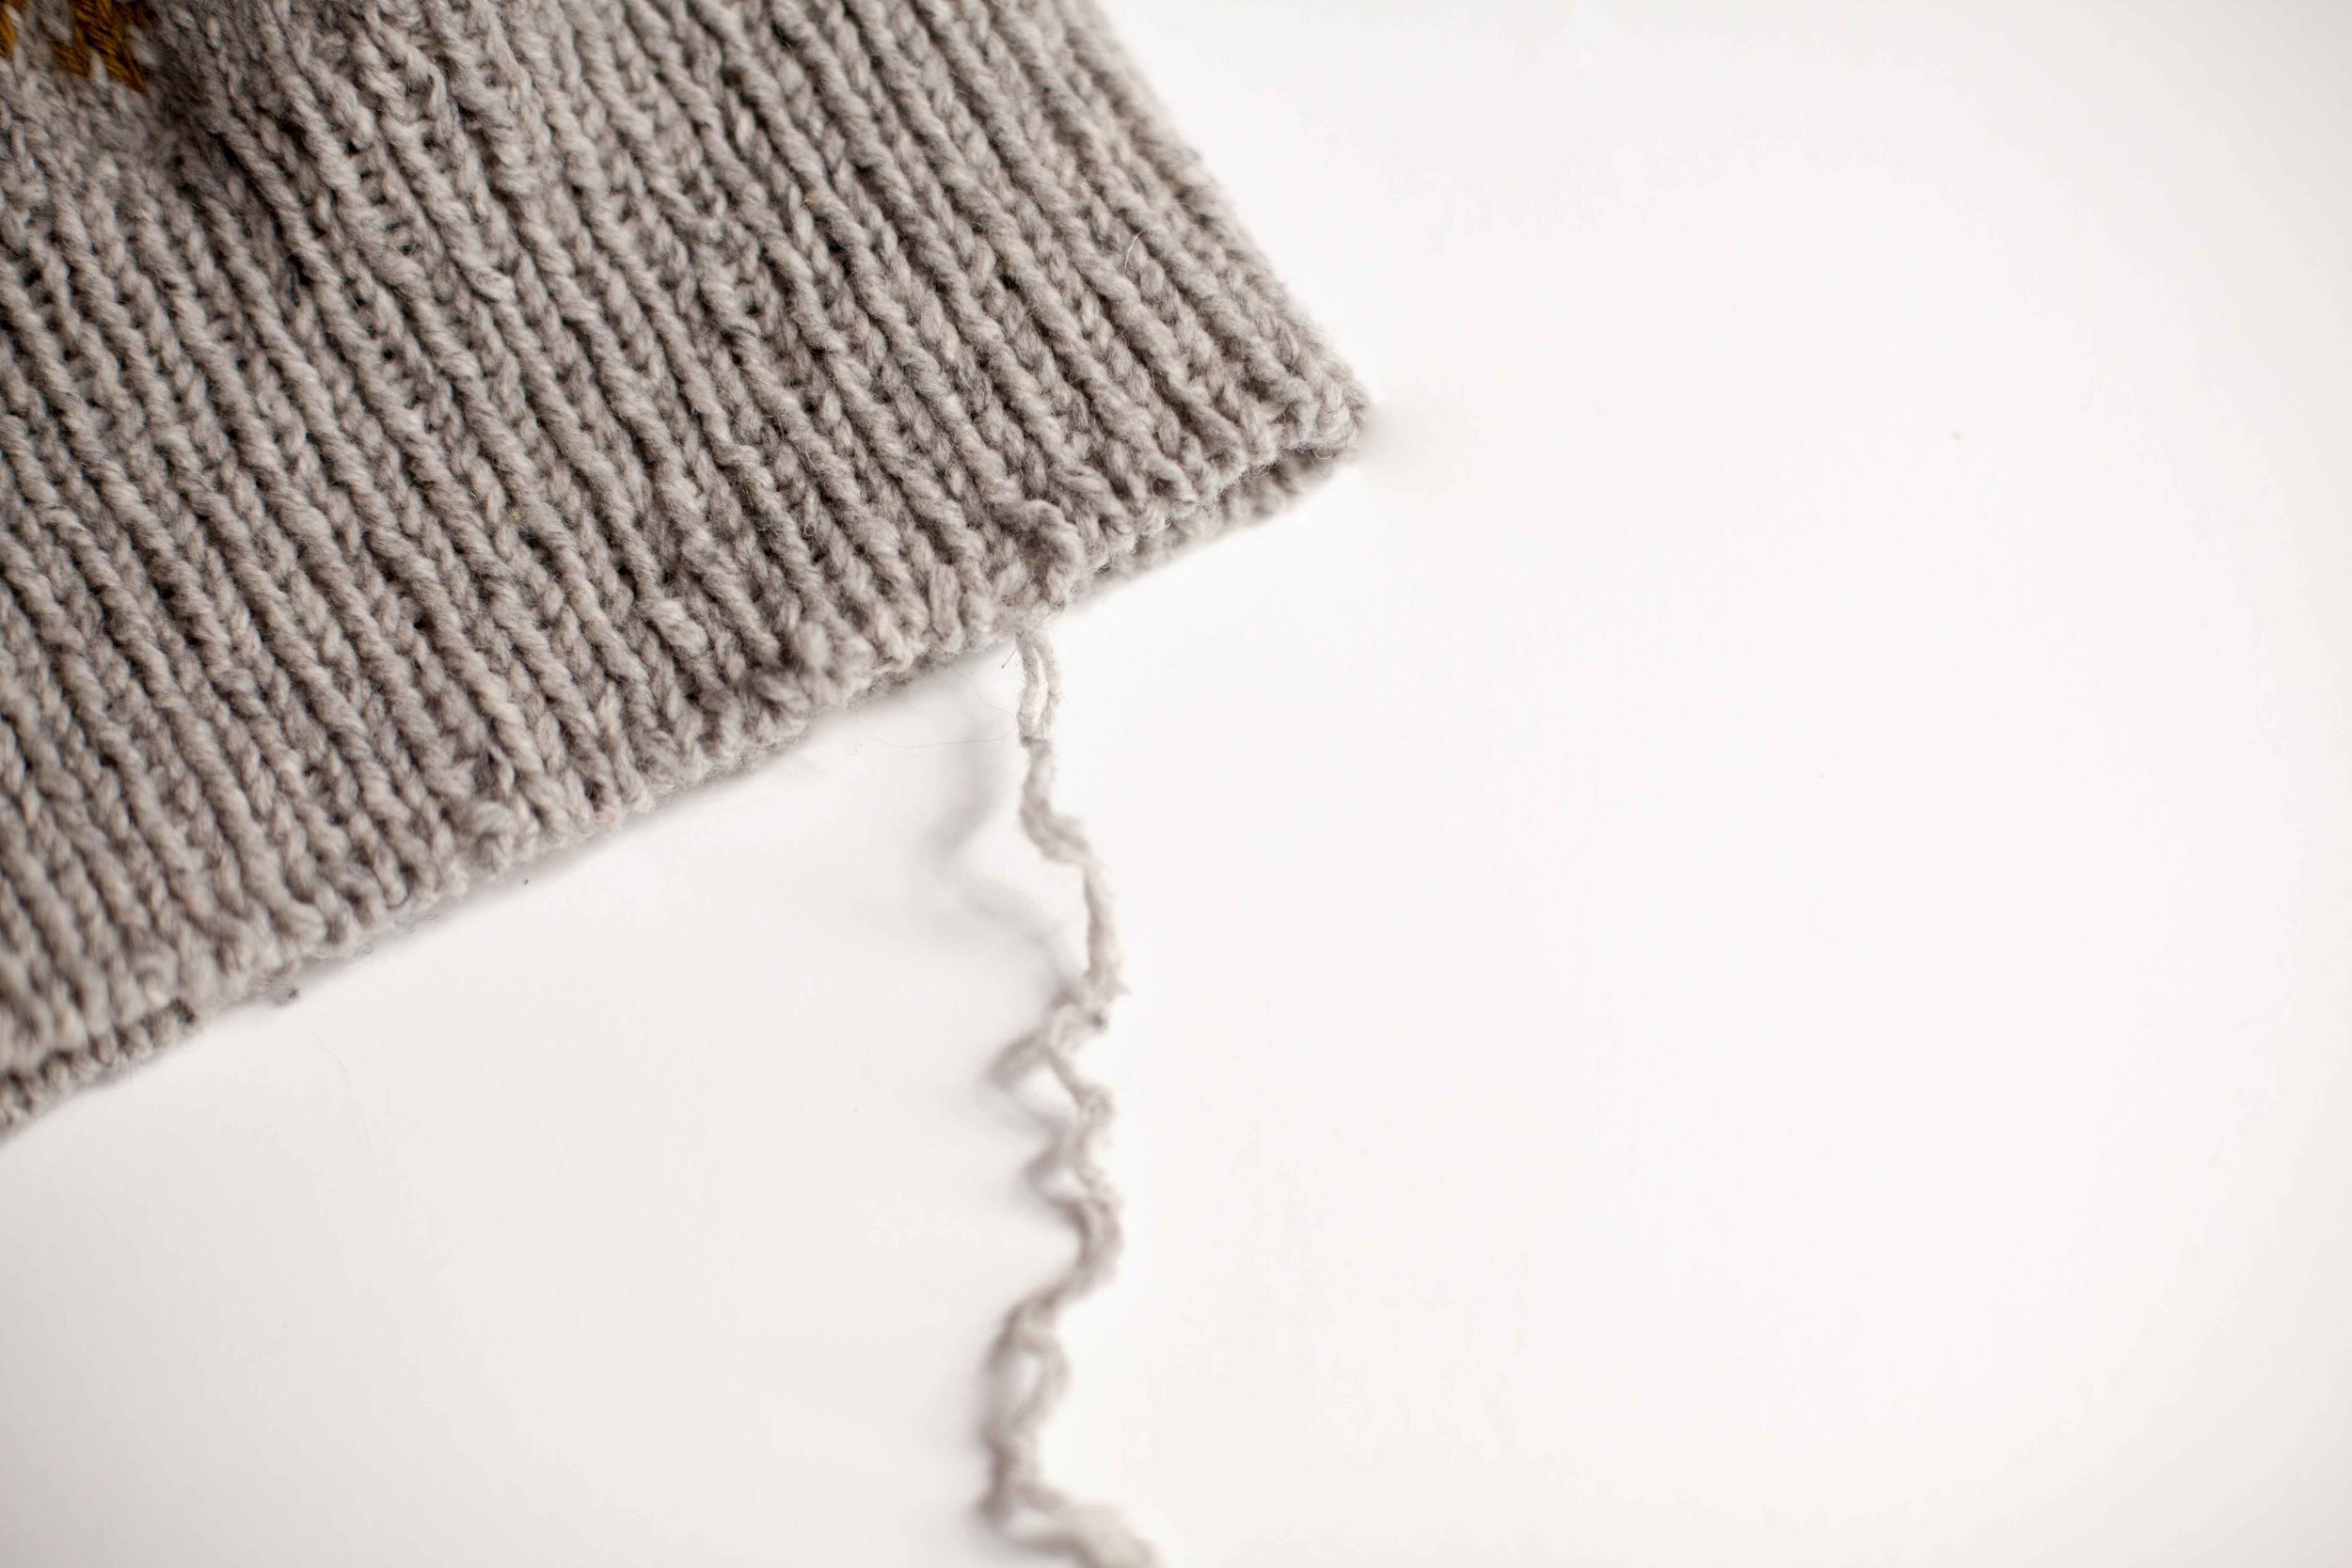
- Using your preferred yarn and needle as recommended in the pattern, a 20cm x 20cm knitted square worked in Stocking Stitch (ie 48sts x 60rows)*
- Using your preferred yarn and needle as recommended in the pattern, a 20cm x 20cm knitted square worked in 2x1 Ribbing (ie 66sts x 64rows)
Takeaway: You will takeaway confidence in understanding top down raglan construction, positive and negative ease, gauge, yarn choice and size selection, crochet provisional cast on technique and utilizing the ensuing live stitches, seamless knitting.
Level: Advanced Beginner / Intermediate Knitter – must be able to cast on + bind off, perform knit and purl stitches and 2x1 rib competently in a piece of knitting.
Helpful skills to understand prior to class include knitting with circular needles (we use them here because of the large number of live stitches being worked at once).