I Made This is a weekly blog series that features makers from around the world and aims to talk about the things we are proud of; of the objects we make that have meaning to us and the journey we take to make them.
So many of you will remember the I Was Totally Wrong About Patchwork series. I've come a long way since then - I've come as far as making my own patchwork queen size quilt after years of whole cloth work. And part of why I've come as far as I've come is because of someone I met on instagram - Carolanne Graham.

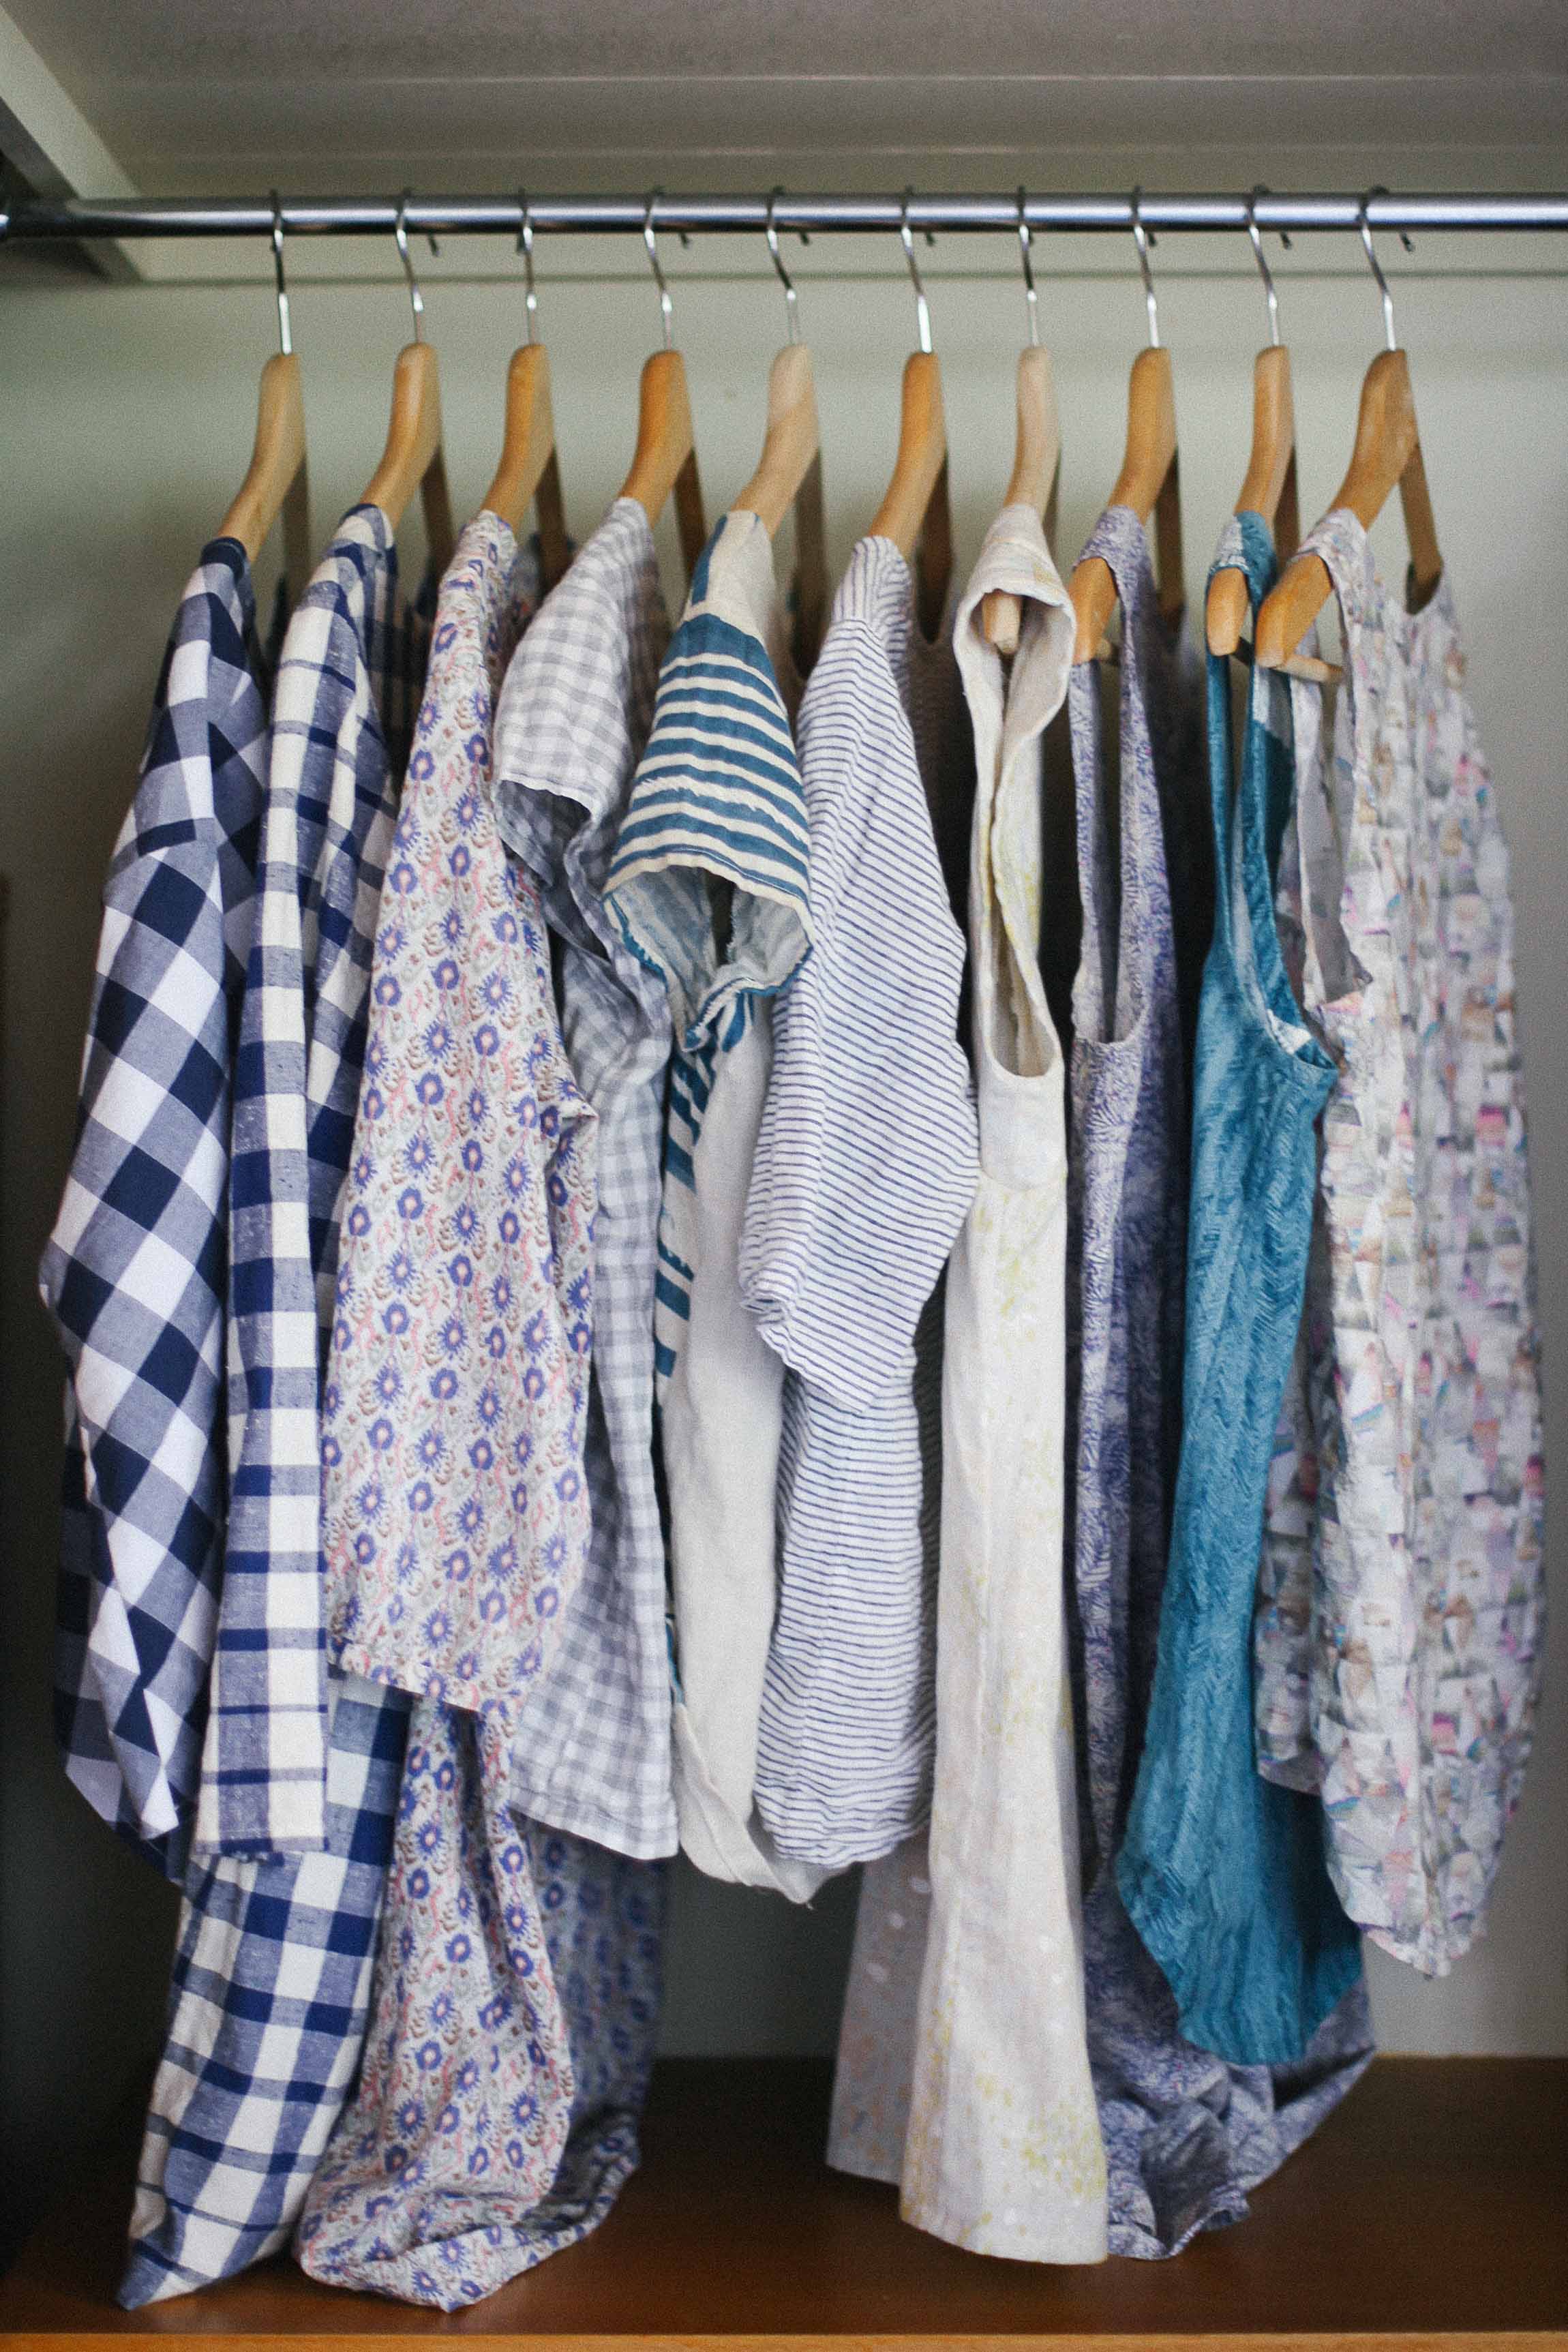
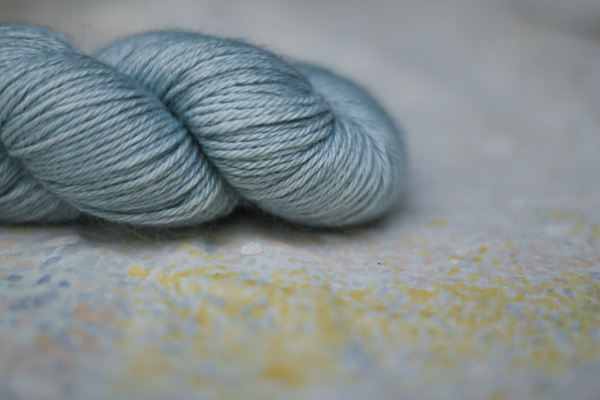
Some work from Carolanne's instagram feed.

I first found her through the feed of Lindsay Stead (who is one of the feature quilters in the patchwork post). Lindsay and Carolanne both work at the amazing Workroom in Canada. Anyway down the instagram wormhole I went and it happily lead me to Carolanne's insta feed. The work in her feed seems to have such intention and the space to become what it wants to become. I've never met her but her work really inspired me. I obsessively made my star as a direct result of seeing the star Lindsay made while taking Carolanne's star class. By obsessively, I mean the kind of making where you feed your kids toast for dinner just so you can keep making the thing. And then give them a Sparkle Story rather than reading them books. Anyway….a long intro to say that because I don't get to meet her in person, and because I don't get to go to one of her classes, I asked her to share something about her making here. And I love what she wrote. Thanks Carolanne. x
I Made This - Carolanne Graham
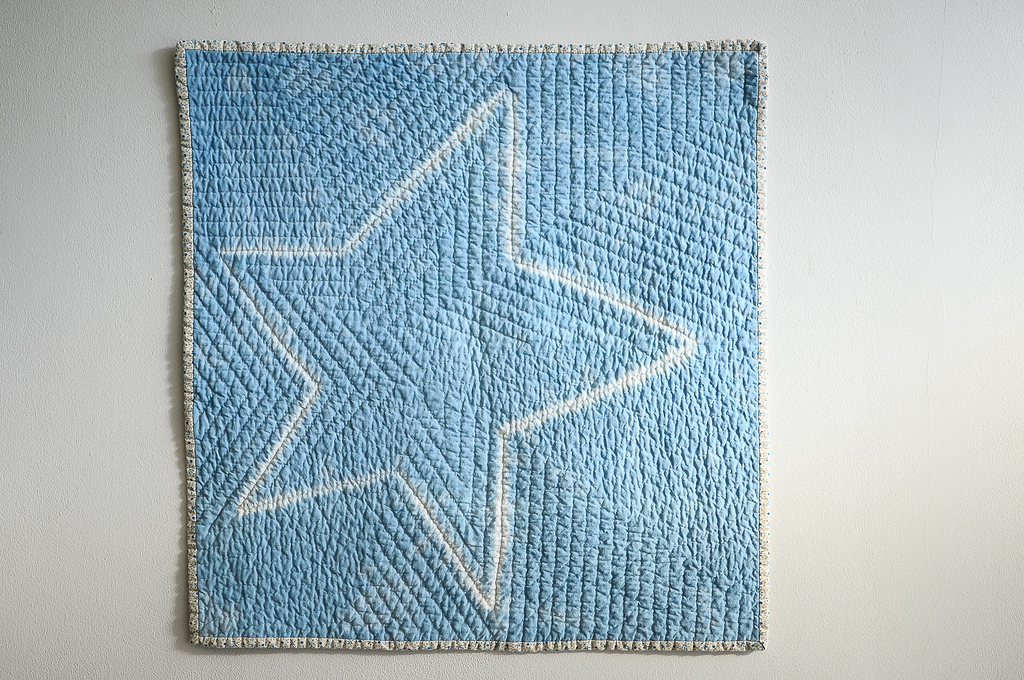
I initially described my whole cloth star as “accidentally wonderful” like so many creative endeavors. I never intended to make it as a sample, but I’ve been bringing it to classes for years and I’m delighted to know that this quilt has inspired many dyeing and whole cloth projects. It also makes a guest appearance every year under a tiny Christmas tree on my sewing table.
The cloth was dyed in the summer of 2009 in the workroom’s first natural dyeing class. I tried to stay very busy back then. Having recently finished graduate school I was dreading stagnation and questioning the copious changes I had recently made in my life.
I arrived for class late and unprepared (again). It was indigo week and I had no plan for my shibori. The week before, our instructor Julie Sinden showed us a star that she had made in art school so I told her I wanted a star too – like I had planned it all along. My classmates were tactfully impressed. But I was so disappointed that I hadn’t put thought into my piece. There were no grades to assign yet, when I had the freedom to do whatever I wanted – I had no idea what to do. I had wanted to work with natural dyes for years and when I finally had the chance, I didn’t really show up.
In the winter of 2011, I had bought my first home since the dye class and homeownership left me feeling perpetually nervous and preoccupied; like I was constantly moving, but never in the right place. I returned home from teaching an intro to handwork class, sat down to work on a project and I realized that I had left my rotary cutter and my scissors at the shop. I tried to salvage the evening by reorganizing my fabric and that’s when I found my star.

Photo by Karyn Valino.
The decision to make a whole cloth was easy because it was the only sort of sewing I was going to do that night. My star became the sort of project that you start on autopilot; when you need to sew something to get out of your own head. I marked and basted it quickly and after a few rounds of stitching, this underwhelming, flat piece of pale blue vibrated with life. Though it started in the midst of creative struggle, I added the best part of it when I was too tired to question my instinct.
I made this; out of two circumstances when I was exhausted from trying so hard. I no longer reproach myself for the shibori pattern. You make for many reasons in your life. There are times when you can’t contain your brilliance and others when it’s been nearly depleted. Taking inspiration doesn’t mean the work isn’t your own. Sometimes what you add is your love and commitment and I promise you – that’s more than enough.