• The CraftSessions Story
  • Our Past Retreats
  • Blog
  • Newsletter
  • Contact
Menu

The Craft Sessions

Street Address
City, State, Zip
Phone Number

The Craft Sessions

  • About
    • The CraftSessions Story
    • Our Past Retreats
  • Blog
  • Newsletter
  • Contact

I Made This - Christine Chitnis

November 28, 2014 thecraftsessions
Christine's favourite project is Antler by Ankestrick.

Christine's favourite project is Antler by Ankestrick.

I Made This is a weekly blog series that features makers from around the world and aims to talk about the things we are proud of; of the objects we make that have meaning to us and the journey we take to make them.

Today's I Made This is by Christine Chitnis, a writer and photographer from Providence in the US. I was lucky enough to befriend this ace woman at Squam last year through my gorgeous friend Kellen. Sitting in our cabin in the evening, and watching the care and patience with which Christine knits, was truly inspiring. I often find myself trying to race through my knitting to get something finished - but she seemed to be content to quietly and carefully knit*. I learnt something in that moment. 

I suppose I am a long-time crafter.  My love of making dates back to my youth when I first learned to sew from my mom.  I would piece together wonky doll quilts and over-sized fleece pajama pants.  I hated measuring and cutting straight lines, but loved zipping along on the sewing machines.  I have the same habits today, and my imperfect quilts still make my mom laugh.  To me, they're perfectly imperfect, just the way I like it.  I decided in middle school that I wanted to learn to knit, and since my mother didn't know how, she signed me up for lessons at the knitting shop in our small town.  I spent hours there after school, knitting with and learning from a circle of older women.  Looking back, I can't help but wonder how they viewed the awkward pre-teen in their midst.

Once I reached high school, I was fully entrenched in sports, music and academics, and for the time being, my love of crafting took a backseat.  Busy high school years led into college, where I juggled nanny work with a full time student schedule and various clubs and activities.  After college I started working straight away, six days a week in the non-profit sector, as well as evenings waitressing.  I was busy. 

Until I wasn't.

At 24, I married and moved away from my friends, my beloved city of Chicago and my work to be with my husband at his new job.  As a newlywed in a brand new town, I didn't have a clue as to what to do with myself.  I have never been good at down time, but I felt it would be a mistake to rush into the next job, not knowing what I really wanted to do with my life.  Around that time, seven years ago, blogs were becoming a "thing" and I thought I would start one, and use it to improve my writing, if nothing else.  Little did I know it would completely change my life, give me a new career as an author and photographer, and reintroduce me to my love of crafting and making. 

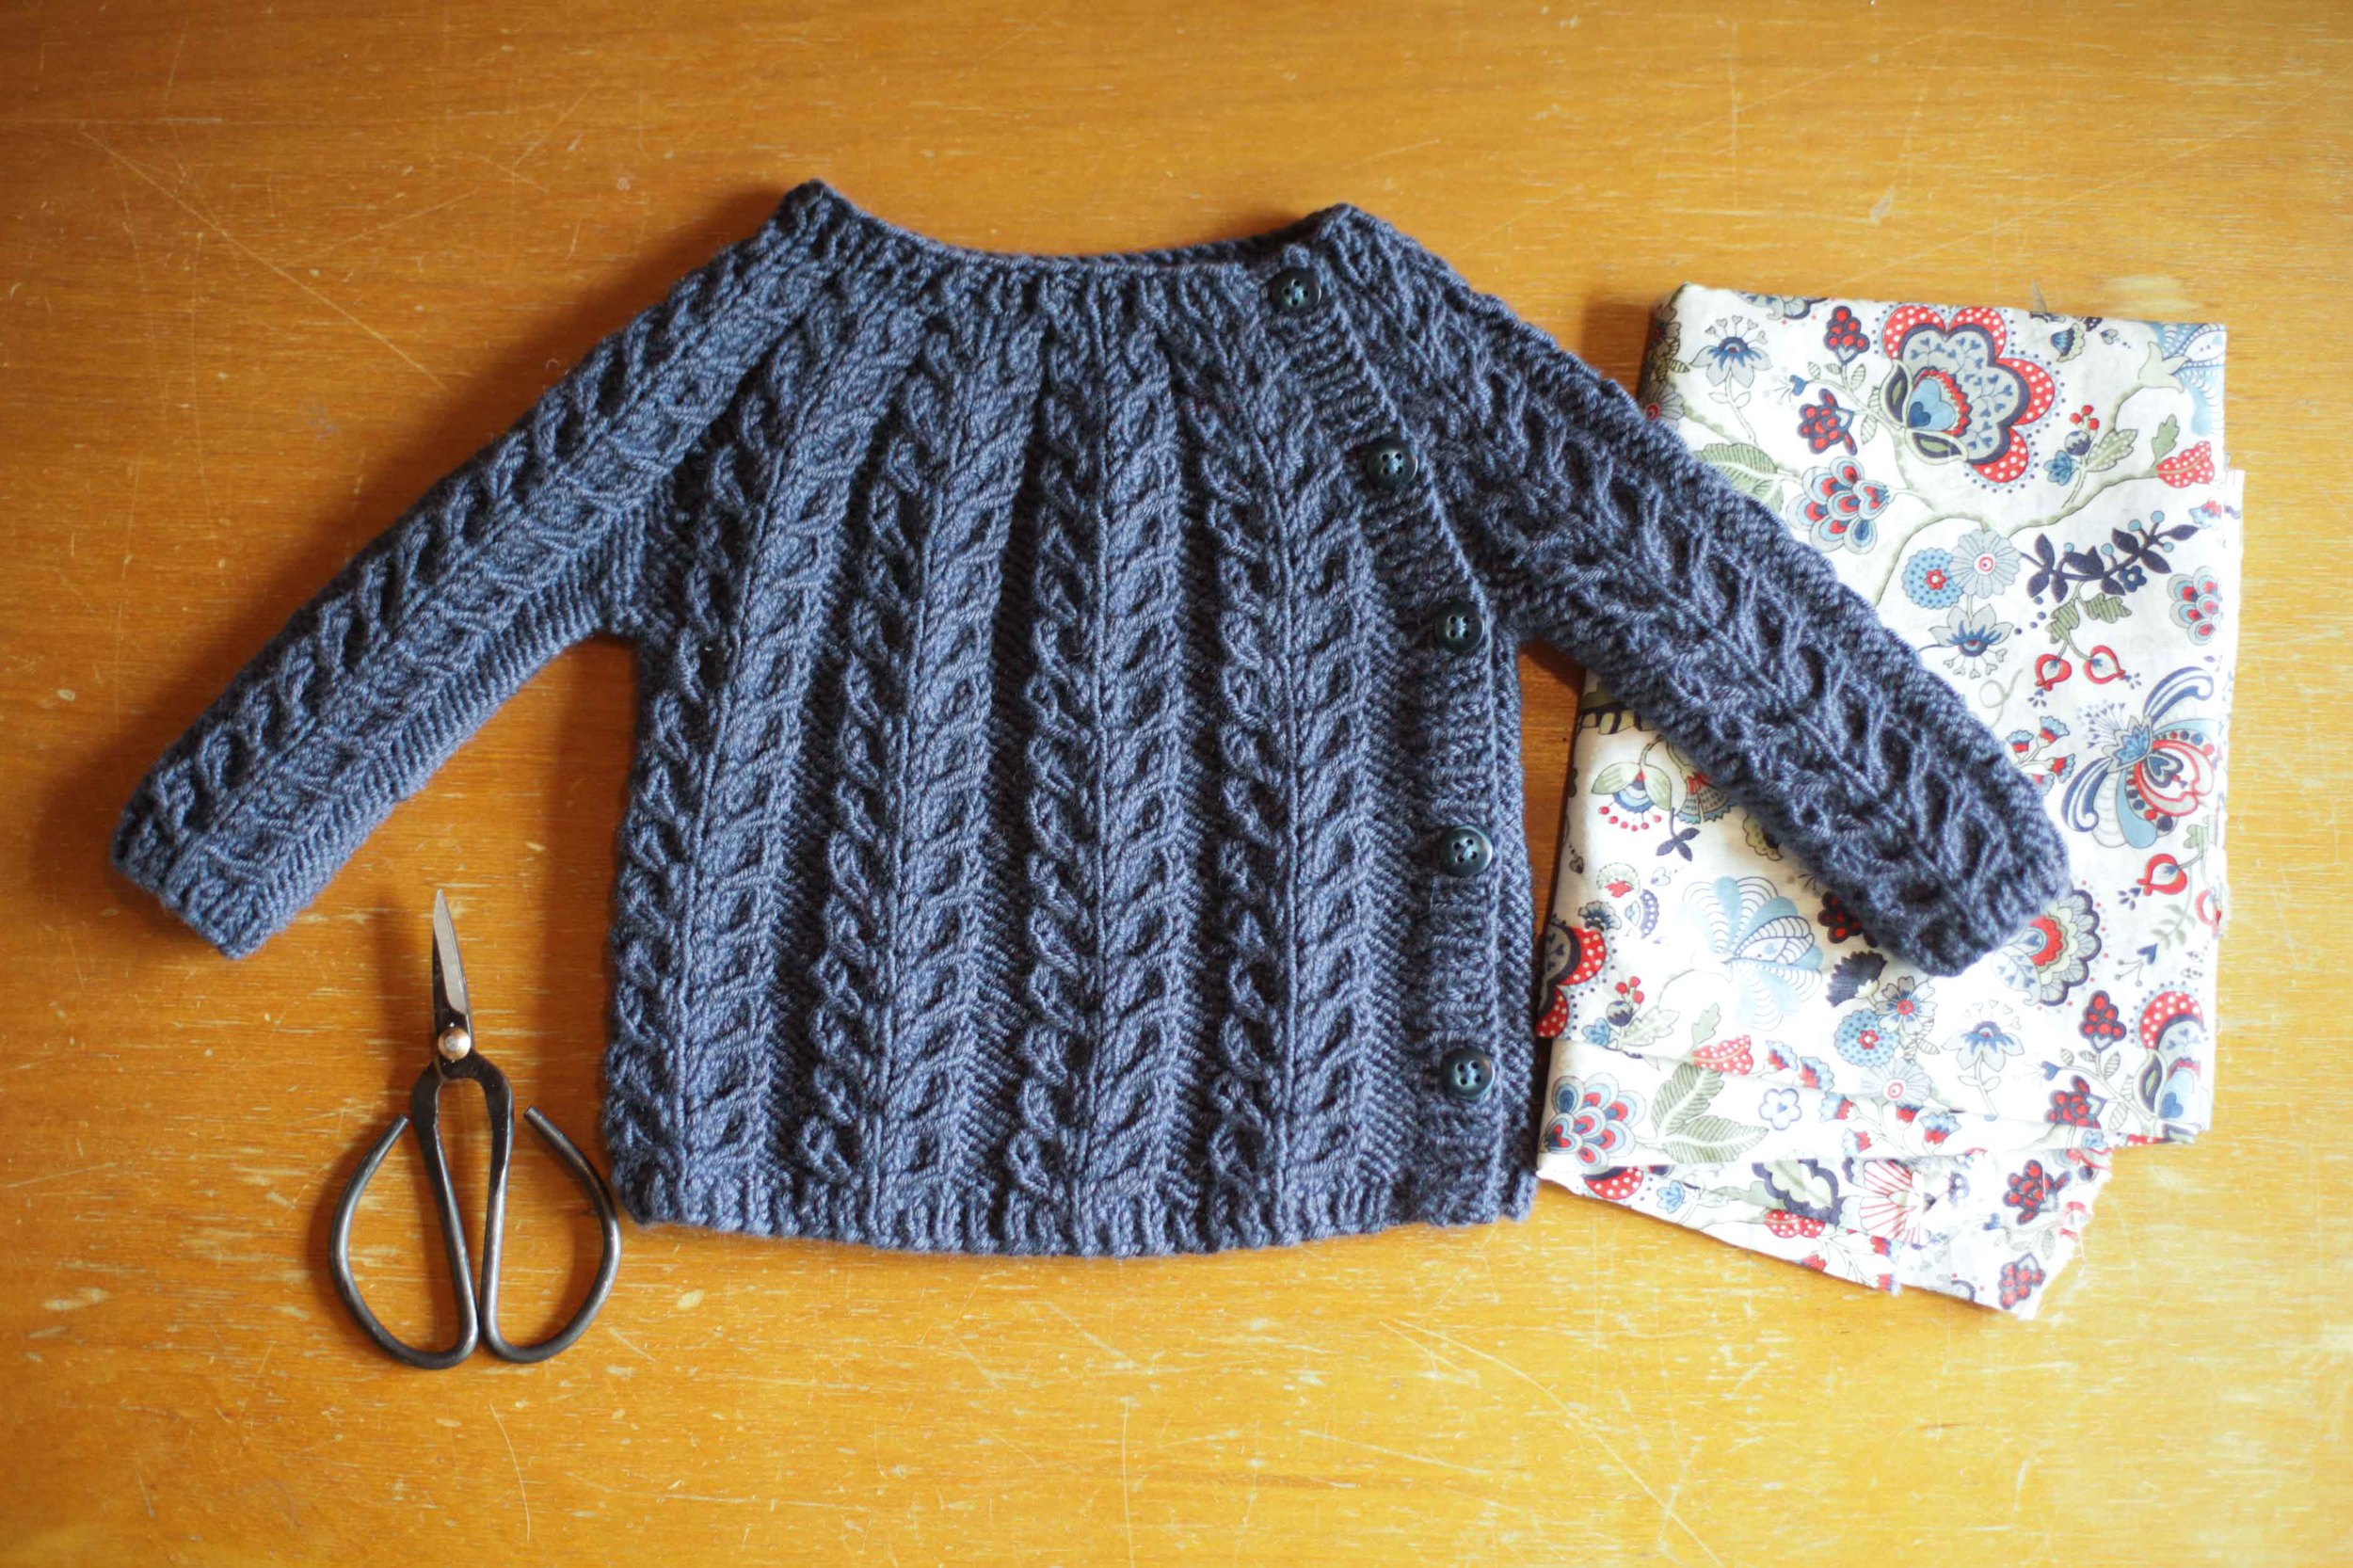
Inspired by all the projects I saw out there in the blog world, I returned to my needles and relearned the art of knitting, sharing all my beginner project on my blog and feeding off the positive reinforcement.  I bought a used sewing machine and began quilting again, working my way up to garment making as my skills improved.  I had my first baby, then 20 months later, my second.  Knitting and sewing, photographing and writing became a life line, a way to infuse the daily drudgery with windows of creativity and joy.  I love my kids dearly, but life as a young mom can suck you dry.

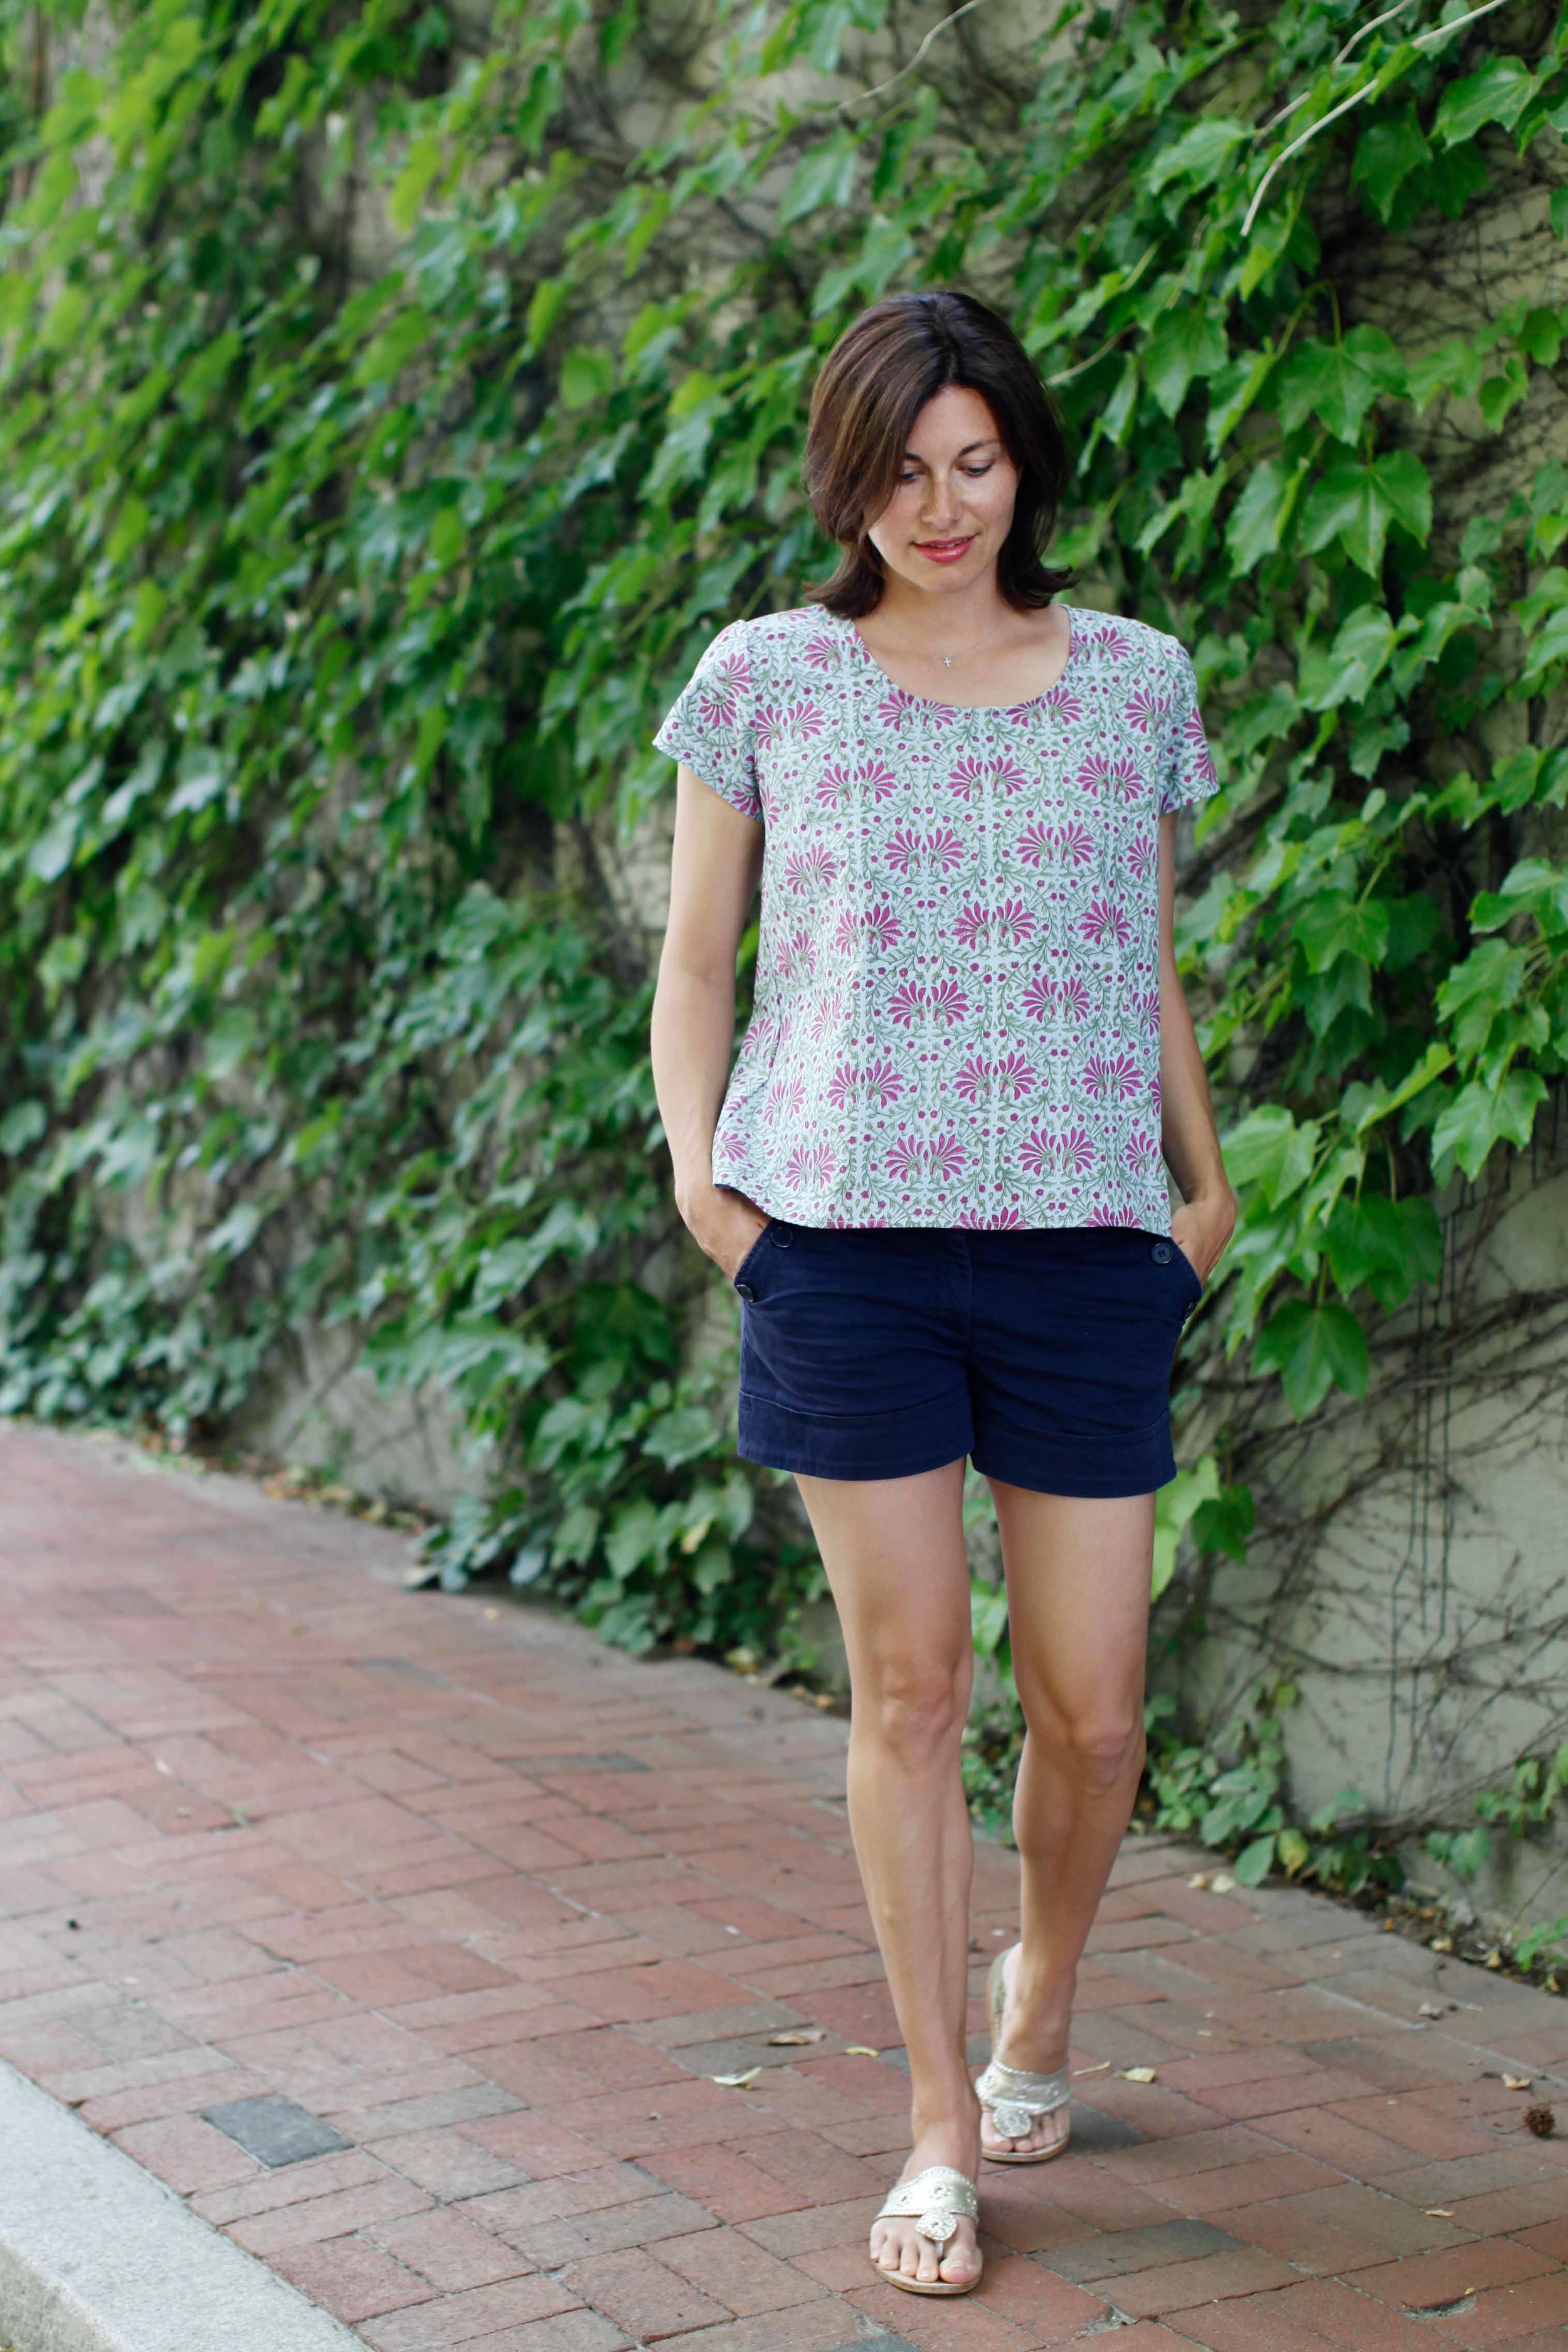
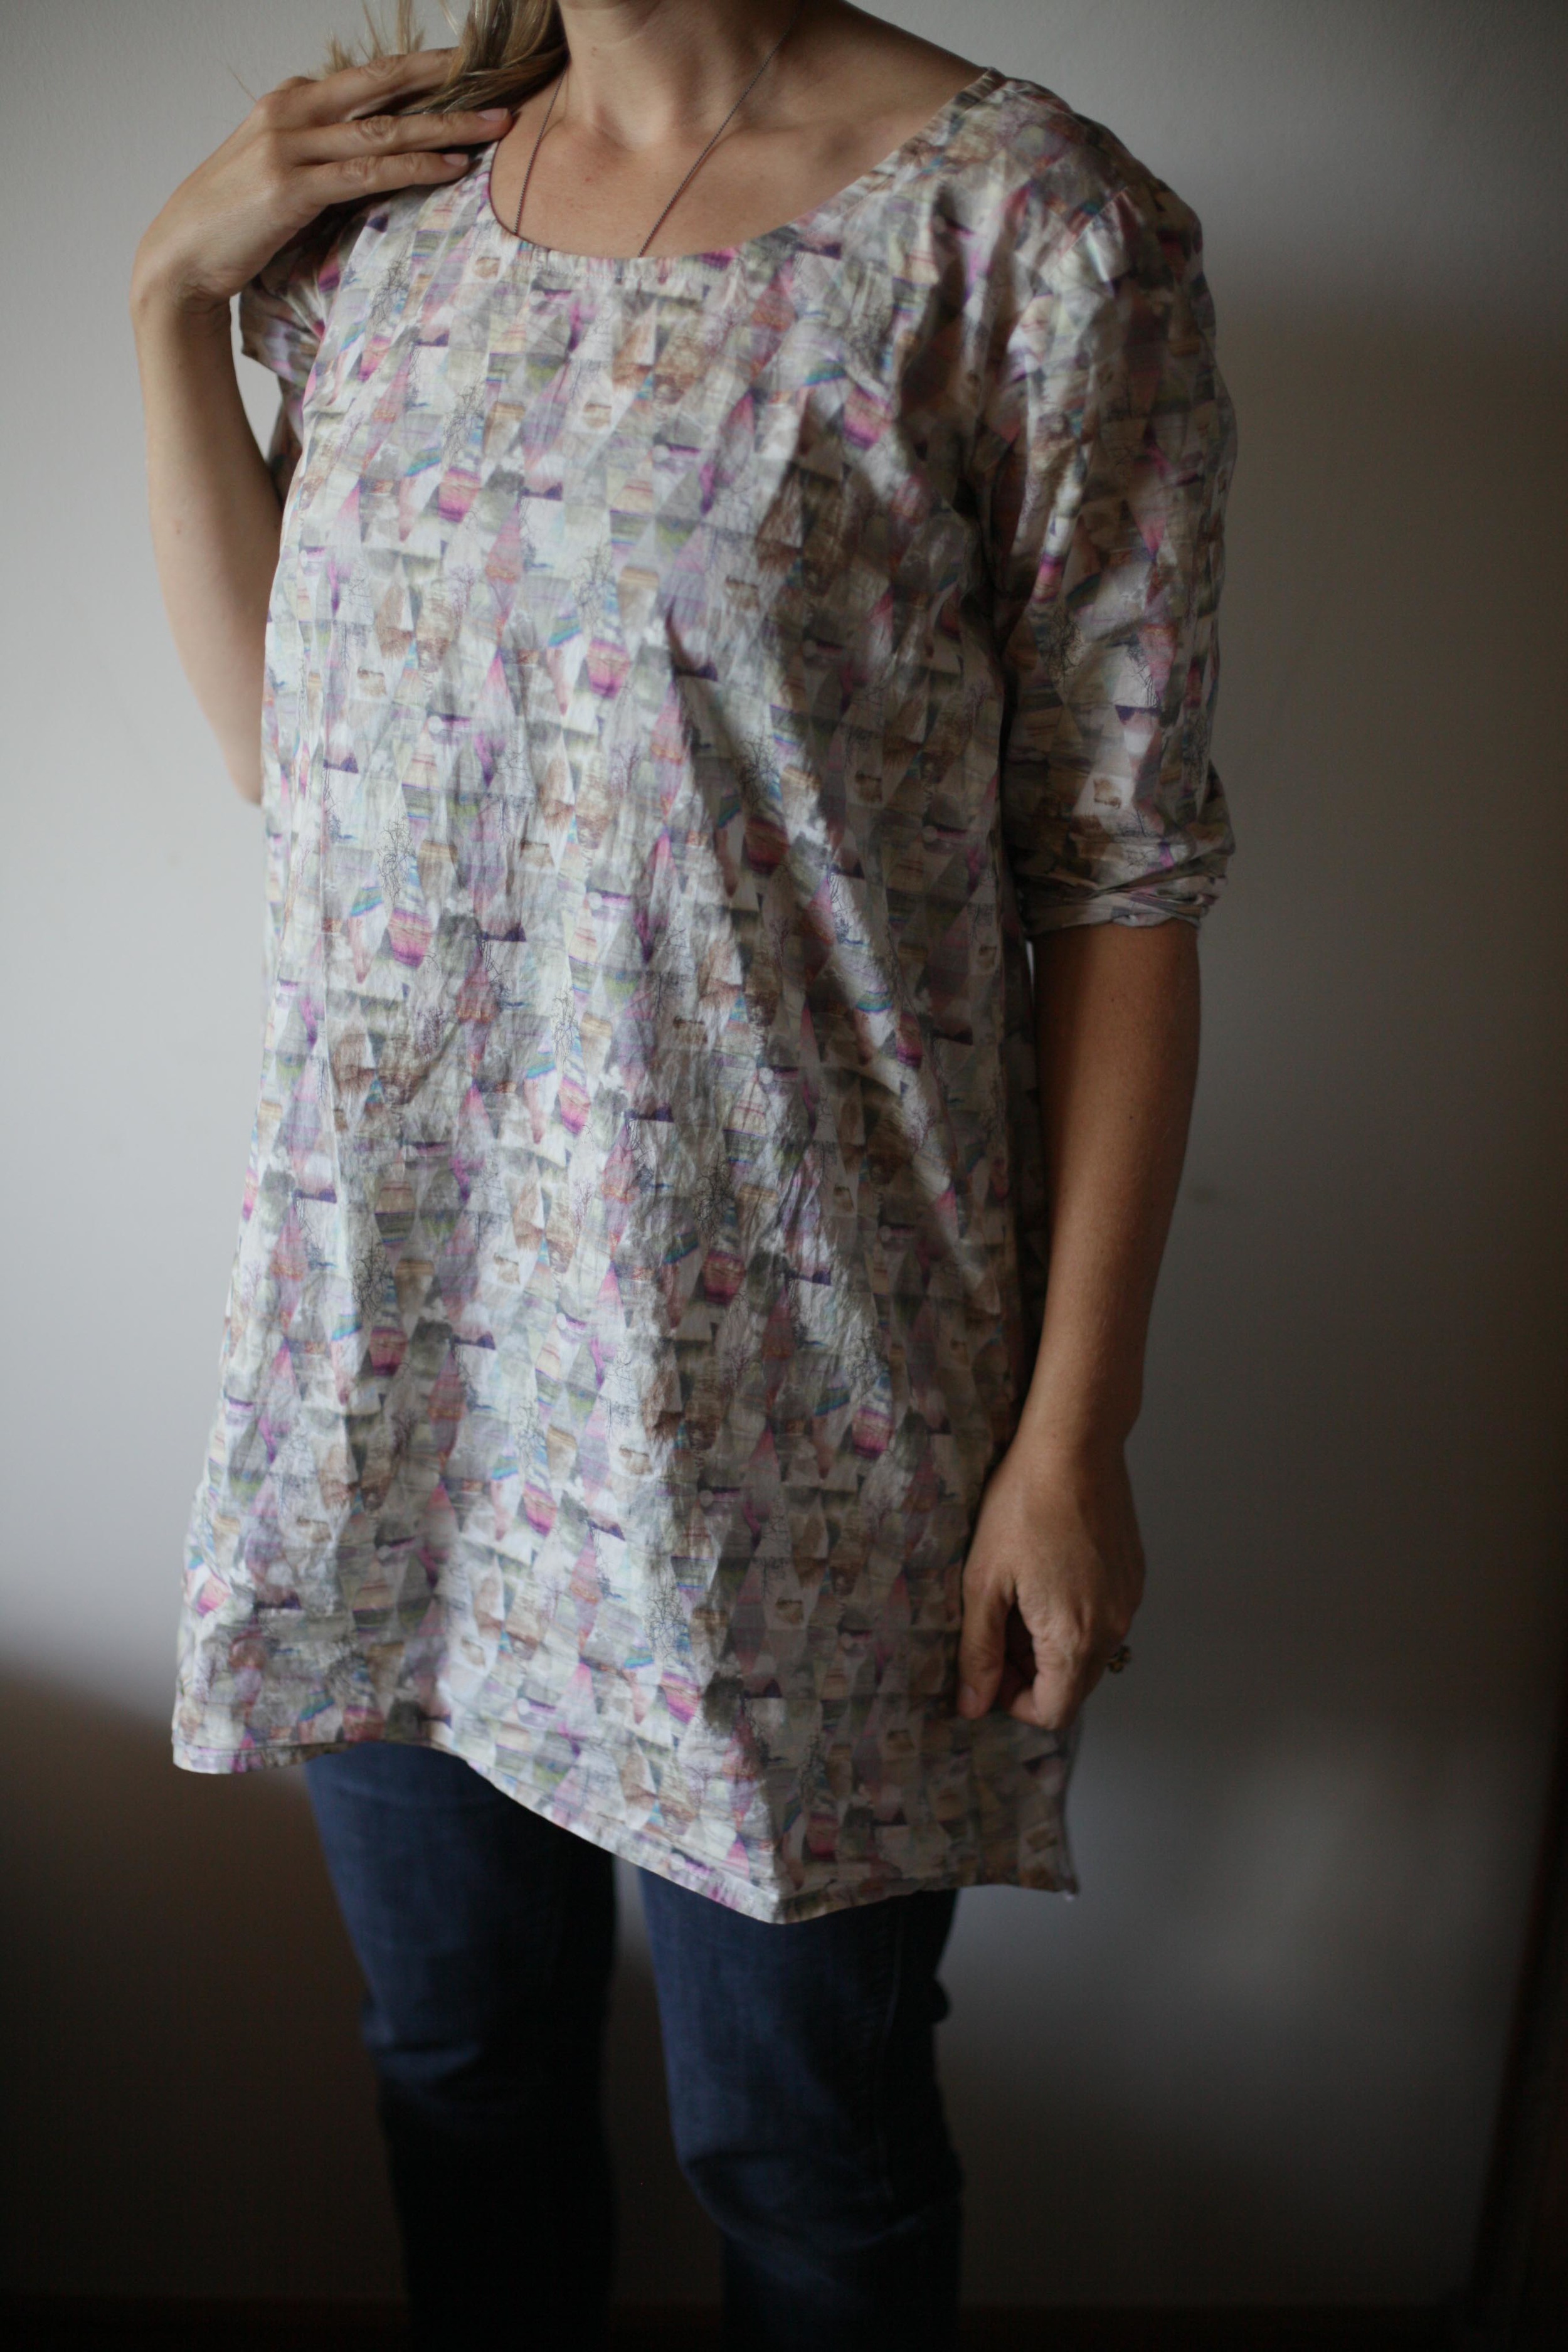
My youngest is now 2, and my oldest started preschool this year.  Our lives are hitting a nice pace, and I continue carving out time for my craft, finding ways to fit it in between the endless loads of laundry and dinner preparations, the book deadlines and bedtime routines.  Now that I have relearned the necessary skills, I am shifting my focus to creating garments that I actually want to wear.  Garments that fit my life and style. 

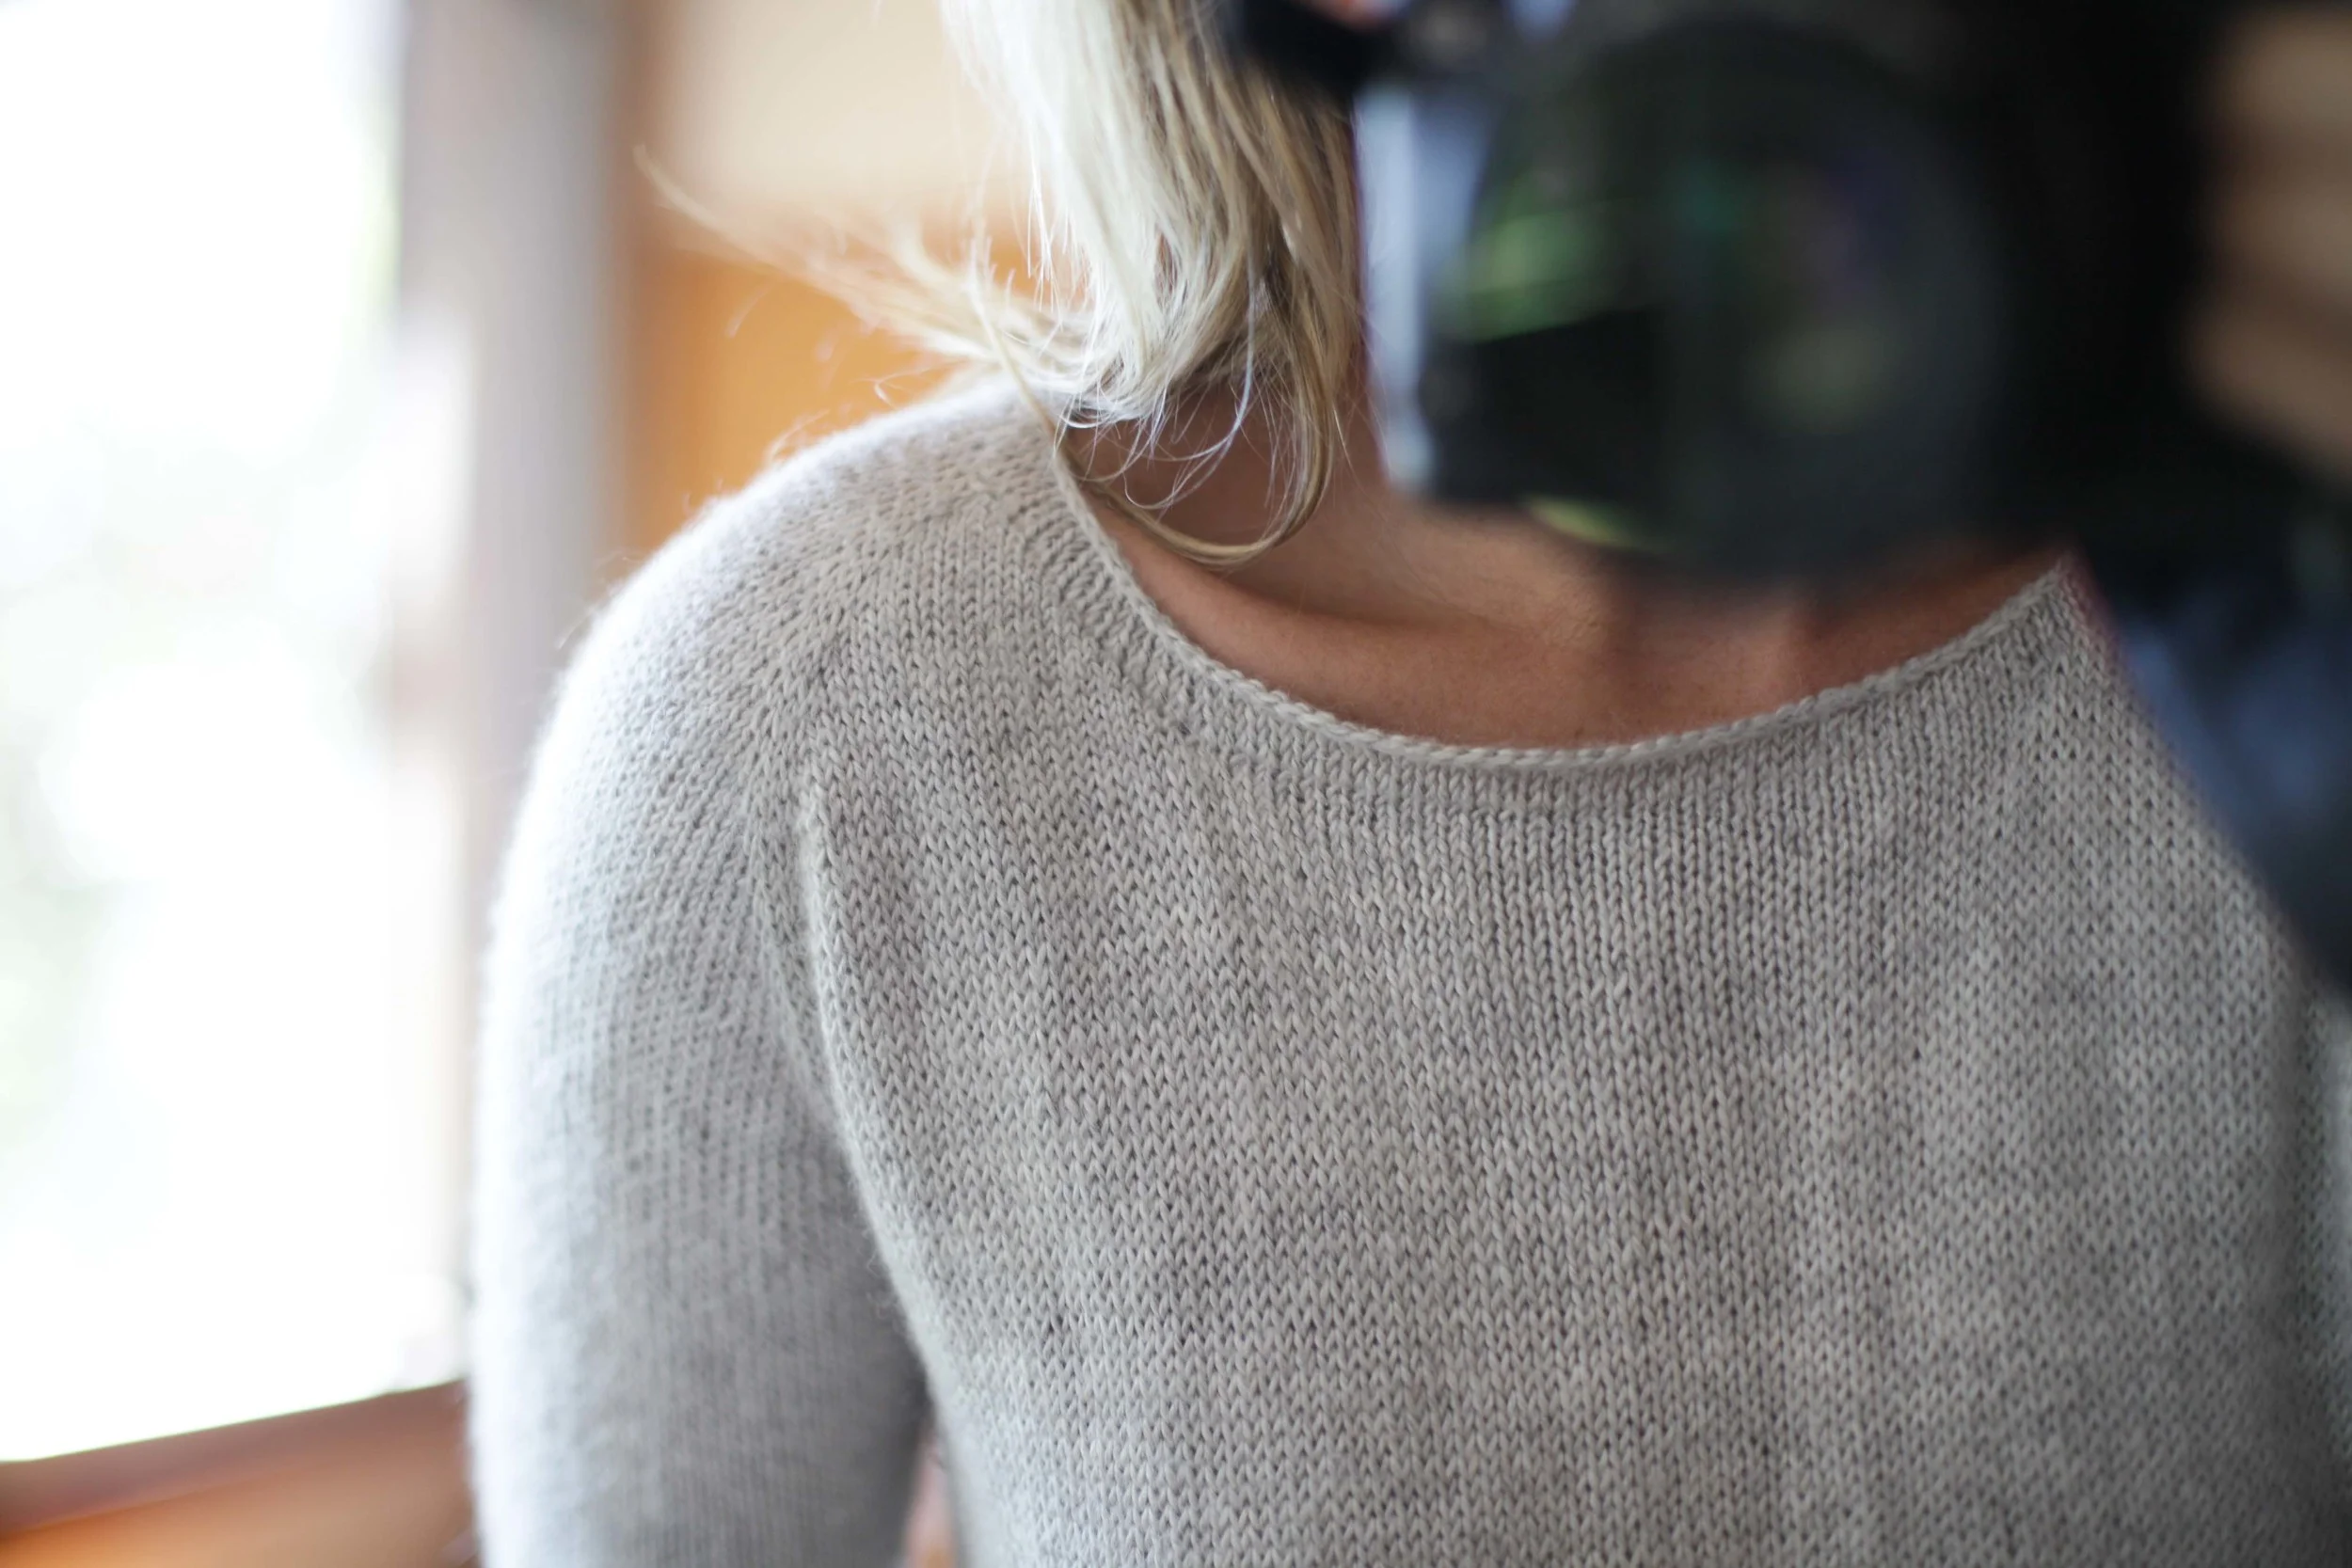
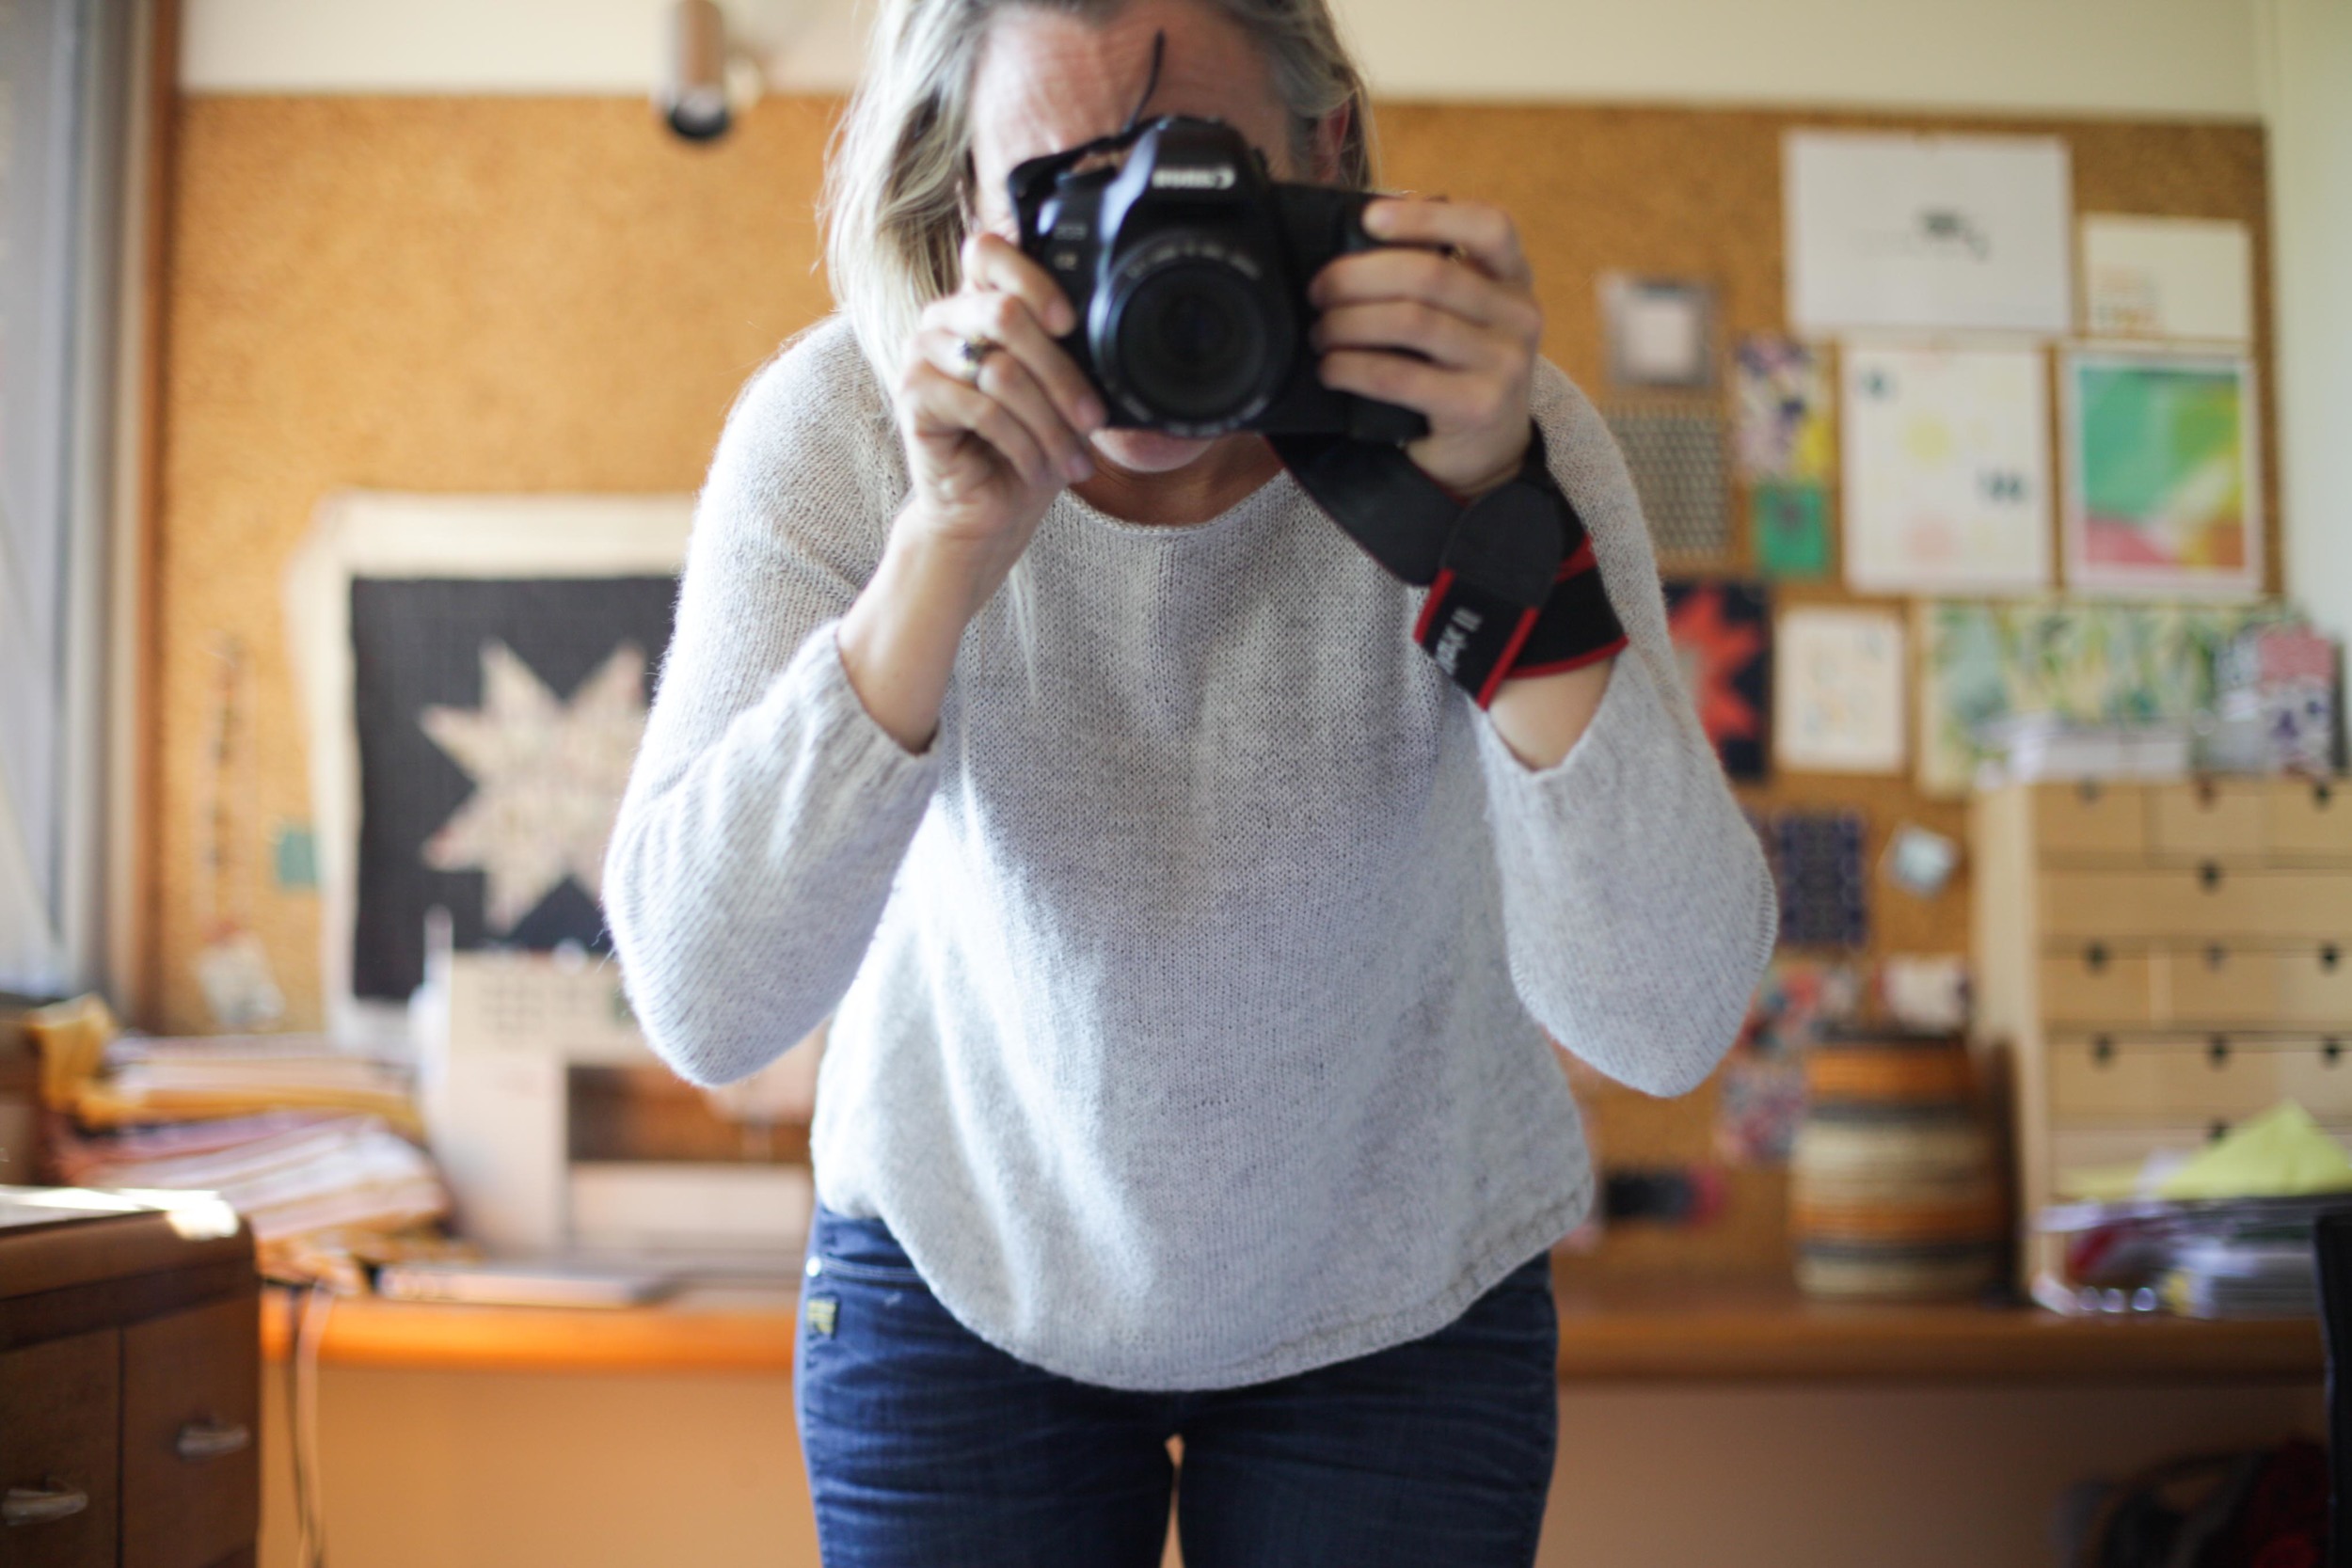
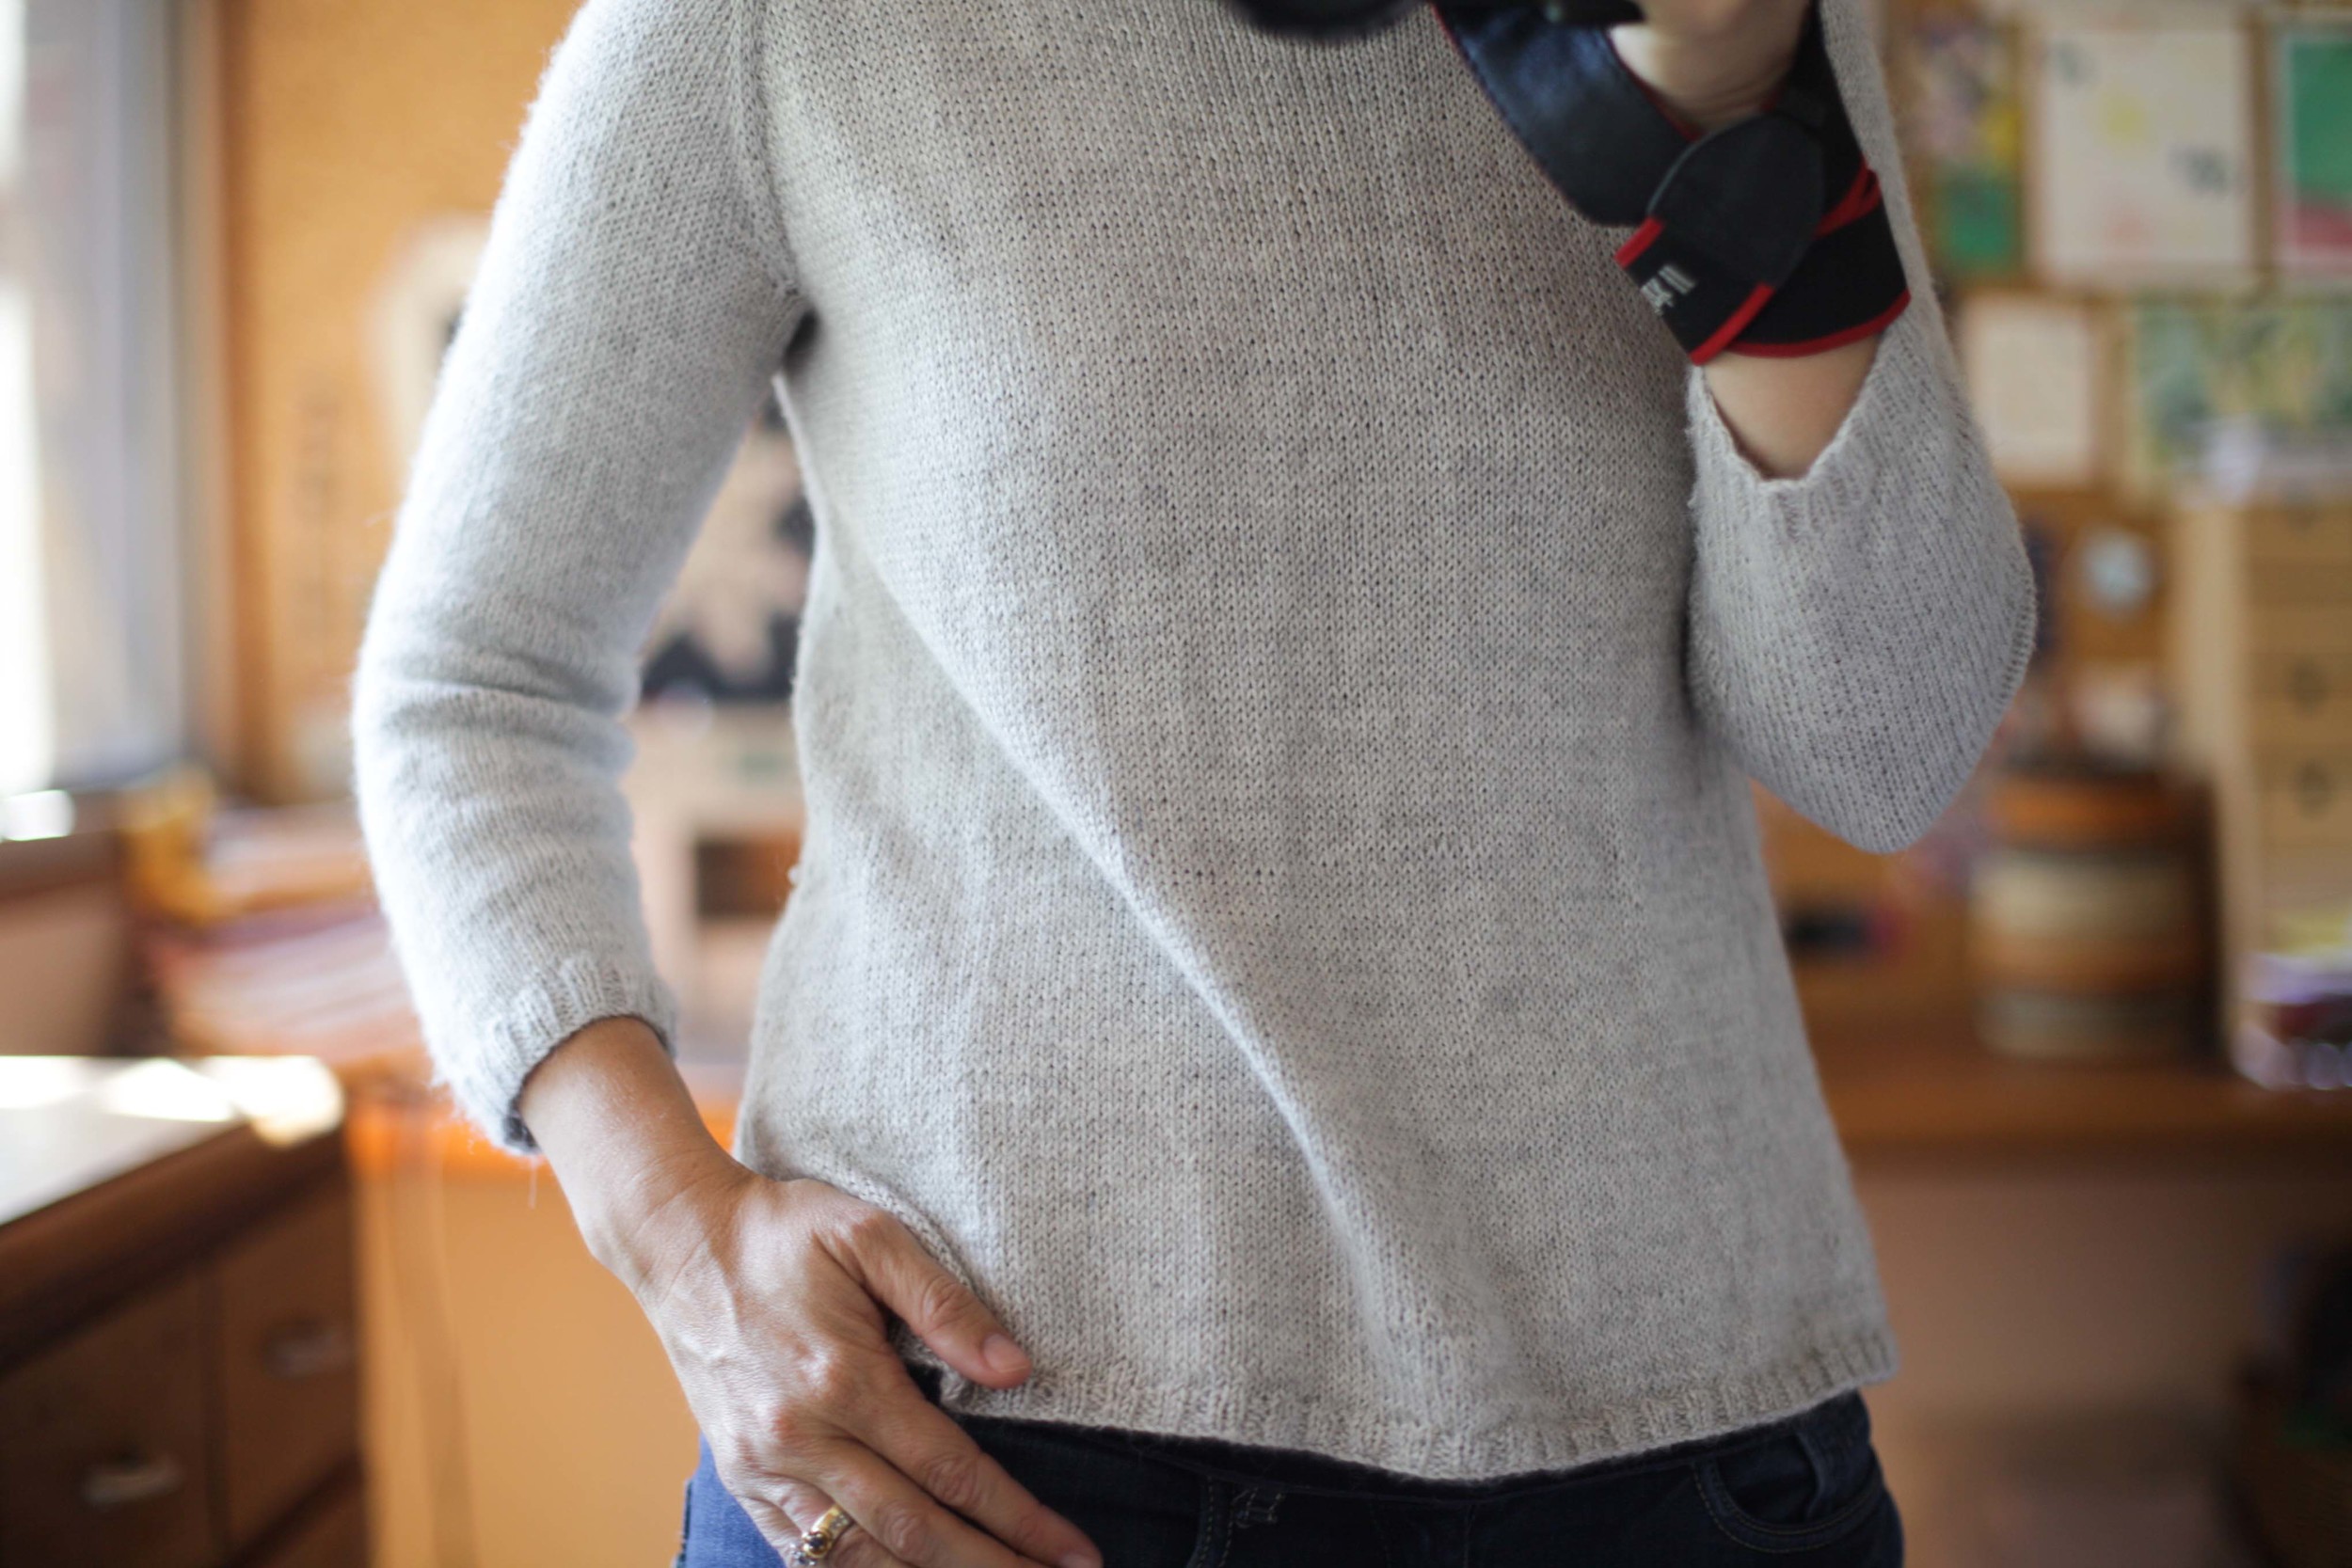
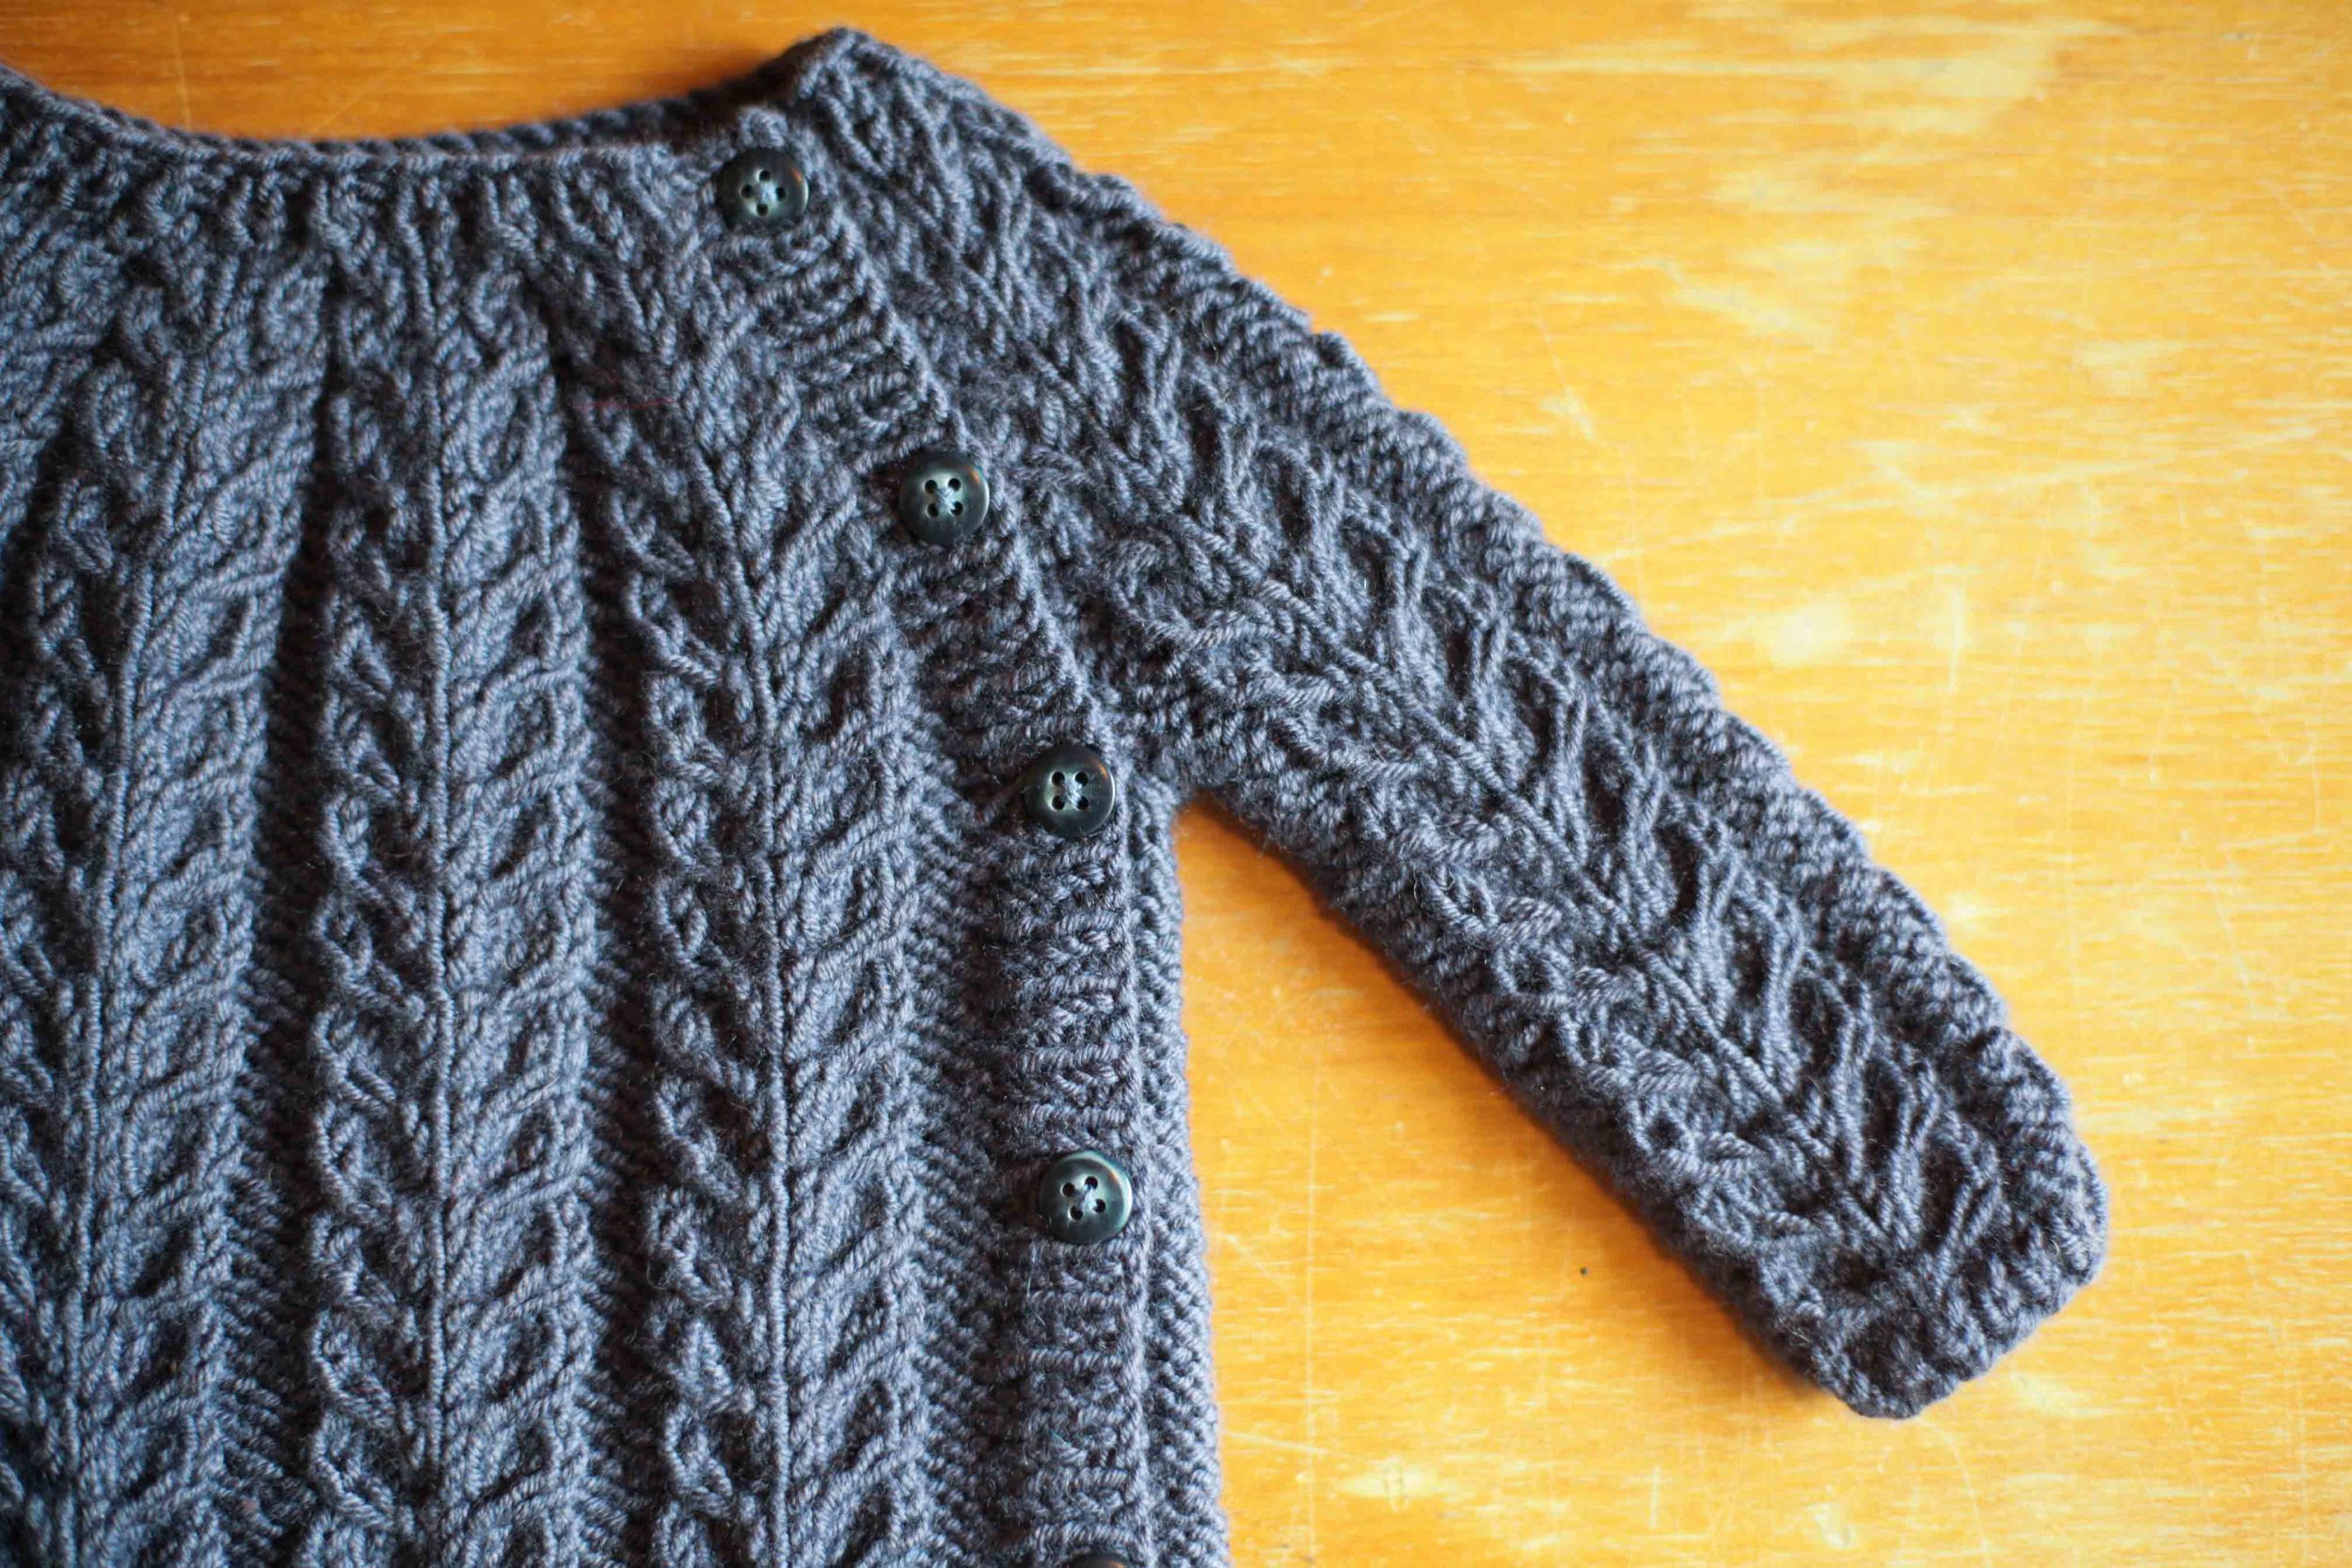
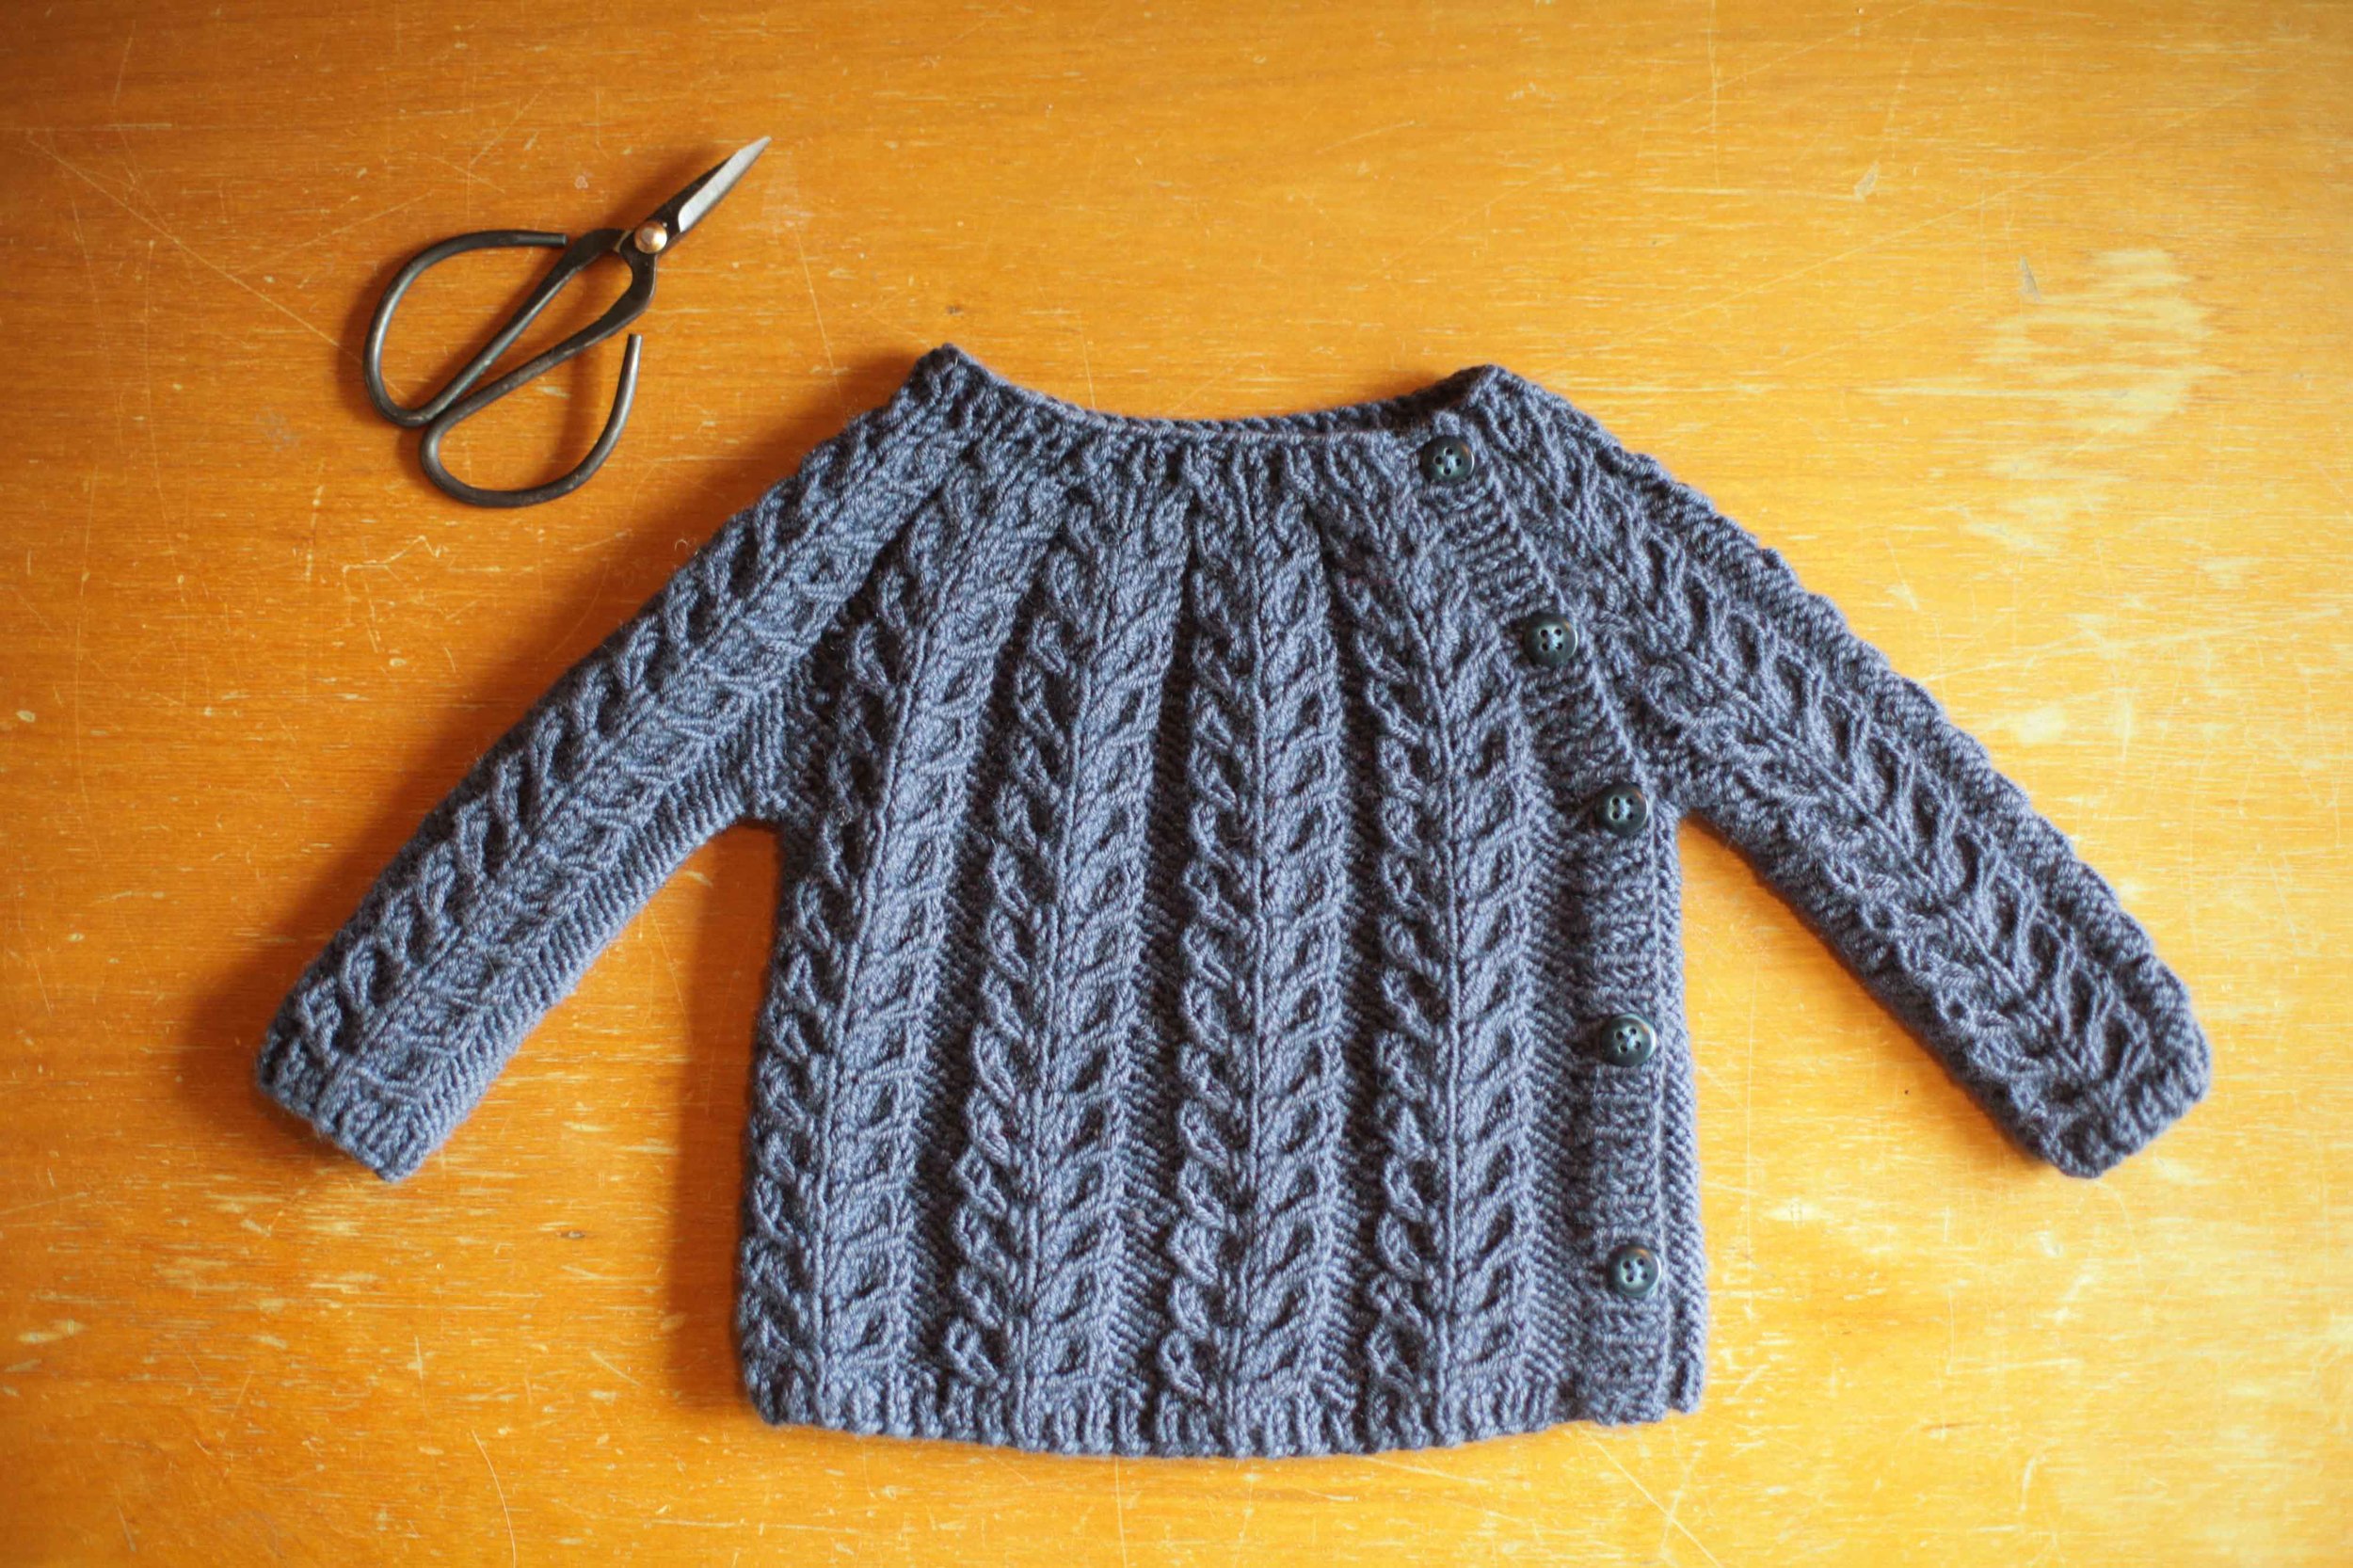
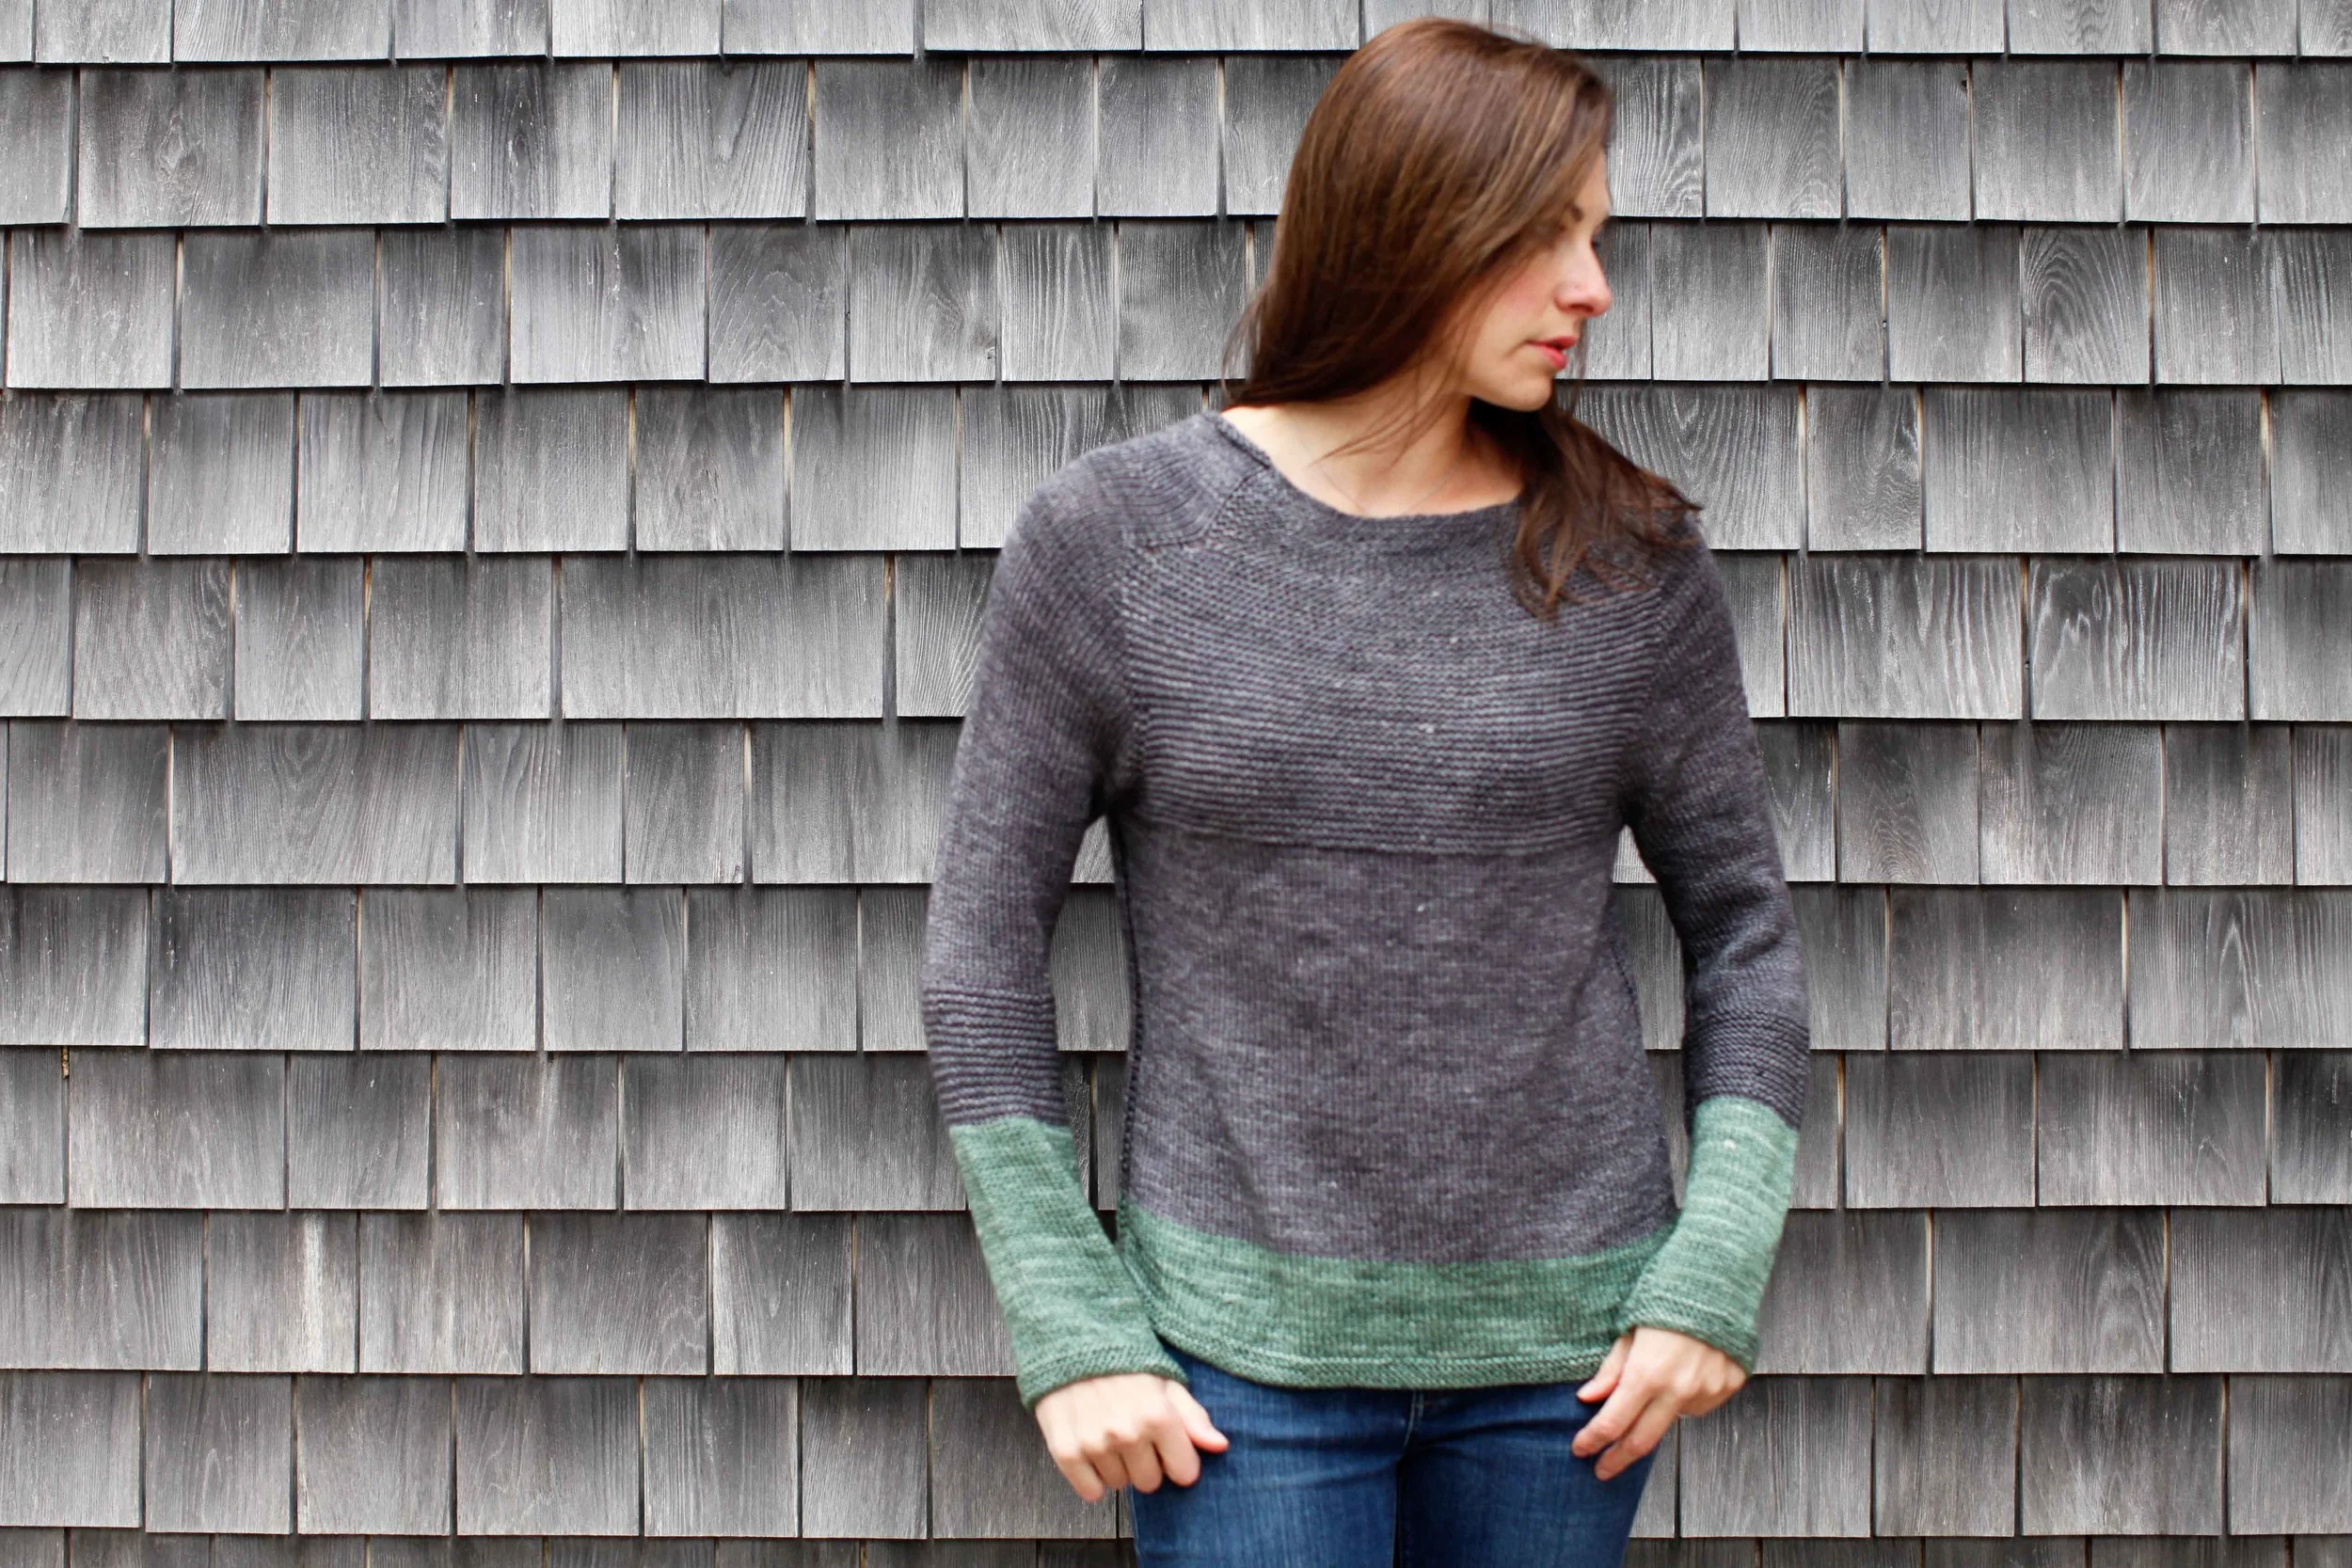
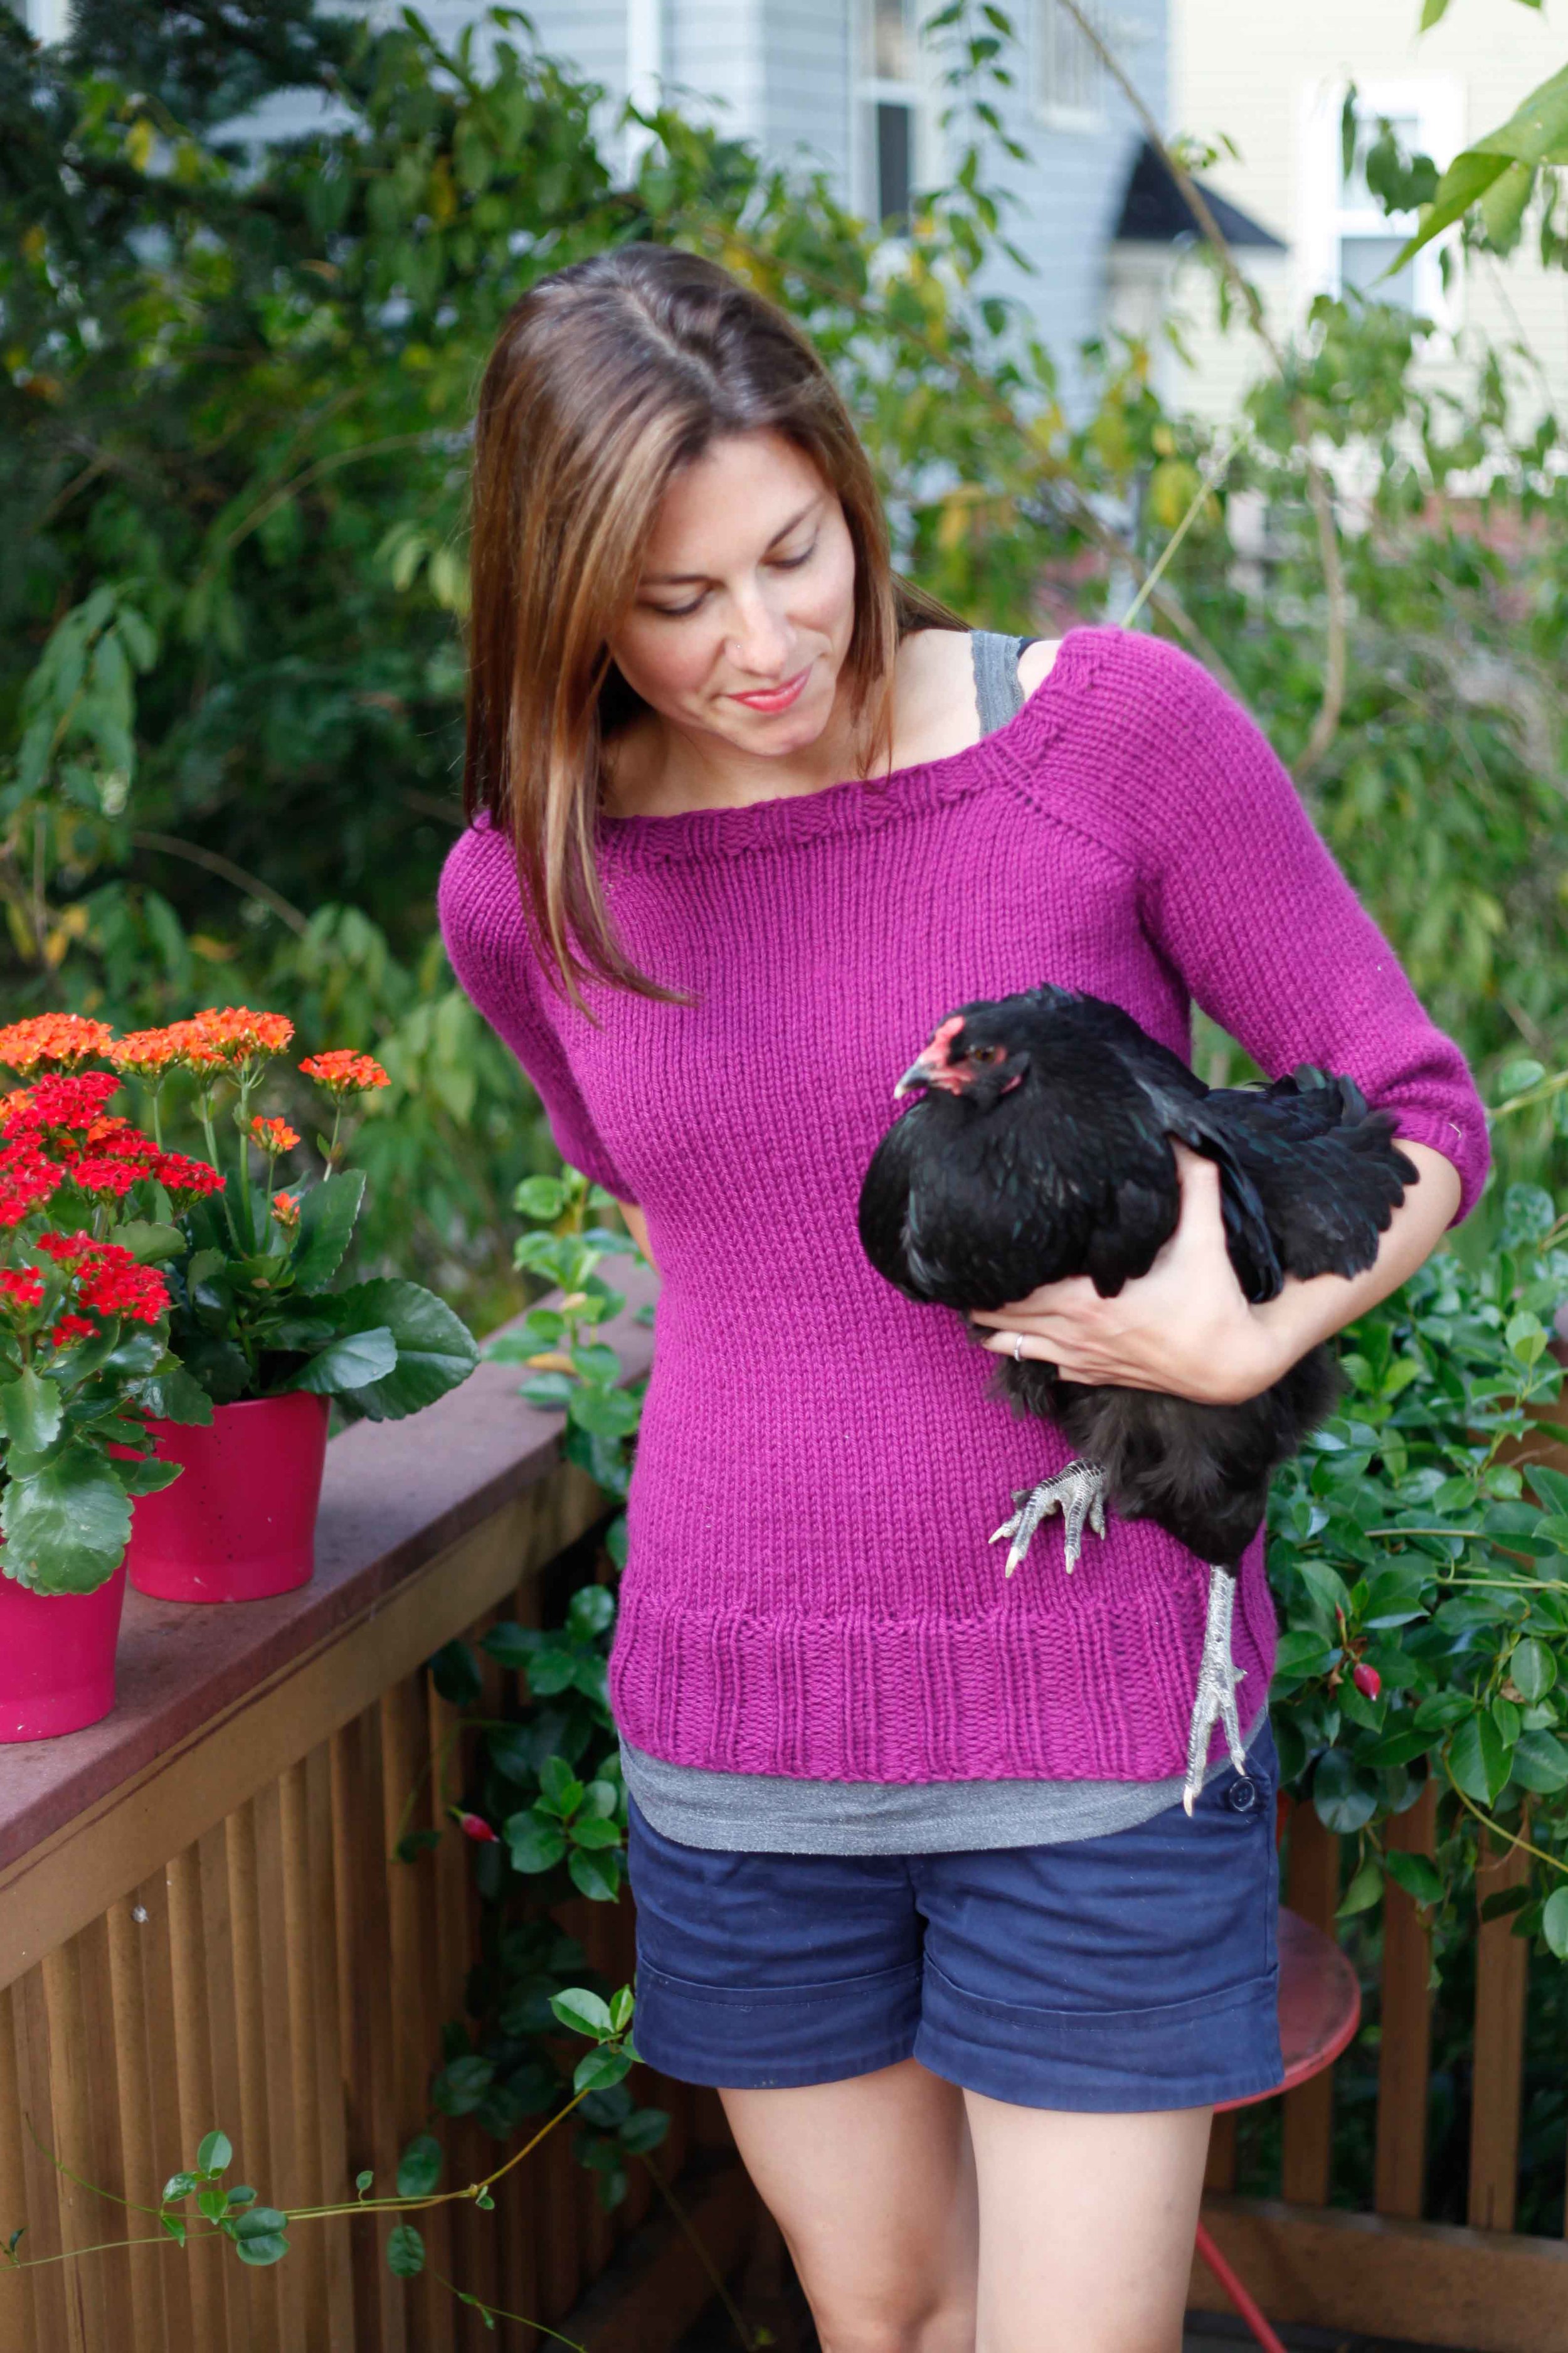
That meant taking a hard look at my style, and what I like, and this is what I found: I am a tomboy at heart, most comfortable in a worn pair of jeans and t-shirt, or simple sweater.  I love a pop of color, and a fun detail, but ease is key.  I'm becoming better at gauge and fit, though I still have much to learn and I'm the laziest gauge-er you've ever met.  My favorite sweater thus far is my Antler.  It is perfection, it really is.  Well except for that small hole where I might have dropped a stitch, and the way it's a bit short under the arms.  Perfectly imperfect, just the way I like it, and just the way it'll always be.

* As evidenced in her lovely quilted vest.

In I Made This, Inspiration
2 Comments

How to knit a sweater that fits really well!

November 26, 2014 thecraftsessions
The pattern is James by Amy Miller. Please excuse the messy desk and crazy hair.

The pattern is James by Amy Miller. Please excuse the messy desk and crazy hair.

I just finished James II - after I shrunk James I in a tragic shrinking accident - and this time around it is a stonking success. The fit is better and the neckline (which in version one was a little bit wonky) is perfect. Which lead me to think about what is involved in getting your sweater to fit.

So today I really wanted to talk about fit, as for me, this jumper represents what I have learned over my ten years of knitting. I wrote about fit a little in my how to choose a sweater pattern post, and as part of that post I wrote about all my many (many) mistakes. But these days it's exciting to look back, as I don't make as many mistakes as I used to, and that's because I've learnt to knit sweaters that fit. I learnt the hard way to take the time to make sure it will fit, and rip things out if I can see there is a problem.

On my new James I redid the neckline four times to get it right, because I know that getting it right is the difference between loving-it-for-a-lifetime-and-wearing-it-everyday, or liking-it-and-wearing-it-sometimes. If I'm going to take the time to knit it, I'm going to take the extra hour or two to get it right.

FeliciaSemple-1.jpg

I want to say something controversial from the outset. Achieving good fit isn't that hard - you just need to follow these simple rules. I've learnt these rules through making mistakes - but you don't need to. Follow them and I promise your project have a much greater chance of success!

1. Choose the right sweater pattern

I'll direct you back to my original post but the most important thing is that you choose a style you wear. Don't get suckered into knitting something styled by someone super-clever, who has made some random sweater that you would never wear in a zillion years, look a-maz-ing.  

James suits me and my daily uniform. I wear James with jeans and over tunics and over frocks and skirts and …. It's a true love kinda thing.

This style is perfect for me. Fits around the shoulders and boobs, skims over the midsection and has a lovely tapered arm.

This style is perfect for me. Fits around the shoulders and boobs, skims over the midsection and has a lovely tapered arm.

2. Choose the right size

2a. Measure yourself right and understand the shape and size of your body. Your measurements are unique to you - you need to carefully analyse a pattern to choose the most appropriate size for your particular shape. This is so very important - the wrong size can make what would be a wonderful sweater a bit bleurgh. And it doesn't feel good to wear clothes that make you feel bleurgh. 

Enter Amy Herzog, who I heard two weeks ago on the knit.fm podcast. Amy wrote this book Fit to Flatter which she chatted about on the aforementioned podcast, and gives a totally different way of measuring your size. 

Amy's methodology states the bust circumference is used an approximation for fit in patterns. However instead of using this measurement, Amy suggests that you measure your chest right up under your underarms - she calls it your upper torso measurement - and use it as an alternative approximation that is more appropriate.  Amy says that this is better measurement than a bust measurement as it takes into account your size without the give-or-take of boobs. Then after studying the schematic you would choose the size up from your upper torso measurement - she calls this your base size. Then you can make adjustments for your boobs if you need to. 

This is a bit of a revolution in thinking for me and such a sensible way to measure yourself. 

I understood, as I mentioned in my post about the lovely Lila, that I really think the key to getting a good fit was having it fit well around your shoulders. And this is why James works so well for me. The shoulder fit is perfect as an off the rack pattern. But it is a rarity to have a pattern work so perfectly. Most patterns require some adjustment for shape for most people to get a good fit as we all have lumps and bumps in different places.  

The interesting thing for me - and probably part of the reason I have been able to choose the right size with relative success - is that my upper torso measurement and my bust measurement are the same! But I'm sure this is not the case for many people.

Amy goes into a more detail in that podcast and in her book, but this simple change when taking your measurements will help you choose a much more appropriate size for your shoulder area - which means you will get a better fit. 

2b. Figure out how much ease you like by measuring a similar style and weight garment in your own wardrobe. Do you love that particular style of sweater to be loose fitting or are you looking for negative ease. 

2c. Study the sketch and choose a size based on your measurements and the amount of ease you like compared to your upper torso measurement. Also take into account the amount of ease the pattern recommends. 

3. Prepare your yarn

3a. Choose an appropriate yarn for the pattern. Think about the qualities of the yarn. I touched on it in a recent post called Why Materials Matter - which details how the qualities your materials have direct affect on the success/longevity/wearability of your project. There is another great post on yarn substitution here by Kate of the Fibre Company. Look closely at the recommended yarn and it's qualities and think about what effect that might have on your project. This takes some practice and research!

3b. Swatch and make it a big one. This is not a time for lazy bones my friends.  There is great information on swatching here. 

3c. Make sure you are happy with the weight and feel of the fabric you make with that yarn on that needle size. This is one of the main reasons why my James works so well. The weight and drape of the fabric is perfect for the pattern.

I adore the super drape that you get with this yarn at this gauge. It is flowy and light.

I adore the super drape that you get with this yarn at this gauge. It is flowy and light.

Drapey with a wonderfully fitted shoulder.

Drapey with a wonderfully fitted shoulder.

3d. Measure your swatch as accurately as you can - to the half stitch or even the quarter stitch. Measure it in a few places - at the top of the swatch, in the middle and at the bottom. And write it down - I ALWAYS think I will remember and don't. So frustrating.  This is called your knitted gauge.

Change your needle size up or down to get the gauge as recommended by the pattern with the yarn you have chosen. The gauge is the important thing to achieve - you could end up using a needle size two sizes larger than the pattern - but this doesn't matter as long as you have achieved the required gauge.

3e. Once you have a swatch that achieves gauge AND you like the fabric of, block (so soak it in some water with a smidge of wool wash for ten minutes, then rinse, before squeezing the excess water out by squishing it in a towel, then lie it out flat on a towel to dry without excessively stretching it in any way), and measure your gauge again. This is really important as this is your blocked gauge. You need your blocked gauge to match the gauge of the pattern. THIS IS ESSENTIAL!! 

I'll give you a very simple example of why not being careful with this can really hurt. Say your pattern recommends a gauge of 18 stitches/4". You don't measure your swatch carefully, in fact you don't even swatch. You knit the sweater in a size 36" as you have a upper torso measurement of 35.5". You finish. Hurrah! You are a champion. You block it and you notice that it is now a sweater that has a gauge of 20 stitches/4". A tiny change you think. What is the issue? That tiny change means that you now have a sweater that has a bust measurement of 32.4". Not quite what you were after.

4. PLAN your alterations 

You have measured yourself in an earlier step and know your base size, the amount of ease you like, the length of your torso, where your waist falls in your torso, the length of your arms, the width of your hips etc. Next up you need to study the schematic and make plans for how to change your pattern before you start to knit. As you have more practice this will get easier but you can do some research on modifications that will help get you up to speed faster - and therefore hopefully make less mistakes.

Amy's Fit to Flatter book or a book like Ysolda's Little Red in the City are perfect resources for understanding fit. The modification podcast on knit.fm I mentioned is also a great start.  Ignore the patterns in both of these books if they aren't to your taste and look at these resources for their wealth of info about shape. You will learn things.

Another great resource is Karen's recent Fringe Association Amanda knit along #fringeandfriendsknitalong has some amazing blog posts on row gauge and how important it is in terms of getting the length of the yoke of your sweater right. You should have a look at the knitalong posts if you feel like being generally inspired. So much good stuff there.  

So put simply, know your measurements, know your pattern and do some research to really understand the types of modifications you need to make to achieve the result you want.


5. Knit but keep checking your gauge.

5a. Start knitting but check your gauge as you go, often. You need to be checking your knitting against your knitted gauge as opposed to your blocked gauge, as this is what is relevant while you are knitting. You need to know that your knitted gauge, once blocked, will give the gauge given on the pattern to ensure your knitted garment will end up the size you hoped for.

5b. And rip it out lovely women, if it isn't working. Don't keep knitting. You will regret it. Much of knitting as a pastime is about the joy of actually doing the knitting - keep that in mind when you come up against something that isn't working. It will help. 

Any other tips I haven't mentioned? Any questions? Do you think my contention that you can get fit right is crazy talk?

Felicia

14 Comments

Around the Traps - Baby Sweaters

November 25, 2014 thecraftsessions
Cabled Cardigan from Lullaby Knits. I suspect the baby girl receiving this sweater may require some Liberty baby bloomers - Yes?

Cabled Cardigan from Lullaby Knits. I suspect the baby girl receiving this sweater may require some Liberty baby bloomers - Yes?

It's baby season around here (not for me) which means baby knitting. Nothing more fun that that. So I thought I would do a little roundup of some of my favourite/new go-to patterns for baby knitting.

Starting with the sweater in the photos. It comes from the book Lullaby Knits. While I wouldn't say this book was for beginners (as the gauge information tends to be fairly confusing which could lead to some wacky results) I do think this sweater and others in the book are gorgeous! This sweater ranks as one of my favourite baby knits ever.

Cabled Cardy from Lullaby Knits

Cabled Cardy from Lullaby Knits

Other new/exciting to me baby patterns are:

The whole range from Paelas - which is a collaboration between three women in Norway. Check out their individual instagram feeds which you can find from their About page. So beautiful. I am particularly taken by the Flash top and know I need one for one of my girls.

The I've-never-made-it-but-always-meant-to Baby Fairisle Cardigan from Purl Soho. I saw a version of this a little while ago that I can't get out of my head. I was thinking that maybe I should make a version with the scraps of my colourwork cardy - just need to find a mother that doesn't mind semi-scratchy wool for her small person. 

The Pebble Vest by Nikol Lohr - possibly the most practically useful baby knit ever. I finally got around to putting the buttons on one I made ages ago and sent it along to a baby this week. 

Silver Fox by Lisa Chemery - I love the fit on this little cardy and the icord edging. I might take out a few of the details when I made it to make it a smidge simpler.

Another similar pattern is super sweet Eole by the lovely Nadia of IttyBitty. I saw one of these in real life of Amy of Sunspun's little girl recently. So gorgeous! 

I'm still totally obsessed by this bonnet here (which I have made a few times) and this cardy here. Classic knits that are super fun to knit - I will be making them again. 

And while I could keep going I'm going to stop soon - but what list would be complete without the Immie Tee by Carrie Bostick Hoge and Clara by Karin Vestergaard Methiesen

Alrighty….stopping now. Tell me your favourites. I would love some new ideas!

Felicia x

In Around The Traps, Best Of, Inspiration Tags knitting
14 Comments

I Made This - Myf Walker

November 21, 2014 thecraftsessions

I Made This is a new weekly blog post that features makers from around the world - some of them you will know through their online presence, others you will not - but their stories are equally inspiring.
I Made This aims to talk about the things we are proud of; of the objects we make that have meaning to us and the journey we take to make them.

Today's I Made This is by Myf Walker, a multi-talented maker that runs Tinker Maker. She lives with her family on the outskirts of Melbourne. 


When Felicia asked me to contribute to I Made This, I immediately said “yes, of course, I’d love to!” And then it dawned on me a little later that I’d have to choose ‘a favourite’, no easy task. What criteria would I use to narrow it down? The most beautiful, useful, technical or difficult? I deliberated. And couldn’t decide. So I thought I’d just write about the most recent thing I’ve made.

The weather is getting warmer, anyone who know me knows that I don’t cope too well in the heat. Anyone who knows me also knows that I have a 6 month old daughter and that I am breastfeeding. Summer and breastfeeding = hot.

A few weeks ago we had our first run of beautiful warm spring weather, just perfect for dresses, except as I realised, I didn’t have a single one in my wardrobe that was suitable for feeding Anaïs. I needed a new dress. Fast. 

Lots of clothes designed for maternity and breastfeeding are jersey. Which is fine, comfortable and utilitarian. But jersey clings and makes me feel lumpy and hotter. So I thought about my favourite Summer dress which is a simple, breezy pinafore made using the pattern from my much loved copy of Happy Homemade vol. 1. 

Quick and easy to make, critical, as I have very little free time. Oh and it has pockets. Perfect.

I had just enough gorgeous checked crinkle linen bought from Tessuti and thread to match. The last remaining obstacle was modifying the design to allow, um, easy access, which proved fairly straightforward. Instead of sewing the straps into the front yoke, they just needed to be attached. Somehow.

The thing is, I’m only going to be feeding for maybe another six months, so I thought it’d be good to be able to unpick the yoke and sew the straps in properly later on. Making button holes would look messy. I decided on heavy duty press studs, although after a good search, I realised I didn’t have any.

This meant a trip to the closest purveyor of sewing supplies, located in the local shopping centre. Which should be quick and painless, but is never, ever quick and painless with my two kids in tow. I avoid shopping centres like the plague.

So, I figured I’d just make something to attach the straps. I’ve been mucking around with hammering copper wire to use with some of my dyed textiles. I thought about how I could use the wire to make a kind of buckle. Easy to get on and off and strong. Unlikely to come apart if pulled by little hands, an advantage over press studs.

My first design resulted in a buckle that came undone a little too easily. So I revised my original idea and came up with this.

It’s not perfect, it bothers me that there’s bit of white stripe that peeks out under the front yoke.
And even though I thought I was being clever matching the stripes on the dress front and yoke when cutting, I forgot that the front is gathered, thus they don’t match and I shouldn’t have bothered. Some 
of my stitching is quick and not as neat as I’d like. I too am learning to let these things go.

But the buckles work brilliantly and (I think) they’re pretty! Throughly road tested over the last week, I’m pleased to report, my beautiful new dress keeps me and my baby happy.

Hooray for making things!

In I Made This, Guest Post
5 Comments

Best Of - Scout Tee

November 19, 2014 thecraftsessions
Size 6 with a modified neck, longer sleeve and slightly shorter. 

Size 6 with a modified neck, longer sleeve and slightly shorter. 

My first four Scout Tees

My first four Scout Tees

Yesterday's post was headed with an image of a Scout Tee but I'm so excited about this top I just had to run with it today also. Today's Best Of is the Scout Tee that came out of Grainline Studio a few years ago. We ran a workshop on this tee at our September 2014 Retreat - always a pretty good indication of my love of something - but this has to be one of my all time favourite grownup patterns. I have four in my wardrobe that are everyday clothes for me, and there are now hundreds of versions of it on the web for you to peruse for inspiration*. They are now my goto top, as an alternative to the knit t-shirts of my younger years. 

As always - let's talk about why I have such a deep love for it.

But quickly before we do let's have a quick chat about today's photos. Please be aware these shirts are not shown in their best "light" - I just don't want to put you off. It was a last minute decision to talk about them today, mainly because I am so excited by my new one. The light was fading. I haven't ironed them. I asked my partner to quickly take the photos, as they were tricky for me to capture with my normal mirror tricks. He was cooking dinner at the time and did a small amount of c@#^#$@ing. The Nani Iro blue/green stripe one is caught on the singlet I have underneath, and is stuck on the left boob giving it a weird shape but I couldn't get another photo. I did my best under the circumstances ;).

Nani Iro Size 6 (so 10 Aus). 

Nani Iro Size 6 (so 10 Aus). 

Grey check from Tessuti I think in a Size 8 (so 12 Aus).

Grey check from Tessuti I think in a Size 8 (so 12 Aus).

Flattering to nearly everyone.

I have seen this made up by people of many different shapes and sizes and it seems to suit most people. It fits really well around the shoulders - if you get the sizing right - and has a slight a-line flare to it that skims over your middle without swamping and it covers the I've-had-three-babies-squishyness. I love the shape. 

Sizing is forgiving

The Nani Iro stripes on the left is a size 6 (so 10 Aus) and the grey is a size 8 (so 12 Aus). While the grey one is actually too big across the shoulders, it still fits and looks great, I think in part because the fabric is very light, but also because of the forgiving nature of the pattern. I now make a 6. 

Comes together quickly and easily

There are no darts or buttons or zips or anything tricky at all really. A front, back and two sleeves. Sew the front to the back, put binding around the neck, insert the sleeves, hem the sleeves and hem the bottom. I can make one in a couple of hours and get years of joy. What is not to love.

Great for beginners

Due to the "comes together quickly and easily" point, it is great for beginners. Jen has put up a wonderful tutorial on her site about how to do the neck binding that I recommend for any binding anywhere. Understitching is the ace-est bit of sewing you may ever do. This is the method I now use when making the Wiksten Tank for the neck and the sleeves. No rolling and perfectly flat. If you are a beginner just remember to tuck the raw edge all the way to the seam line. This gives you an even binding all the way around the neck. 

Inside out to show you the spectacular binding.

Inside out to show you the spectacular binding.

Finished beautifully

Due to the binding. And you can easily french seam the sides if you want to. 

Easily modifiable.

I now modify mine to suit my personal preferences. I like a slightly less square neckline which means that I move the neckline at the shoulder seam about a cm or so towards the arm. A very simple adjustment. I then measure the extra bias I would need by measuring the existing neckline and my new neckline and calculating the difference. The bias for my altered version is normally about 2cm more. 

On the last one I made I made it a tad shorter after seeing Belinda's (beautiful Nani Iro) version at The Craft Sessions. I chopped about 1inch off the bottom which seems to work better on me as I am only 5' 4.75" tall. And longer sleeves using Jen's tutorial. I am totally loving this sleeve length. It looks "modern" :). 

FeliciaSemple-11.jpg
Awkward pose to show you how nice the sleeve cap is.

Awkward pose to show you how nice the sleeve cap is.

My liberty version was different again as I made a longer dress-length one that has a scooped back hemline and I also did the full back adjustment on it. I think it makes it a little too full (in dress form) and less flattering (and more sack like) but we live and learn. It is super comfy and the fabric means it is pretty regardless. It isn't ironed in the photos below and looks worse that it looks in real life (I hope!) My lovely friend Christine made a super pretty one with a full back so go have a look at that instead.

Looking a bit like an unironed sack.

Looking a bit like an unironed sack.

It does look a bit better in real life I think :).

It does look a bit better in real life I think :).

It also looks great with a different back. My Nani Iro one is backed with linen as I only had a tiny piece which was enough for the front and sleeve fabric. There are also some posts on Grainline about making a knit version of the Scout Tee if that takes your fancy. 

Incredibly wearable

This pattern is the perfect everyday staple, especially my linen one and the grey one. I'm now thinking I might make a half sleeve chambray one next. Maybe with a pocket, or some random stitching a-la-boro style around the neck, or maybe stitching on the pocket….ooooh that sound pretty. That said, the pattern's simplicity also lends itself to a super loud print. 

So go make one. You know you want to. 

And a big shout out to the wonderful Jen from Grainline for coming up with the goods. Grainline is a pattern range that is full of patterns that are incredibly well written and thoughtful. Her website is a treasure trove of sewing tutorials, pattern tutorials and all manner of helpful info. The woman has style.

Felicia x

*I couldn't get the link for some reason but you should do your own google images search for the Scout Tee to see many many more.

In Best Of
19 Comments
← Newer Posts Older Posts →

Welcome! I'm Felicia - creator of The Craft Sessions and Soul Craft Festival.

This blog aims to celebrate the connection between hand-making and our well-being.
These posts aim to foster a love of hand-making and discuss the ways domestic handcrafts elevate our everyday.

I love the contributions you make to this space via your comments and learn so much from each and every one. x

Thoughts On Craft

Simple Sewing 101

Stash Less

The RetreaT

Featured
Making Fast Fashion: Some More Of The Grey
Apr 19, 2022
Making Fast Fashion: Some More Of The Grey
Apr 19, 2022
Apr 19, 2022
Is My Making Fast Fashion?
Apr 12, 2022
Is My Making Fast Fashion?
Apr 12, 2022
Apr 12, 2022
Why Gauge Matters
Apr 5, 2022
Why Gauge Matters
Apr 5, 2022
Apr 5, 2022
Craft As Simple Mundane Forward Movement
Mar 29, 2022
Craft As Simple Mundane Forward Movement
Mar 29, 2022
Mar 29, 2022
Craft As A Virtuous Cycle*
Mar 22, 2022
Craft As A Virtuous Cycle*
Mar 22, 2022
Mar 22, 2022
Craft & The Slow Nostalgic Finish
Mar 15, 2022
Craft & The Slow Nostalgic Finish
Mar 15, 2022
Mar 15, 2022

popular posts

Craft As A Project V’s Craft As A Practice

Our Fear Of Going Back

Making Is Not Inherently Creative

Why All Crafters Need A Visual Diary

Craft As A Manifestation Of Love And Loss

Moving On From Perfectionism

The Secret To Becoming A Great Knitter!

Simple Sewing 101 - Part 1

Craft In The Middle Of Motherhood

Another #theyearofthescrap #ellenscardigan using some #oldmaidenaunt alpaca silk from many years ago. What I love about this little cardy is it’s simplicity and how little yarn it uses. Perfect for scrap knitting. I now have a little pile of ba
New blog post: Craft as elevating the mundane! I think this idea is so important. 🌿 'Making is about enriching the moments of our lives; it’s about making the mundane (and not the extraordinary) more abundant and that bit more lush…. el
Block 8/12 - I’m so excited to be back making this for my smallest for her 10th birthday. It’s a #stash_less #theyearofthescrap quilt that is based on an incredible #geesbend quilt. And it’s all scraps and precious bits and pieces.
Another #theyearofthescrap #ellenscardigan using some #oldmaidenaunt alpaca silk from many years ago. What I love about this little cardy is it’s simplicity and how little yarn it uses. Perfect for scrap knitting. I now have a little pile of ba New blog post: Craft as elevating the mundane! I think this idea is so important. 🌿 'Making is about enriching the moments of our lives; it’s about making the mundane (and not the extraordinary) more abundant and that bit more lush…. el Block 8/12 - I’m so excited to be back making this for my smallest for her 10th birthday. It’s a #stash_less #theyearofthescrap quilt that is based on an incredible #geesbend quilt. And it’s all scraps and precious bits and pieces.
The Blog Archives!
  • April 2022
  • March 2022
  • February 2022
  • December 2021
  • March 2021
  • February 2021
  • November 2020
  • July 2020
  • June 2020
  • May 2020
  • April 2020
  • March 2020
  • February 2020
  • December 2019
  • March 2019
  • February 2019
  • January 2019
  • December 2018
  • November 2018
  • October 2018
  • August 2018
  • July 2018
  • May 2018
  • April 2018
  • March 2018
  • February 2018
  • January 2018
  • December 2017
  • November 2017
  • October 2017
  • September 2017
  • August 2017
  • July 2017
  • June 2017
  • May 2017
  • April 2017
  • March 2017
  • February 2017
  • January 2017
  • November 2016
  • October 2016
  • September 2016
  • August 2016
  • July 2016
  • June 2016
  • May 2016
  • April 2016
  • March 2016
  • February 2016
  • January 2016
  • December 2015
  • November 2015
  • October 2015
  • September 2015
  • August 2015
  • July 2015
  • June 2015
  • May 2015
  • April 2015
  • March 2015
  • February 2015
  • January 2015
  • December 2014
  • November 2014
  • October 2014
  • September 2014
  • August 2014
  • July 2014
  • June 2014
  • May 2014
  • April 2014
  • March 2014
  • February 2014
  • January 2014
  • December 2013
  • November 2013
  • October 2013
  • September 2013
  • August 2013
  • July 2013
  • June 2013
Featured
Making Fast Fashion: Some More Of The Grey
Apr 19, 2022
Making Fast Fashion: Some More Of The Grey
Apr 19, 2022
Apr 19, 2022
Is My Making Fast Fashion?
Apr 12, 2022
Is My Making Fast Fashion?
Apr 12, 2022
Apr 12, 2022

We Live and work on the traditional lands of the Wurundjeri people of the Kulin nation.
We acknowledge that sovereignty was never ceded and pay our respect to elders past, present and emerging.

Copyright the Craft Sessions 2020

Logo designed by the lovely Mara of Printspace and Girling Design