Another new ongoing mini-series prompted and inspired by the lovely Jen and Martine - my mates who I have been assisting through the process of beginner knitting. Working with them has made me realise that there are so many things about knitting (and also sewing but that is for another day) that it isn't possible to learn in books. And it is really valuable stuff. The kind of stuff you learn from experience and experimenting. From being in the right place at the right time with the right knitter. Or picking a pattern that usefully tells you how to do something. So much of knitting is assumed knowledge and I am only realising through working with them all that I actually know more than I think I do. It's the little things.
And so I have decided that occasionally, as I think of them, I will write them down for you in the hope they help you.
First up we are going to do counting. An oft overlooked annoying point for knitters. Counting stitches, counting gauge and counting rows. I can make it easier.
1. Counting stitches
This is possibly the best "trick" I know and it isn't even a trick. But it will change your life if you are a knitter!
I have no idea if I made it up or I read it somewhere. My apologies for not crediting the genius that came up with it (if there was one), but I have been doing it so long I don't know to not do it y'know?
Doing a stitch count to check you are on track is one of the only times where I condone counting in knitting. Generally I think you should learn to read your knitting and so there should be little reason to count. Stitch counts here and there however, are essential. Really important.
The number of times early on I had to count my 300 stitches (my first project was Birch) and kept loosing count, over and over and over again and taking for-e-ver. Well you probably don't need the details. Incredibly frustrating, 1,2,3,4,5, .....145,146.....
Later in my knitting career I started counting in twos. 2,4,6,...you get the picture. Still loosing count and still wasting my life and my knitting time.
So the trick! - the trick is to count in FIVES!! Yes fives. I swear this is life changing.
Your eyes can actually clock five stitches at a time. They really can - five stitches look a certain way. They make sense to the eyes and make it so much quicker to count and much much harder to loose your place. You may need a small amount of practice but you can pick this up really quickly and it will save you SOO much time. All about the joy!
2. Counting your gauge
I often hear of people struggling to count their gauge and so I thought I would share what I do which makes it super easy. You just need a few sewing pins, a ruler or tape measure of some description and you are good to go.
Lay your swatch on a bed/couch/something firm but squishy. Take out your tape measure and lie it towards the top of your swatch. Make sure that you follow the line of stitches across from your first stitch so you are measuring along the same row and not crossing rows.
Mark out the start and finish of your 10cm/4" with pins making sure that you start on the left hand side of a V - see our Learn to Read Your Knitting post - Part 1 if this doesn't make sense. Put your final pin in exactly where the 10cm/4inch mark is.

Mark the start and the end, making sure you begin on the left hand side of a V.

I find it easier to use a different colour pin to mark each 5 stitches. Look for the Vs.
Leaving the ruler/tape measure in place put a pin in every 5 stitches. You can do this easier because you know that you are looking for the Vs - right. Five Vs then a pin and then another five Vs etc until you reach the 10cm/4inch mark.
Leave the pins in and then count the number of left over stitches between the last marker for a five and the final pin that marks 10cm/4inches. Make sure that you count 1/2 stitches and even 1/4 stitches at the end if you have them. Be as accurate as you can.
And here is the critical bit....Repeat towards the bottom of the swatch. It also helps if you do it before and after you have washed your swatch. This tells you what gauge you will be getting when you are knitting, as well after it has been blocked.
Here is another example just because ...


This shows that we have 3 and 3/4 stitches in the last bit. Giving us 23.75 stitches as the gauge.

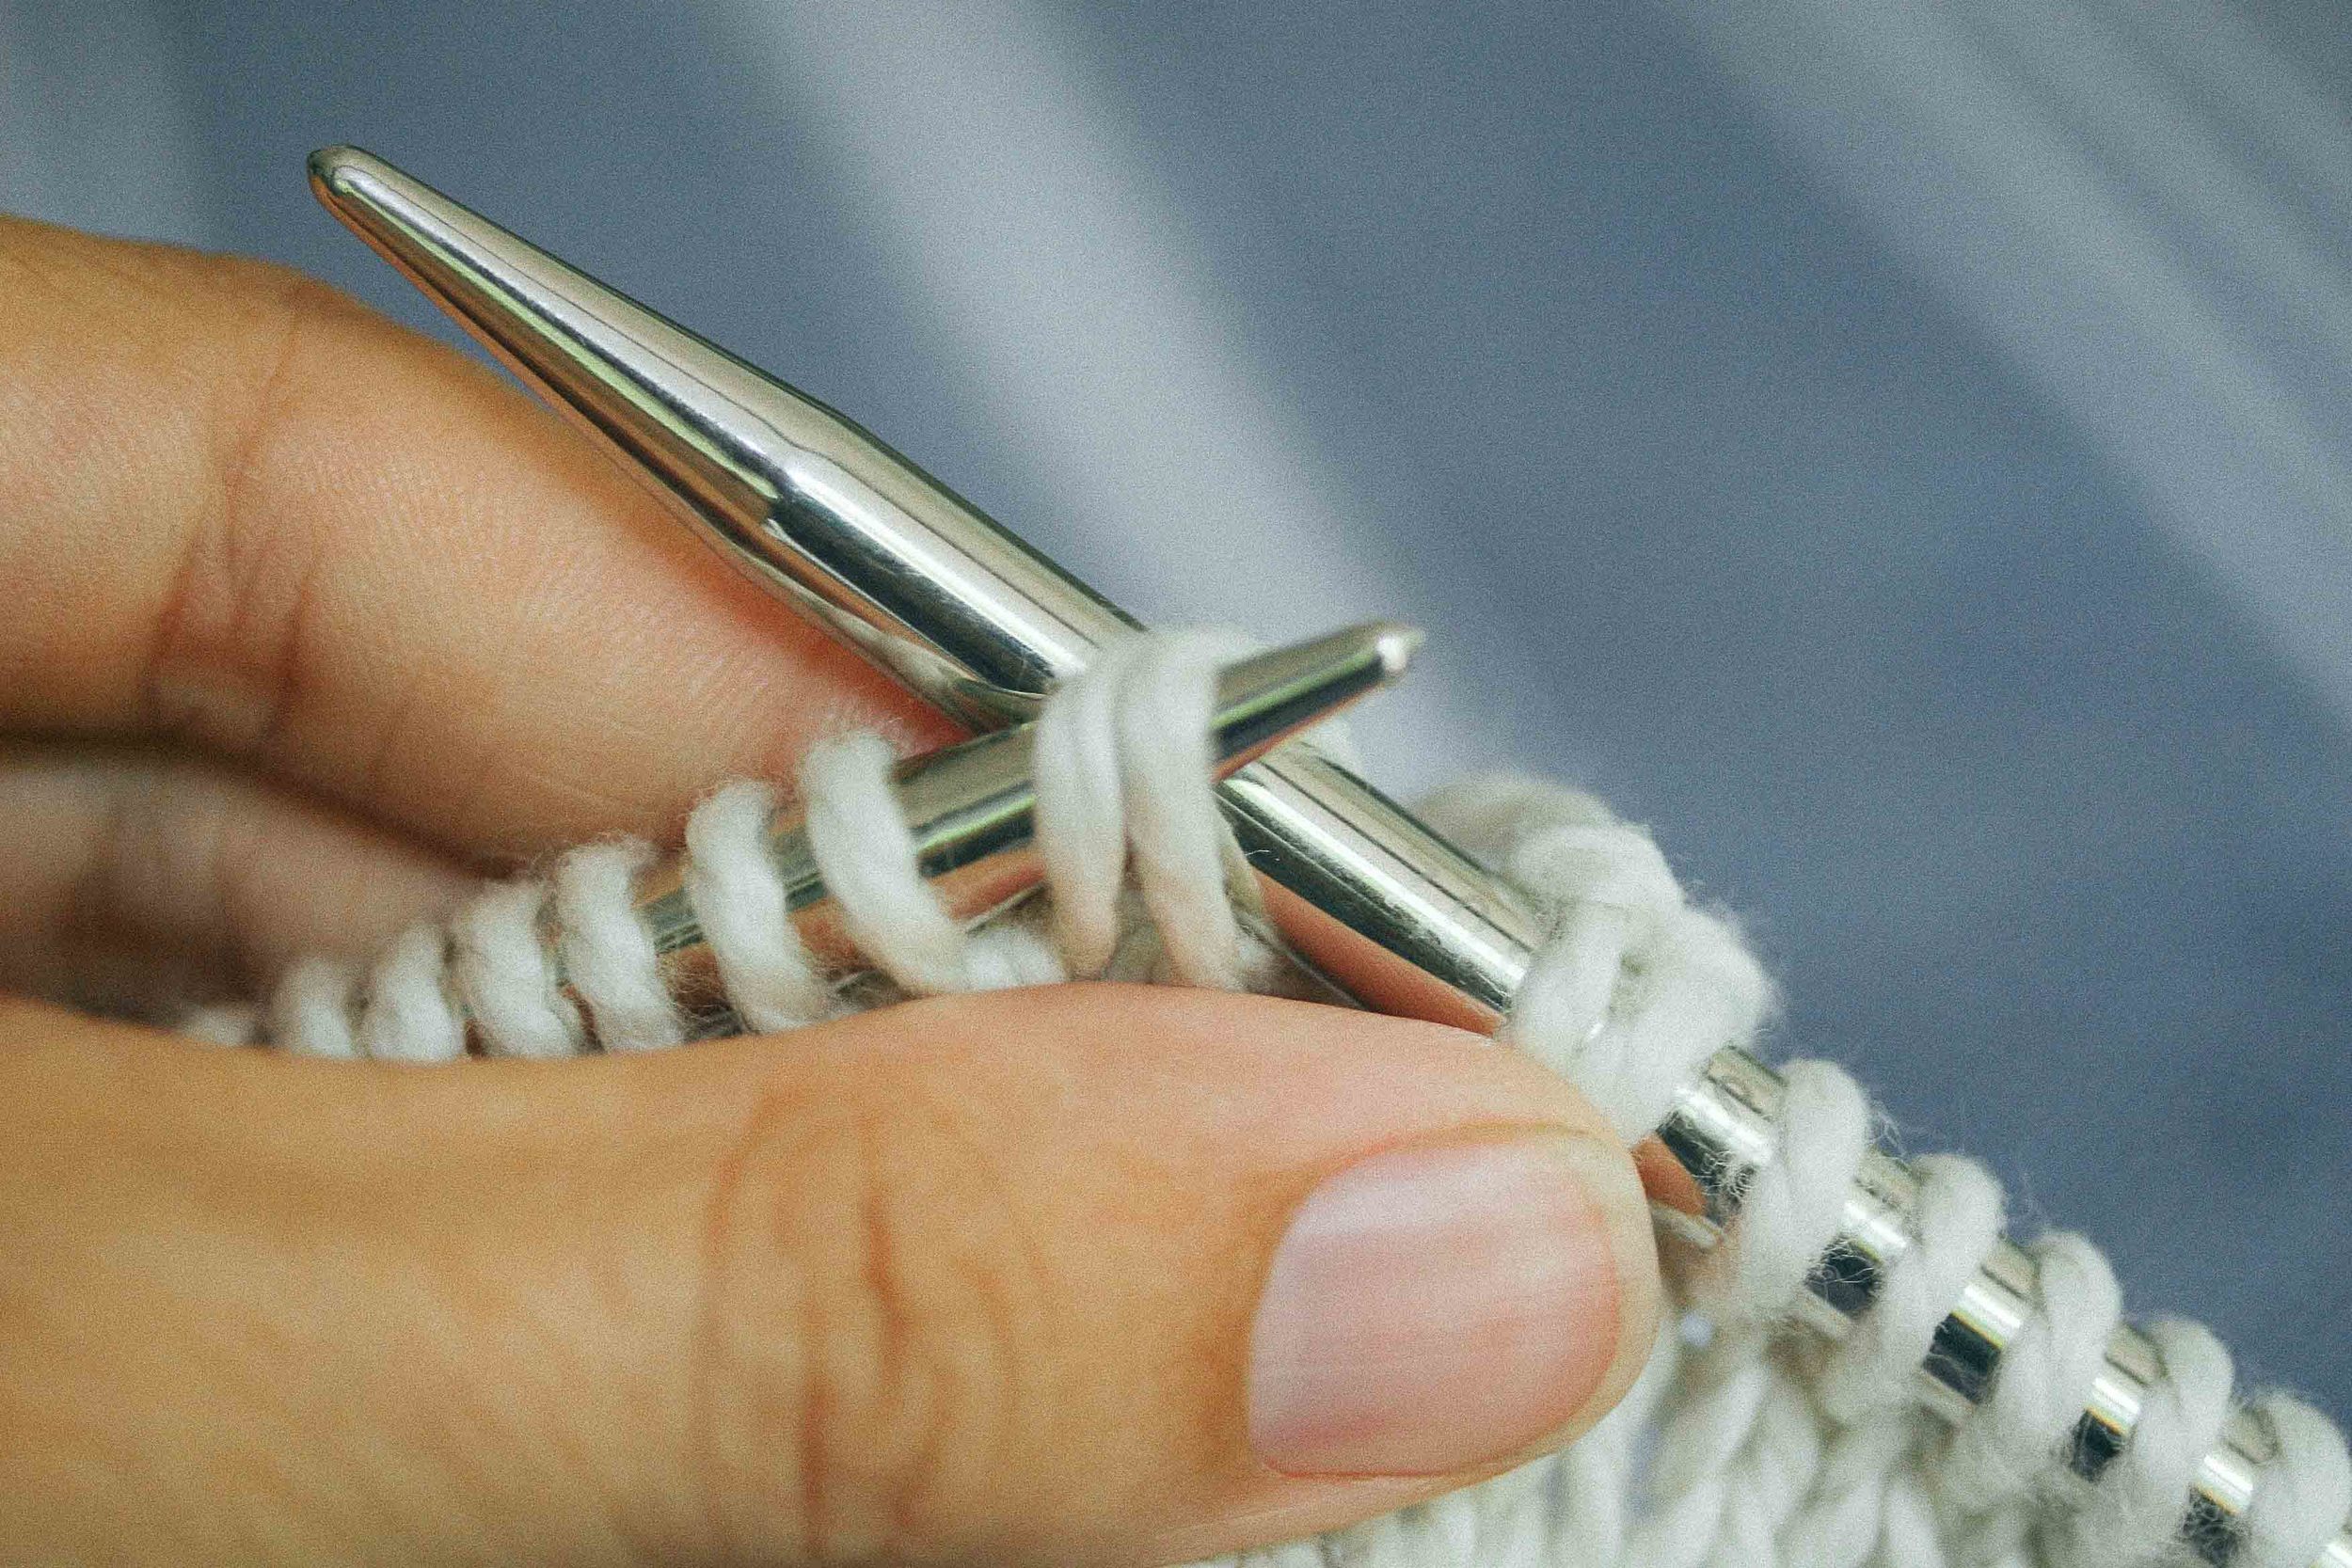
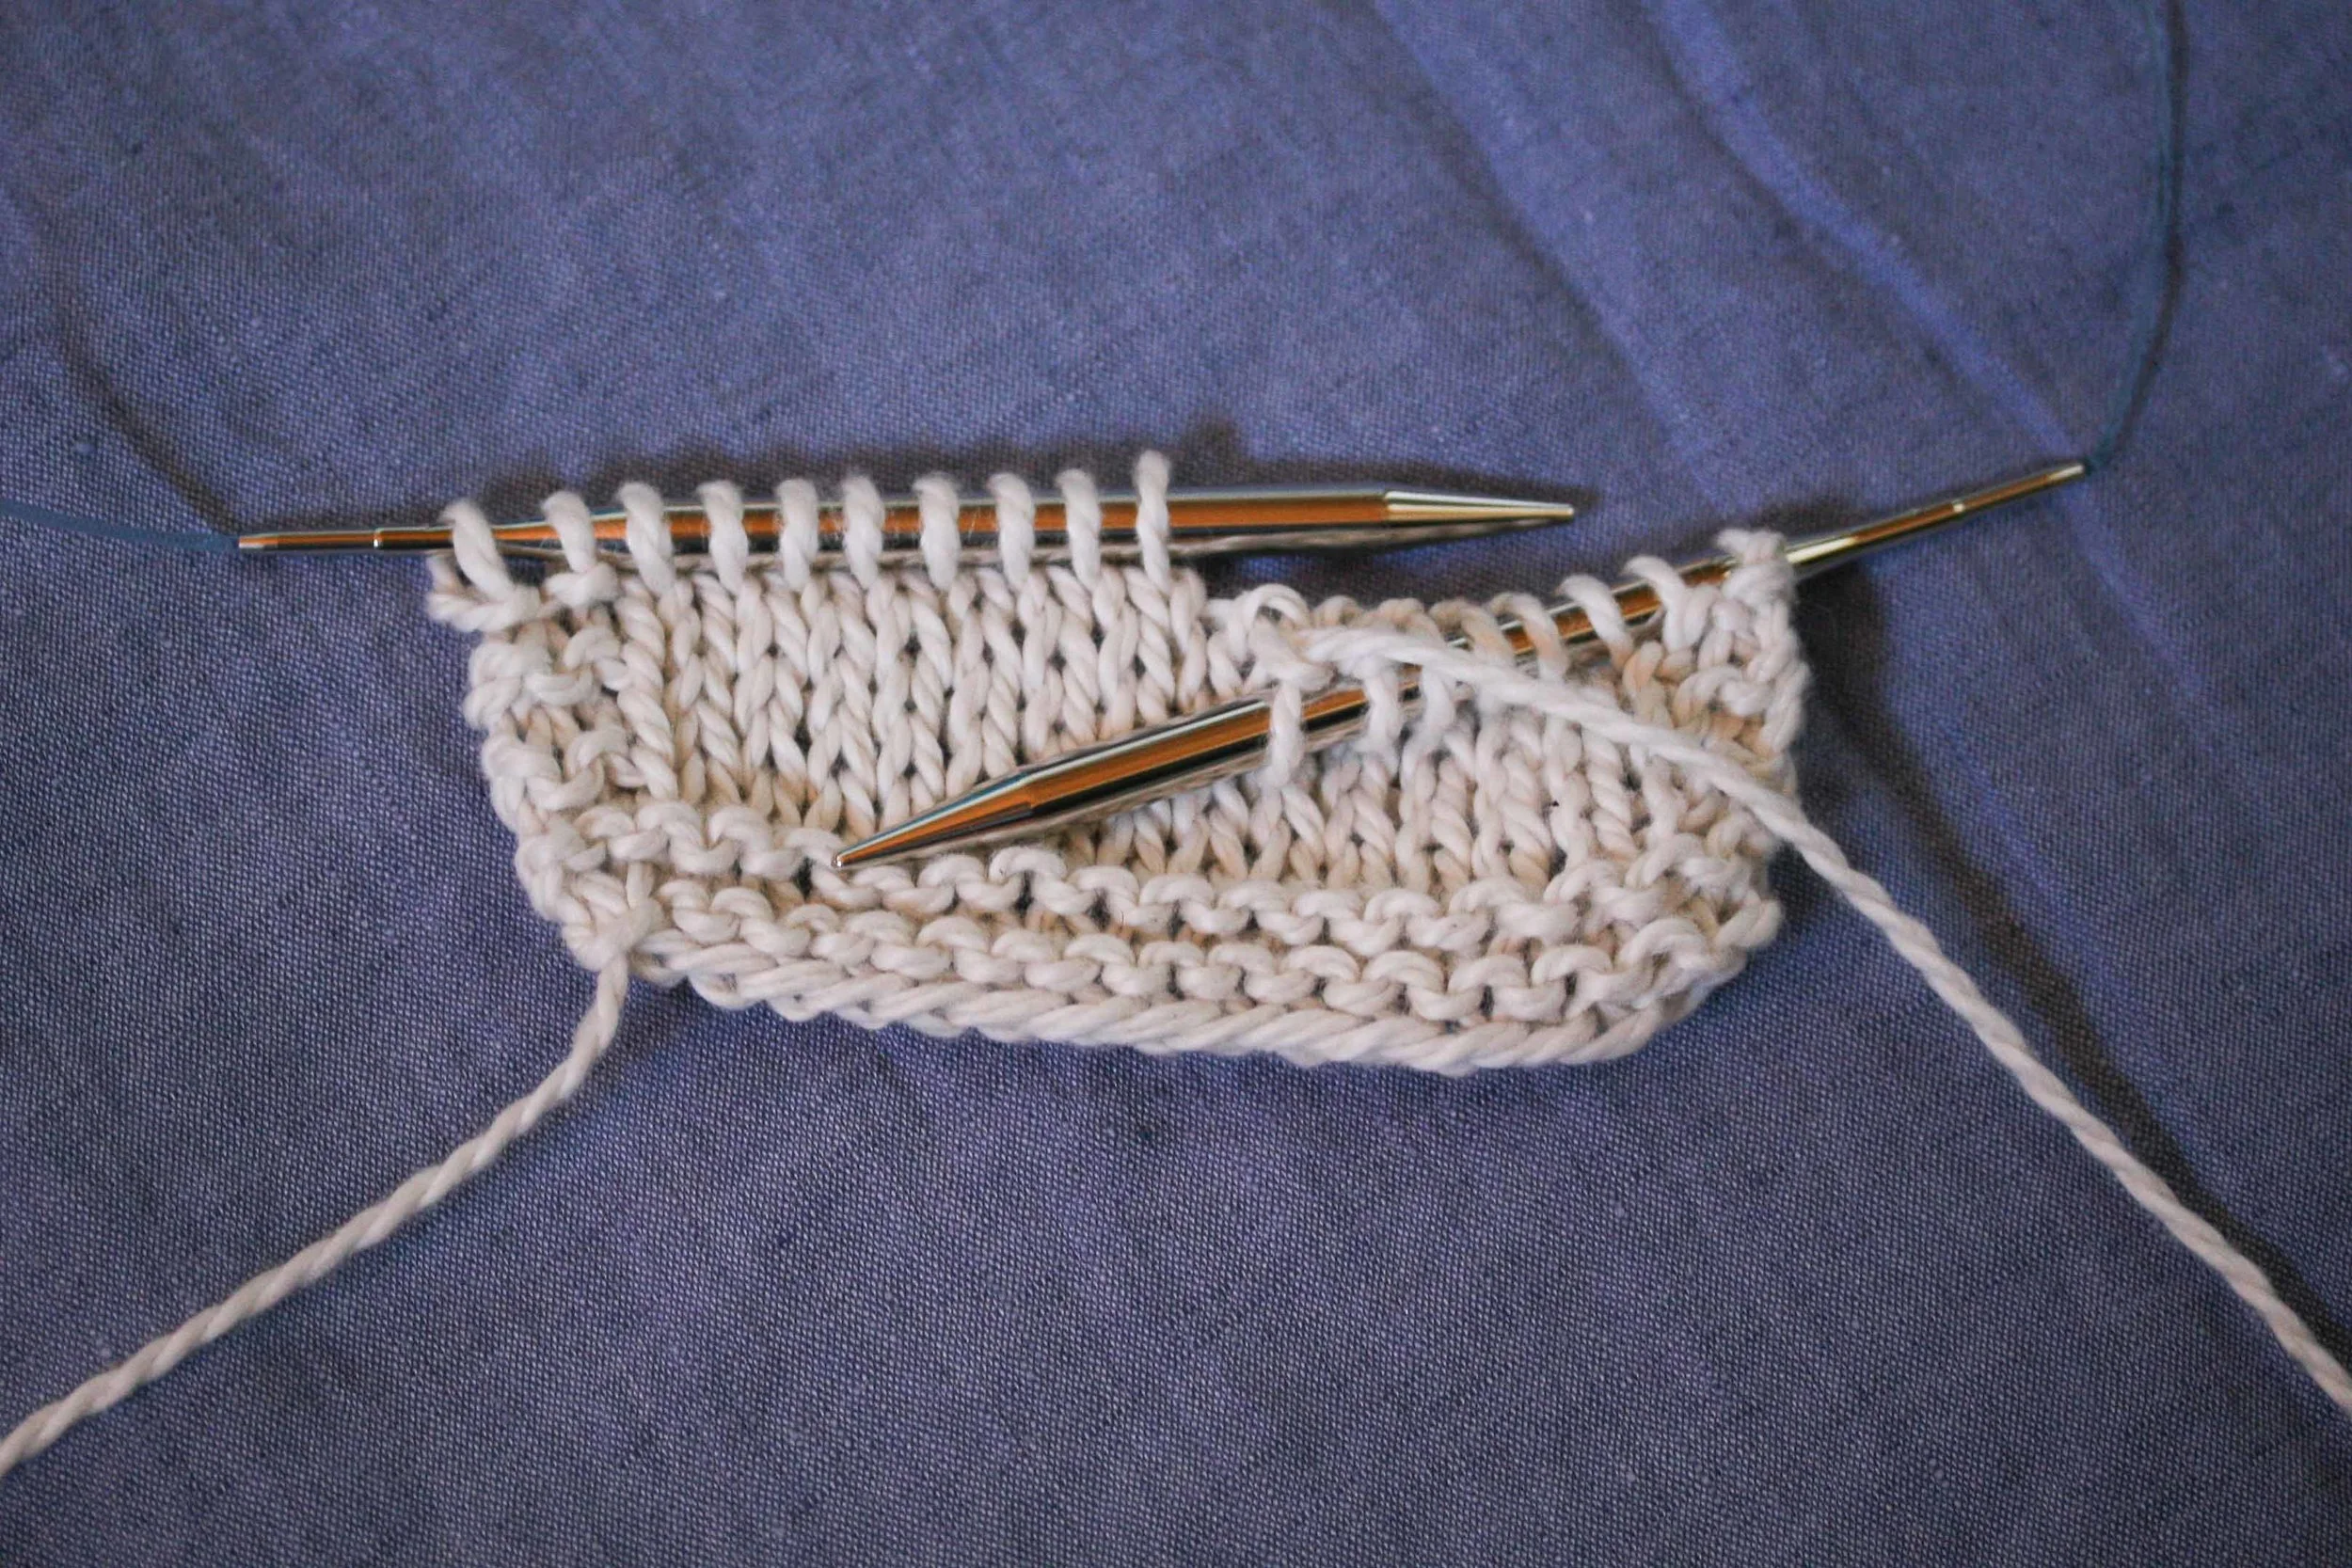
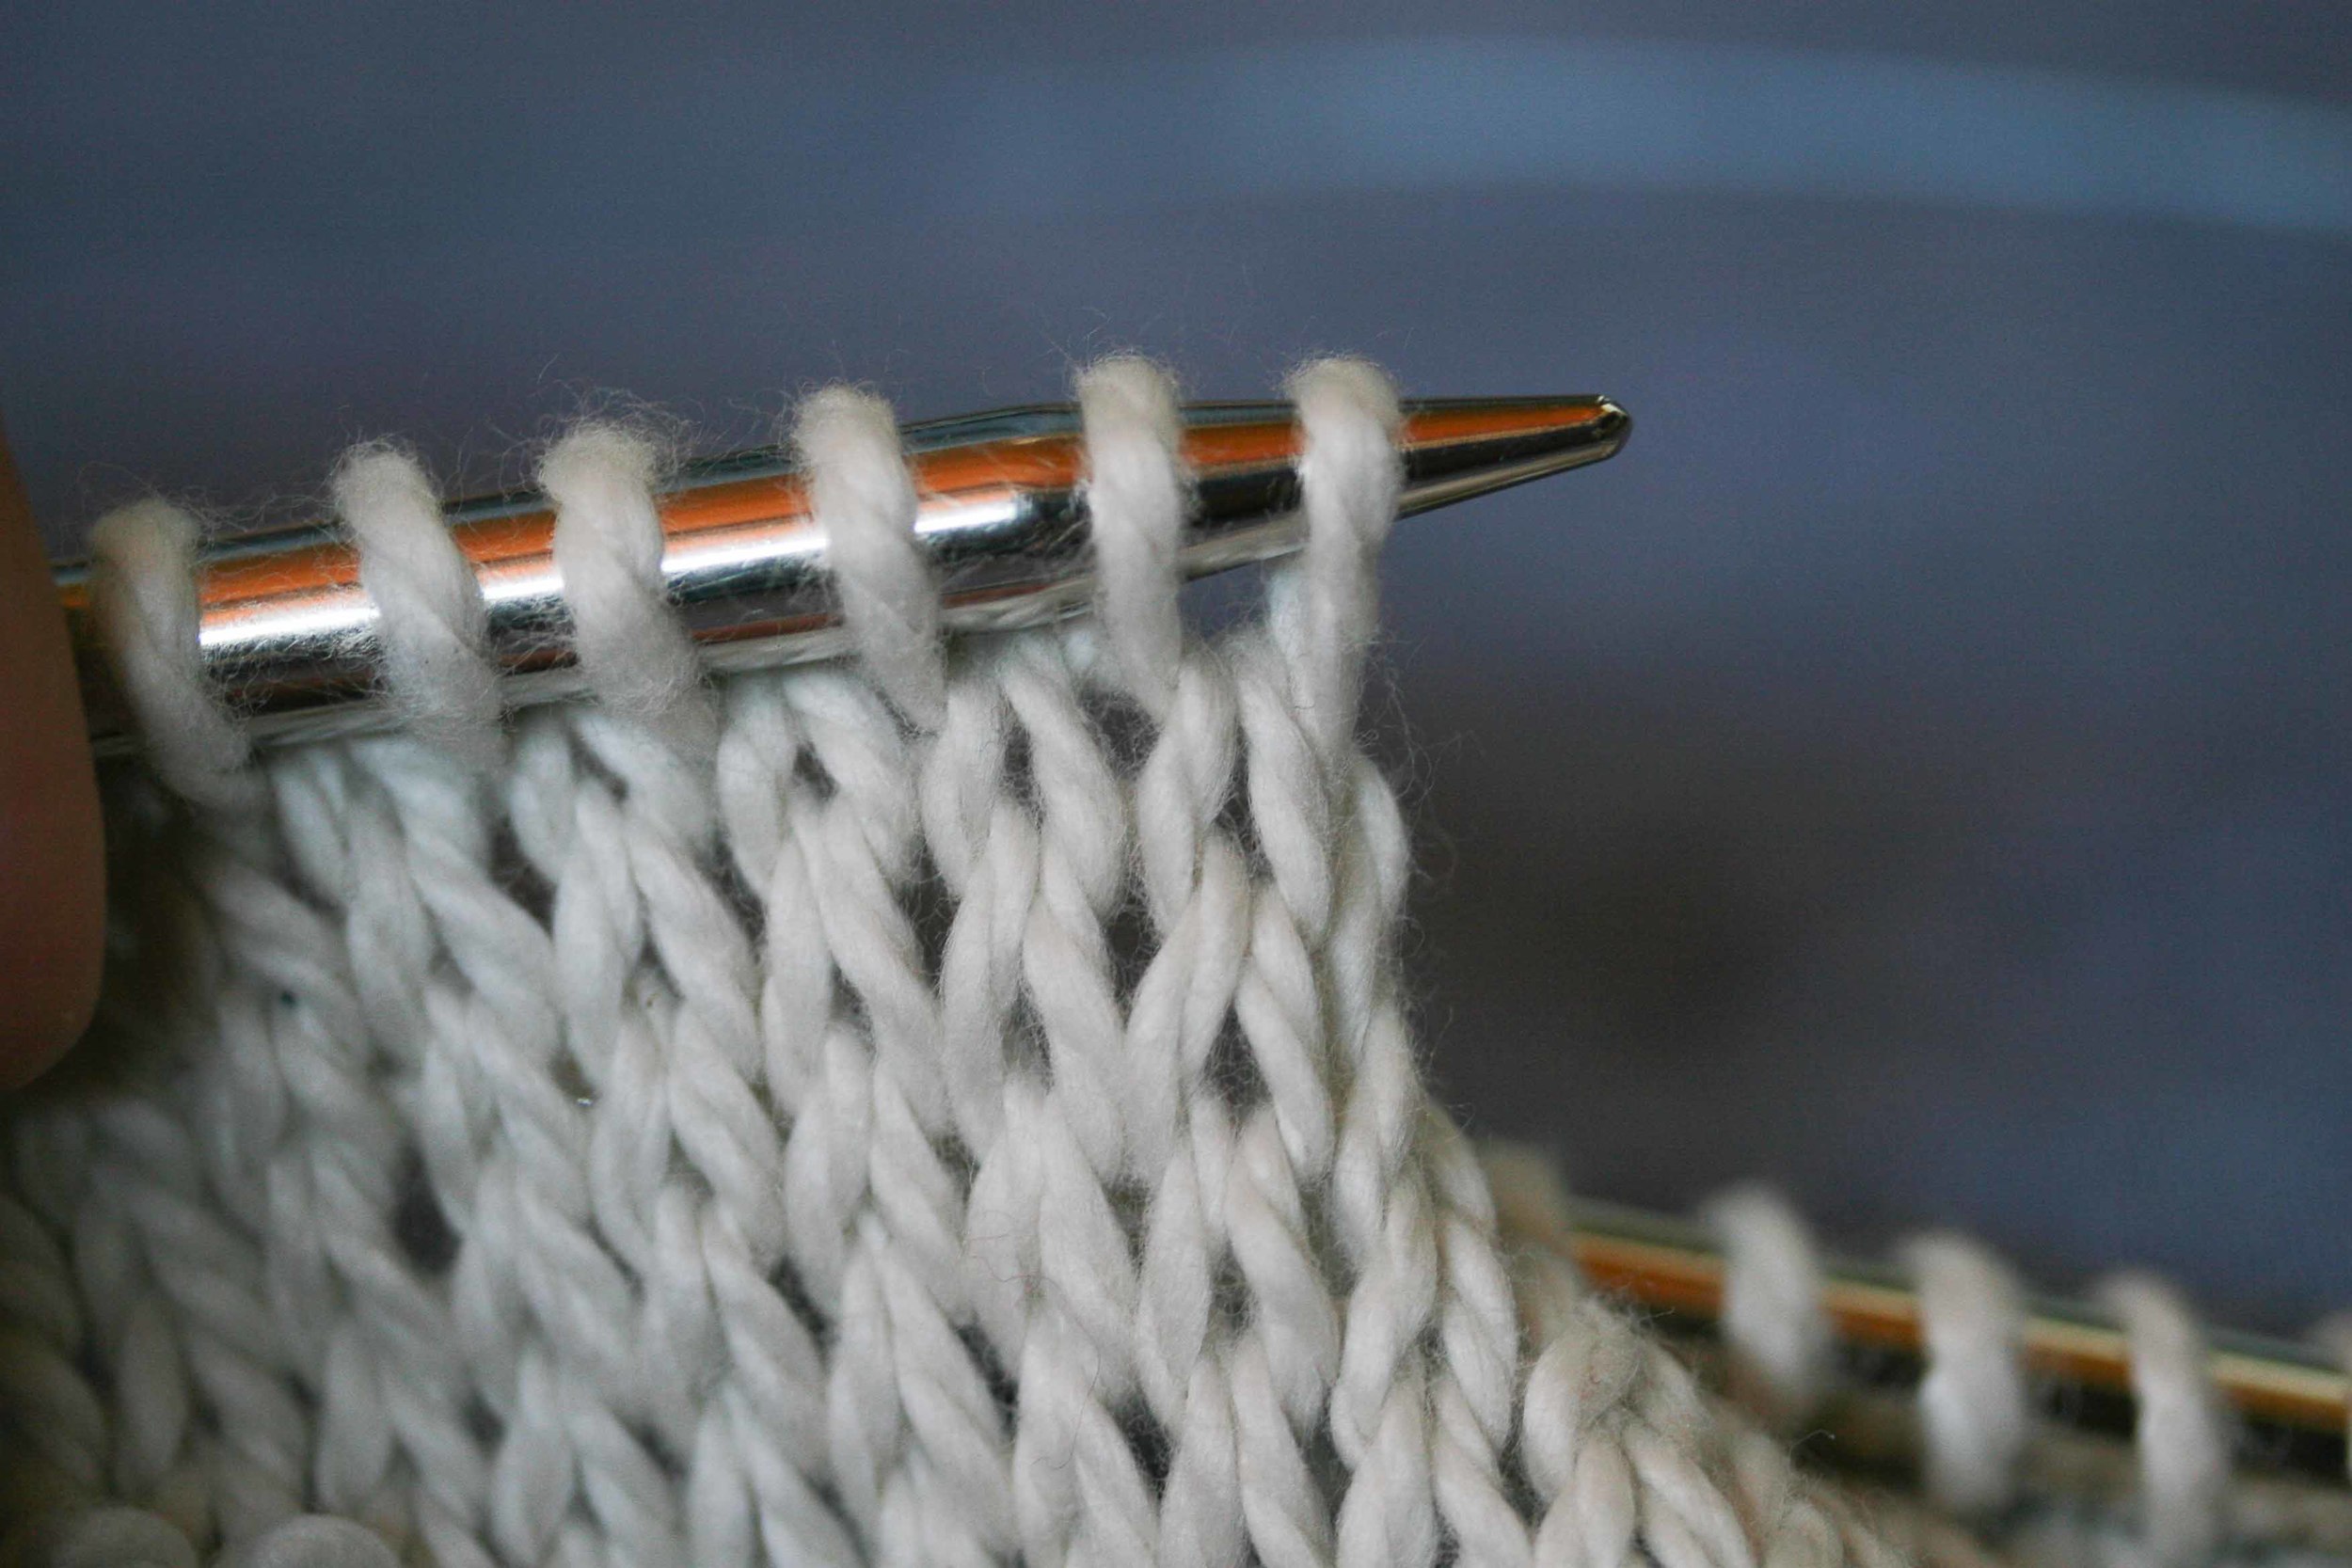
One final example. This large gauge knitting often is tricky because the yarn stretches so much. Make sure it is relaxed when you count. And don't do what I am doing in the picture and counting when it is on the needle....
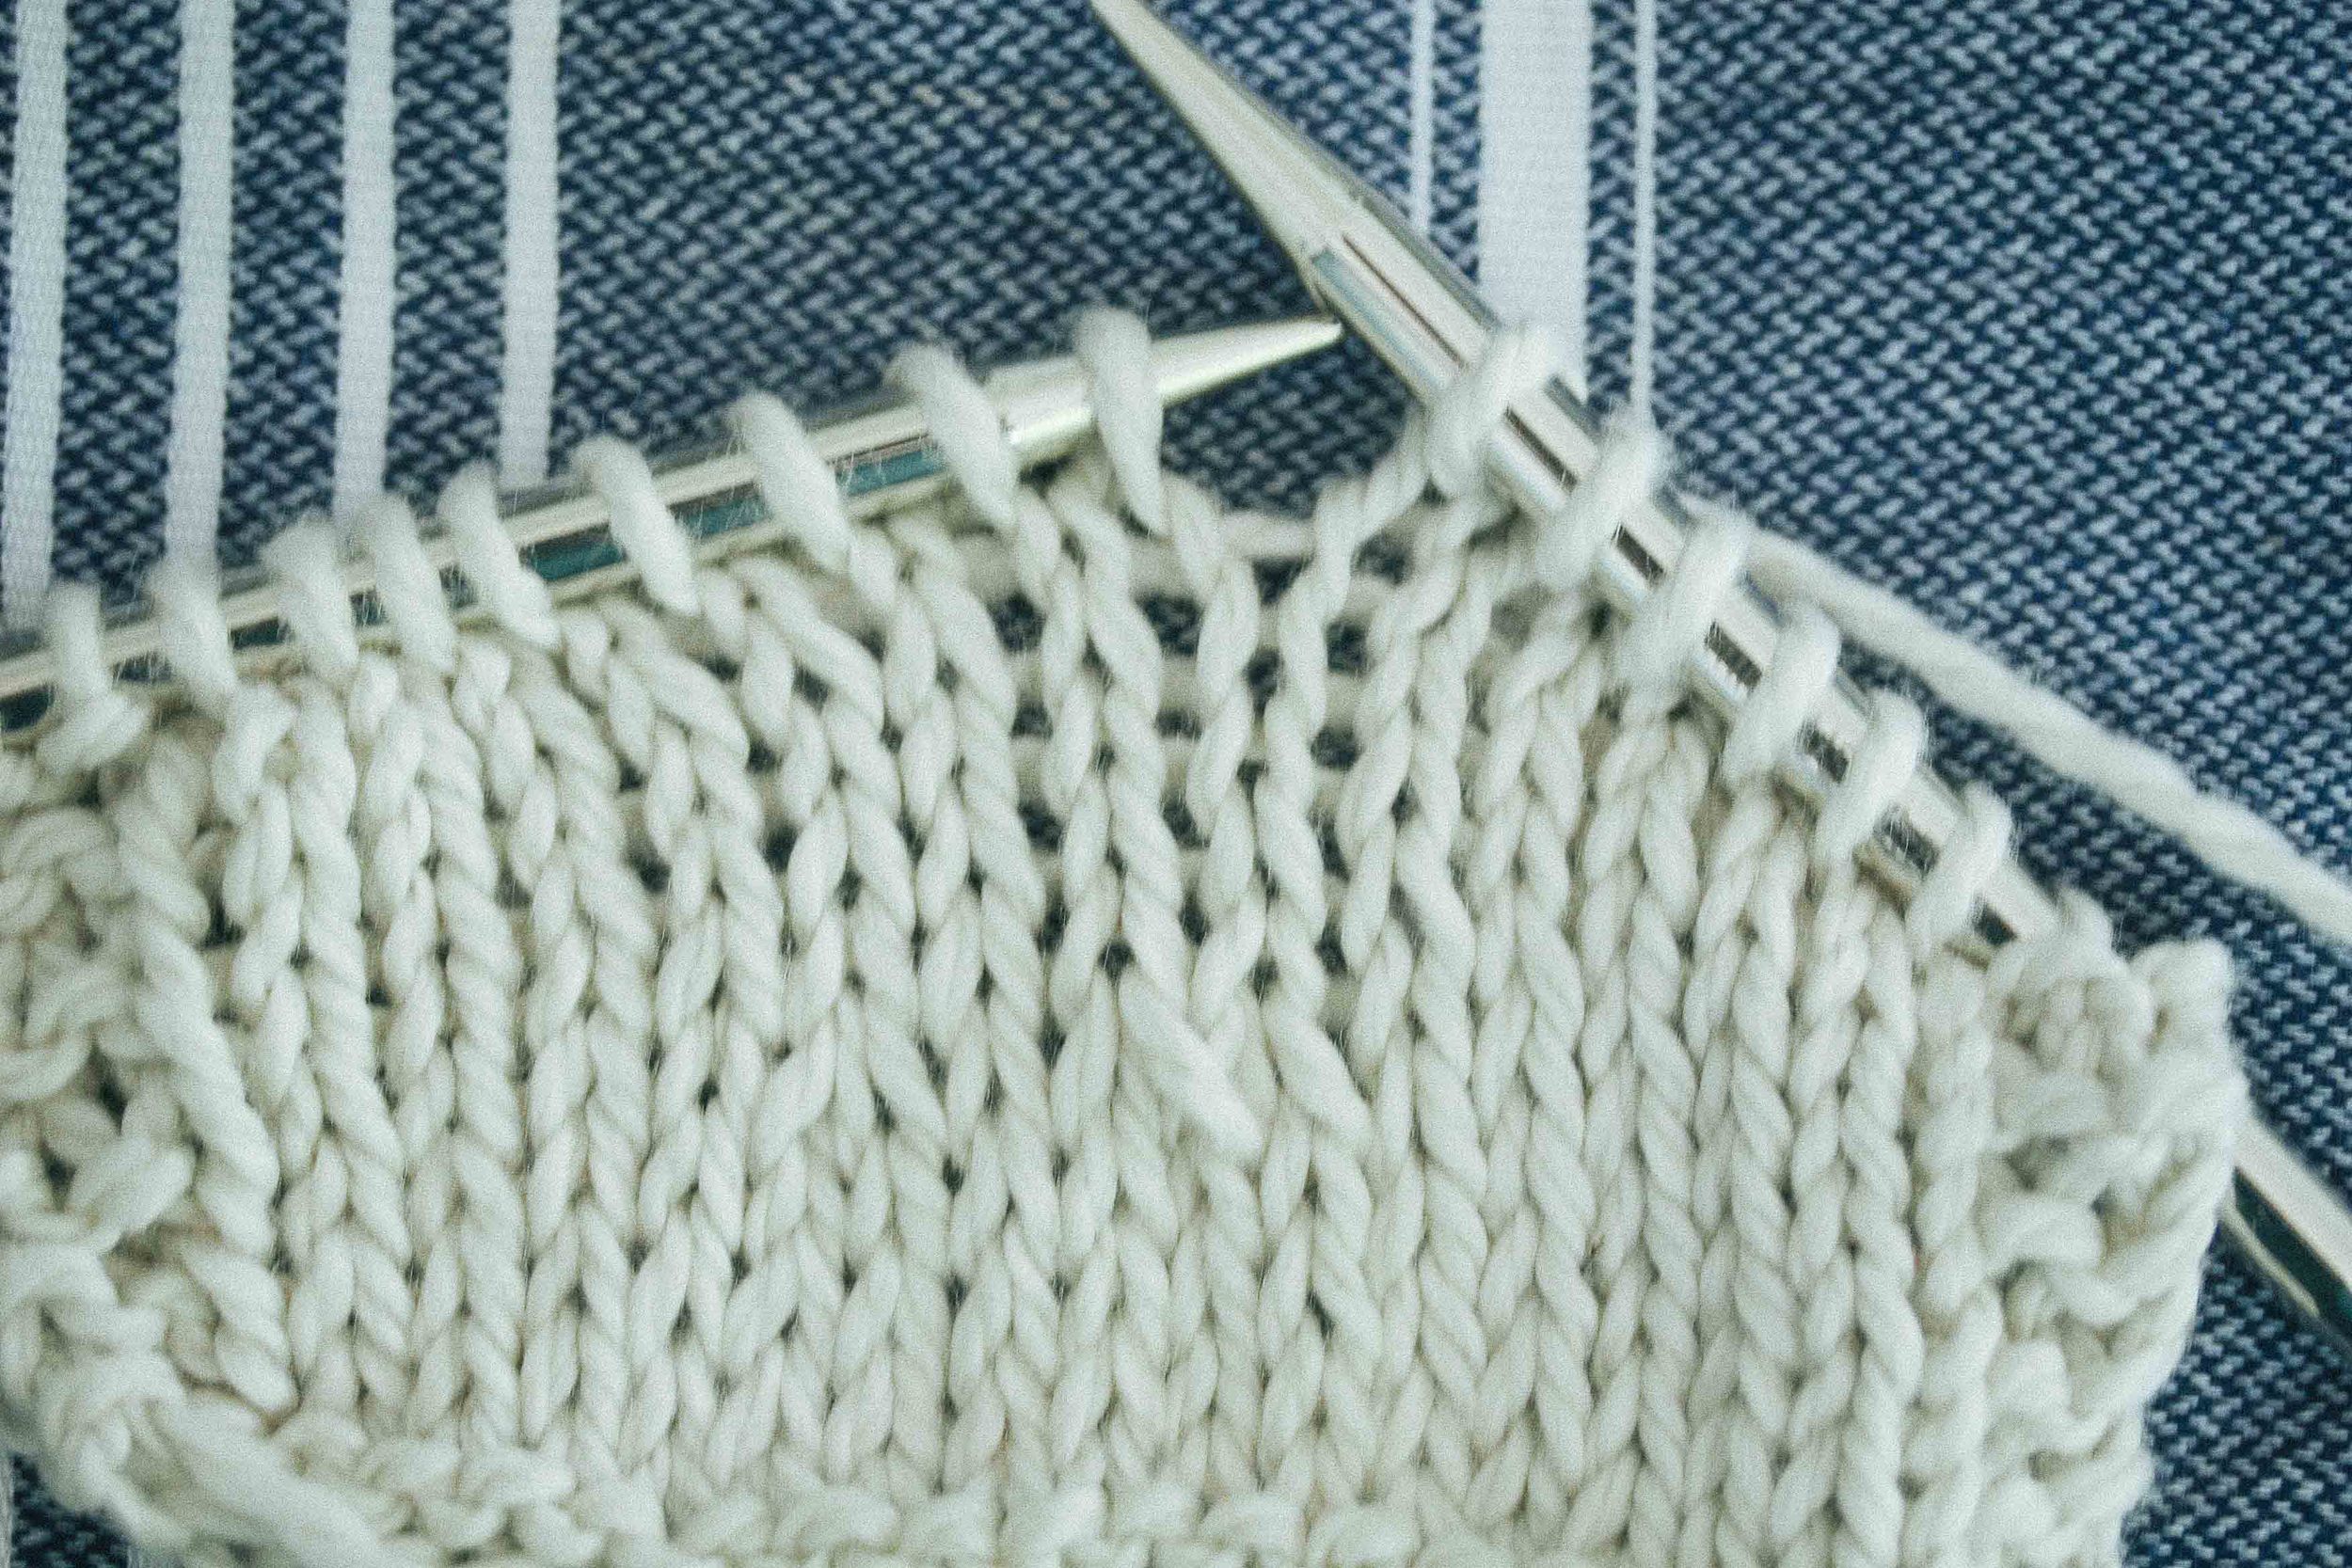
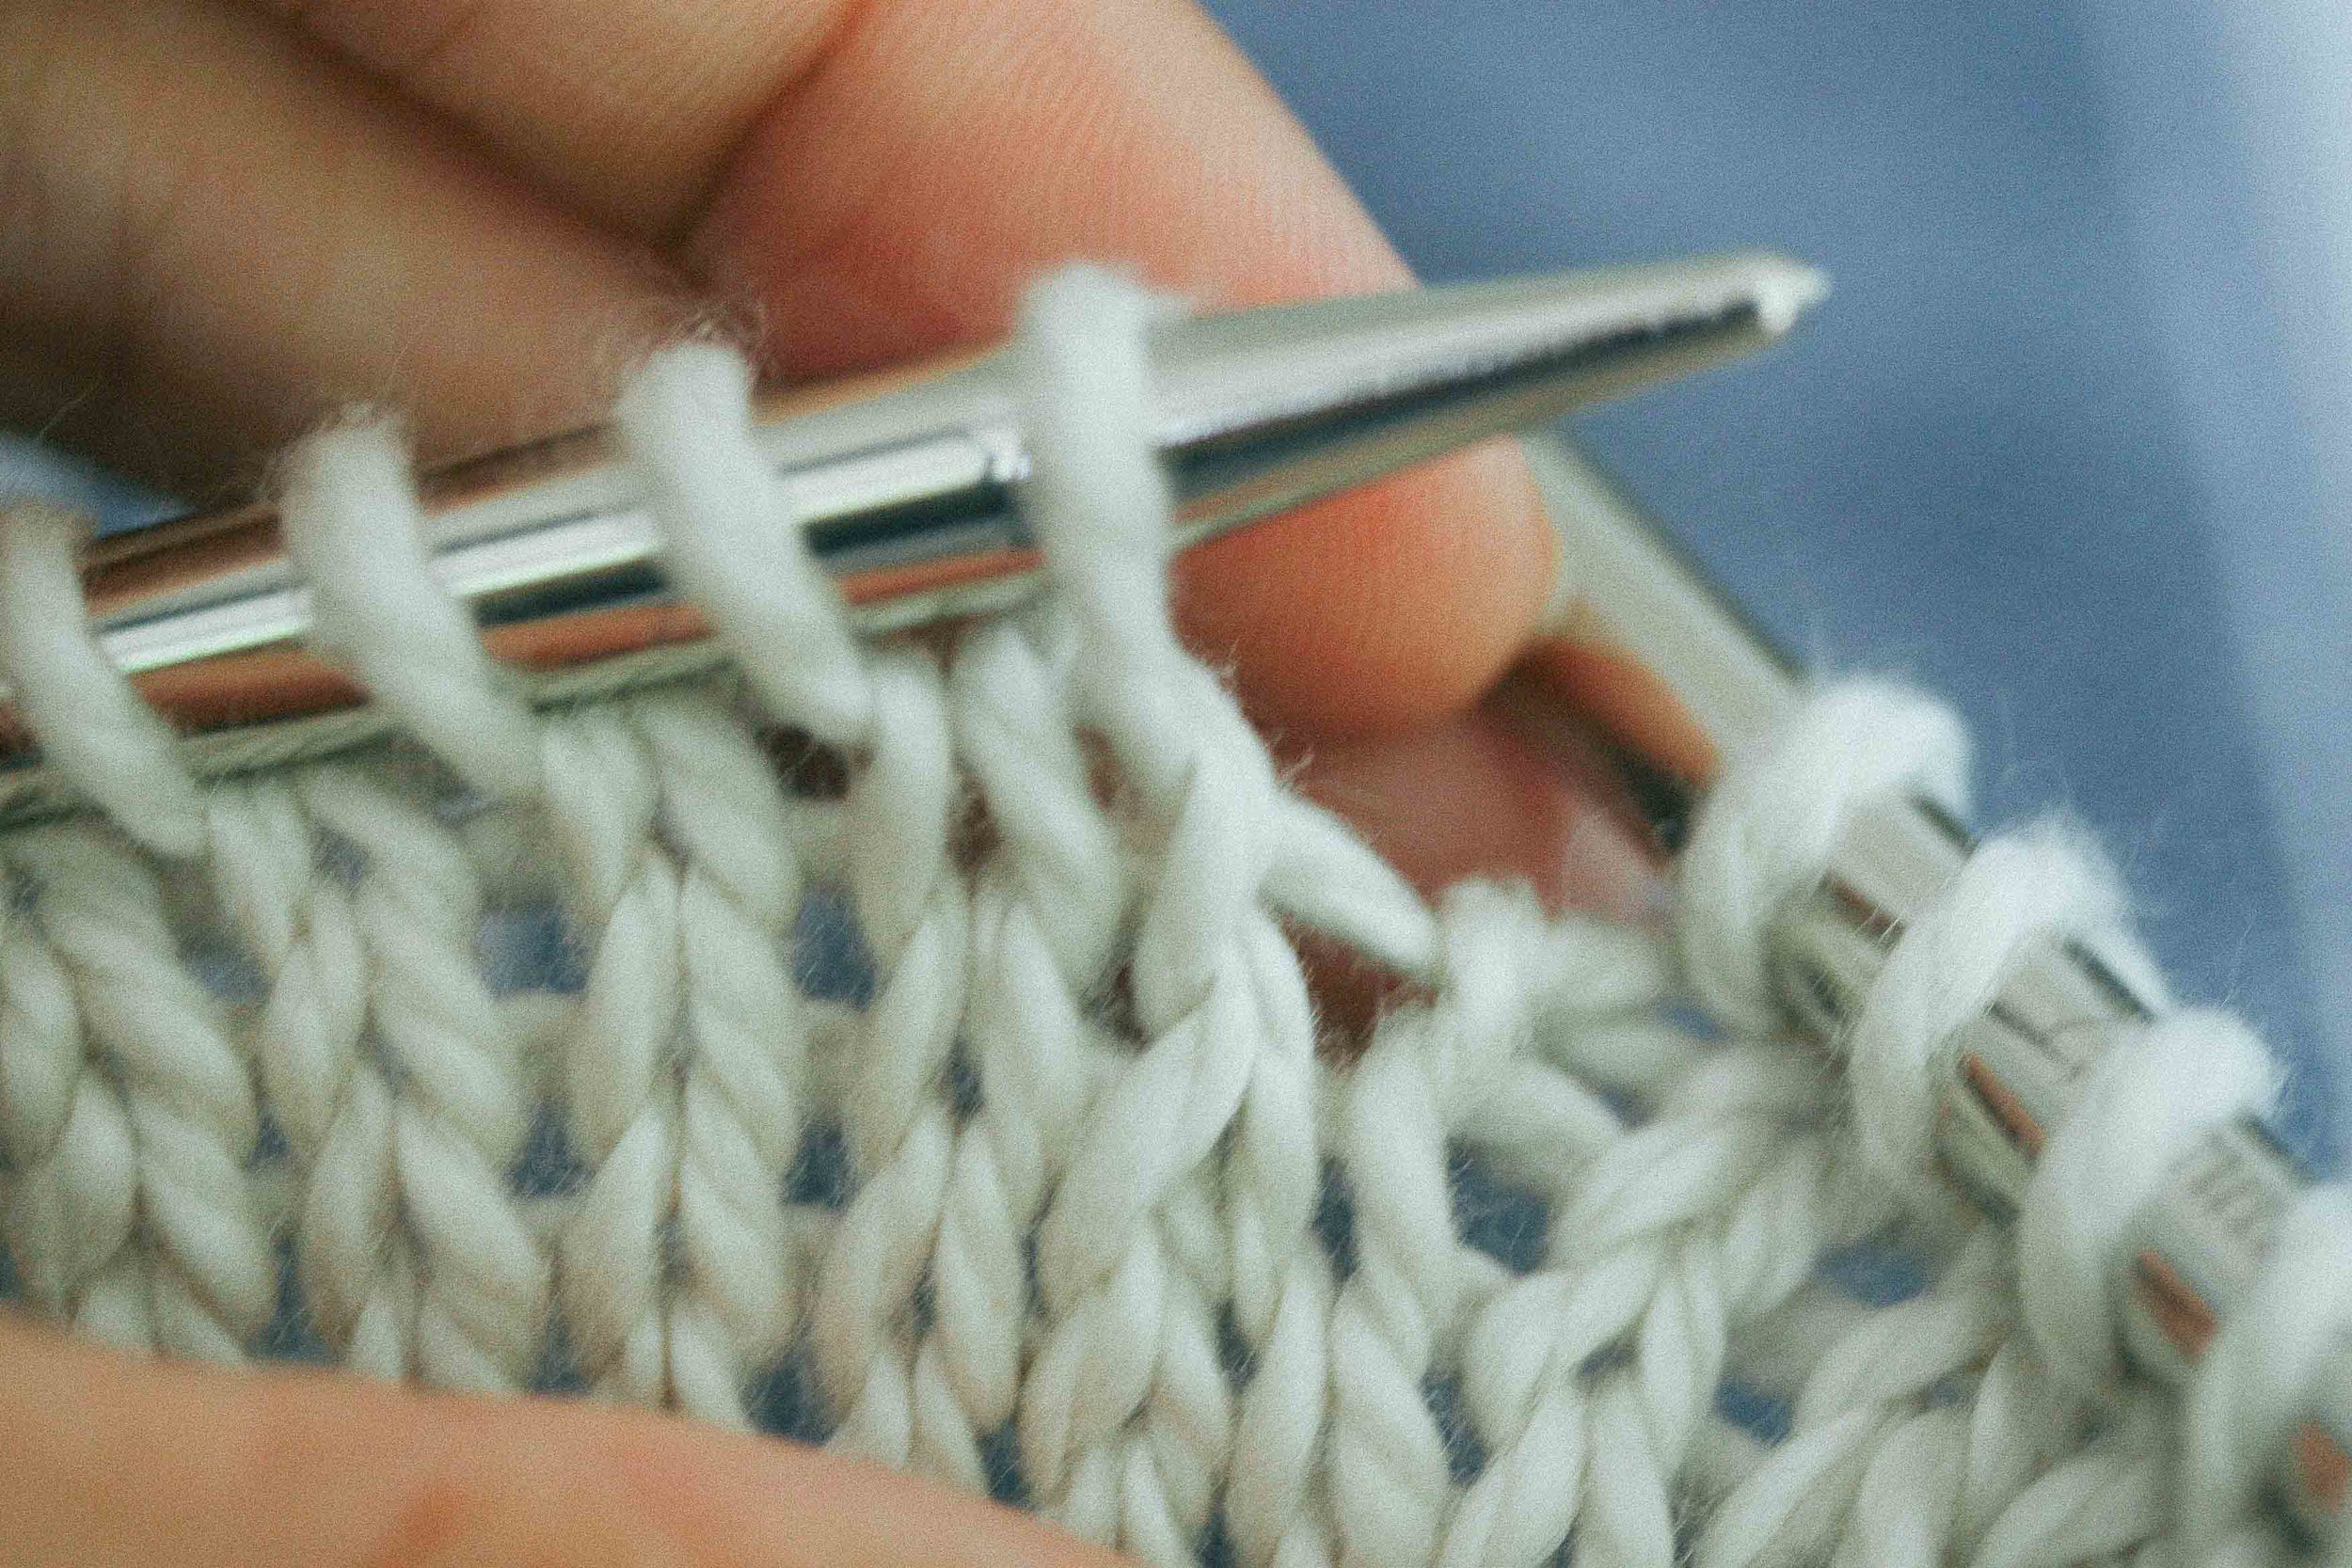
3. Counting rows
In the Learn to Read Your Knitting - Part 2 post we talked about counting rows. The best way I've found is to mark the first V you are counting with a pin in the hole of the stitch. Then stretch the fabric slightly before using the needle tip to count the Vs going upwards. Stretching the fabric width-wise and length-wise makes the individual stitches easy to see. You can also use pins here to mark 5 rows to make it easier, or you have a lot of rows to count.
Same two examples for you - which I like because they are both lightly hairy yarn (both contain alpaca) and are slightly harder to read - which is good because you can see that using this stretching pin "trick" you can easily see the stitches.


Counting the Vs.
The other thing that will help is to put a contrasting colour on the table behind the knitting when you are trying to count. Then when you stretch the knitting you can more clearly see the holes. If you have light coloured knitting use a dark fabric and vice versa.
I didn't realise before I wrote the post but the key to counting is 5.....who knew?
I really hope that was helpful. Try the counting 5s thing. It really is lifechanging. Let me know if you like it.
Felicia x