

So my apologies for the big break in this series. I had camera gear issues and travel issues.
In order to take the photos for this series you really need a macro lense. And I had one. A lovely birthday present a few years ago from my family. But then a week or so before we left on holiday my camera died. The fixing shop said that my only option was to buy a new one as they no longer make the part I need. OK - not a great time but I got on ebay and found one. But then my old macro lens won't fit the new camera. So bit by bit I've been trying to sort it out.
In the mean time I finally came up with a way of taking the photos I need. I purchased a little macro thing for the iPhone and off we go. Most of them are OK but the odd photo is a little crappy so my apologies.
If you are seeing these posts for the first time the two previous subjects we covered are linked below.
Learn to Read Your Knitting - Part 1 - Stitch Structure - This post was called The Secret to Becoming A Great Knitter
Learn to Read Your Knitting - Part 2 - Decreases
And now on to the post….
Increases
Now this is a fun post - if you like this sort of thing. Learning to read your increases will mean that you no longer need to count rows between waist increases, nor will you need to count increase after increase when knitting a top down sweater. You will be able to knit knit knit away, counting your increases when you think you are close and then when you arrive at your correct number of increases, doing a quick stitch count to ensure you are where you need to be.
We are going to cover the three most commonly used increases (in my experience). They each have different characteristics so it is really important to understand how they work in order to accurately read them.
The three we are going to cover are
- M1 - Make 1 in the style of Elizabeth Zimmerman.
- M1L/M1R - Make 1 left and Make 1 right.
- kfb - Knit front and back which is also sometimes known as kfab or even k1f&b.
And there are three key things about learning to read them.
- The first is to understand where the stitch is occurring.
- The second is to understand what they look like.
- The third is how to count rows since the increase and how to count the number of increase rows you have done.
As I have said in the two previous posts - the best way to understand this for yourself is to actually knit these stitches with some scrap yarn and then have a look at what they look like. Look on the row you have knitted them and then at the end of a few rows. Again - skip the wine while you are at it - this requires a little bit of brain space.
I am using a different colour yarn for the increase row in order to try to make things a little clearer. I finished with the blue yarn on a purl row and then start on the grey with a knit row that is the increase row. I hope that helps to make it a little clearer.
Where the stitch occurs!
So let's start with where the increase stitch is occurring. What I mean by that is what row is the increase occurring on. Each of these three increases occurs in a different place.
Make 1
A M1 occurs in the actual row you are knitting as it is just making a twist of the working yarn and placing it onto the right needle. I love this increase for it's simplicity and speed.

The M1 is simply a loop of yarn twisted on to the right hand needle. You don't knit into it until the row after the increase row.

Here is what it looks like next to the previous normal stitch. So if you look at the base of the second last stitch you can see that it is a loop pulled through the blue stitch below. The last grey stitch on the needle is simply a loop over the needle which initially tends to sit snug up against the last normal stitch until you knit it on the next row.
Make 1 Left / Make 1 Right
With the M1L/M1R the increase stitch occurs in the previous row to the one you are now knitting - so the last row. This is because you pick up and knit one of the bars that runs between two stitches from the previous row.

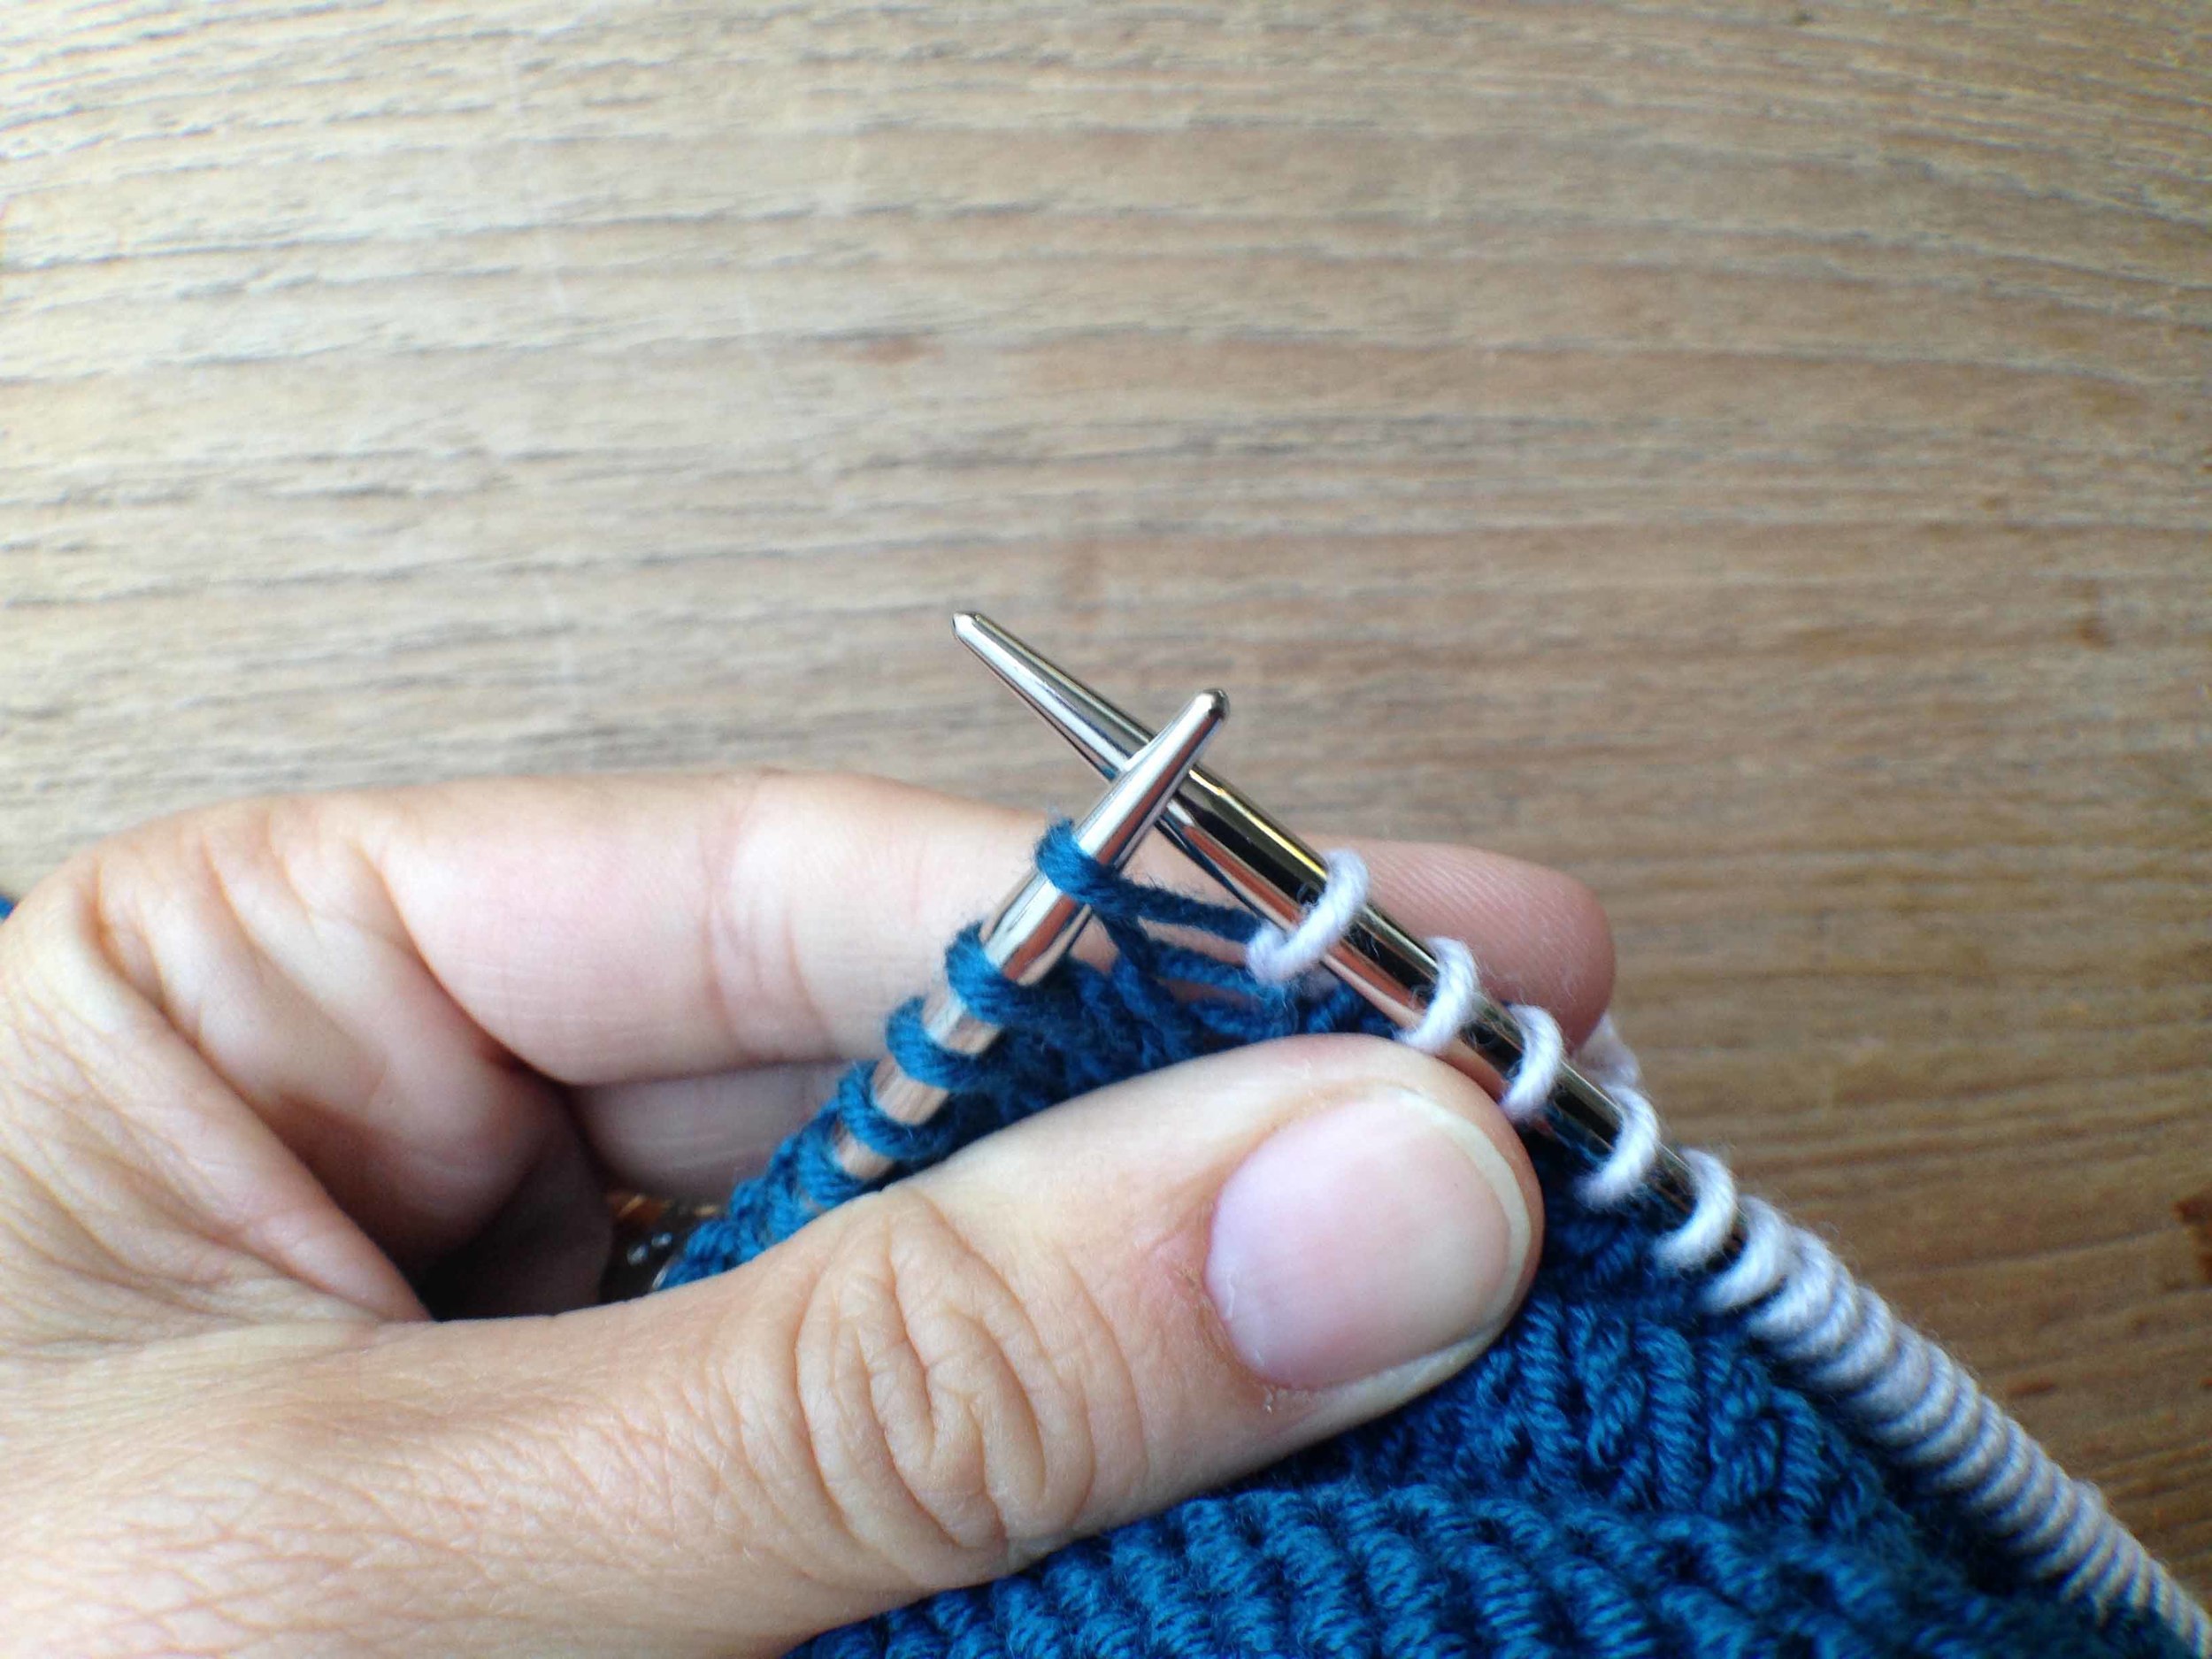
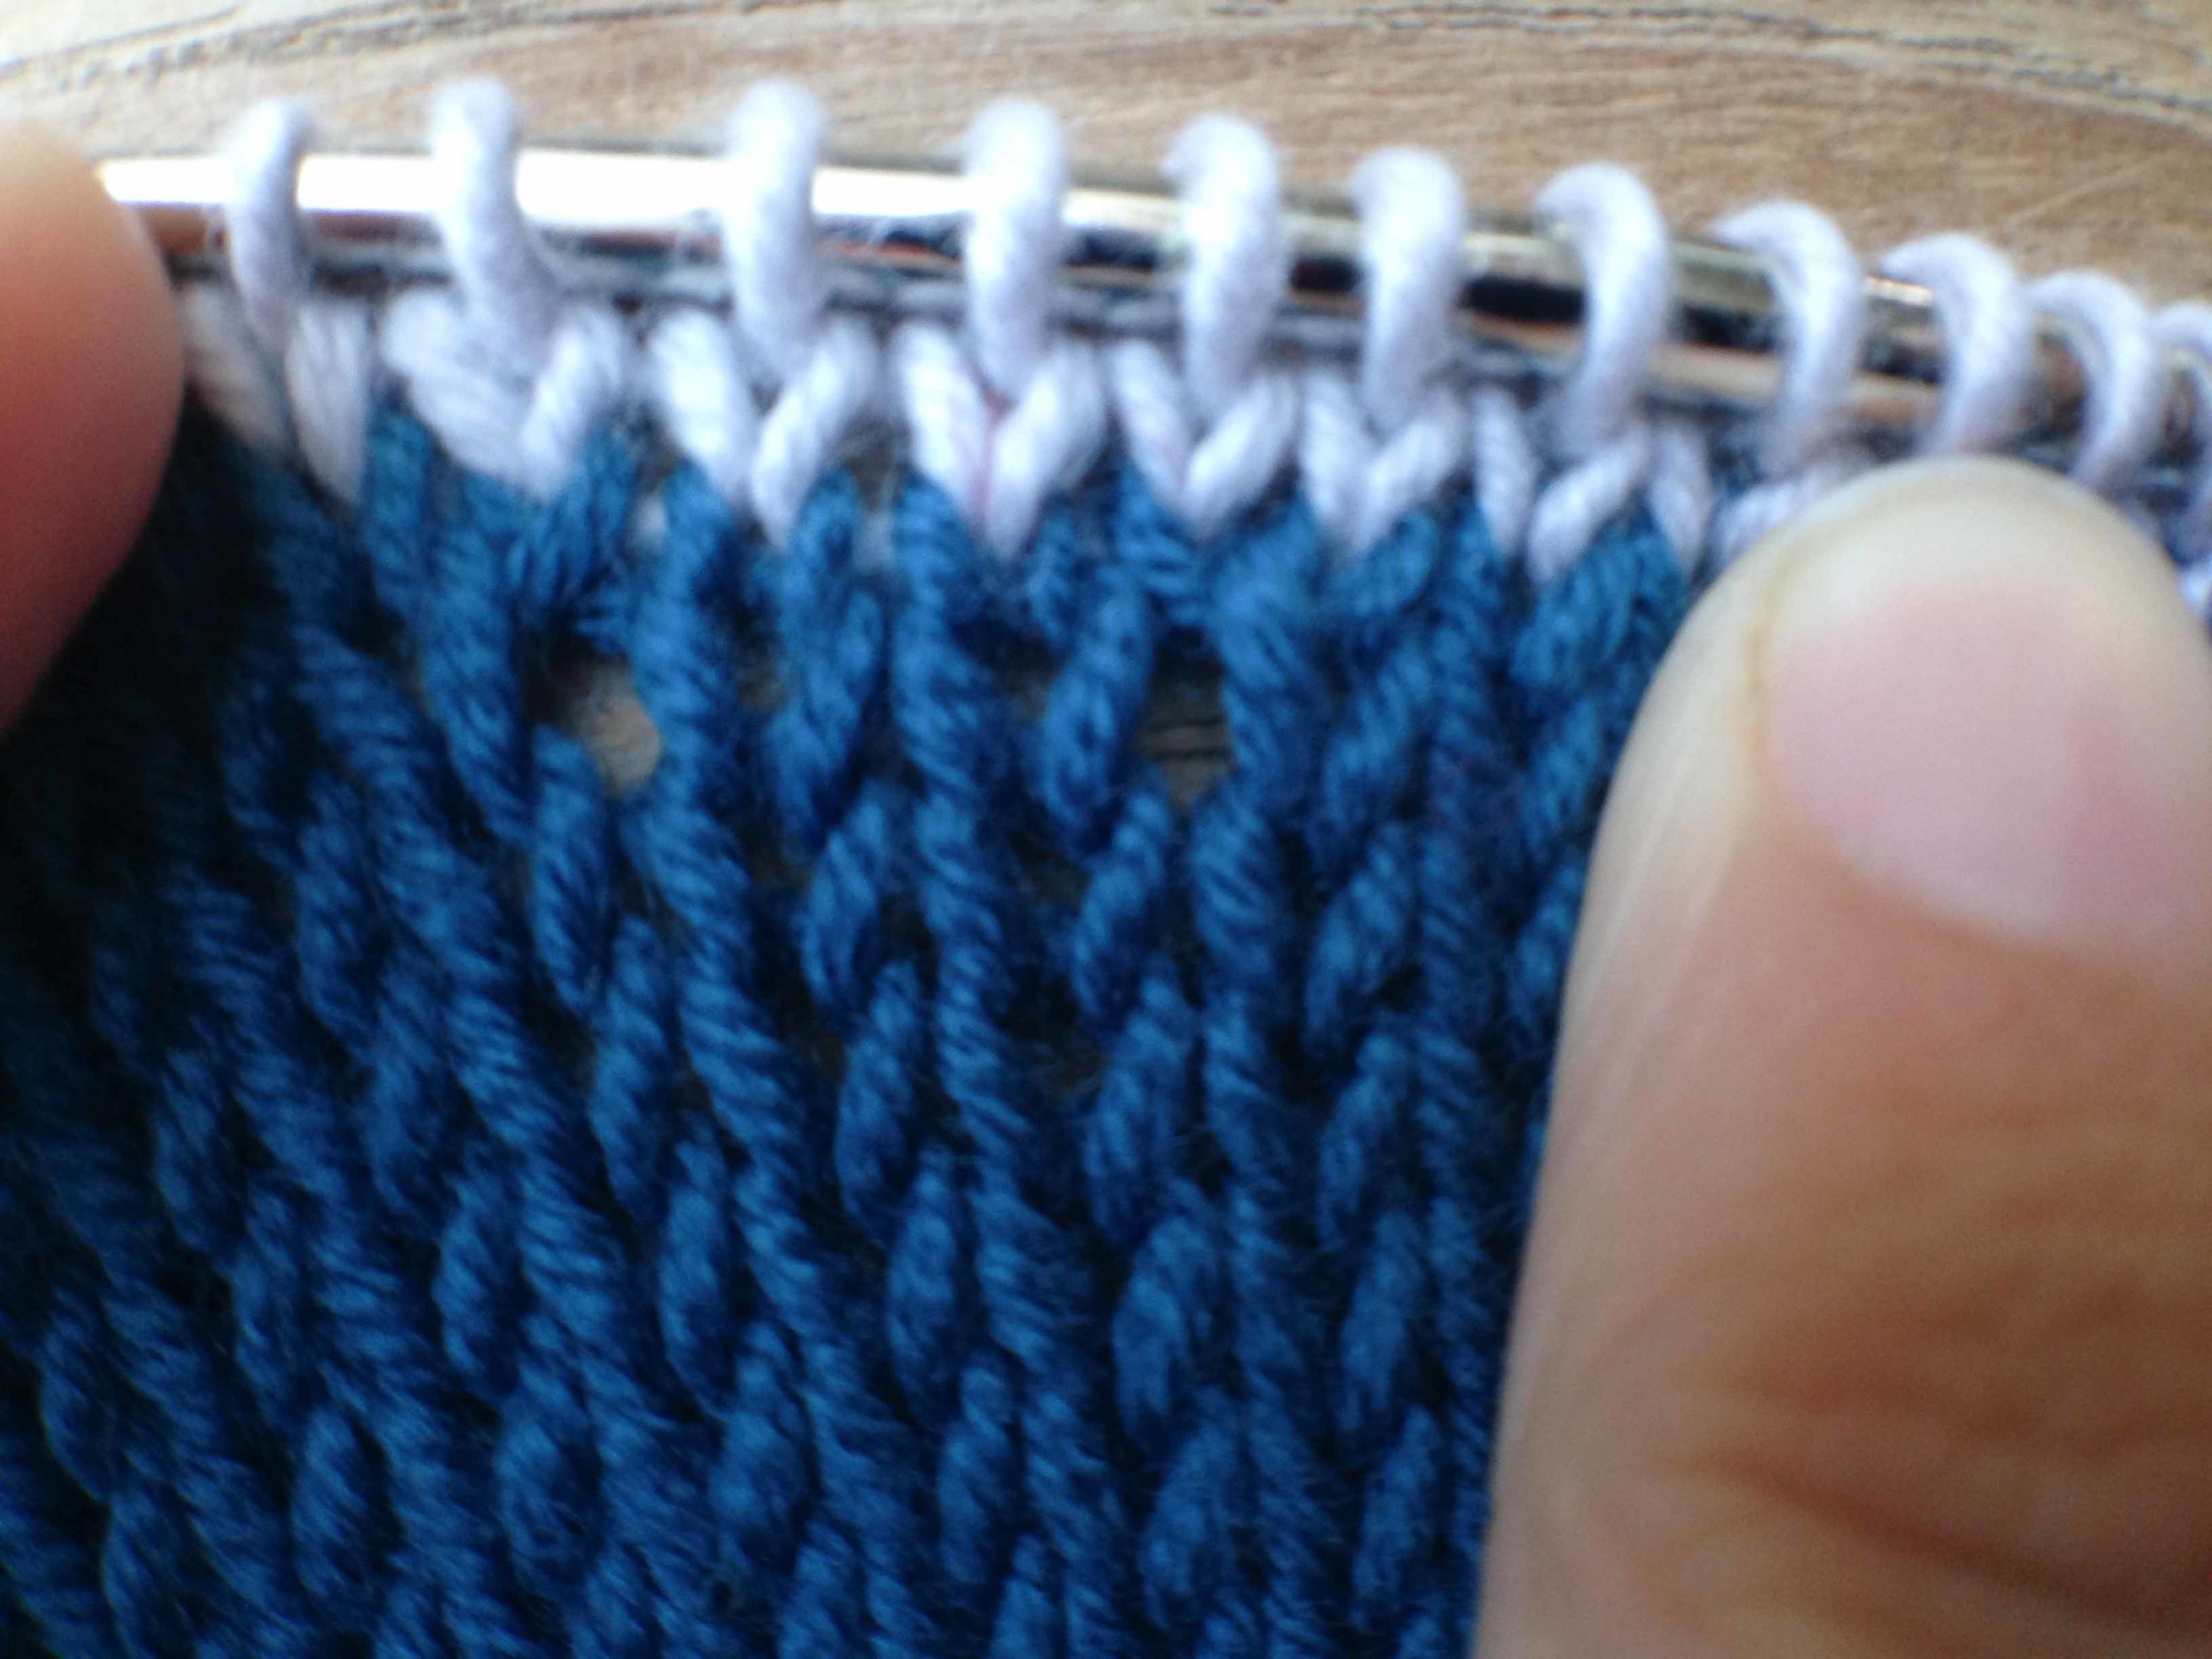
Before doing a M1L or a M1R you pull the two needles apart slightly to show the bars of yarn running horizontally between the two stitches on the previous row.

This is showing the beginning of a M1L which you can tell as the yarn is slanting towards the left.

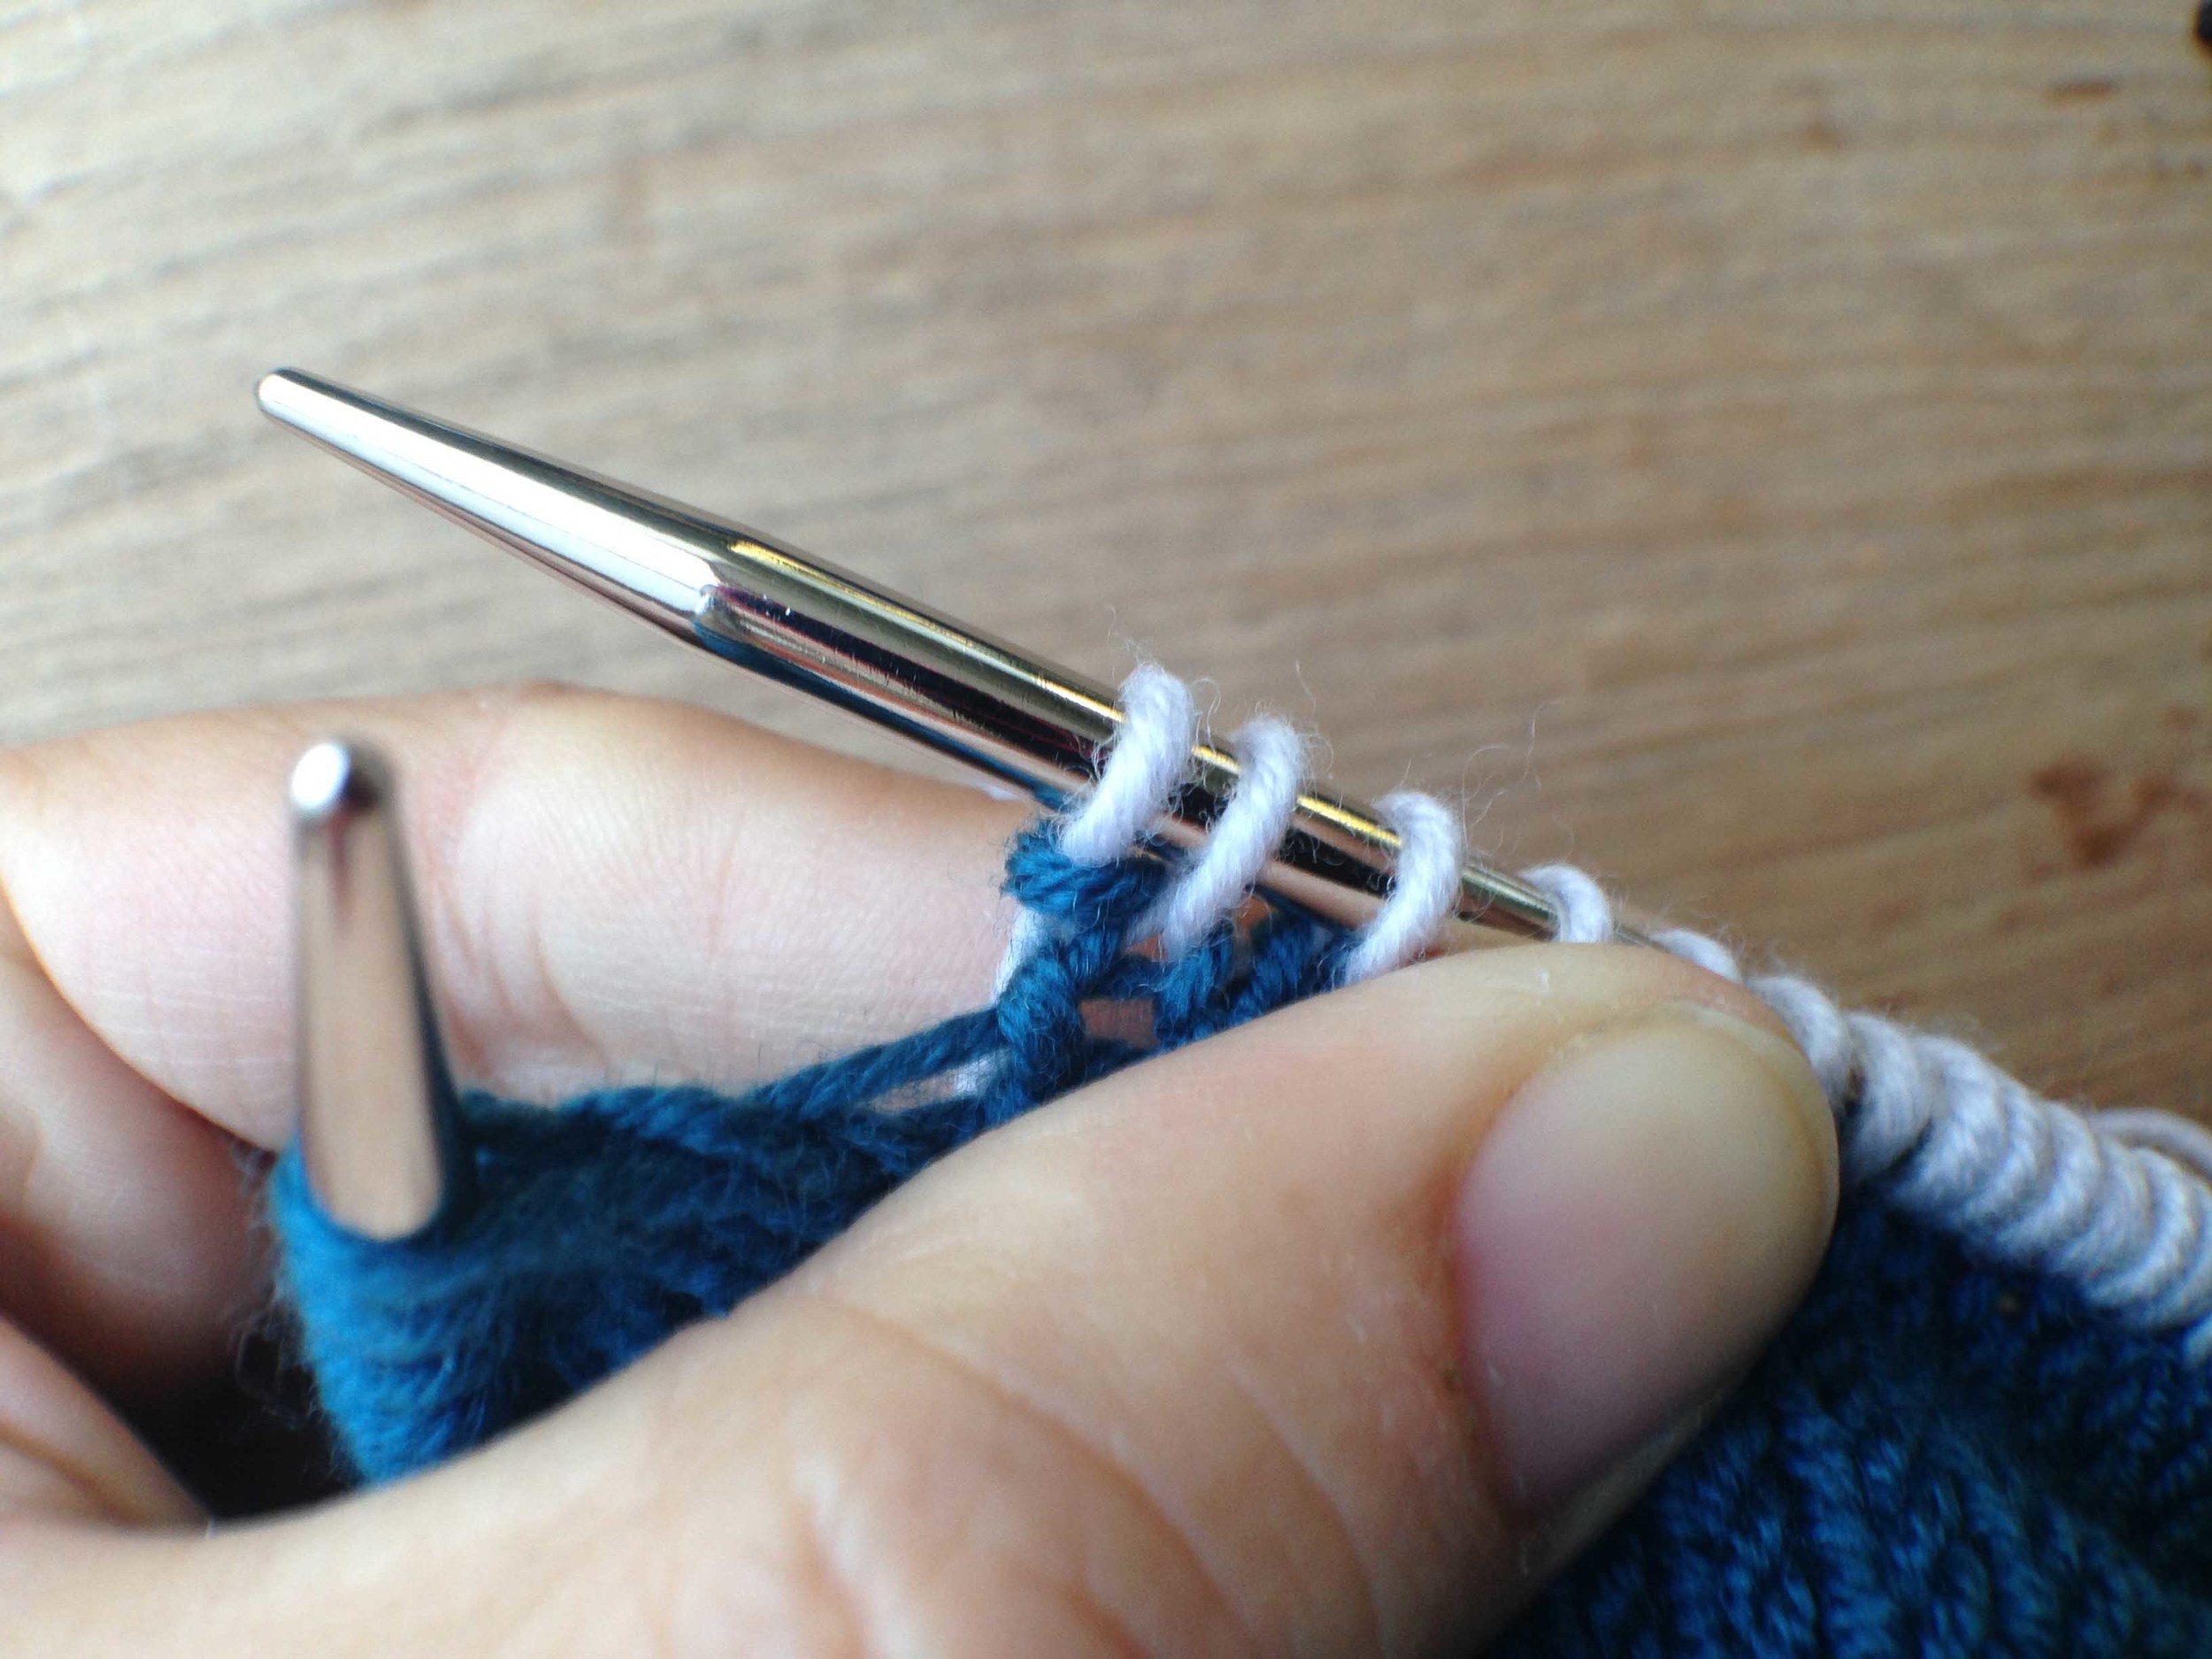
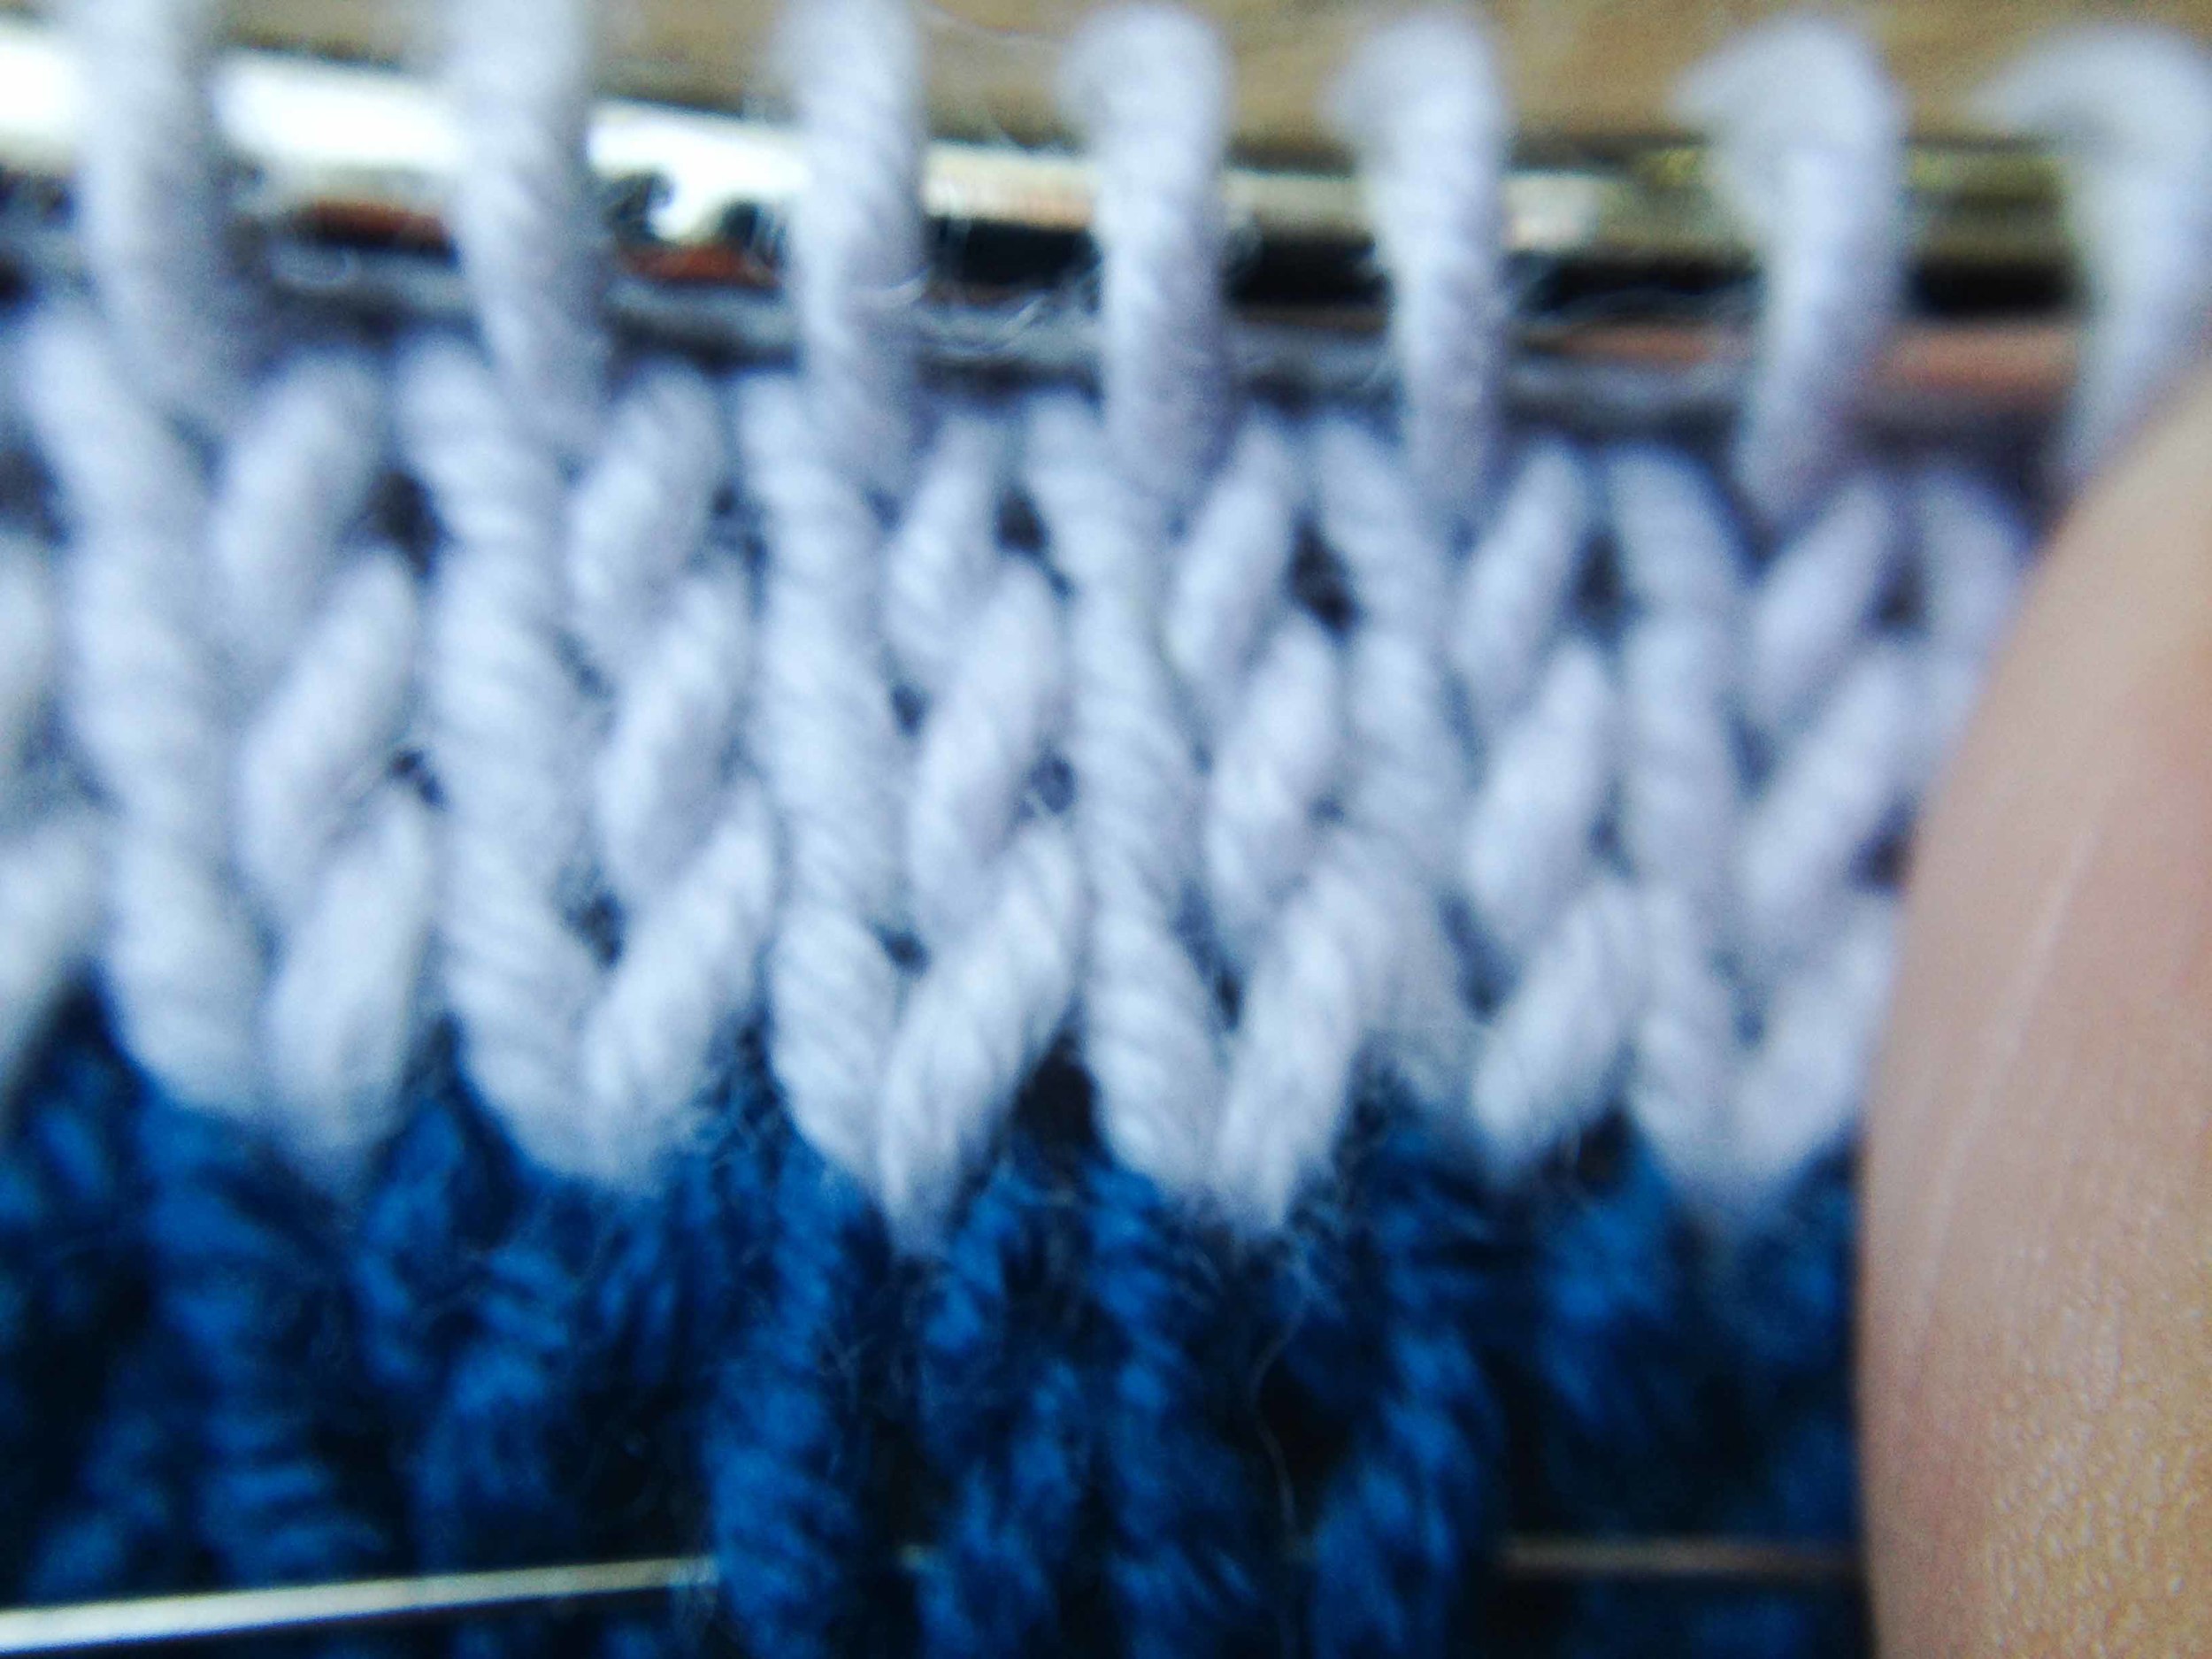
This shows the finished stitch. As you can see the actual increase stitch occurs on the previous row to the actual increase row as below the new grey stitch there is a blue twist of wool. I'm hoping that makes sense.

When you are doing this stitch in wool that is all the same colour it is really important to understand that the increase occurs on the previous row because as you are counting upwards from the increase you need to remember that you actually have an extra stitch in your row count. Another way to think of it is that you have an extra loop as you are counting up from the increase - so if you have knitted one row since your increase row you will see what looks like three stitches in the row count - the twist of yarn that is the increase, the stitch from the increase row and the stitch on the needle.
Knit front and back
Kfb or kfab is different again. The increase is created from a stitch in the previous row by first knitting into the front of the stitch and then twisting your needle around and knitting into the back of it. However you don't end up with an extra loop of yarn - instead you have a bar of yarn. This is created as you cross from knitting the stitch at the front to the stitch at the back. Have a look as you do it. It will make more sense. This feature of the increase means that it is very easy to count these increases as you just count from the loop coming out of the bar upwards.
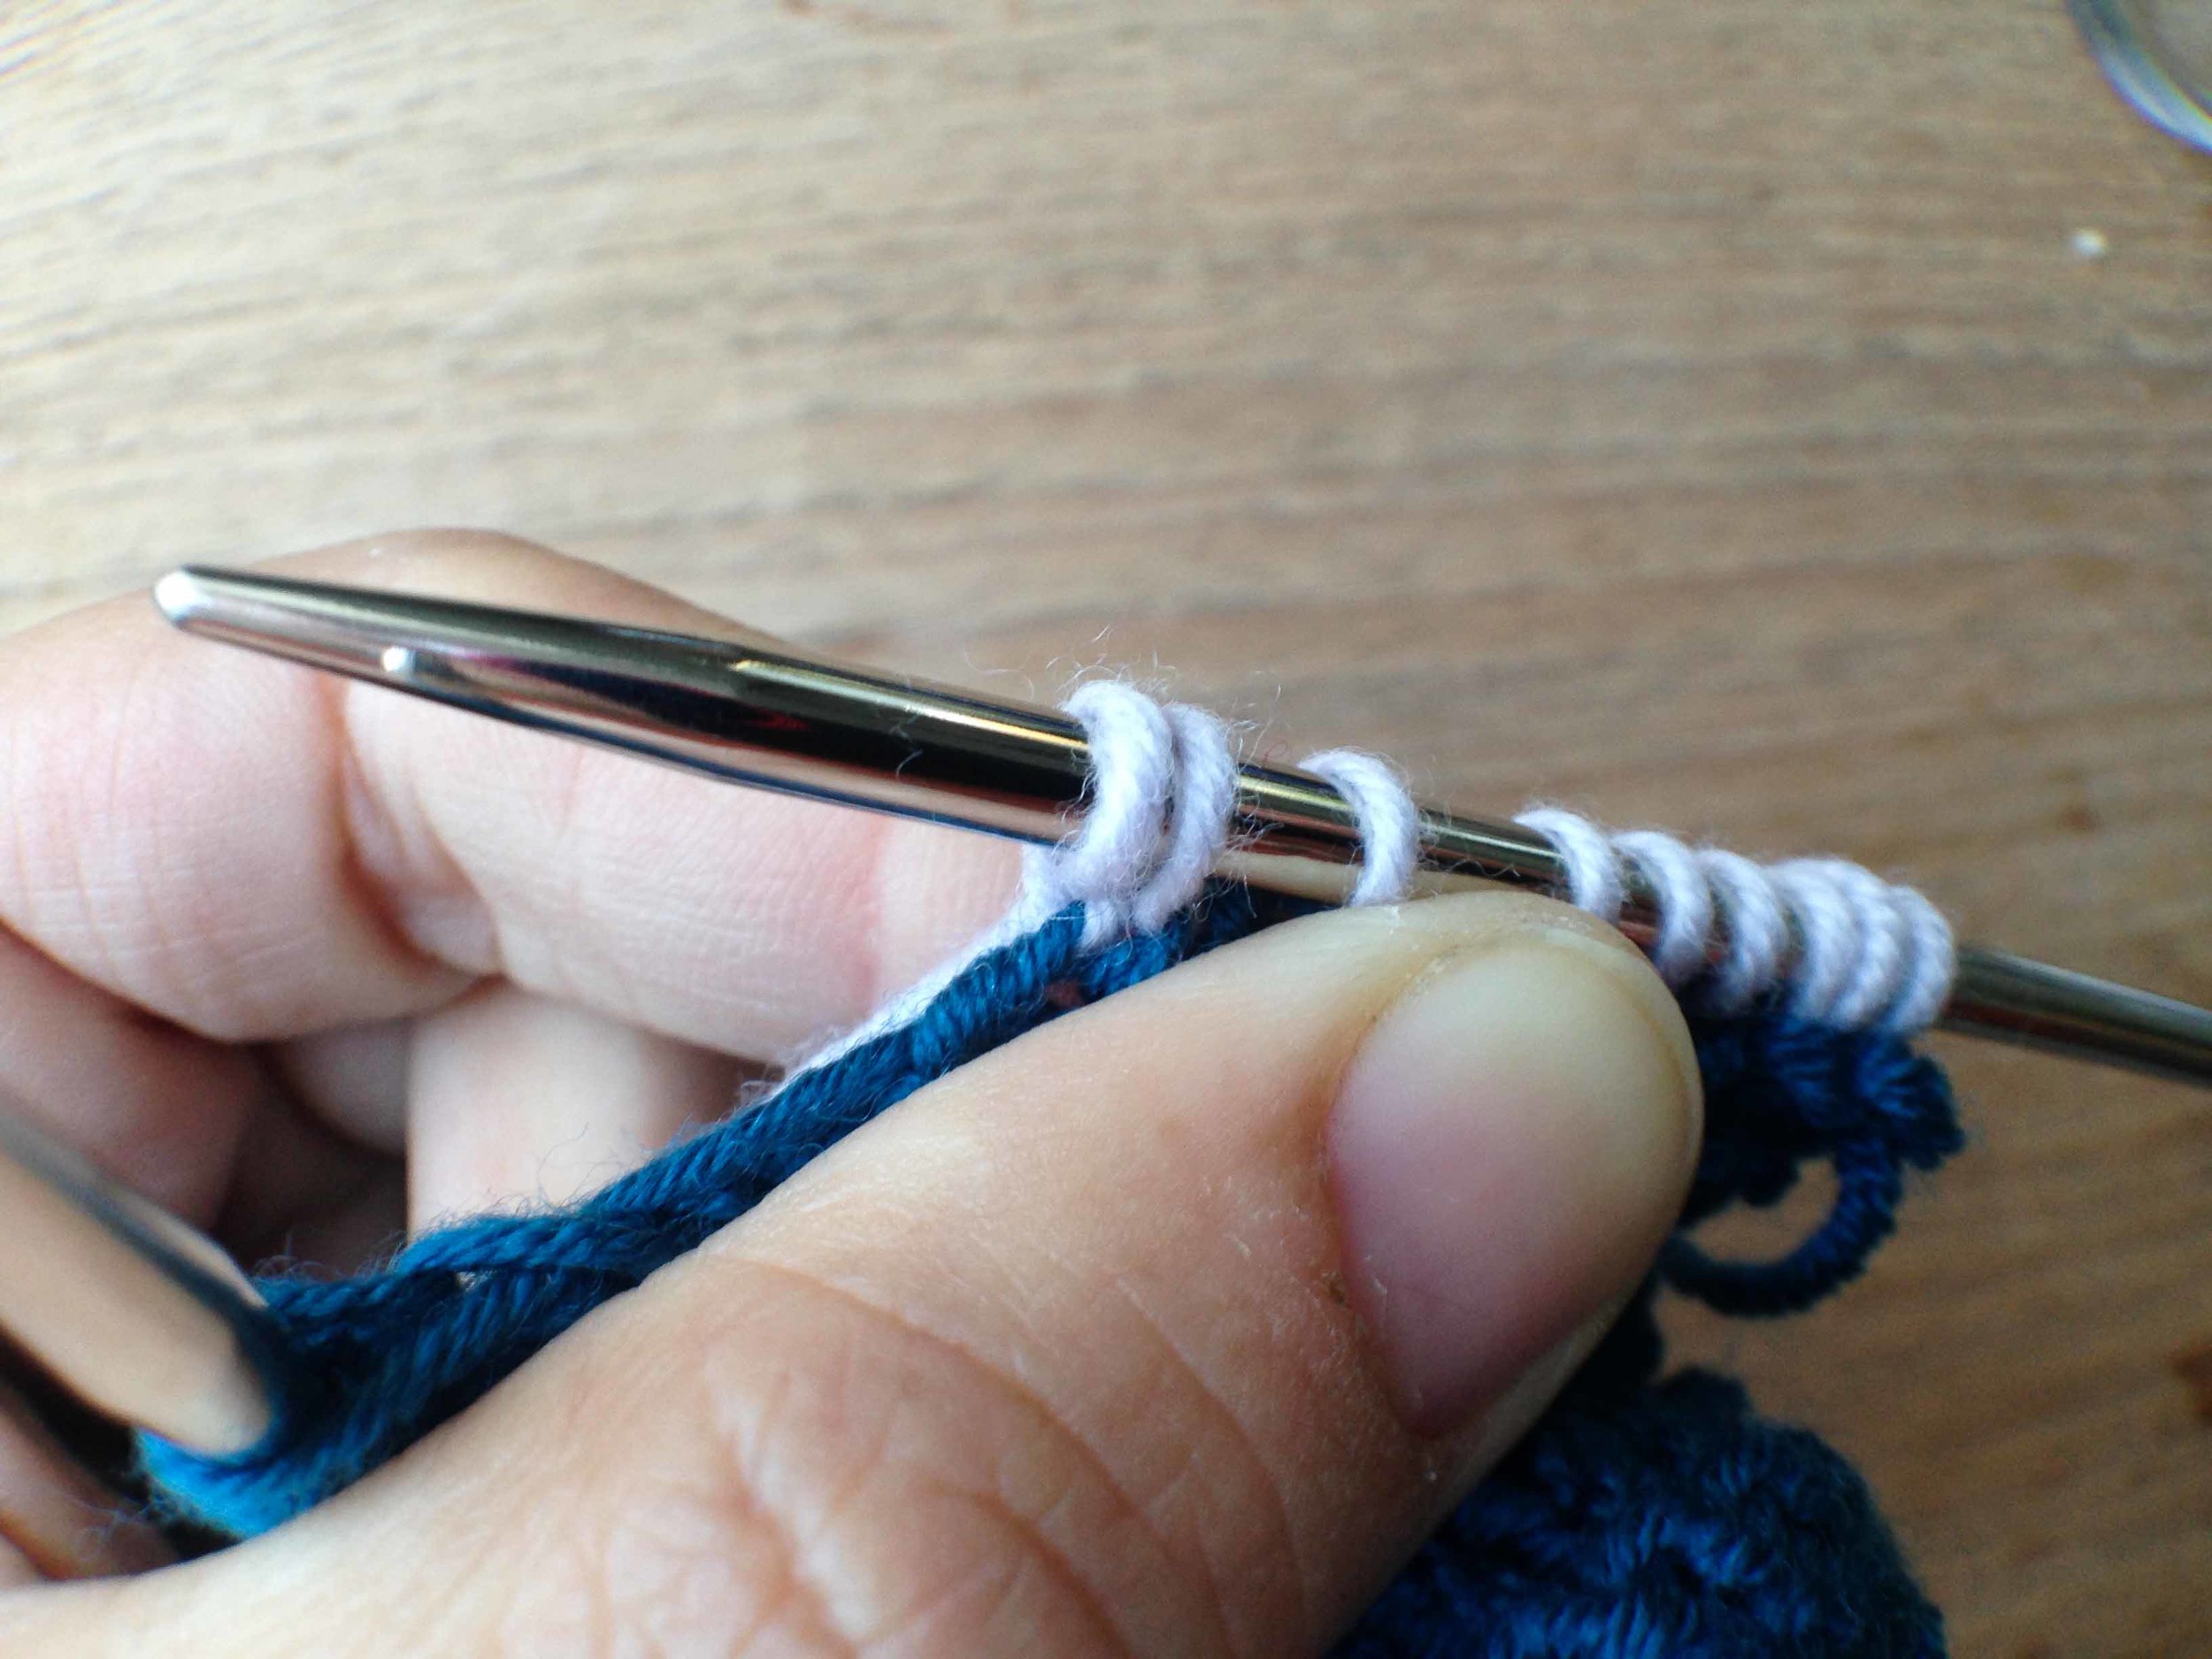
This photo shows the start of kfb. This is the knit stitch.

You leave the stitch on the needle. That is the blue stitch - the grey stitch is the one you have just pulled through it. You now put your needle into the back of the stitch. This is where the bar is created. Can you see how by now knitting into the back of this stitch we are pulling a loop through the blue stitch which will mean the blue stitch will be pulled horizontal - there is your bar.
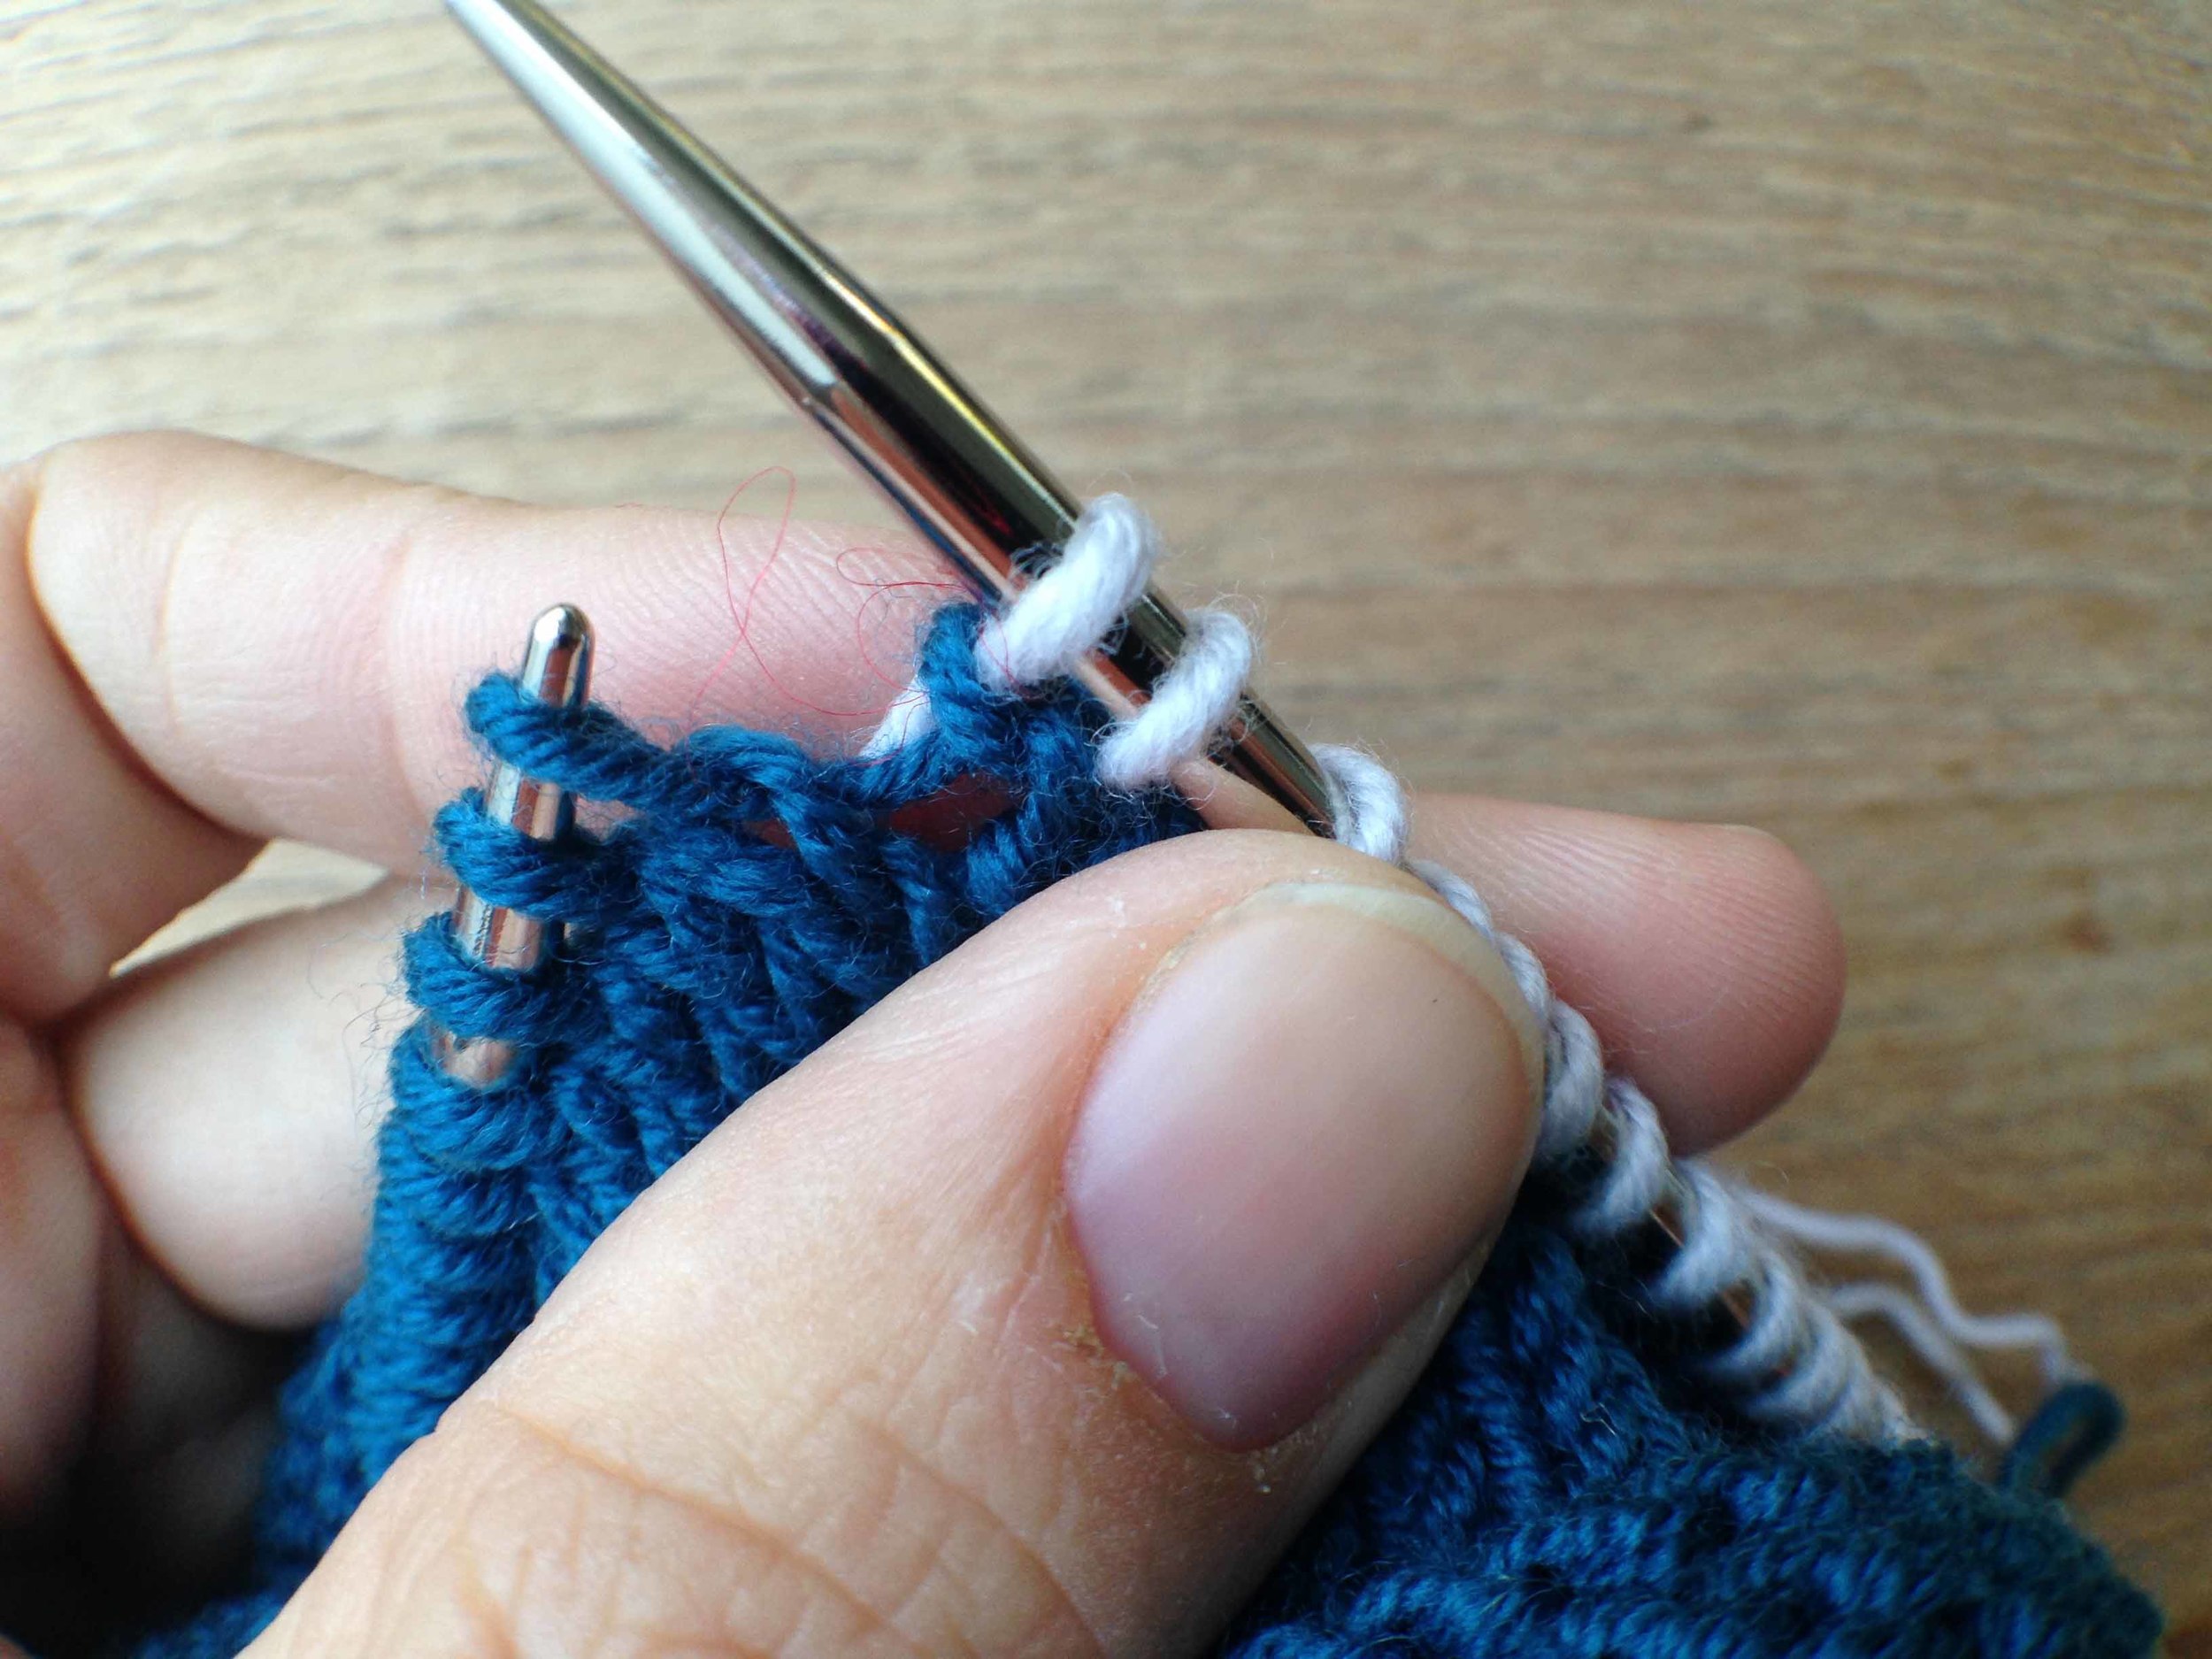
The second last grey stitch is the knit stitch and the last grey stitch on the right needle is the increase stitch with the bar below it.
What they look like!
So we have already kind of seen what they look like above but I thought it would be good to have a look at what they look like when you create them AND what they look like after you have knitted one more row.
A M1 on the increase row.
Make 1
A M1 looks simply like a loop on the row you do the increase on and then after knitting one more row has a count of two stitches if you count the stitch on the needle and the increase stitch. This is what it will look like if you are knitting from a pattern that says something like this;
Row 1: Increase row
Row 2: Purl one row.

You can see that there is a twist of grey yarn and then the stitch on the needle. So the increase row and one more row.

And this is what it looks like if you have an increase rows and then knit three rows.
Make 1 Left / Make 1 Right
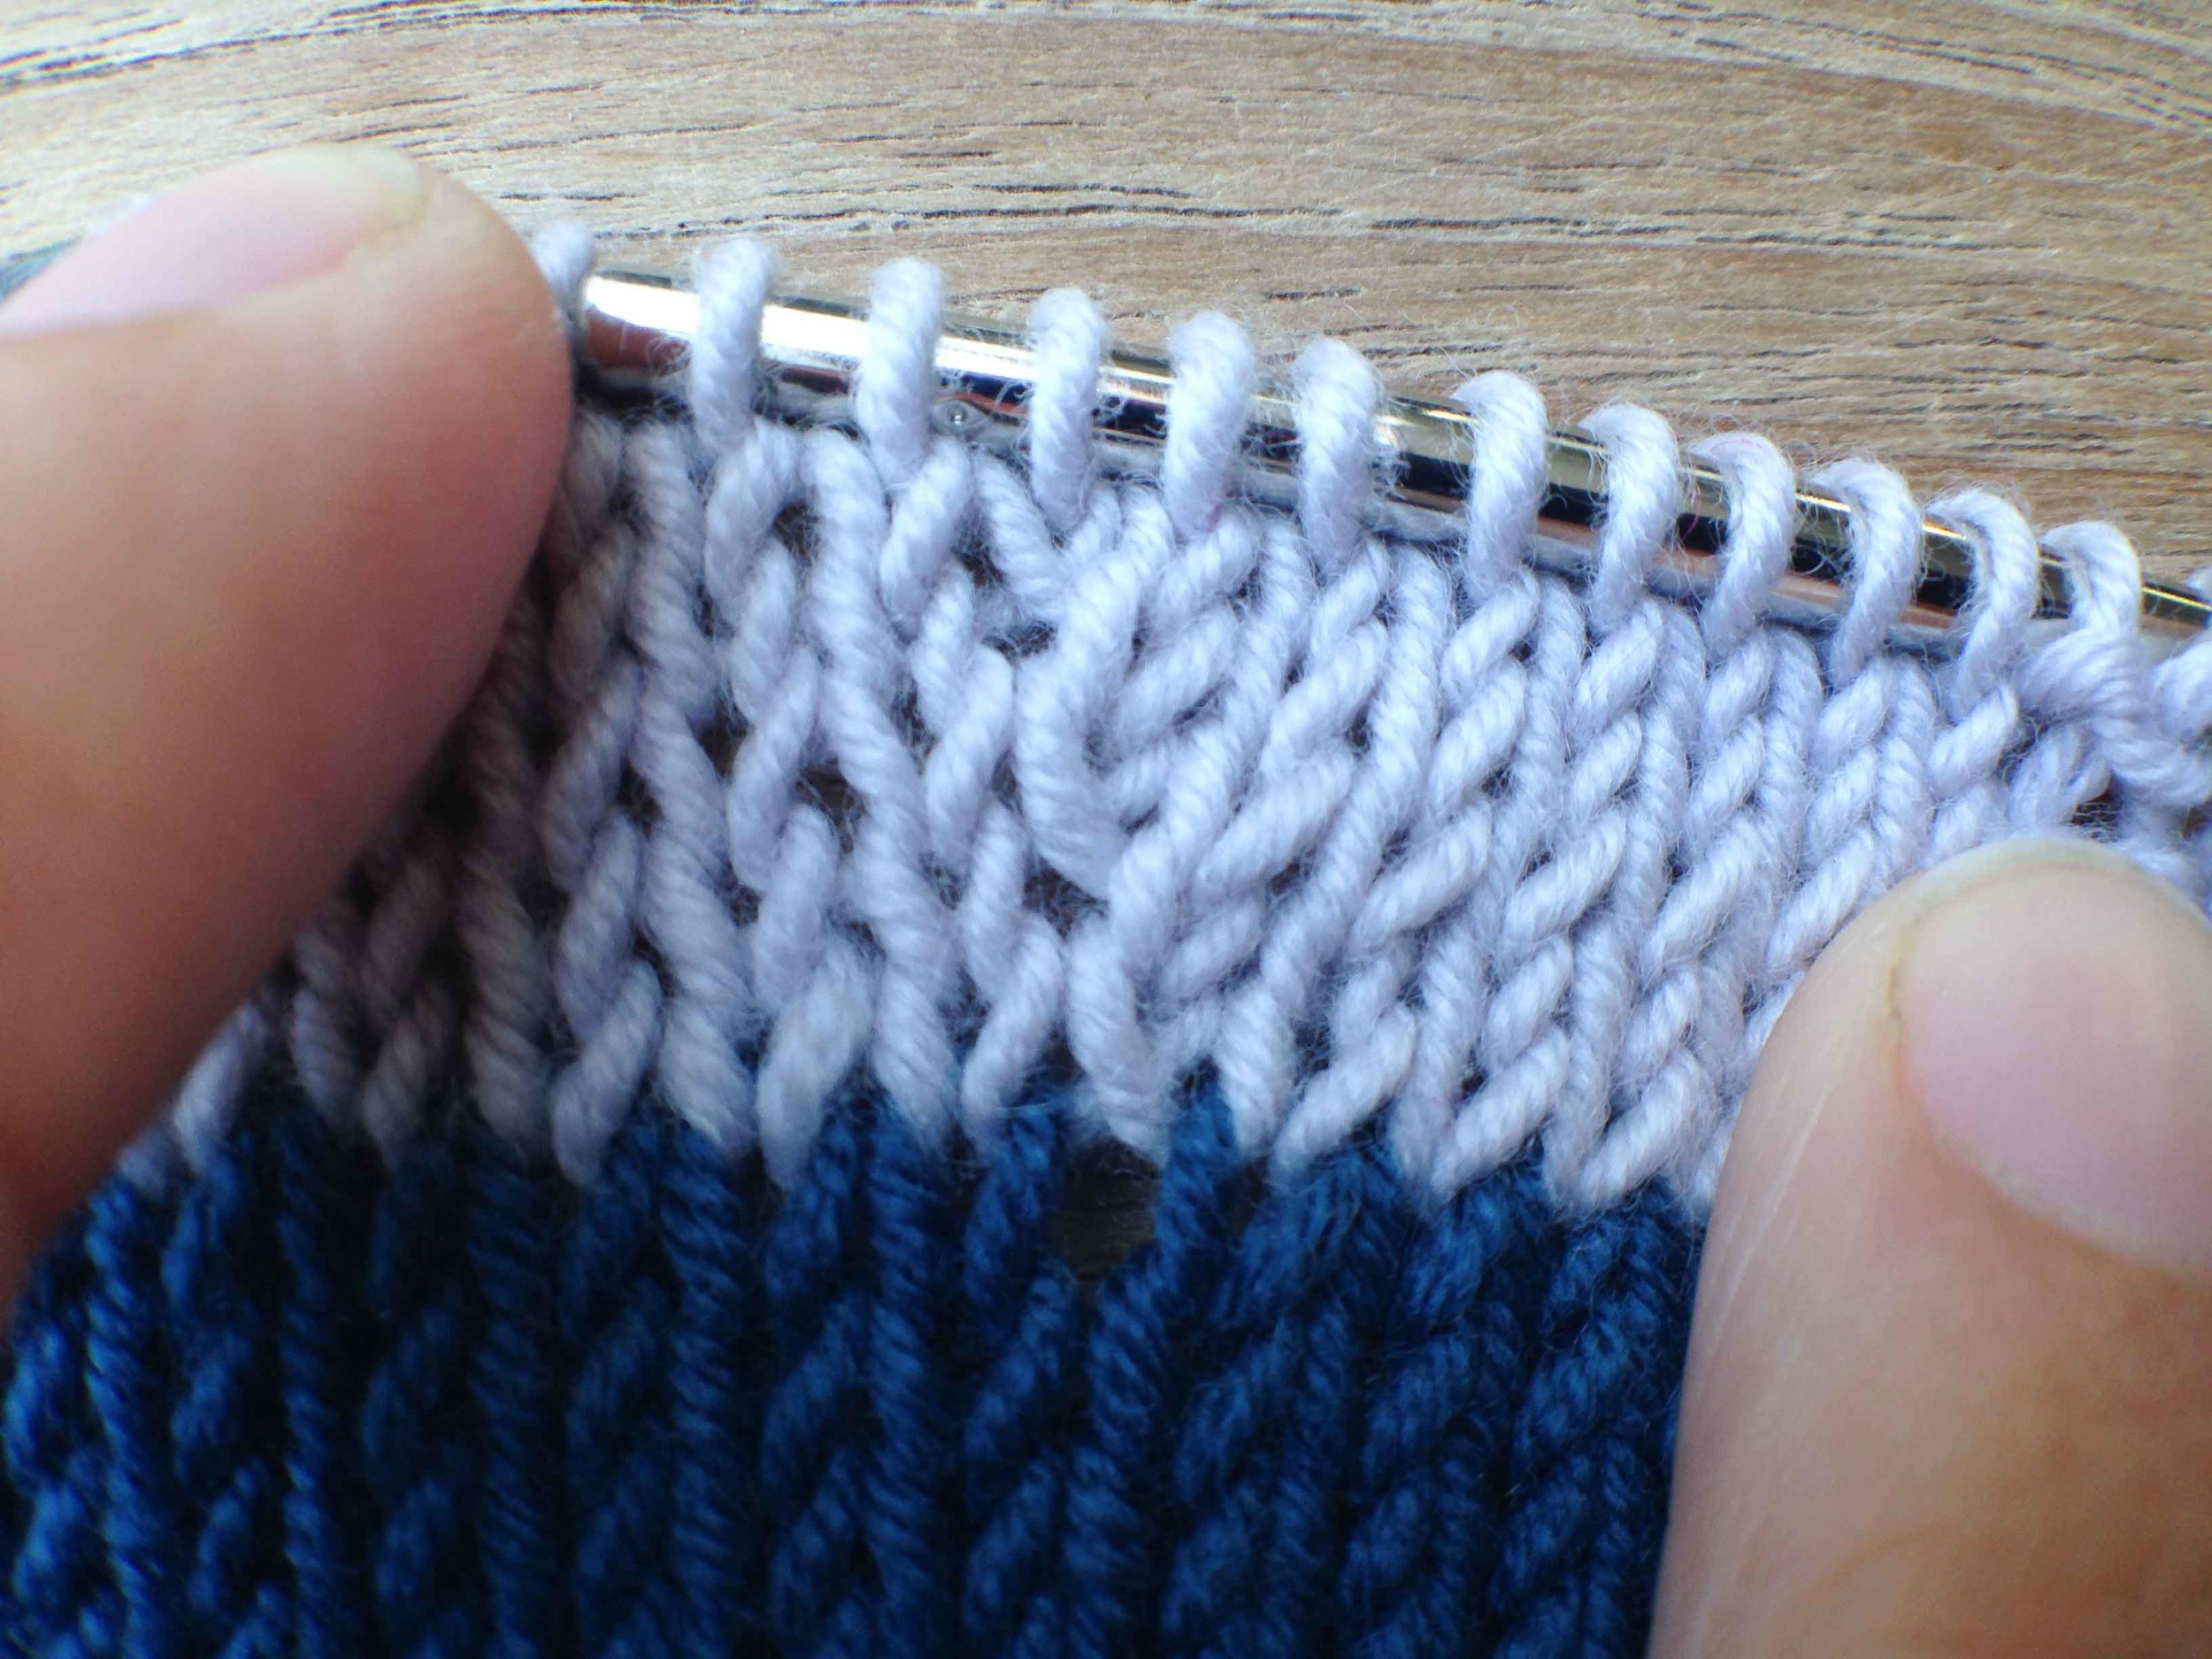
I only showed a M1L above but the below photo shows a M1L, then two knit stitches, then a M1 R.
A M1 L after it has just been knit. You can tell it is a M1L rather than a M1R as the blue loop leans left on the top of the loop.
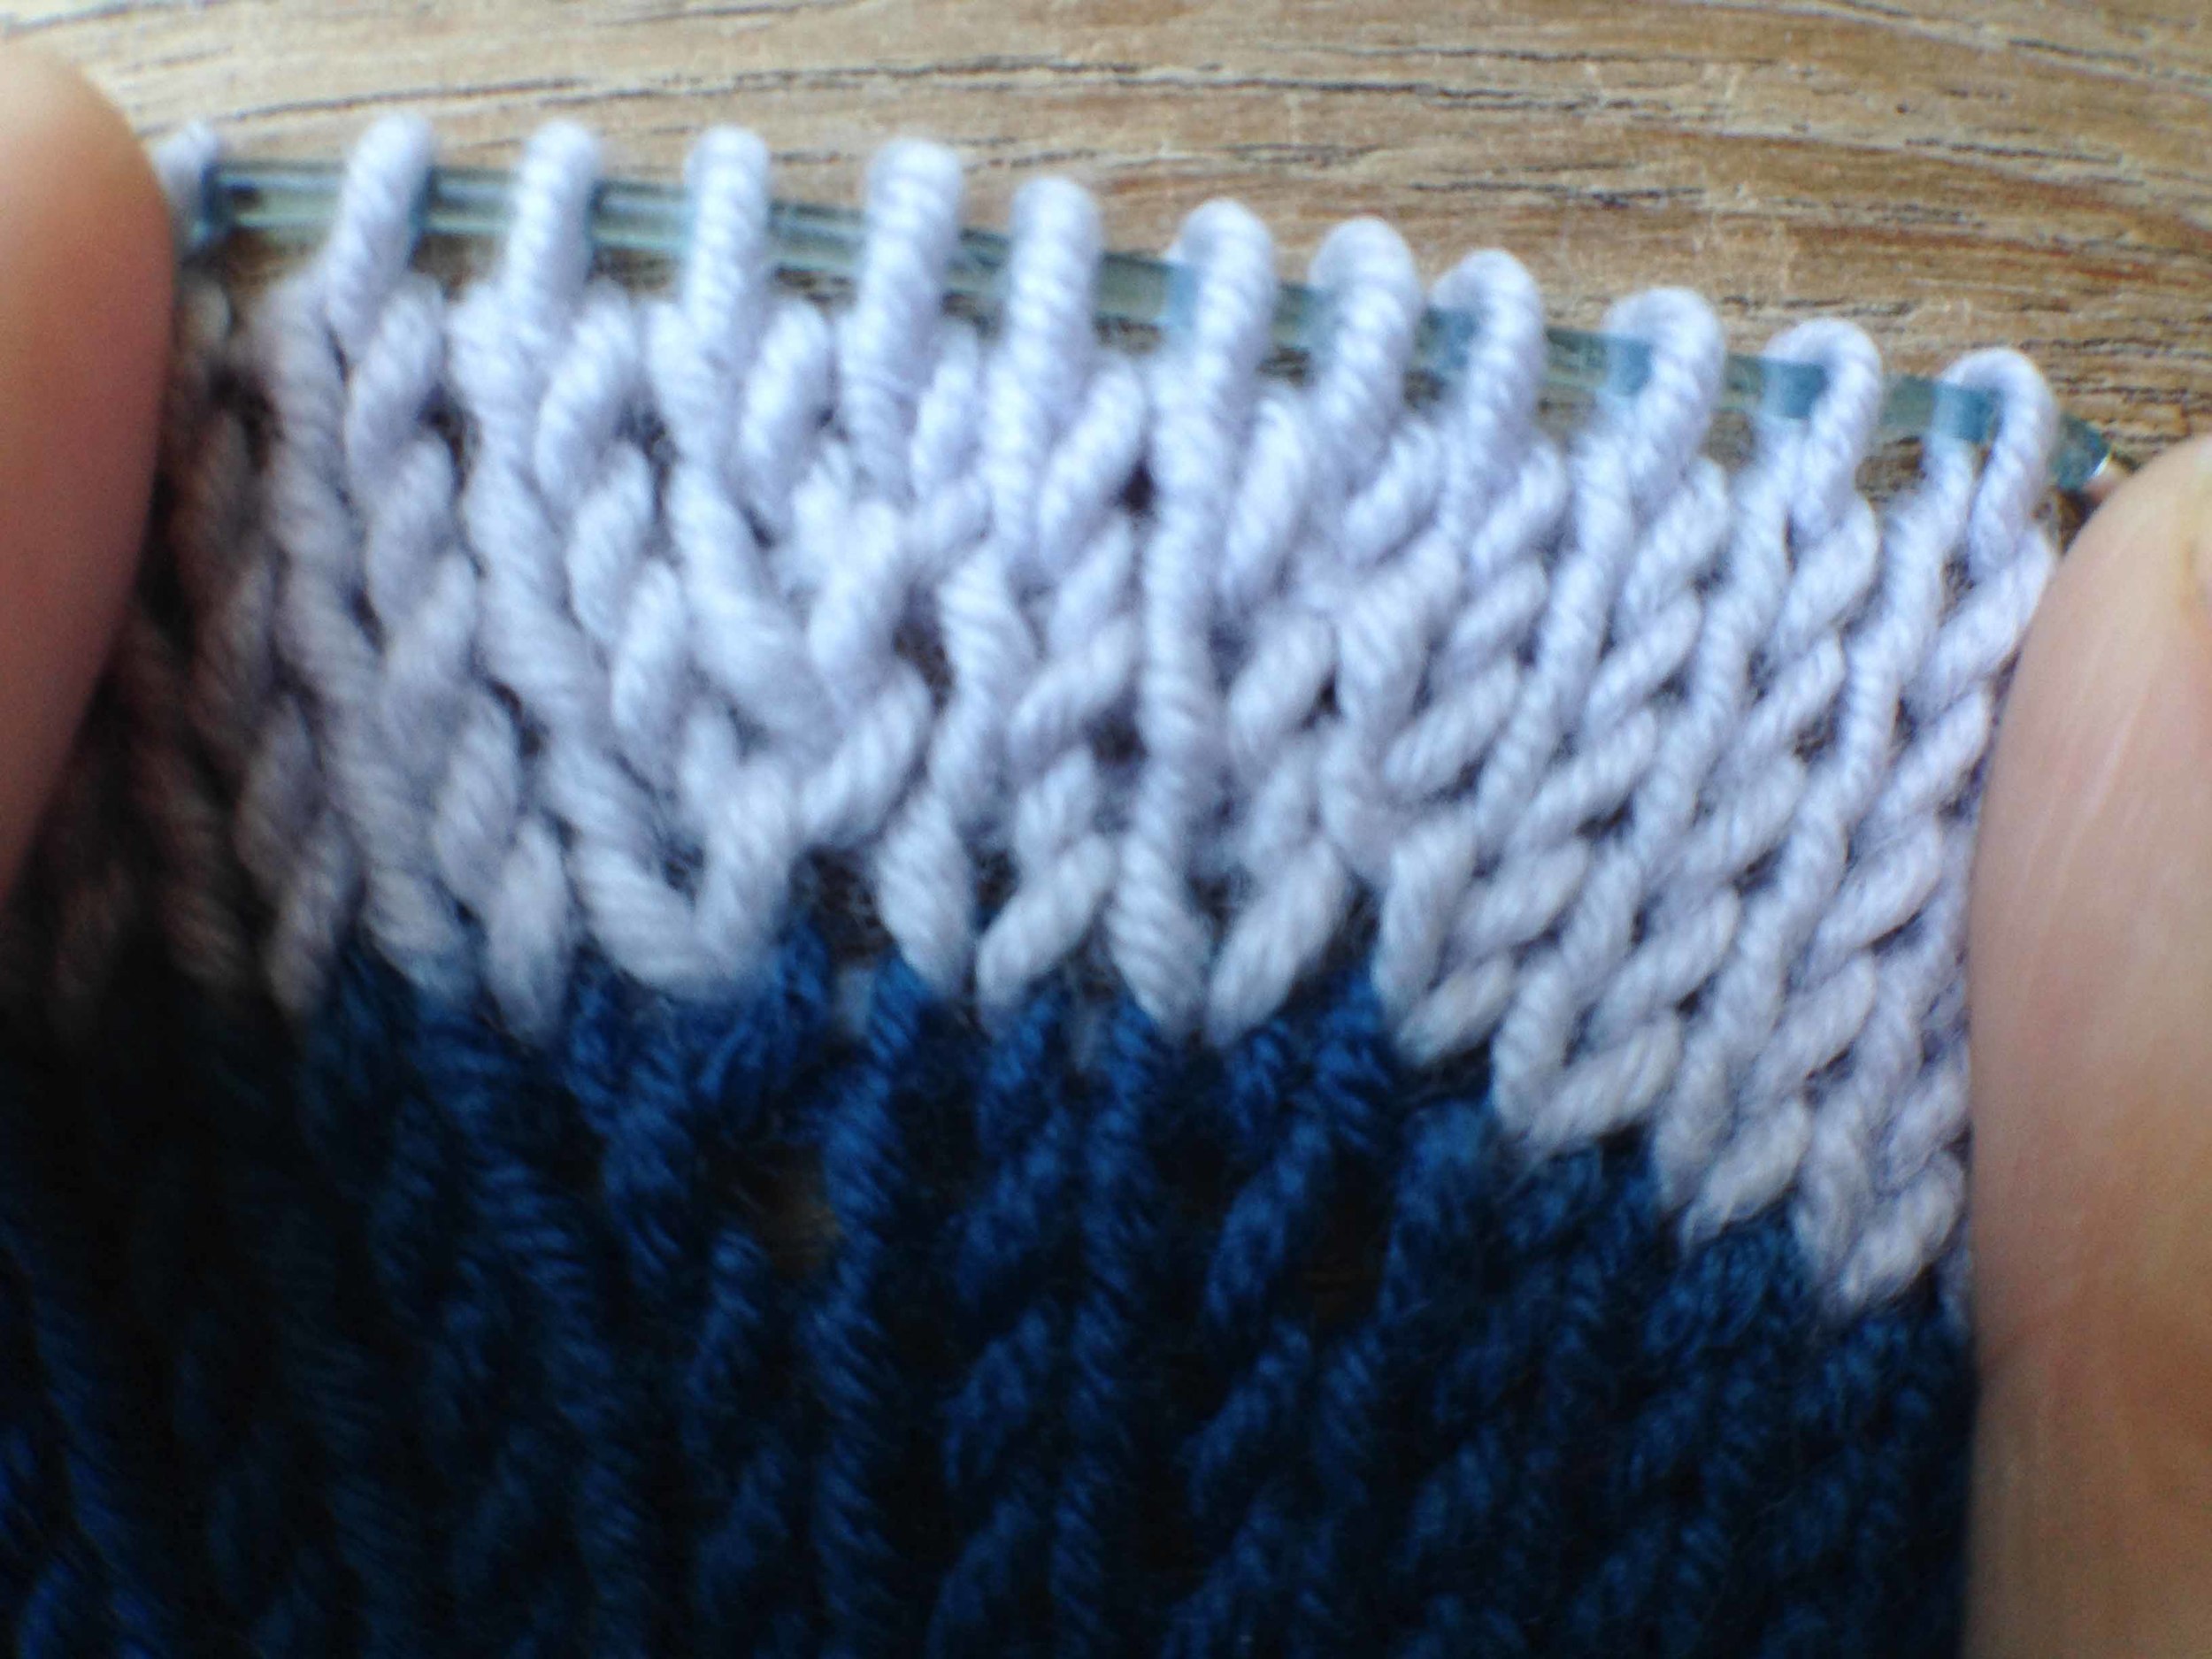
And here is the stitch after you have knitted the increase row and one more row.
Slightly crappy photo but you can see here (reading from right to left) a M1L then two normal knit stitches and then a M1R. Under each M1 stitch there is a small hole. Generally this is not too visible. I am slightly stretching the knitting to make the increase stitch visible. Please note that although you have only knitted the increase row plus one more row, so 2 rows, that there is actually three stitches counting upwards. The blue increase stitch and then then two grey stitches.
A terrible photo but just about the pin you can see the twist of the M1L, two stitches and then the M1R. Then there is the increase row and three more rows.
Knit front and back
This increase is probably the simplest to read because of the neat bar. The bar means that sometimes you don't want to use this increase, especially if you don't want the increases to be as noticeable.

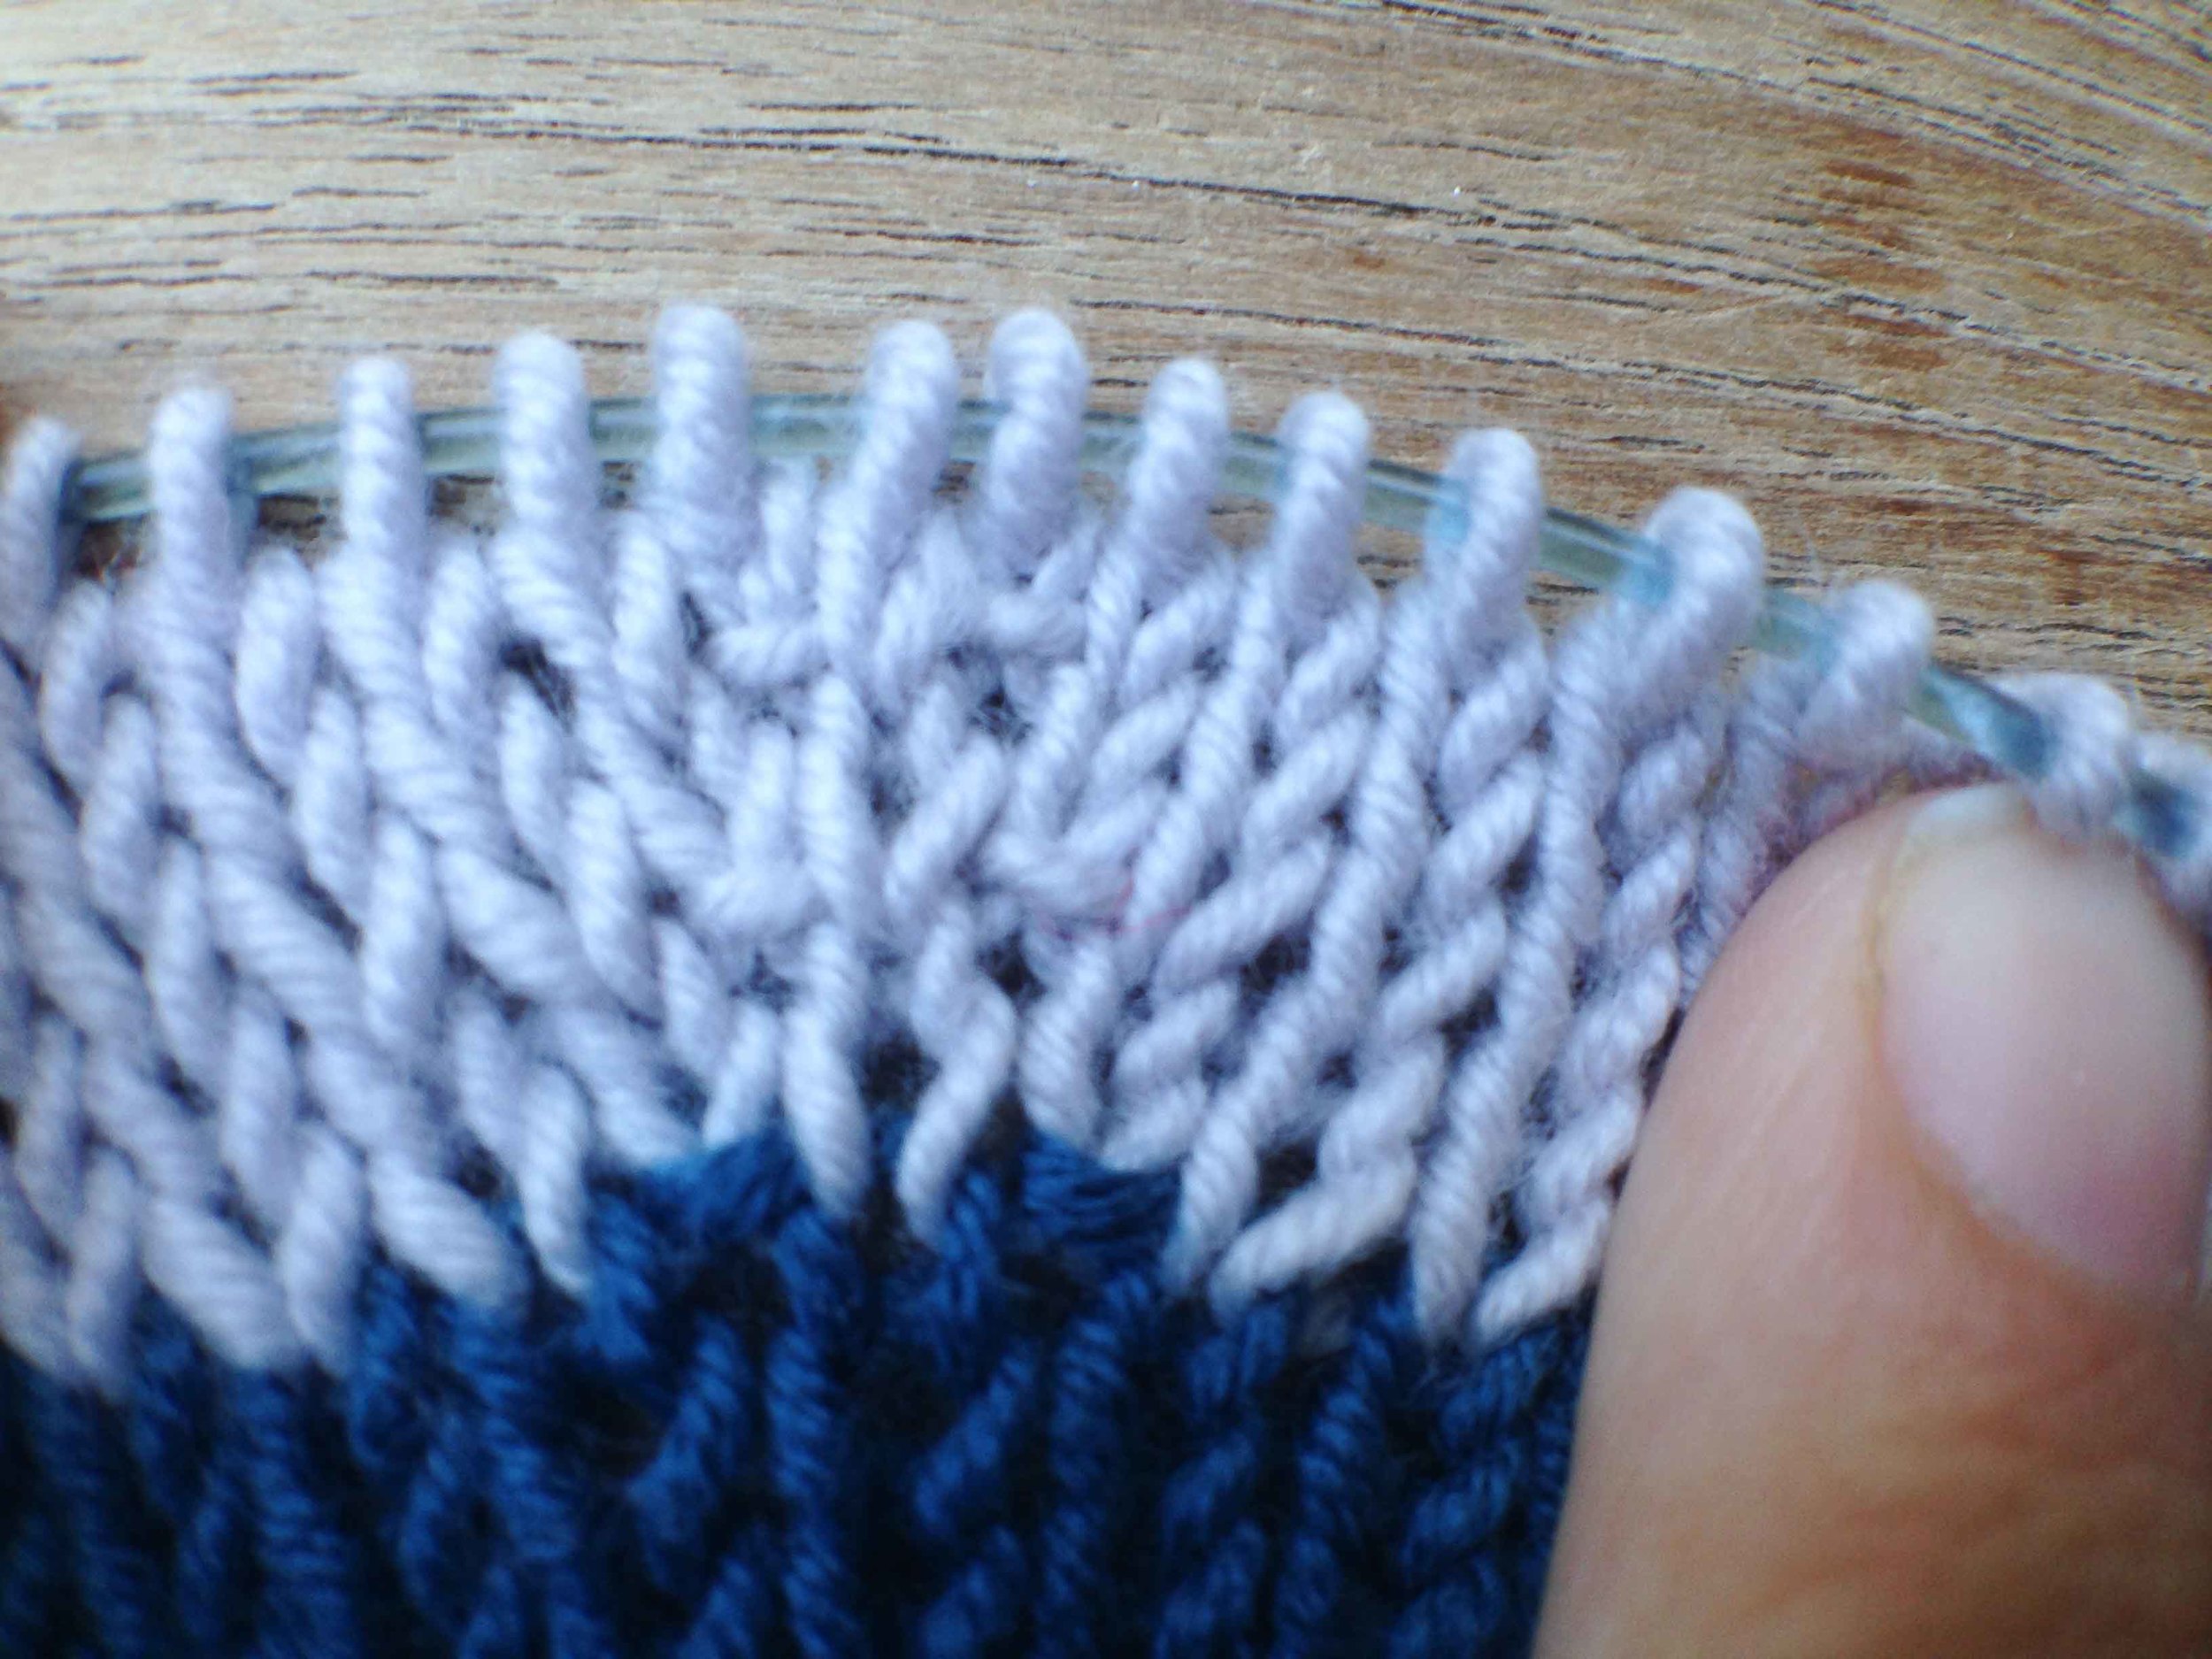
This photo actually shows two kfb in a row which is a common raglan increase technique. You can see to the left of my thumb a grey normal stitch and then a stitch coming out of a blue bar, then another normal stitch and then another grey stitch coming out of a blue bar.

This is kfb after the increase row and three more rows. As you can see there are four loops coming out of the bar including the one on the needle.
How to count increase rows!
Make 1
OK - so in the photo above we have three increase rows. We have done six rows of knitting since the first increase (including the increase row), four rows of knitting since the second row of knitting (including the increase row) and two rows since the last increase (includes the increase row as well as the stitch on the needles).
Make 1 Left / Make 1 Right
So just to be super repetitive - this increase is actually made in the row below the increase row. This is very obvious in my two colour knitting but not so much when you are knitting in a single colour.
So you can see here that the first increase is in the blue row. There are three increases each side of two normal knit stitches. And we have done six rows (including the increase row) since the first increase.
Knit front and back
So this is two kfb in a row which is a common increase technique for a raglan. The stitch marker (I should have left it in!) would go just to the right of the central row of knit stitches in the image.
In a pattern this would read - knit until one stitch before marker then kfb, slip marker, kfb then knit until…..
This image is the same as the last increase we covered - except that there aren't two knit stitches separating the increases. There are three increases each side of the marker and we have knit six rows including the first increase row.
I have just realised that I have forgotten to do a yarn over (yo). I will cover it if I get time, but a simple way to think of it (knowing all you now know) is to understand that when you do a yo the increase actually occurs in the row after the increase row….another day maybe.
That is all I have time for tonight as I am about to get kicked out of the wifi place. Let me know what you think! Clear, not clear? Anything else you want me to cover….I have a few ideas...
Felicia x

