• The CraftSessions Story
  • Our Past Retreats
  • Blog
  • Newsletter
  • Contact
Menu

The Craft Sessions

Street Address
City, State, Zip
Phone Number

The Craft Sessions

  • About
    • The CraftSessions Story
    • Our Past Retreats
  • Blog
  • Newsletter
  • Contact

Stash Less - Not just for the holidays.

June 16, 2015 thecraftsessions

I wrote this a couple of weeks ago now but I thought it was still relevant so I would post anyway. 


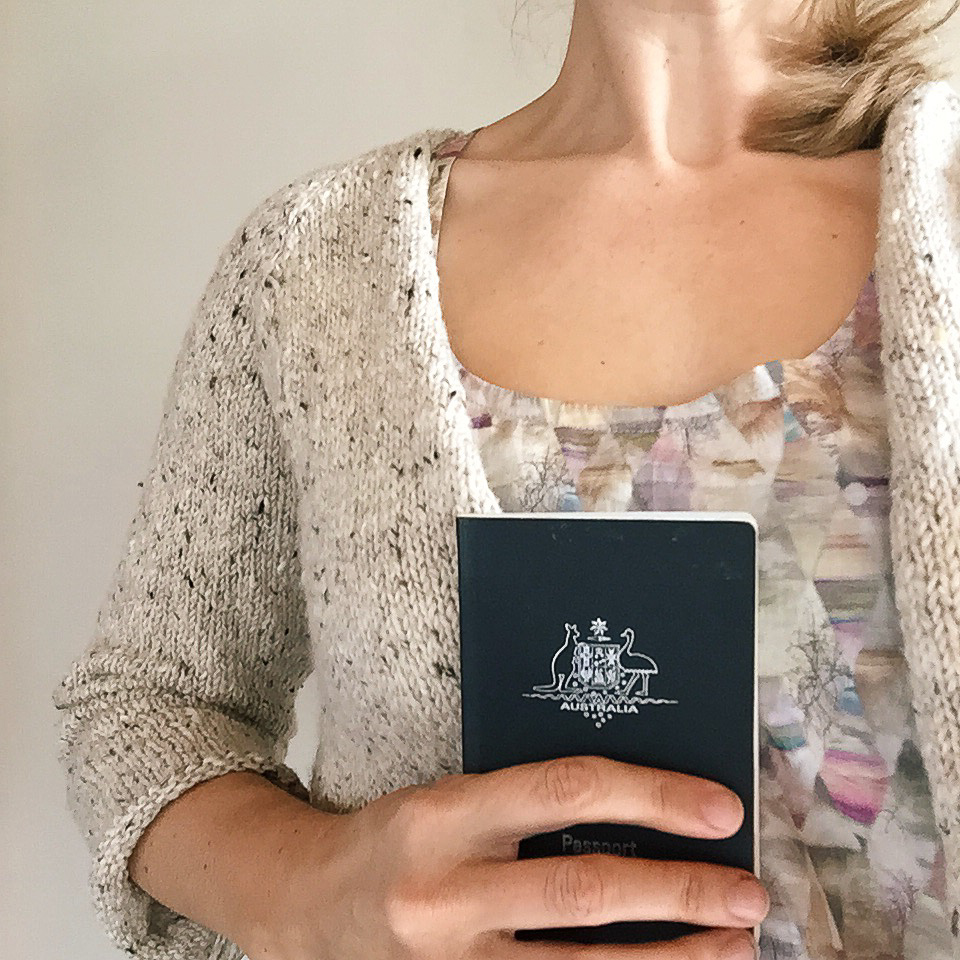
I'm in NYC. And some lovely women I know just invited me to the garment district to do some fabric shopping. And a crazy thing just happened - I said thanks, but no thanks. 

I know! How shocking - we are talking about fabric shopping in NY. An opportunity that is few and far between. 

But it's really feeling good. Not because I don't want to go. I do. I wish I could. But I can't.

It turns out, that like a puppy, Stash Less is probably for life*!

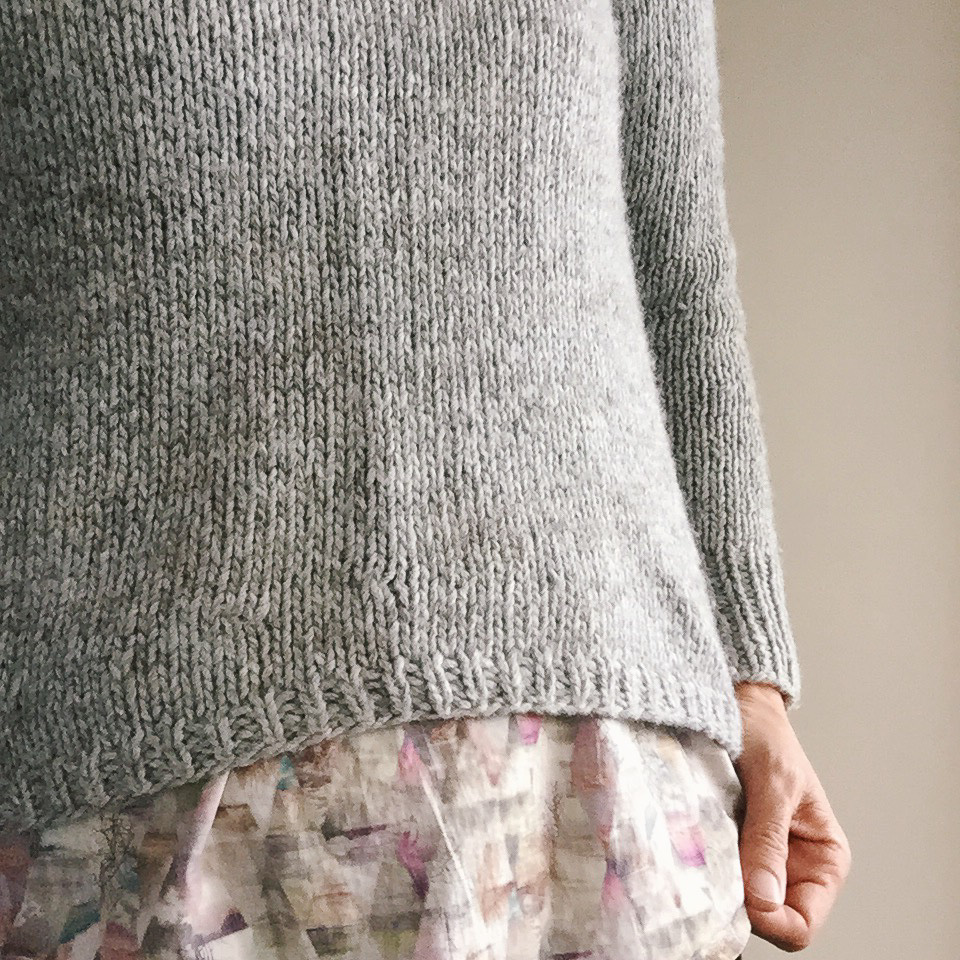
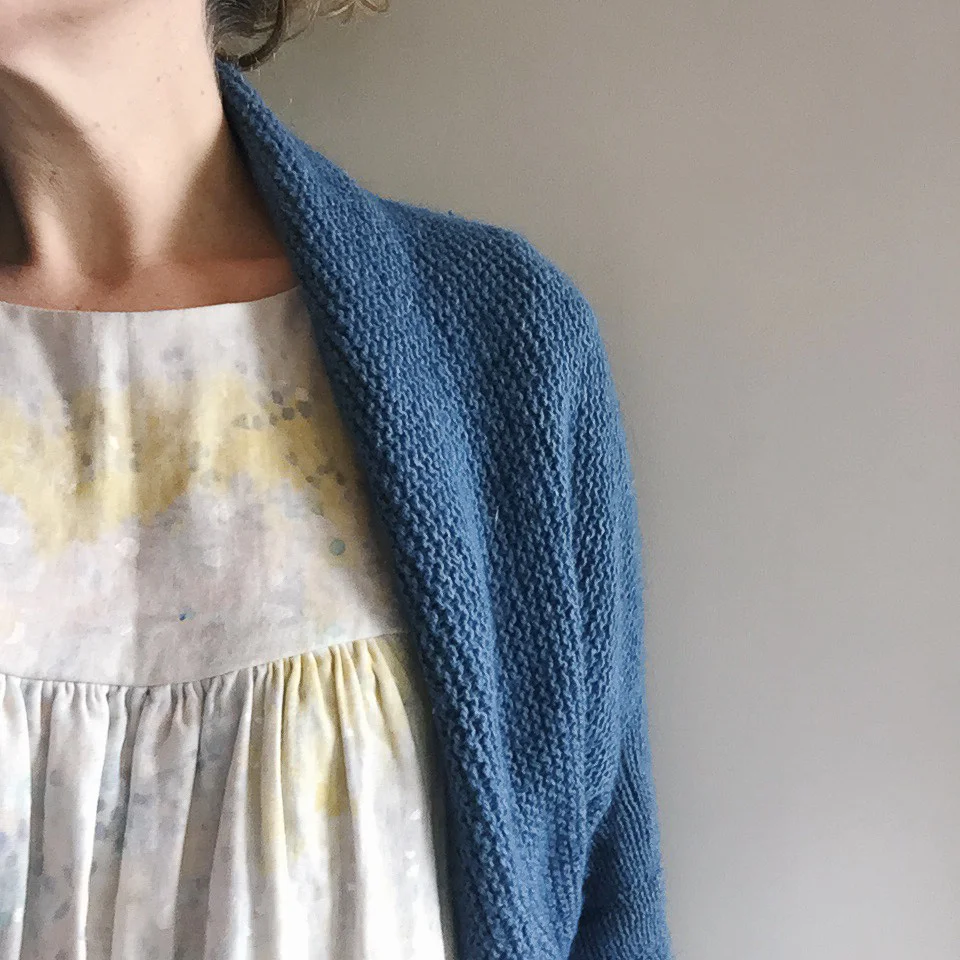
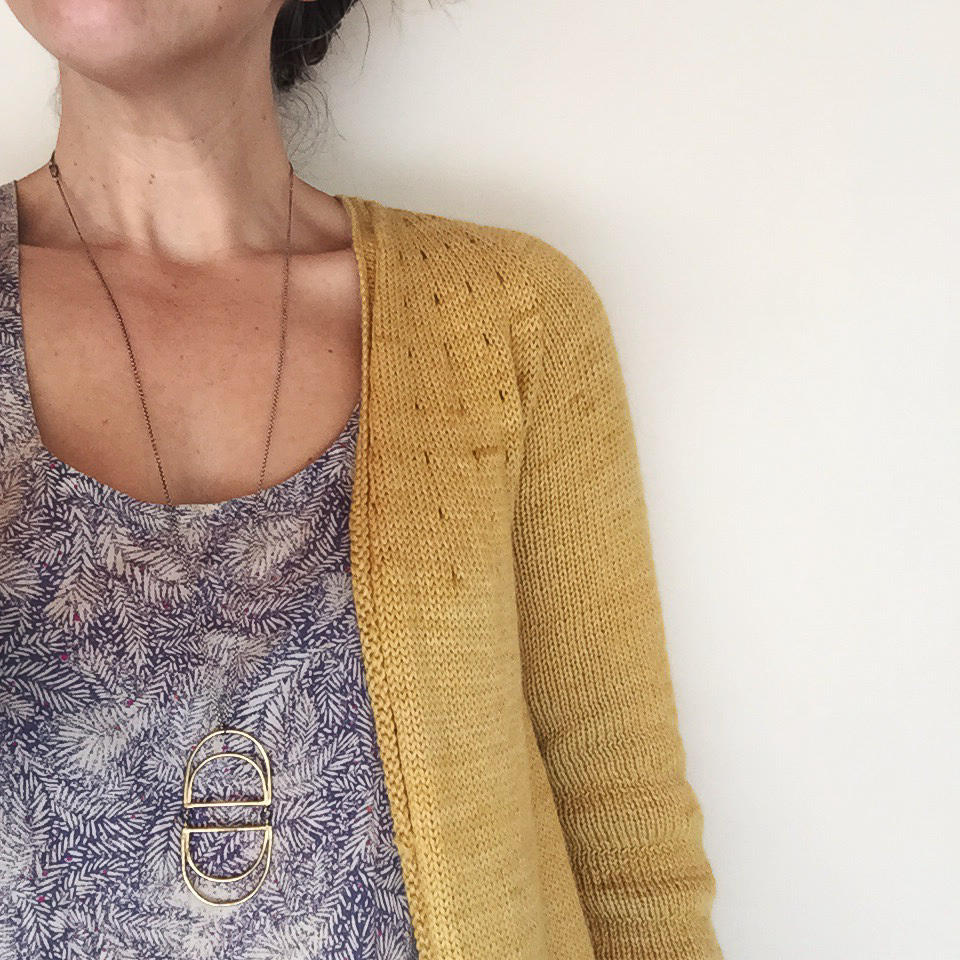
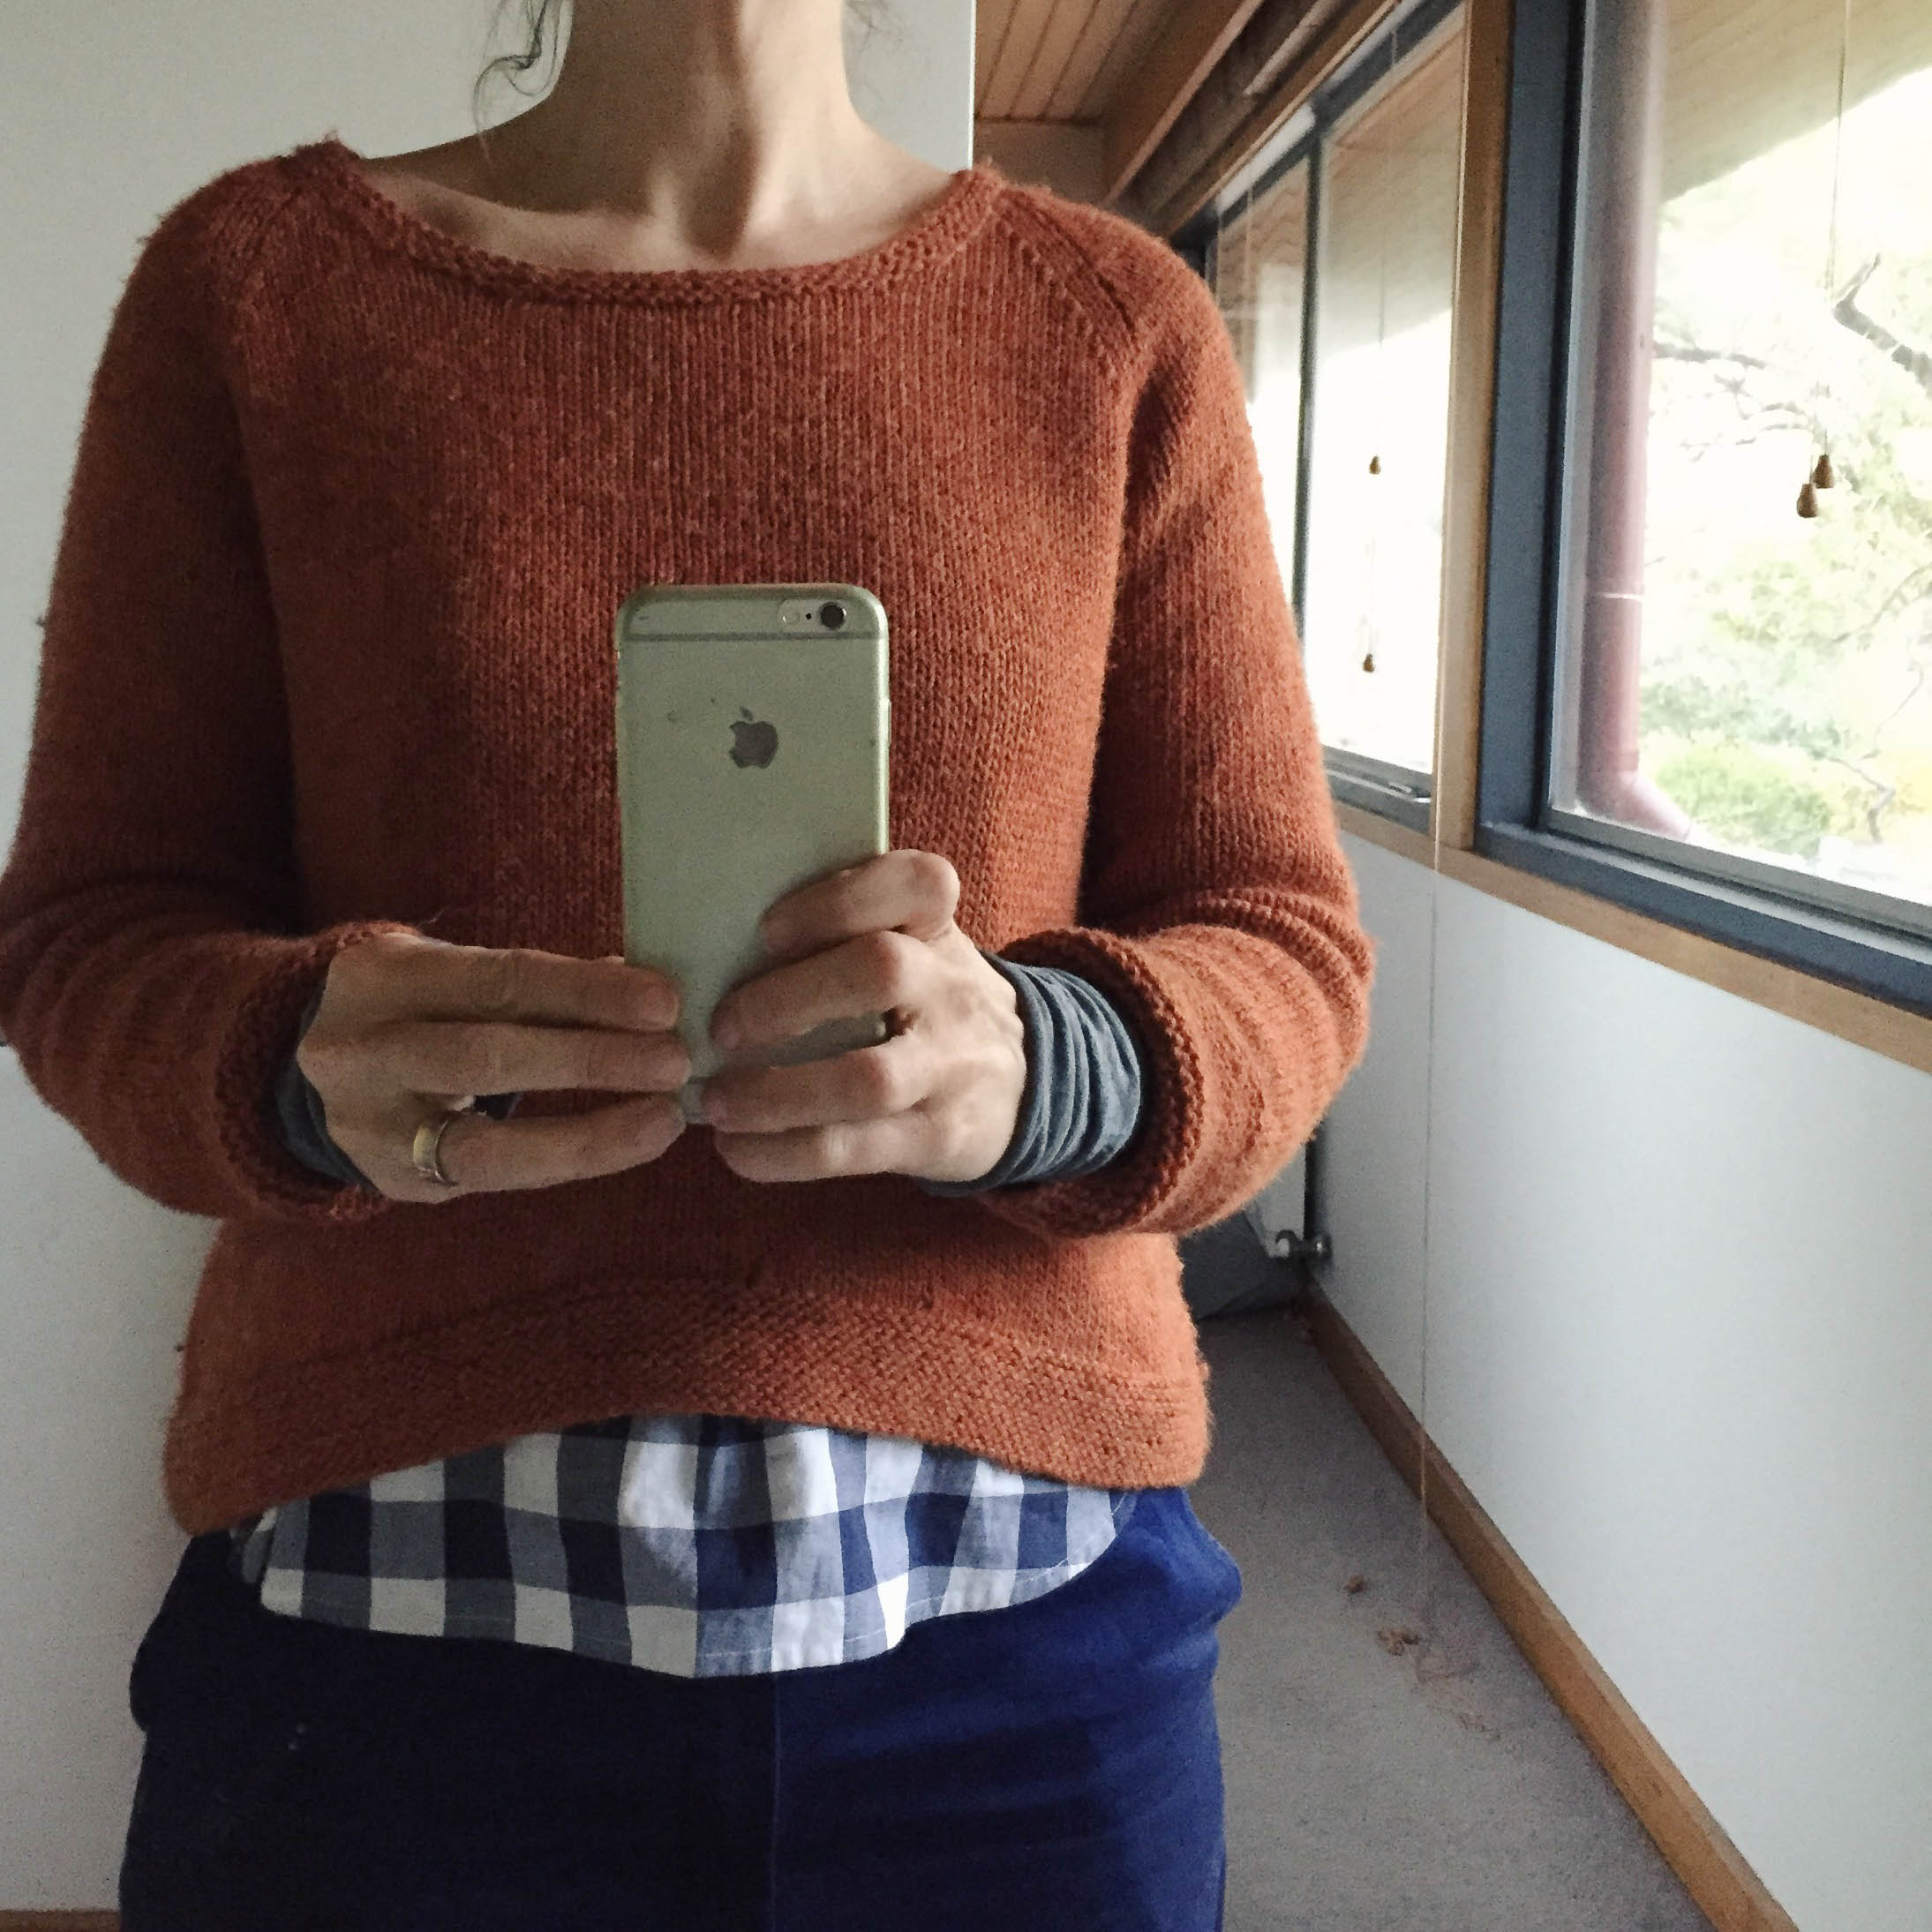
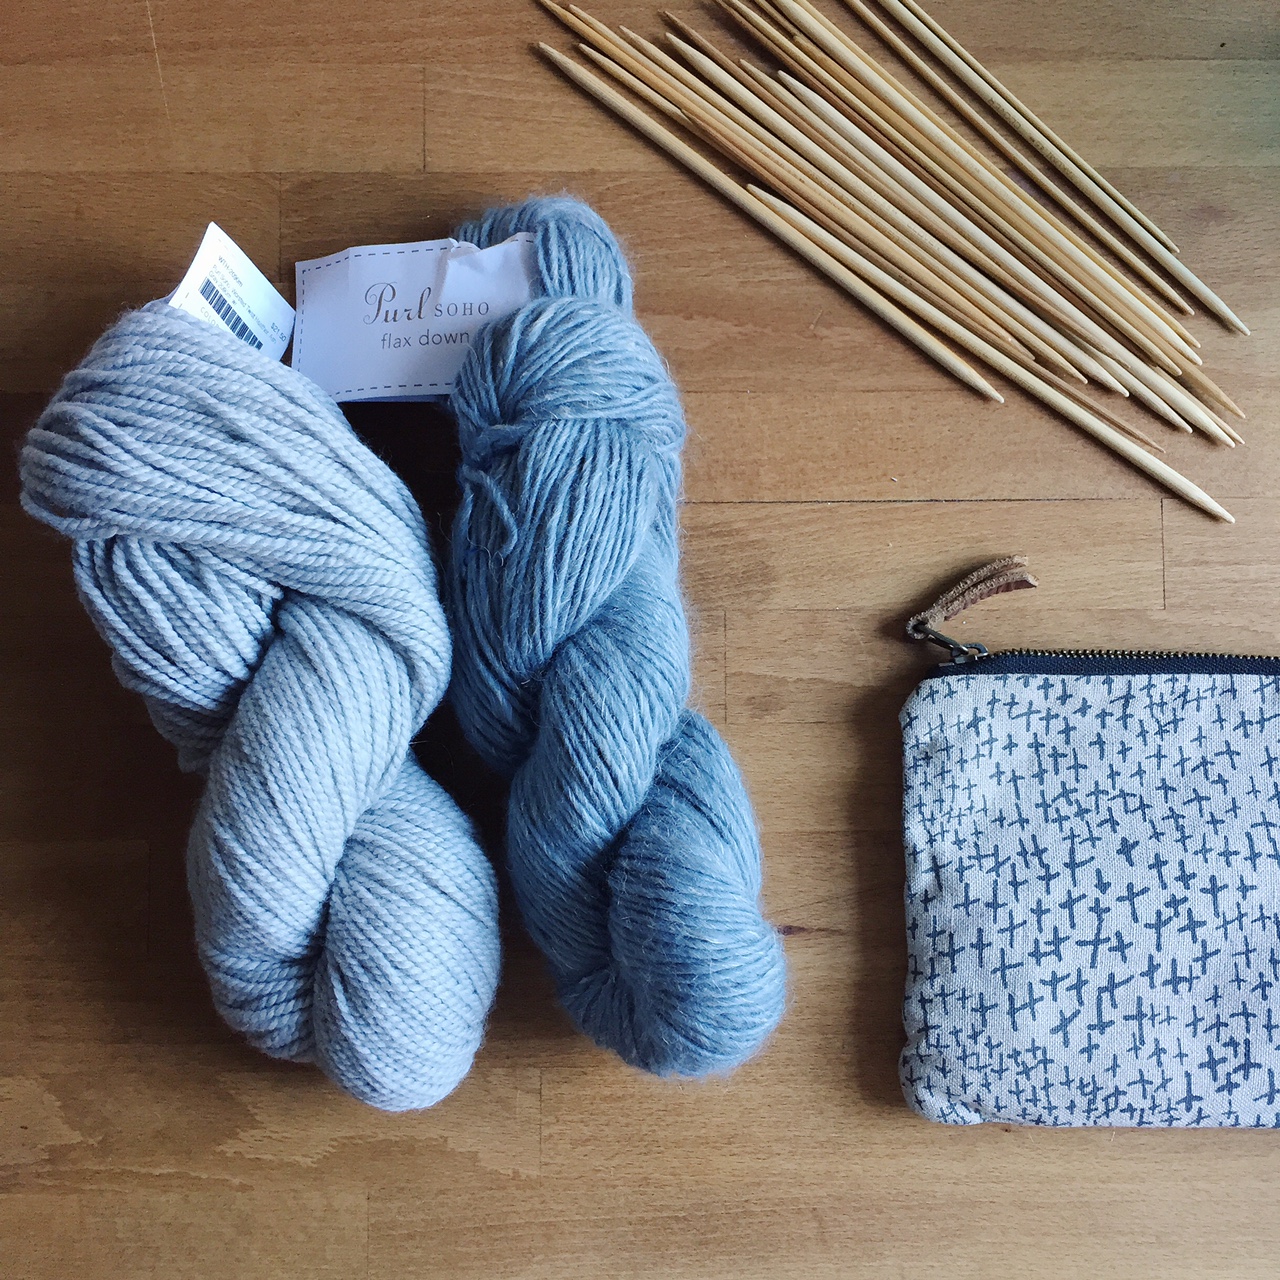
I know that one of the worst things that I can do in terms of not buying-more-stuff-for-the-sake-of-buying-more-stuff is not to shop. I did let myself go to Purl Soho but I went with intention. I went to specifically look and feel their new yarns. I wanted to try their Worsted Twist and their Flax Down - I knew my specific purchases before I walked in the door. But even with that well-thought-out intention in place, I almost left with other stuff. The impulse purchase "oh but I really want to make that at some stage and wouldn't it be lovely to have it now" feeling was really strong. But I stopped, thought, and I put the things back. 

In the end I purchased two skeins of yarn, an addi needle I needed and a present for my kids of some knotting cord. And that was it! 

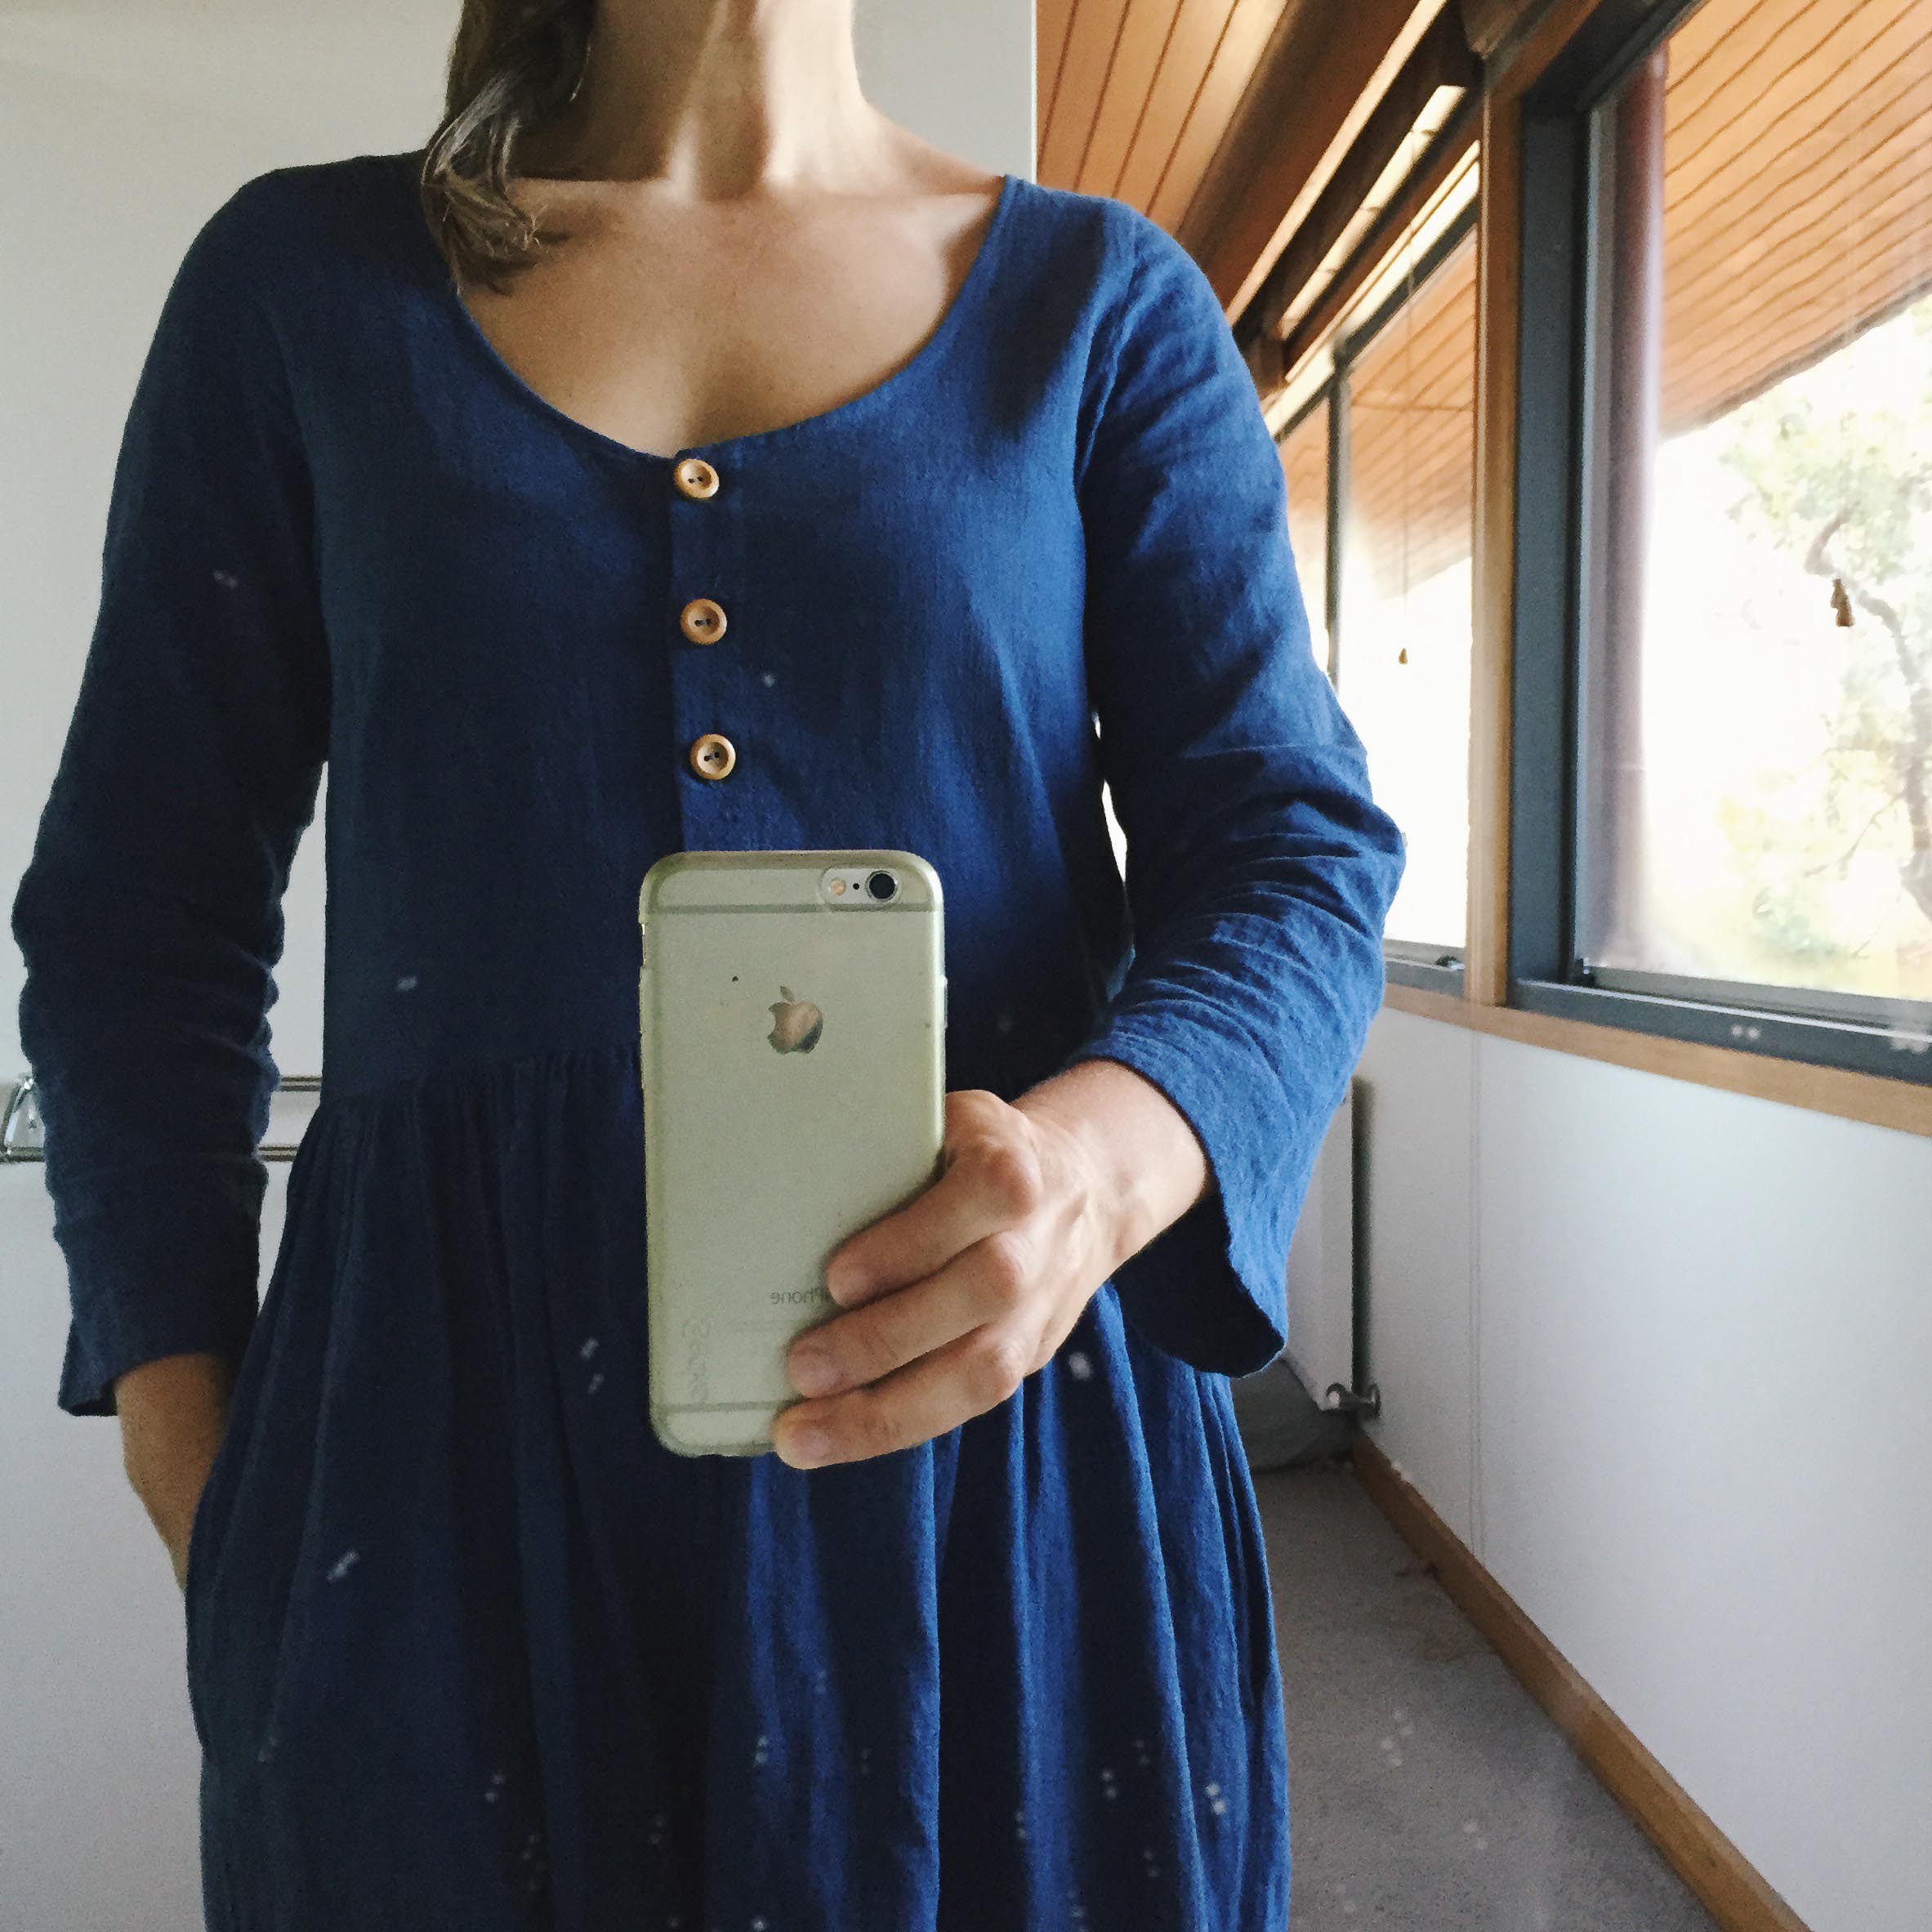
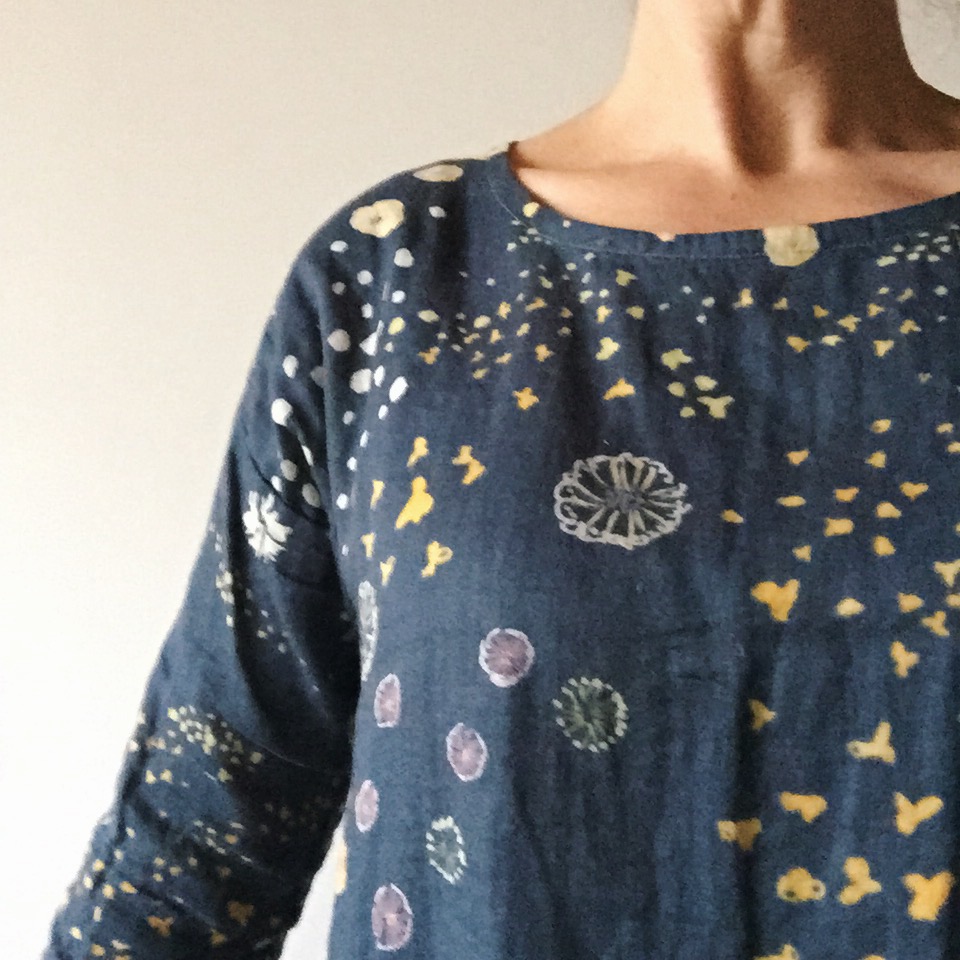
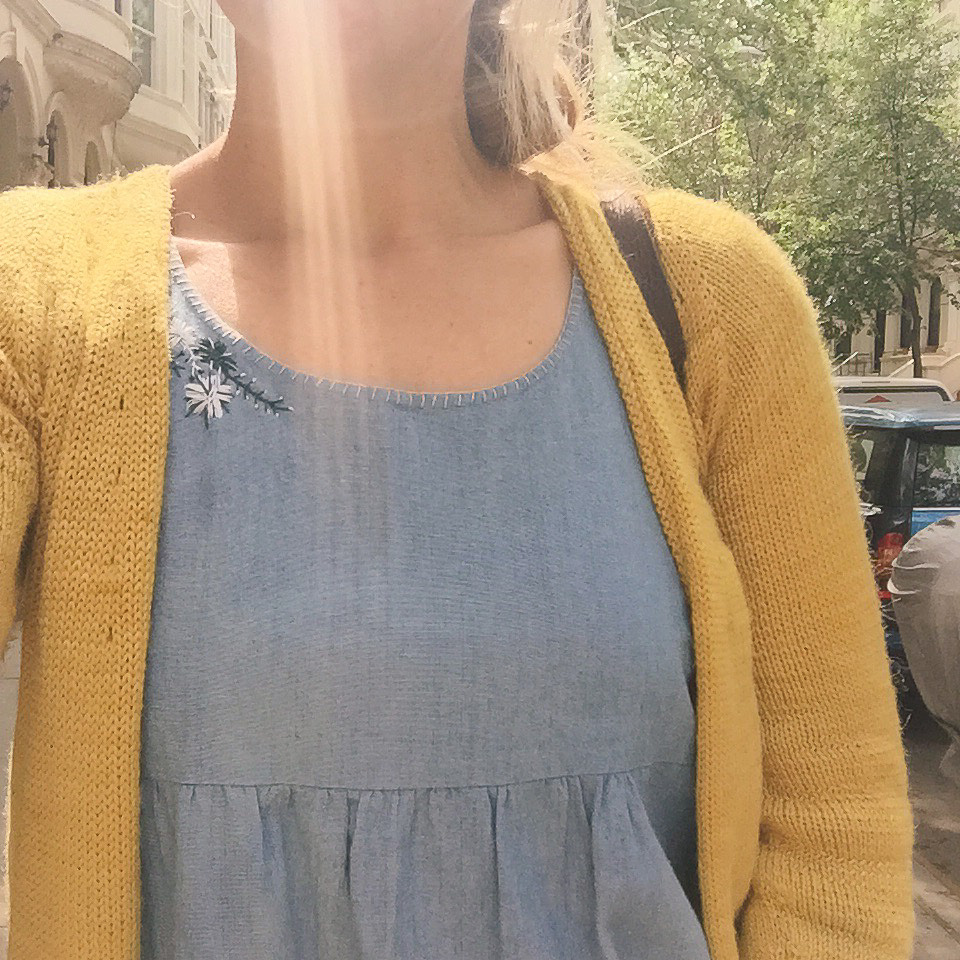
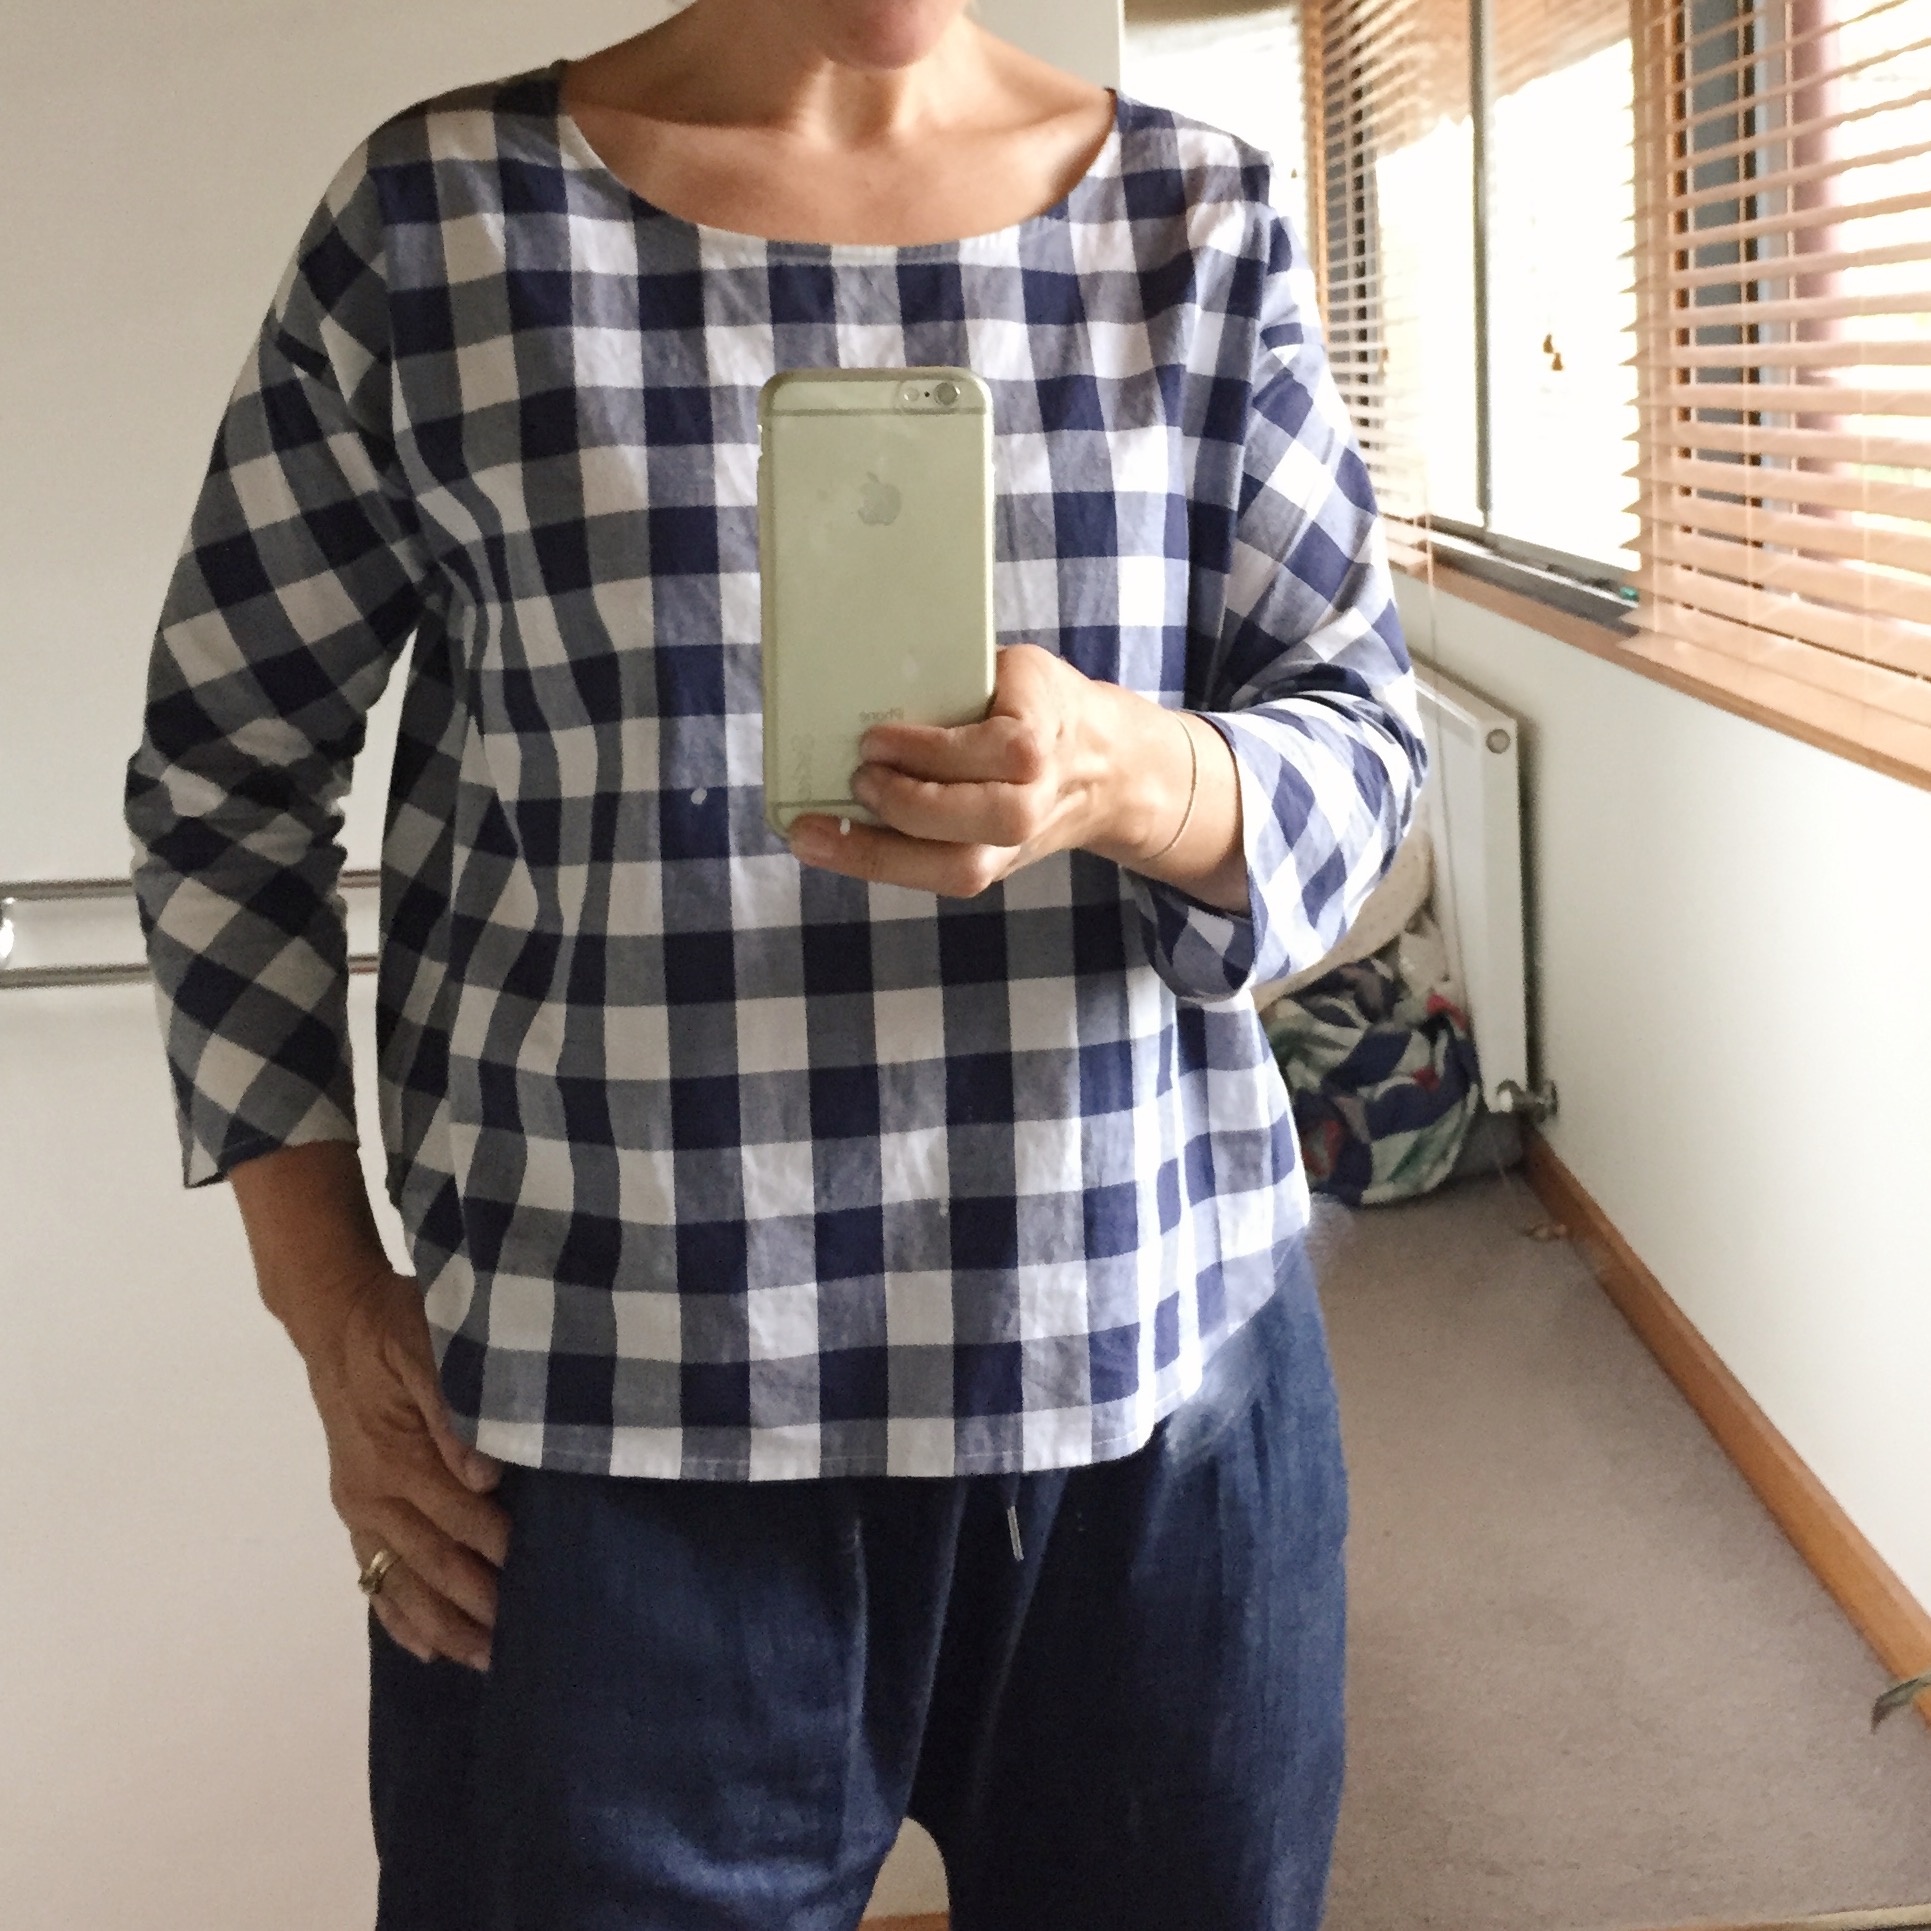
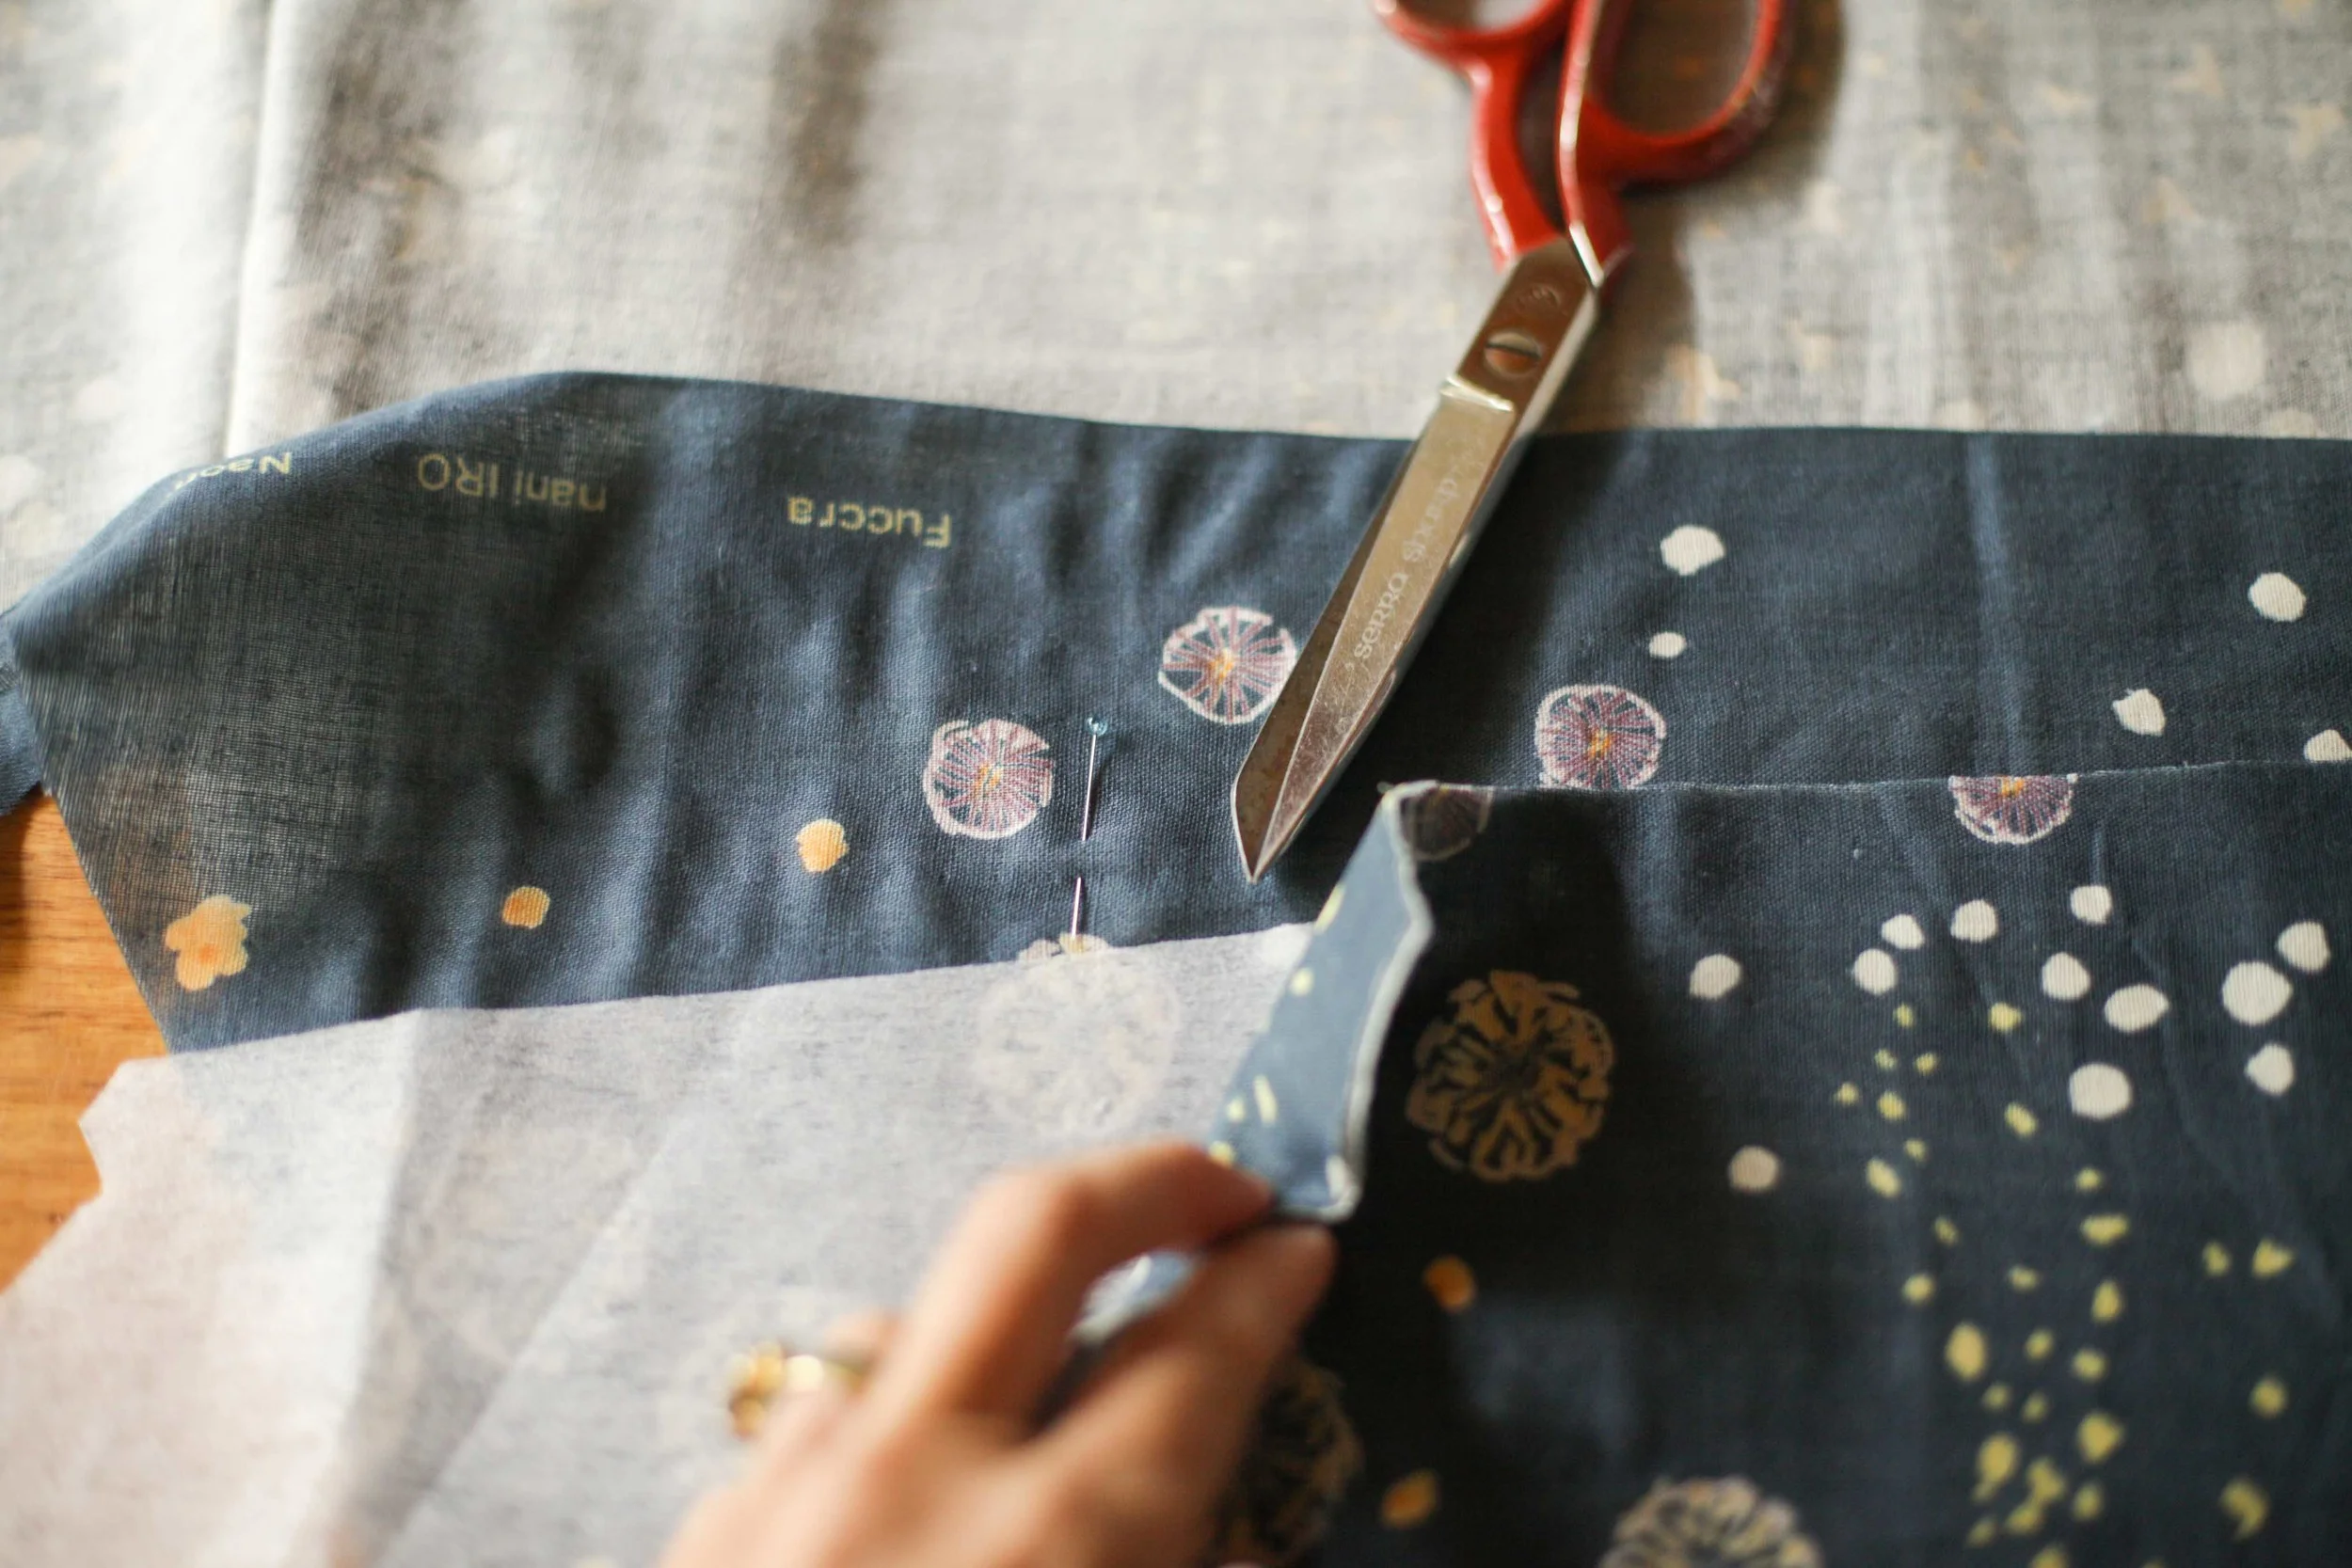
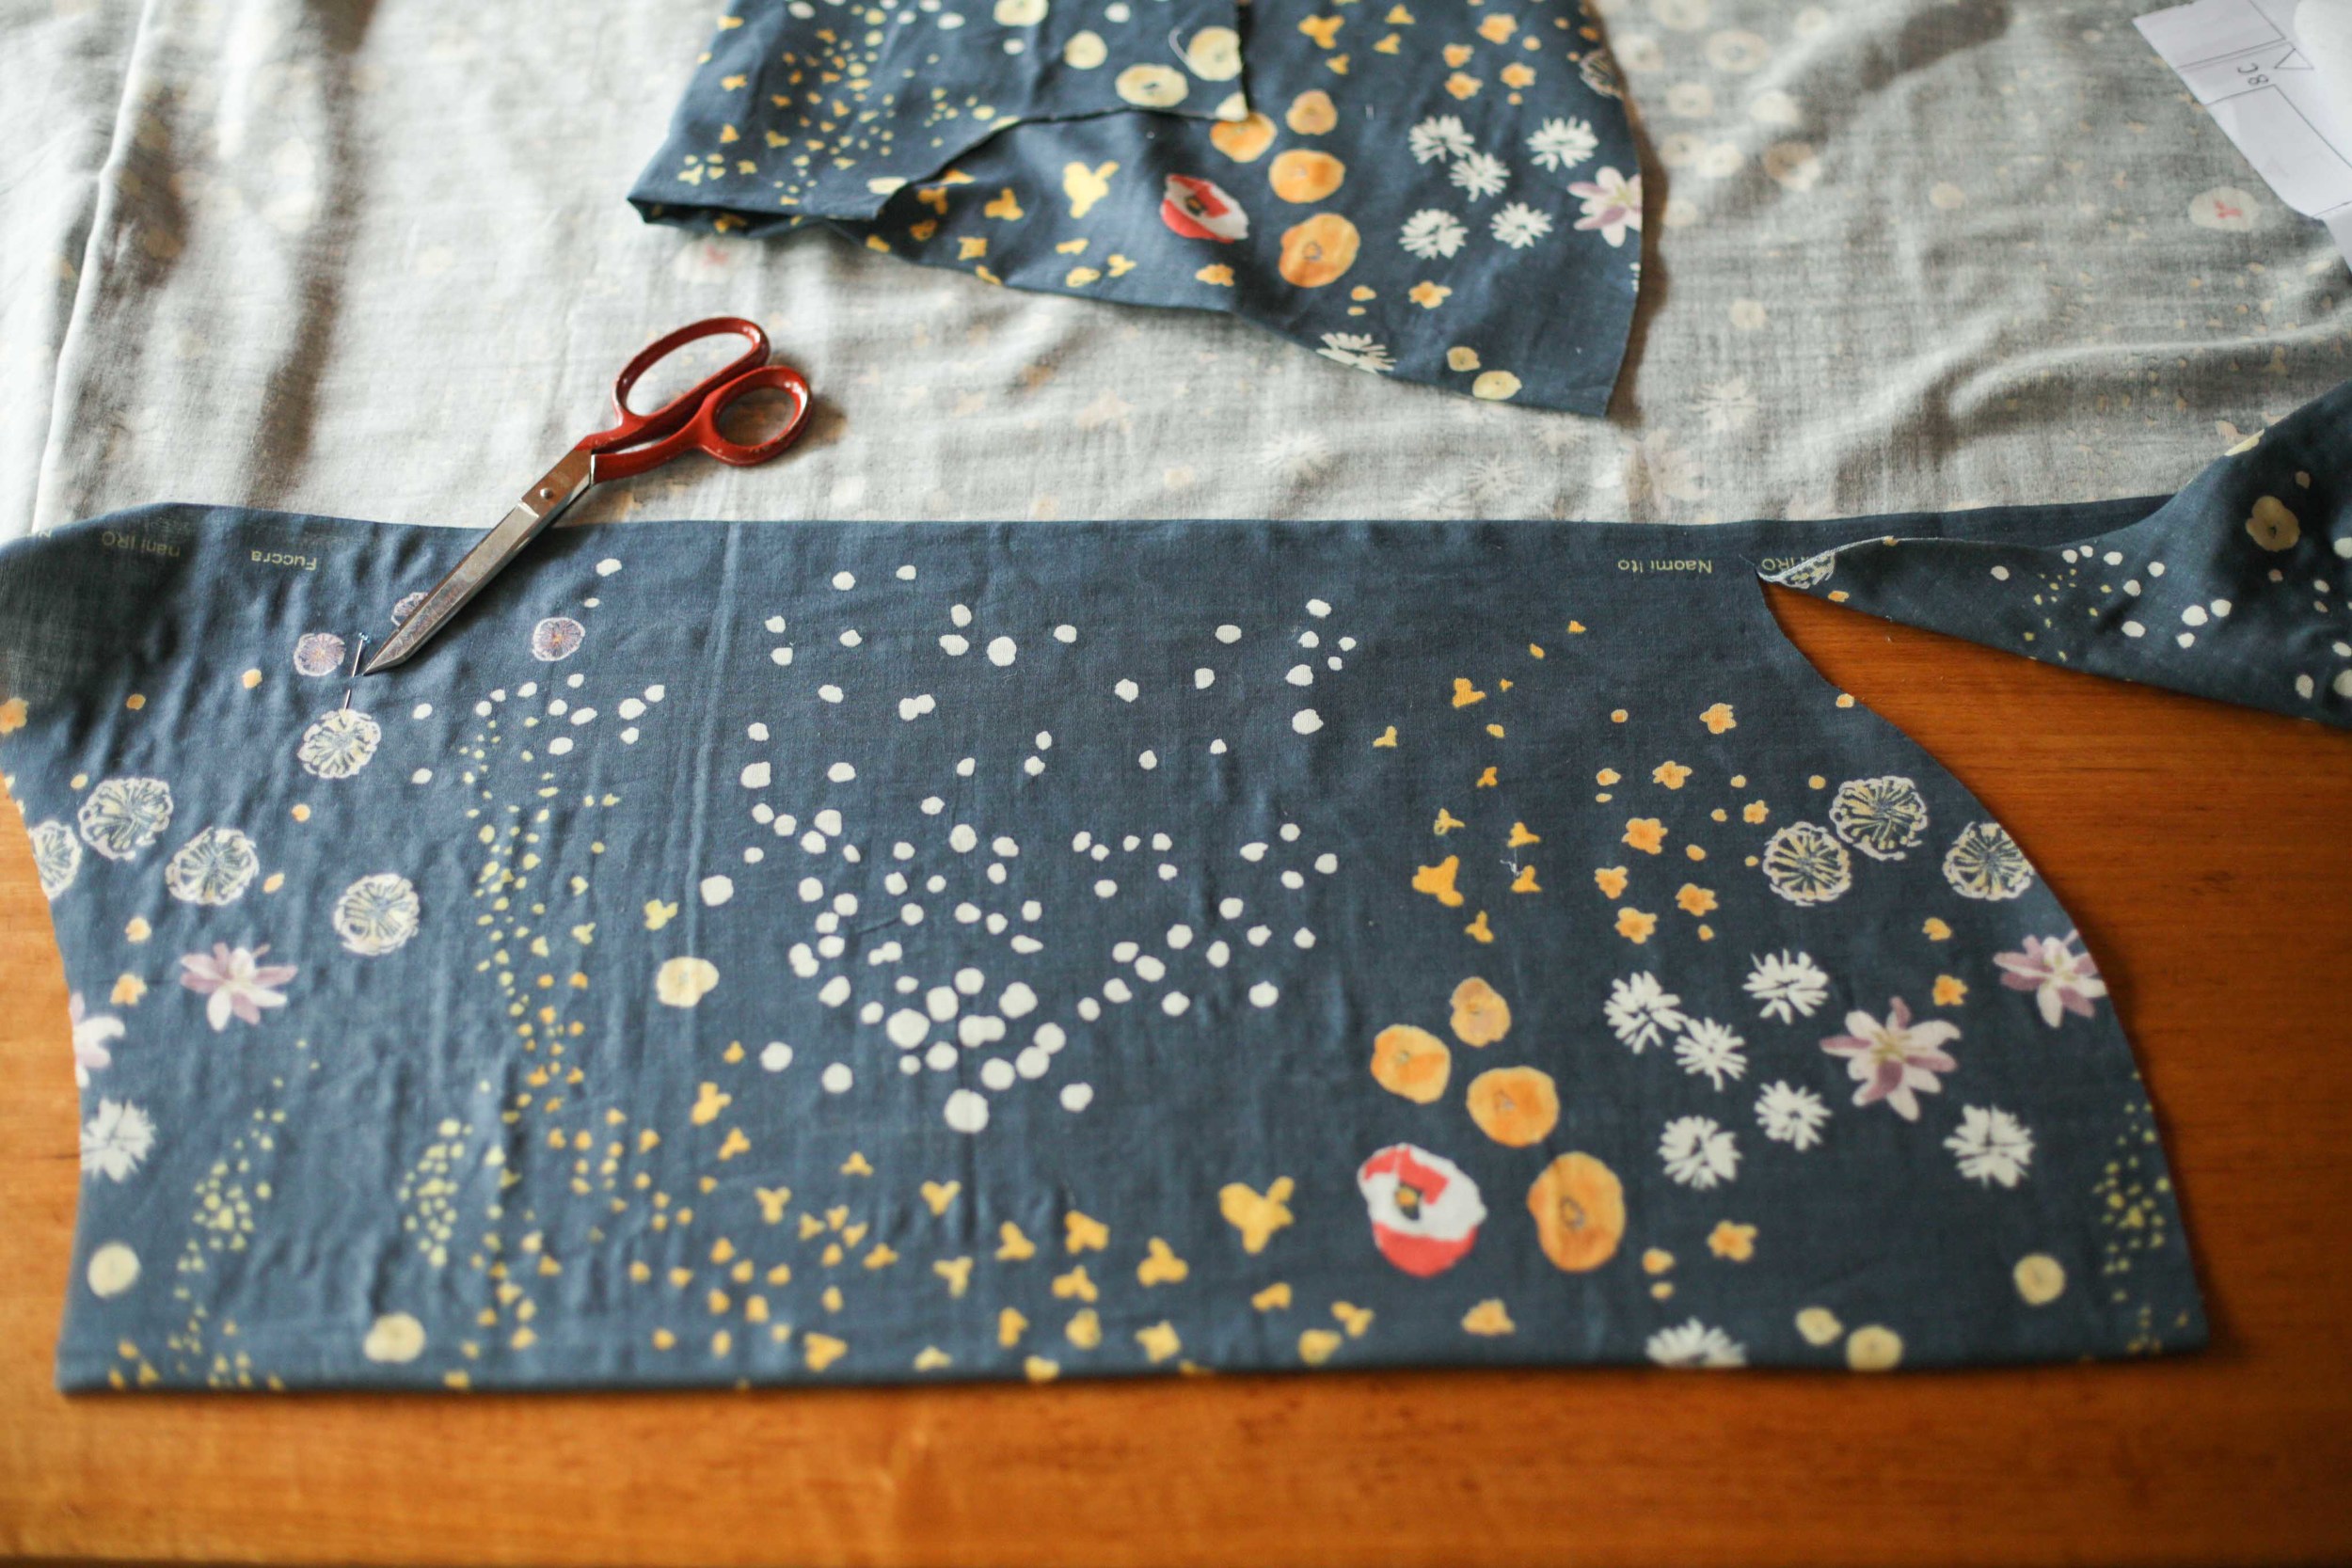
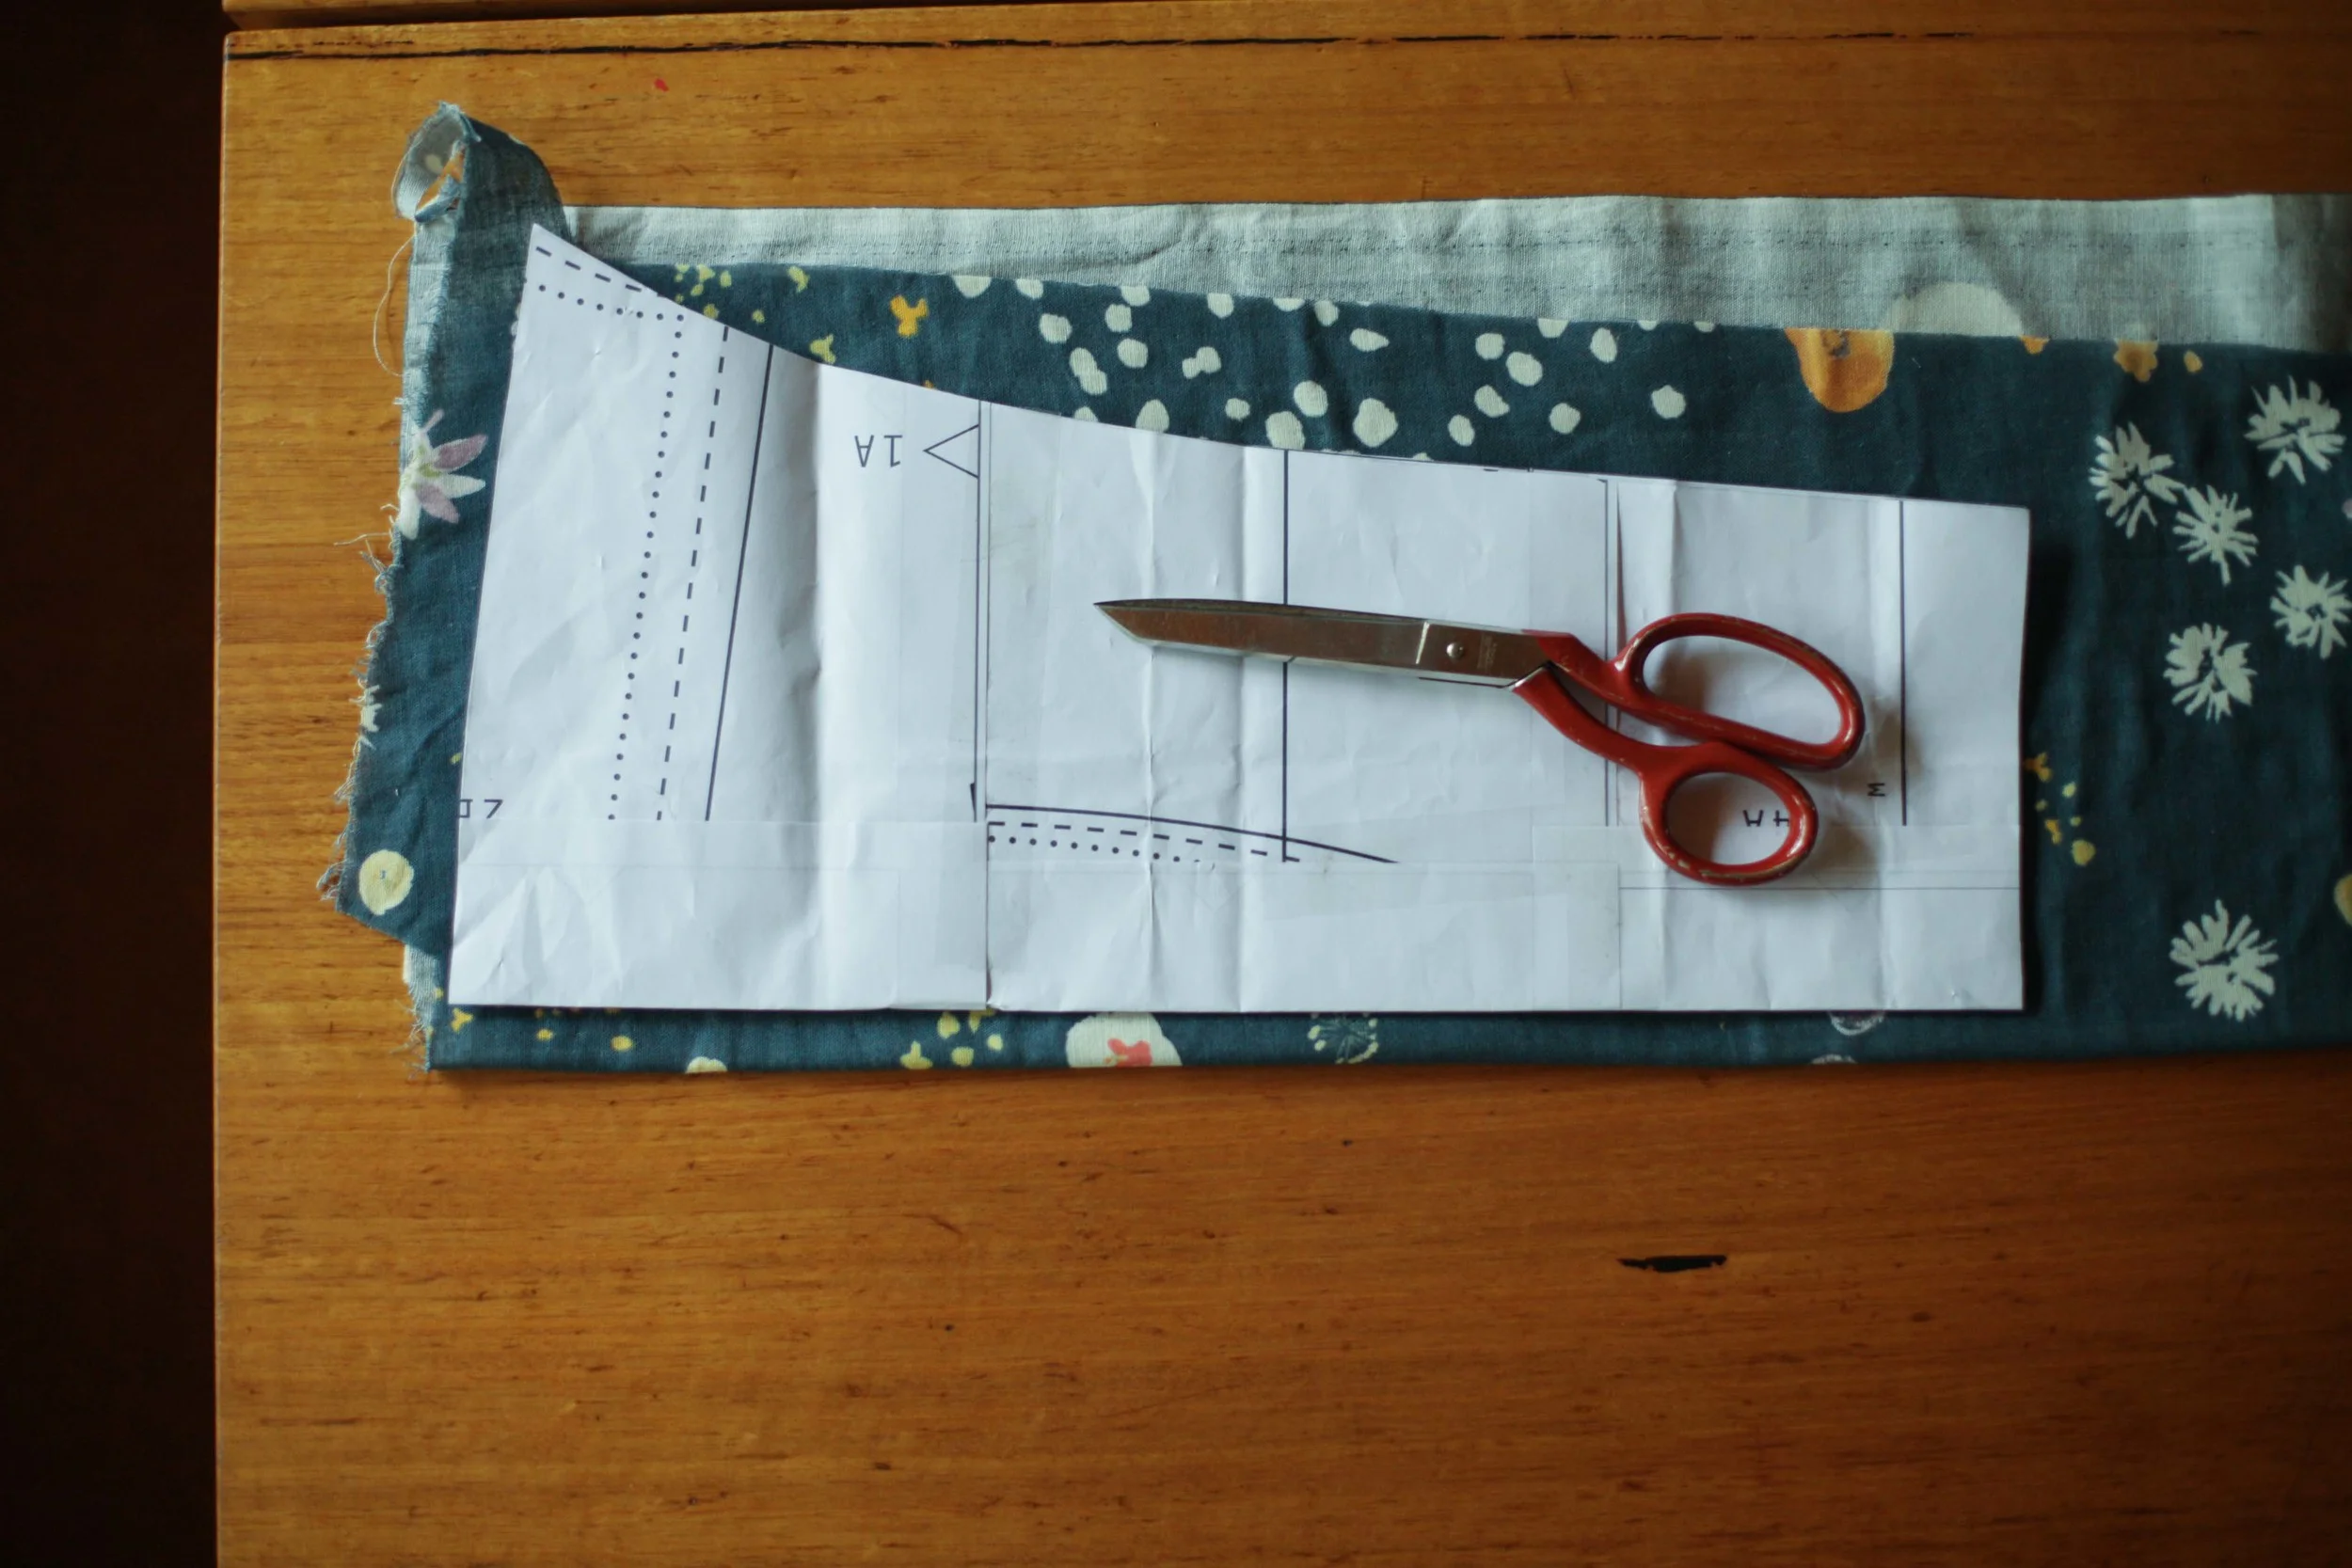
There is the little bit inside me that still thinks it would be crazy not to go and look at the garment district. I make a lot of clothes and having fabric on hand is a bit part of my ability to do that. The old "but your in NY" excuse. But that is just what it is. An excuse. And I don't want to live like that. I know I'm being repetitive - but it is for me more than you - because really I have enough.

I want to be responsible and aware and conscious of the choices I'm making and the behaviours I'm engaging in. I want to walk my talk.

I still have a way to go**. But I know I won't get there by heading to the garment district. 

Felicia

* More on that soon. 

**For example I know little to nothing about the manufacture of many of the fabrics I purchase. And I may have done a little too much purchasing at the Squam fair - but more on that next week. 

In Stash Less, Thoughts On Craft
7 Comments

A Me Made May Roundup

June 12, 2015 thecraftsessions

Me Made May has wrapped up for the year and personally I am calling it a big success. Consciousness was raised!I I really loved participating in it, but more than that I loved sticky-beaking at other peoples wardrobes via the ever wonderful instagram hastags #mmmay15 and #memademay. Totally inspiring - and showing that handmade can easily be everyday. 

I wrote about my participation in Me Made May in this post. My pledge was simply to wear handmade everyday; as I wear homemade nearly everyday anyway I didn't think it was going to be any big deal. And really it wasn't. I took it a tiny step further, in that I aimed to wear my whole handmade wardrobe. I didn't quite wear everything as there were a few summer things that weren't weather appropriate but I tried. I didn't have a total repeat until Day 23 - which means that I was right in my post the other day when I talked about the idea of "enough". I'm there*. 

The thing was, I wasn't entirely sure what I was going to get out of it. I hoped for some awareness on what I really liked and didn't like in my wardrobe. And then maybe a little more consciousness around what I already had and more specifically, some consciousness around what I had, but didn't like. What I clarified is that over the last 2/3/4 years I have slowly but surely developed a wardrobe I really love. A handmade wardrobe that I wear nearly everyday without thinking about it. That fits my life and makes me feel good. 

FelicaSemple-3.jpg
Day 1 through to Day 9.

Day 1 through to Day 9.


That said I also discovered a few other things

1. I have few things I don't like and therefore don't wear. For each the things I don't like there is a very simple fix - I've been being lazy. I'll get to them when I get home in July. 

2. I discovered there were some holes in my wardrobe, that became clearer through the wearing.

a. I have a huge jacket sized hole. When I return to Australia the Morris is going to be tackled and won, before my kids have recovered from their jetlag*. 

b. I love frocks. Love them. Just peruse my pinterest board and you will find a wealth of frocks. In reality I only have two that I own and wear. Fixing this hole is my sewing goal over the next year or so. I aim to hunt down and perfect some frock patterns that fit and make me feel the joy. I have two ready-to-wear frocks I love, so I am thinking I might be doing some copying, in terms of size, shape and fit. I know I have been avoiding this as it seems easier to just bang out a top than to make a frock. This is a declaration of intent lovely people!!!

c. Some of my clothes are getting a little thin - like my favourite Liberty tank dress - and will need to be replaced over the next year. 

Day 10 through Day 21.

Day 10 through Day 21.

3. I also discovered something (quite liberating) about my handmade wardrobe limits!
When I was looking at the "bottoms" section of my wardrobe I realised that I had only one or two handmade garments and they annoyed me.  I am a classic pear with a set of rounded saddlebag bits on my outer thighs. That make pants/skirts trickier to fit and so I would much rather be able to try the thing on as a finished garment. The idea of fiddling with a pattern to get something to fit without being even 20% sure I would get something wearable at the end is not at all appealing. My heart feels constricted at the mere idea of looking for a pattern.

So my realisation?? - That in making my handmade wardrobe I do not want to make pants or even really skirts. In the future I might have the brainspace but I currently don't have it in me to fiddle with the fit. And so I am just going to cross that whole category off my sewing list. Letting go = happy days. 

Day 22 through Day 31

Day 22 through Day 31

All details for all patterns etc are on instagram. If you don't have an instagram account then go to http://instagram.com/thecraftsessions - just click on the individual photos for the details. 

I'd love to hear what you learned, and what you loved, from this year's Me Made May.

Felicia x

*Last time it took those little tigers 6 nights. SIX nights before they were sleeping between the hours of 12pm and 4am. This time I might need to resort to herbal sleeping remedies?

In Inspiration, Thoughts On Craft, Simple Sewing 101
11 Comments

I Made This - Anna Maltz

June 9, 2015 thecraftsessions

I Made This is a weekly blog series that features makers from around the world and aims to talk about the things we are proud of; of the objects we make that have meaning to us and the journey we take to make them.

This week's amazing guest is Anna Maltz from the UK. I first came across her on instagram and if you don't follow her already you really should. She has an eye for sweaters and I find her feed inspiring in a think-outside-the-box kind of way. And I love that! And her project today is a perfect example of that - one-of-a-kind genius.... and so with that, I'll hand over to Anna.


This is the dress I wear when I teach knitting classes – it simplifies the dilemma of what to wear and puts my money where my mouth is. It’s an odd uniform in that there isn’t anything uniform about it. Each sleeve is different, ‘cause why not? In fact, I knitted it for myself in 2013 as a reward and respite from knitting the same handful of accessory patterns I had designed and used to teach the 25 amazing women with whom I formed Ricefield Collective. http://ricefieldcollective.org/.

Though I am often asked, there isn’t a pattern for this dress and there won’t be. I made it up as I went along. I say ‘often’, but not as frequently as people point out that knitting colourwork in cotton (which has less stretch than wool therefore requiring more tension regulating on the part of the knitter) is the preserve of wizards, crazy people and the anally retentive (cheers). The luxury of this dress was to make a one-off thing for me. An interlude from the responsibility of planning and keeping track that is necessary when preparing a pattern to be published.

I did do a little maths before I started. The body is 260 stitches round, which, beyond fitting me, divides by 4, 5 and 10. By decreasing 1 to 259, it’s divisible by 7. By adding 1 to make 261, it becomes divisible by 9. By decreasing 2, to 258, it divides by 6. By adding 4 or decreasing 4, it is divisible by 8. Using a number like that allowed me the flexibility to insert all sorts of patterns as the mood took me. It reduced the need for advance planning, because chances were, I could make whatever motif I fancied fit. The same went for the yoke: I used 384 stitches, because that is divisible by 4 and 6 and is 1 away from a multiple of 5 – you get the idea.

Knitting in the round avoids needing to sew anything together or do colourwork from the purl side, both of which I am not overly fond of. It’s worked from the bottom up, because I prefer decreases for yoke shaping  (as opposed to increases which you use when working from the top down). I made up a cast on involving 2 colours. I was on a 12hour flight from Manila to London and wanted to get cracking without access to how-too videos or my extensive library of knitting books. It wasn’t totally what I’d imagined, but it was something else good. I cast on 520sts - double the number I wanted for the body of the dress. I thought that would be enough stitches to create a big ruffle at the bottom. It wasn’t, there’s just a little flurry. Quadrupling the stitches would mean each round taking an obscenely long time to knit – well over an hour, so I won’t be casting that on any time soon.  

Shaping? There isn’t any. Why add a whole other layer of calculations and risks? Looking at the majority of amazing coloured and patterned clothing from around the world – saris, sarongs, huipiles, dashiki, kobo blankets, you name it; they are basically right-angled shapes with minimal sewing, often even using uncut lengths of cloth. The pattern is the focus. Enough shape comes from being draped on a body. If I feel the need to prove I have a waist, I put on a belt.  

The 4ply/fingering weight cotton came from my stash and my mother’s (so potentially also my grandmother’s). Between us we have so many nice crafting ingredients, I try not to buy more. When I design, I have to use current colours and yarns, which means my personal stash really languishes. It was an extra treat to work from it. Since it felt like I was winging it with no pattern or plan and therefore no guarantee of success, I picked my least favourite colours: ones I wanted to use up first. It’s scary committing your favourites to a project – once used they lose all their amazing potential which is a big part of their beauty. The funny thing is, I really like how it came out. The palette has now been working its way into other parts of my wardrobe and life.

Anna's new pattern Solja for kids and Solja for adults.

Anna's new pattern Solja for kids and Solja for adults.

Projects like this are so important for me – they are experimental playtime, all about practice and learning. Who knows where they lead. In this case the floral yoke became the yoke of my Solja sweater, first published in PomPom Quarterly magazine http://www.pompommag.com/ last year. And now I’ve added kids sizes too  http://www.ravelry.com/patterns/library/mini-solja

In Inspiration, I Made This
6 Comments

Simple Sewing 101 - Part 5 - The Mashup.

June 3, 2015 thecraftsessions


So I forgot to post yesterday. Blame the time zone thing or the fact I'm on holiday. My apologies!

So let's get to it. Many of my pattern alterations are mashups. I like the top of one pattern but the hemline of another. Or the neckline of one and the shoulder of another. Because I'm not a pattern drafter, I generally leave that stuff up to those that are, and so I pinch the bits I like from different patterns.

Where do I do the alteration?

I often create the pattern for the mashup while drafting the pattern onto the interfacing - by this I mean that I trace the parts of the mashup onto my pattern interfacing to create a new mashup pattern. Generally I use patterns that I have already previously made but I also sometimes just use my measurements (we talked about this in Simple Sewing 101 - Part 4).

For example for today's pattern I would trace the neckline and shoulder line of the Hemlock, and the hemline of the Wiksten Tank along with an altered side seam, onto my interfacing . The reason for doing this is that when I come back to use the pattern the next time I can recreate it exactly. 

That is not what I did here. Partly because I was being lazy. But it turns out this was a brilliant move on my part, in terms of this "tutorial", in that it means when we are looking at the photos we can clearly see what's what.

Which bits do I not fiddle with?

Generally I don't fiddle with the fit of the shoulders if a garment has sleeves. Getting the fit of a shoulder right is a super tricky thing and not something I know how to mess with. And getting the fit of the shoulder right is the one of the keys to a good looking top.

I will alter a neckline, a side seam, the amount of fabric something has in the back of a neck, the width of the straps of a tank, and hemlines. I love to alter hemlines.  And necklines - practically all of my Scouts have altered necklines. 

Woven Hemlock Tee/Wiksten Tank MASHUPS

So here is the mashup. Super simple but it has resulted in two of my favourite, most wearable tops. Simple to make, joyful to wear. Can't beat that.

The Hemlock Tee pattern is the paper pattern. The Wiksten Tank pattern is the pattern on interfacing.

The difference between a woven Hemlock and this mashup pattern is simply that I used the hemline of the Wiksten Tank as my hemline. As the tank hemline is about three cm wider at the bottom than the Hemlock then the new pattern has more of a swing shape to it. This is made easy by the fact the Hemlock actually has no armhole to contend with (the pattern side is just straight) so I simply cut a the side seam line from the outside shoulder edge to the hemline edge. 

The other thing that I needed to do with this pattern in order to get a good fit is to alter the sleeve ever so slightly. This pattern is written for knit fabrics which have a lot of stretch and as such the sleeves are meant to be fitted. In the check version above I cut the sleeves on the bias which gave them stretch as woven fabrics often have stretch inherent in the bias of the fabric. In the floral version I needed to cut the sleeves with a little more width so they didn't make the arms stiff. I describe how I did that below also.

This whole thing is best described in pictures so here goes. 

Step 1. In this picture you can see the Hemlock pattern (ignore the markings on the paper - I used scrap paper) which is the paper pattern, and laying on top you can see the Wiksten Tank pattern which is the interfacing one. The interfacing one is scrunched up on top of the paper one to give you an idea of my plan.

I measured from the shoulder seam next to the neck, down to the hemline using the measurements I know I like for the length of a top. I made sure to include my seam allowances - 1/2" for the shoulder and then 5/8" for the hemline - into this length. I got this right this time but often I will get it approximately (making it a little longer rather than shorter) and adjust while I am making it.

Step 2. The first cut I made was the neckline of the Hemlock Tee. The pattern piece was held on the fold. My scissors need sharpening which is why the cut is jaggedy.

FelicaSemple-3.jpg

Step 3. I then cut the shoulder seam line to the corner. I don't muck with the shoulder line!

Step 4. I then cut the hemline of the Wiksten Tank pattern piece knowing the right position to put it in as measured in Step 1. 

This just shows you the cuts made so far. The neckline, the shoulder seam and the hem.

This just shows you the cuts made so far. The neckline, the shoulder seam and the hem.

FelicaSemple-6.jpg

Step 5. Holding the outer shoulder seam point in place, I pivot my pattern piece so that it creates a straight line between where the Wiksten Tank hemline outer edge is. I create a straight line as I am effectively following the style of the Hemlock Tee pattern here because it is where I am getting my shoulder line from. 

Note: If this pattern had an armhole I would cut the armhole out first and then pivot from the bottom of the armhole. What I did for this mashup creates a top with more swing AND more fabric in the chest area. If I didn't want the chest area to change I would figure out where on the side seam line the shoulder finished (problem around the letter P in POCKET on the pattern above) and pivot from that point. 

This photo shows the front of the top cut out.

This photo shows the front of the top cut out.

Step 6. Now to cut out the back. First we need to get the length right by laying out our pattern pieces. The curve on the back hem of the Wiksten Tank is slightly different to the front, so the first thing I did was to lay the back piece of the tank down on the fabric. I then added the front piece that I had already cut out and sat it on top. This gave me the length of the side seam by matching the hem outer corners (in the top right of the photo). Mark the shoulder outer corner. You can see in the photos that the scissor tips are showing you where that is.

Step 7. The outer shoulder corner is now marked with a pin.

Step 8. Cut out the Wiksten Tank hemline before removing the pattern piece. Note the pin in place for the outer shoulder (near the tip of the scissors).

Step 9. Lay the Hemlock Tee Back pattern with the pattern edge on the fold and the outer shoulder edge meeting the pin.

Step 10. Cut out the neckline and shoulder line. Tilting the pattern piece as you did in Step 5 and finish cutting out the pattern back.

Step 11. To add width to the sleeves is simple with this pattern as there is no armhole to contend with. Instead I simply moved the pattern piece away from the fold about 1cm. Next time I would only move it about 0.5cm as these sleeves are a little sloppy. 


A couple of companies that love a mashup/alteration are Made By Rae (who is about to come out with a great simple shirt pattern called Beatrix which is similar to the Scout), Colette, Grainline and By Hand London. They have a gazillion amazing tutorials on each of their websites - using their own patterns but there is a load of good things to learn on each site regardless of whether you are using their patterns or not. I particularly love the mashups by By Hand London - it's like their patterns were made for it. 

Next up in the series we will cover my two super simple favourite alterations. They are super dodgy but I use them on practically everything I make.  

Felicia x

In Simple Sewing 101, How To
11 Comments

Simple Sewing 101 - Part 4 - Pre-Alterations

May 29, 2015 thecraftsessions
In the post next Tuesday I'm going to describe how I made this woven Hemlock/Wiksten Tank mashup.

In the post next Tuesday I'm going to describe how I made this woven Hemlock/Wiksten Tank mashup.

I'm so excited to have seen your tops popping up on instagram - thanks for pinging me with your successes! Makes me glad I got around to posting this little series. If you feel like being inspired yourself then go have a look at the hastag #simplesewing101. 

Many of you have been asking about alterations and there is quite a bit to say - so much so that I got stuck writing this as it felt too massive. And I really wanted to have good pictures for you and I haven't had time to take them. So I've finally decided to bite the bullet, use what I've got, and split it up into some more managable pieces. I just saw that I actually started to write this post two months ago so apologies for the wait.  

I'm wanted to start with the woven Hemlock alteration I do as that was the first top in the list and go from there. But I found there were a few things to say first. The mashup will be posted on Tuesday. 

As I've mentioned before (but really want to stress again) these are not proper dressmaking or drafting alterations. However this type of alteration fits into the spirit of Simple Sewing 101 - the idea that you can make beautiful wearable garments with very few skills. And complicated isn't necessarily best. 


Pattern drafting material

I draw all my patterns up on light interfacing that has no stick on either side. I call it Vilene but I think that is a brand name. I just ask my local sewing store for interfacing for drafting. I often get something slightly different each time but that is totally fine. I purchase about 10m at a time and get them to put it on a roll. It lasts me a year-ish. And is super inexpensive. 

The reason you want to draft on this stuff (rather than say paper) is that it is more easily manipulatable. You can fold up the bottom, fold to take out width, etc, without having to redraft the pattern or dealing with the stiffness that is paper. Once I've stuck my pattern pieces together (if it is a pdf) then I draft off the pattern onto the interfacing. It might seem like an unnecessary step but will save you time if you make the pattern more than once. You can fiddle around with your alterations on the vilene before you cut it.
 

The interfacing is what you see in this picture. Remember to write the pattern name, size, piece name, and then cutting instructions. AND any alterations you have made. I then keep these pieces in A4 envelopes. 

The interfacing is what you see in this picture. Remember to write the pattern name, size, piece name, and then cutting instructions. AND any alterations you have made. I then keep these pieces in A4 envelopes. 


Make a Muslin ;)

Look I am totally lazy about this - my muslins are always wearable rather than just muslins. Each time I make a pattern for the first time I do so out of a less precious fabric. I then use the result a. as a garment, and b. as a learning tool.
 

Use your existing clothing to figure out your measurements

Measure similar tops you have in the wardrobe. Measure the width of the bust, the width of the hem, the height of the armhole, the width of the hip of a tunic (if you are looking to make something like a dress Tova or Wiksten Tank), or even the depth of a neckline that makes you happy. Write these measurements down and refine them each time you make a garment. I know for example that I need at least 4 inches of ease at the hip of the Tova or Tank or anything that goes over my behind so they don't stick to my bum in that super middle-aged nana kinda way. 

Another useful measurement is to take length. I use this measurement all the time for both sewing and knitting. I measure from the shoulder point next to the neck down to the bottom of favourite tops, tunics, frocks. For skirts I measure from my natural waist to the hem length I like. Again these measurements are taken from my existing clothing. This saves time, fiddling around and fabric as you have a better idea of whether you need to adjust the pattern before you make your muslin. 

The important thing is that you write them down. I think I will remember and never ever do. These measurements will become more useful in time as you have more practice and make more things.

And remember your seam allowance. In many patterns it is 1/2", whereas in others it is 1cm. You need to make sure that your pattern has the width/length you want PLUS the seam allowance. I have screwed this up so many times it has become automatic. One thing I have learnt from much experience is never redraft at night. Unless you have some kind of freaky brain most people are too tired at night to for the logic required to redraft. And no wine.
 

Redraft 

Use your the measurements you took from your existing clothing, and then your muslin, to figure out what you want to change.

Is your Wiksten Tank flashing too much boob for your liking - then redraw it so that the neckline is higher. Is the hem too high at the front and low at the back - then redraw them. Don't like the width of the straps - make them thinner. You can do it. Easy peasy…..

The key to the redraft is the intersection with an edge - generally you need to make sure you intersect the pattern edge at a perpendicular 90degrees. Say you redraft the neckline of the Wiksten Tank you need to extend the centre line up towards the shoulder and then redraw it an inch or two higher making sure you intersect the fold line at 90degrees. If you don't do this you will end up with a point or a chunk out of the fabric. *

Before you redraft, note the angle at which the pattern intersects the centreline or shoulder line and choose the same angle. 

The only thing I would say is that you will make mistakes. Mistakes are OK - expect them and don't worry when you do. I make them regularly and each time I learn. I have been known to throw something half made in the scrap bin. Perfect the pattern using cheaper less precious fabrics first and then make it up in the special stuff. 

You can do this for hemlines, necklines, armholes (of tanks), sleeve widths, sleeve lengths. There are good tutorials about. Check out Grainline, By Hand London and Colette as good starting points. 
 

Tuesday's post will be the woven Hemlock/Wiksten tank mashup post.


Felicia x

* I'm not sure I'm explaining this well so please ask questions if I've confused you.

In Simple Sewing 101, How To
19 Comments
← Newer Posts Older Posts →

Welcome! I'm Felicia - creator of The Craft Sessions and Soul Craft Festival.

This blog aims to celebrate the connection between hand-making and our well-being.
These posts aim to foster a love of hand-making and discuss the ways domestic handcrafts elevate our everyday.

I love the contributions you make to this space via your comments and learn so much from each and every one. x

Thoughts On Craft

Simple Sewing 101

Stash Less

The RetreaT

Featured
Making Fast Fashion: Some More Of The Grey
Apr 19, 2022
Making Fast Fashion: Some More Of The Grey
Apr 19, 2022
Apr 19, 2022
Is My Making Fast Fashion?
Apr 12, 2022
Is My Making Fast Fashion?
Apr 12, 2022
Apr 12, 2022
Why Gauge Matters
Apr 5, 2022
Why Gauge Matters
Apr 5, 2022
Apr 5, 2022
Craft As Simple Mundane Forward Movement
Mar 29, 2022
Craft As Simple Mundane Forward Movement
Mar 29, 2022
Mar 29, 2022
Craft As A Virtuous Cycle*
Mar 22, 2022
Craft As A Virtuous Cycle*
Mar 22, 2022
Mar 22, 2022
Craft & The Slow Nostalgic Finish
Mar 15, 2022
Craft & The Slow Nostalgic Finish
Mar 15, 2022
Mar 15, 2022

popular posts

Craft As A Project V’s Craft As A Practice

Our Fear Of Going Back

Making Is Not Inherently Creative

Why All Crafters Need A Visual Diary

Craft As A Manifestation Of Love And Loss

Moving On From Perfectionism

The Secret To Becoming A Great Knitter!

Simple Sewing 101 - Part 1

Craft In The Middle Of Motherhood

Another #theyearofthescrap #ellenscardigan using some #oldmaidenaunt alpaca silk from many years ago. What I love about this little cardy is it’s simplicity and how little yarn it uses. Perfect for scrap knitting. I now have a little pile of ba
New blog post: Craft as elevating the mundane! I think this idea is so important. 🌿 'Making is about enriching the moments of our lives; it’s about making the mundane (and not the extraordinary) more abundant and that bit more lush…. el
Block 8/12 - I’m so excited to be back making this for my smallest for her 10th birthday. It’s a #stash_less #theyearofthescrap quilt that is based on an incredible #geesbend quilt. And it’s all scraps and precious bits and pieces.
Another #theyearofthescrap #ellenscardigan using some #oldmaidenaunt alpaca silk from many years ago. What I love about this little cardy is it’s simplicity and how little yarn it uses. Perfect for scrap knitting. I now have a little pile of ba New blog post: Craft as elevating the mundane! I think this idea is so important. 🌿 'Making is about enriching the moments of our lives; it’s about making the mundane (and not the extraordinary) more abundant and that bit more lush…. el Block 8/12 - I’m so excited to be back making this for my smallest for her 10th birthday. It’s a #stash_less #theyearofthescrap quilt that is based on an incredible #geesbend quilt. And it’s all scraps and precious bits and pieces.
The Blog Archives!
  • April 2022
  • March 2022
  • February 2022
  • December 2021
  • March 2021
  • February 2021
  • November 2020
  • July 2020
  • June 2020
  • May 2020
  • April 2020
  • March 2020
  • February 2020
  • December 2019
  • March 2019
  • February 2019
  • January 2019
  • December 2018
  • November 2018
  • October 2018
  • August 2018
  • July 2018
  • May 2018
  • April 2018
  • March 2018
  • February 2018
  • January 2018
  • December 2017
  • November 2017
  • October 2017
  • September 2017
  • August 2017
  • July 2017
  • June 2017
  • May 2017
  • April 2017
  • March 2017
  • February 2017
  • January 2017
  • November 2016
  • October 2016
  • September 2016
  • August 2016
  • July 2016
  • June 2016
  • May 2016
  • April 2016
  • March 2016
  • February 2016
  • January 2016
  • December 2015
  • November 2015
  • October 2015
  • September 2015
  • August 2015
  • July 2015
  • June 2015
  • May 2015
  • April 2015
  • March 2015
  • February 2015
  • January 2015
  • December 2014
  • November 2014
  • October 2014
  • September 2014
  • August 2014
  • July 2014
  • June 2014
  • May 2014
  • April 2014
  • March 2014
  • February 2014
  • January 2014
  • December 2013
  • November 2013
  • October 2013
  • September 2013
  • August 2013
  • July 2013
  • June 2013
Featured
Making Fast Fashion: Some More Of The Grey
Apr 19, 2022
Making Fast Fashion: Some More Of The Grey
Apr 19, 2022
Apr 19, 2022
Is My Making Fast Fashion?
Apr 12, 2022
Is My Making Fast Fashion?
Apr 12, 2022
Apr 12, 2022

We Live and work on the traditional lands of the Wurundjeri people of the Kulin nation.
We acknowledge that sovereignty was never ceded and pay our respect to elders past, present and emerging.

Copyright the Craft Sessions 2020

Logo designed by the lovely Mara of Printspace and Girling Design