• The CraftSessions Story
  • Our Past Retreats
  • Blog
  • Newsletter
  • Contact
Menu

The Craft Sessions

Street Address
City, State, Zip
Phone Number

The Craft Sessions

  • About
    • The CraftSessions Story
    • Our Past Retreats
  • Blog
  • Newsletter
  • Contact

I Made This - Myf Walker

November 21, 2014 thecraftsessions

I Made This is a new weekly blog post that features makers from around the world - some of them you will know through their online presence, others you will not - but their stories are equally inspiring.
I Made This aims to talk about the things we are proud of; of the objects we make that have meaning to us and the journey we take to make them.

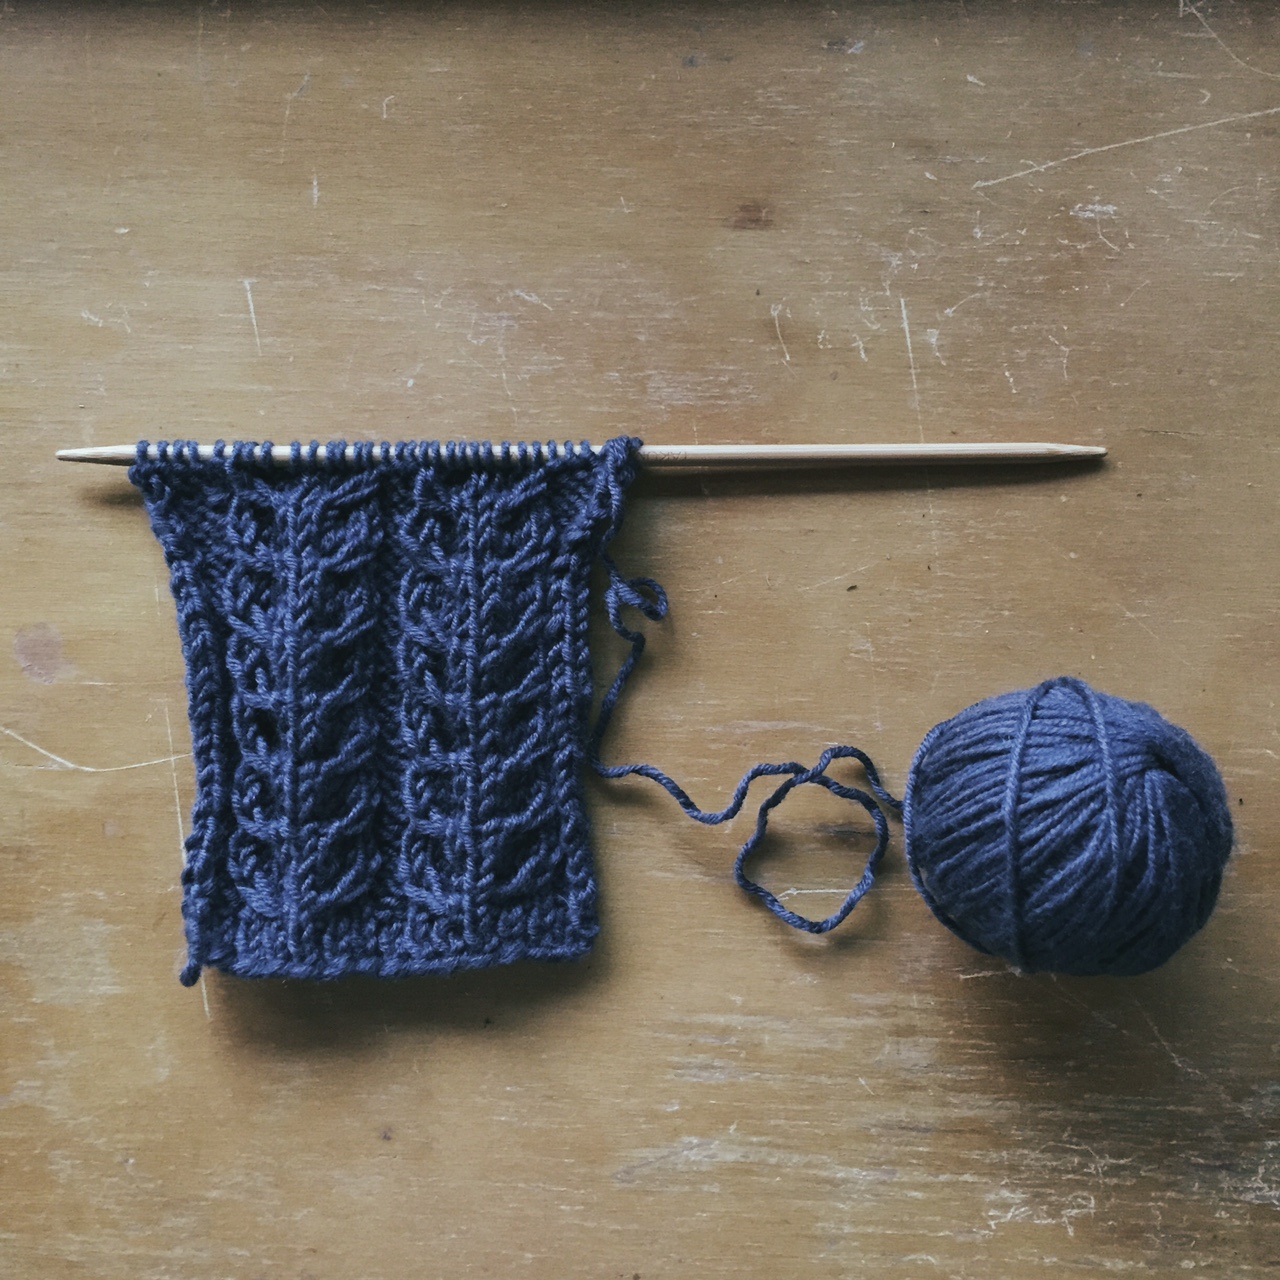
Today's I Made This is by Myf Walker, a multi-talented maker that runs Tinker Maker. She lives with her family on the outskirts of Melbourne. 


When Felicia asked me to contribute to I Made This, I immediately said “yes, of course, I’d love to!” And then it dawned on me a little later that I’d have to choose ‘a favourite’, no easy task. What criteria would I use to narrow it down? The most beautiful, useful, technical or difficult? I deliberated. And couldn’t decide. So I thought I’d just write about the most recent thing I’ve made.

The weather is getting warmer, anyone who know me knows that I don’t cope too well in the heat. Anyone who knows me also knows that I have a 6 month old daughter and that I am breastfeeding. Summer and breastfeeding = hot.

A few weeks ago we had our first run of beautiful warm spring weather, just perfect for dresses, except as I realised, I didn’t have a single one in my wardrobe that was suitable for feeding Anaïs. I needed a new dress. Fast. 

Lots of clothes designed for maternity and breastfeeding are jersey. Which is fine, comfortable and utilitarian. But jersey clings and makes me feel lumpy and hotter. So I thought about my favourite Summer dress which is a simple, breezy pinafore made using the pattern from my much loved copy of Happy Homemade vol. 1. 

Quick and easy to make, critical, as I have very little free time. Oh and it has pockets. Perfect.

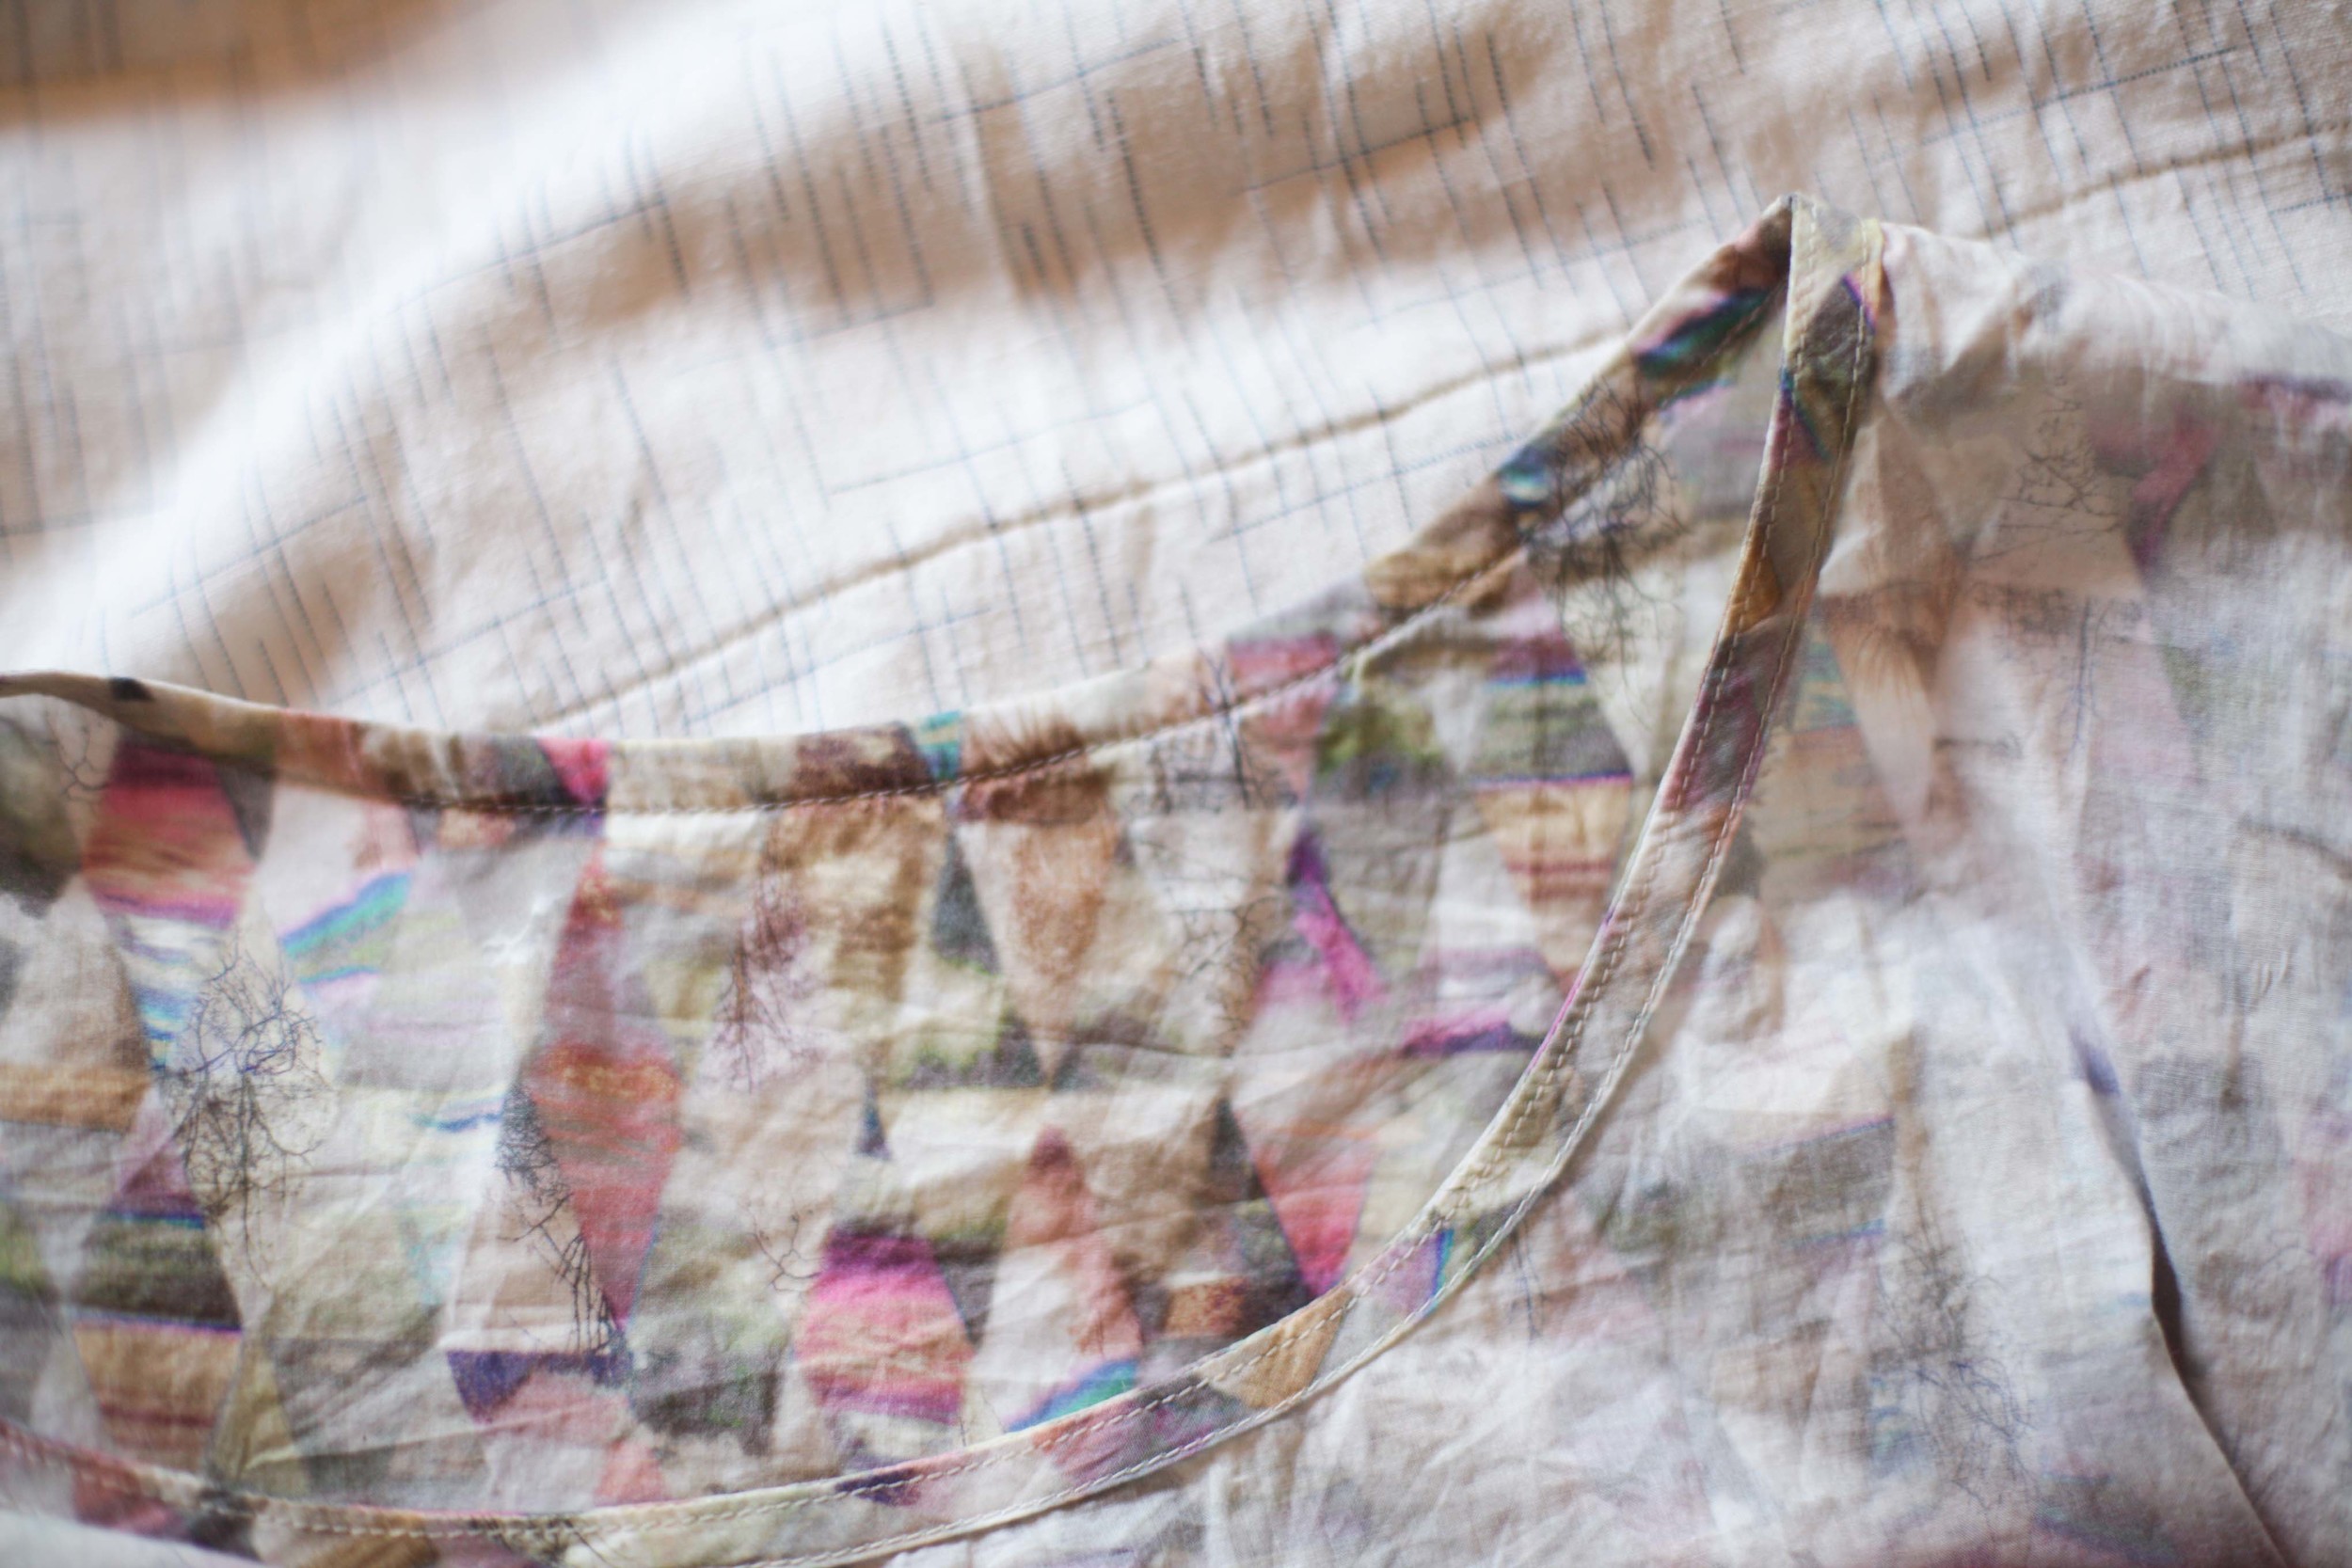
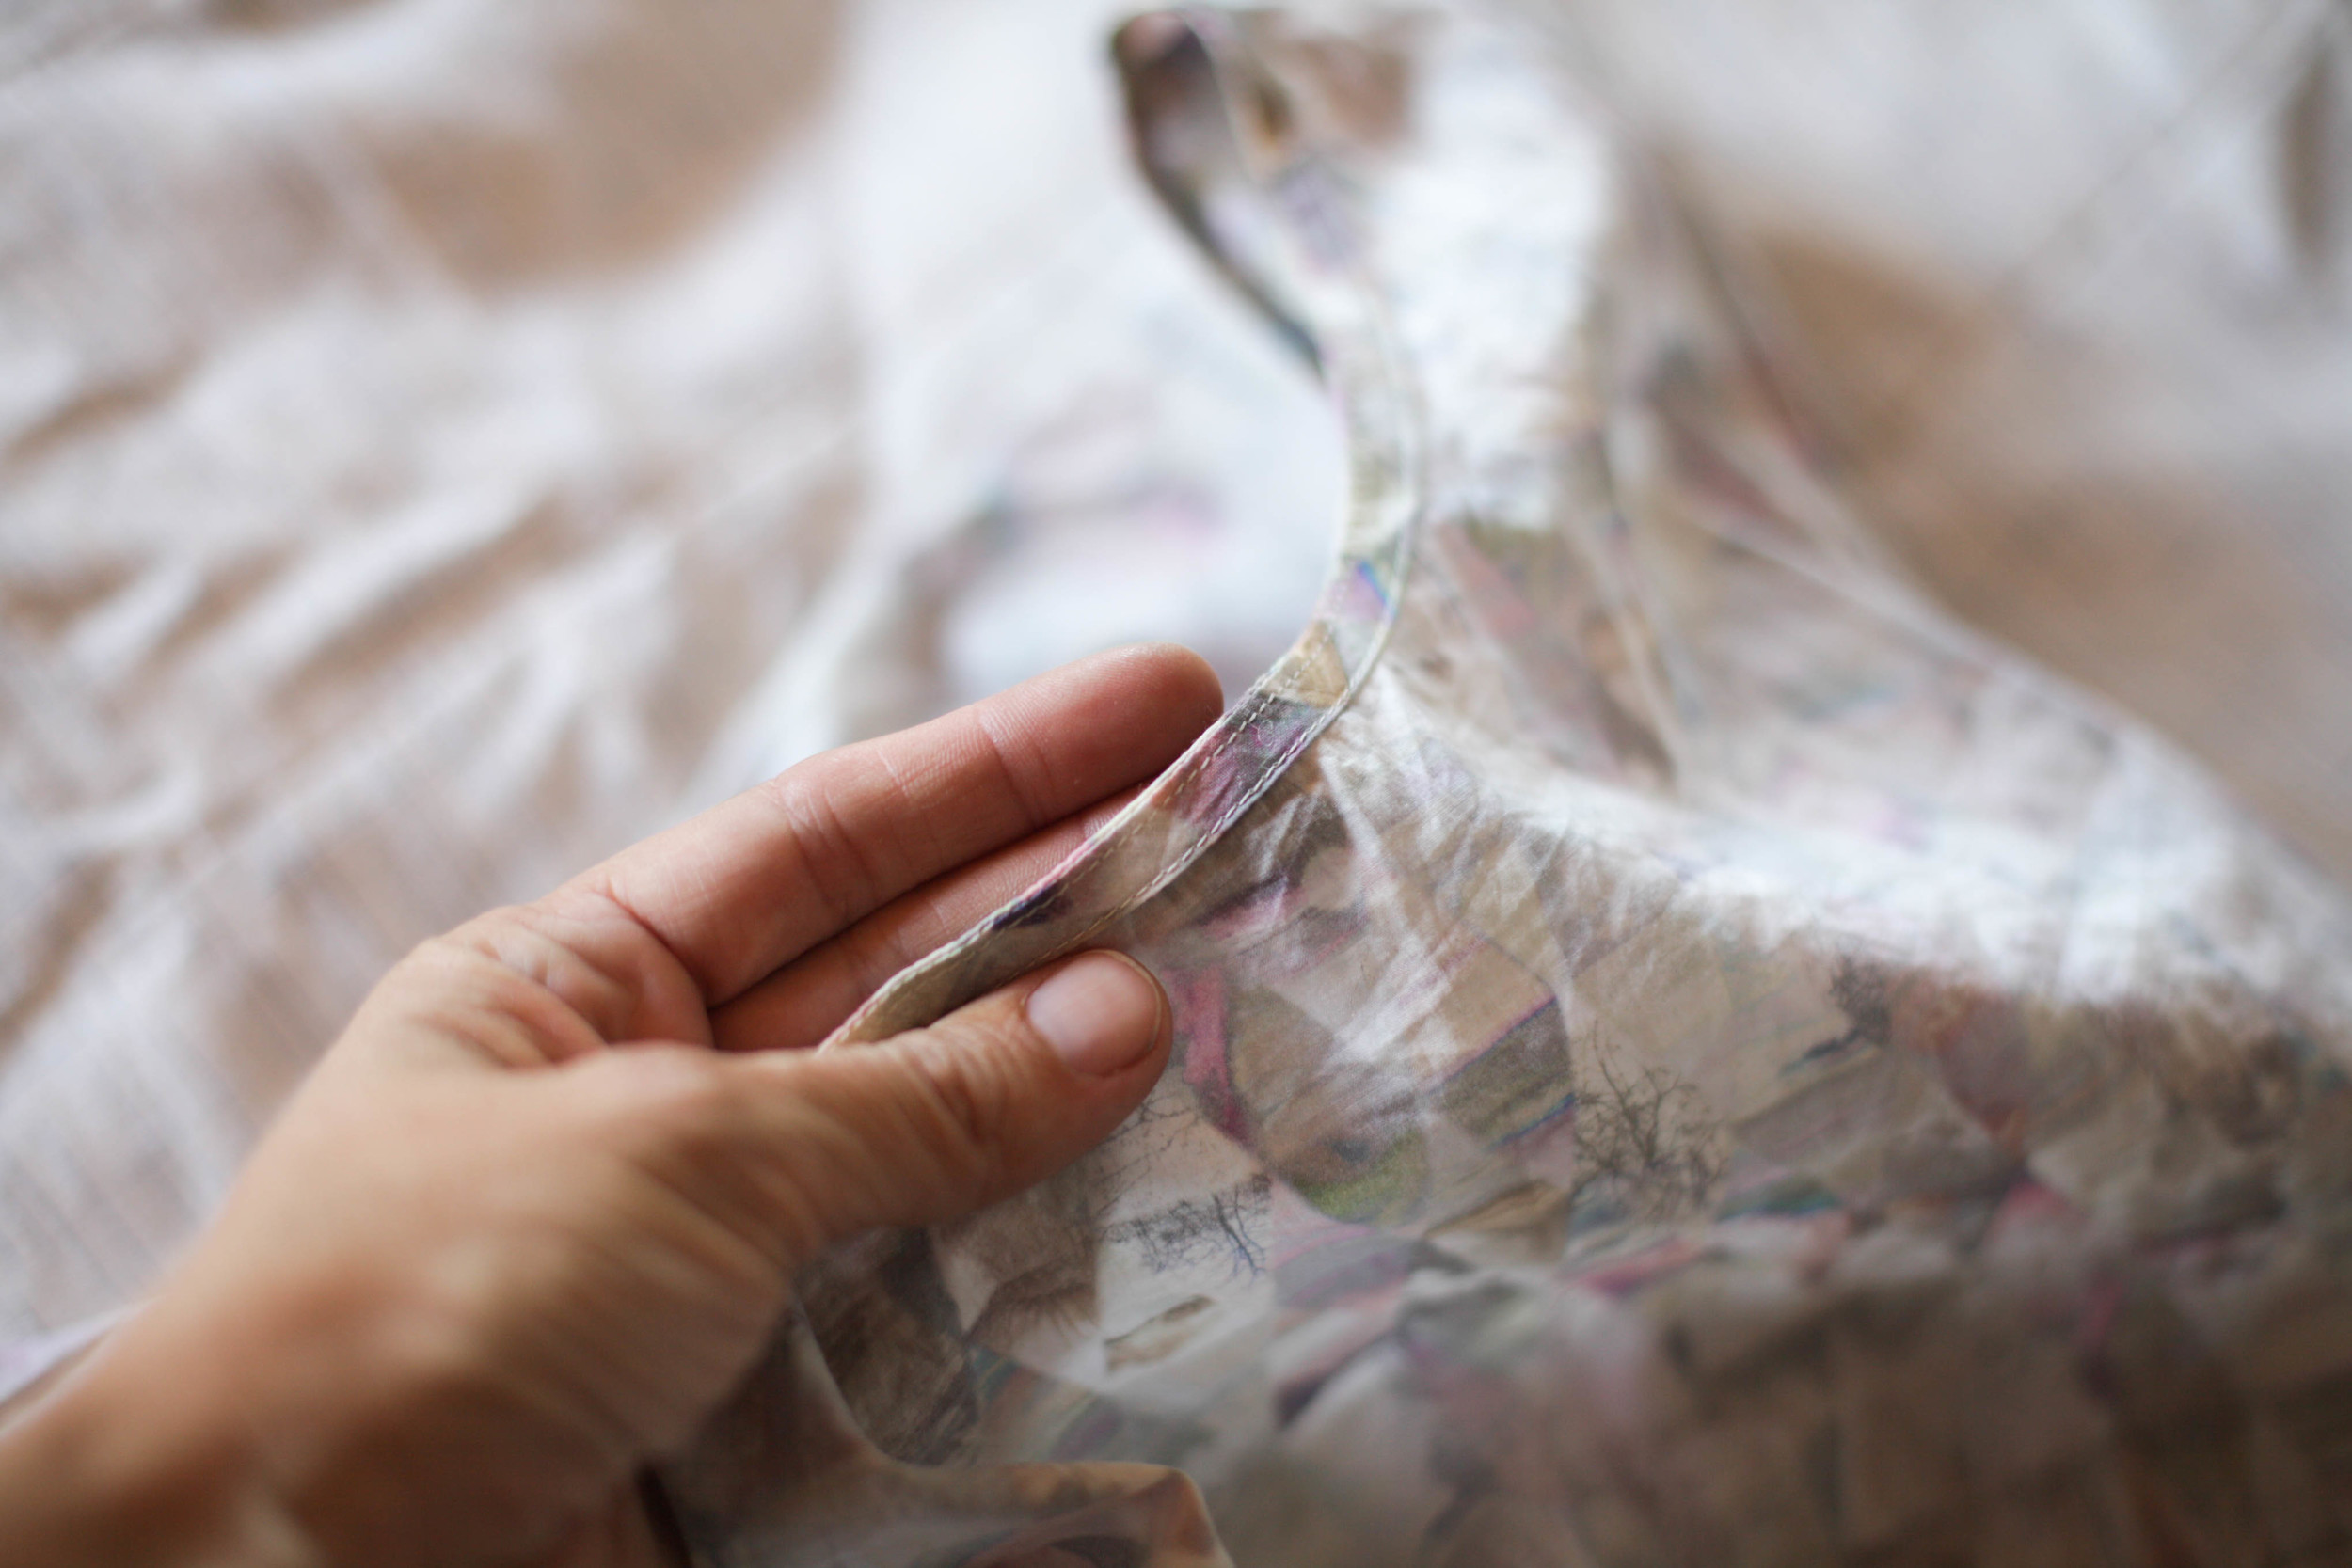
I had just enough gorgeous checked crinkle linen bought from Tessuti and thread to match. The last remaining obstacle was modifying the design to allow, um, easy access, which proved fairly straightforward. Instead of sewing the straps into the front yoke, they just needed to be attached. Somehow.

The thing is, I’m only going to be feeding for maybe another six months, so I thought it’d be good to be able to unpick the yoke and sew the straps in properly later on. Making button holes would look messy. I decided on heavy duty press studs, although after a good search, I realised I didn’t have any.

This meant a trip to the closest purveyor of sewing supplies, located in the local shopping centre. Which should be quick and painless, but is never, ever quick and painless with my two kids in tow. I avoid shopping centres like the plague.

So, I figured I’d just make something to attach the straps. I’ve been mucking around with hammering copper wire to use with some of my dyed textiles. I thought about how I could use the wire to make a kind of buckle. Easy to get on and off and strong. Unlikely to come apart if pulled by little hands, an advantage over press studs.

My first design resulted in a buckle that came undone a little too easily. So I revised my original idea and came up with this.

It’s not perfect, it bothers me that there’s bit of white stripe that peeks out under the front yoke.
And even though I thought I was being clever matching the stripes on the dress front and yoke when cutting, I forgot that the front is gathered, thus they don’t match and I shouldn’t have bothered. Some 
of my stitching is quick and not as neat as I’d like. I too am learning to let these things go.

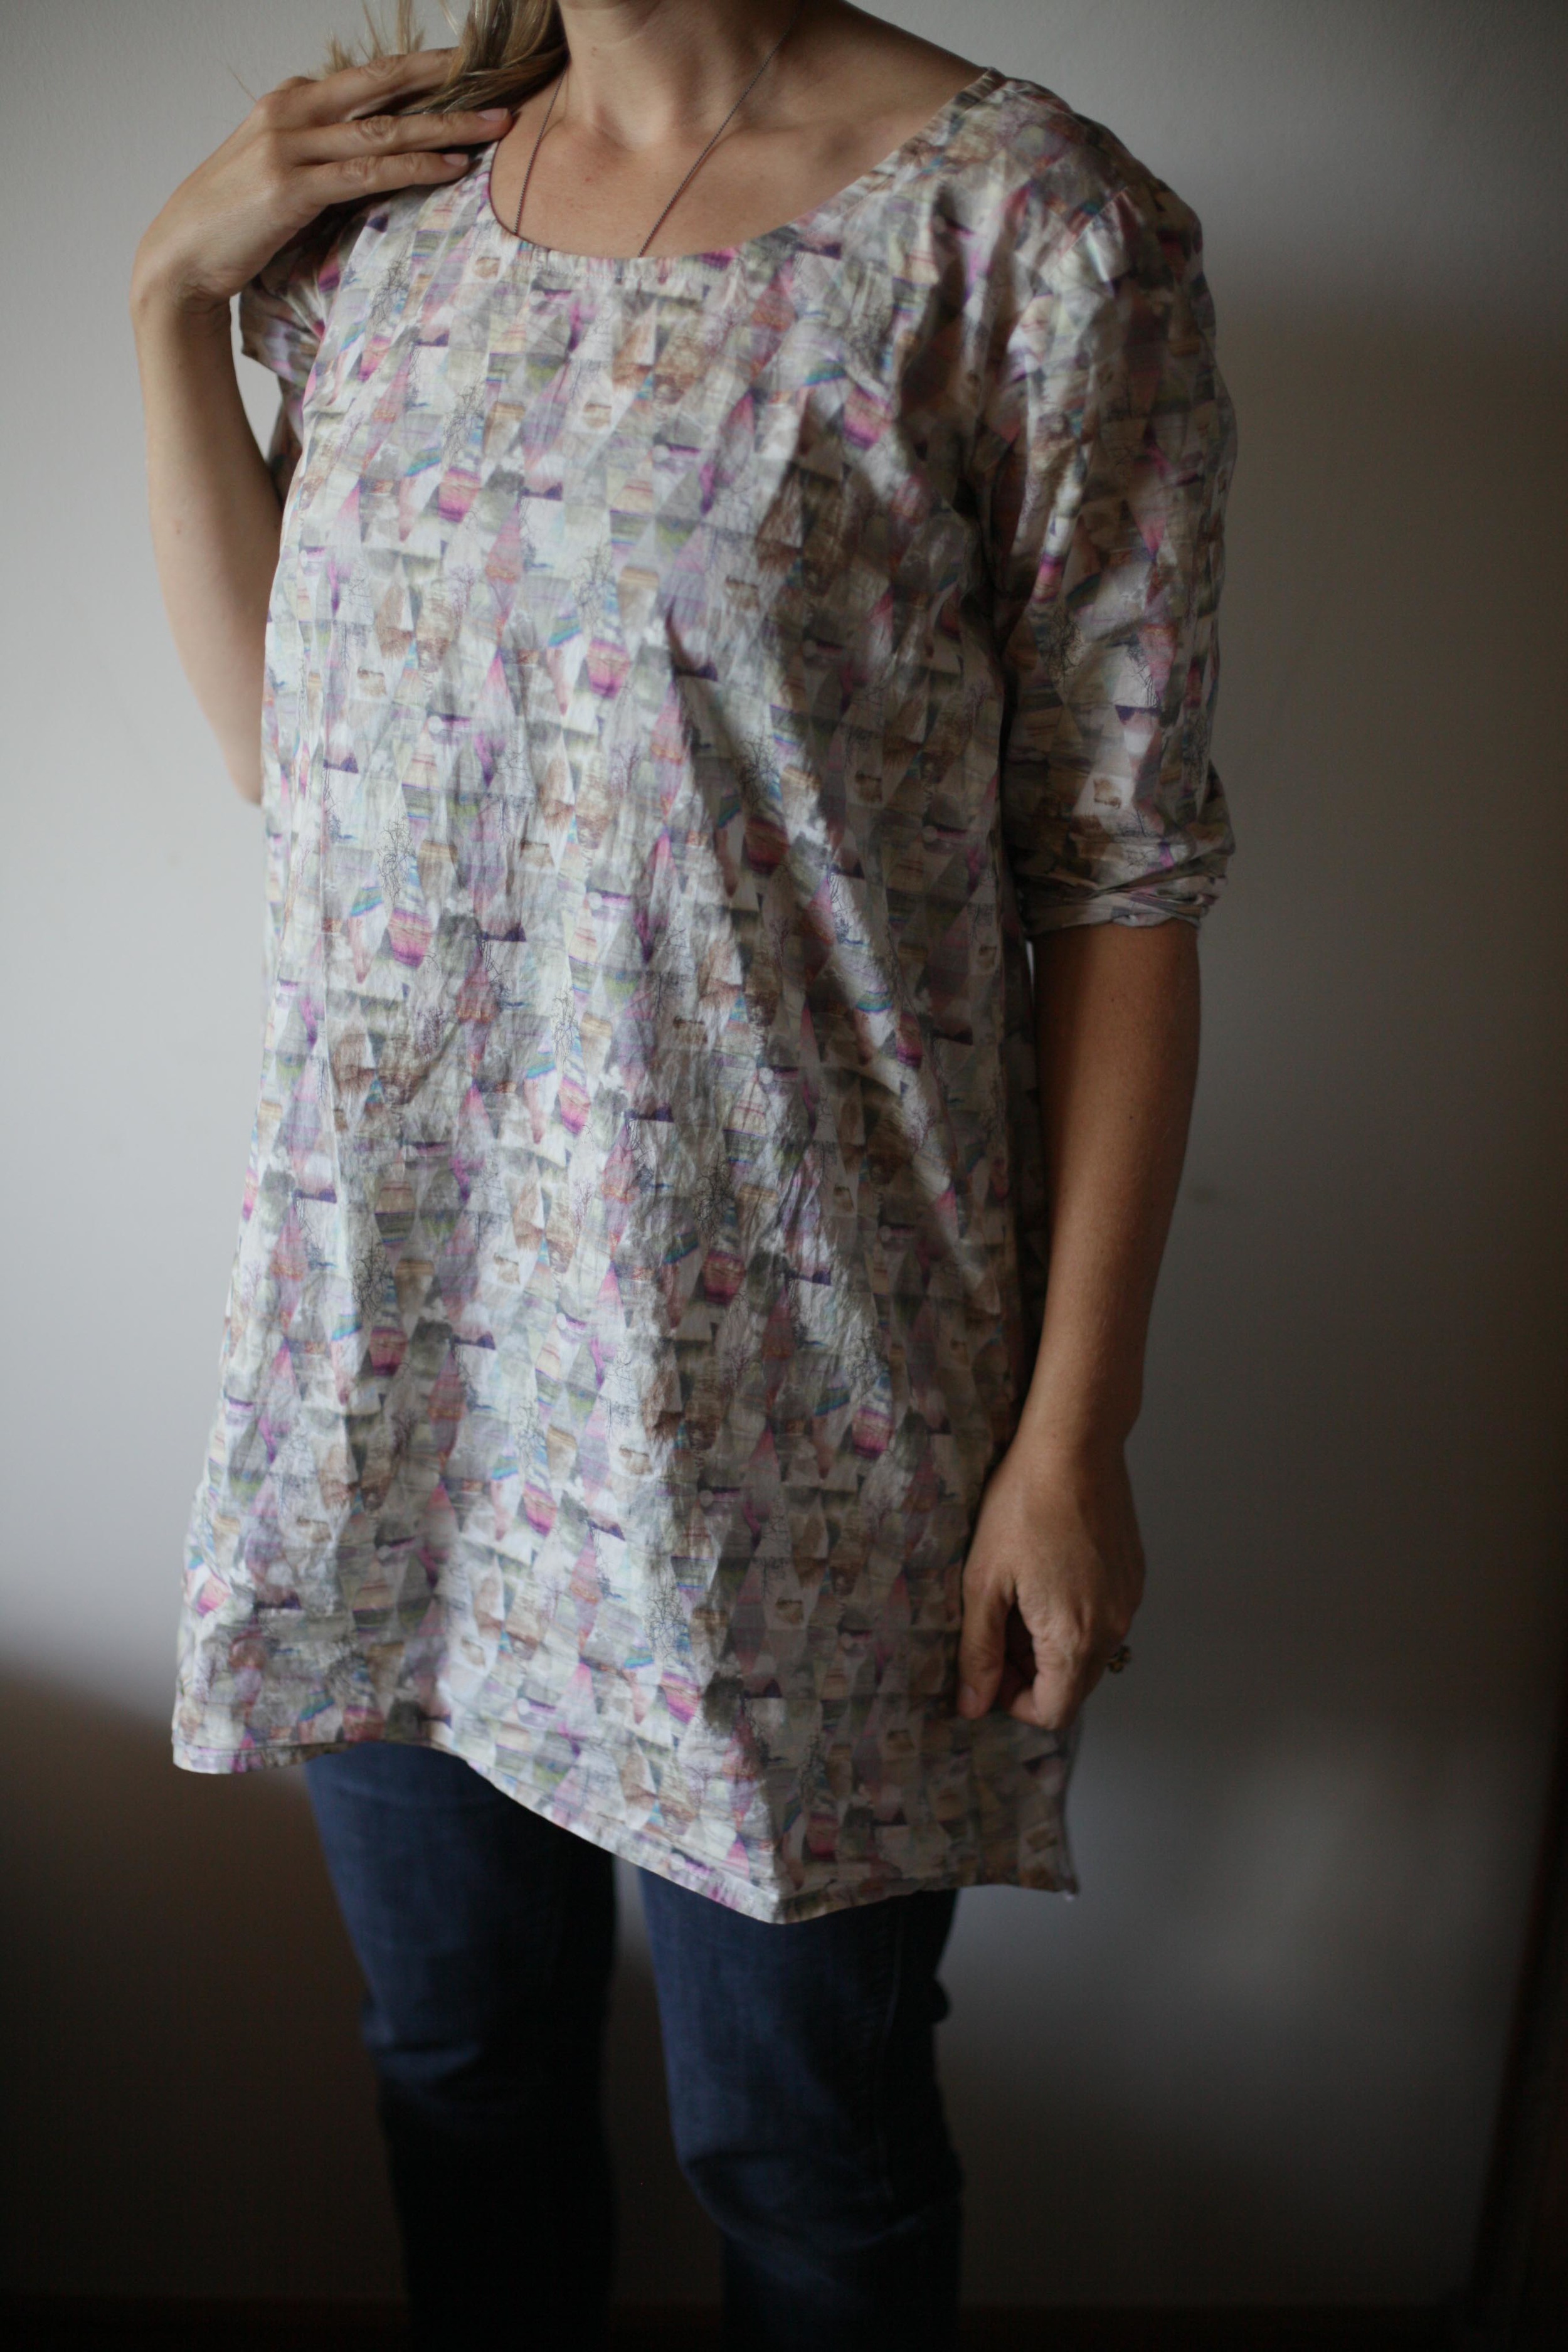
But the buckles work brilliantly and (I think) they’re pretty! Throughly road tested over the last week, I’m pleased to report, my beautiful new dress keeps me and my baby happy.

Hooray for making things!

In I Made This, Guest Post
5 Comments

Best Of - Scout Tee

November 19, 2014 thecraftsessions
Size 6 with a modified neck, longer sleeve and slightly shorter. 

Size 6 with a modified neck, longer sleeve and slightly shorter. 

My first four Scout Tees

My first four Scout Tees

Yesterday's post was headed with an image of a Scout Tee but I'm so excited about this top I just had to run with it today also. Today's Best Of is the Scout Tee that came out of Grainline Studio a few years ago. We ran a workshop on this tee at our September 2014 Retreat - always a pretty good indication of my love of something - but this has to be one of my all time favourite grownup patterns. I have four in my wardrobe that are everyday clothes for me, and there are now hundreds of versions of it on the web for you to peruse for inspiration*. They are now my goto top, as an alternative to the knit t-shirts of my younger years. 

As always - let's talk about why I have such a deep love for it.

But quickly before we do let's have a quick chat about today's photos. Please be aware these shirts are not shown in their best "light" - I just don't want to put you off. It was a last minute decision to talk about them today, mainly because I am so excited by my new one. The light was fading. I haven't ironed them. I asked my partner to quickly take the photos, as they were tricky for me to capture with my normal mirror tricks. He was cooking dinner at the time and did a small amount of c@#^#$@ing. The Nani Iro blue/green stripe one is caught on the singlet I have underneath, and is stuck on the left boob giving it a weird shape but I couldn't get another photo. I did my best under the circumstances ;).

Nani Iro Size 6 (so 10 Aus). 

Nani Iro Size 6 (so 10 Aus). 

Grey check from Tessuti I think in a Size 8 (so 12 Aus).

Grey check from Tessuti I think in a Size 8 (so 12 Aus).

Flattering to nearly everyone.

I have seen this made up by people of many different shapes and sizes and it seems to suit most people. It fits really well around the shoulders - if you get the sizing right - and has a slight a-line flare to it that skims over your middle without swamping and it covers the I've-had-three-babies-squishyness. I love the shape. 

Sizing is forgiving

The Nani Iro stripes on the left is a size 6 (so 10 Aus) and the grey is a size 8 (so 12 Aus). While the grey one is actually too big across the shoulders, it still fits and looks great, I think in part because the fabric is very light, but also because of the forgiving nature of the pattern. I now make a 6. 

Comes together quickly and easily

There are no darts or buttons or zips or anything tricky at all really. A front, back and two sleeves. Sew the front to the back, put binding around the neck, insert the sleeves, hem the sleeves and hem the bottom. I can make one in a couple of hours and get years of joy. What is not to love.

Great for beginners

Due to the "comes together quickly and easily" point, it is great for beginners. Jen has put up a wonderful tutorial on her site about how to do the neck binding that I recommend for any binding anywhere. Understitching is the ace-est bit of sewing you may ever do. This is the method I now use when making the Wiksten Tank for the neck and the sleeves. No rolling and perfectly flat. If you are a beginner just remember to tuck the raw edge all the way to the seam line. This gives you an even binding all the way around the neck. 

Inside out to show you the spectacular binding.

Inside out to show you the spectacular binding.

Finished beautifully

Due to the binding. And you can easily french seam the sides if you want to. 

Easily modifiable.

I now modify mine to suit my personal preferences. I like a slightly less square neckline which means that I move the neckline at the shoulder seam about a cm or so towards the arm. A very simple adjustment. I then measure the extra bias I would need by measuring the existing neckline and my new neckline and calculating the difference. The bias for my altered version is normally about 2cm more. 

On the last one I made I made it a tad shorter after seeing Belinda's (beautiful Nani Iro) version at The Craft Sessions. I chopped about 1inch off the bottom which seems to work better on me as I am only 5' 4.75" tall. And longer sleeves using Jen's tutorial. I am totally loving this sleeve length. It looks "modern" :). 

FeliciaSemple-11.jpg
Awkward pose to show you how nice the sleeve cap is.

Awkward pose to show you how nice the sleeve cap is.

My liberty version was different again as I made a longer dress-length one that has a scooped back hemline and I also did the full back adjustment on it. I think it makes it a little too full (in dress form) and less flattering (and more sack like) but we live and learn. It is super comfy and the fabric means it is pretty regardless. It isn't ironed in the photos below and looks worse that it looks in real life (I hope!) My lovely friend Christine made a super pretty one with a full back so go have a look at that instead.

Looking a bit like an unironed sack.

Looking a bit like an unironed sack.

It does look a bit better in real life I think :).

It does look a bit better in real life I think :).

It also looks great with a different back. My Nani Iro one is backed with linen as I only had a tiny piece which was enough for the front and sleeve fabric. There are also some posts on Grainline about making a knit version of the Scout Tee if that takes your fancy. 

Incredibly wearable

This pattern is the perfect everyday staple, especially my linen one and the grey one. I'm now thinking I might make a half sleeve chambray one next. Maybe with a pocket, or some random stitching a-la-boro style around the neck, or maybe stitching on the pocket….ooooh that sound pretty. That said, the pattern's simplicity also lends itself to a super loud print. 

So go make one. You know you want to. 

And a big shout out to the wonderful Jen from Grainline for coming up with the goods. Grainline is a pattern range that is full of patterns that are incredibly well written and thoughtful. Her website is a treasure trove of sewing tutorials, pattern tutorials and all manner of helpful info. The woman has style.

Felicia x

*I couldn't get the link for some reason but you should do your own google images search for the Scout Tee to see many many more.

In Best Of
19 Comments

Stash Less - An Update.

November 18, 2014 thecraftsessions
Grainline Scout in Tessuti Linen

Grainline Scout in Tessuti Linen

The series where we talk about having a thoughtful stash.

This post is an update of sorts. I'm going to tell you what I have purchased and what traps I am finding myself fall into. And also what progress I have made…..I'm excited by the progress!

Spending

A knitting needle gauge - $5
Knitting pattern Flet (gee it's pretty) - $10
Cotton and needles - $39
Cotton and pattern tracing stuff - $24
Kate Davies new book Yokes (with postage) - $52 

Grand Total $130 in 6 weeks…..hmmm. 

Thoughts on traps

I can't tell you how much this thing is teaching me about the decisions I am making. I've had a few more really useful realisations - and the reason I'm loving them, is that if I understand what I'm doing then I'm back in the drivers seat. No more mindlessness. 

I have discovered another key area (of previously unidentified) hoarding is patterns. I purchased Flet because I really wanted to start it then and there, but I just didn't. I went on to start other things. I am glad I have it but it now sits there annoying me and feels a bit like a weight - like I've added another "to do". I do this with dress patterns too. I have both Anna and Elisalex from By Hand London and they are just sitting there as "to dos".

So I'm not quite sure how to tackle this one as it seems to be an ongoing desire issue for me. At this very moment I'm quite convinced that the Playtime Dress by Oliver and S is just what my girls need for tops/frocks heading into summer. My lovely friend Katie loves this pattern, and when I ran into her the other day, her small one was wearing a gorgeous (Liberty) one and I haven't stopped thinking about it. I'm also kindof convinced I need to try the Tiny Pocket Tank by Grainline rather than my staple Wiksten Tank. Mainly cause I'm a little bored and the straps are a little thinner. Not really a good enough reason to buy a whole tank pattern, especially as I could just alter the straps of the Wiksten.

I think dealing with all this head chaos might be a case of sitting down and looking at what is realistic for me to make in the next few months - Visual Diary time? Because realistically I don't have time to make the girls tops/frocks. Nor do I have time to make myself more tanks. Maybe it is as simple as a reality check. I'm only buying the pattern to engage with the thrill of the purchase and flirt with the idea I have all the time in the world. I really don't. 

The yarn being used below was being "saved" to make this jumper again….. except that I've realised I won't ever make it.

The yarn being used below was being "saved" to make this jumper again….. except that I've realised I won't ever make it.

Progress

Progress has been huge. The main thing I'm getting out of it is a total thrill of finally using materials I love. I just want to briefly explain the crazy thought process I had going on - just in case any of you recognise it in yourselves. 

So I would purchase something I love for a project. Then I wouldn't get around to it and so the materials would sit on the shelf. Over time I would figure out other things I "could" do with that special fabric/yarn and so then there would be multiple options. Then I would get confused over which one was the "best" use of the fabric/yarn and so I would avoid making a decision. And then there would be so many things I would want to use it for I wouldn't want to "waste it" by using it on just one. So I wouldn't use it at all. 

Case in point is the top in the first photo in this post. I love this top. My favourite Scout ever. But the only reason I finally used this linen was that I am not allowed to go out and buy something else to use for a Scout. I kept thinking that I would like to use the linen for a dress that I haven't got around to making. Instead it was the best option in the stash for this top, and this is the year of using things. It's a total thrill to be wearing this linen finally in something. There will be other fabrics for frocks. 

The yarn in the baby jumper I started tonight was being "saved" for the elephant jumper (that I will never get around to making). But I didn't want to "waste it" as it was perfect for that jumper (that I will never get around to making). Well now I have no choice. I need to make a baby sweater quick sticks and it is the best option. Elephant jumper be damned. 

Another wonderful thing that is becoming clear, is that by being restricted to using what I have, I am actually making things that are even prettier than if I had all the materials I needed on hand. I'll tell you more about my quilt soon but I am so chuffed with how it is coming along. I wouldn't have started it without this #stash_less. 

I feel like I am letting go - and the making is flying along because of it. No more stalling. Yiihaaa. 

I'd love to hear how you are going with your stashing - even if you are only following along loosely. And thanks for all your warm words on this series. I'm learning new things each week from all of your comments. 

You can see other posts in this series here 

Felicia x

In Stash Less, Thoughts On Craft
19 Comments

I Made This - Felicia Semple

November 14, 2014 thecraftsessions
Colourwork Cardy - Felicia Semple

Colourwork Cardy - Felicia Semple

I Made This is a new weekly blog post that features makers from around the world - some of them you will know through their online presence, others you will not - but their stories are equally inspiring.
I Made This aims to talk about the things we are proud of; of the objects we make that have meaning to us and the journey we take to make them.

So I know this is a weird way to kick off a series that is all about other voices -  but I'm going to start. Mainly because I have been wanting to post about a cardy I made and this is the perfect format for it. 

I Made This by Felicia Semple

I made this cardigan but I still don't understand exactly how. My hands began making while my head was playing catchup, trying to find an idea. 

The cardigan began with some materials. We were two days into our camping trip when we visited a farm that did natural dyeing as part of a Tudor reenactment. They took wool from their own sheep, and dyed it using camomile and madder and woad and pussy willow. The skeins were so beautiful I couldn't leave them in the farm shop.

My middle girl saw the colours (she LOVES colour) and kept asking over and over "are they for me….could they be for me?" "Course they could love." "A cardigan?" "Sure."

OK. So I'm making a colourwork cardigan. I set a few parameters; Keep it simple. Think of it as a learning experience - I don't know that much about colourwork. Only use one or two colours per pattern. Make it stripy - four rows between each pattern - one big pattern then one small. I decide to think of it as a colourwork sampler of sorts; a place to practice my skills.

Final rule - I can't procrastinate - I have to just start. I have a tendency to procrastinate when using materials I love. I don't want them to run out and so I plan and plan and don't make. So I decide not to plan. We were camping and I have the time to do something a little challenging. I make up some starting numbers for the body of the cardy and start knitting. 

This cardy was the craft project that came out of our adventure. Like the adventure, I made no plans. I picked patterns by using spotty wifi to do a quick google search for "colourwork images" to find something I liked. I'd quickly scribble it down, and knit some more. Sometimes there was no wifi and I would make a pattern up as I needed to keep knitting. I ripped and ripped and ripped this thing. I did the yoke at least six times to get the shaping to work. In doing so I used a whole heap of personal qualities I'm not that practiced at - like patience and sitting with uncertainty. Doing something so uncertain, and so unlike my normal making, made it addictive. I wanted to see if I could. 

Technically it is a bit of a disaster. I don't have that much experience with colour work. I have made a few things but never taken the time to learn the rules. Even (especially) if you plan on breaking them, having a basic understanding of the rules is helpful. For example I used a two stitch seam of the natural coloured yarn on the underside of the sleeve. This lead to many interesting tangled sloppy stitches  that are really obvious if you are up close (see below). A bigger error was that I didn't pay enough attention when I was buying the yarn. I assumed it was all DK and just thought that some of the skeins had been spun a bit thin. I realised about 3/4 of the way through that actually three of the colour skeins were fingering weight. It works. Kind of. I also realised at the end of the cardigan that I'd been holding what I wanted to be the dominant yarn in the non dominant hand. Whoops….. And then there is the fact I used a 4mm needle with dk yarn to knit a colourwork cardigan for a child that "runs hot". It is a thick coat, not a cardigan. Plus it's too small. Technically I might get a fail if we were looking at it from a technical point of view. Luckily we are not.

Because she loves it. And I love it. To her it is her "colourwork cardy" that she asked me for and I made because I love her. She doesn't care that it isn't technically great or too hot or too small. And I'm proud of it. It challenged me and extended me and I learnt.

It holds the memories of our trip and many places we camped. I cast on in England, I redid the yoke in Albania and I crocheted the steek in Greece. She and I sat together at our camp table under the trees in Umbria and cut the steek. I put the buttons on only this week - maybe finally accepting that it is over and we are home. 

It almost feels like this came together through some kind of magic. I don't believe I would have been able to sit down and "design" something I like this much. One uncertain leap lead to another uncertain leap. Such an unusual process for me; I surprised myself. 

In I Made This, Thoughts On Craft
31 Comments

Part 2 - Knitting Tips and Tricks - Sleeves and Yarn

November 12, 2014 thecraftsessions

So this really should be an Around the Traps style post as I am just pointing you to resources by other smart people. However, many moons ago before I went travelling and broke my camera, I started this series with a Part 1 - Knitting Tips and Tricks and thought I should continue in that vein. 

And do I have tips and tricks for you. I LOVE these. You must go and check them out.

Sleeves

I often get asked about sleeves, along the lines of "what is the best way to knit them"? I want to give you an answer but the answer may be a little unsatisfying - and that is "whatever way you choose" or "whatever way is comfortable for you". You really do need to try them all out and your choice may change over time or depending on the project.

The main methods for sleeve knitting are

  • double pointed needles
  • knitting them flat and seaming them
  • magic loop
  • small circulars or little needles
  • knitting with two circulars 


In the past I have altered nearly every single pattern to be able to knit sleeves how I want. Traditionally for me that meant knitting sleeves flat and seaming them, even with a seamless garment. I didn't like knitting little tubes. But then I met Georgie and she quietly (in that lovely way of hers) convinced me to give small circular needles another try.

Small circular needles are small 30cm circulars (or sometimes even smaller) with bent tips. I use the Addi ones. I did hate them but have come to see that actually, with a little practice, they are actually very speedy. I ALWAY need to go up a needle size with little needles though as my gauge tends to get tighter - which makes sense if you think about how they are knit. Because the stitches are held in a small tube rather than stretched a bit on normal needles, the yarn between stitches is pulled a little tighter, and this leads to tighter knitting. 

When choosing the method to suit you, consider that everybody has their own knitting quirks; different styles, different hands, different levels of finger flexibility. So what you might find comfortable and comforting I might not. You really do need to try all styles - and try them more than once. It takes a little while to get used to and comfortable with a new style. 

Georgie talks about options for different ways to knit sleeves in this post. She also gives her amazing way for picking up underarm stitches in this other post.

Towards the bottom of the post Georgie mentions that in the very next round, after the round where you have picked up your stitches, you need to do a ssk and a k2tog. You do these at the join between the new underarm stitches and the existing sleeve stitches, to close the gap. You do a ssk when you get to the end of your existing sleeve stitches, knitting one of the sleeve stitches you were holding on waste yarn together with one of the new underarm stitches. You follow that up with a k2tog when you get to the last of the new underarm stitches, which closes the gap between the underarm stitches and the existing sleeve stitches. 

You will love this underarm. It has no gaps and looks great. I use it on every top down seamless pattern I make now. 

Yarn

So yesterday I was talking about how materials matter. How 100% wool does not equal 100% wool in all cases. I know this is a tricky subject when you are a new/intermediate knitter as there are all these new words and who knows what they all mean?

Have I got the podcast for you - two podcasts actually. There is a podcast called Knit FM by Hannah Fettig and Pam Allen and it is a true wealth of information. They cover Yarn - Part 1 and Yarn - Part 2. Get stuck in - if you are even vaguely interested in yarn you will love it. I just love Pam's voice. She sounds so lovely you will want to give her a hug - or maybe that's just me? 

One final thing today - A small few-but-mighty of you took me up on my Stash Less Ripping Challenge. I'm going to send a little something to the brave Libby who ripped out this lovely cabled cardy. Yay Libby!

See you Friday x

Felicia

In Around The Traps, How To Tags knittingtipsandtricks
2 Comments
← Newer Posts Older Posts →

Welcome! I'm Felicia - creator of The Craft Sessions and Soul Craft Festival.

This blog aims to celebrate the connection between hand-making and our well-being.
These posts aim to foster a love of hand-making and discuss the ways domestic handcrafts elevate our everyday.

I love the contributions you make to this space via your comments and learn so much from each and every one. x

Thoughts On Craft

Simple Sewing 101

Stash Less

The RetreaT

Featured
Making Fast Fashion: Some More Of The Grey
Apr 19, 2022
Making Fast Fashion: Some More Of The Grey
Apr 19, 2022
Apr 19, 2022
Is My Making Fast Fashion?
Apr 12, 2022
Is My Making Fast Fashion?
Apr 12, 2022
Apr 12, 2022
Why Gauge Matters
Apr 5, 2022
Why Gauge Matters
Apr 5, 2022
Apr 5, 2022
Craft As Simple Mundane Forward Movement
Mar 29, 2022
Craft As Simple Mundane Forward Movement
Mar 29, 2022
Mar 29, 2022
Craft As A Virtuous Cycle*
Mar 22, 2022
Craft As A Virtuous Cycle*
Mar 22, 2022
Mar 22, 2022
Craft & The Slow Nostalgic Finish
Mar 15, 2022
Craft & The Slow Nostalgic Finish
Mar 15, 2022
Mar 15, 2022

popular posts

Craft As A Project V’s Craft As A Practice

Our Fear Of Going Back

Making Is Not Inherently Creative

Why All Crafters Need A Visual Diary

Craft As A Manifestation Of Love And Loss

Moving On From Perfectionism

The Secret To Becoming A Great Knitter!

Simple Sewing 101 - Part 1

Craft In The Middle Of Motherhood

Another #theyearofthescrap #ellenscardigan using some #oldmaidenaunt alpaca silk from many years ago. What I love about this little cardy is it’s simplicity and how little yarn it uses. Perfect for scrap knitting. I now have a little pile of ba
New blog post: Craft as elevating the mundane! I think this idea is so important. 🌿 'Making is about enriching the moments of our lives; it’s about making the mundane (and not the extraordinary) more abundant and that bit more lush…. el
Block 8/12 - I’m so excited to be back making this for my smallest for her 10th birthday. It’s a #stash_less #theyearofthescrap quilt that is based on an incredible #geesbend quilt. And it’s all scraps and precious bits and pieces.
Another #theyearofthescrap #ellenscardigan using some #oldmaidenaunt alpaca silk from many years ago. What I love about this little cardy is it’s simplicity and how little yarn it uses. Perfect for scrap knitting. I now have a little pile of ba New blog post: Craft as elevating the mundane! I think this idea is so important. 🌿 'Making is about enriching the moments of our lives; it’s about making the mundane (and not the extraordinary) more abundant and that bit more lush…. el Block 8/12 - I’m so excited to be back making this for my smallest for her 10th birthday. It’s a #stash_less #theyearofthescrap quilt that is based on an incredible #geesbend quilt. And it’s all scraps and precious bits and pieces.
The Blog Archives!
  • April 2022
  • March 2022
  • February 2022
  • December 2021
  • March 2021
  • February 2021
  • November 2020
  • July 2020
  • June 2020
  • May 2020
  • April 2020
  • March 2020
  • February 2020
  • December 2019
  • March 2019
  • February 2019
  • January 2019
  • December 2018
  • November 2018
  • October 2018
  • August 2018
  • July 2018
  • May 2018
  • April 2018
  • March 2018
  • February 2018
  • January 2018
  • December 2017
  • November 2017
  • October 2017
  • September 2017
  • August 2017
  • July 2017
  • June 2017
  • May 2017
  • April 2017
  • March 2017
  • February 2017
  • January 2017
  • November 2016
  • October 2016
  • September 2016
  • August 2016
  • July 2016
  • June 2016
  • May 2016
  • April 2016
  • March 2016
  • February 2016
  • January 2016
  • December 2015
  • November 2015
  • October 2015
  • September 2015
  • August 2015
  • July 2015
  • June 2015
  • May 2015
  • April 2015
  • March 2015
  • February 2015
  • January 2015
  • December 2014
  • November 2014
  • October 2014
  • September 2014
  • August 2014
  • July 2014
  • June 2014
  • May 2014
  • April 2014
  • March 2014
  • February 2014
  • January 2014
  • December 2013
  • November 2013
  • October 2013
  • September 2013
  • August 2013
  • July 2013
  • June 2013
Featured
Making Fast Fashion: Some More Of The Grey
Apr 19, 2022
Making Fast Fashion: Some More Of The Grey
Apr 19, 2022
Apr 19, 2022
Is My Making Fast Fashion?
Apr 12, 2022
Is My Making Fast Fashion?
Apr 12, 2022
Apr 12, 2022

We Live and work on the traditional lands of the Wurundjeri people of the Kulin nation.
We acknowledge that sovereignty was never ceded and pay our respect to elders past, present and emerging.

Copyright the Craft Sessions 2020

Logo designed by the lovely Mara of Printspace and Girling Design