There was this episode of The Good Wife where in order for anyone to say anything to the presiding judge they had to add "in my opinion" to every statement they made. Anyhoo…. In my opinion this is the best hemming trick of all time! It is a technique for doing a double-folded hem, without any measuring, that is accurate, tidy and simple.
I use this hemming technique on practically everything - and I generally ignore pattern instructions that tell me something different. The only time I don't use it is when I am making something "special", using a super fine fabric, or something silky or synthetic. Generally as I only use natural fibres this works like a dream. That all said, I am sure there is a professional dressmaking reason why more people don't suggest it, but after 35 years of sewing I can't figure it out. And as most of what I make is my kids clothes, and simple garments like the Scout Tee then this is perfect! It works for skirts and sleeves and pant legs and shirt bottoms - totally multi-purpose.
I've written a disclaimer down the bottom. Please give it a read. I really want you to be happy.
How to get a super tidy hem with no fuss.
I should start by staying that this trick really isn't a trick. It is just a super super simple way of ensuring that you get a neat hem with no measuring. I'm sure it has a name somewhere on the interweb and that there will be other tutorials. I just haven't come across them AND I don't come across many people who do hem this way so I thought I would share.
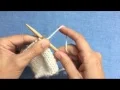
Step 1: Run the basting stitch.
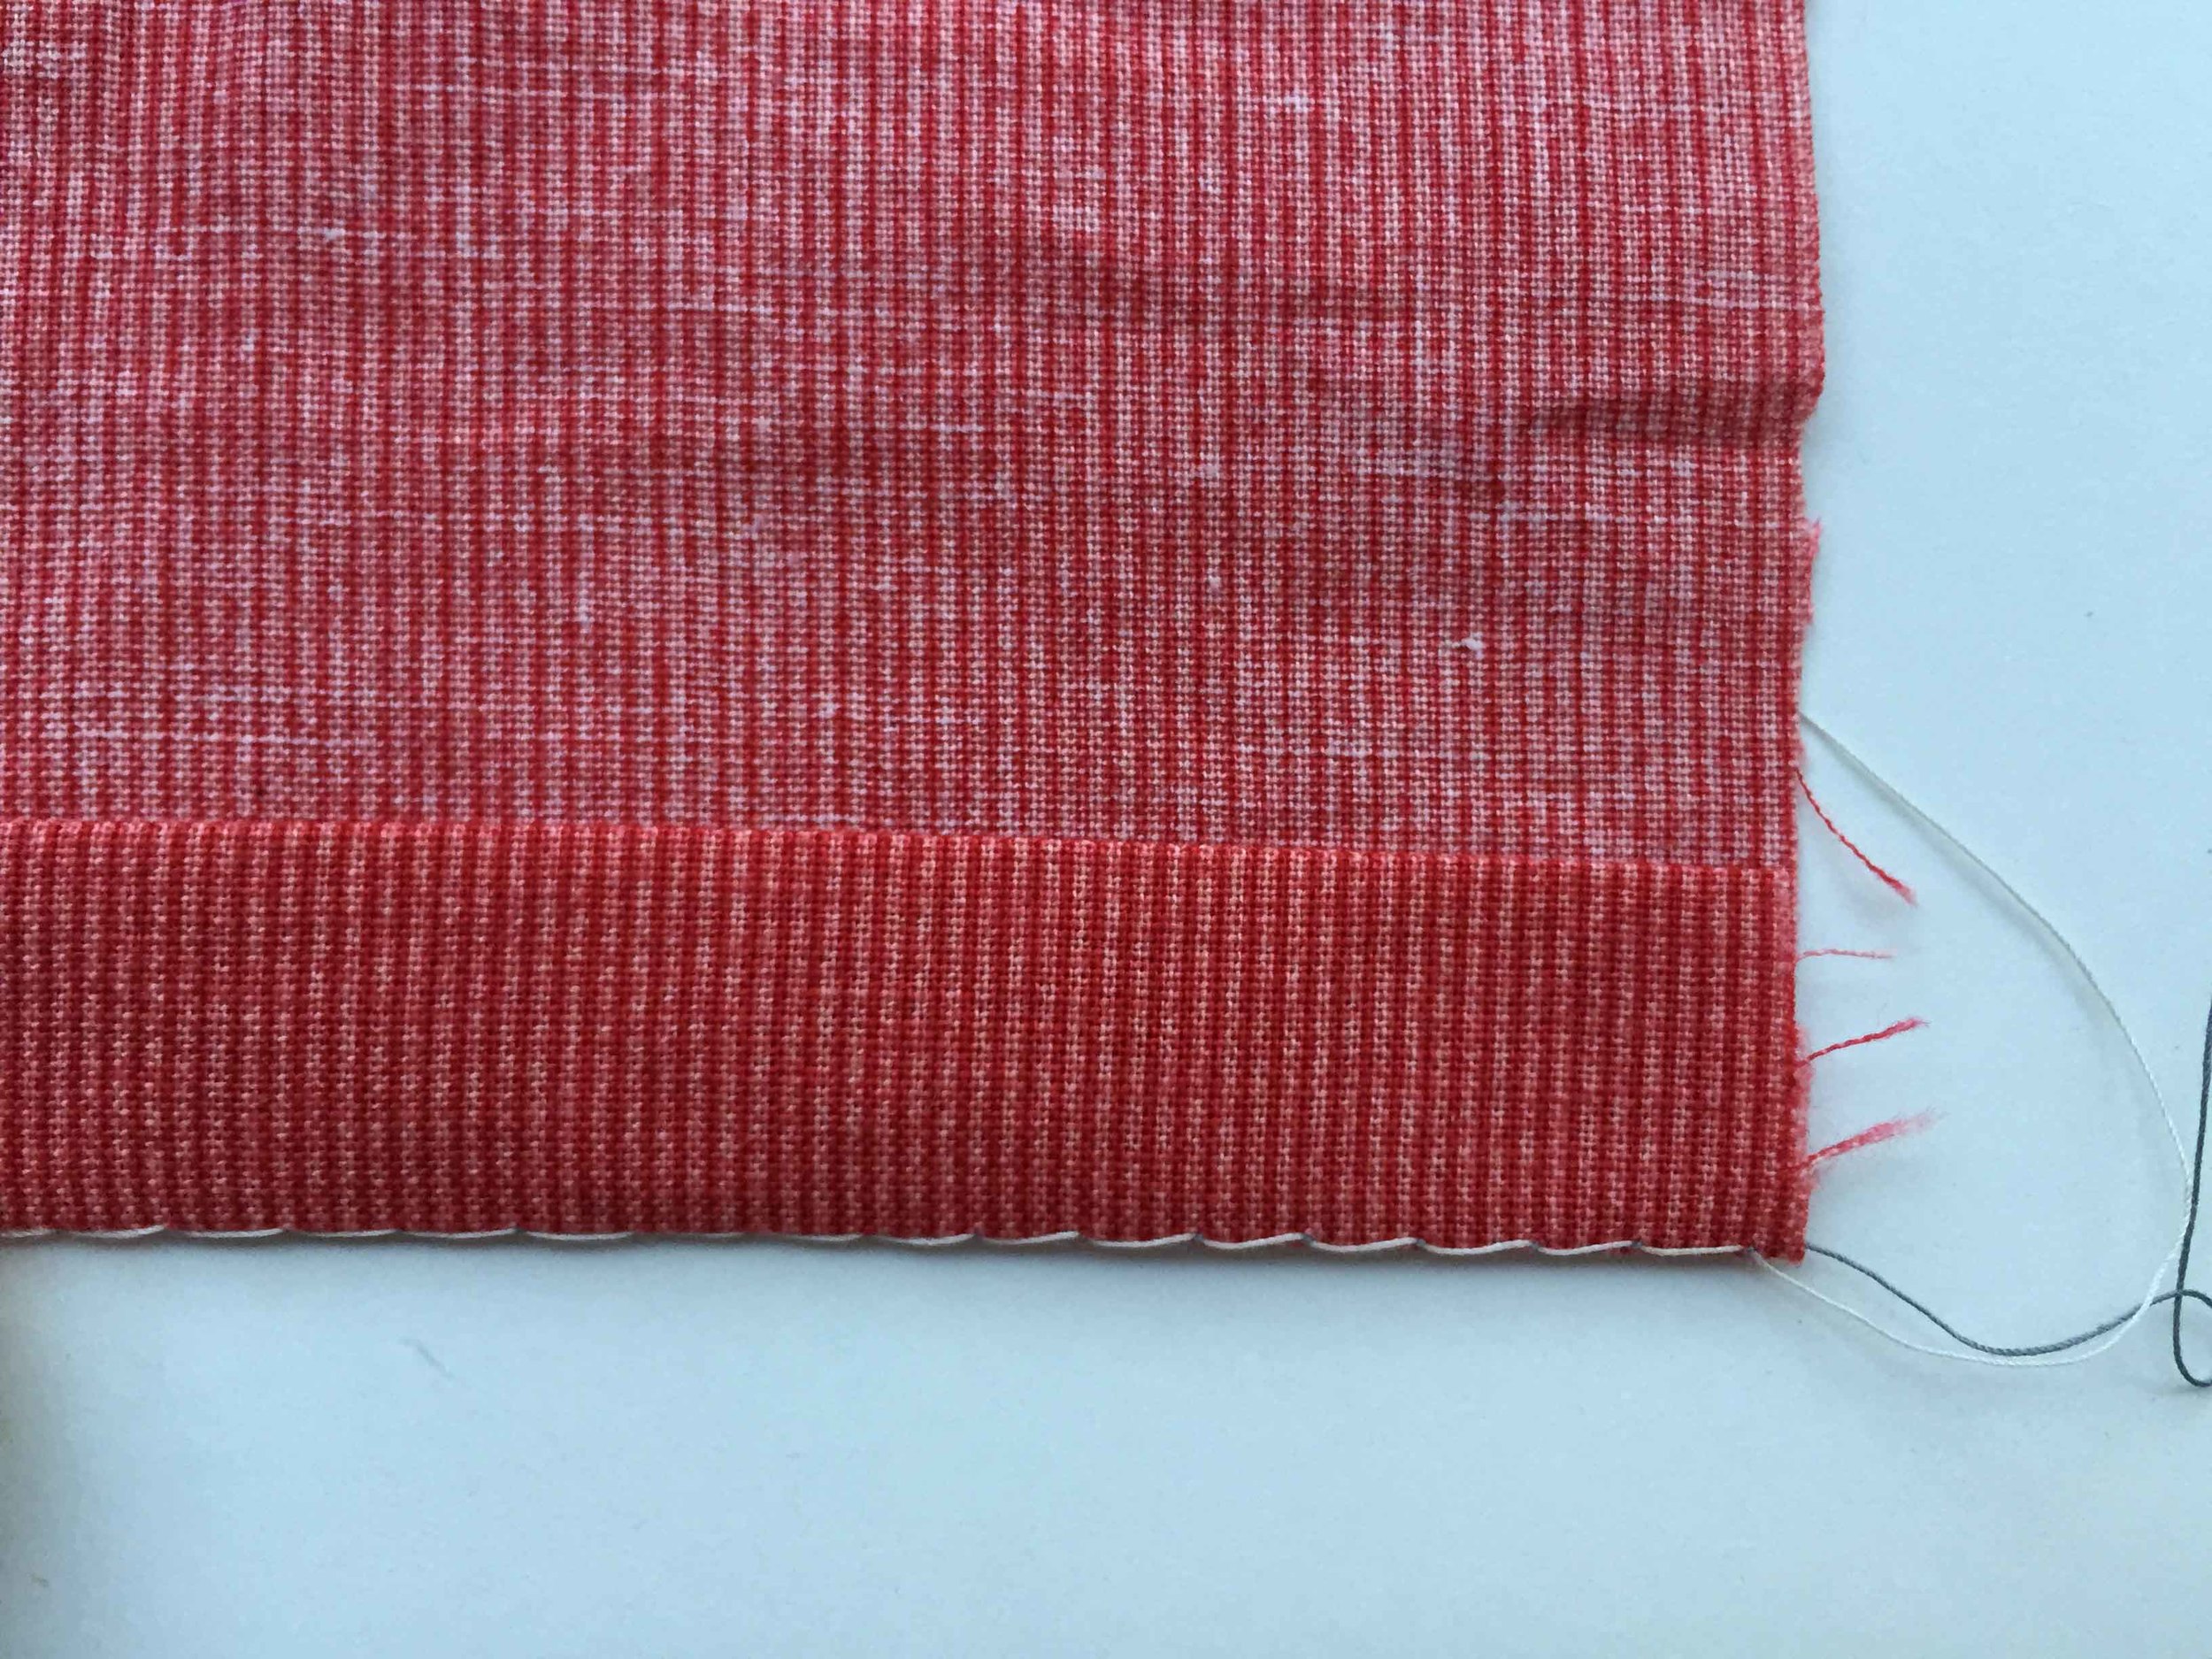
Sew a basting stitch at the point at which you want the hem to be turned up - making sure that the row of basting stitch is twice the width of the finished hem you want. If possible sew the basting stitch in a contrasting colour at least on the right side of the fabric. It doesn't matter what your bobbin cotton is (assuming the bobbin colour is on the wrong side of your fabric).
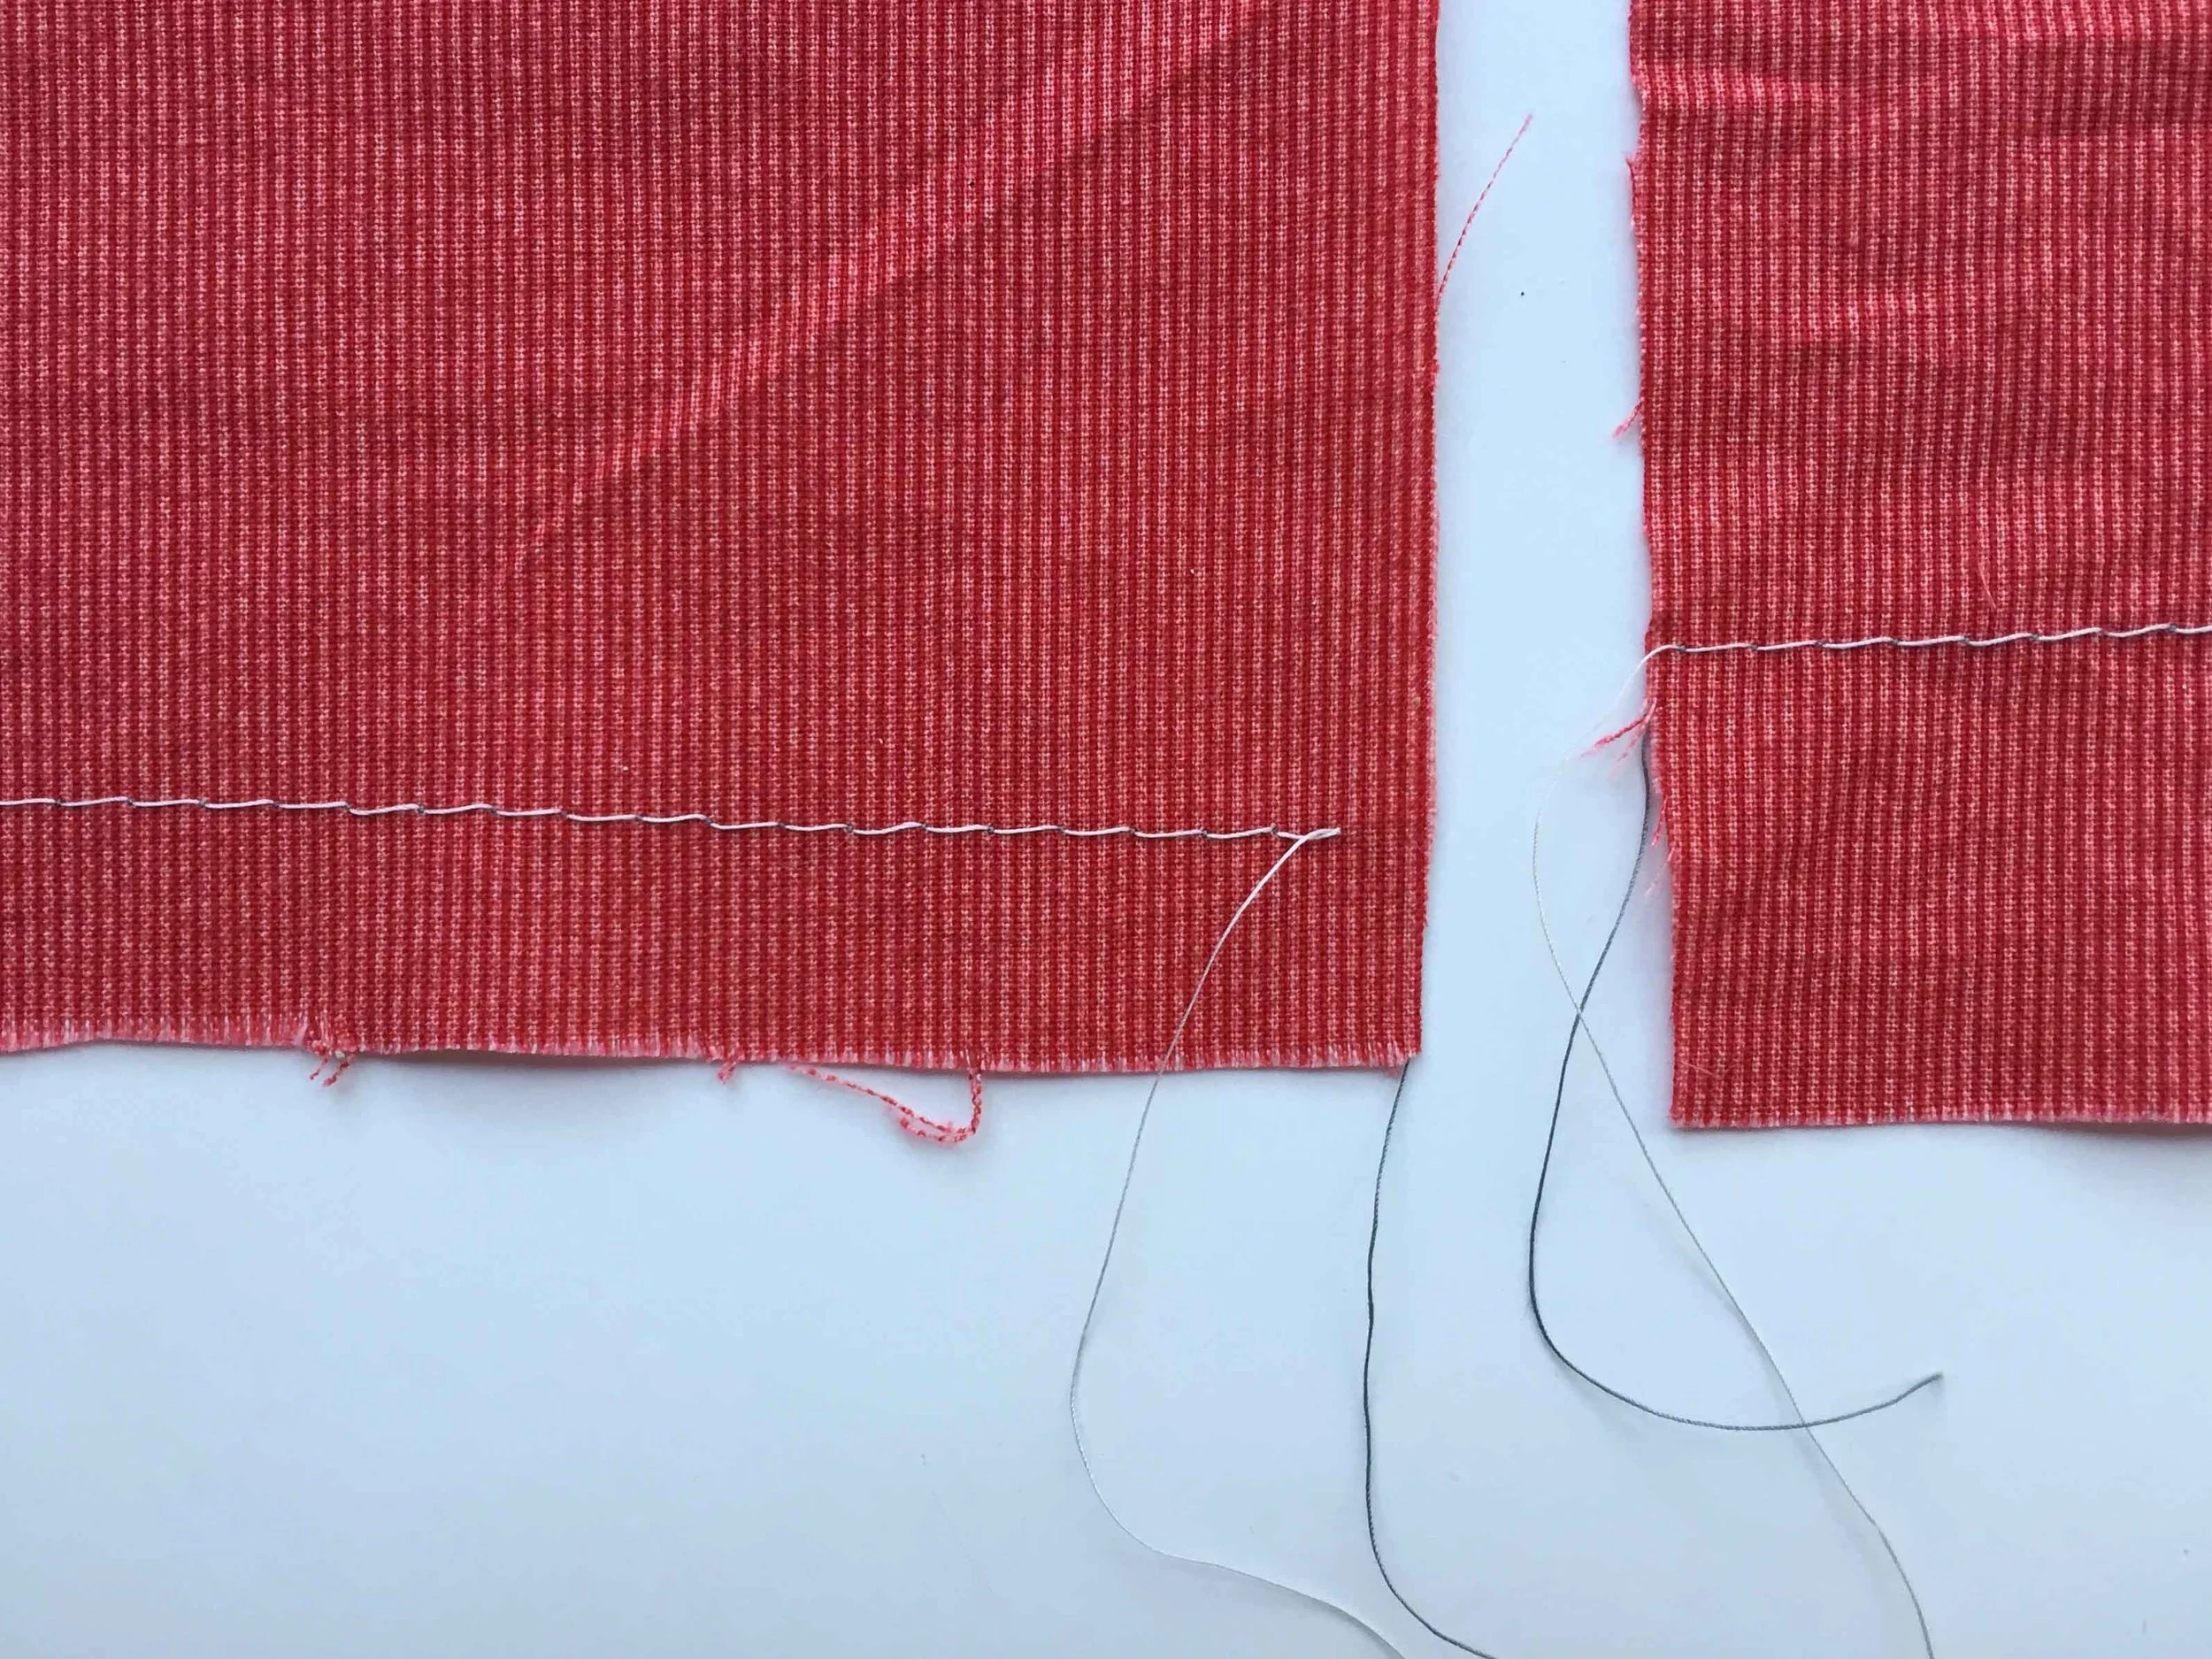
The basting stitch on the left was sewed at 1.5cm and the one on the right at 2.5cm. I also do some at about 4 or 5cm - which gives a heavier hem. Contrasting thread on the right side of the fabric.
The key to this whole thing is that you accurately run the basting stitch using the seam guide on your machine. When I am making a wide hem, and the basting stitch is about 5cm from the raw edge, I use a piece of washi tape stuck to my machine as a seam guide. An accurate basting seam is the key!!!
I change the width of the hem depending on the weight of the fabric and obviously the desired length of the sleeve, top, dress etc. On a thinner fabric like a voile I generally run my basting stitch at 1.5cm (or even 1.2cm), and then on something thicker or for the hem of pants, shorts or a dress I might run the basting stitch at 5cm.
Step 2: Iron up the hem using the basting as a guide.
Iron the hem up using the basting stitch as a guide. The basting stitch should be on the fold exactly. The reason you want a contrasting colour is that you should be able to clearly see the basting stitch on the edge of the fold

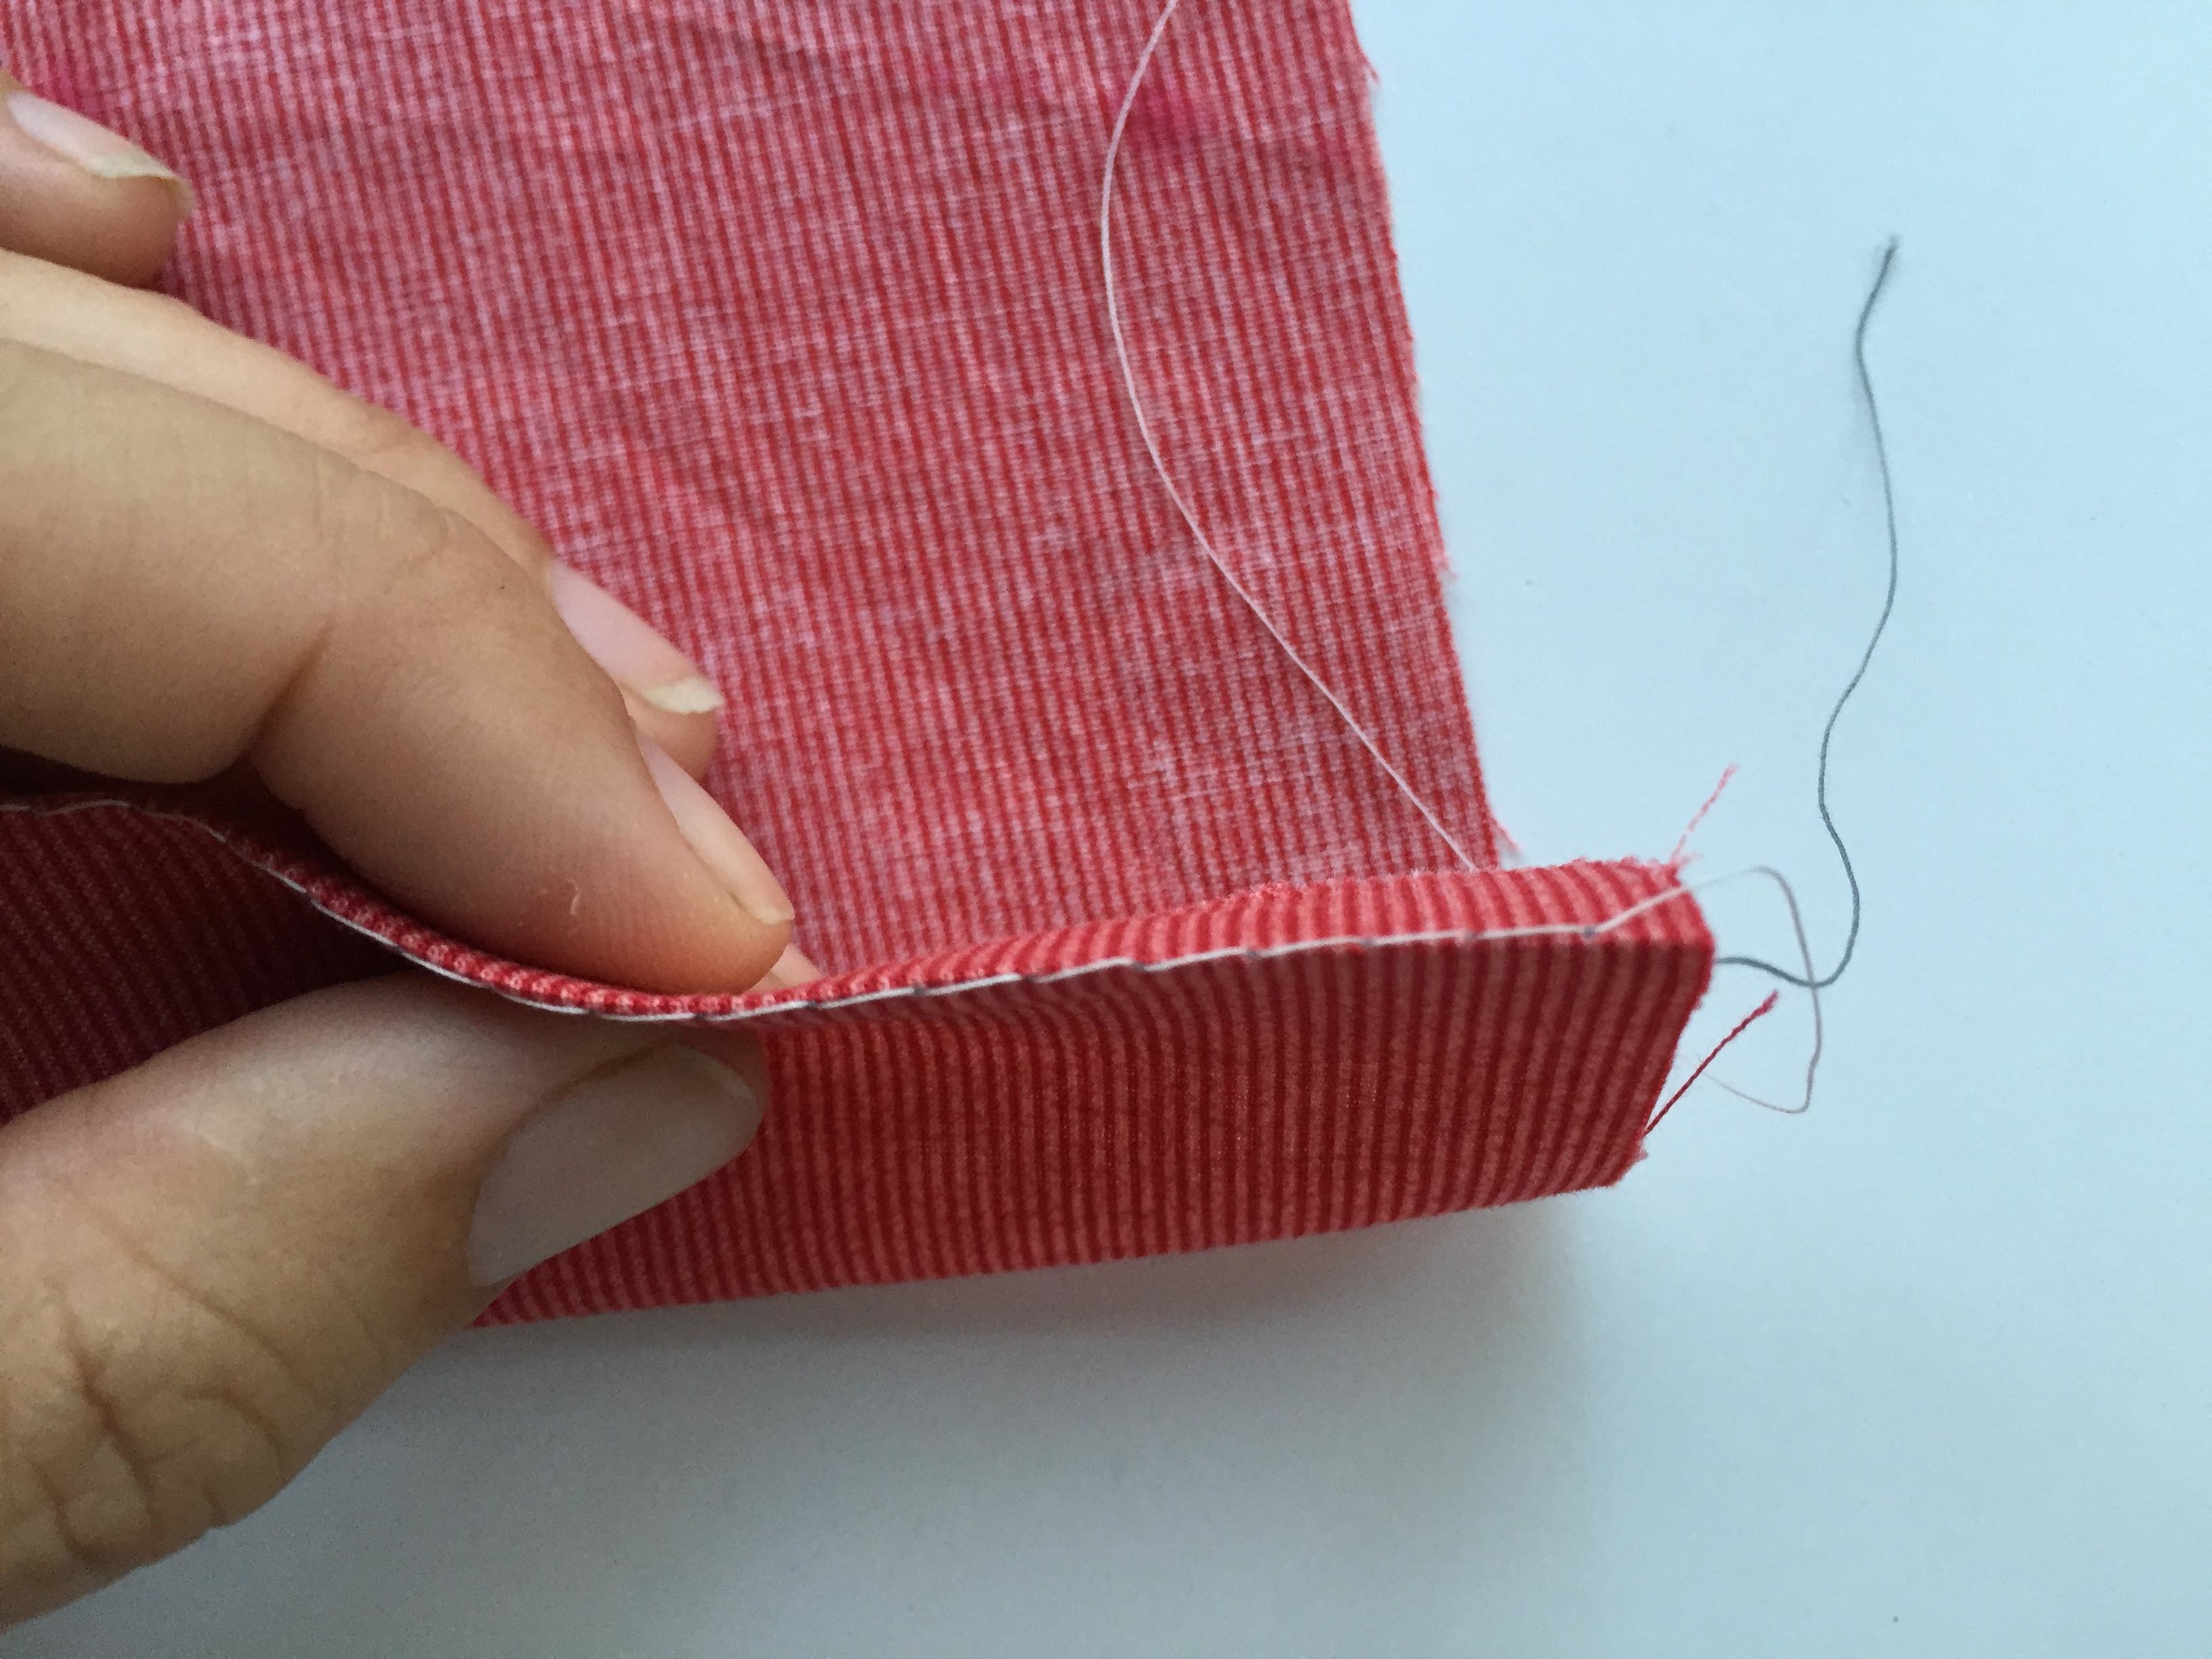

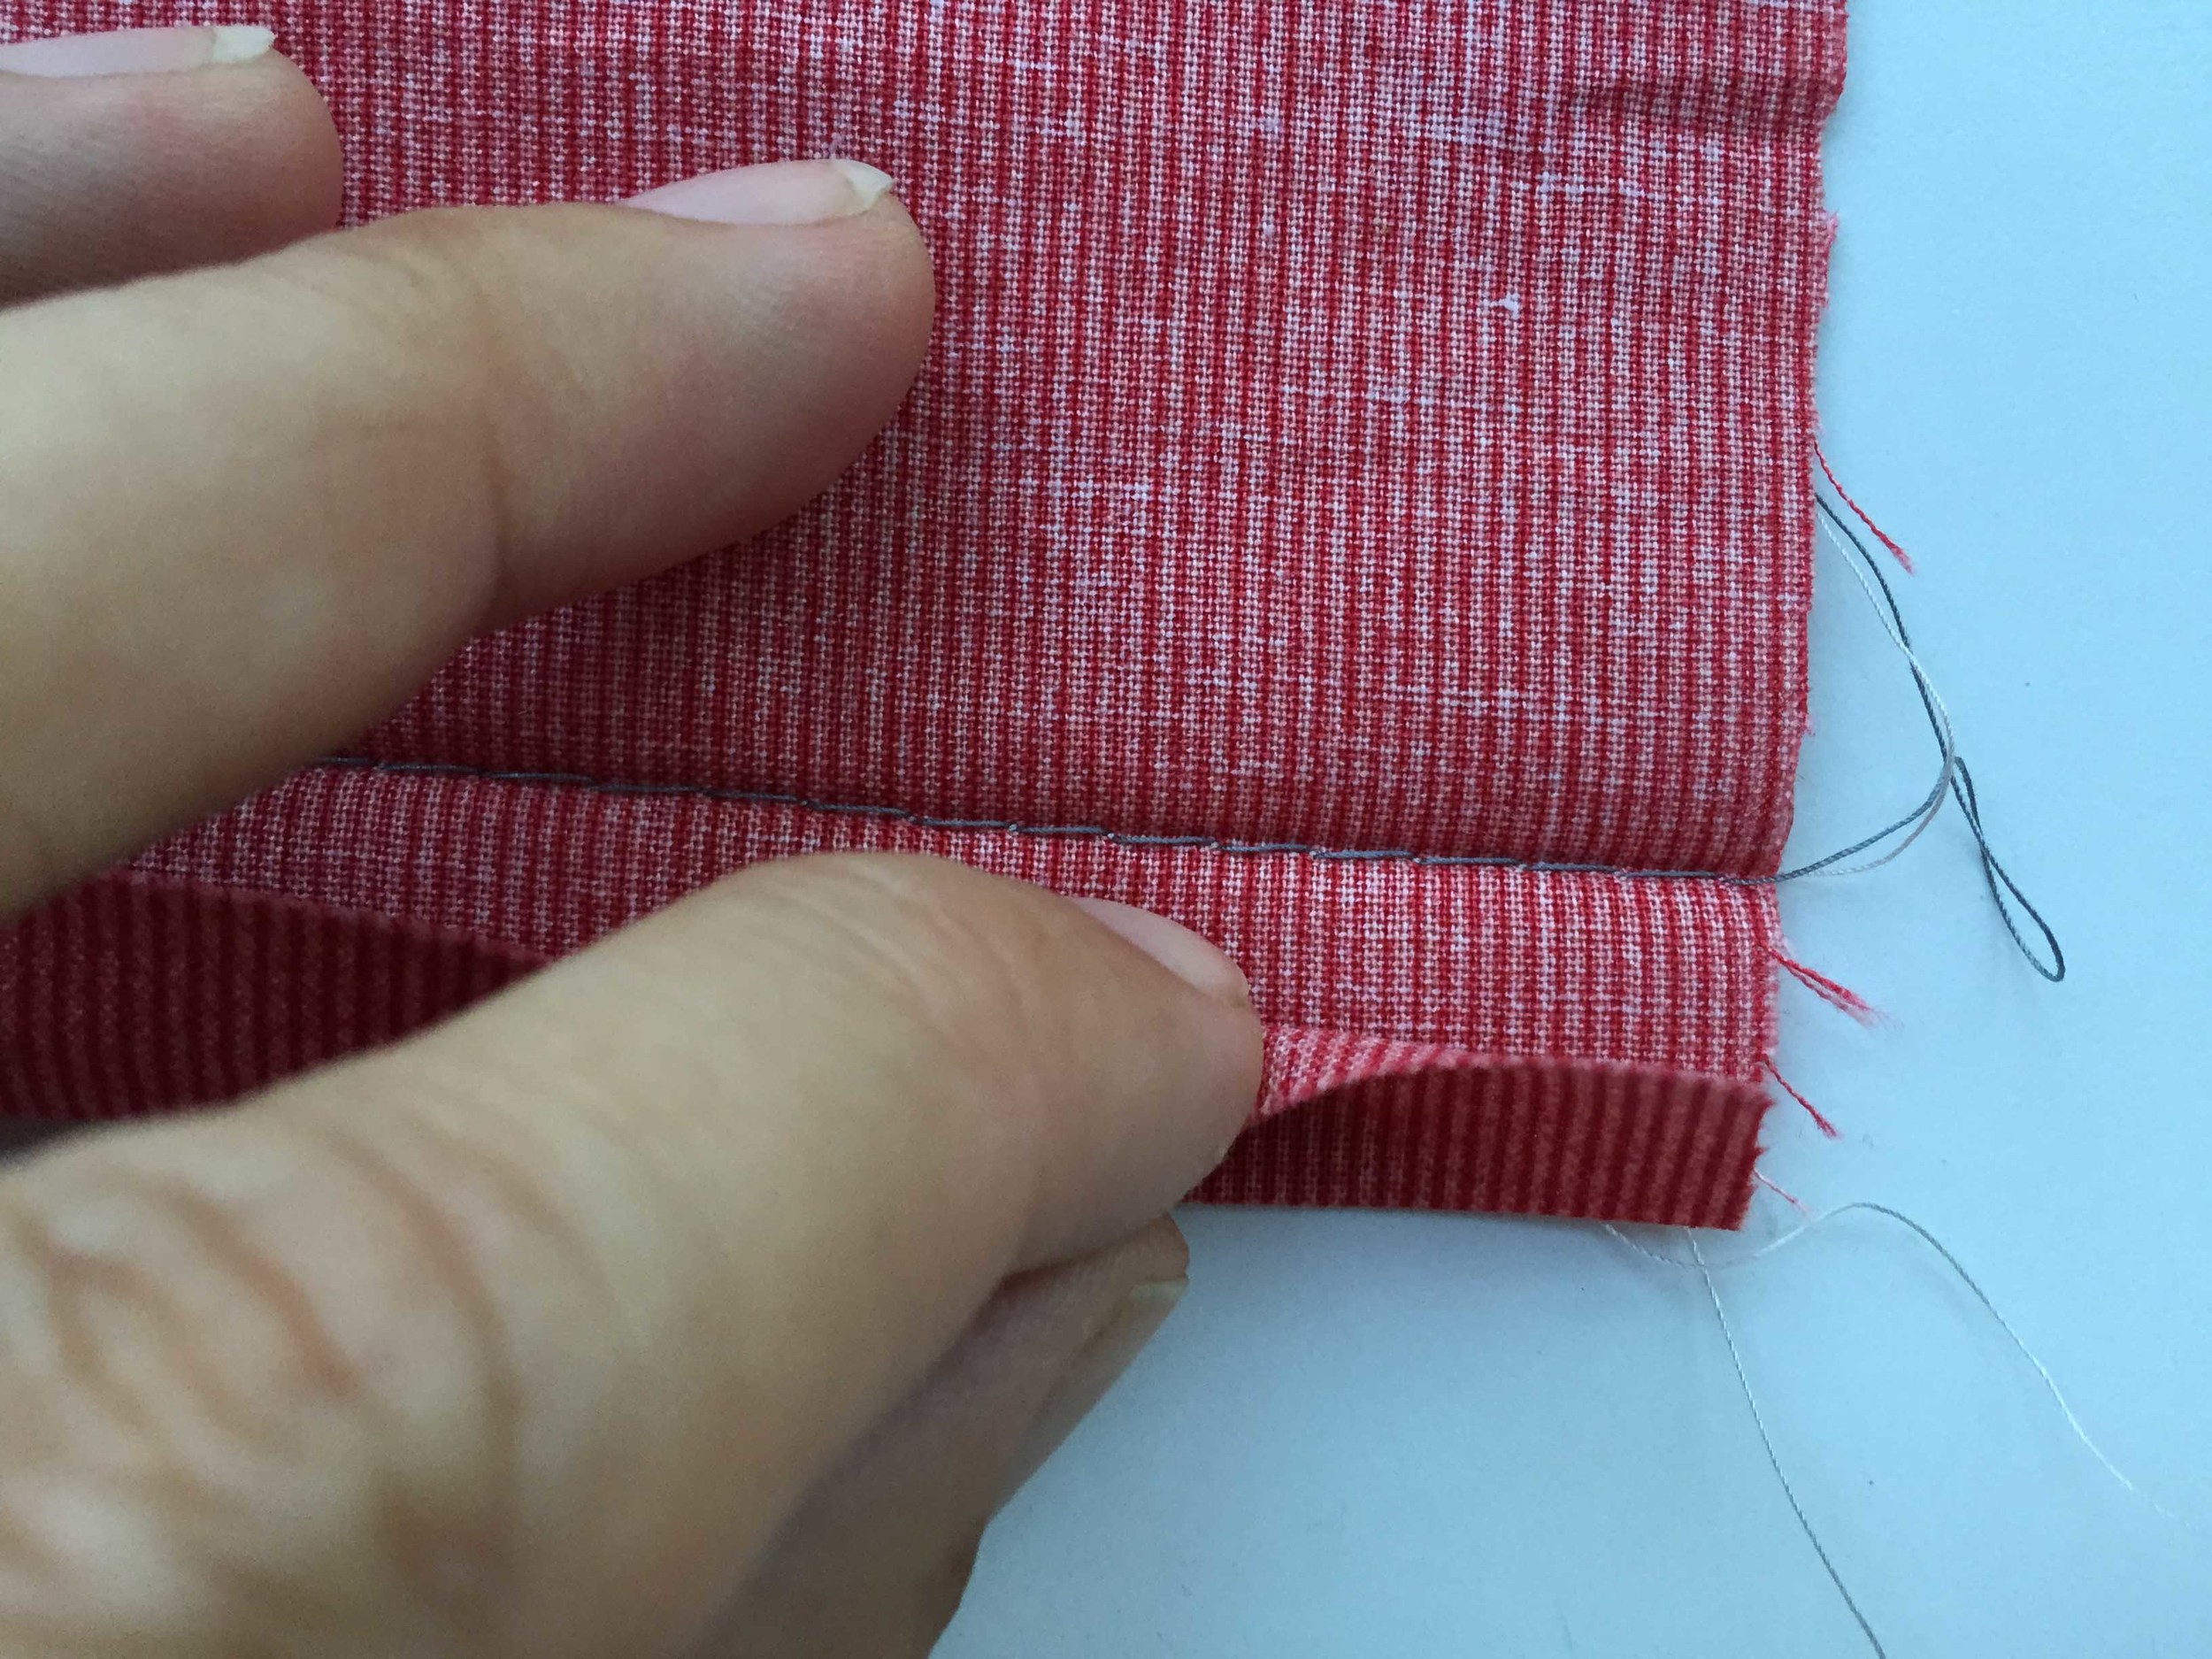
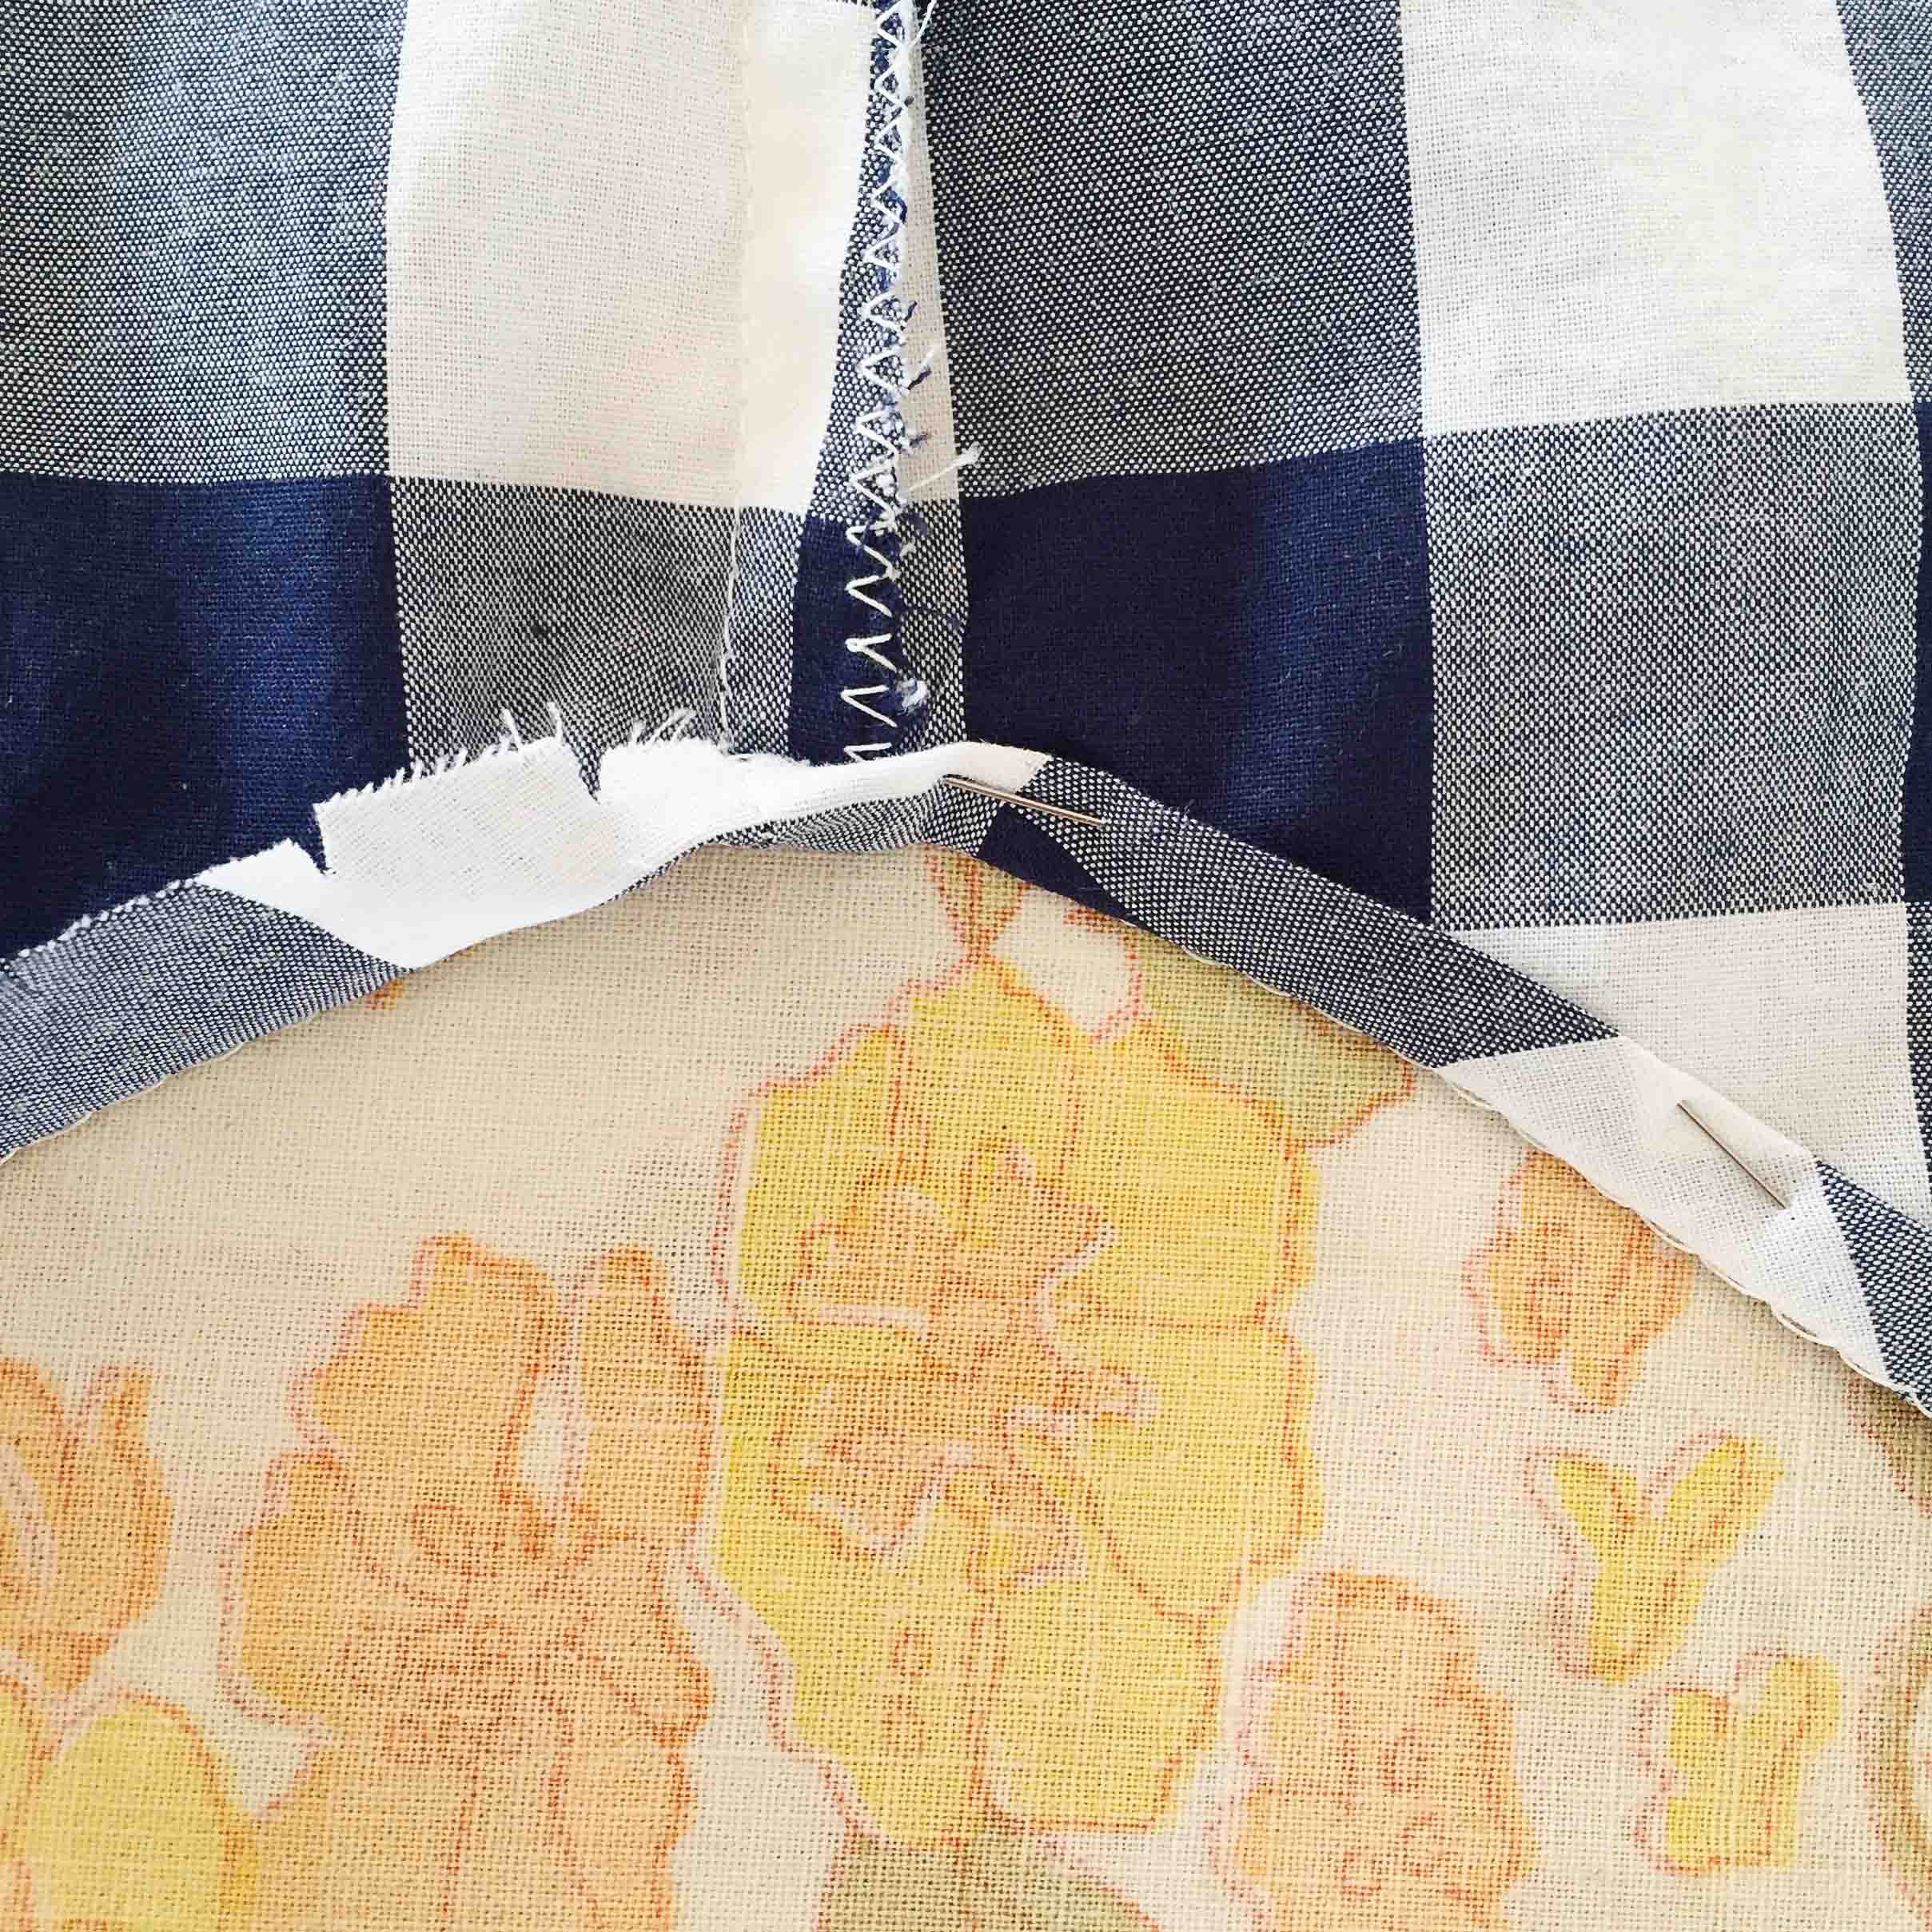
Step 3: Fold the raw edge to the fold.
With the fabric sitting on your ironing board - wrong side up - use your thumb and your forefinger to pinch the raw edge of the fabric into the fold and press at the same time. Pin it down and move on.

I kindof pinch the raw edge towards the fold.
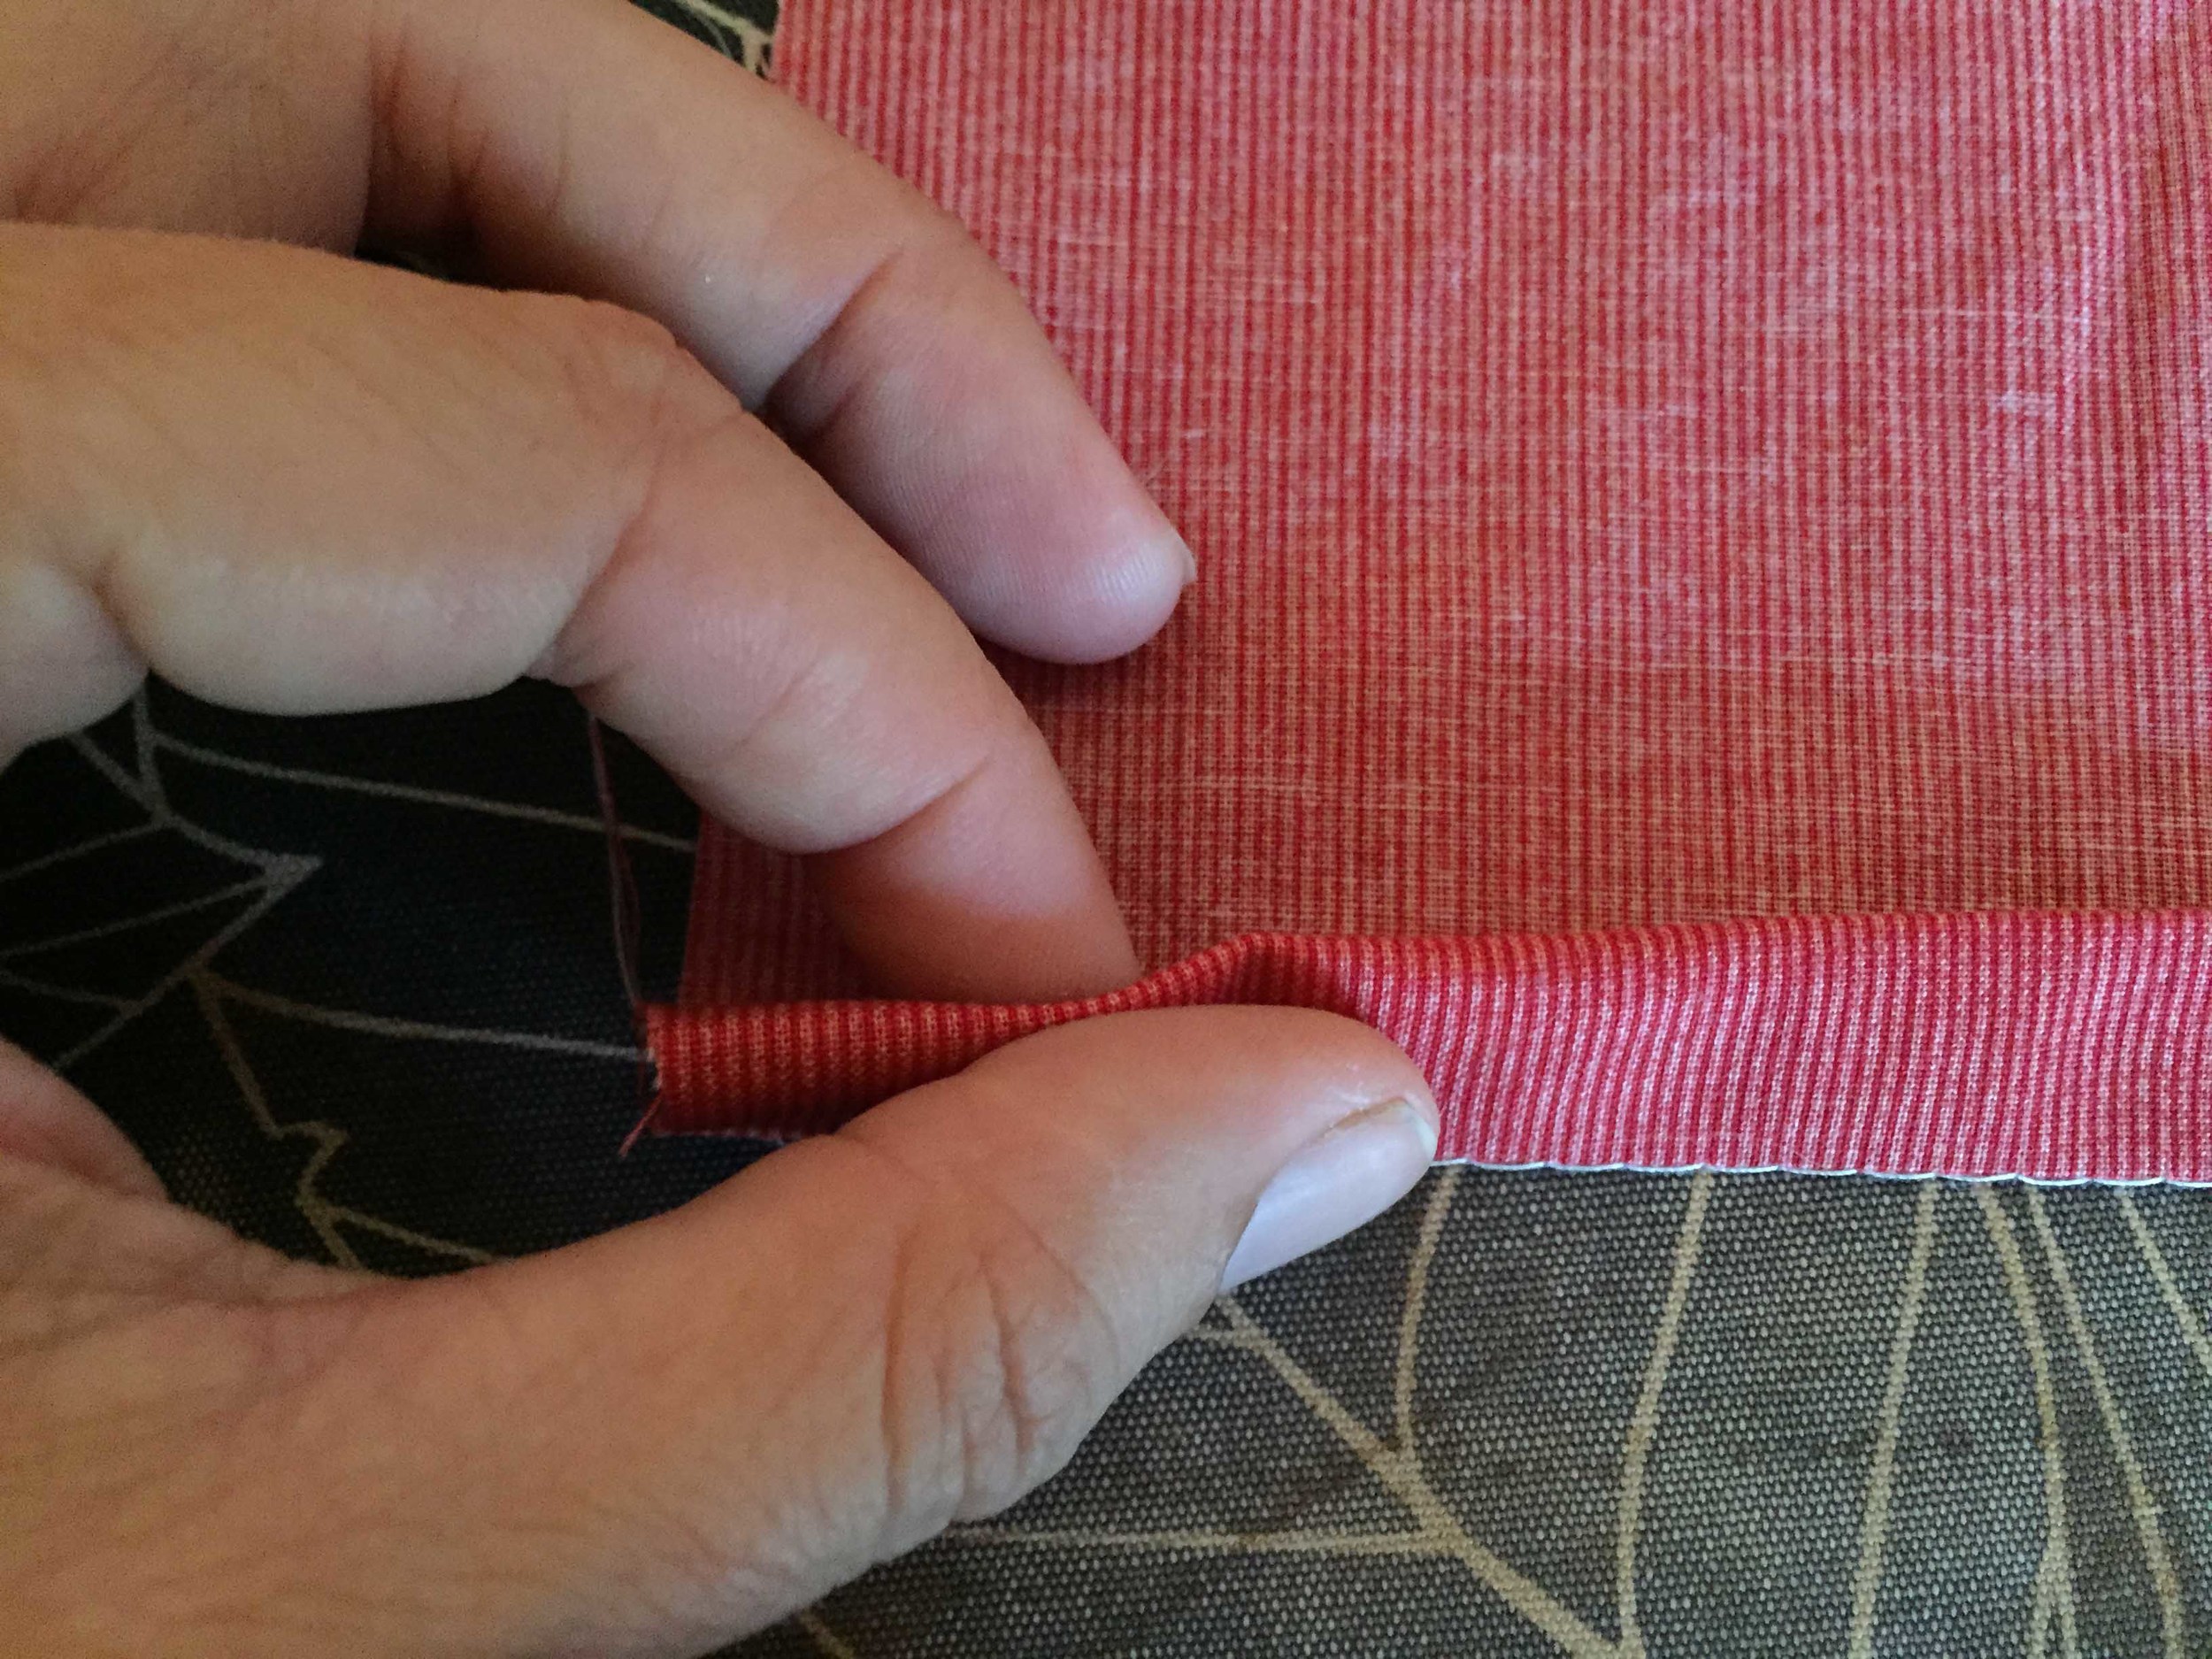
You can feel when the raw edge hits the folded edge.

After pinching it together I slide my pointer along my thumb to fold as much of the fabric as I can with one sweep - this is tricky to explain. Give it a go.
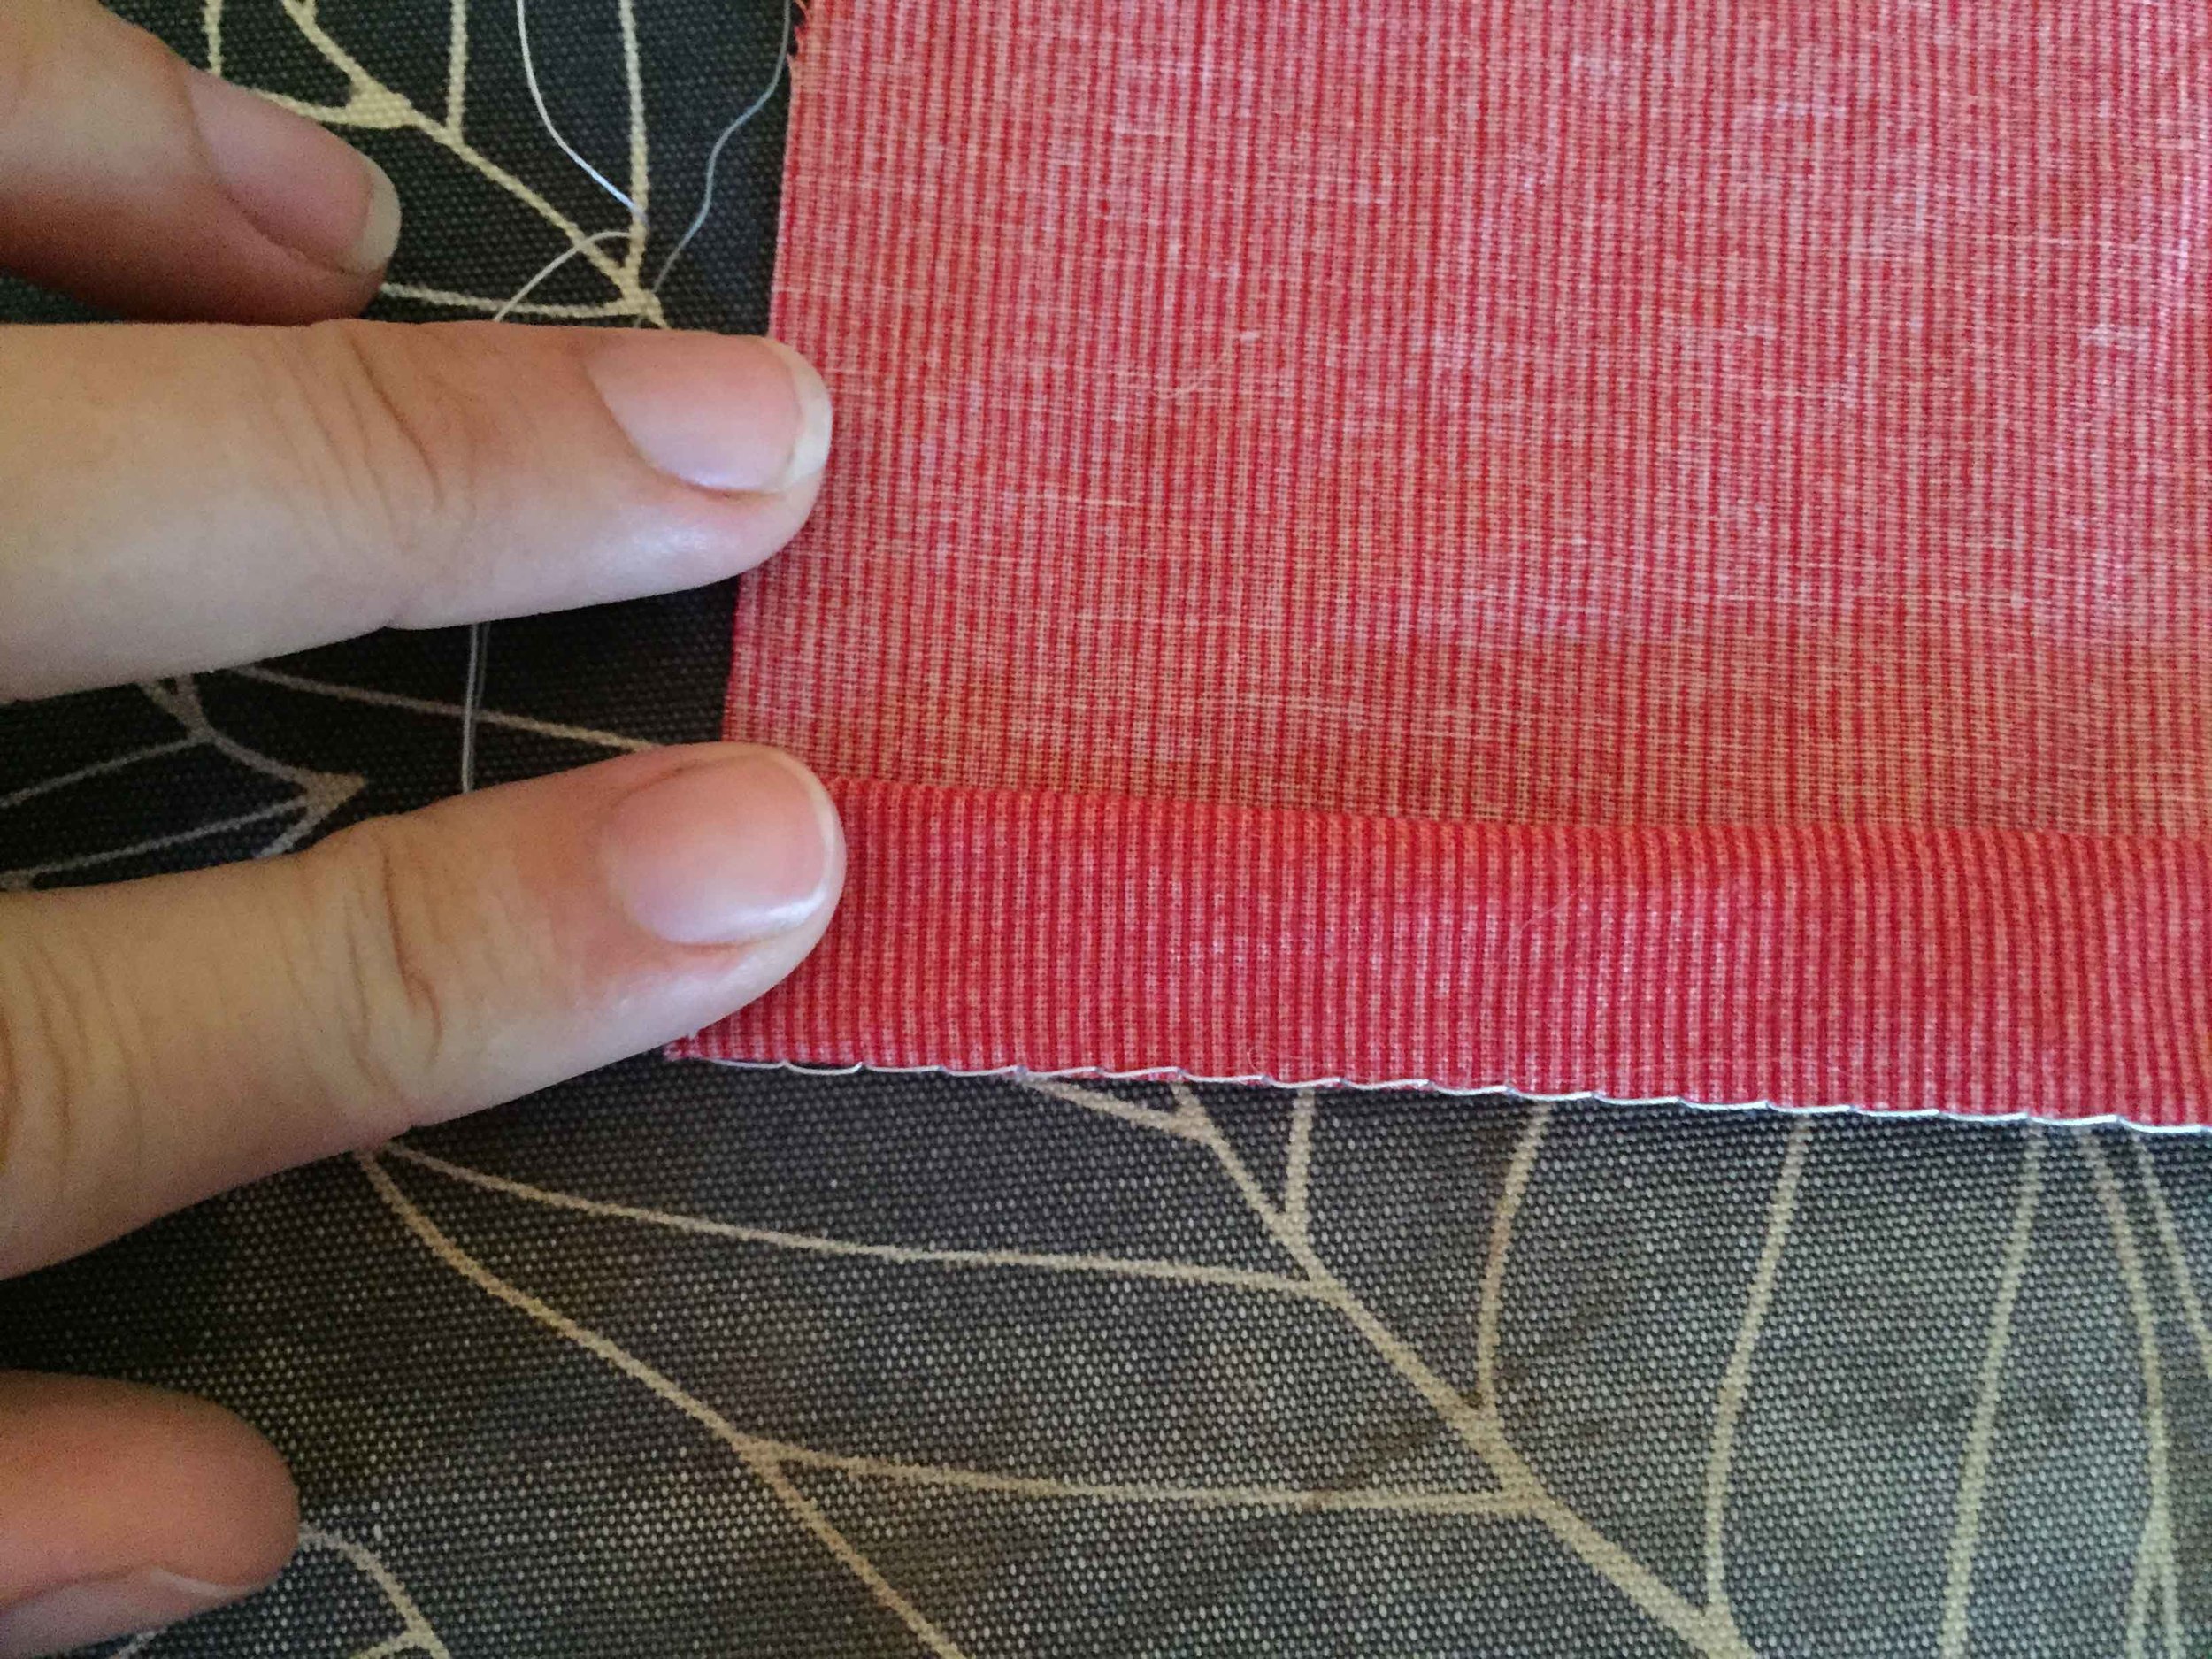
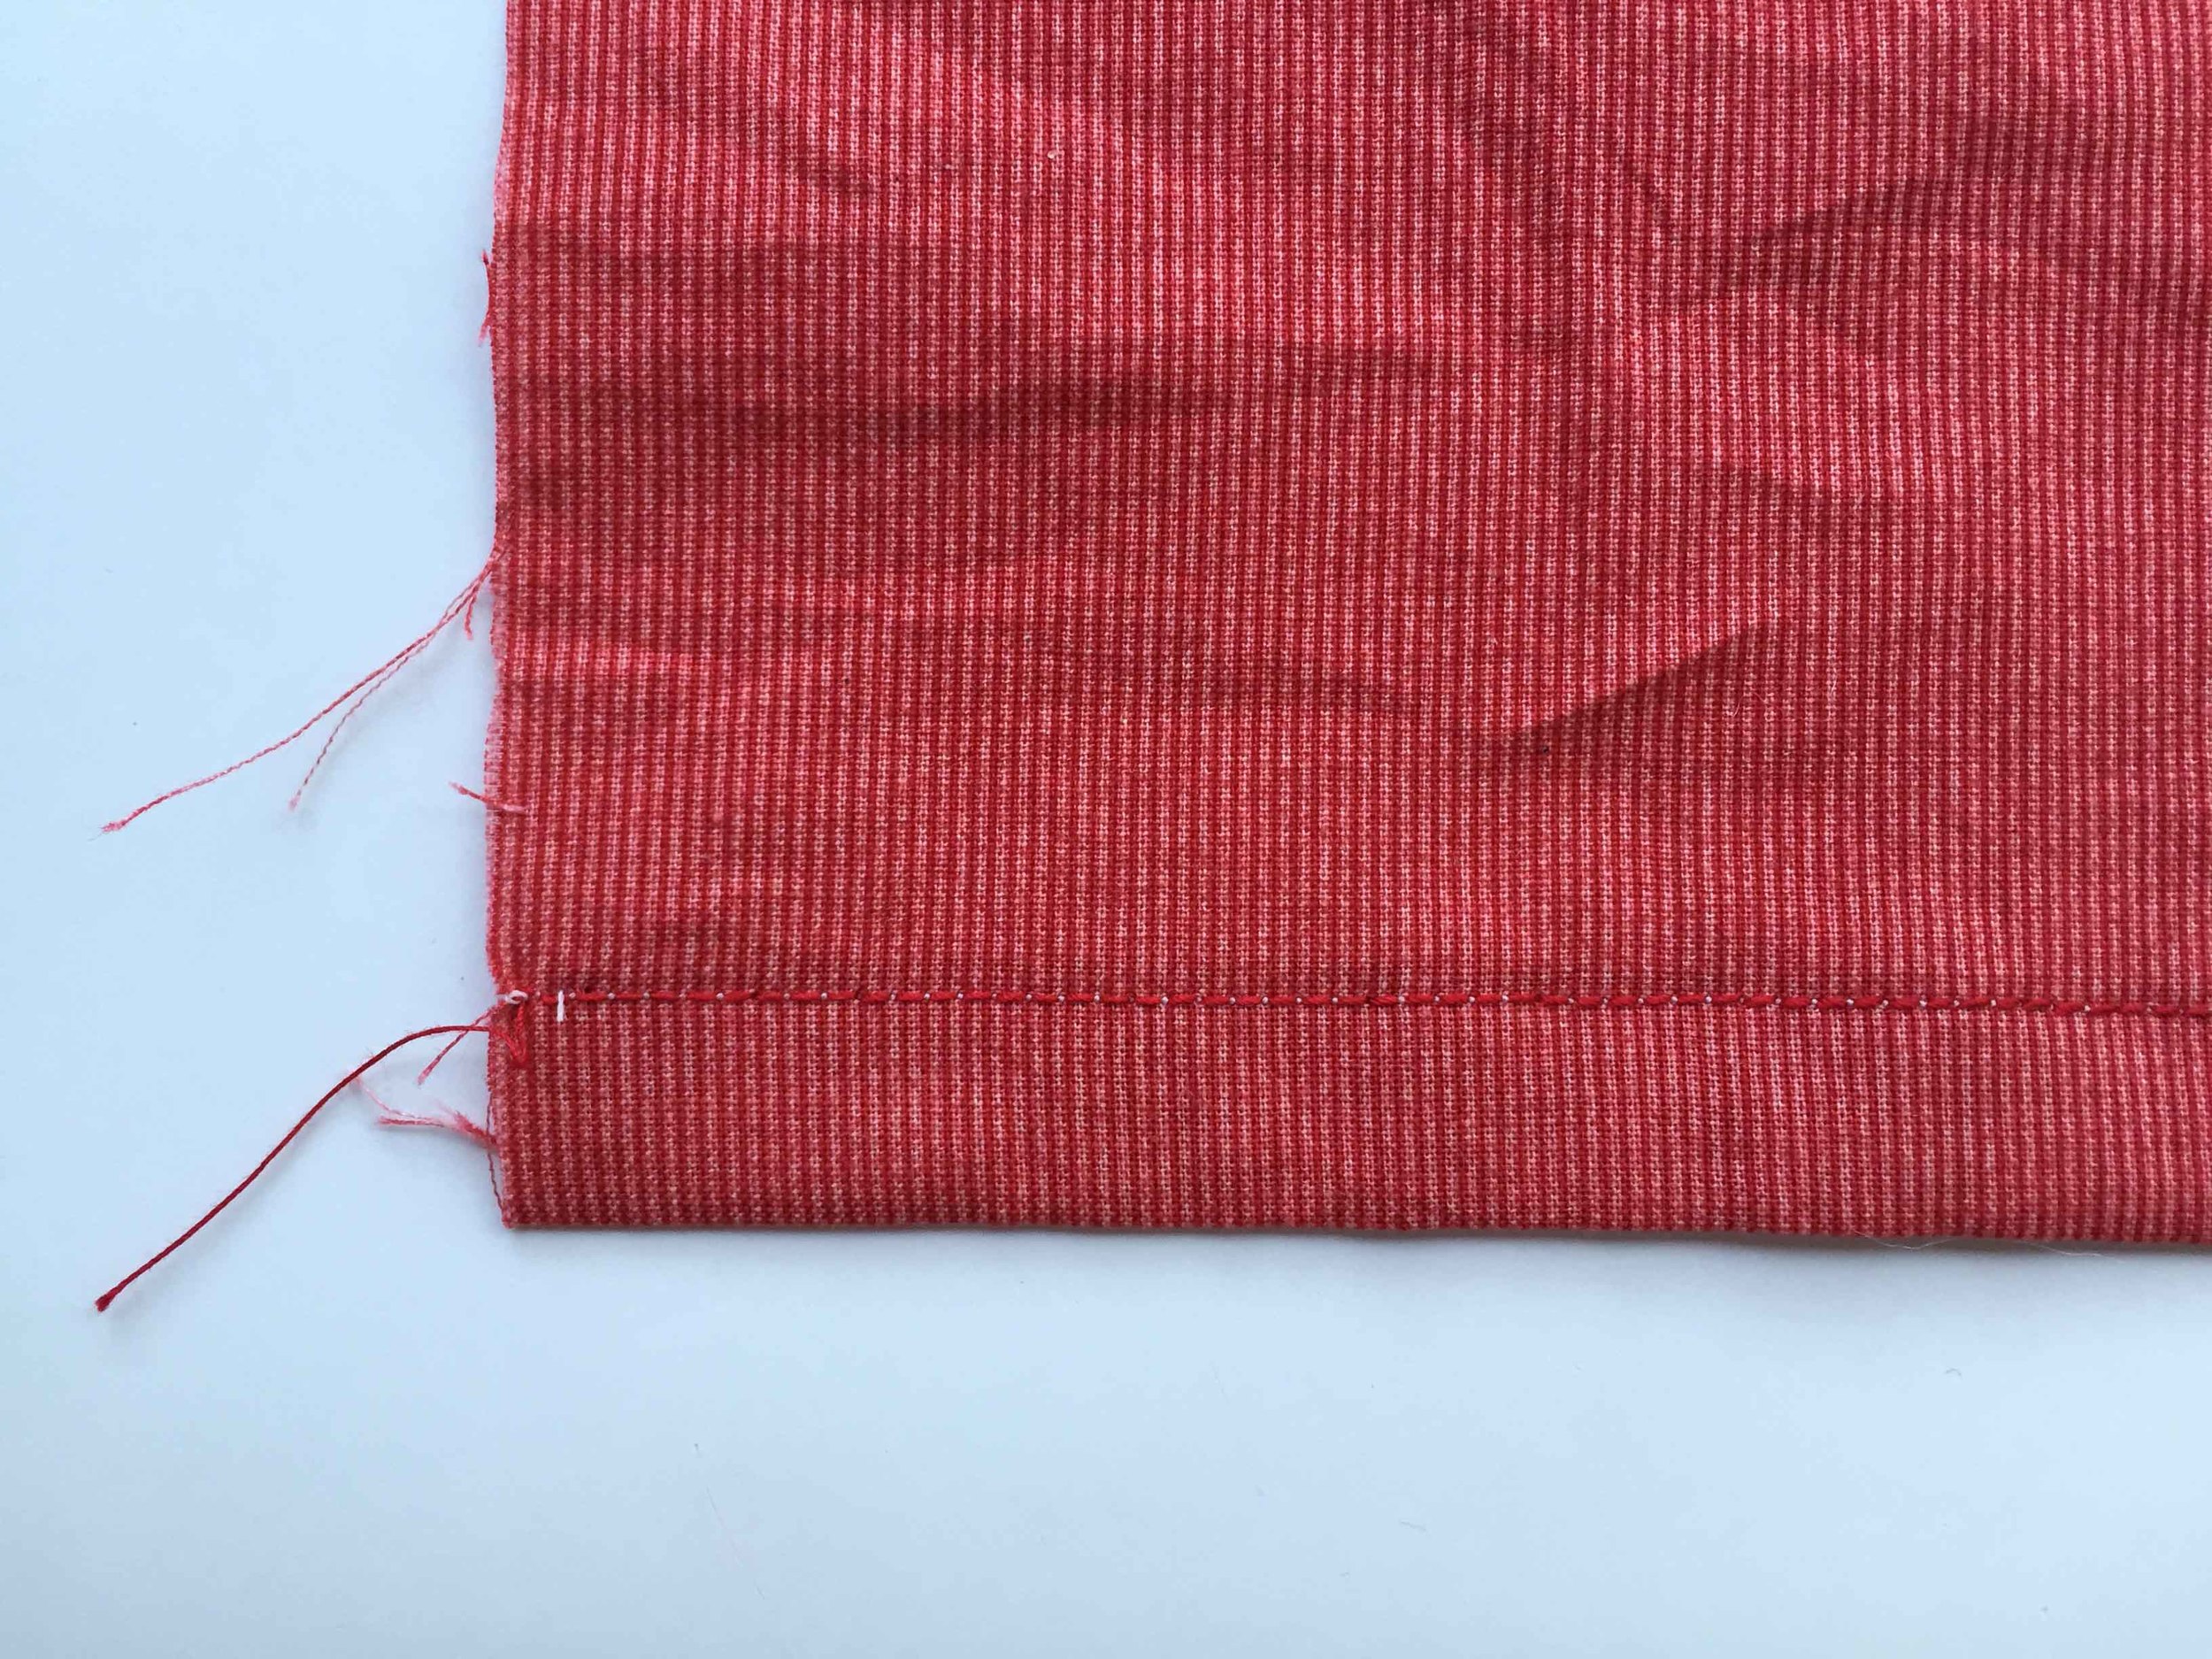
Normally I iron as I go. I haven't ironed this yet.
This takes a little practice because it involves doing a couple of things - rolling the fabric exactly to the fold and ironing at the same time - without burning your fingers. Go slow. Do a tiny bit at a time. Again the key is to make sure that you are accurately hitting the fold. You can do this by feel. There is no need to open the fold up - you can feel it. Just a bit of practice.
Ironed.
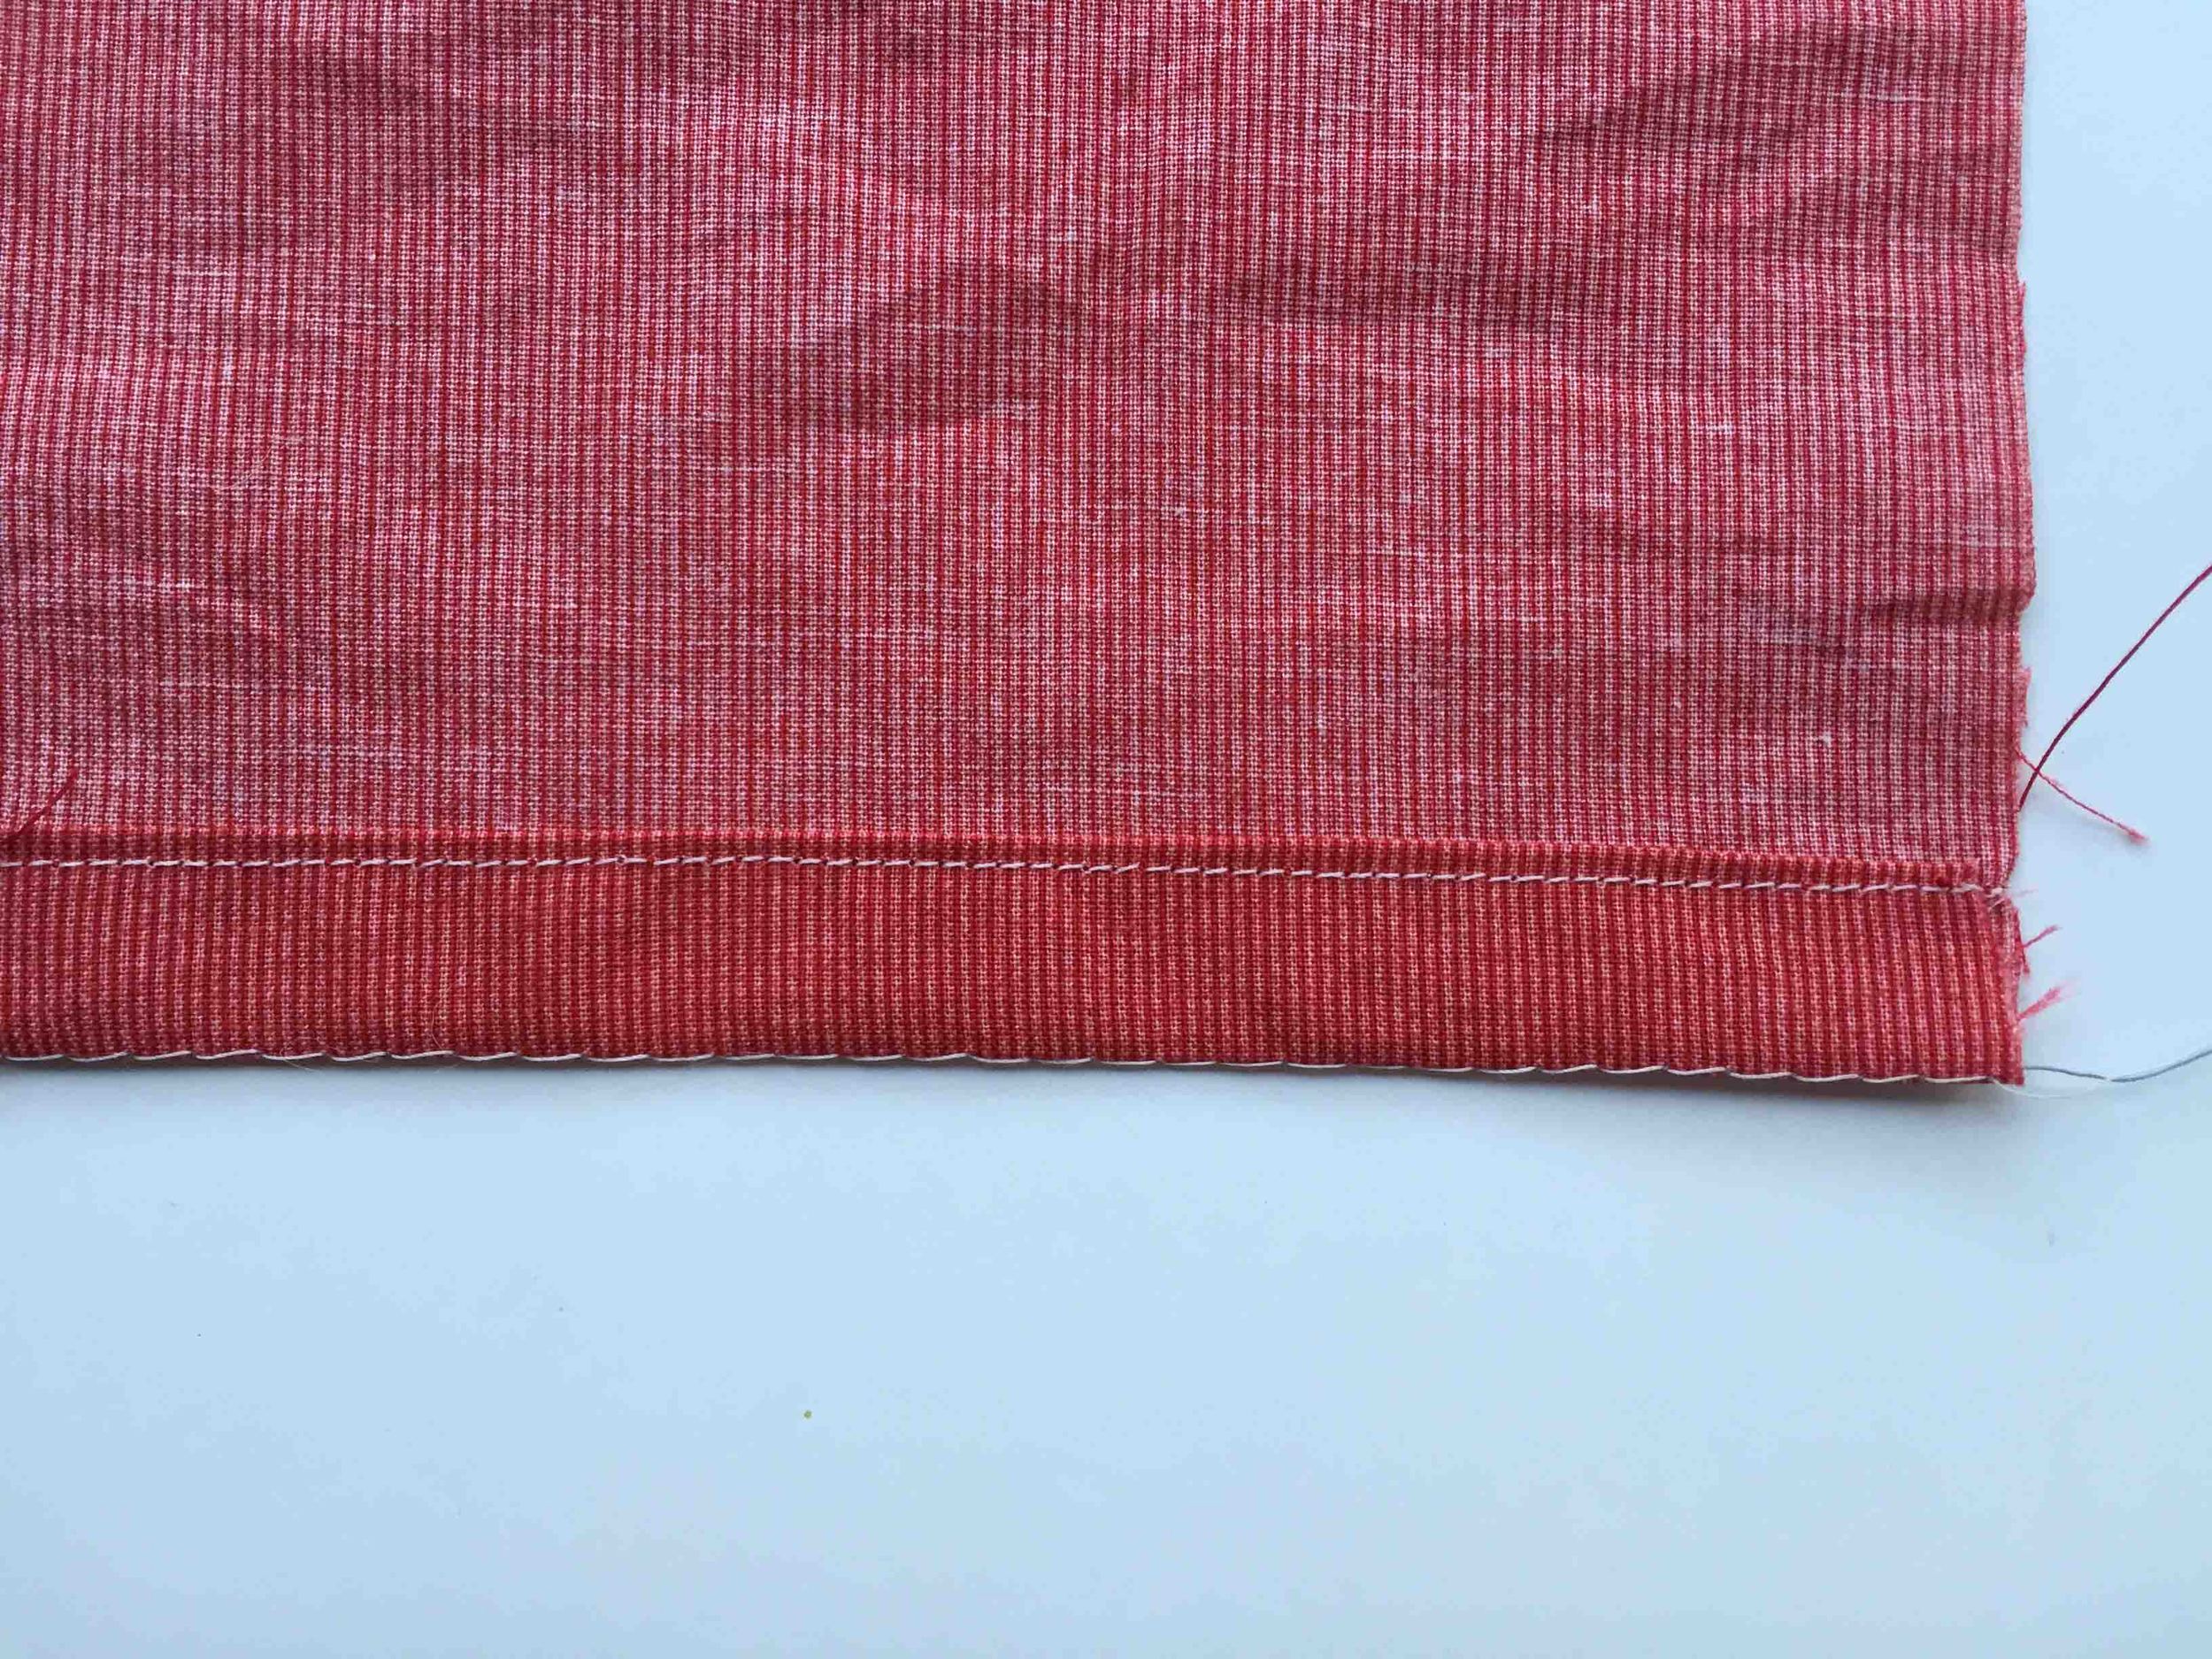
This is what it looks like opened out. You don't need to open it out - this photo is just to make it clearer.
Step 4: Sew the hem.
To topstitch down the hem.
This is another super part of the technique. Because you know the exact measurement of the hem, because it is totally even, as long as you can sew a straight line with some degree of accuracy, you can sew the hem from the right side without worrying you aren't going to catch it. Sewing a hem from the right side of the fabric gives you a more even finish. I usually take my hem measurement and minus 2mm or 3mm from it to give me the measurement that I use to topstitch the hem down. Again washi tape can help.
To blindstitch.
I would blind stitch on a birthday frock or a nice frock for me. I would still do quite a big hem as I would want the weight to hold down the skirt.
Prepare as above but then fold back the inside of the hem to do your blind stitch. Google blindstiching if you need to!
Step 5:
Pull out your basting stitch by pulling gently. When you first remove the basting stitch you may end up with little needle holes. These normally disappear after the first wash and press!
And now to the disclaimer!! As I haven't done this with every fabric and every sewing setup I can't guarantee these tiny holes will disappear. Please check on a scrap of your fabric. As I mentioned above I just want you to be happy in your sewing life!
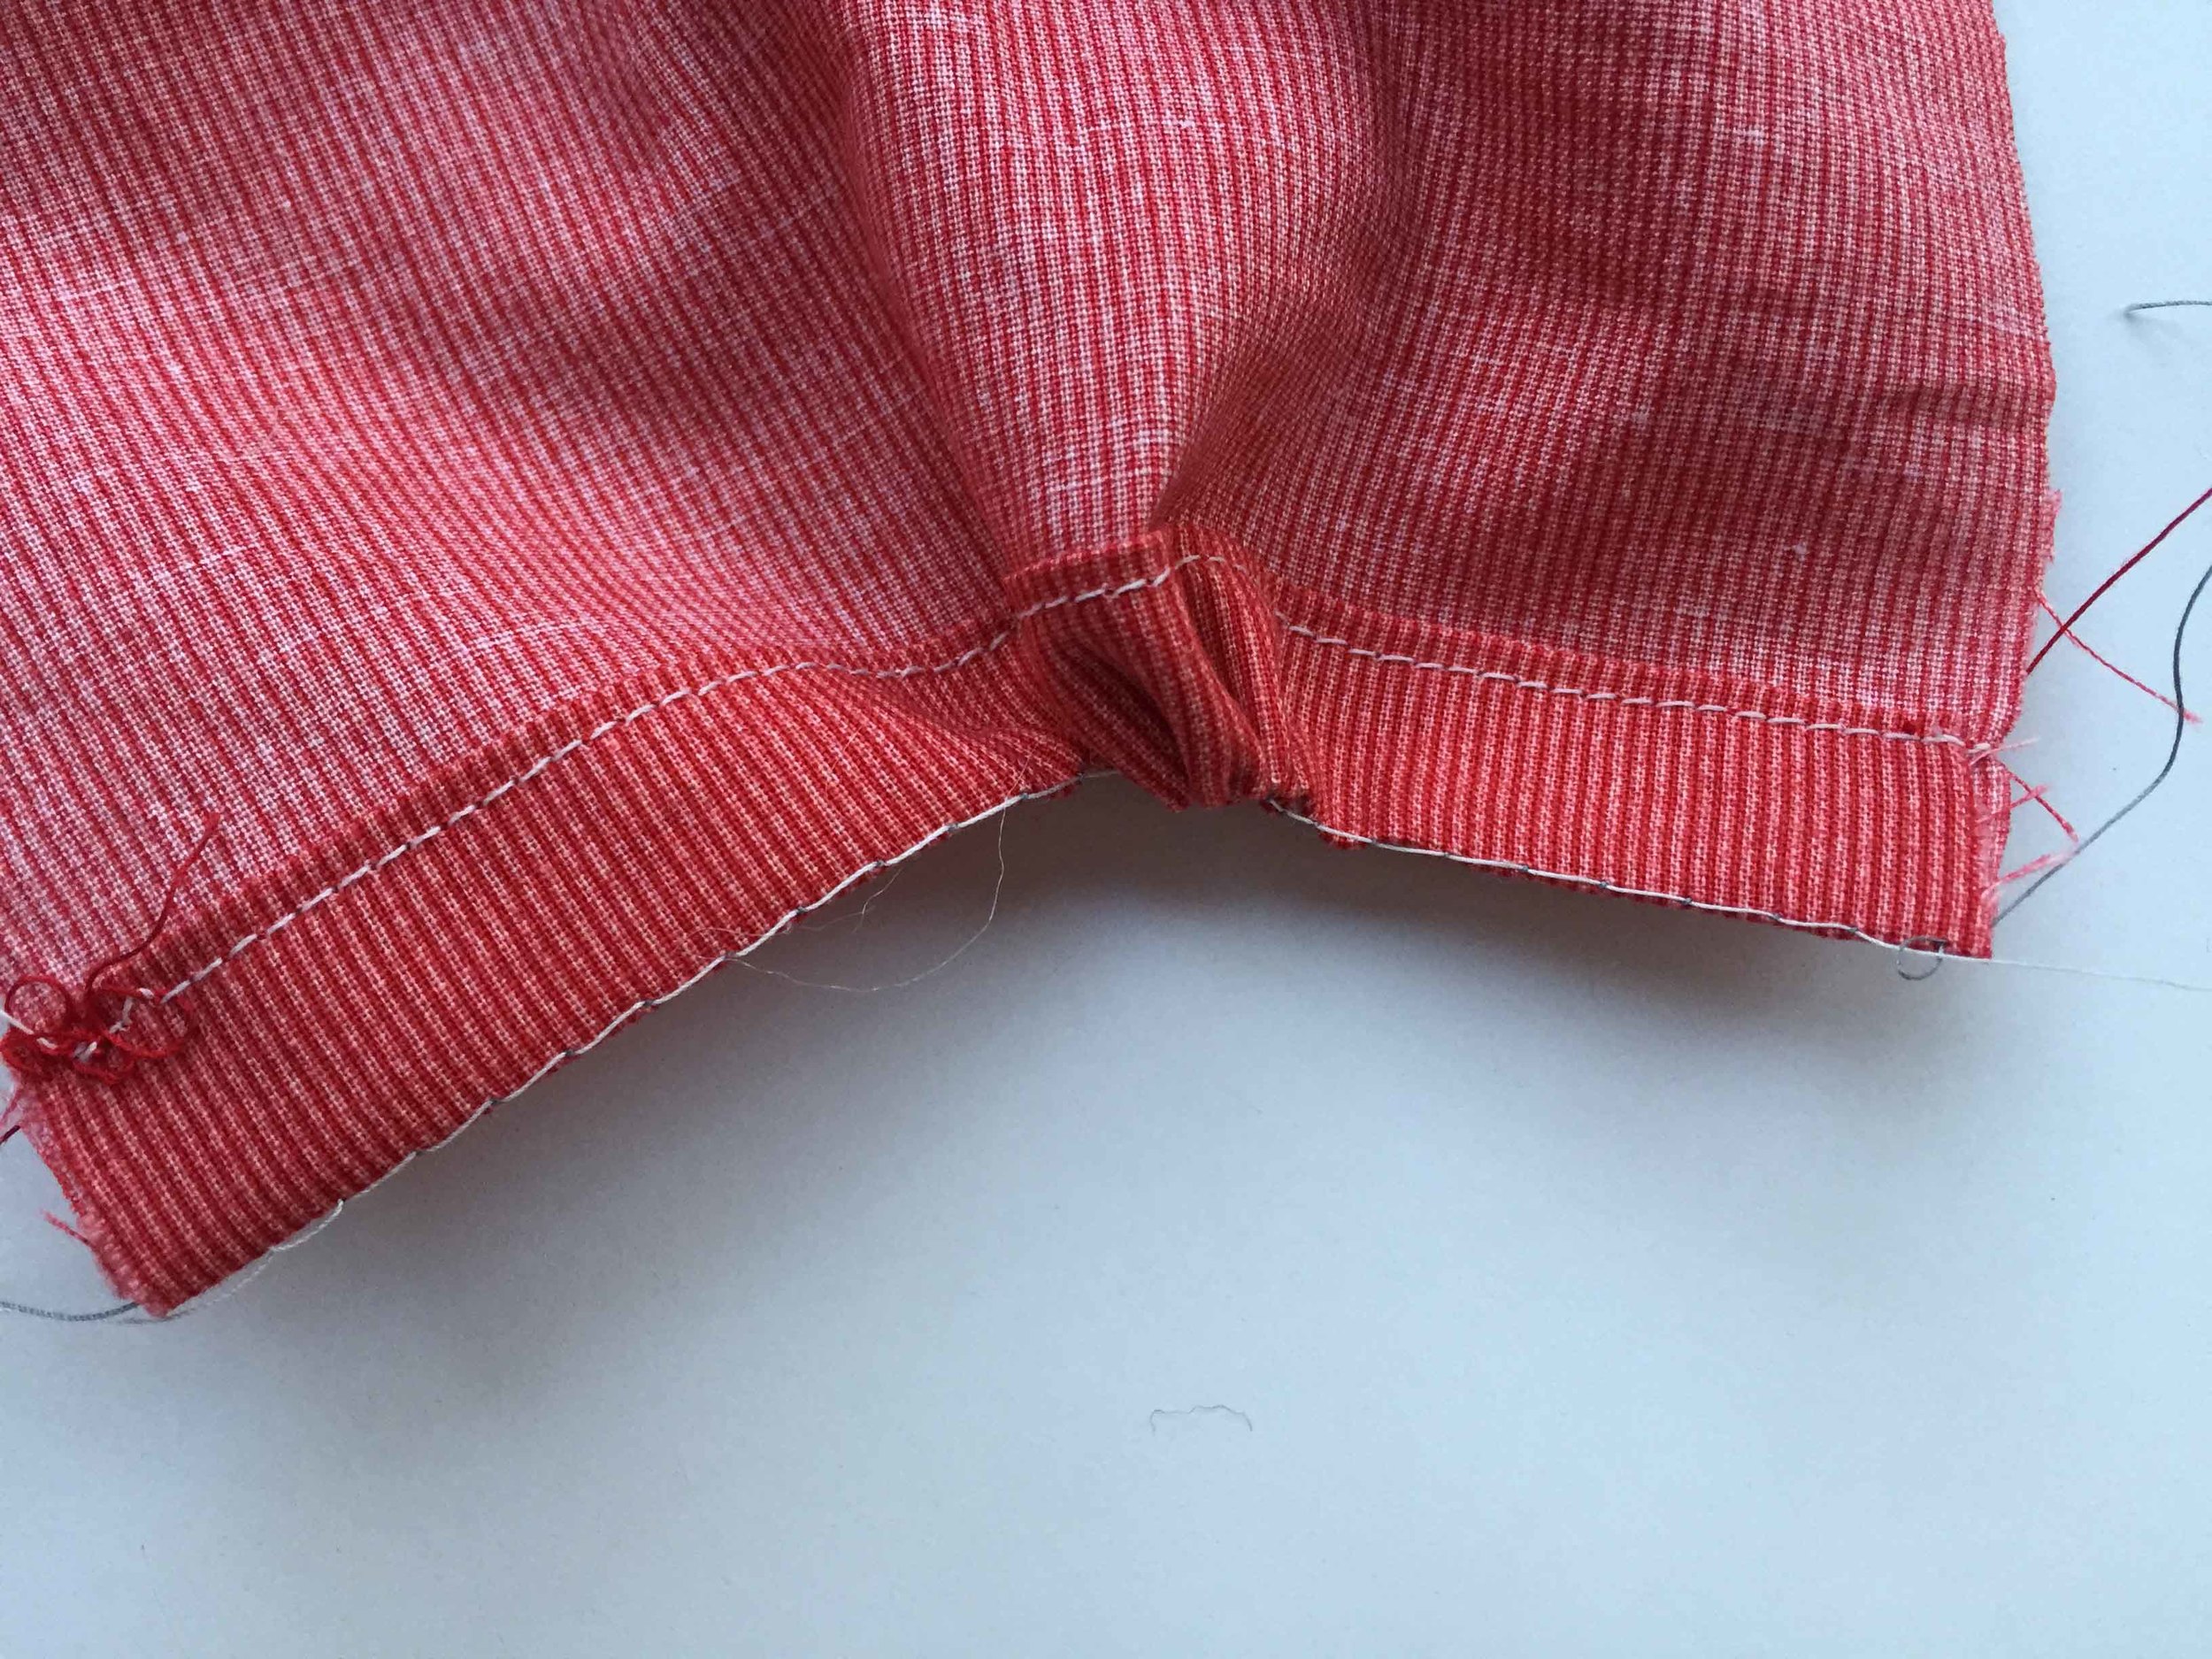
UPDATE: I just wanted to add one more photo which might help those of you trying to do the hemming trick around a tight curve for something like a shirt tail hem. Snip a few little notches about a third of the way towards the basting line before folding - as you see in the photo below. It will then sit flat.
Enjoy!
Felicia x