I Made This is a weekly blog series that features makers from around the world and aims to talk about the things we are proud of; of the objects we make that have meaning to us and the journey we take to make them.
This week's amazing guest is Anna Maltz from the UK. I first came across her on instagram and if you don't follow her already you really should. She has an eye for sweaters and I find her feed inspiring in a think-outside-the-box kind of way. And I love that! And her project today is a perfect example of that - one-of-a-kind genius.... and so with that, I'll hand over to Anna.
This is the dress I wear when I teach knitting classes – it simplifies the dilemma of what to wear and puts my money where my mouth is. It’s an odd uniform in that there isn’t anything uniform about it. Each sleeve is different, ‘cause why not? In fact, I knitted it for myself in 2013 as a reward and respite from knitting the same handful of accessory patterns I had designed and used to teach the 25 amazing women with whom I formed Ricefield Collective. http://ricefieldcollective.org/.
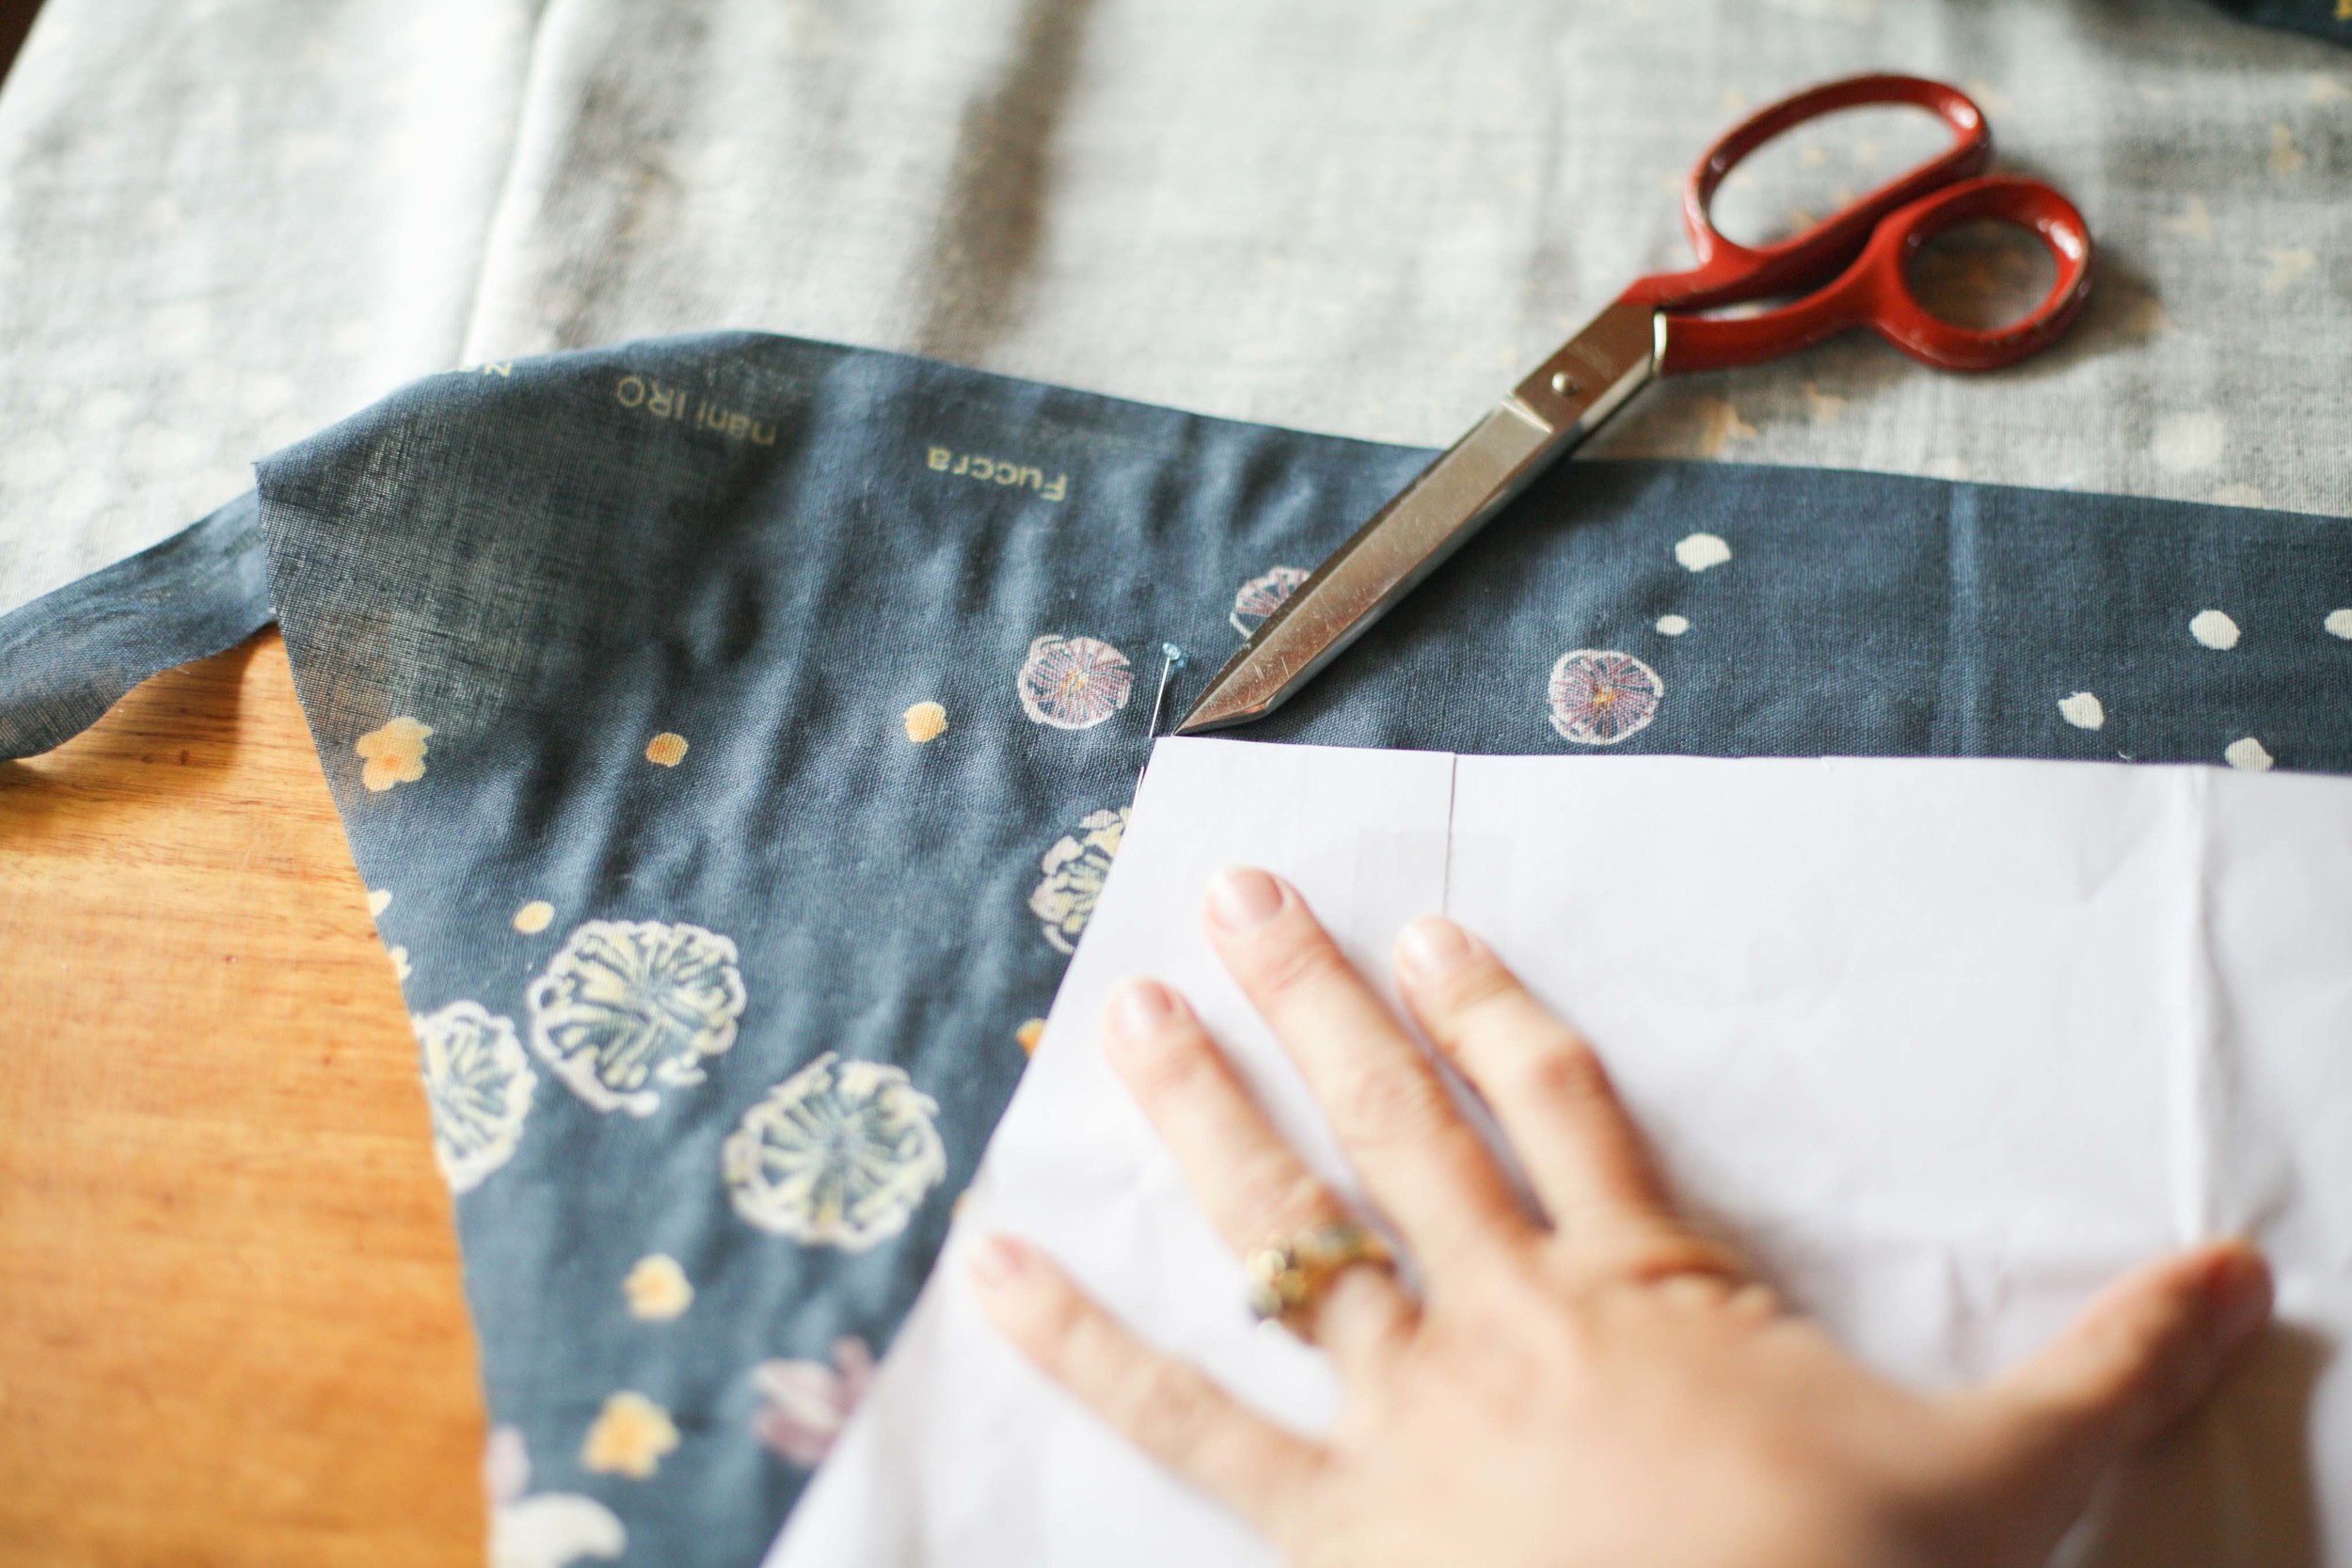
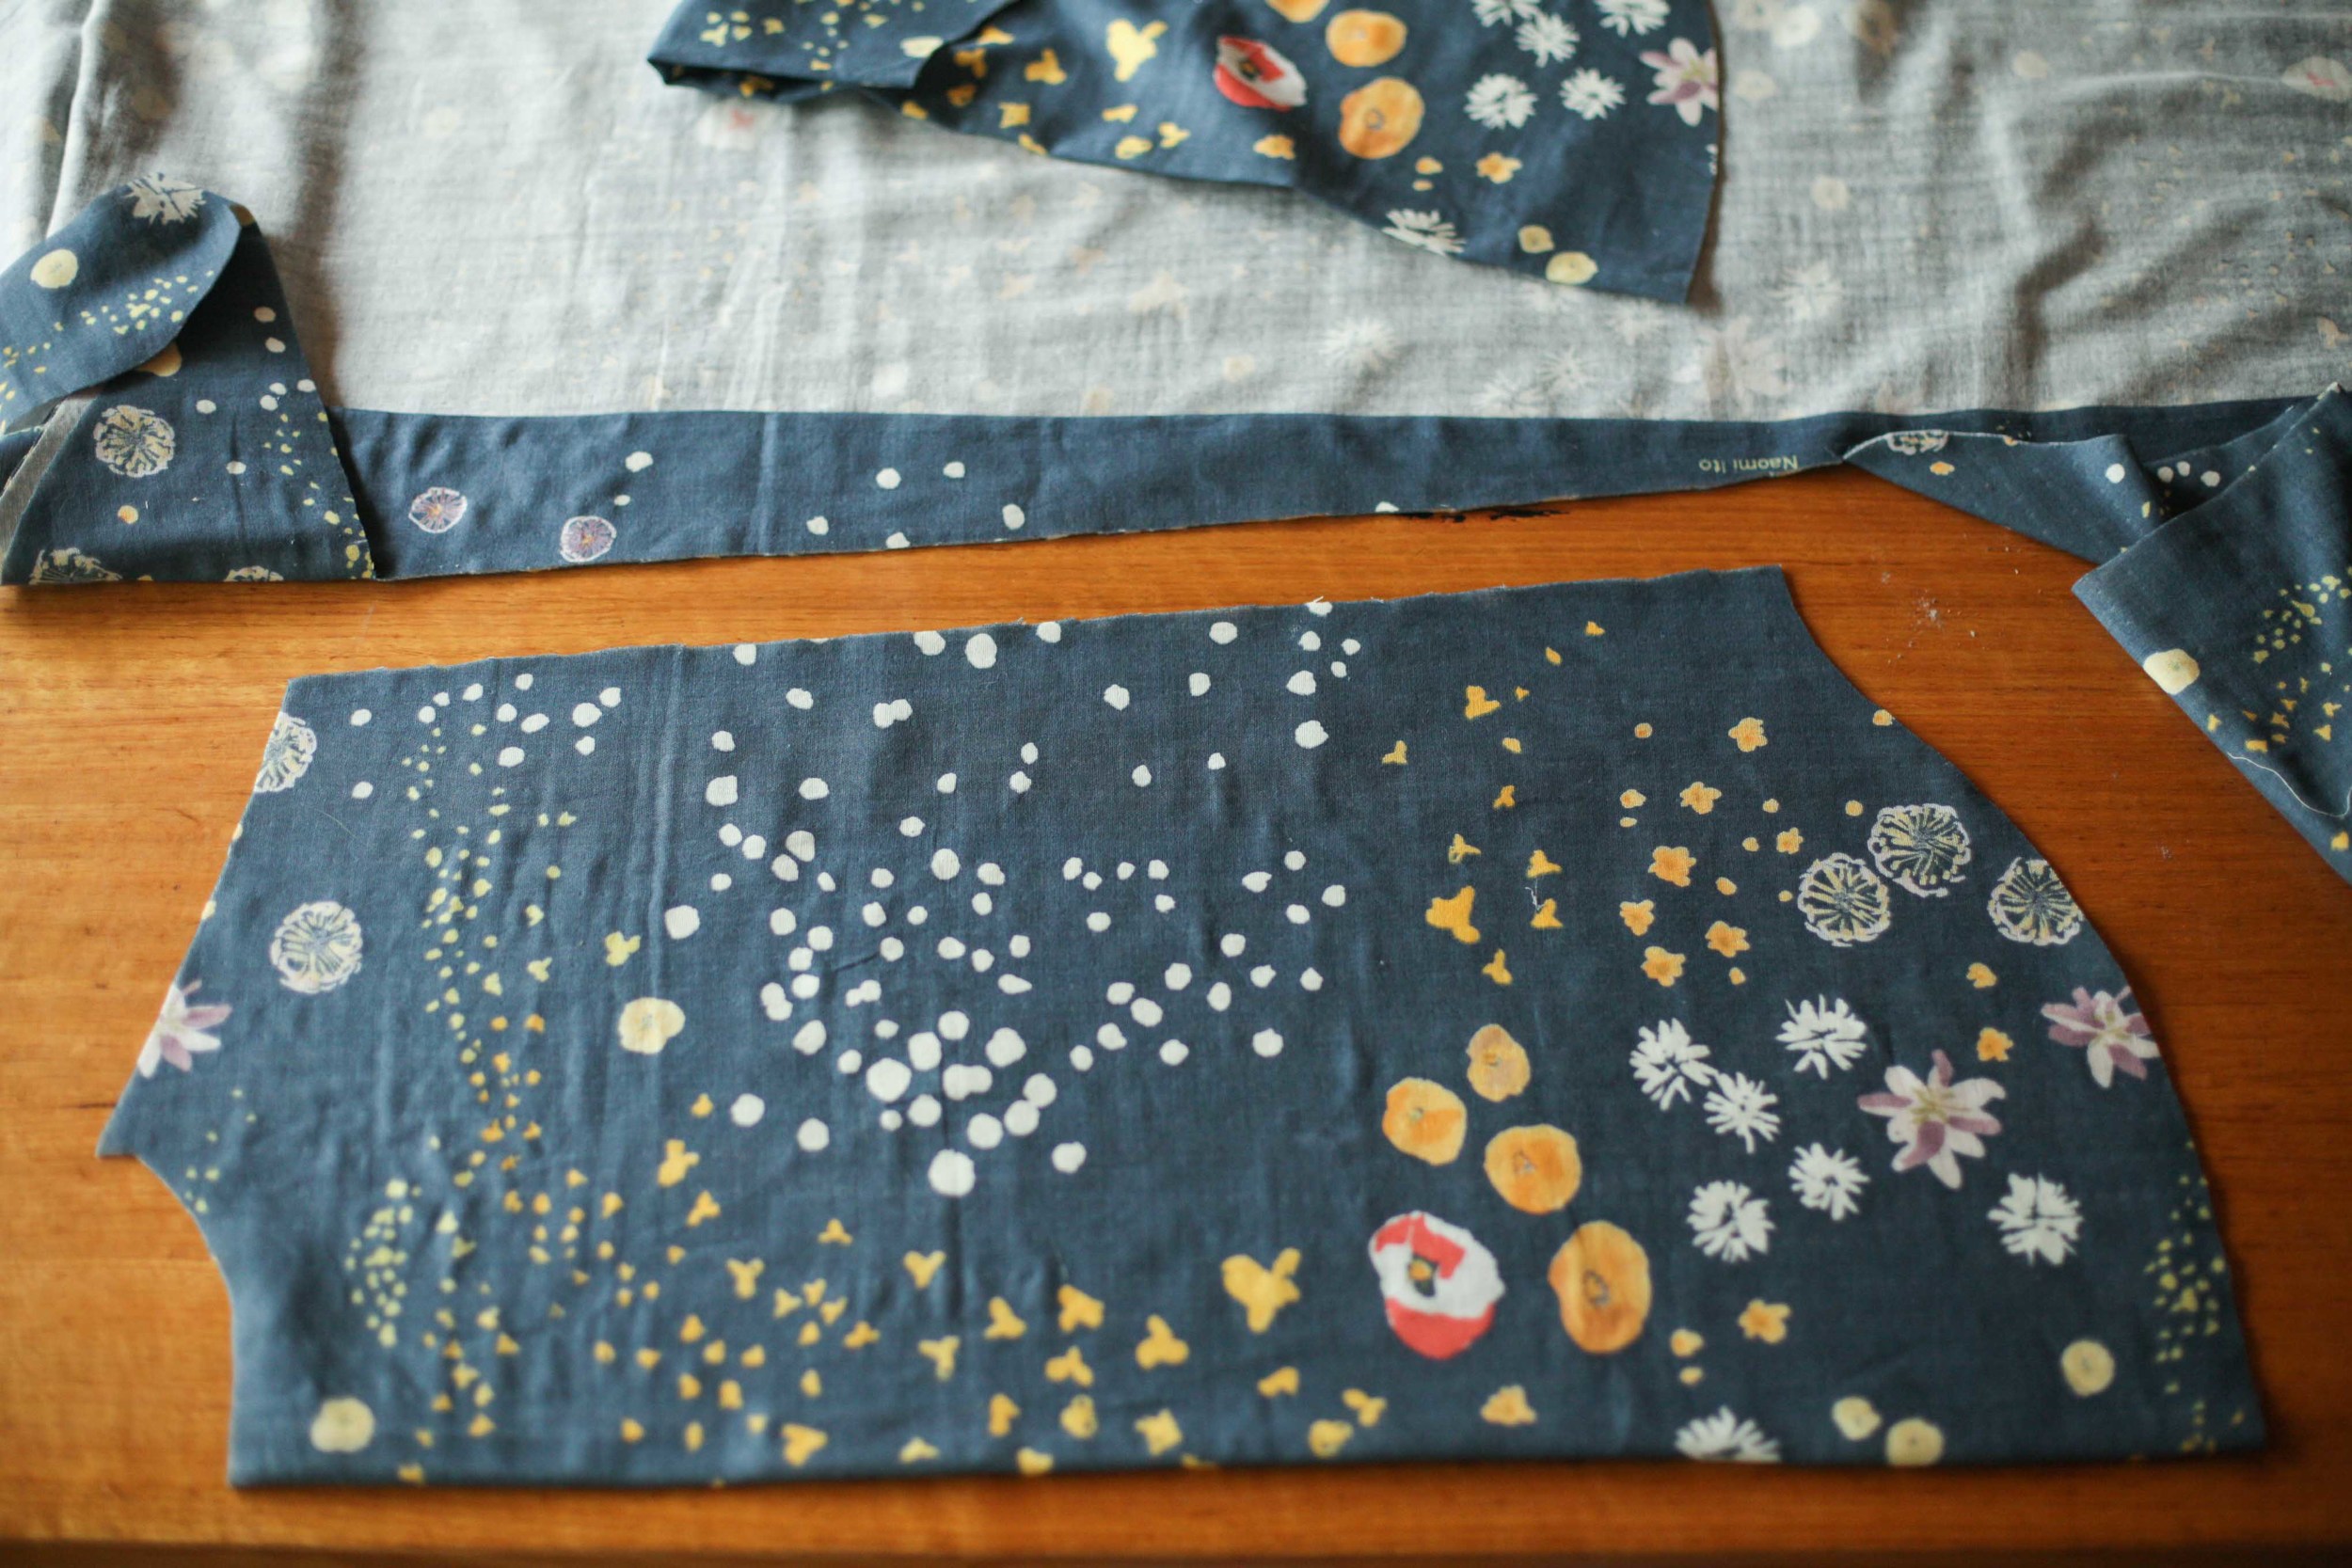
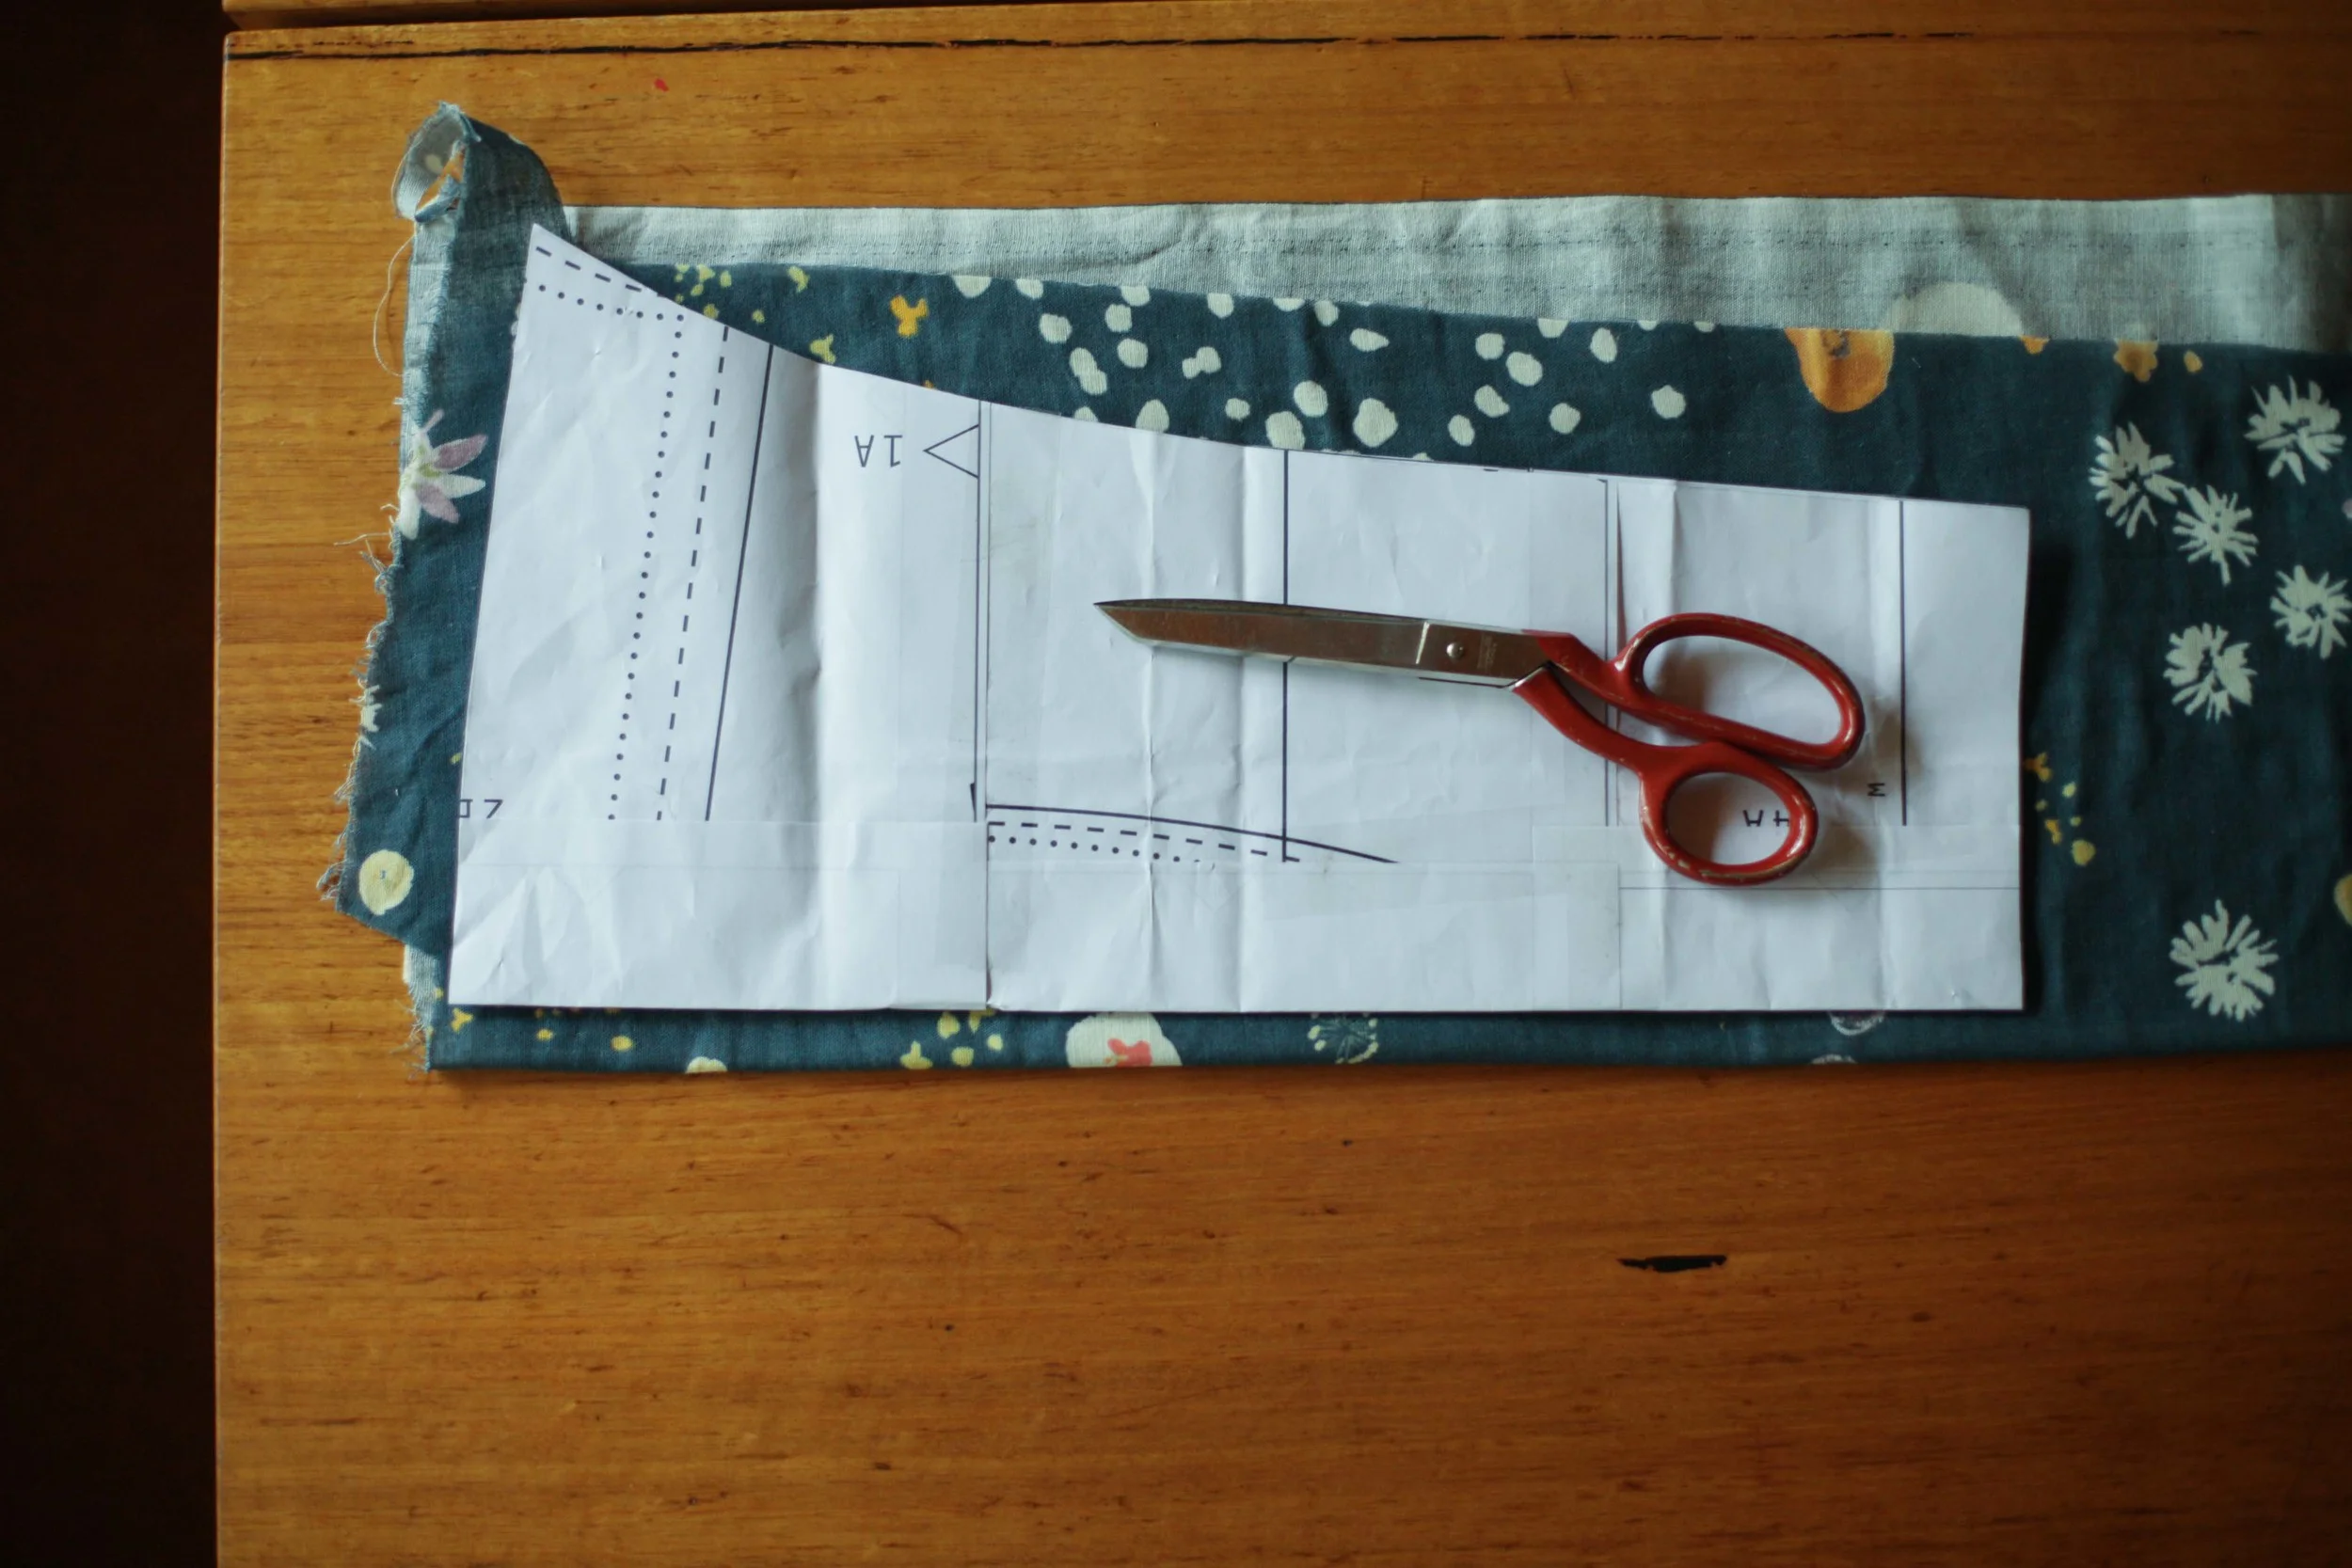
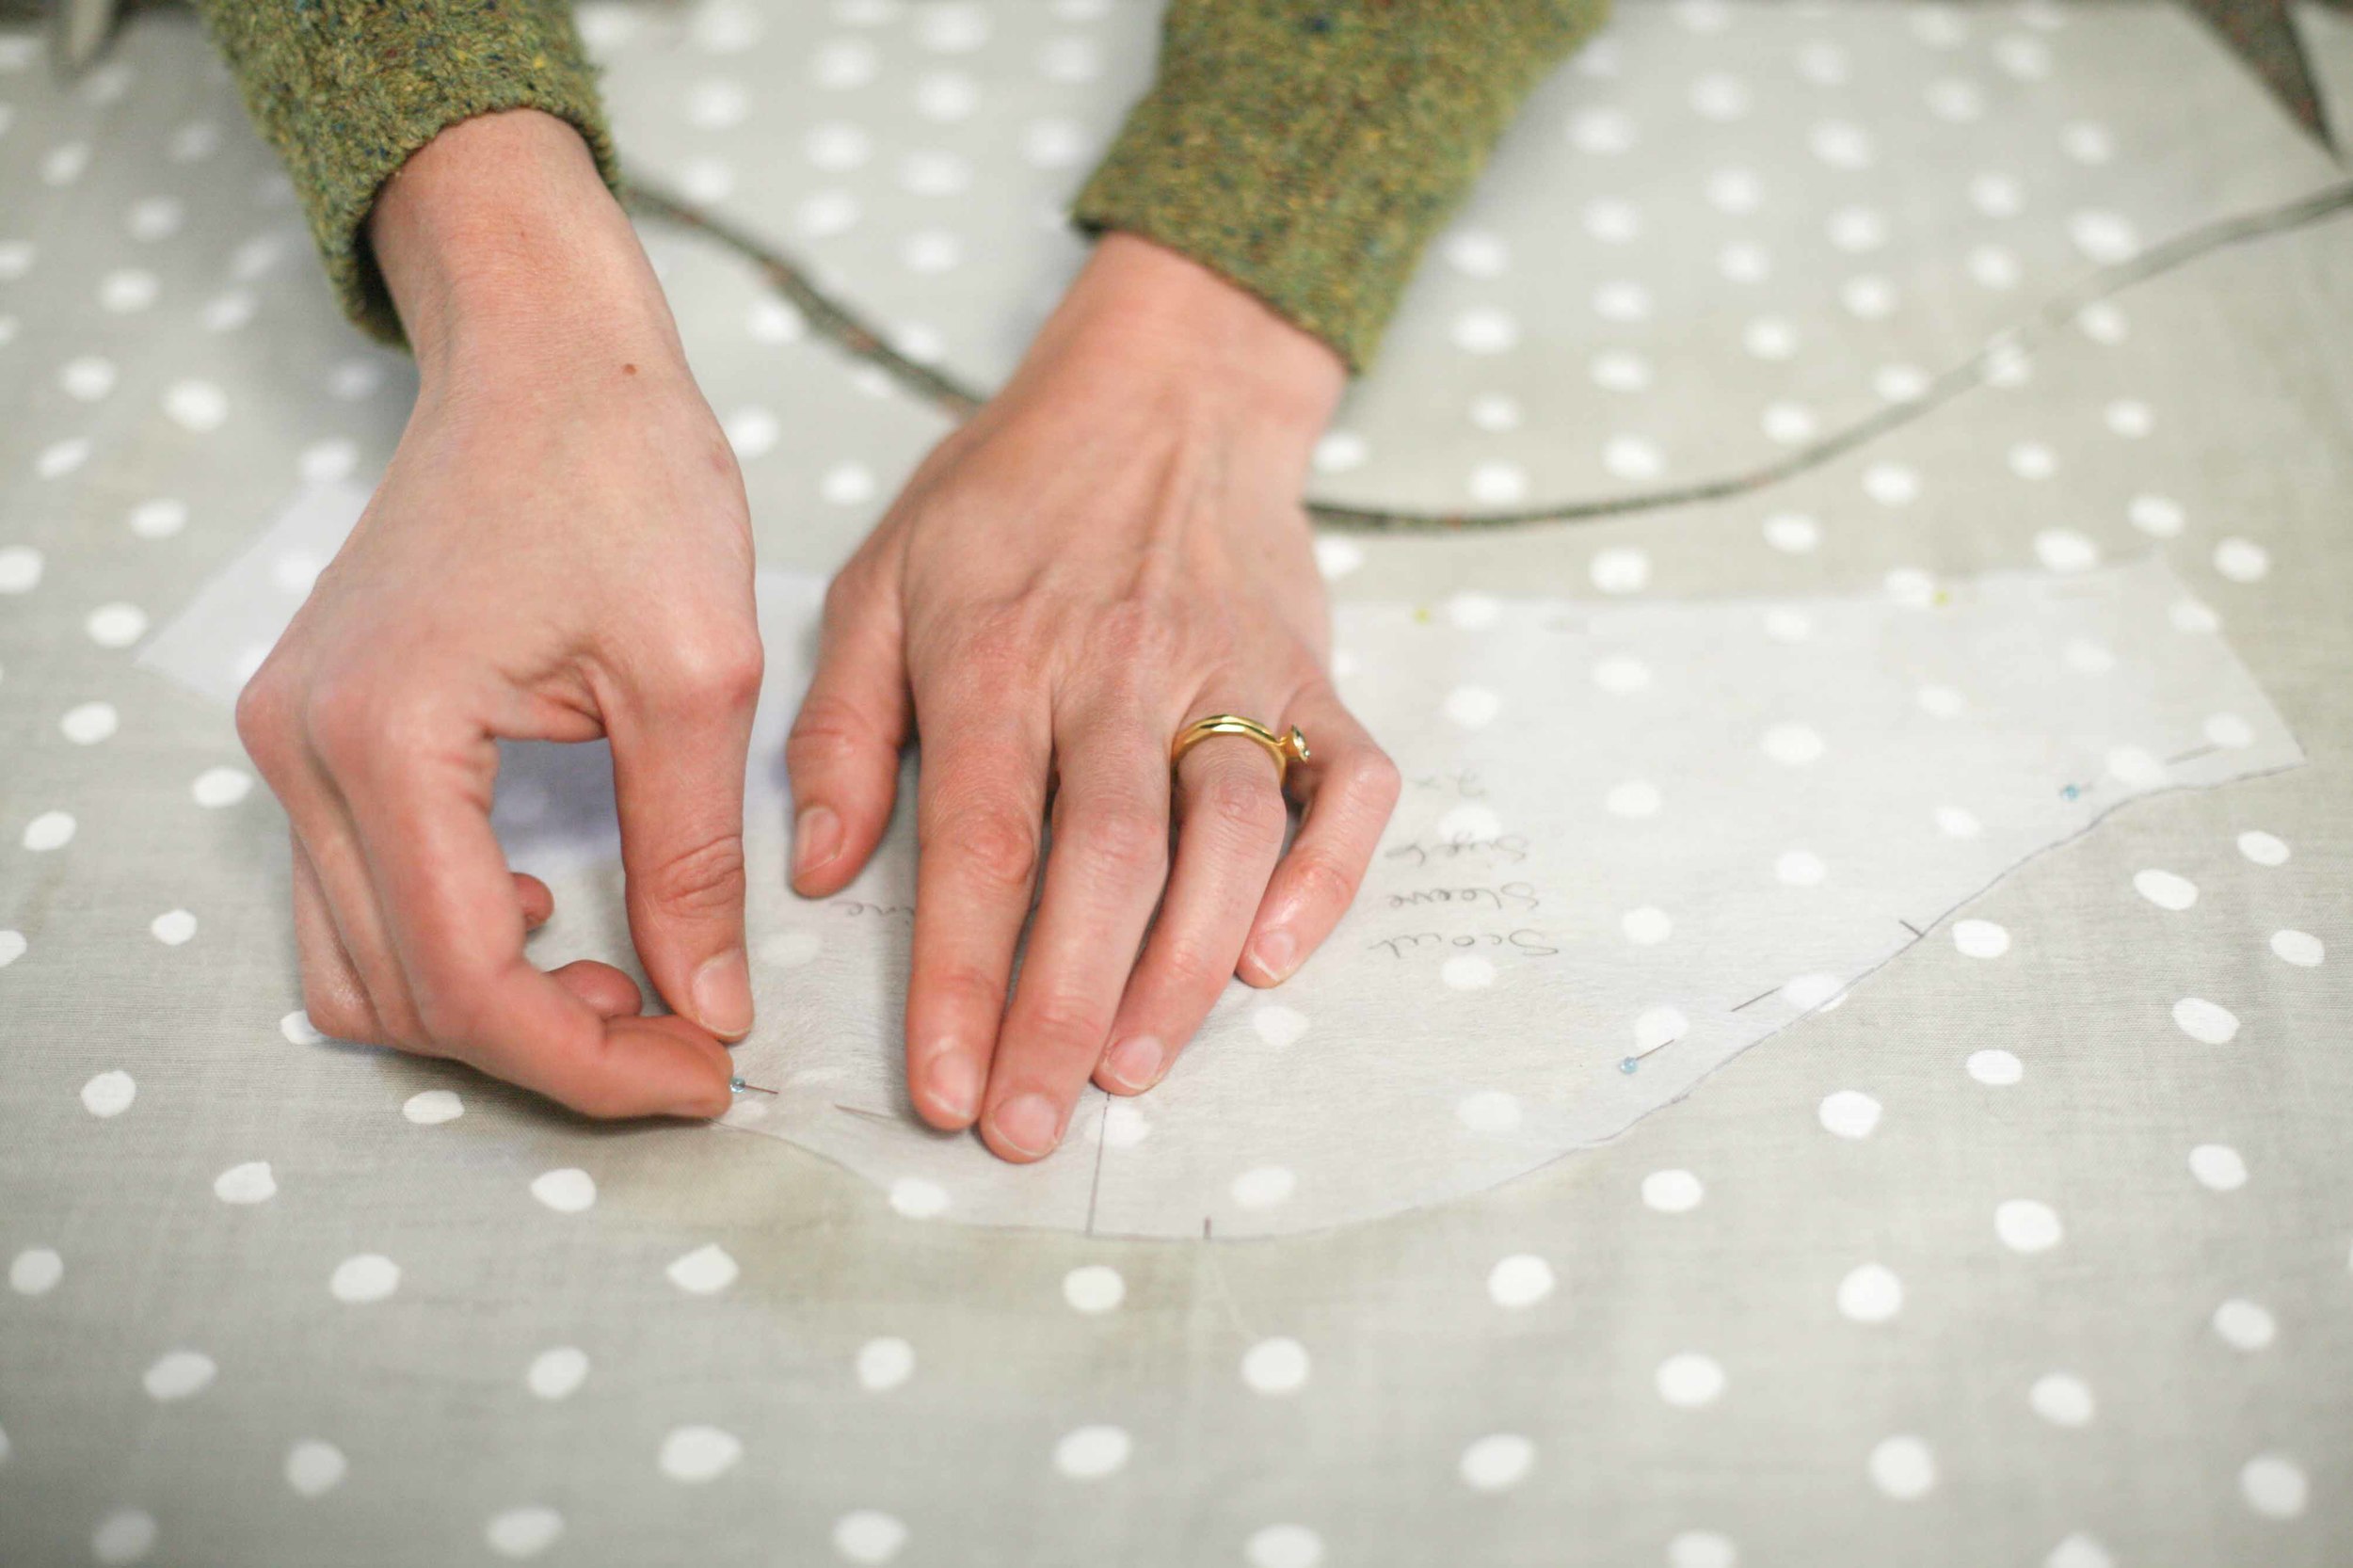
Though I am often asked, there isn’t a pattern for this dress and there won’t be. I made it up as I went along. I say ‘often’, but not as frequently as people point out that knitting colourwork in cotton (which has less stretch than wool therefore requiring more tension regulating on the part of the knitter) is the preserve of wizards, crazy people and the anally retentive (cheers). The luxury of this dress was to make a one-off thing for me. An interlude from the responsibility of planning and keeping track that is necessary when preparing a pattern to be published.
I did do a little maths before I started. The body is 260 stitches round, which, beyond fitting me, divides by 4, 5 and 10. By decreasing 1 to 259, it’s divisible by 7. By adding 1 to make 261, it becomes divisible by 9. By decreasing 2, to 258, it divides by 6. By adding 4 or decreasing 4, it is divisible by 8. Using a number like that allowed me the flexibility to insert all sorts of patterns as the mood took me. It reduced the need for advance planning, because chances were, I could make whatever motif I fancied fit. The same went for the yoke: I used 384 stitches, because that is divisible by 4 and 6 and is 1 away from a multiple of 5 – you get the idea.
Knitting in the round avoids needing to sew anything together or do colourwork from the purl side, both of which I am not overly fond of. It’s worked from the bottom up, because I prefer decreases for yoke shaping (as opposed to increases which you use when working from the top down). I made up a cast on involving 2 colours. I was on a 12hour flight from Manila to London and wanted to get cracking without access to how-too videos or my extensive library of knitting books. It wasn’t totally what I’d imagined, but it was something else good. I cast on 520sts - double the number I wanted for the body of the dress. I thought that would be enough stitches to create a big ruffle at the bottom. It wasn’t, there’s just a little flurry. Quadrupling the stitches would mean each round taking an obscenely long time to knit – well over an hour, so I won’t be casting that on any time soon.
Shaping? There isn’t any. Why add a whole other layer of calculations and risks? Looking at the majority of amazing coloured and patterned clothing from around the world – saris, sarongs, huipiles, dashiki, kobo blankets, you name it; they are basically right-angled shapes with minimal sewing, often even using uncut lengths of cloth. The pattern is the focus. Enough shape comes from being draped on a body. If I feel the need to prove I have a waist, I put on a belt.
The 4ply/fingering weight cotton came from my stash and my mother’s (so potentially also my grandmother’s). Between us we have so many nice crafting ingredients, I try not to buy more. When I design, I have to use current colours and yarns, which means my personal stash really languishes. It was an extra treat to work from it. Since it felt like I was winging it with no pattern or plan and therefore no guarantee of success, I picked my least favourite colours: ones I wanted to use up first. It’s scary committing your favourites to a project – once used they lose all their amazing potential which is a big part of their beauty. The funny thing is, I really like how it came out. The palette has now been working its way into other parts of my wardrobe and life.
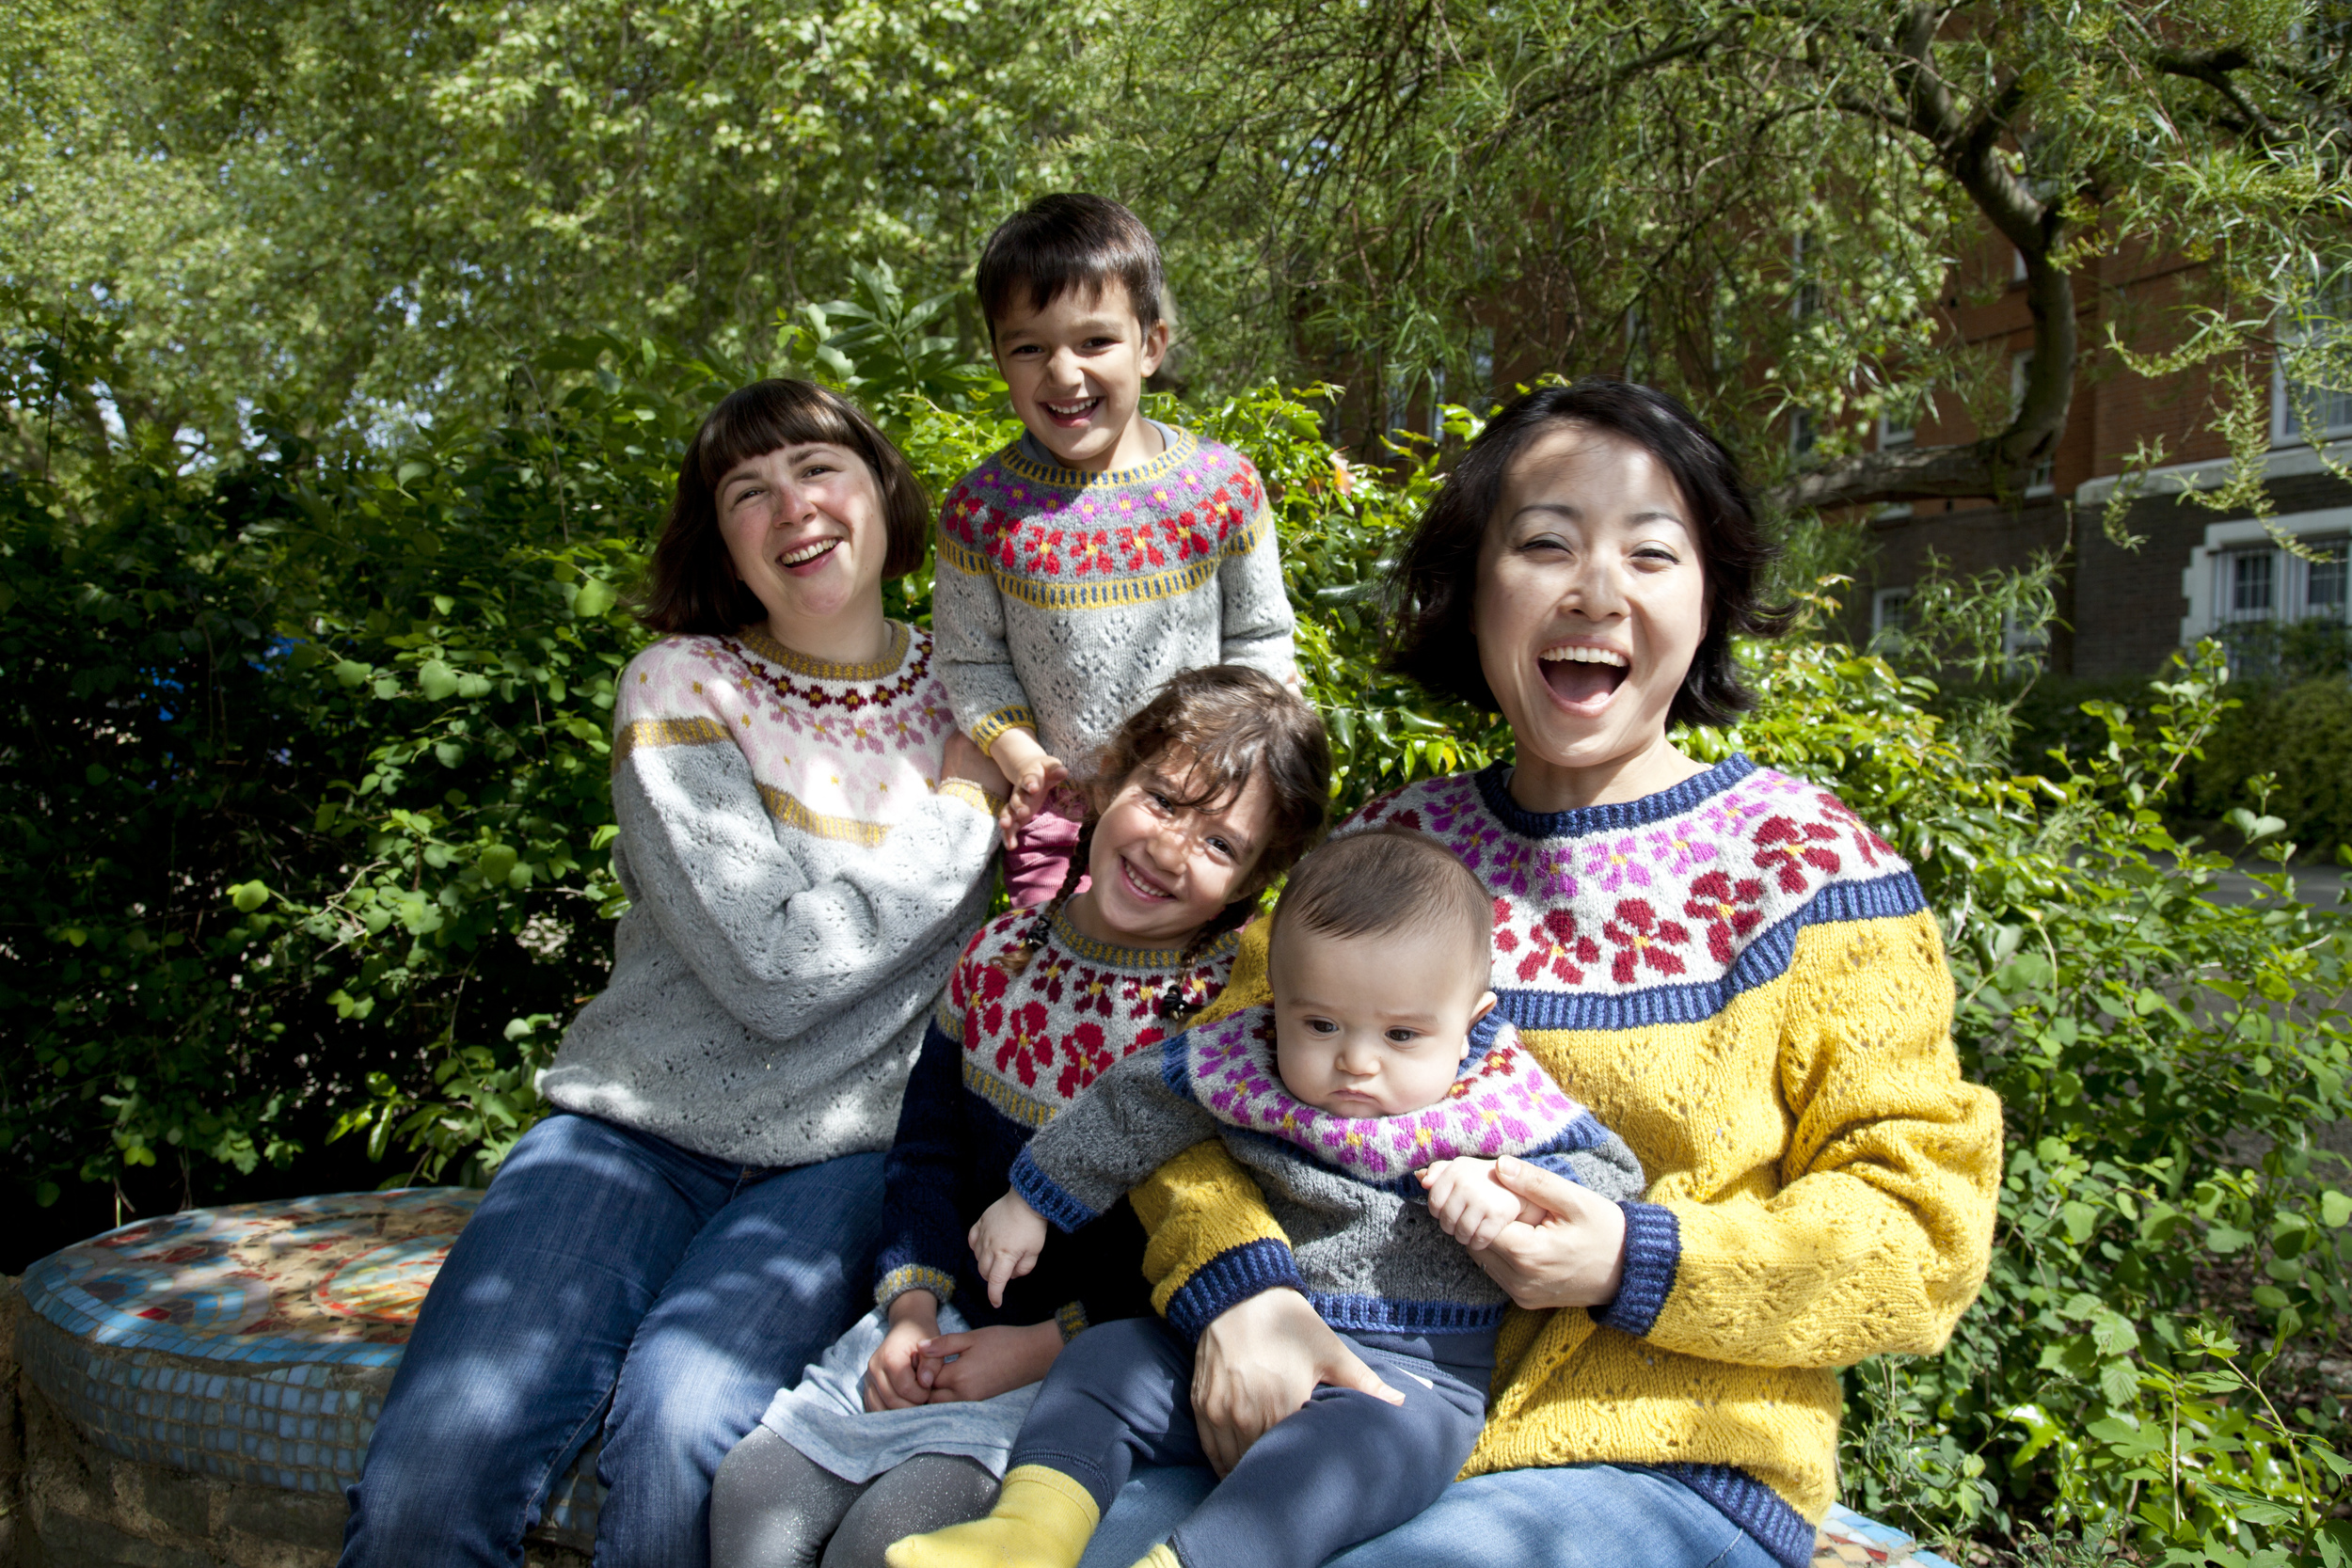
Anna's new pattern Solja for kids and Solja for adults.
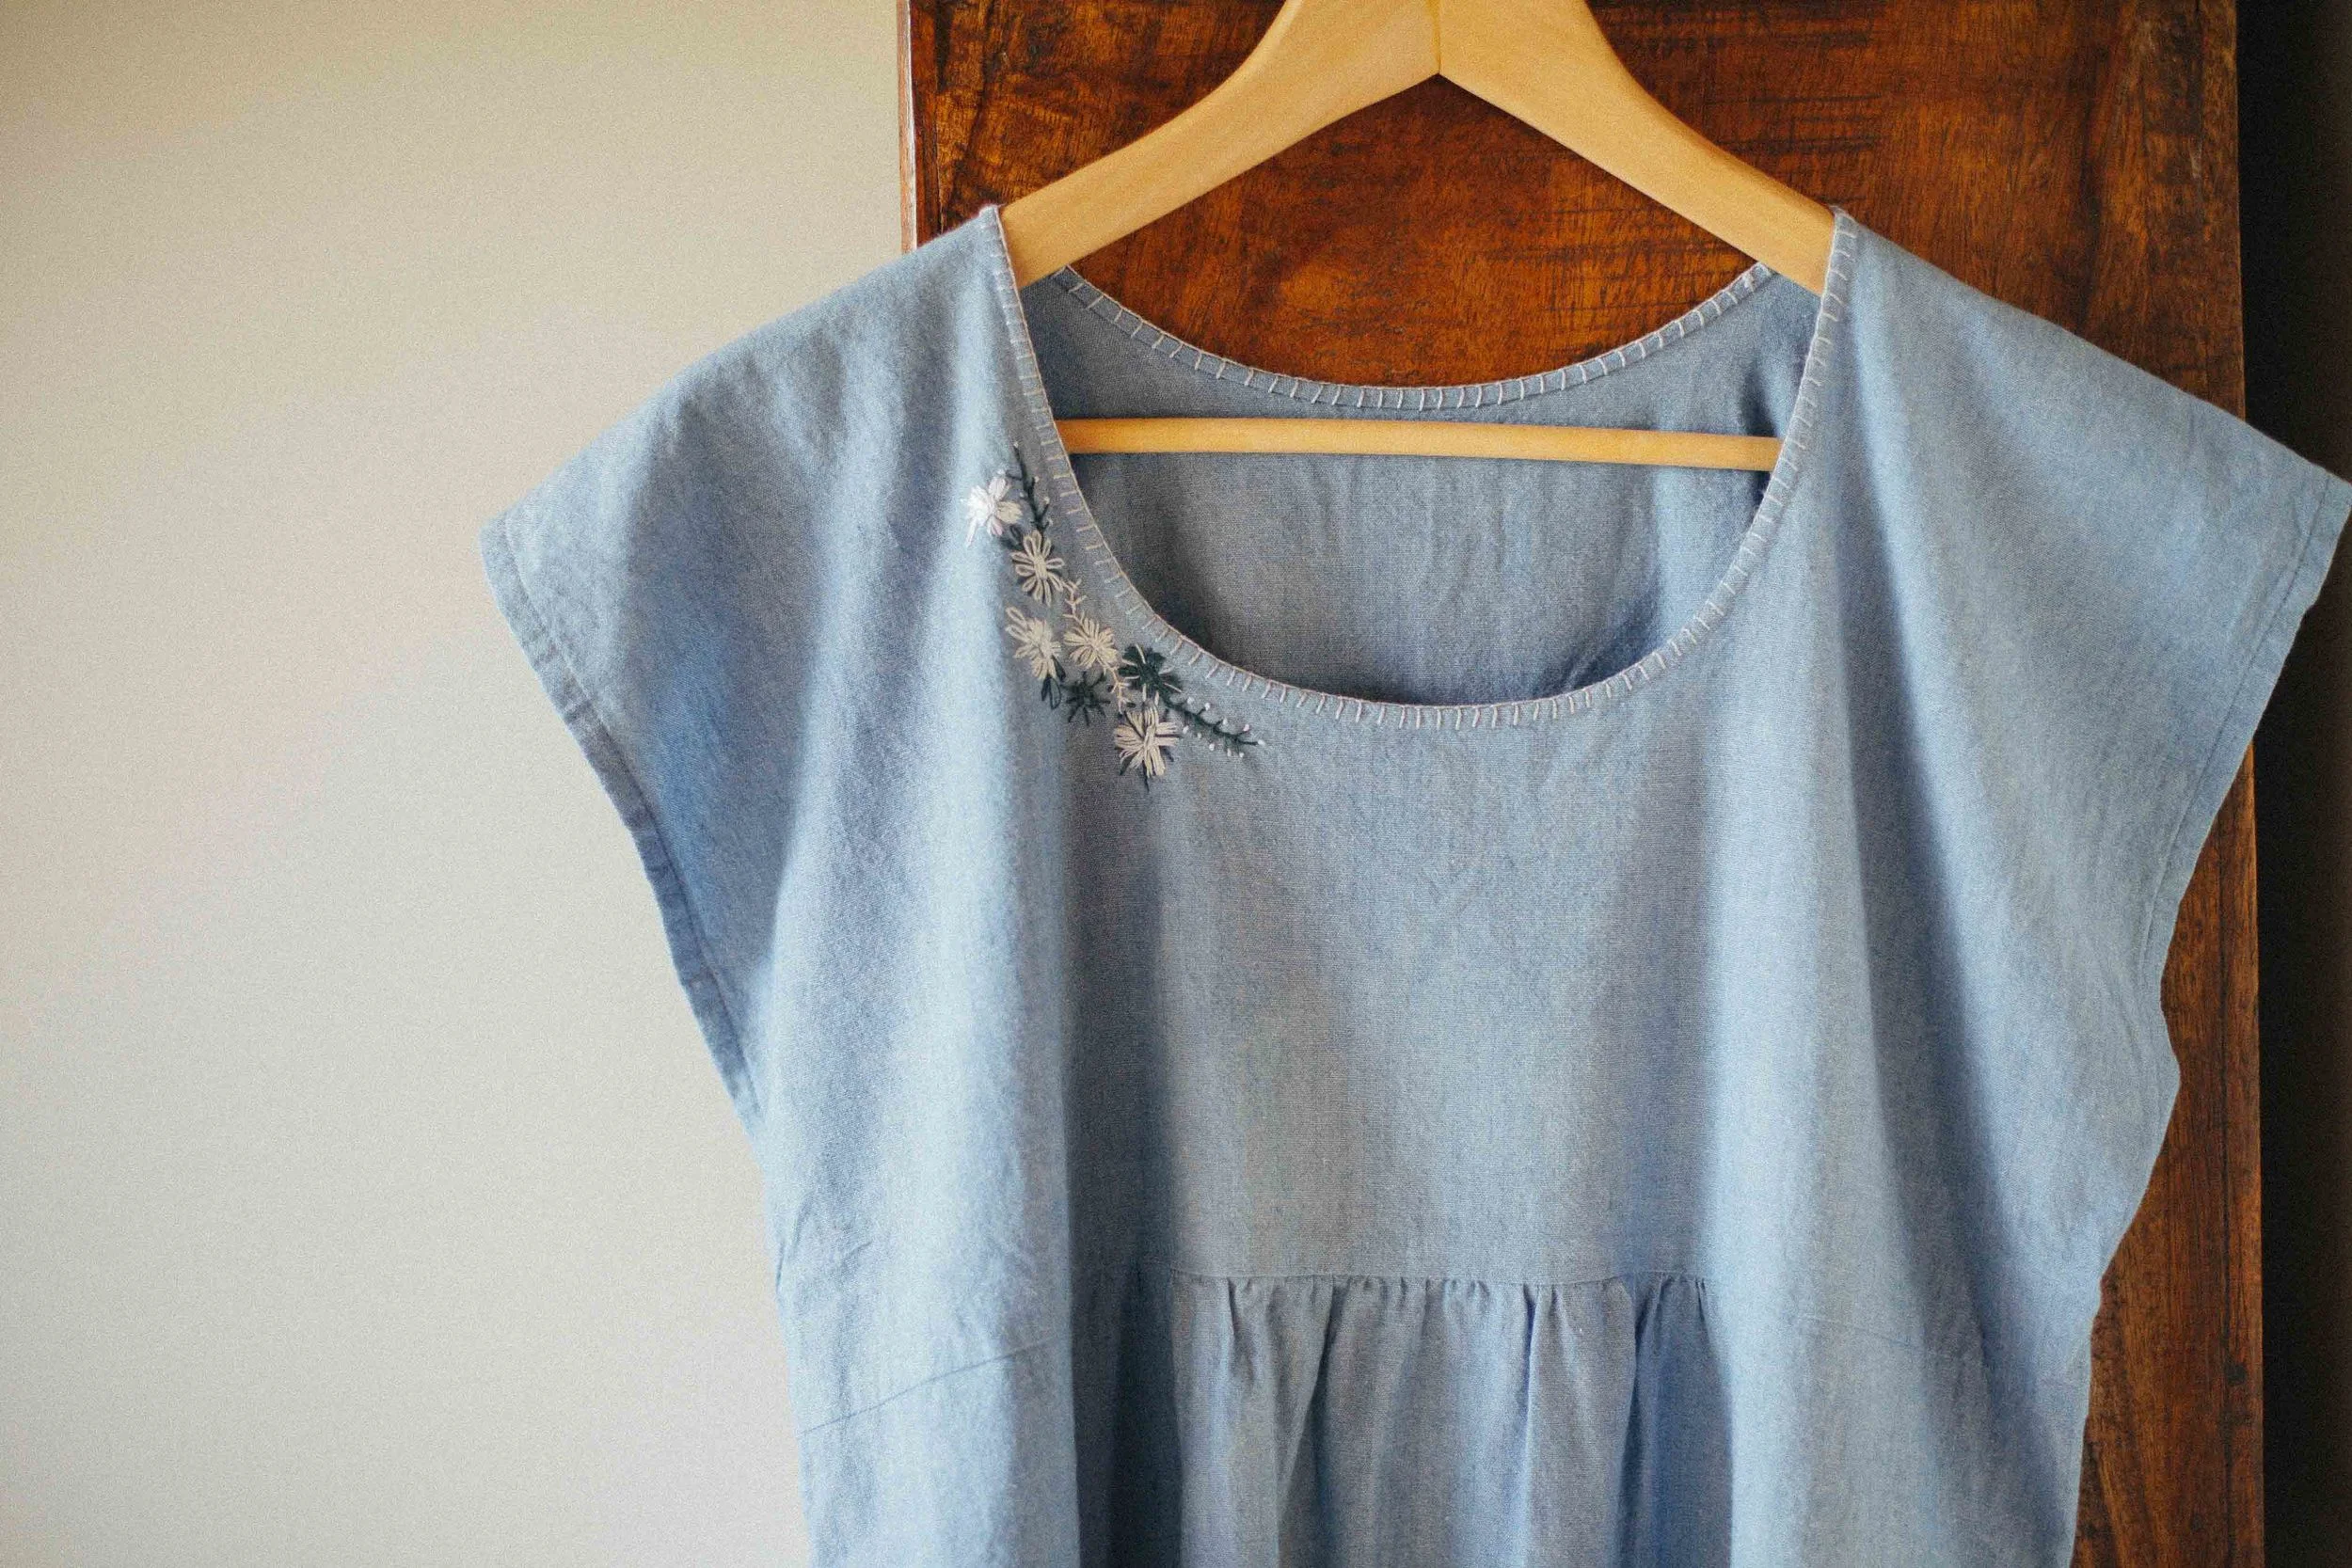
Projects like this are so important for me – they are experimental playtime, all about practice and learning. Who knows where they lead. In this case the floral yoke became the yoke of my Solja sweater, first published in PomPom Quarterly magazine http://www.pompommag.com/ last year. And now I’ve added kids sizes too http://www.ravelry.com/patterns/library/mini-solja