So I forgot to post yesterday. Blame the time zone thing or the fact I'm on holiday. My apologies!
So let's get to it. Many of my pattern alterations are mashups. I like the top of one pattern but the hemline of another. Or the neckline of one and the shoulder of another. Because I'm not a pattern drafter, I generally leave that stuff up to those that are, and so I pinch the bits I like from different patterns.
Where do I do the alteration?
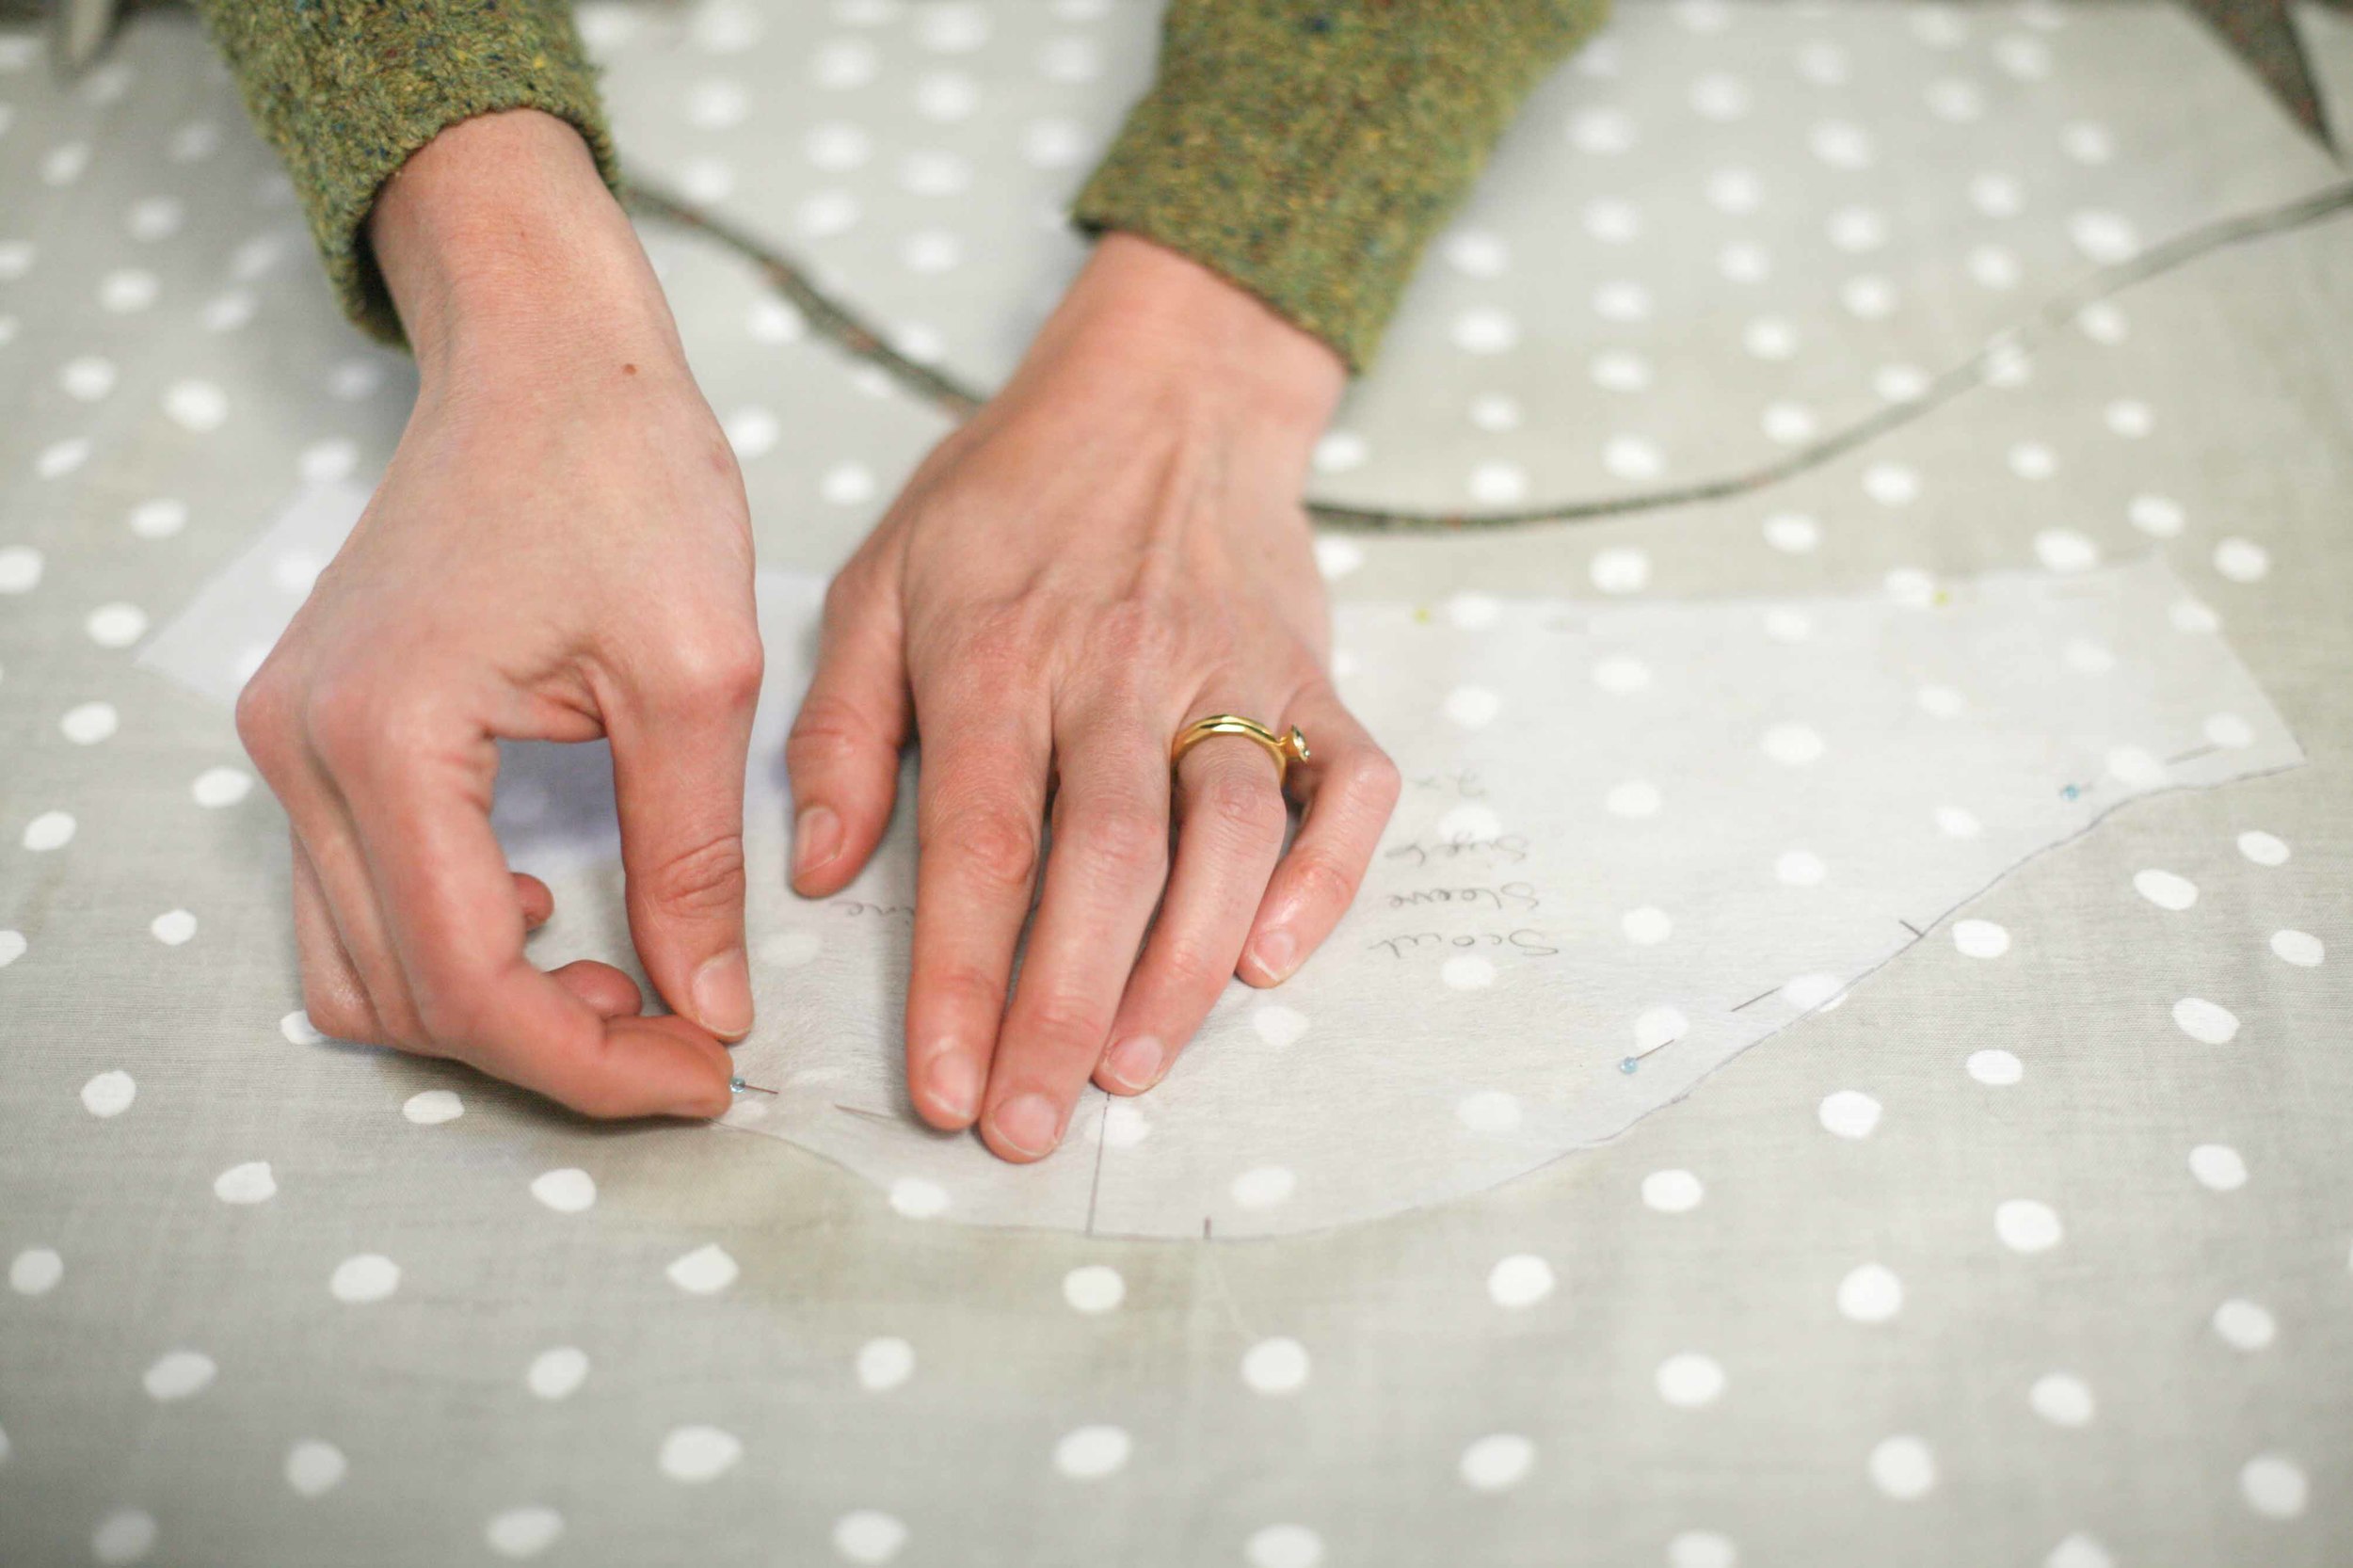
I often create the pattern for the mashup while drafting the pattern onto the interfacing - by this I mean that I trace the parts of the mashup onto my pattern interfacing to create a new mashup pattern. Generally I use patterns that I have already previously made but I also sometimes just use my measurements (we talked about this in Simple Sewing 101 - Part 4).
For example for today's pattern I would trace the neckline and shoulder line of the Hemlock, and the hemline of the Wiksten Tank along with an altered side seam, onto my interfacing . The reason for doing this is that when I come back to use the pattern the next time I can recreate it exactly.
That is not what I did here. Partly because I was being lazy. But it turns out this was a brilliant move on my part, in terms of this "tutorial", in that it means when we are looking at the photos we can clearly see what's what.
Which bits do I not fiddle with?
Generally I don't fiddle with the fit of the shoulders if a garment has sleeves. Getting the fit of a shoulder right is a super tricky thing and not something I know how to mess with. And getting the fit of the shoulder right is the one of the keys to a good looking top.
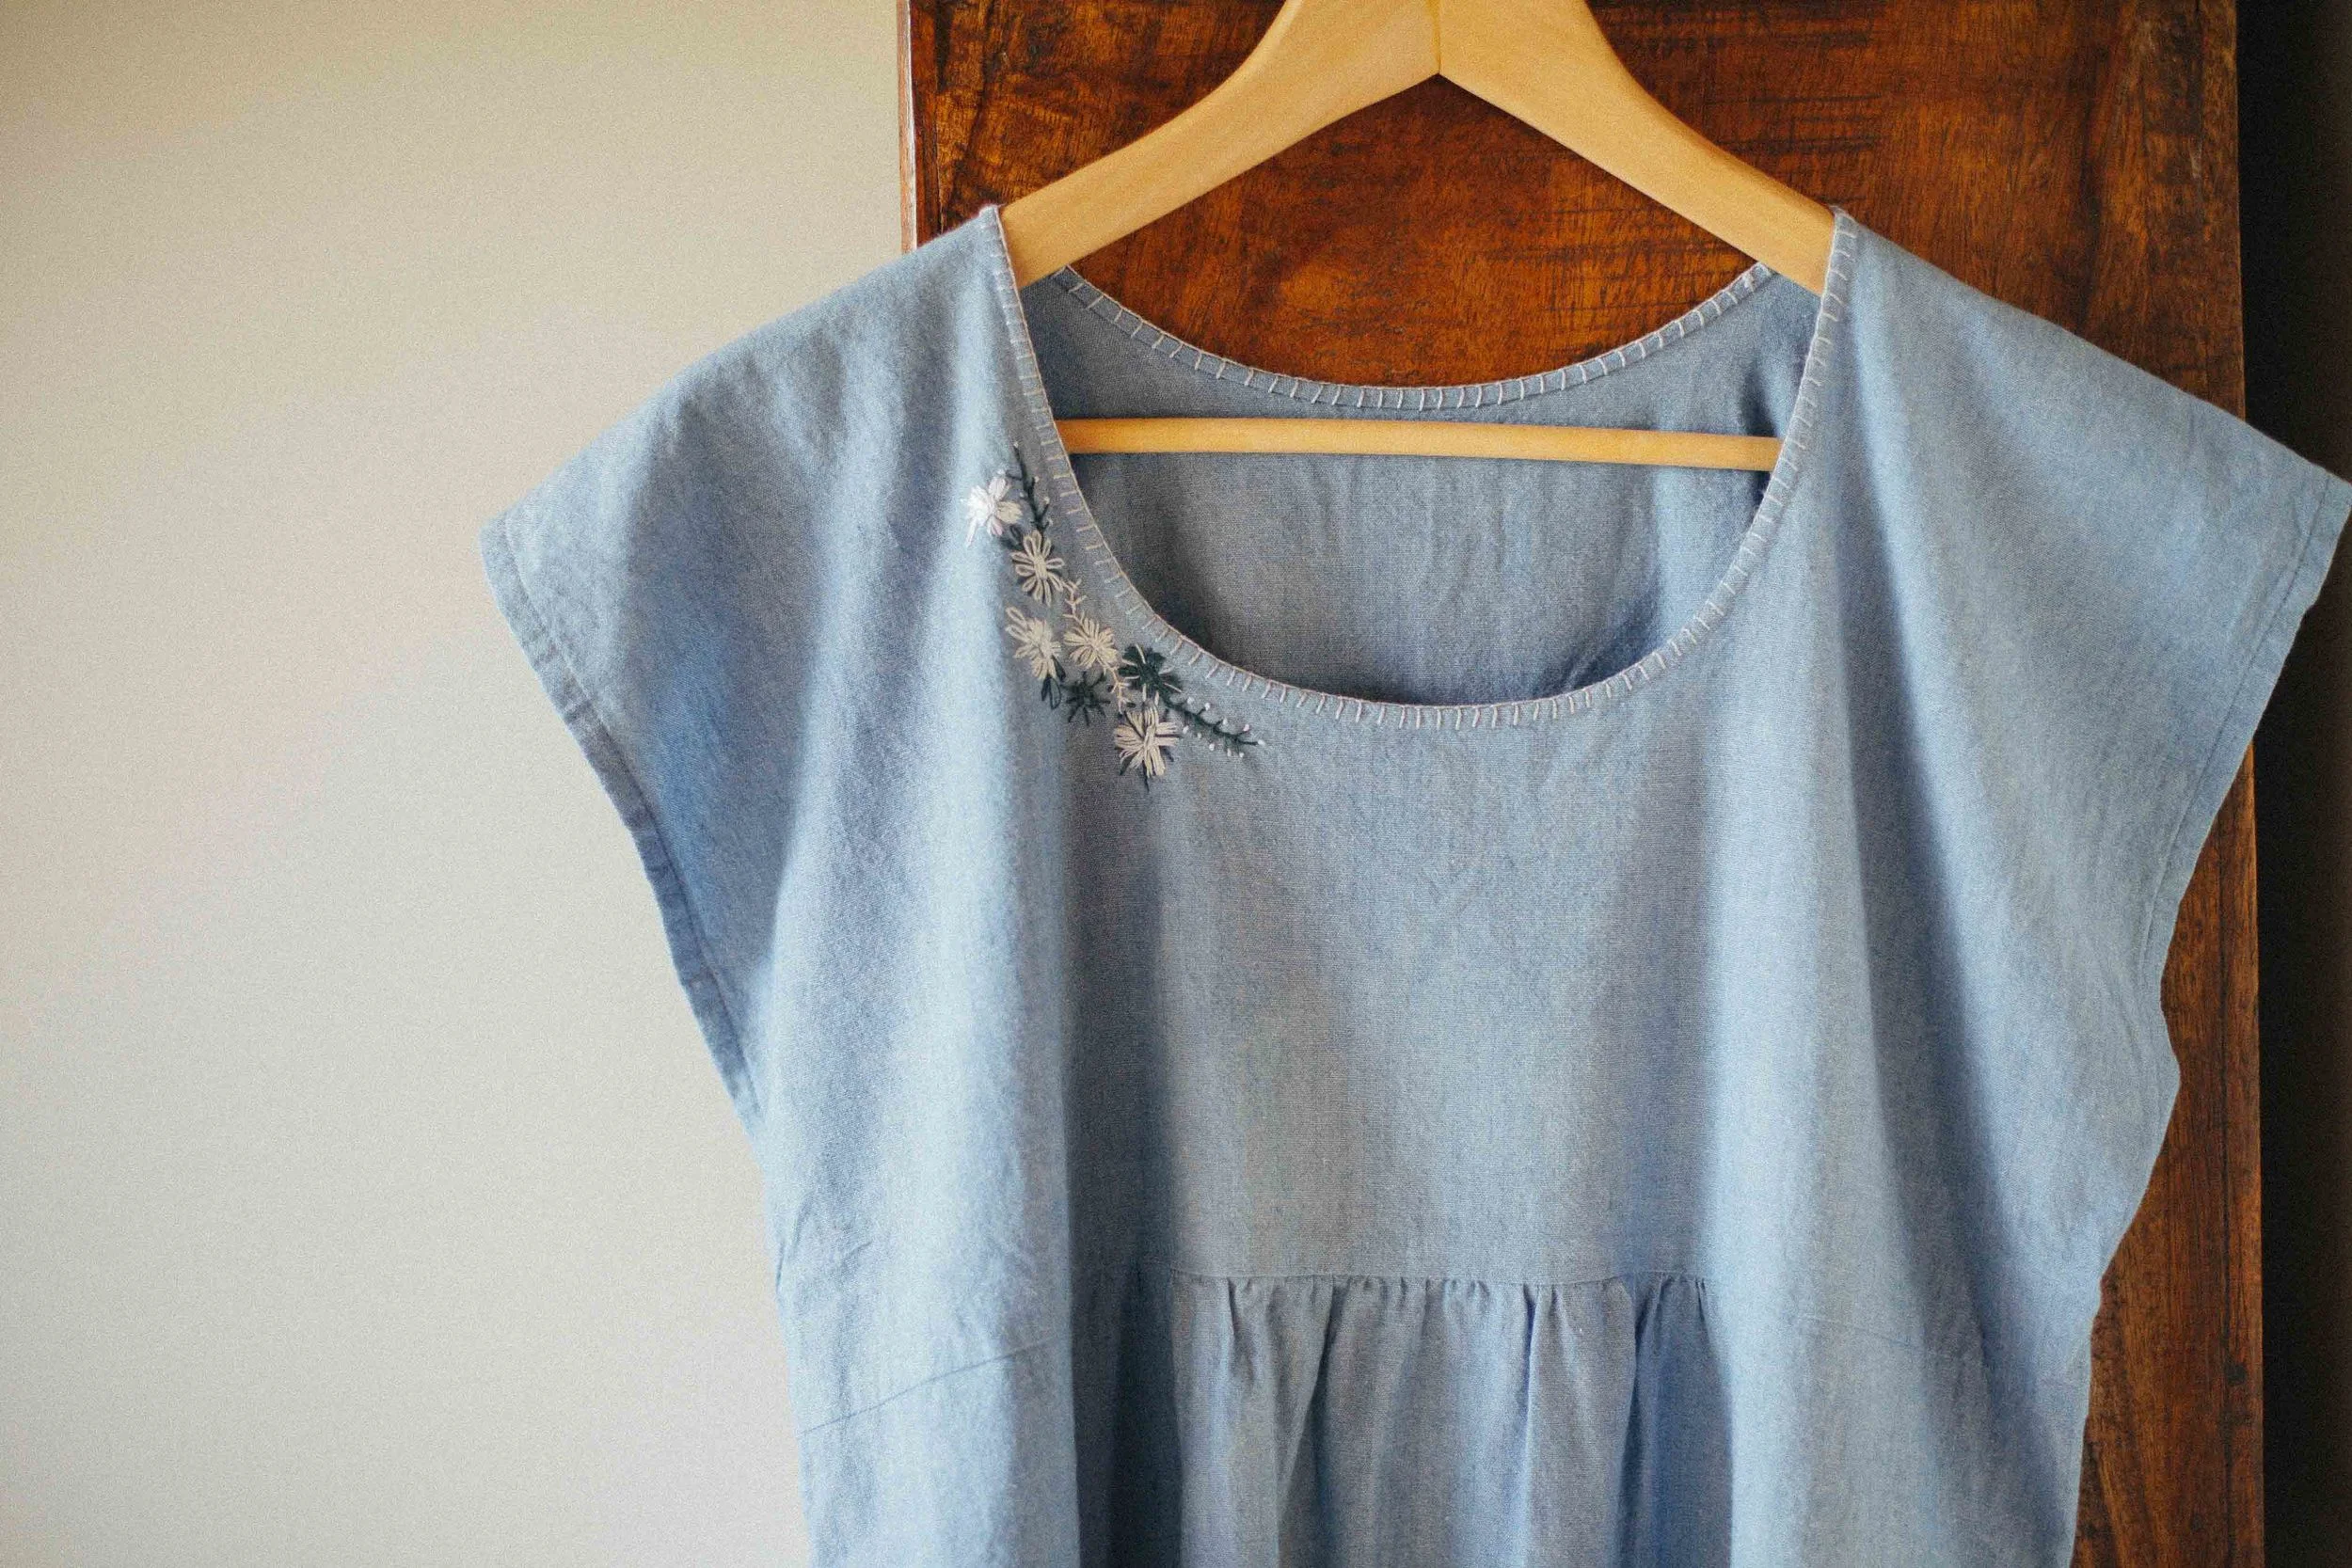
I will alter a neckline, a side seam, the amount of fabric something has in the back of a neck, the width of the straps of a tank, and hemlines. I love to alter hemlines. And necklines - practically all of my Scouts have altered necklines.
Woven Hemlock Tee/Wiksten Tank MASHUPS
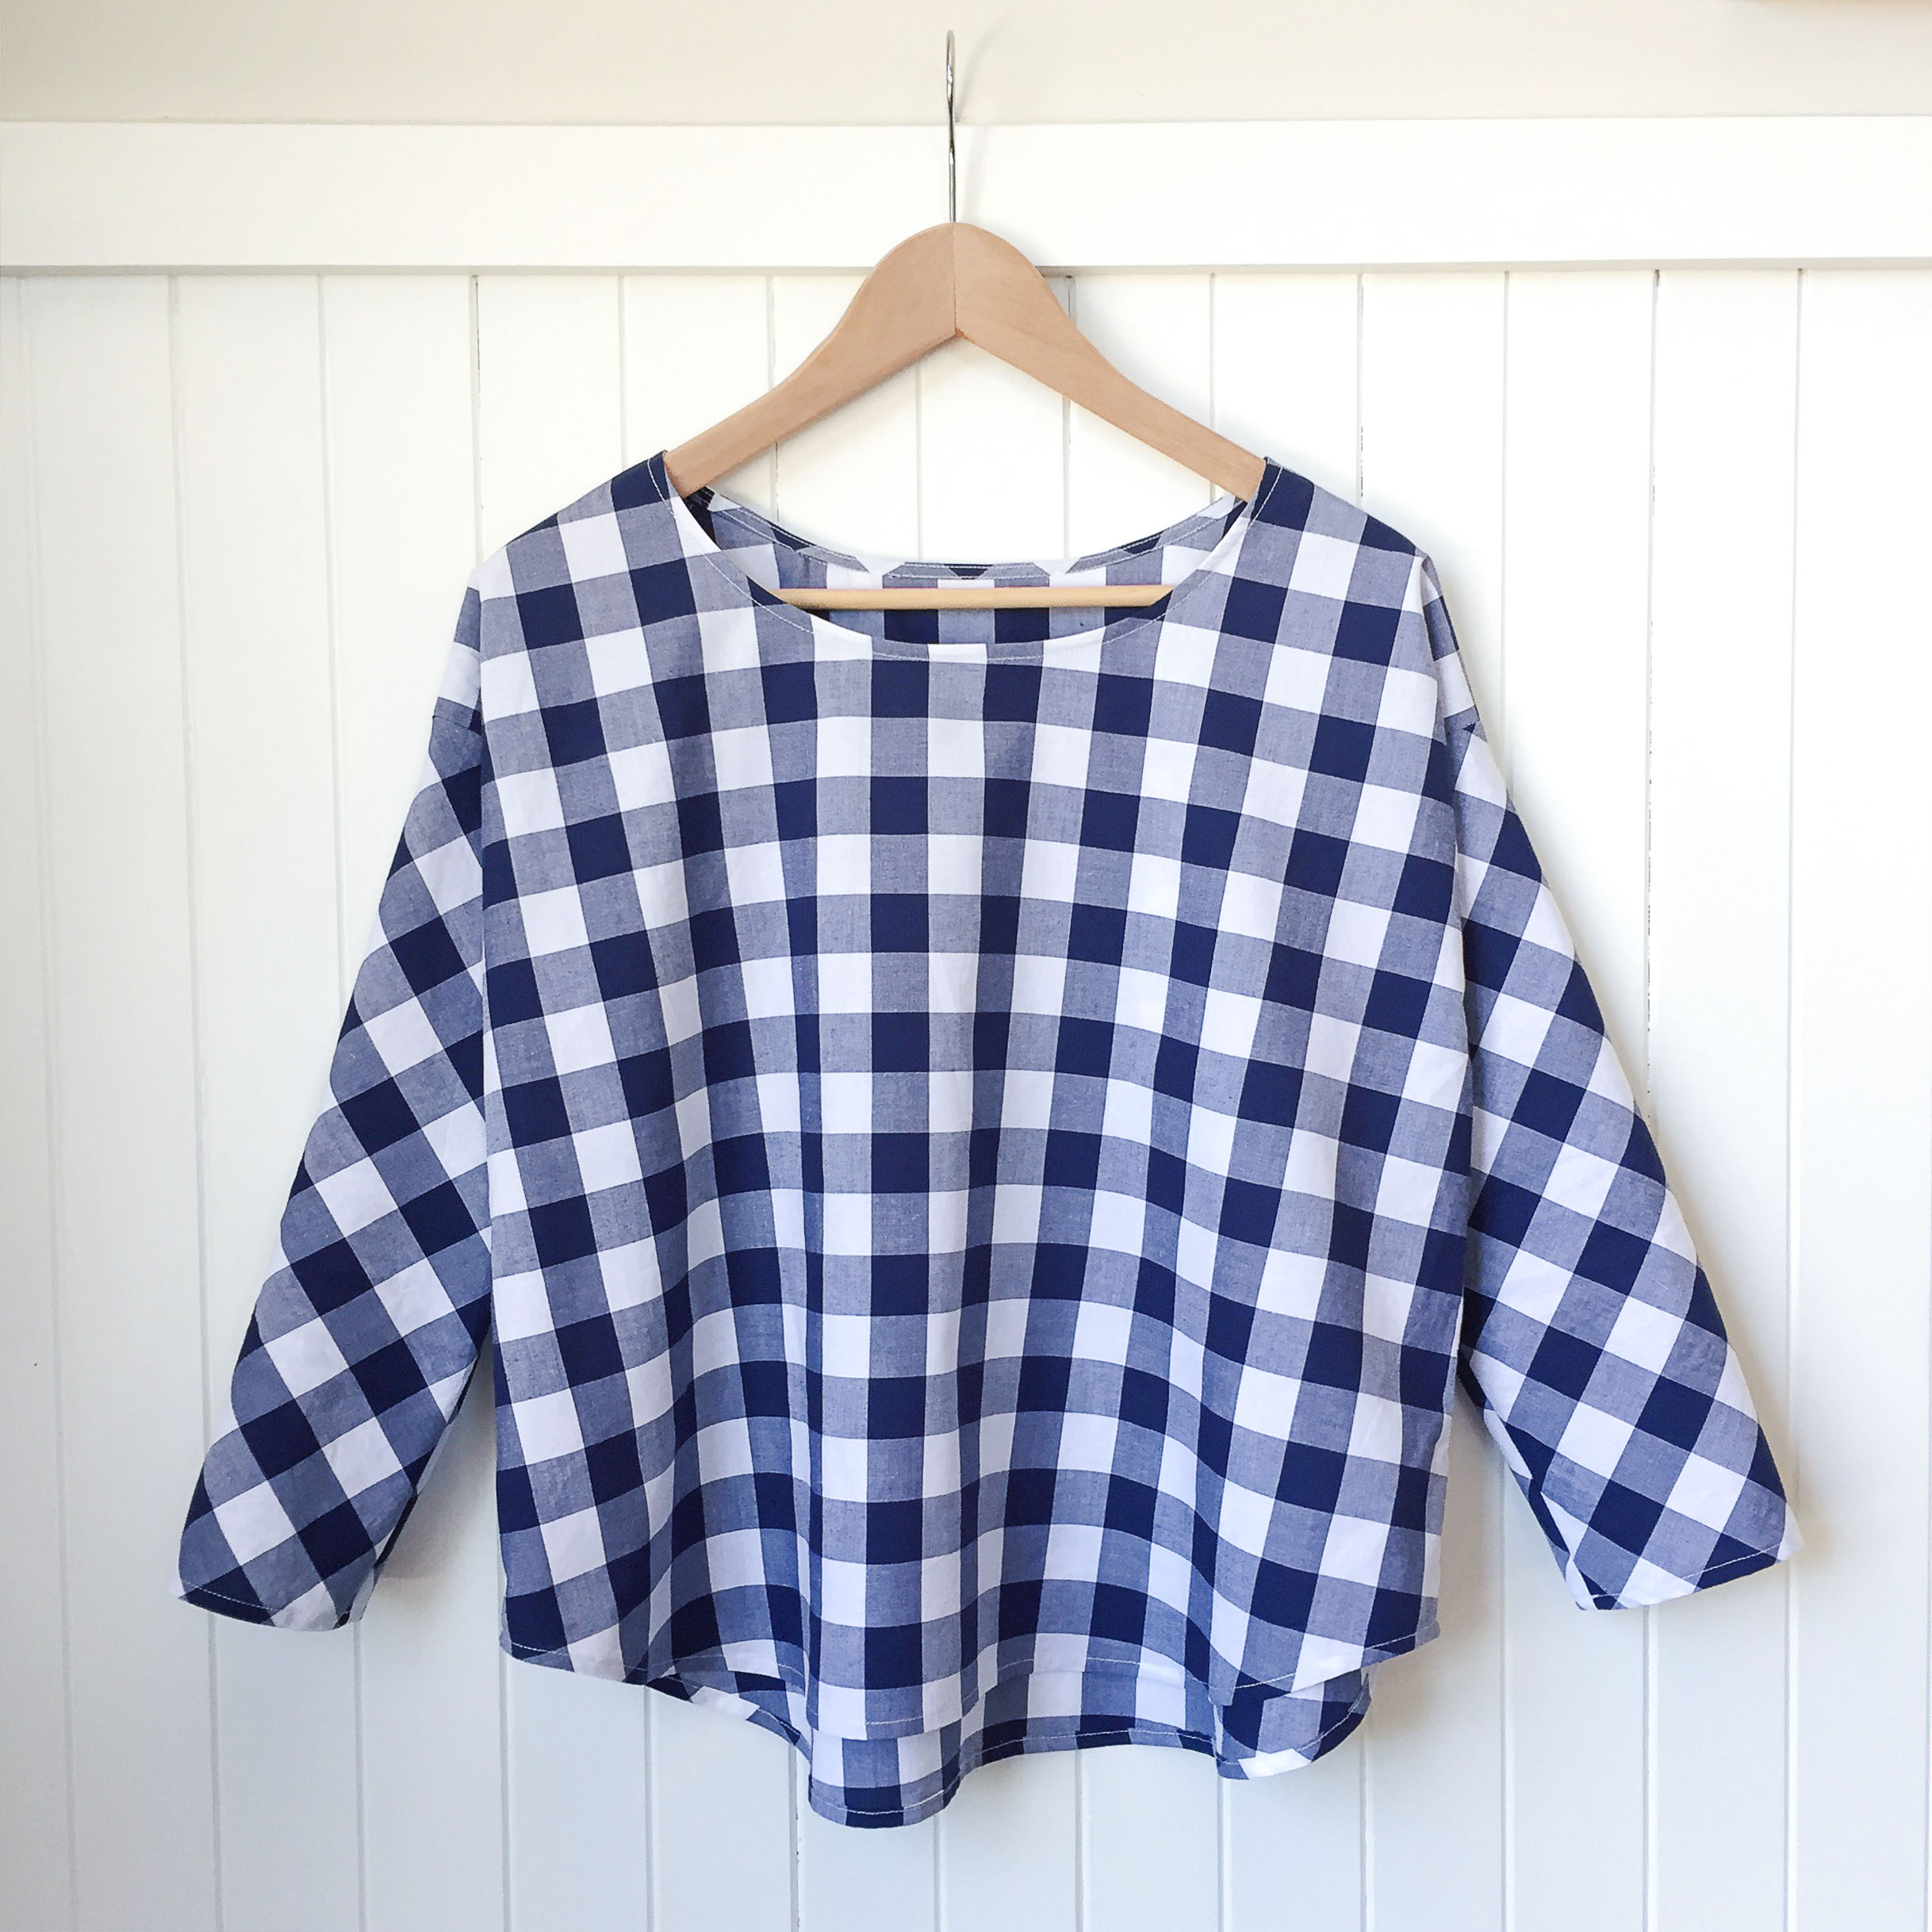
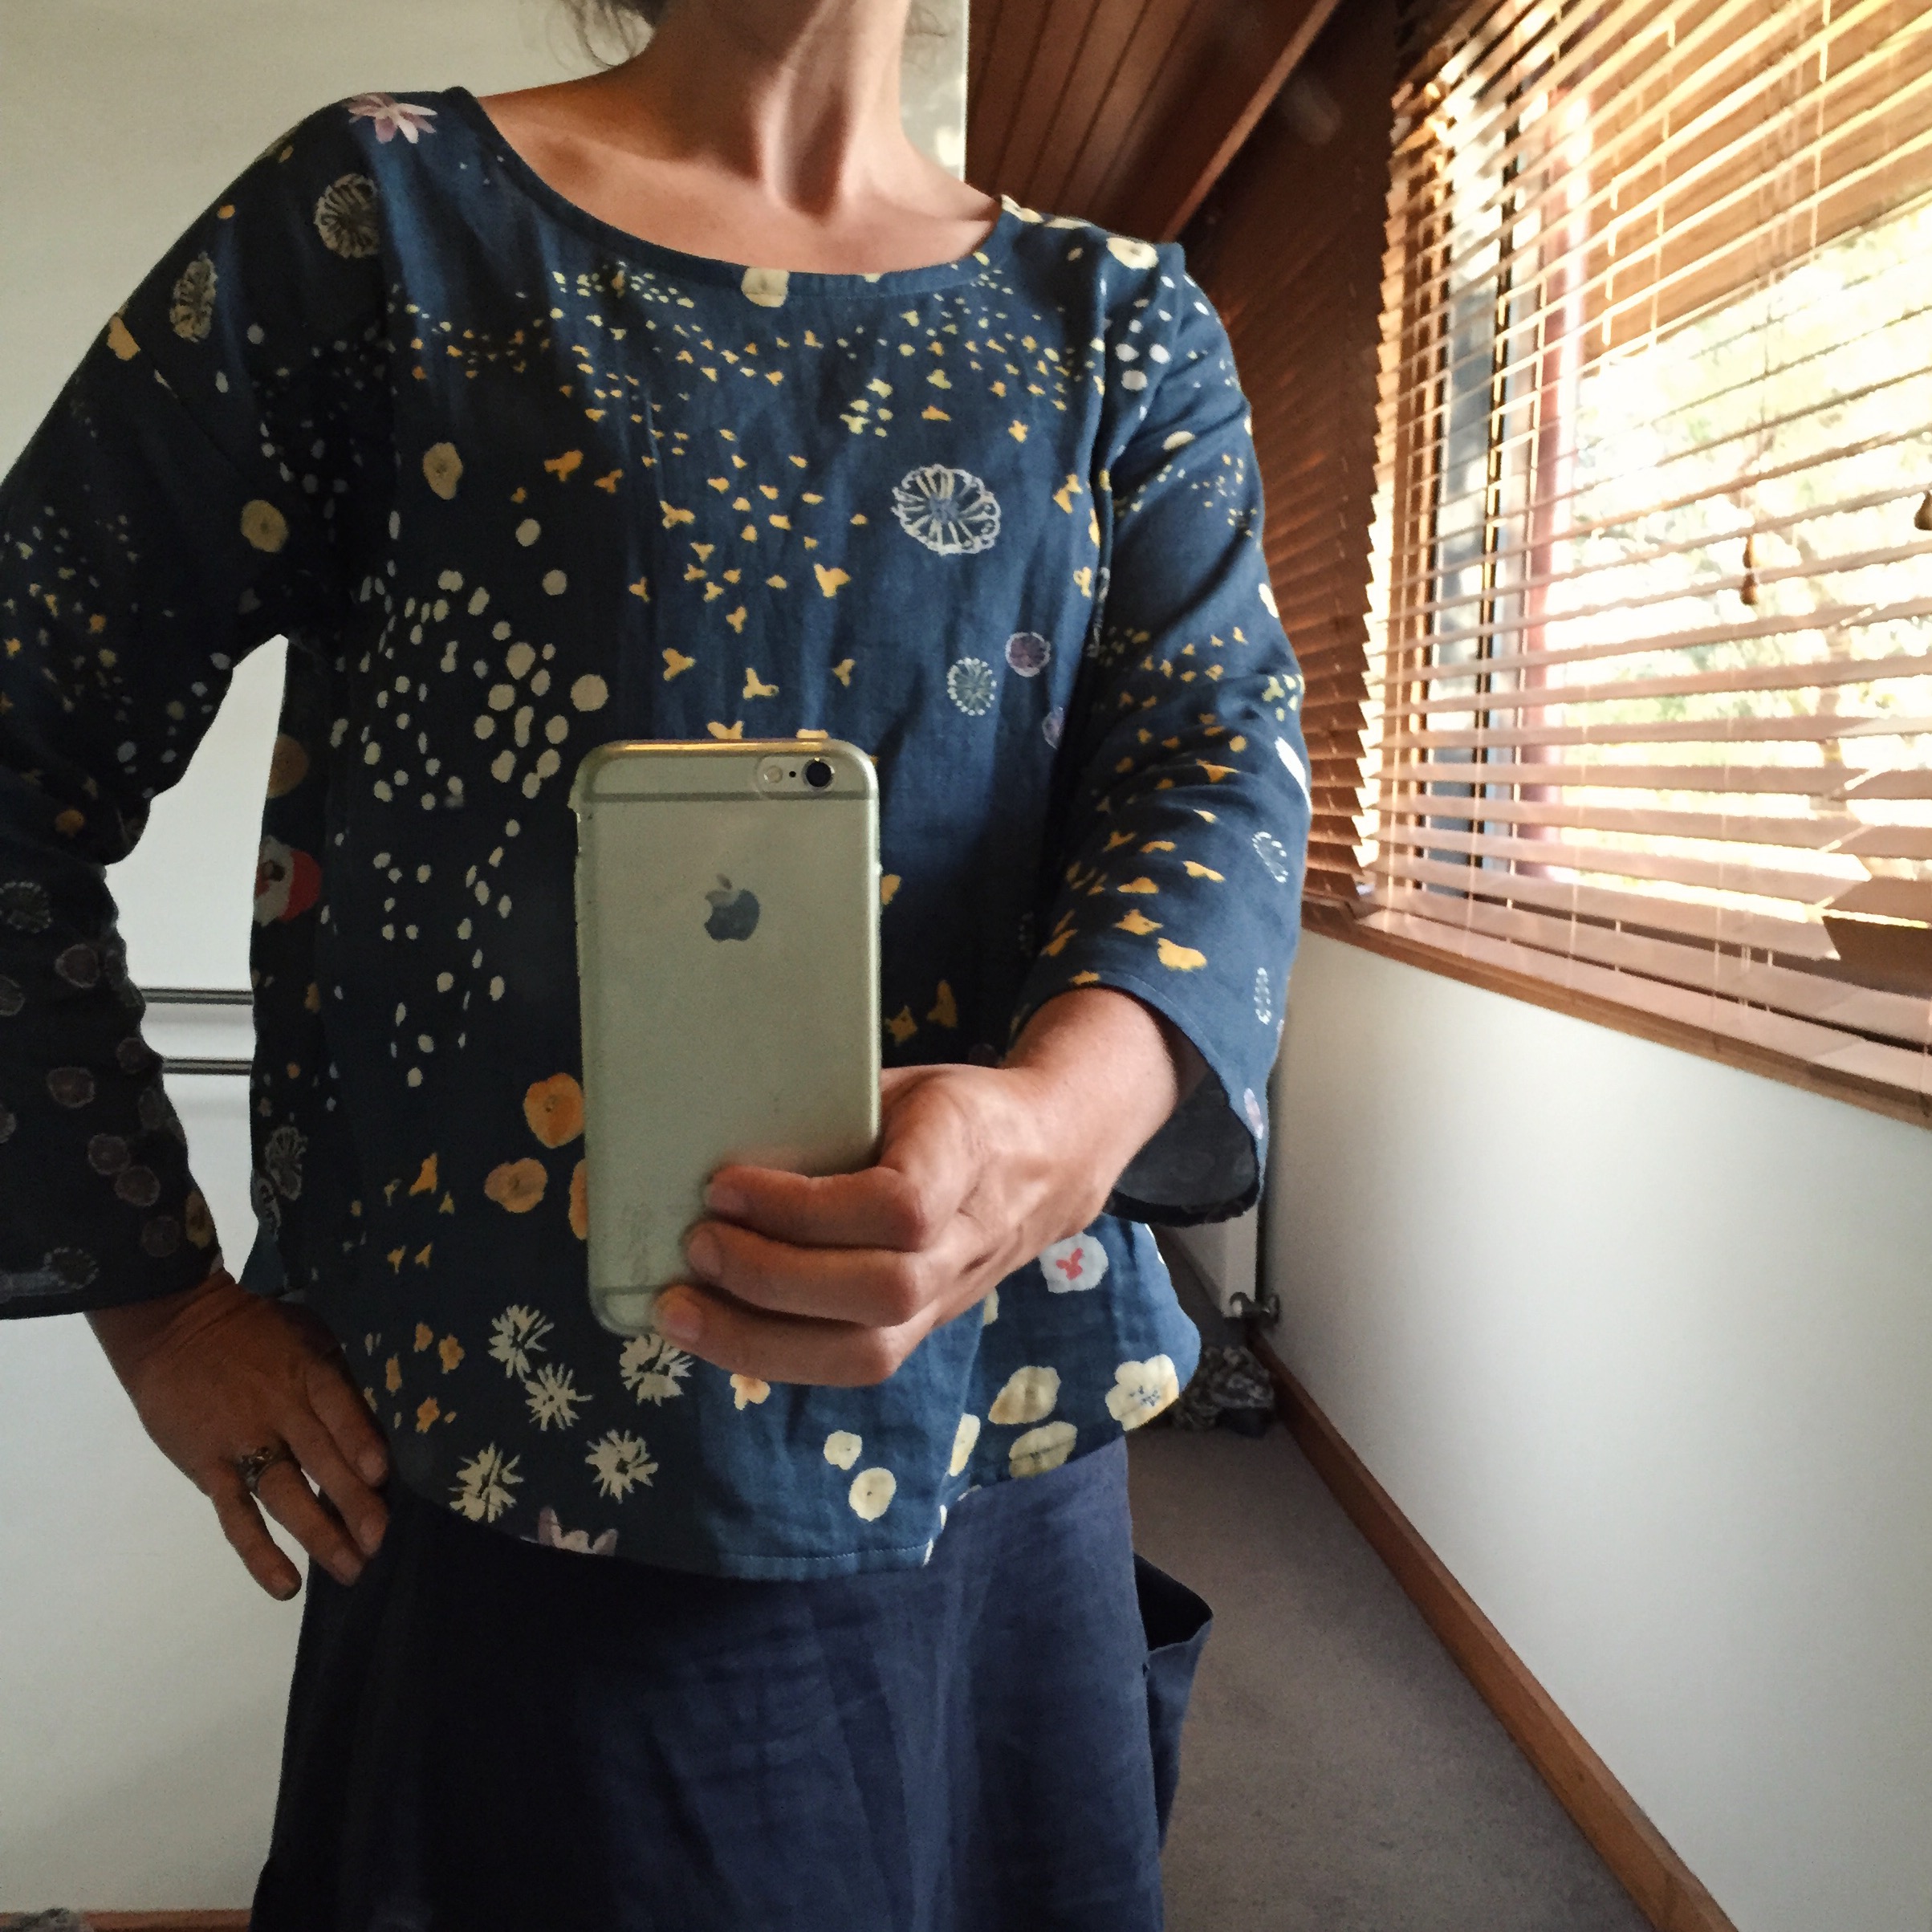
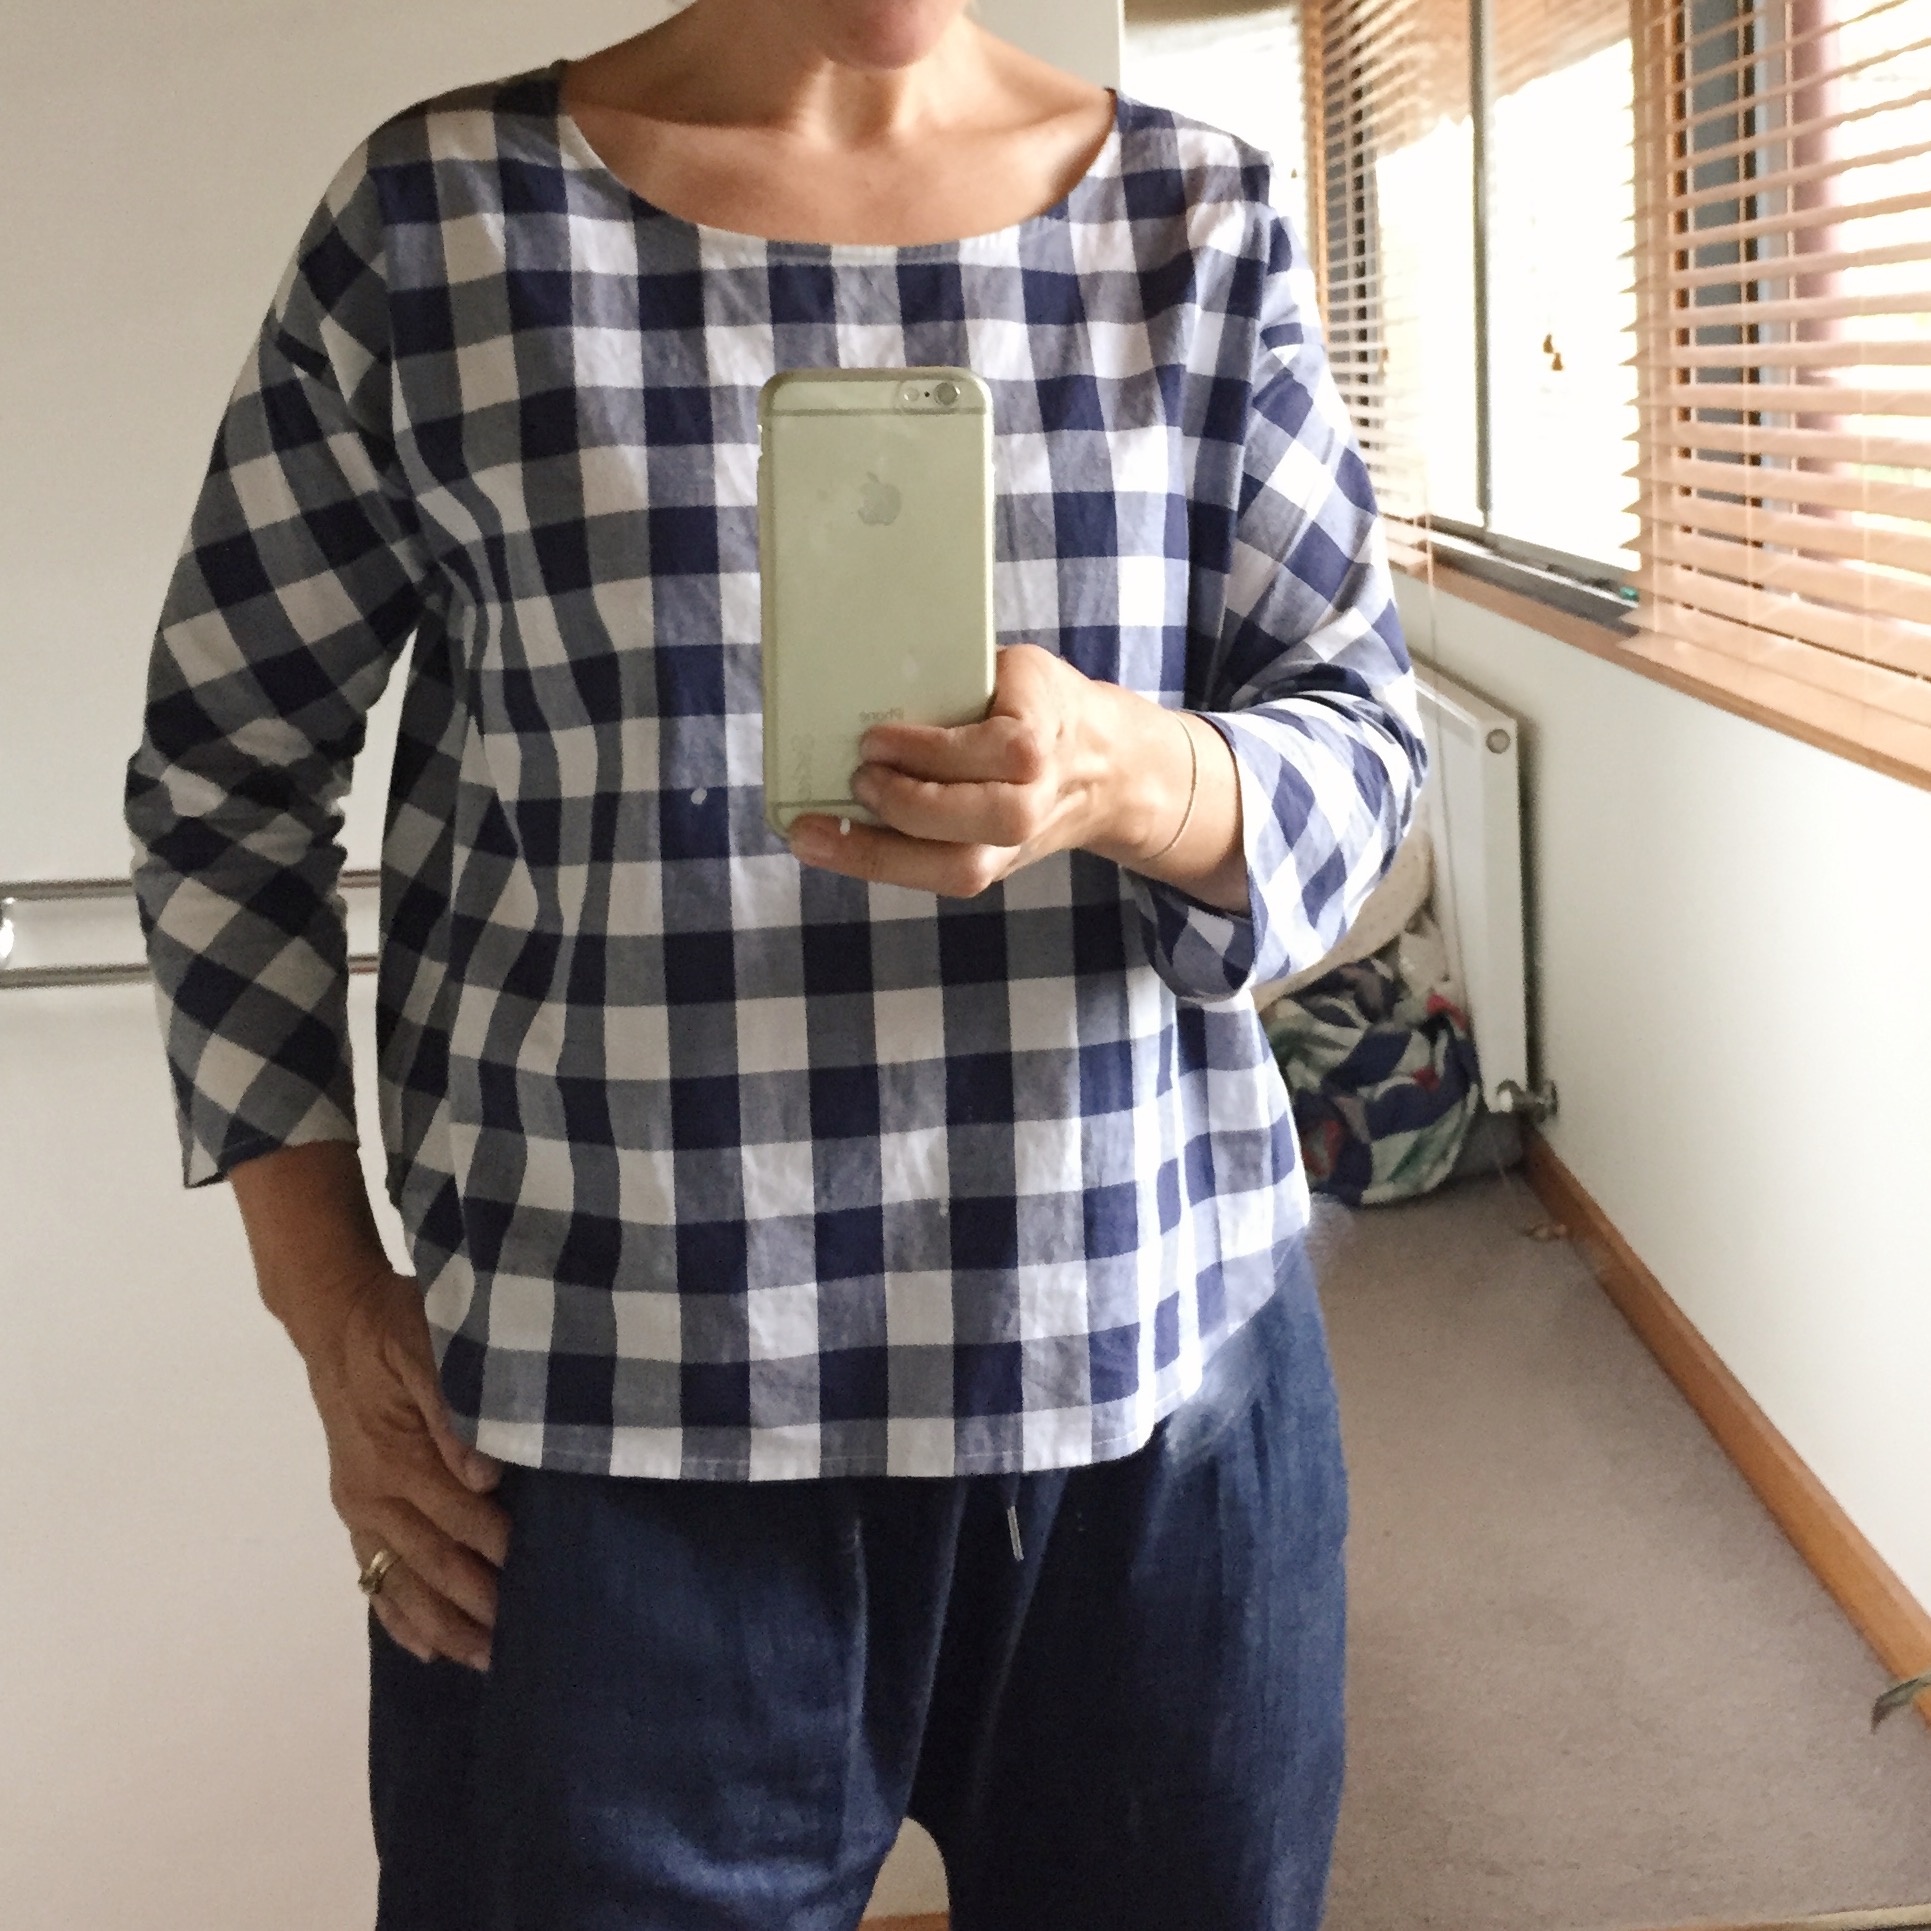
So here is the mashup. Super simple but it has resulted in two of my favourite, most wearable tops. Simple to make, joyful to wear. Can't beat that.
The Hemlock Tee pattern is the paper pattern. The Wiksten Tank pattern is the pattern on interfacing.
The difference between a woven Hemlock and this mashup pattern is simply that I used the hemline of the Wiksten Tank as my hemline. As the tank hemline is about three cm wider at the bottom than the Hemlock then the new pattern has more of a swing shape to it. This is made easy by the fact the Hemlock actually has no armhole to contend with (the pattern side is just straight) so I simply cut a the side seam line from the outside shoulder edge to the hemline edge.
The other thing that I needed to do with this pattern in order to get a good fit is to alter the sleeve ever so slightly. This pattern is written for knit fabrics which have a lot of stretch and as such the sleeves are meant to be fitted. In the check version above I cut the sleeves on the bias which gave them stretch as woven fabrics often have stretch inherent in the bias of the fabric. In the floral version I needed to cut the sleeves with a little more width so they didn't make the arms stiff. I describe how I did that below also.
This whole thing is best described in pictures so here goes.
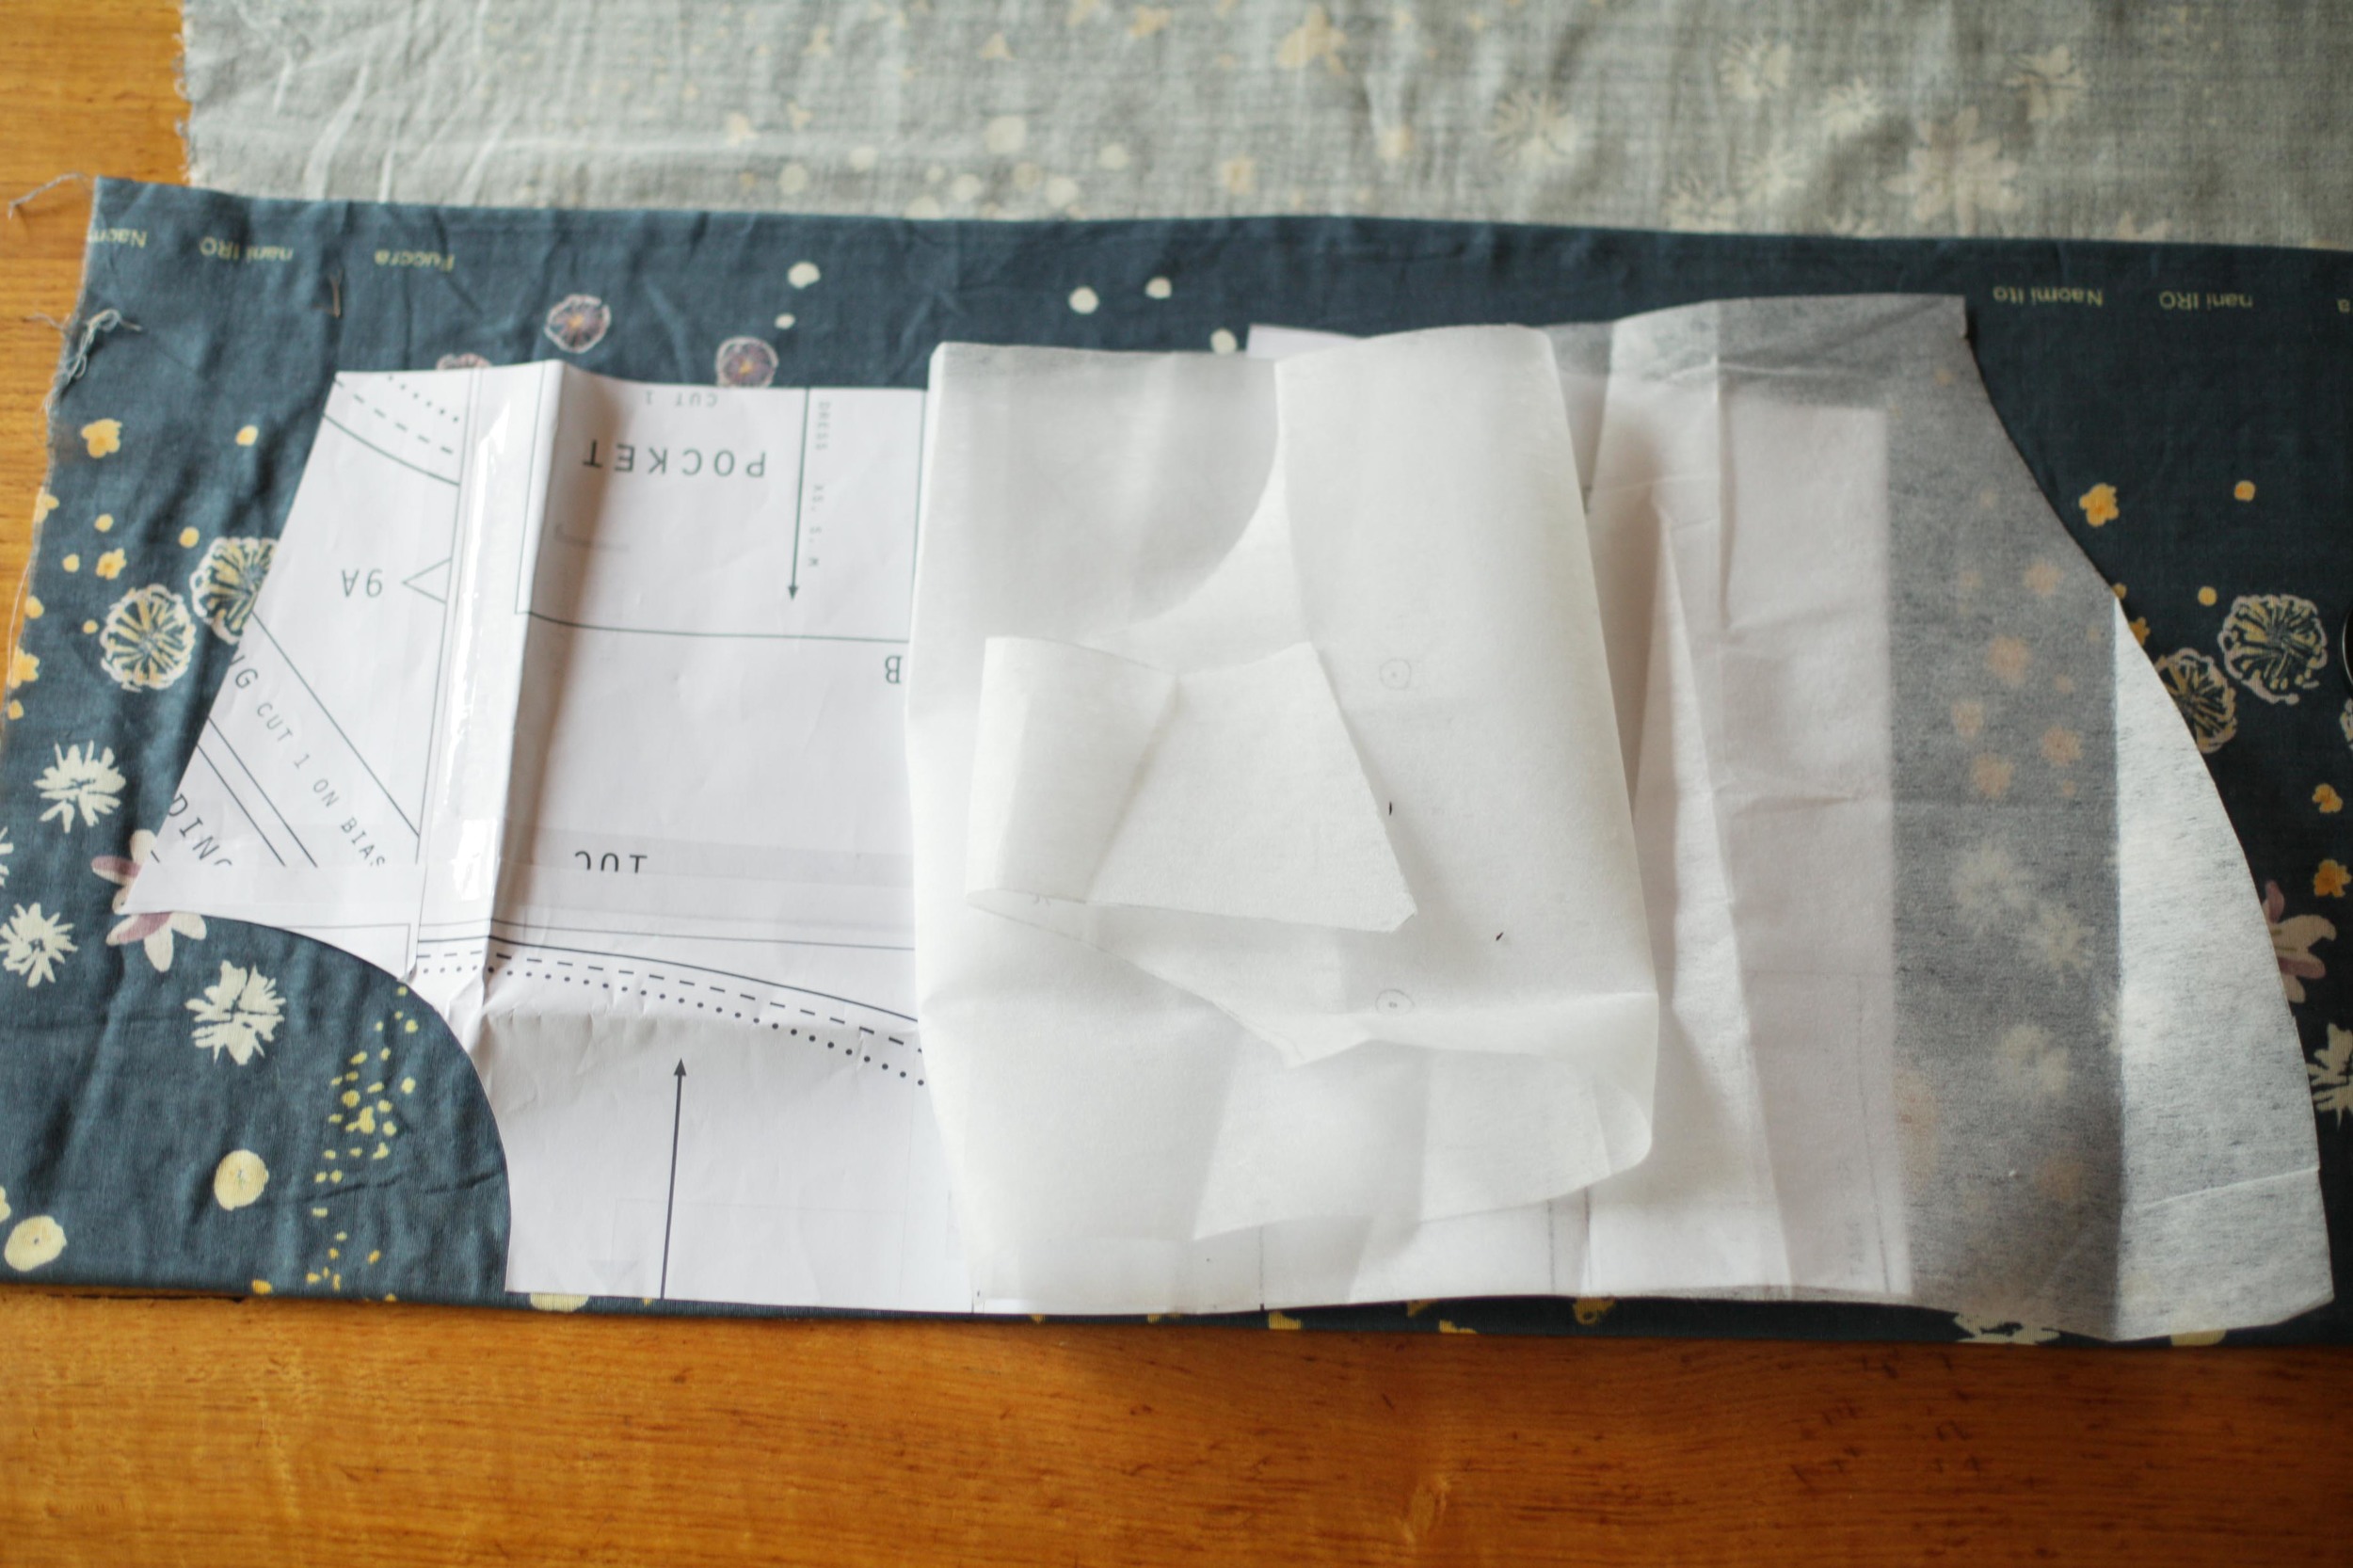
Step 1. In this picture you can see the Hemlock pattern (ignore the markings on the paper - I used scrap paper) which is the paper pattern, and laying on top you can see the Wiksten Tank pattern which is the interfacing one. The interfacing one is scrunched up on top of the paper one to give you an idea of my plan.
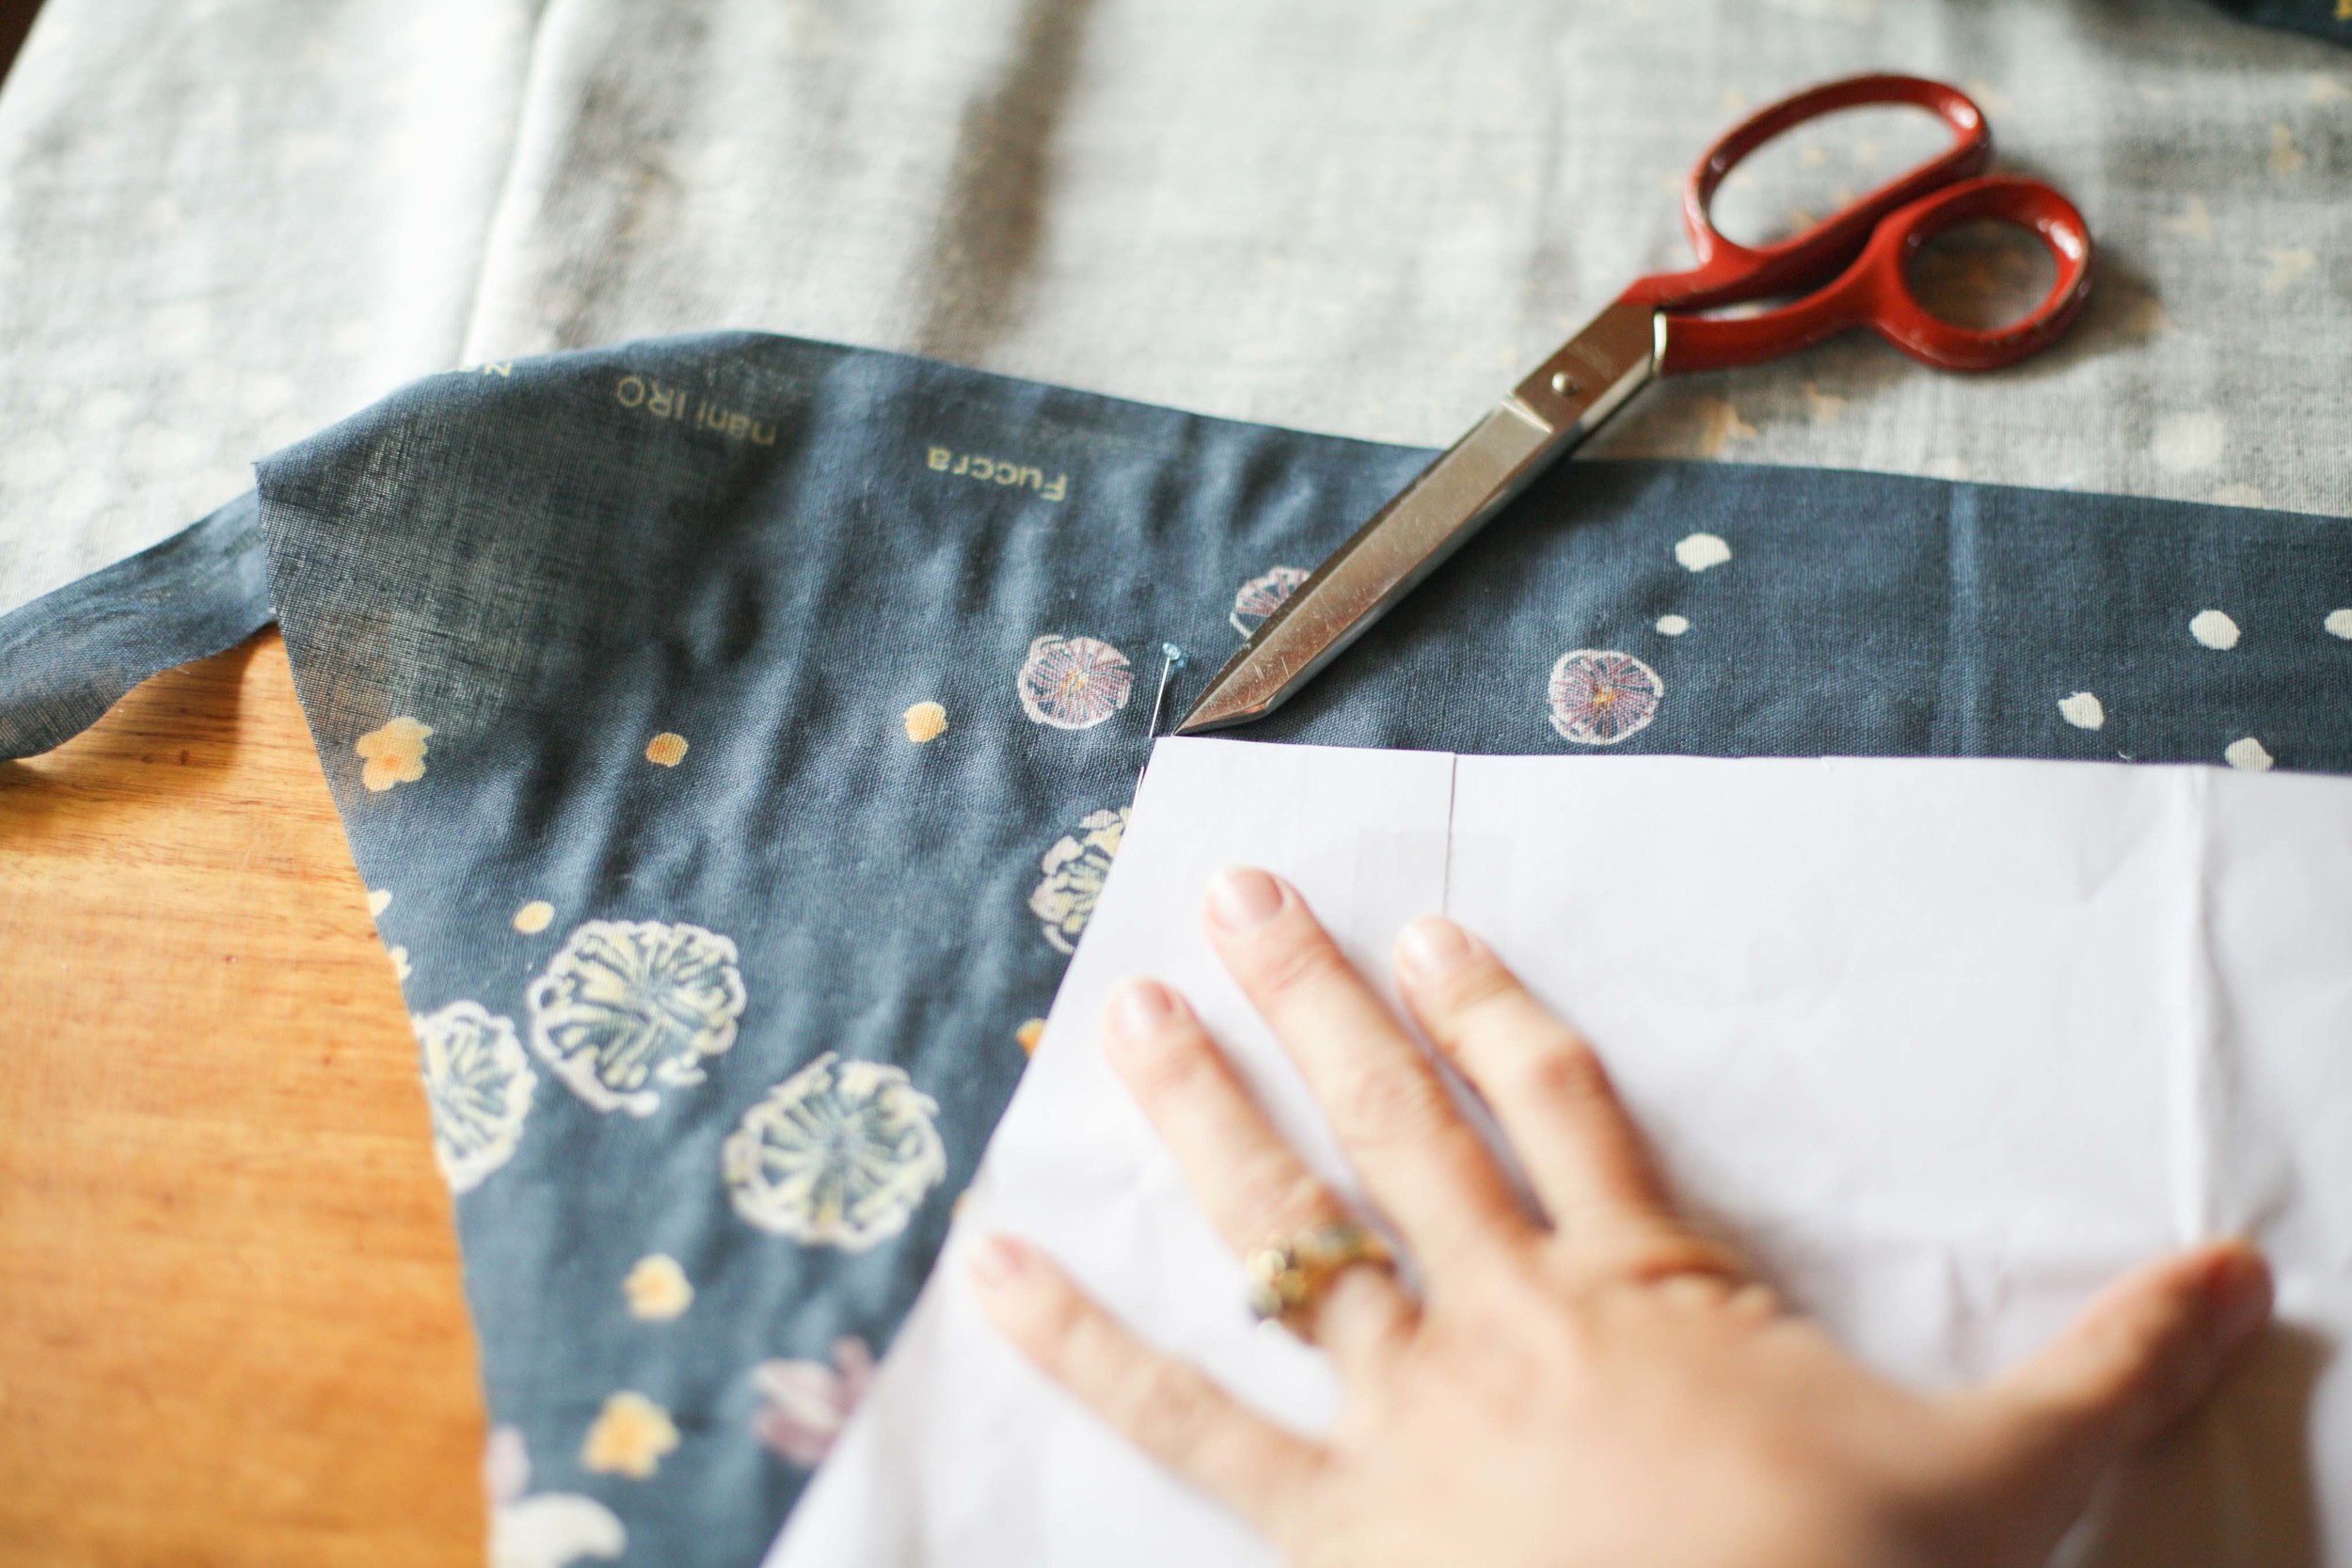
I measured from the shoulder seam next to the neck, down to the hemline using the measurements I know I like for the length of a top. I made sure to include my seam allowances - 1/2" for the shoulder and then 5/8" for the hemline - into this length. I got this right this time but often I will get it approximately (making it a little longer rather than shorter) and adjust while I am making it.
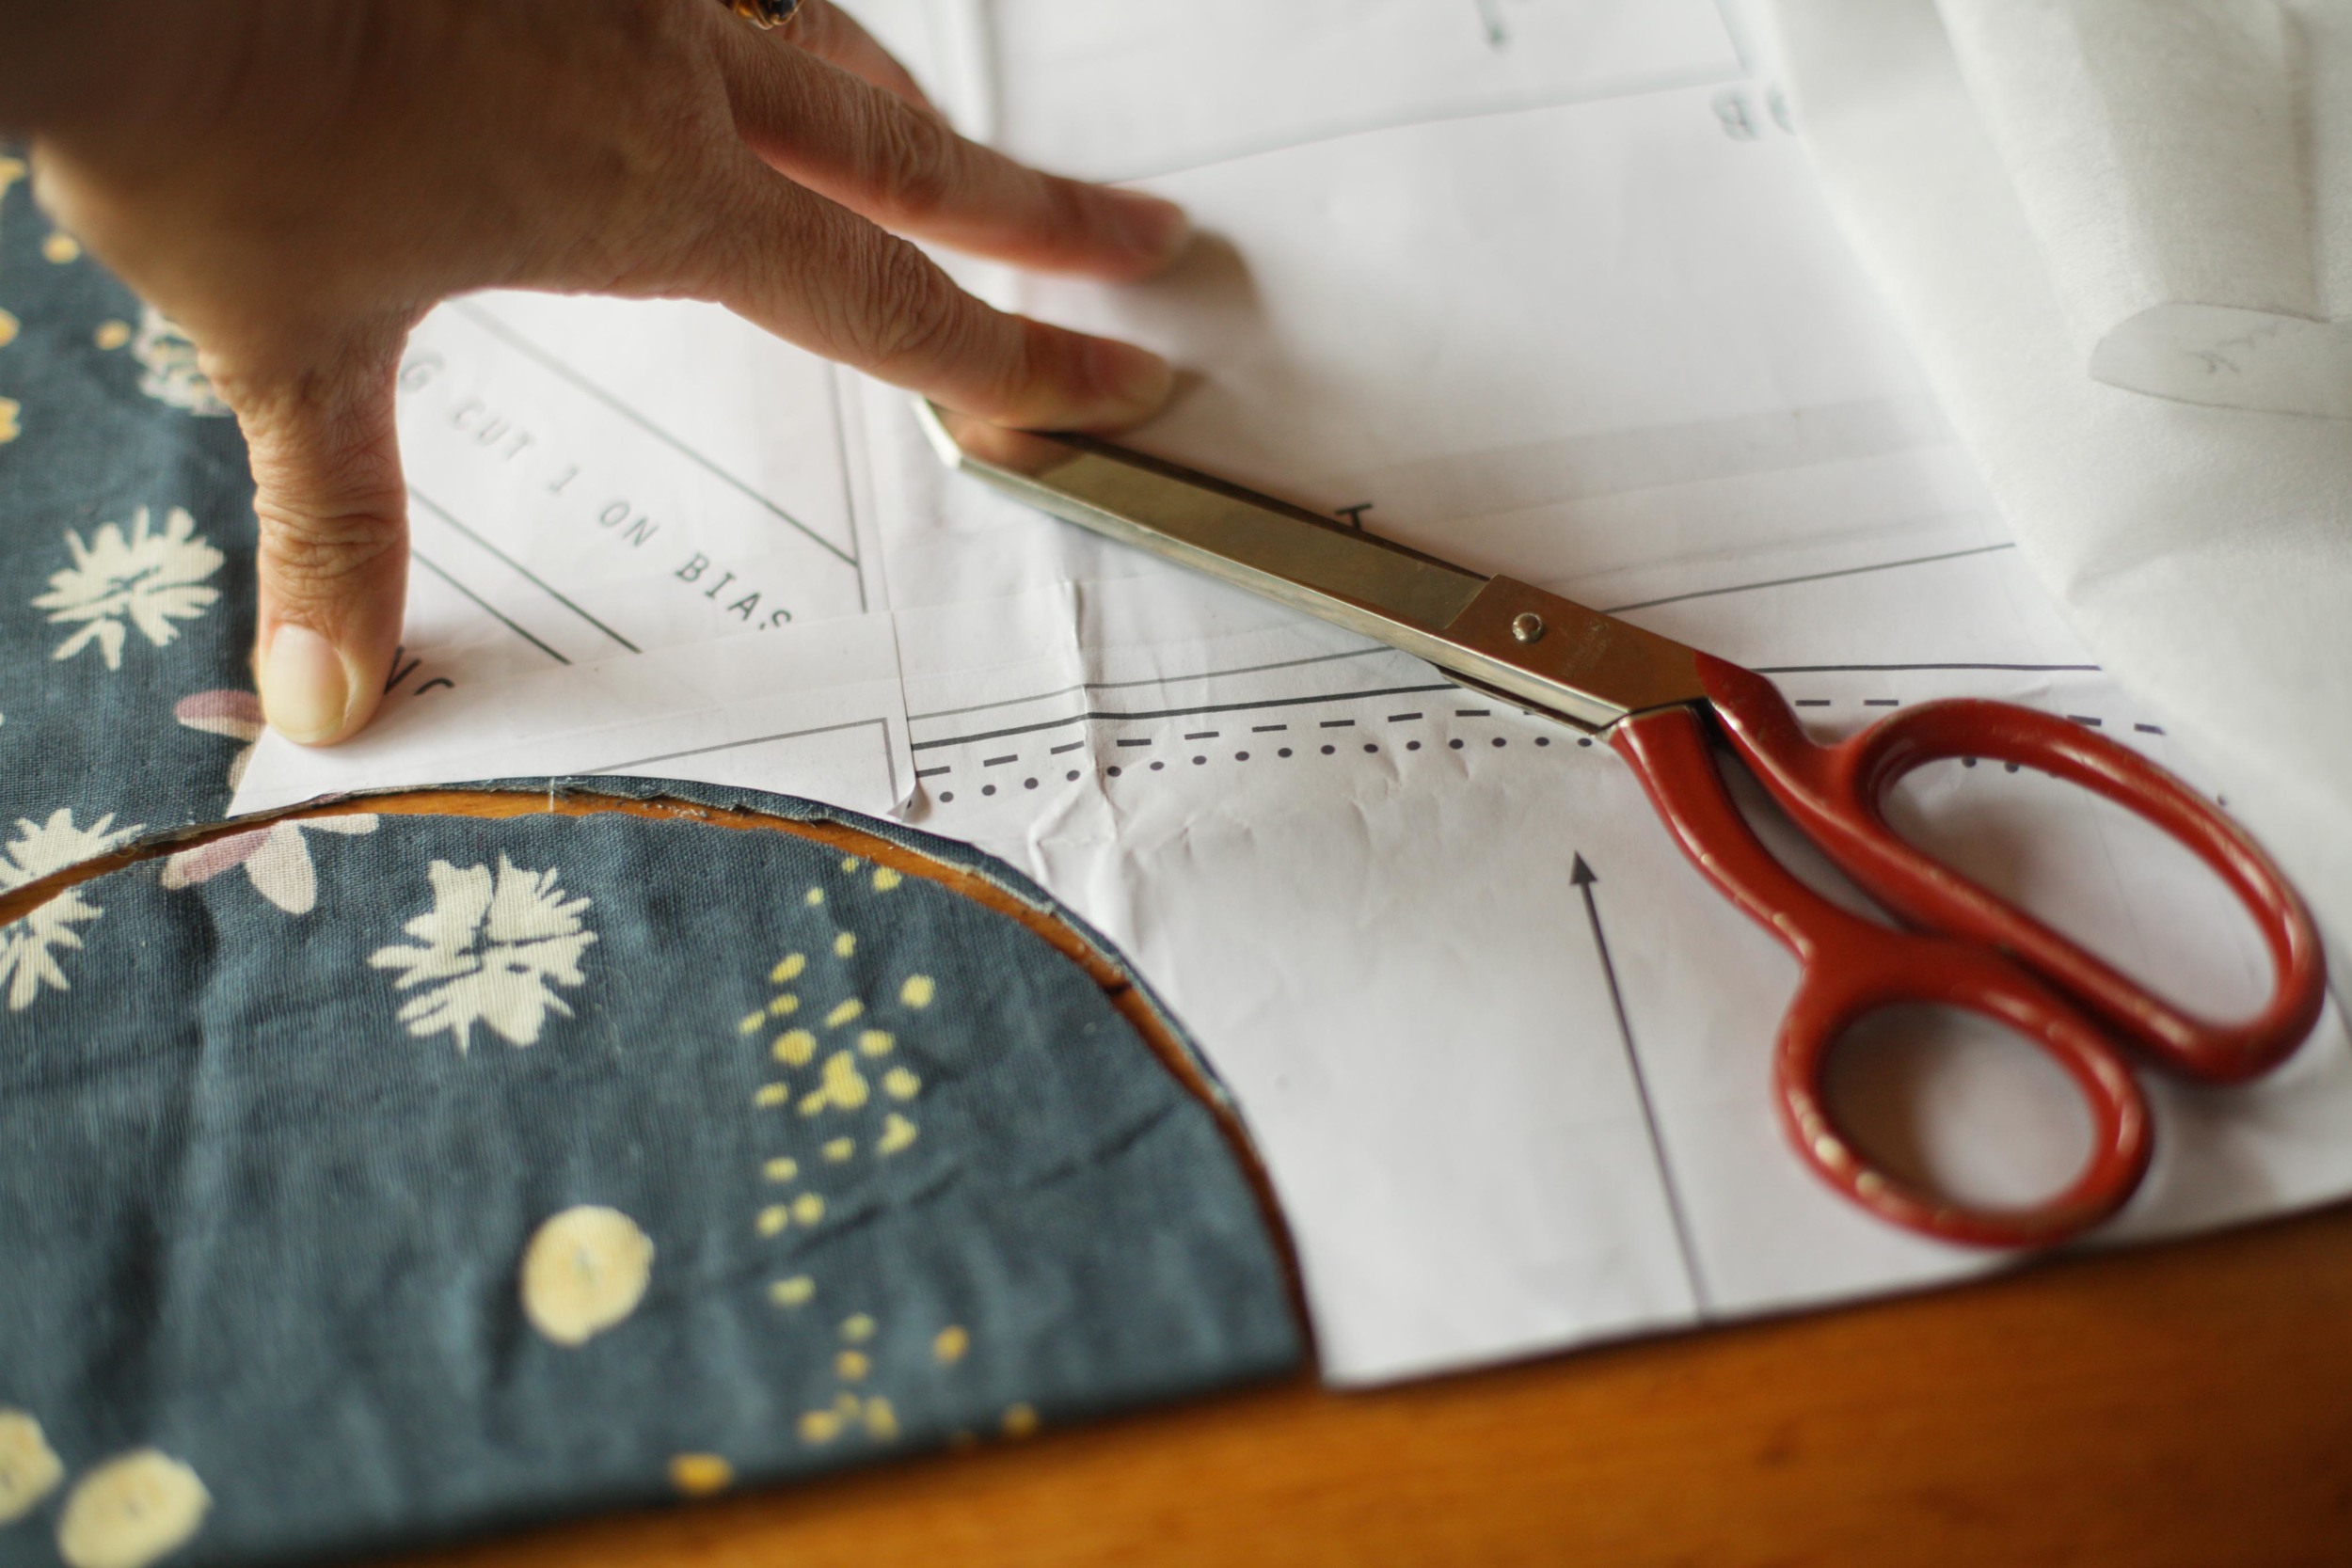
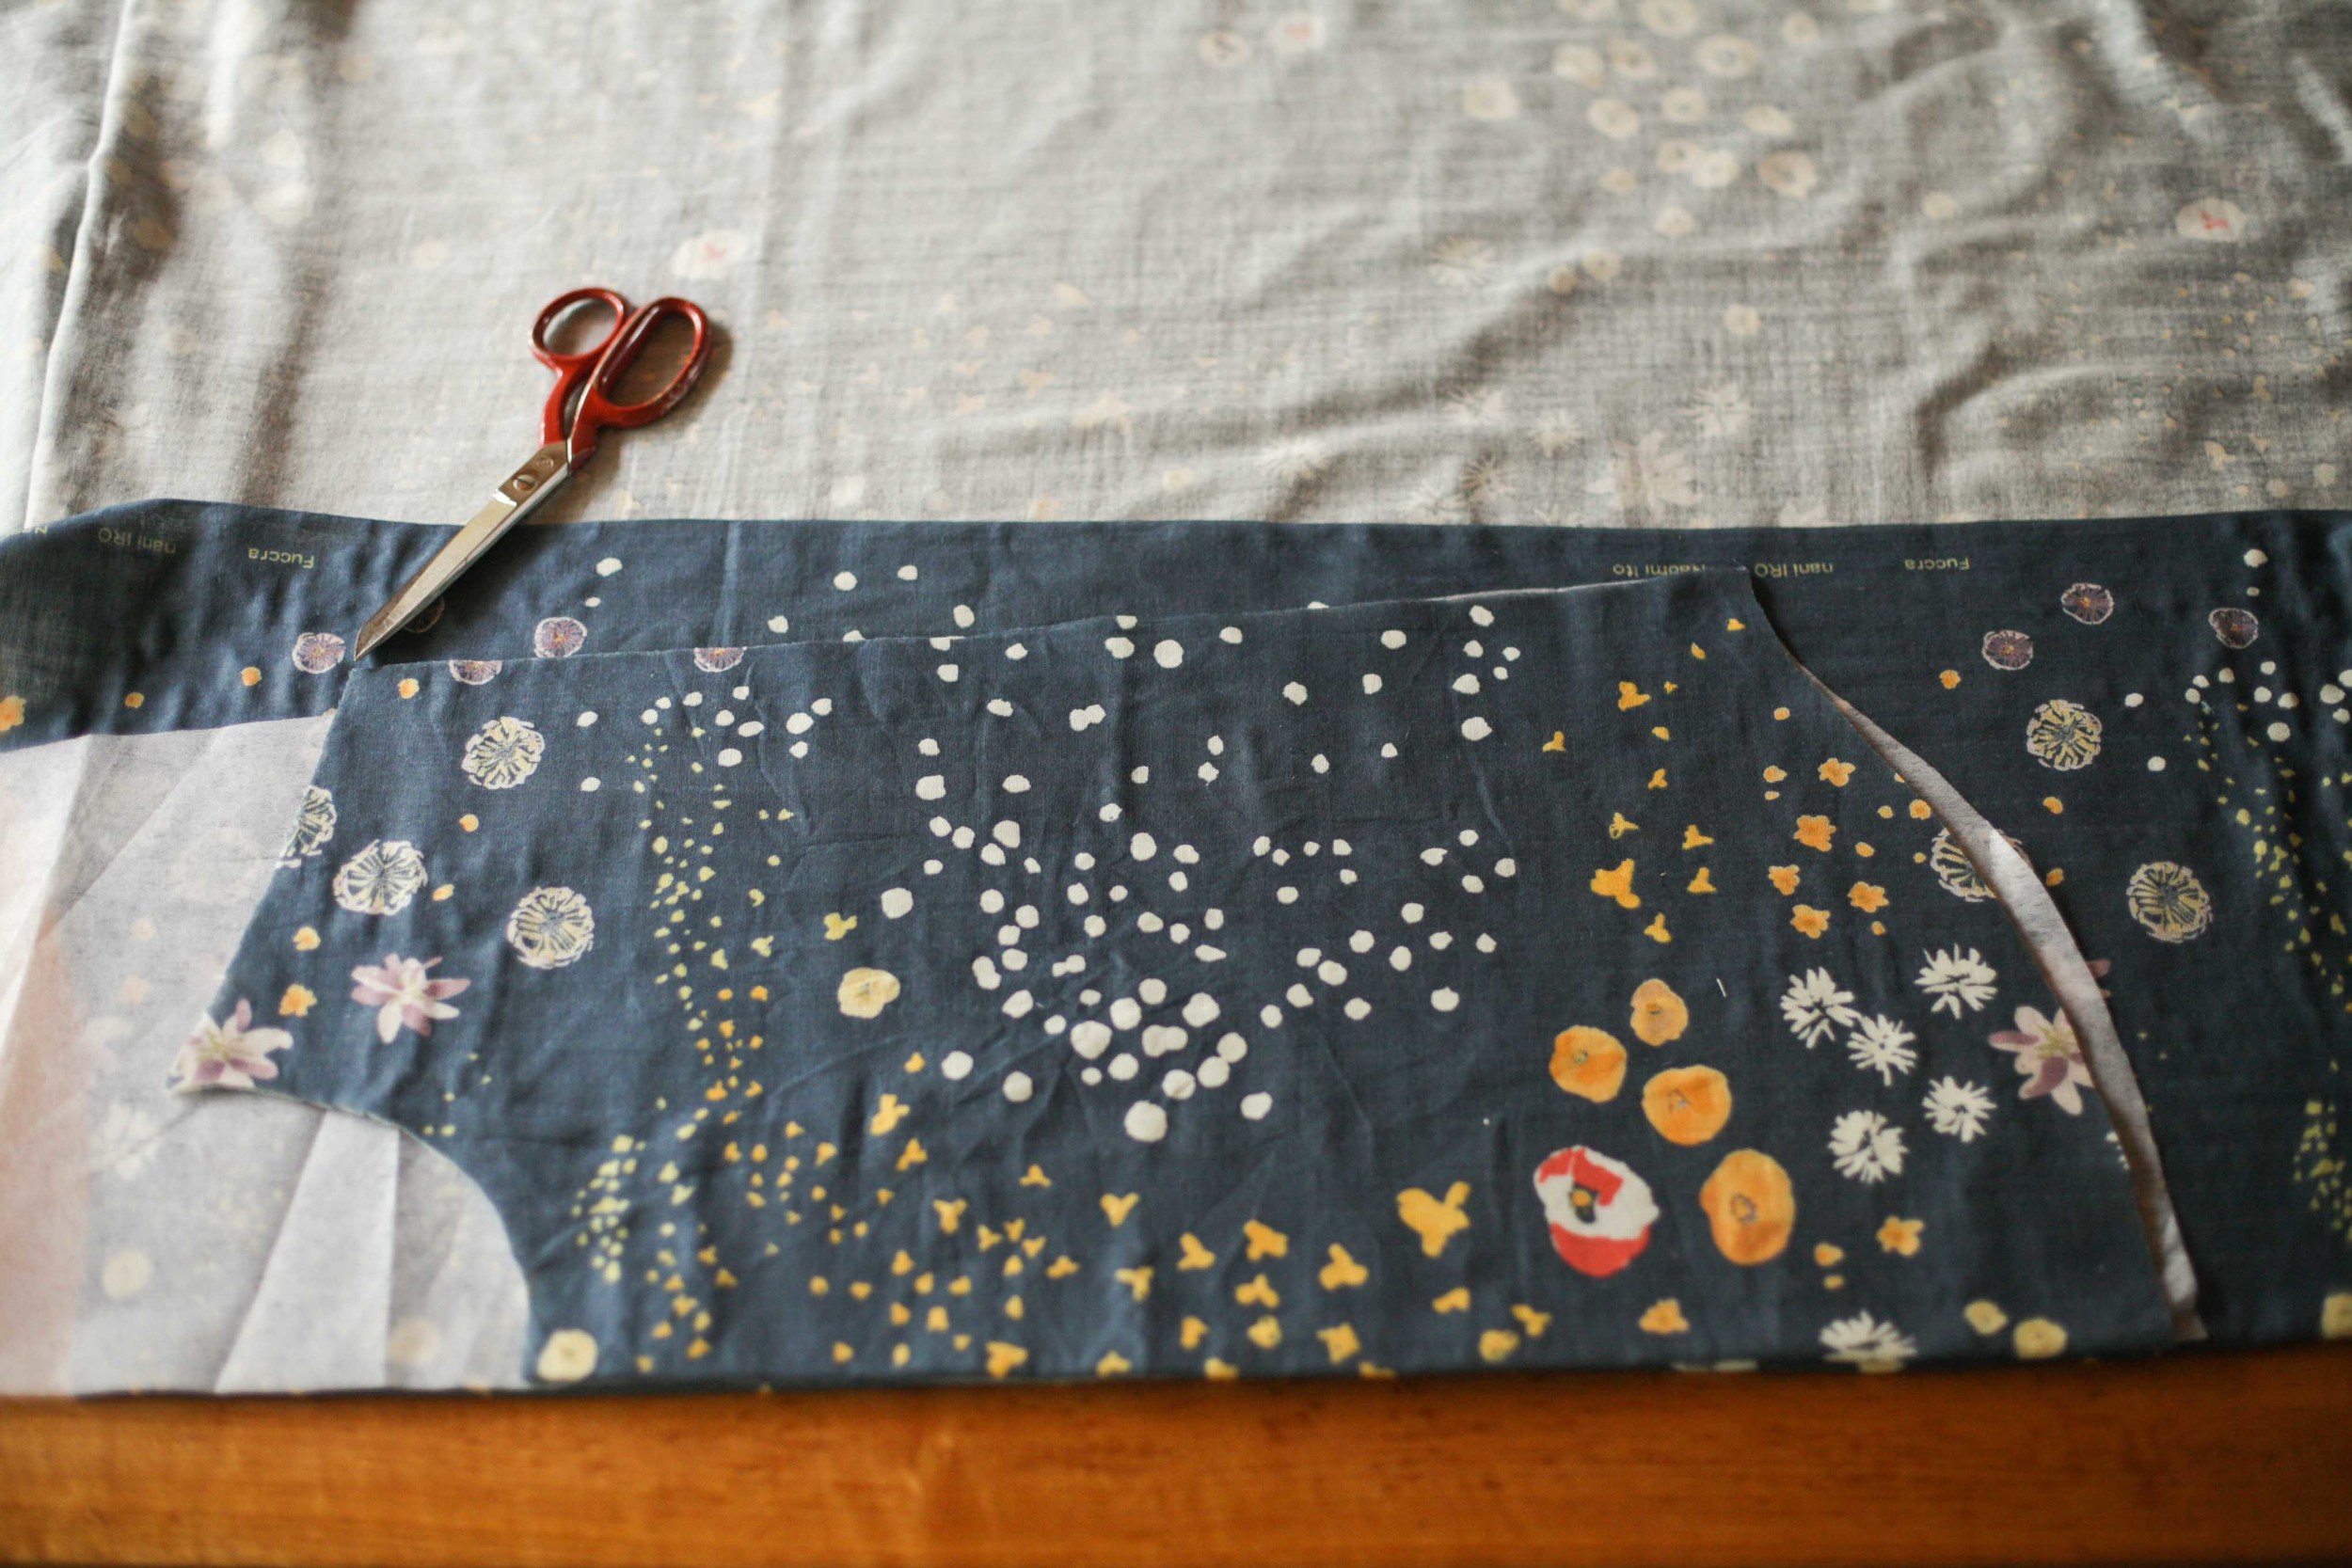
Step 2. The first cut I made was the neckline of the Hemlock Tee. The pattern piece was held on the fold. My scissors need sharpening which is why the cut is jaggedy.

Step 3. I then cut the shoulder seam line to the corner. I don't muck with the shoulder line!

Step 4. I then cut the hemline of the Wiksten Tank pattern piece knowing the right position to put it in as measured in Step 1.

This just shows you the cuts made so far. The neckline, the shoulder seam and the hem.

Step 5. Holding the outer shoulder seam point in place, I pivot my pattern piece so that it creates a straight line between where the Wiksten Tank hemline outer edge is. I create a straight line as I am effectively following the style of the Hemlock Tee pattern here because it is where I am getting my shoulder line from.
Note: If this pattern had an armhole I would cut the armhole out first and then pivot from the bottom of the armhole. What I did for this mashup creates a top with more swing AND more fabric in the chest area. If I didn't want the chest area to change I would figure out where on the side seam line the shoulder finished (problem around the letter P in POCKET on the pattern above) and pivot from that point.

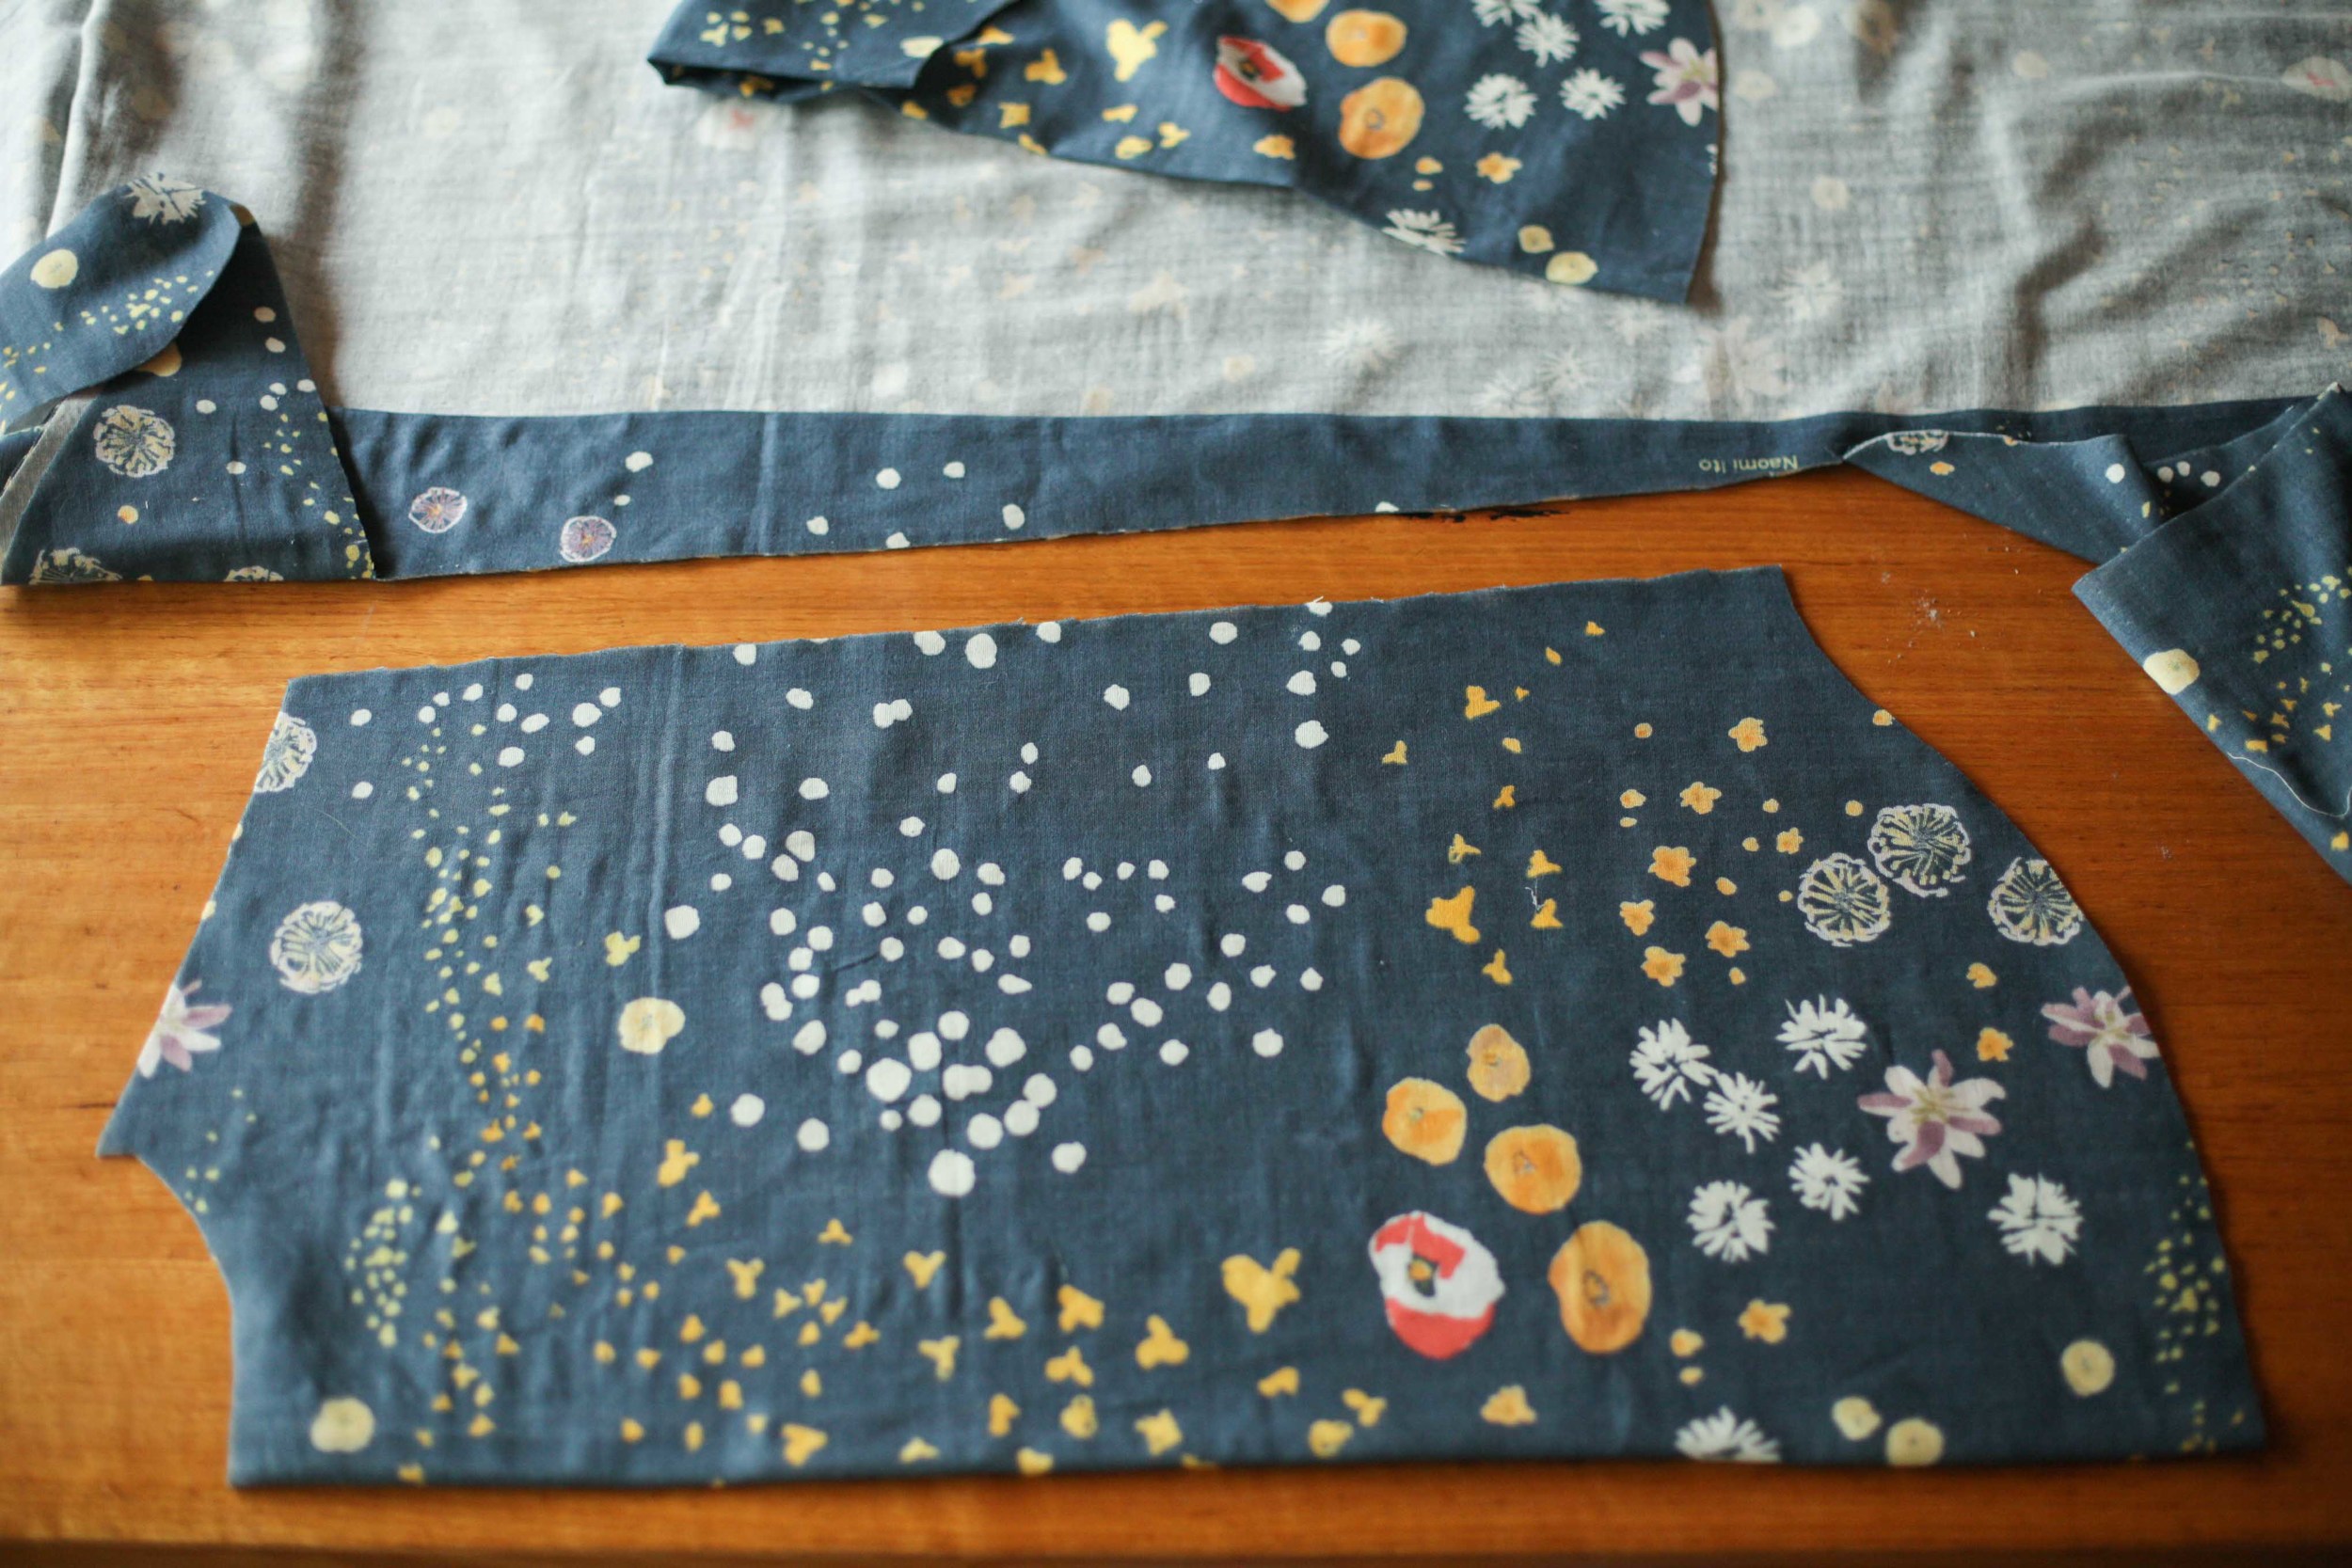
This photo shows the front of the top cut out.
Step 6. Now to cut out the back. First we need to get the length right by laying out our pattern pieces. The curve on the back hem of the Wiksten Tank is slightly different to the front, so the first thing I did was to lay the back piece of the tank down on the fabric. I then added the front piece that I had already cut out and sat it on top. This gave me the length of the side seam by matching the hem outer corners (in the top right of the photo). Mark the shoulder outer corner. You can see in the photos that the scissor tips are showing you where that is.
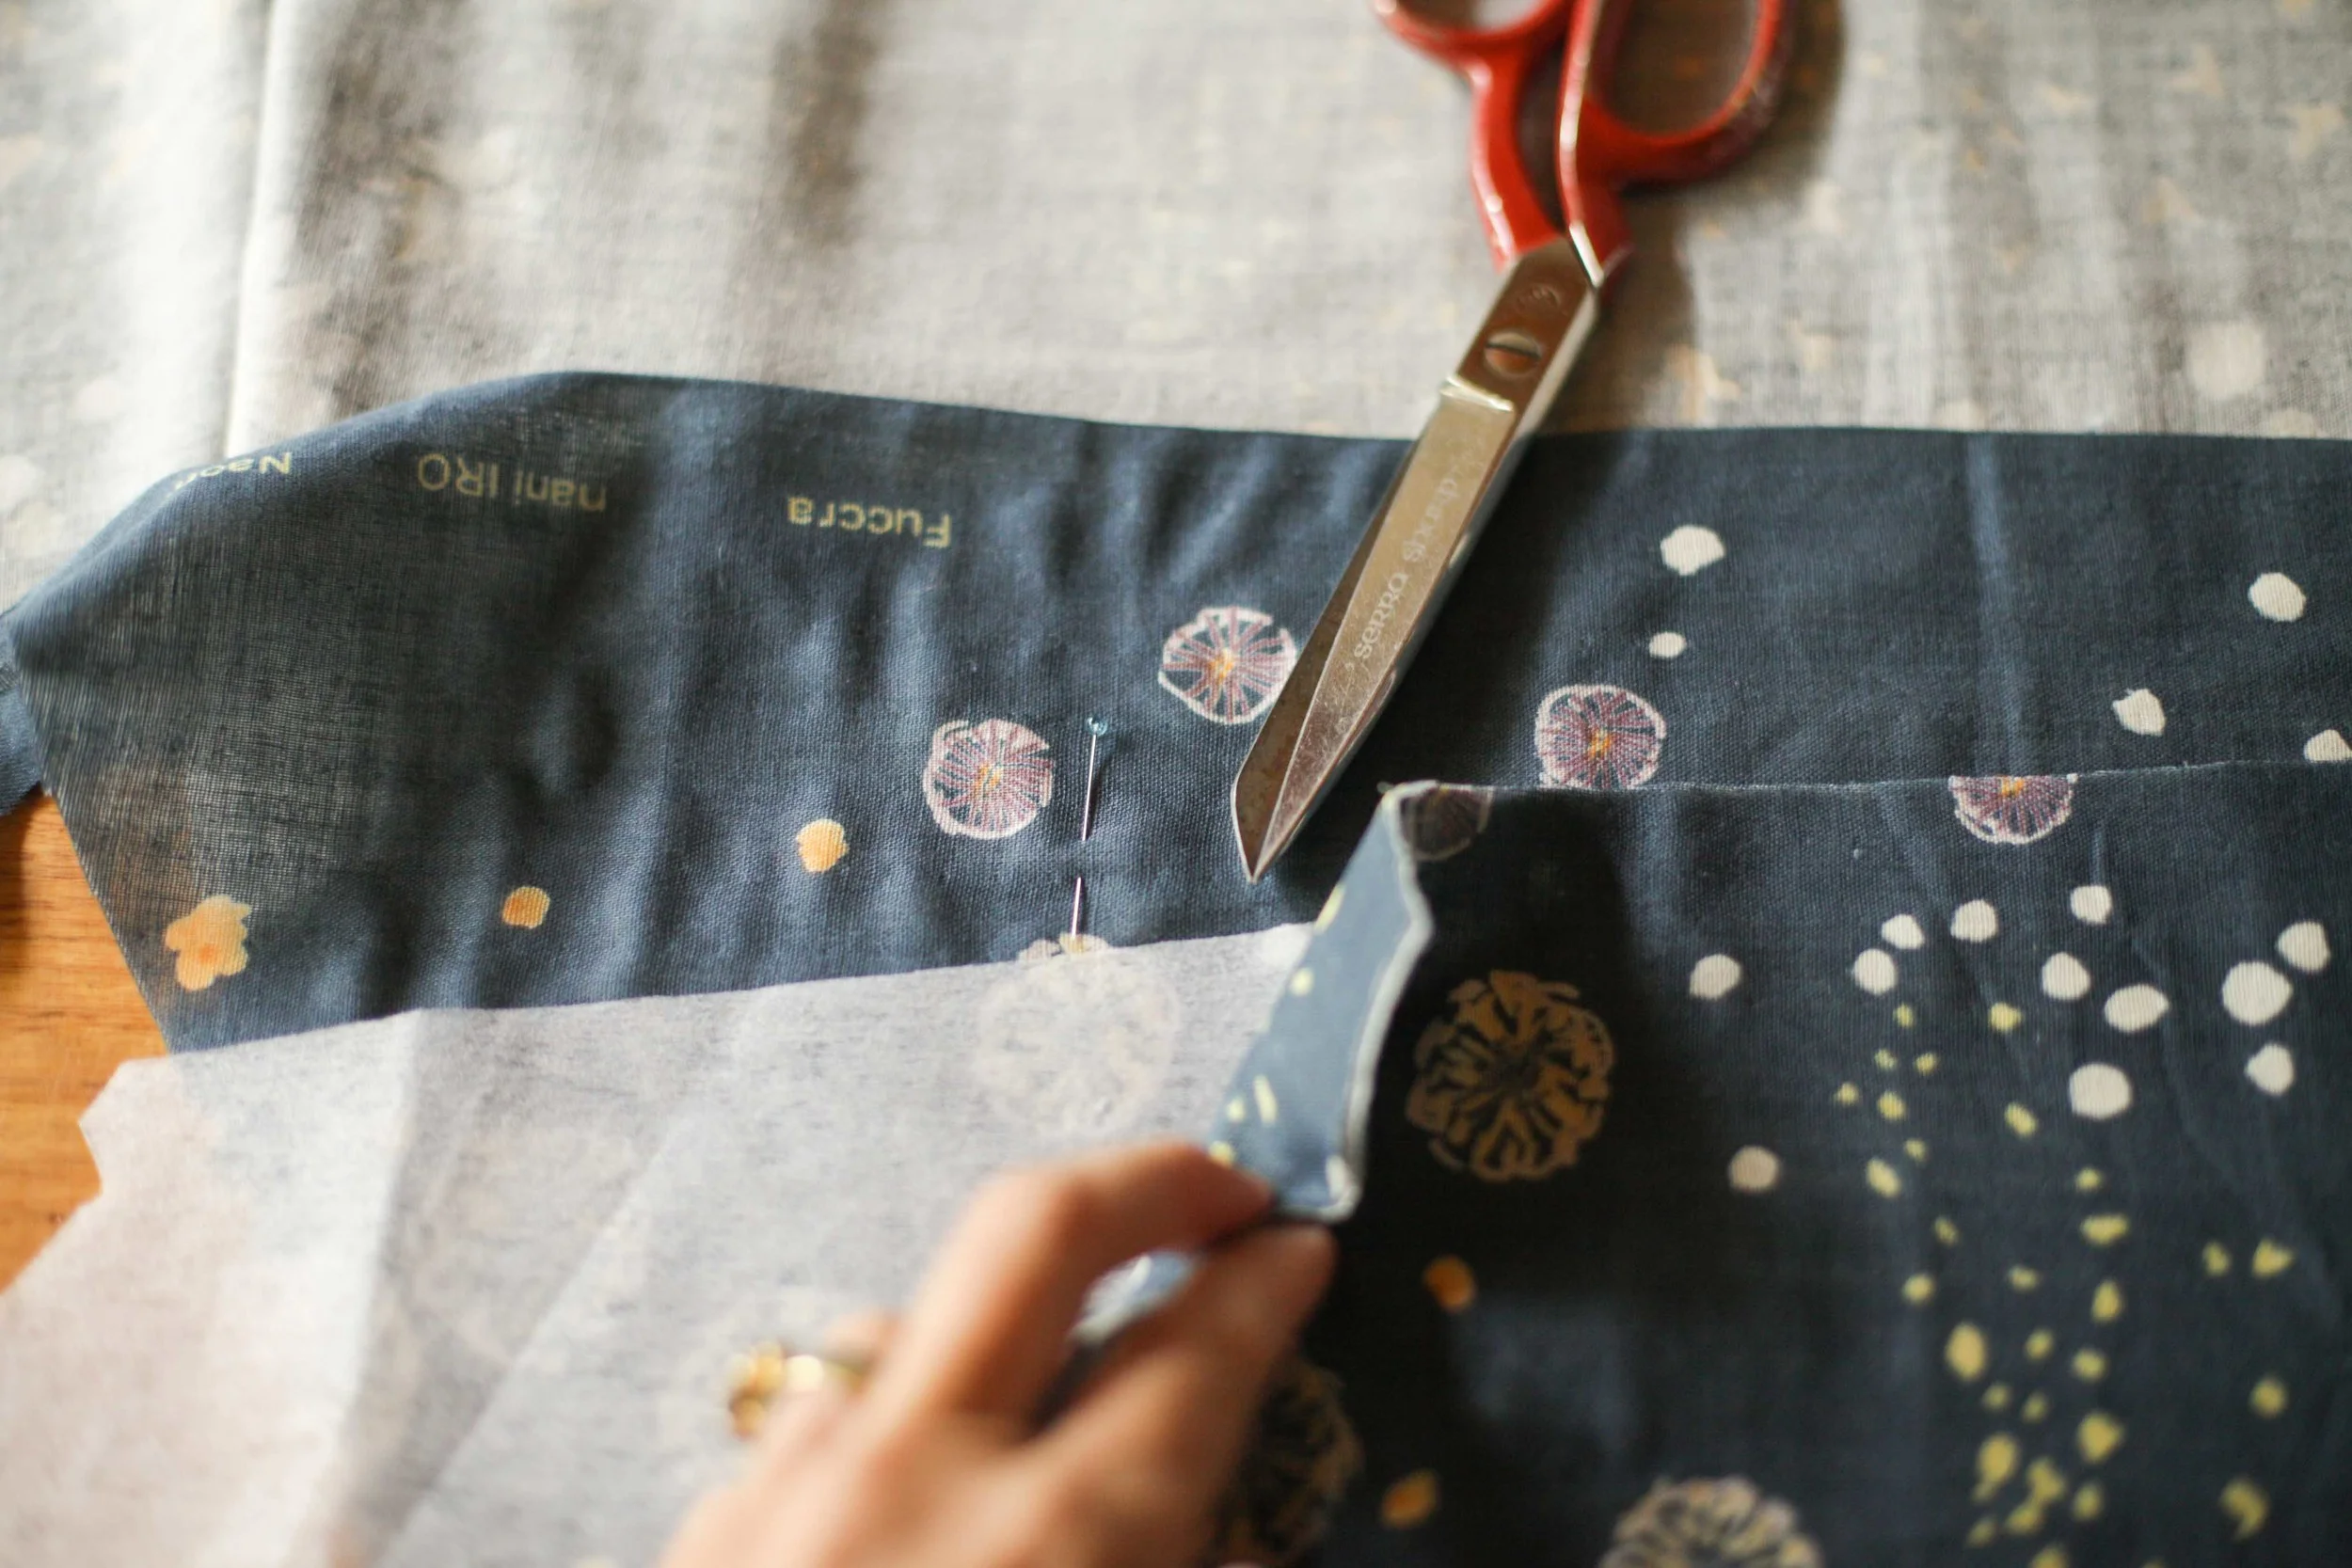
Step 7. The outer shoulder corner is now marked with a pin.
Step 8. Cut out the Wiksten Tank hemline before removing the pattern piece. Note the pin in place for the outer shoulder (near the tip of the scissors).

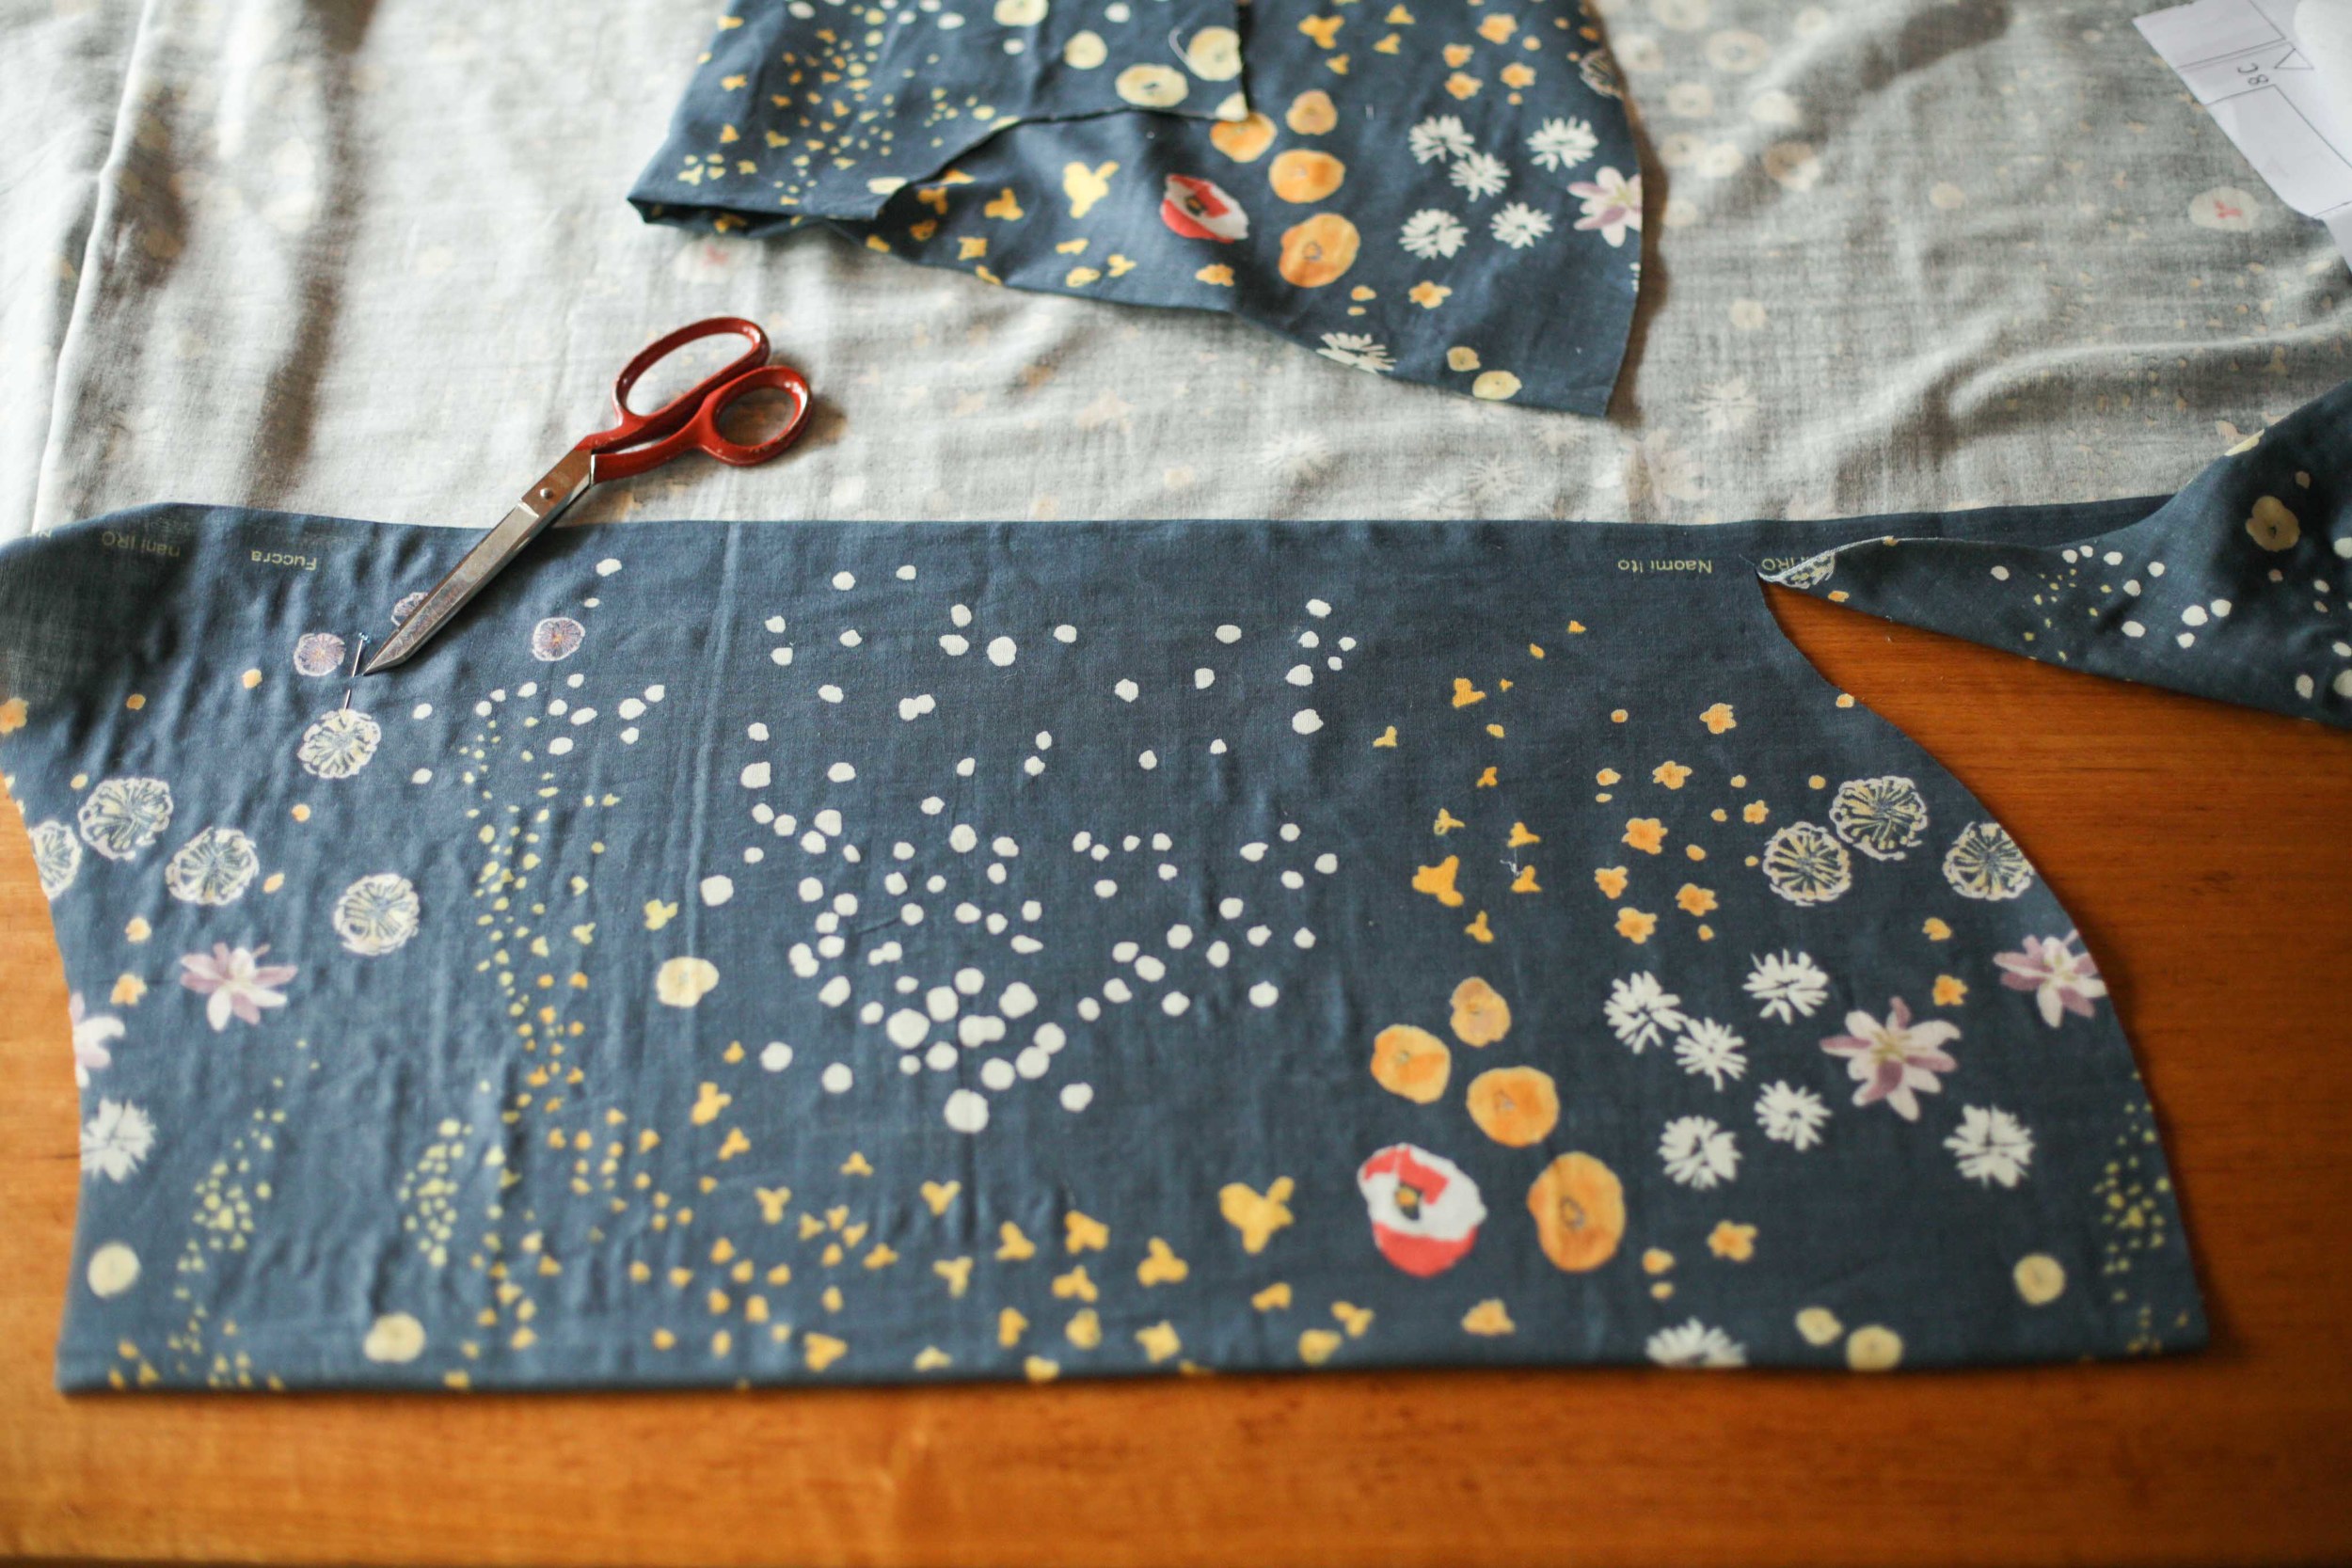
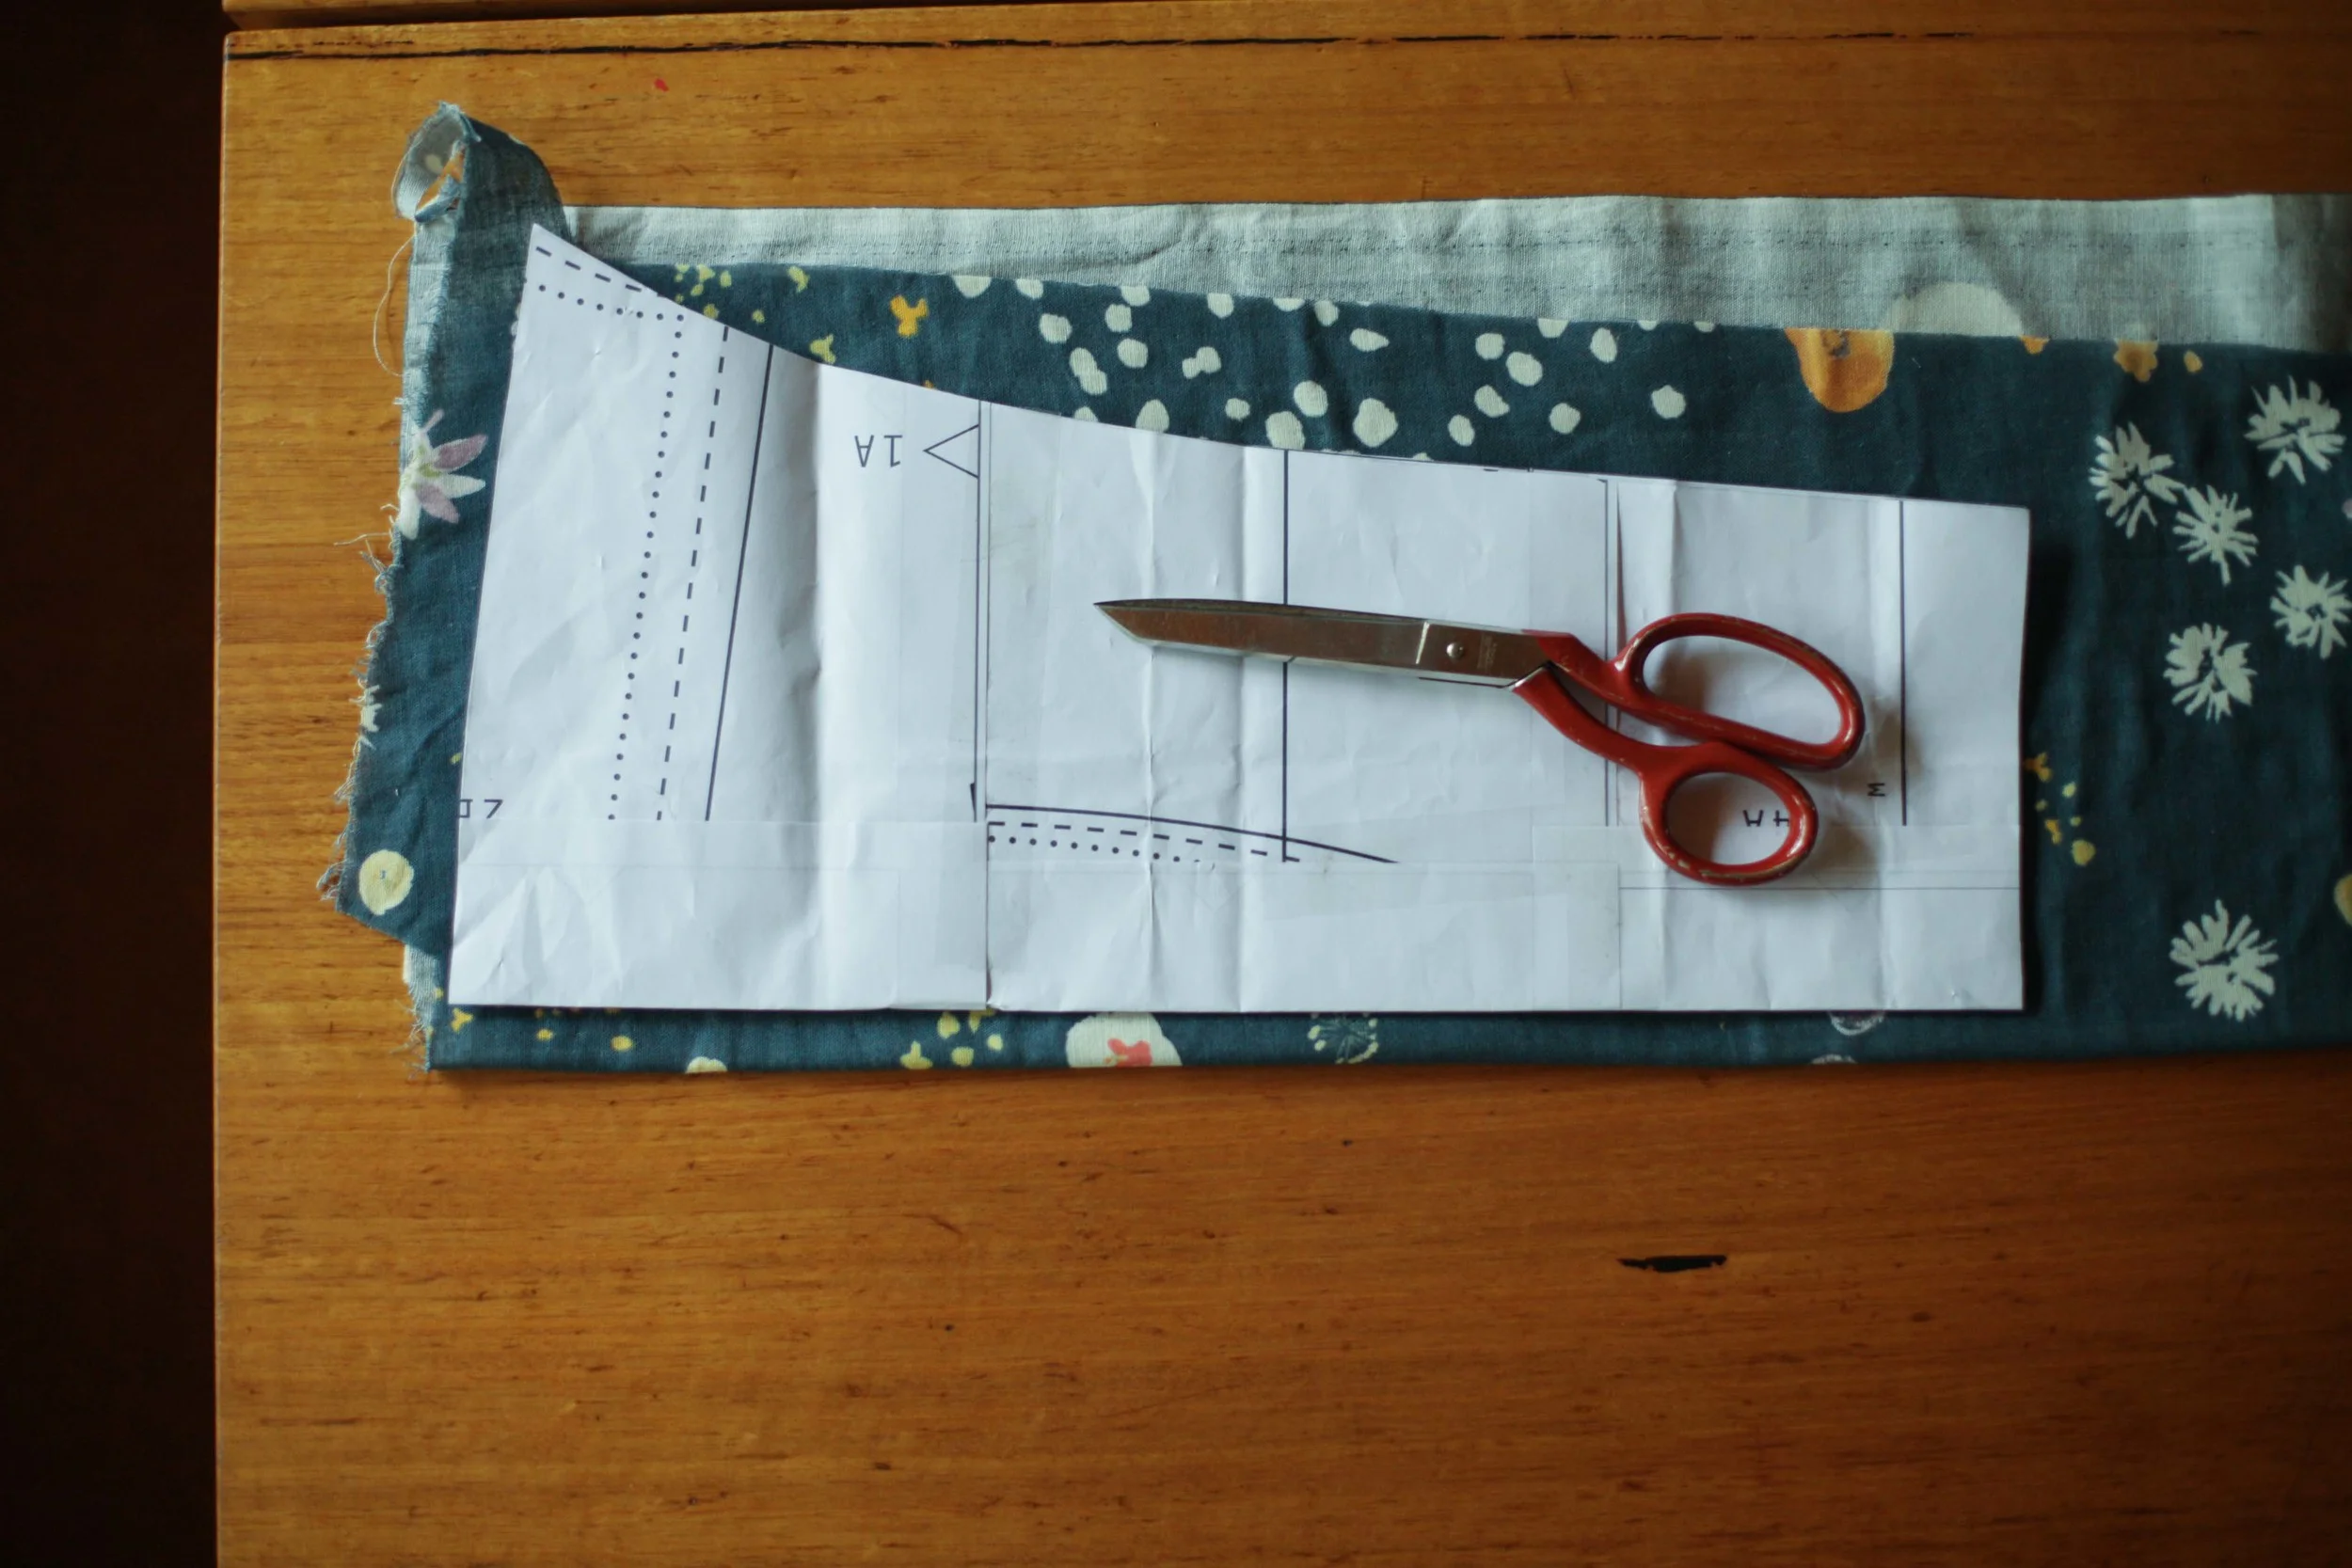
Step 9. Lay the Hemlock Tee Back pattern with the pattern edge on the fold and the outer shoulder edge meeting the pin.
Step 10. Cut out the neckline and shoulder line. Tilting the pattern piece as you did in Step 5 and finish cutting out the pattern back.
Step 11. To add width to the sleeves is simple with this pattern as there is no armhole to contend with. Instead I simply moved the pattern piece away from the fold about 1cm. Next time I would only move it about 0.5cm as these sleeves are a little sloppy.
A couple of companies that love a mashup/alteration are Made By Rae (who is about to come out with a great simple shirt pattern called Beatrix which is similar to the Scout), Colette, Grainline and By Hand London. They have a gazillion amazing tutorials on each of their websites - using their own patterns but there is a load of good things to learn on each site regardless of whether you are using their patterns or not. I particularly love the mashups by By Hand London - it's like their patterns were made for it.
Next up in the series we will cover my two super simple favourite alterations. They are super dodgy but I use them on practically everything I make.
Felicia x