As many of you reading would remember, last year my family went camping. We drove from Denmark to Greece, and then back up through Italy to the UK. I talk a little about how we travelled in that previous post but what I didn't talk about was the craft we saw along the way.
What do I mean when I say "incidental"craft?
As we didn't plan our route at all, we often didn't know anything about where we were, until we parked up for the day. Then tourist information or google would fill in the gaps. This, combined with the fact that we were camping with three little kids ;), meant I didn't really have the time (or the headspace) to really delve into the traditions and the history of each individual countries crafting culture. The daily chores of looking after kids, finding food, travelling and camping totally filled our days.
Some of you reading might think this sounds like crazy talk; with Europe at your feet how could you not take advantage of all the fibre goodness it had to offer. But here's the thing - the goal of this trip was family togetherness, and that meant that everyone's needs had to be considered all of the time. We were asking a lot of our kids - they were only 3, 6 and 7 when we left. Many days the kids were too overexcited/tired/grumpy/hungry/dirty to see the sights that were on our doorstep, let alone go on a trek to see a wool shop. Crazily they don't care about wool. Very occasionally when we stopped in a big city I would purposefully seek something out. But most days generally "incidental" craft was really where it was at.
Crafting tourism is something I think I need to save until they have got bigger or maybe even until they have left home? Those with older kids should chime in here - does it get easier to wool shop?
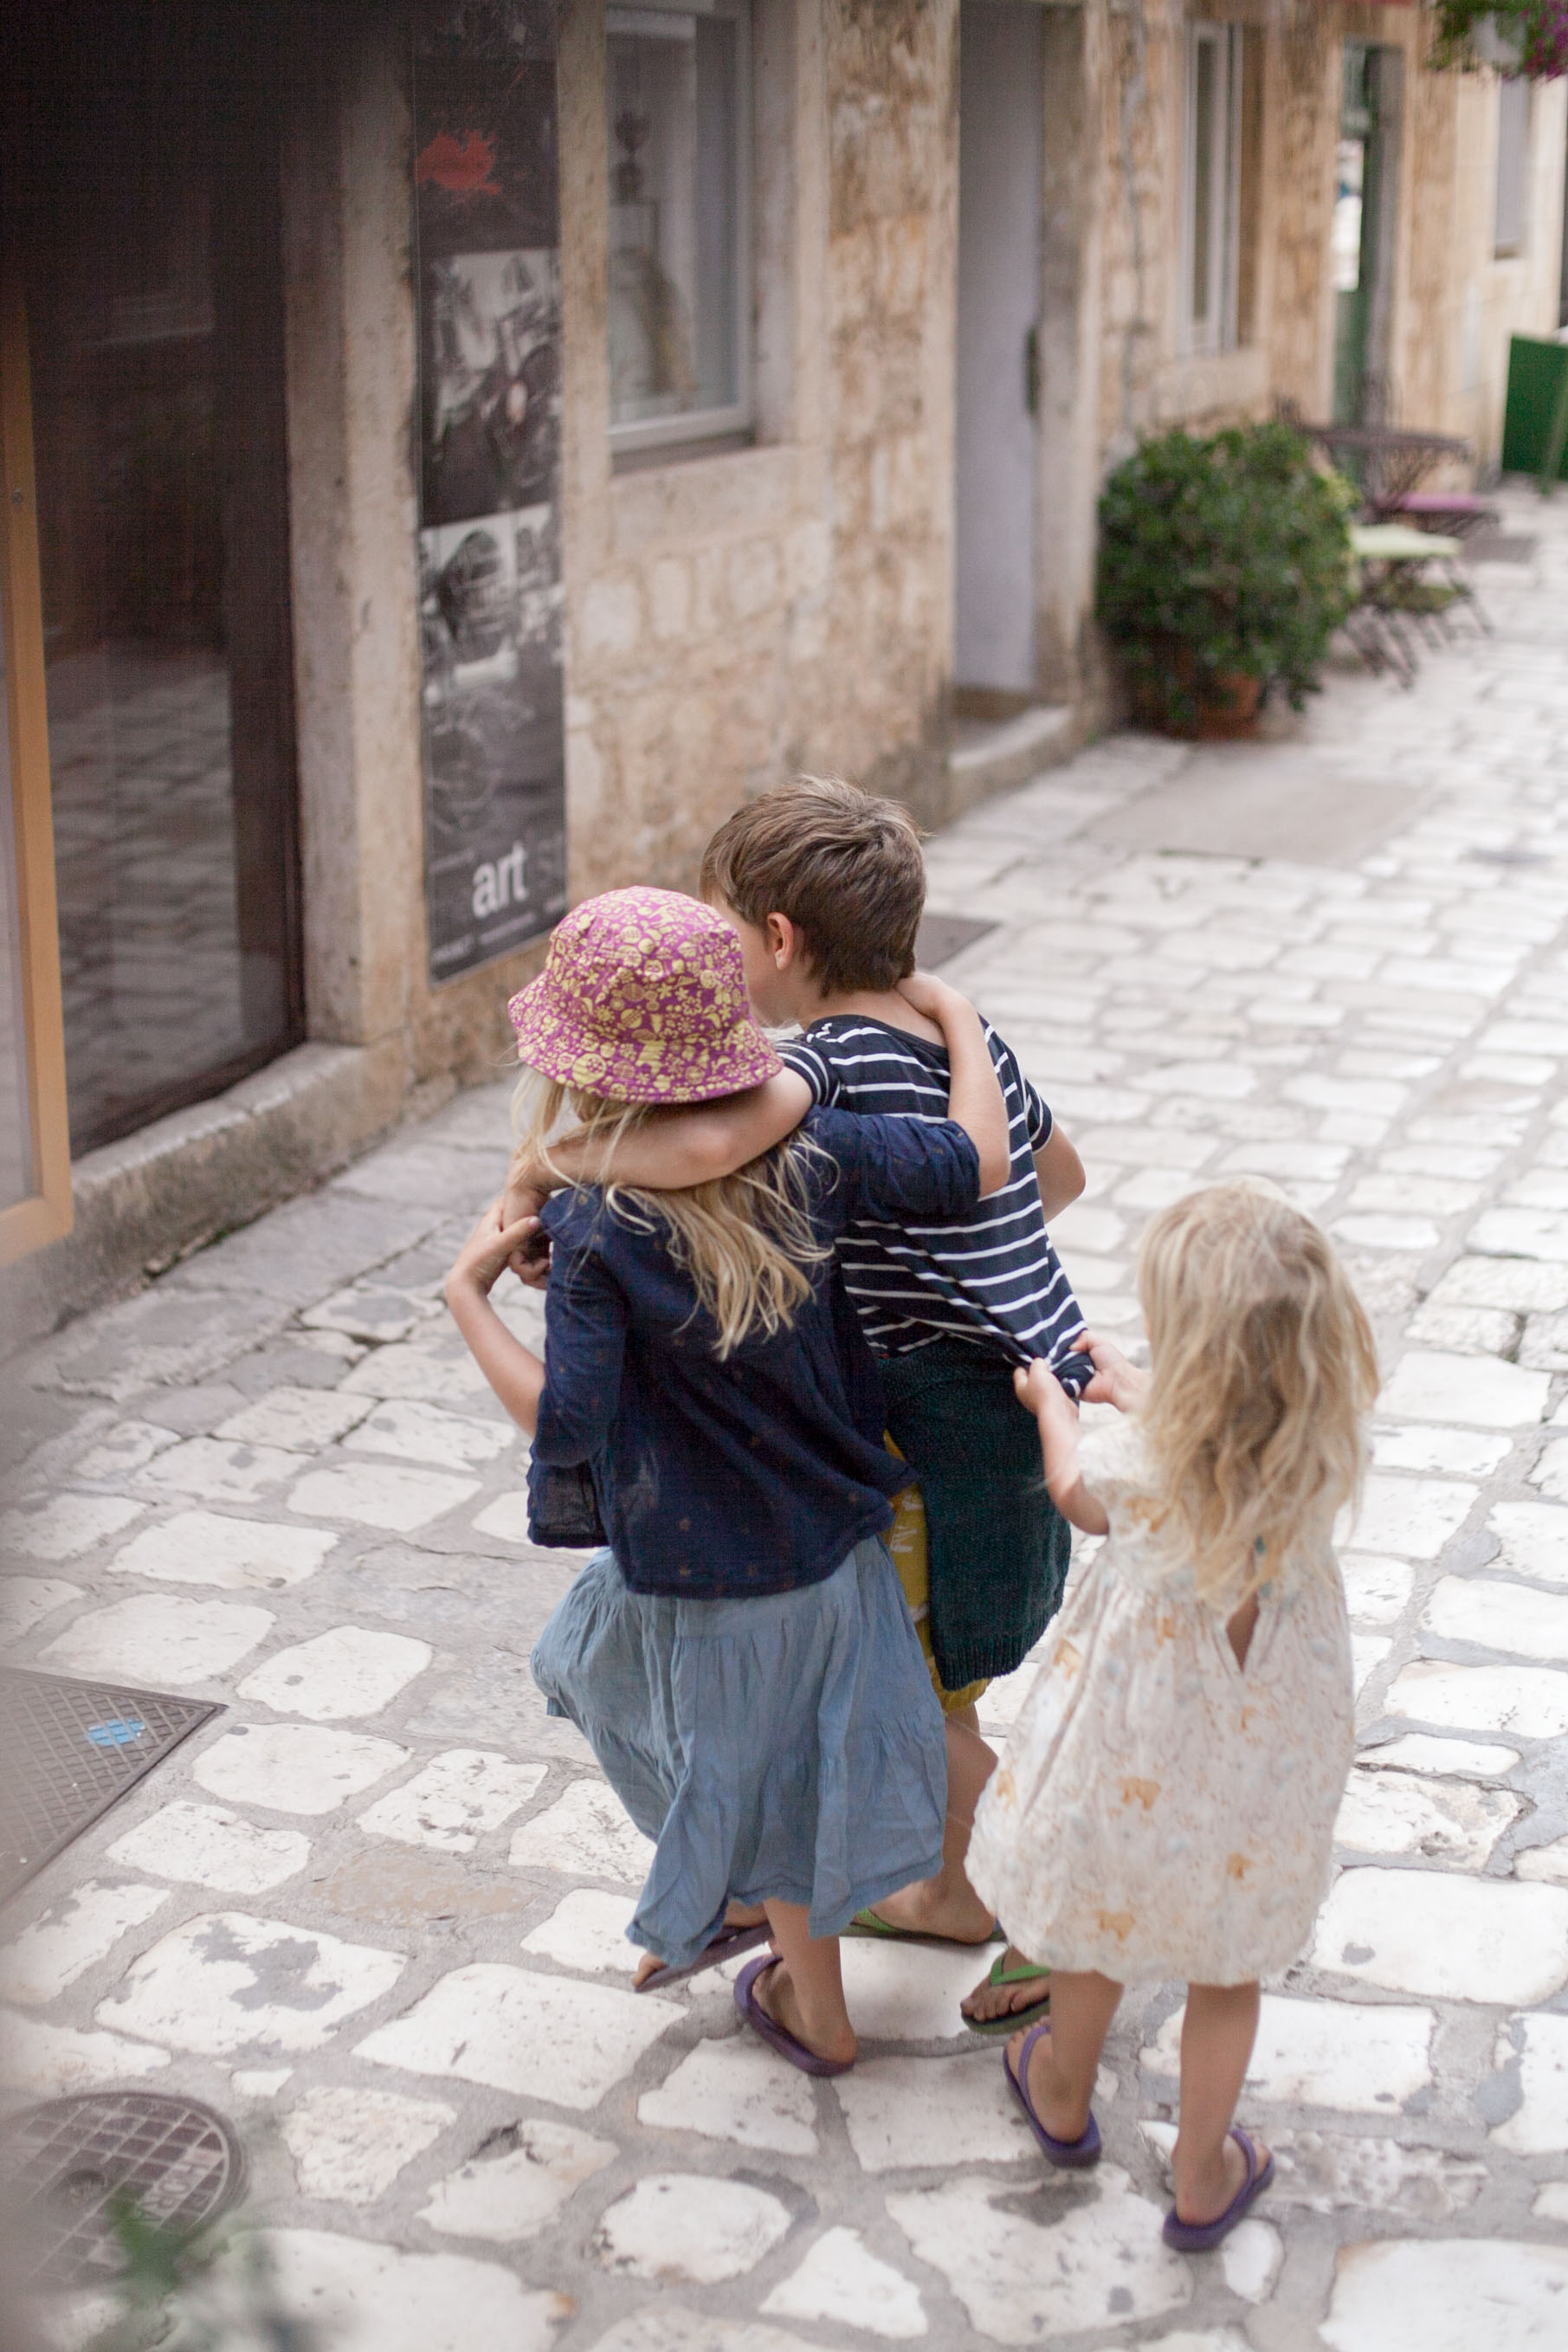
What they often looked like right before they started to wrestle on the ground in a small pile of bodies.
So when I did see craft, I was pretty happy. And I realised the other day that I didn't show you anything I found - and that seemed a little crazy. So I've pulled off a few photos of places where craft was clearly visible on the street.
Initially I thought I would do this all in one post. But it's getting a little long so I'll post some more next week. Next up we will have Sarajevo and Albania.
Split, Croatia
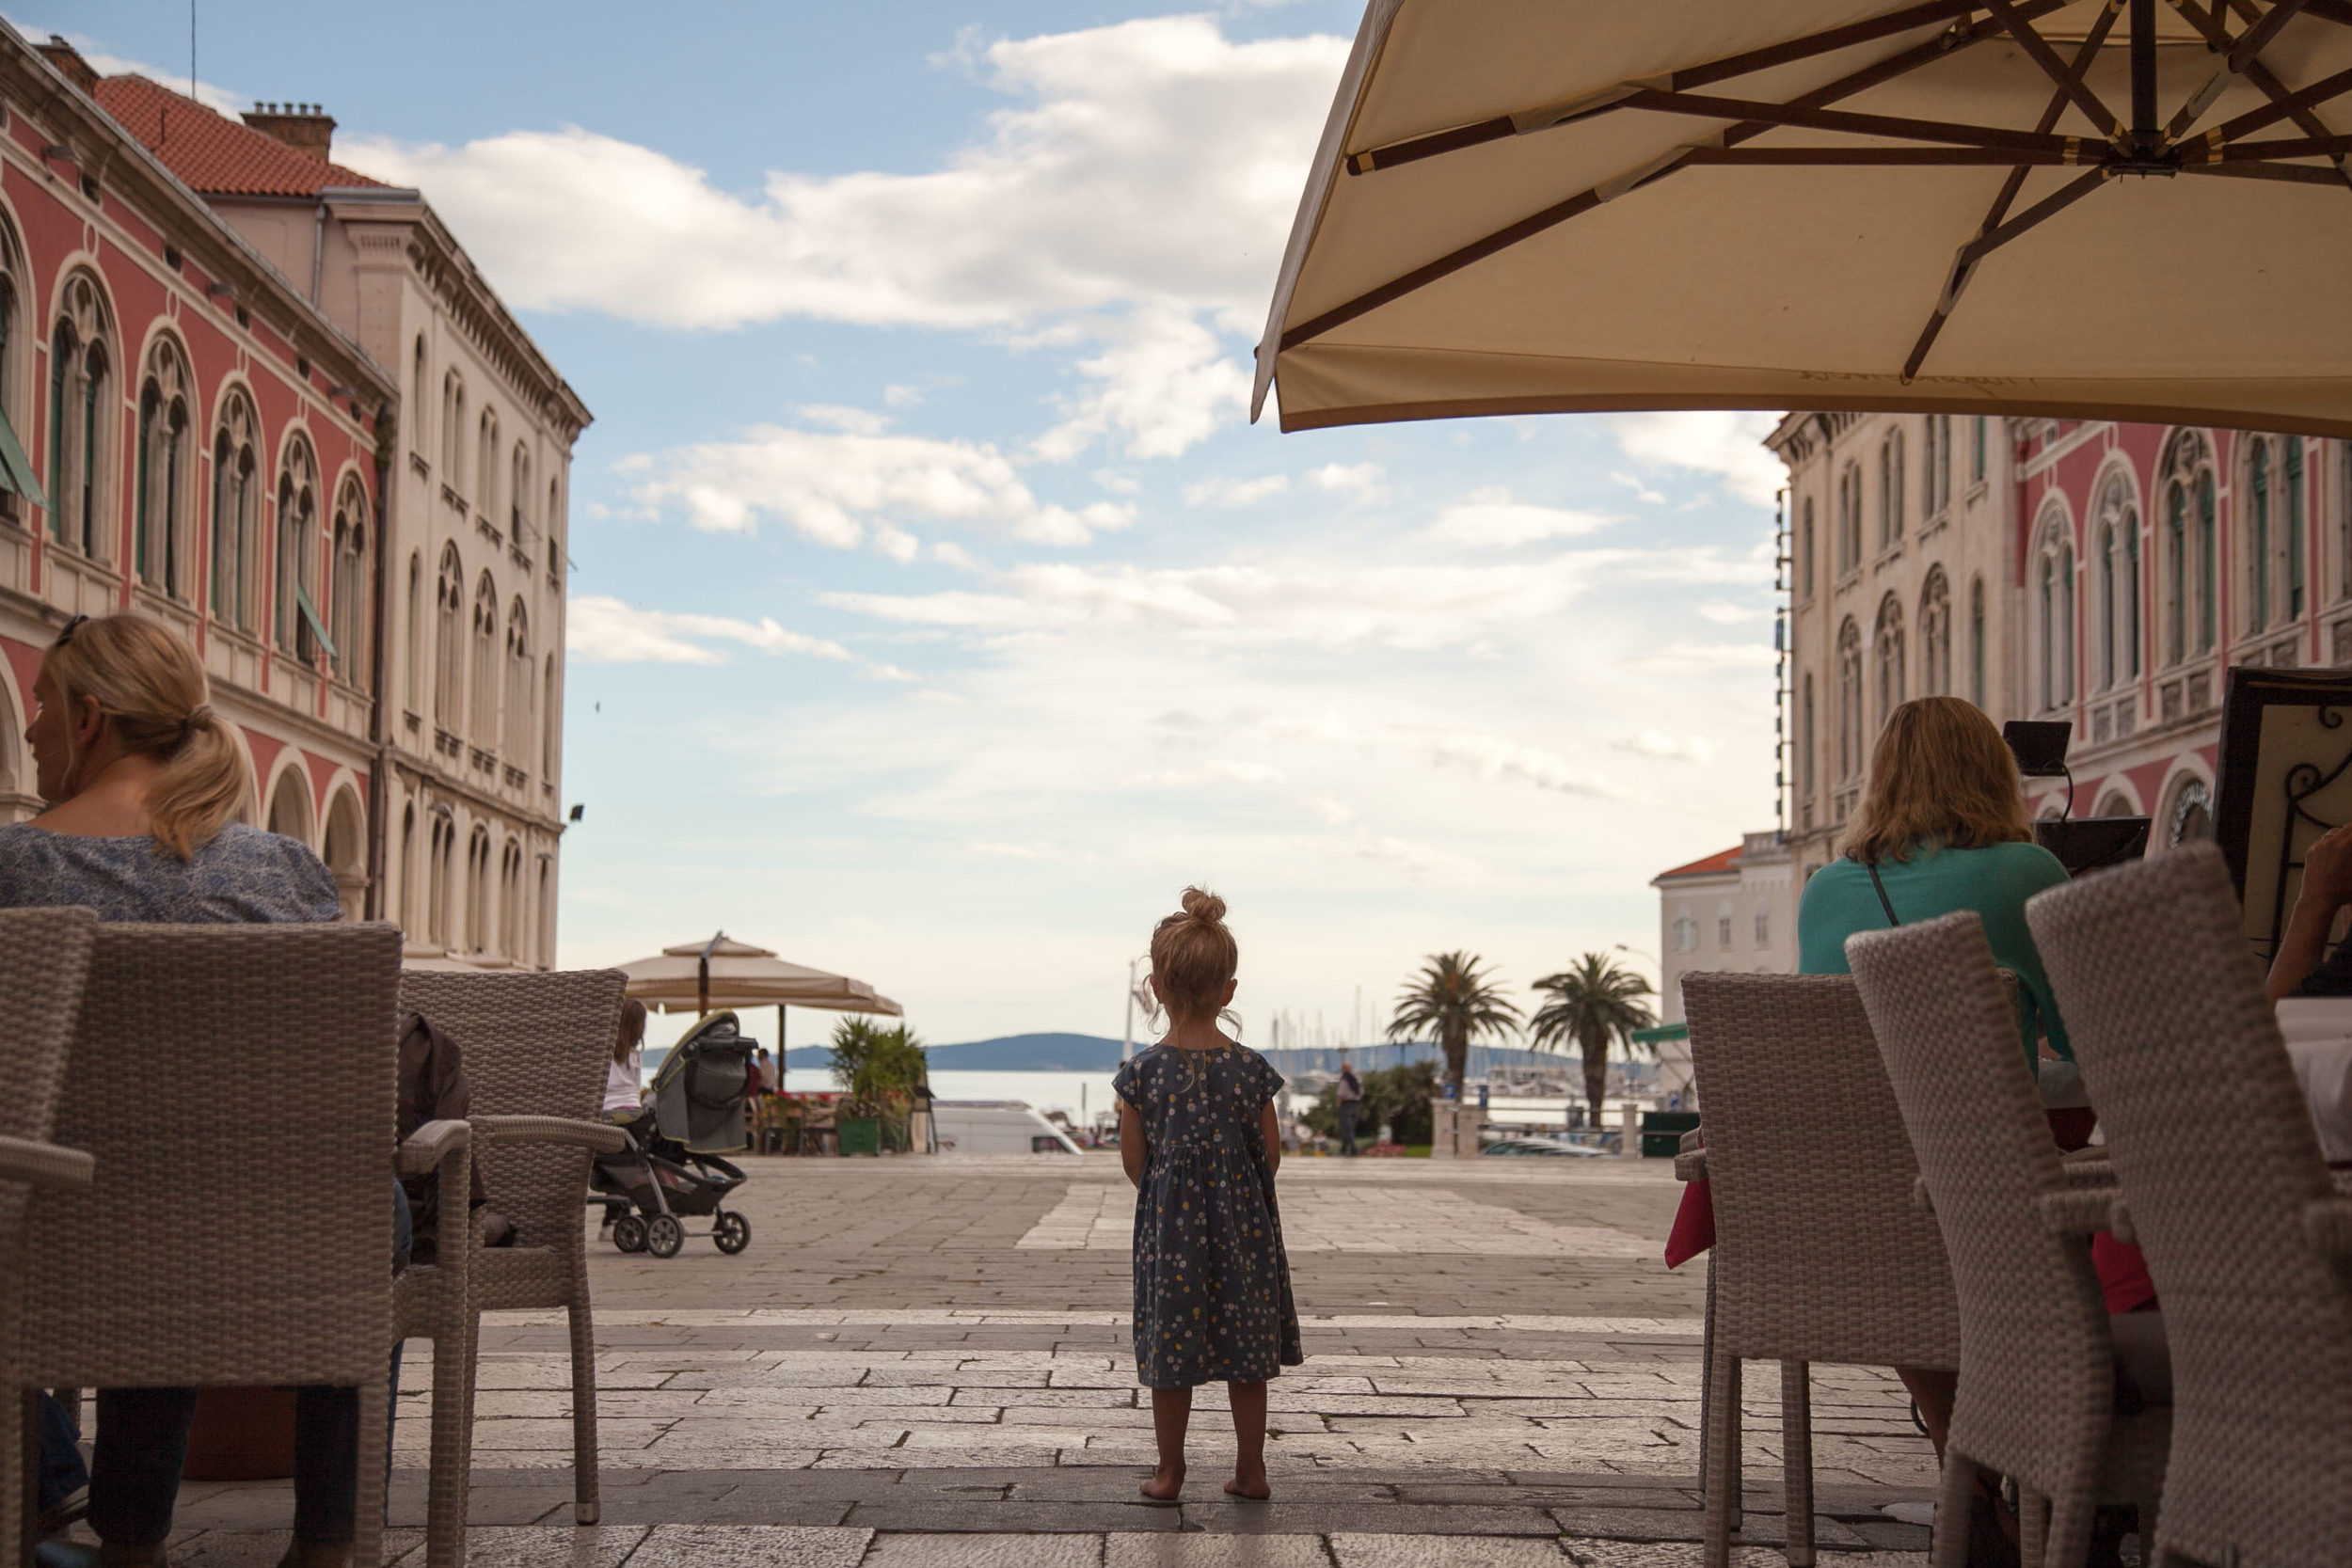
Split
This was the first place I really encountered craft at a market, or on the street. The lady in the photo came from a knitting family. She or one of her relatives knitted everything on her stall. I (being the stupid tourist ;)) asked where did her wool come from. "Croatia". Obviously.


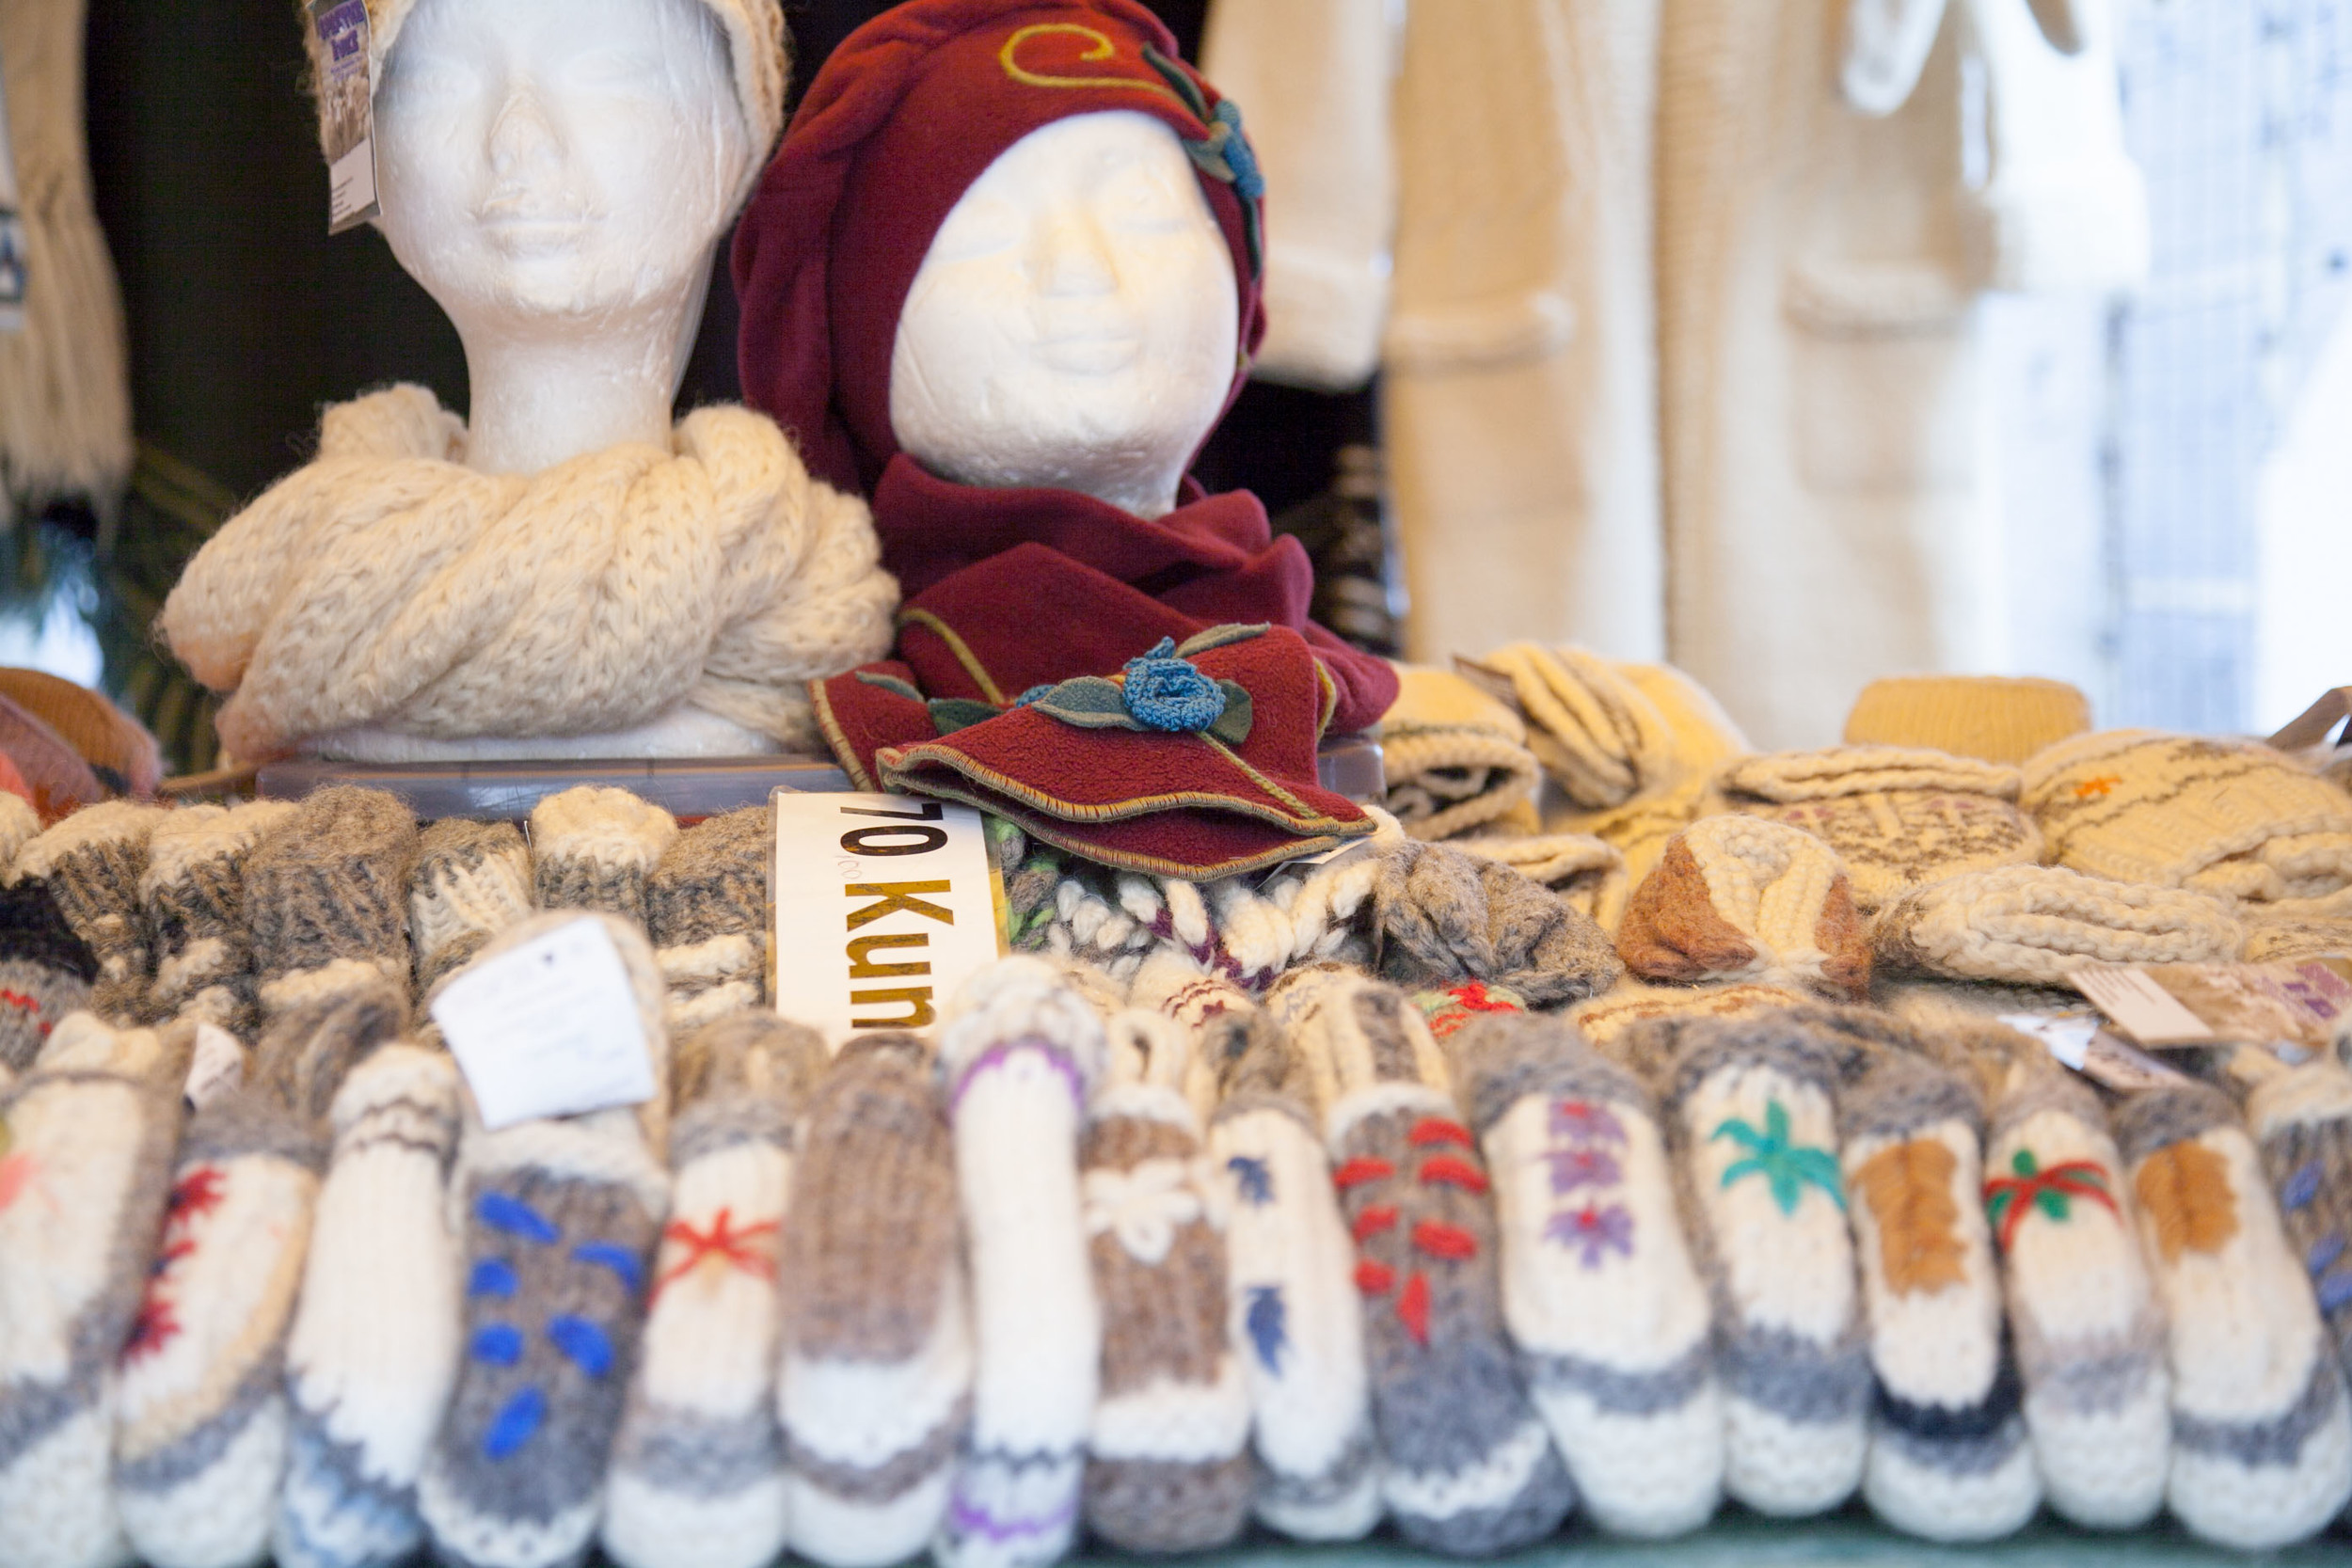
We purchased some socks from her - which had some side toe shaping I really liked and recently copied in the first pair of socks I had made for myself. I also got some super cute slippers for the girls. A little crazy but they love them.

The wool was fairly rustic and definitely not for the feint hearted. Sadly they only lasted a few months before I wore holes in them.
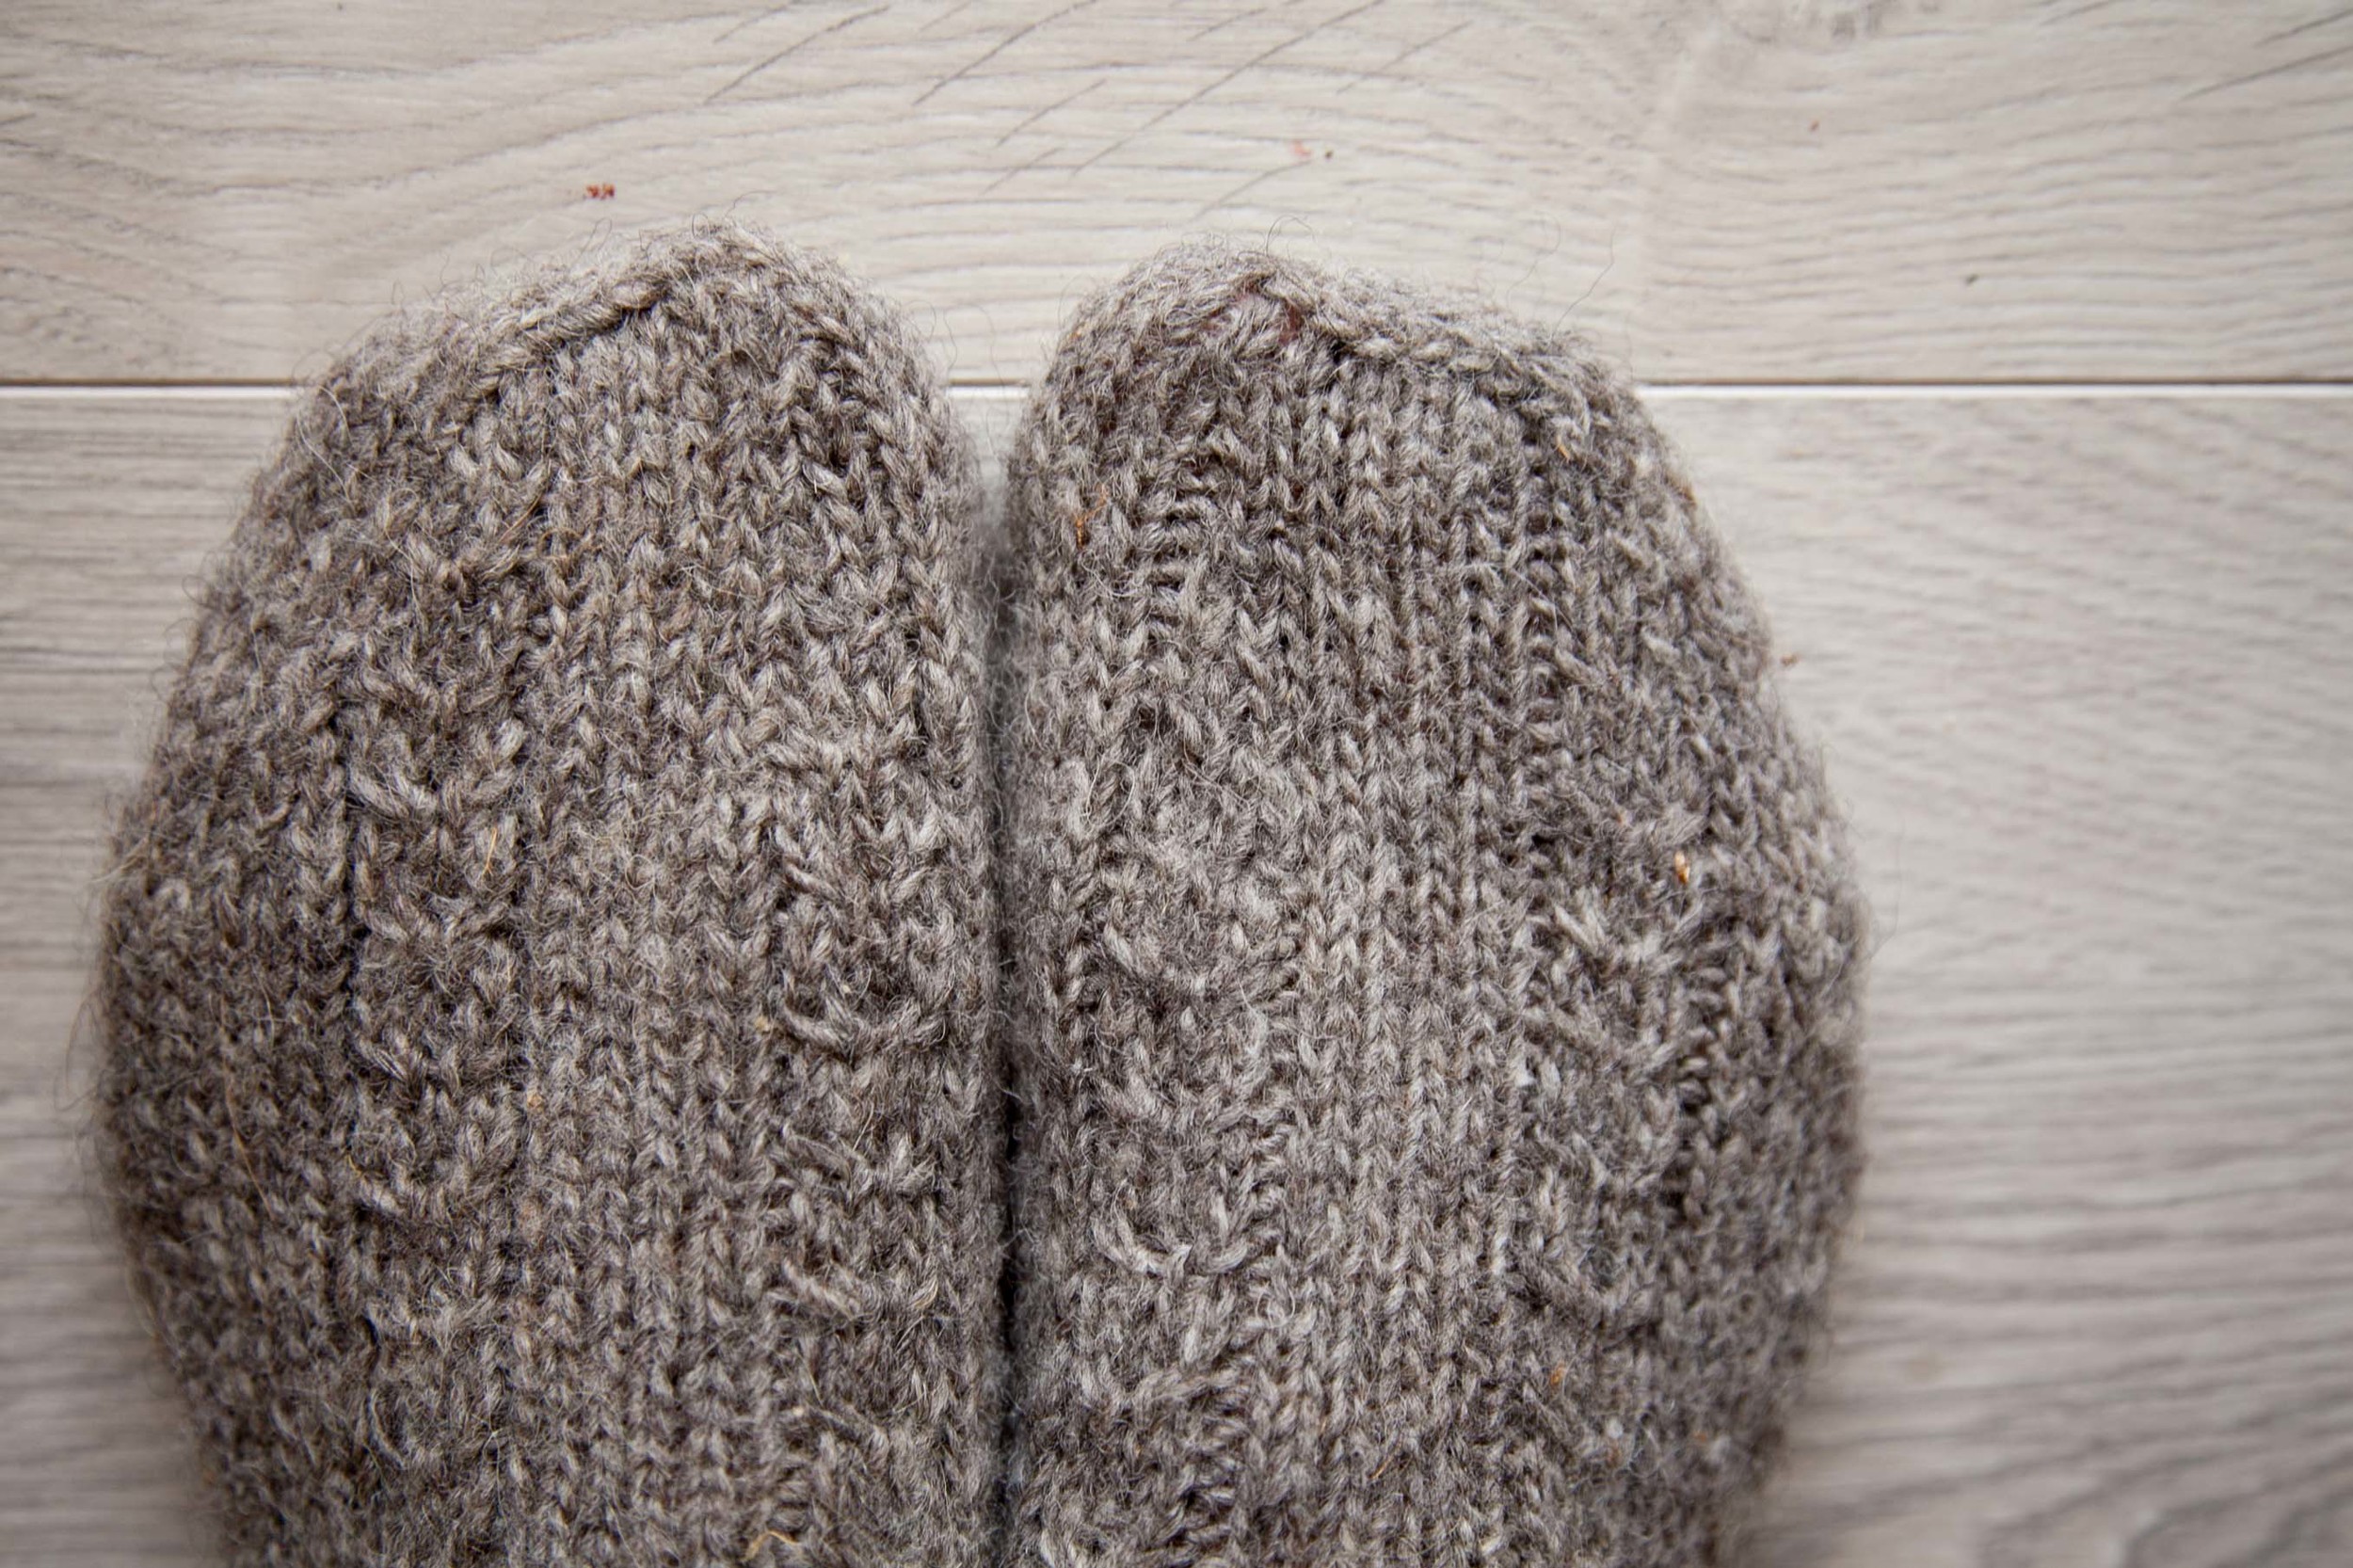
Showing the interesting toe shaping that I part copied when I made my Irish Oats recently.
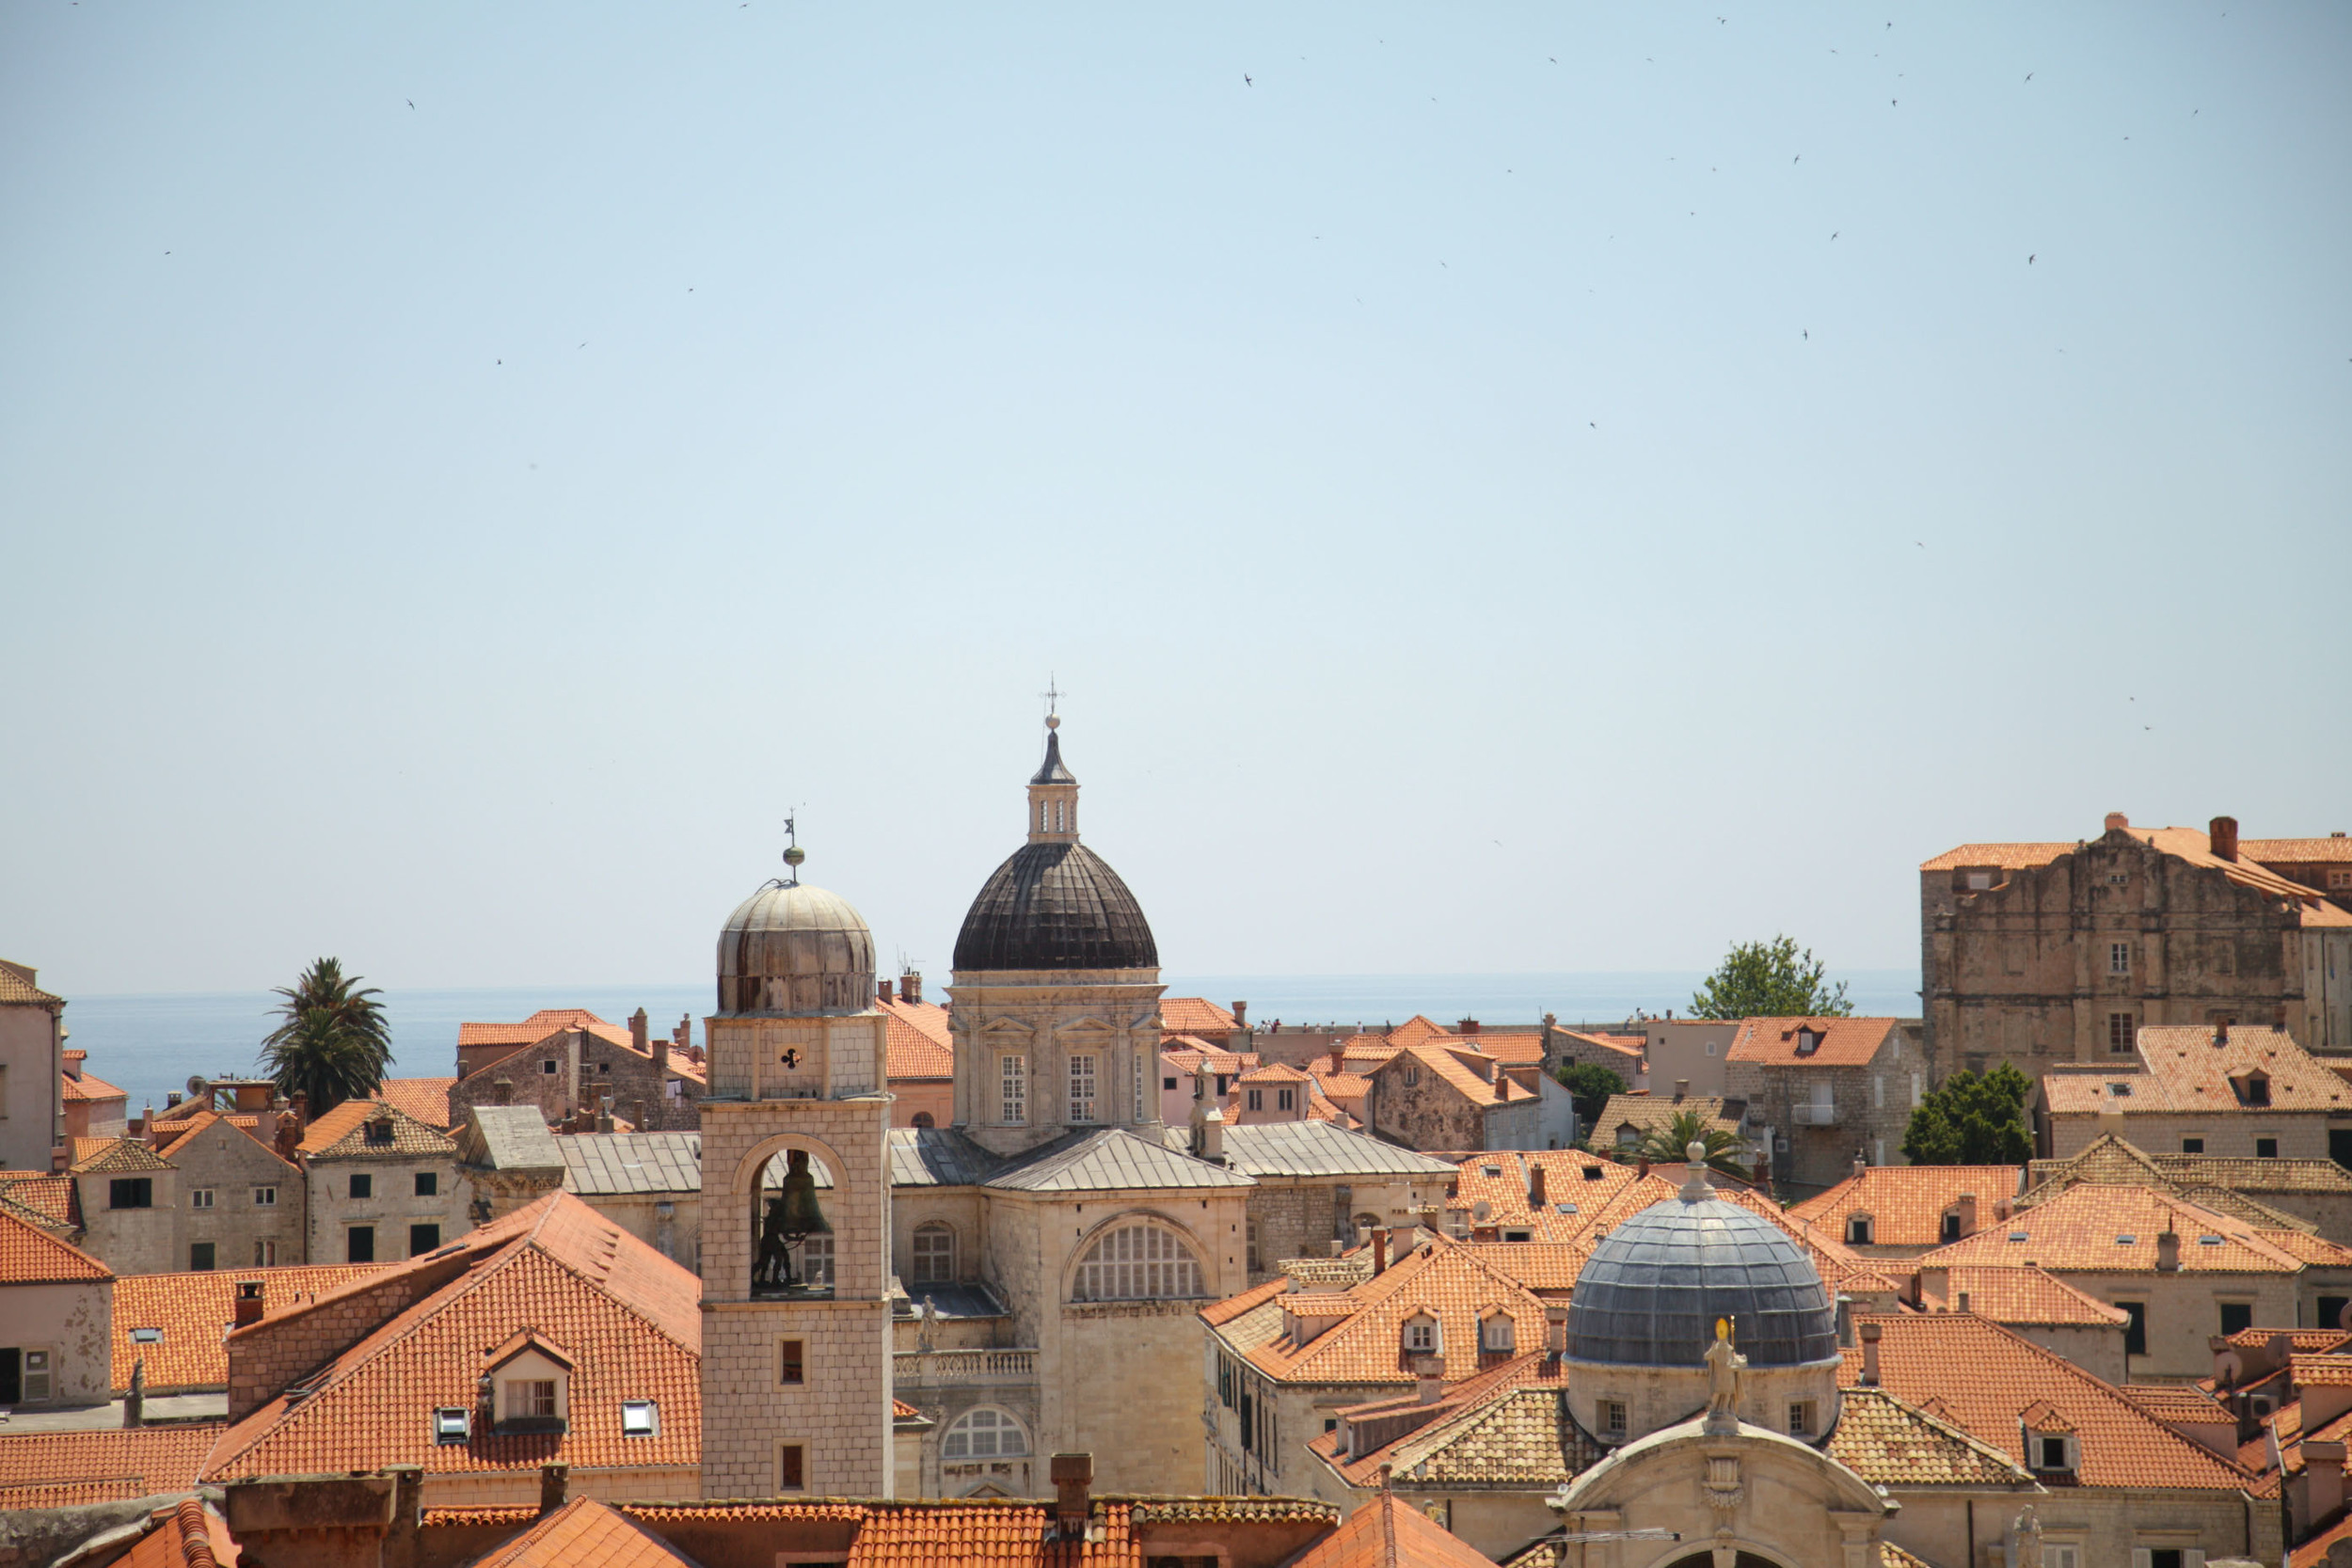
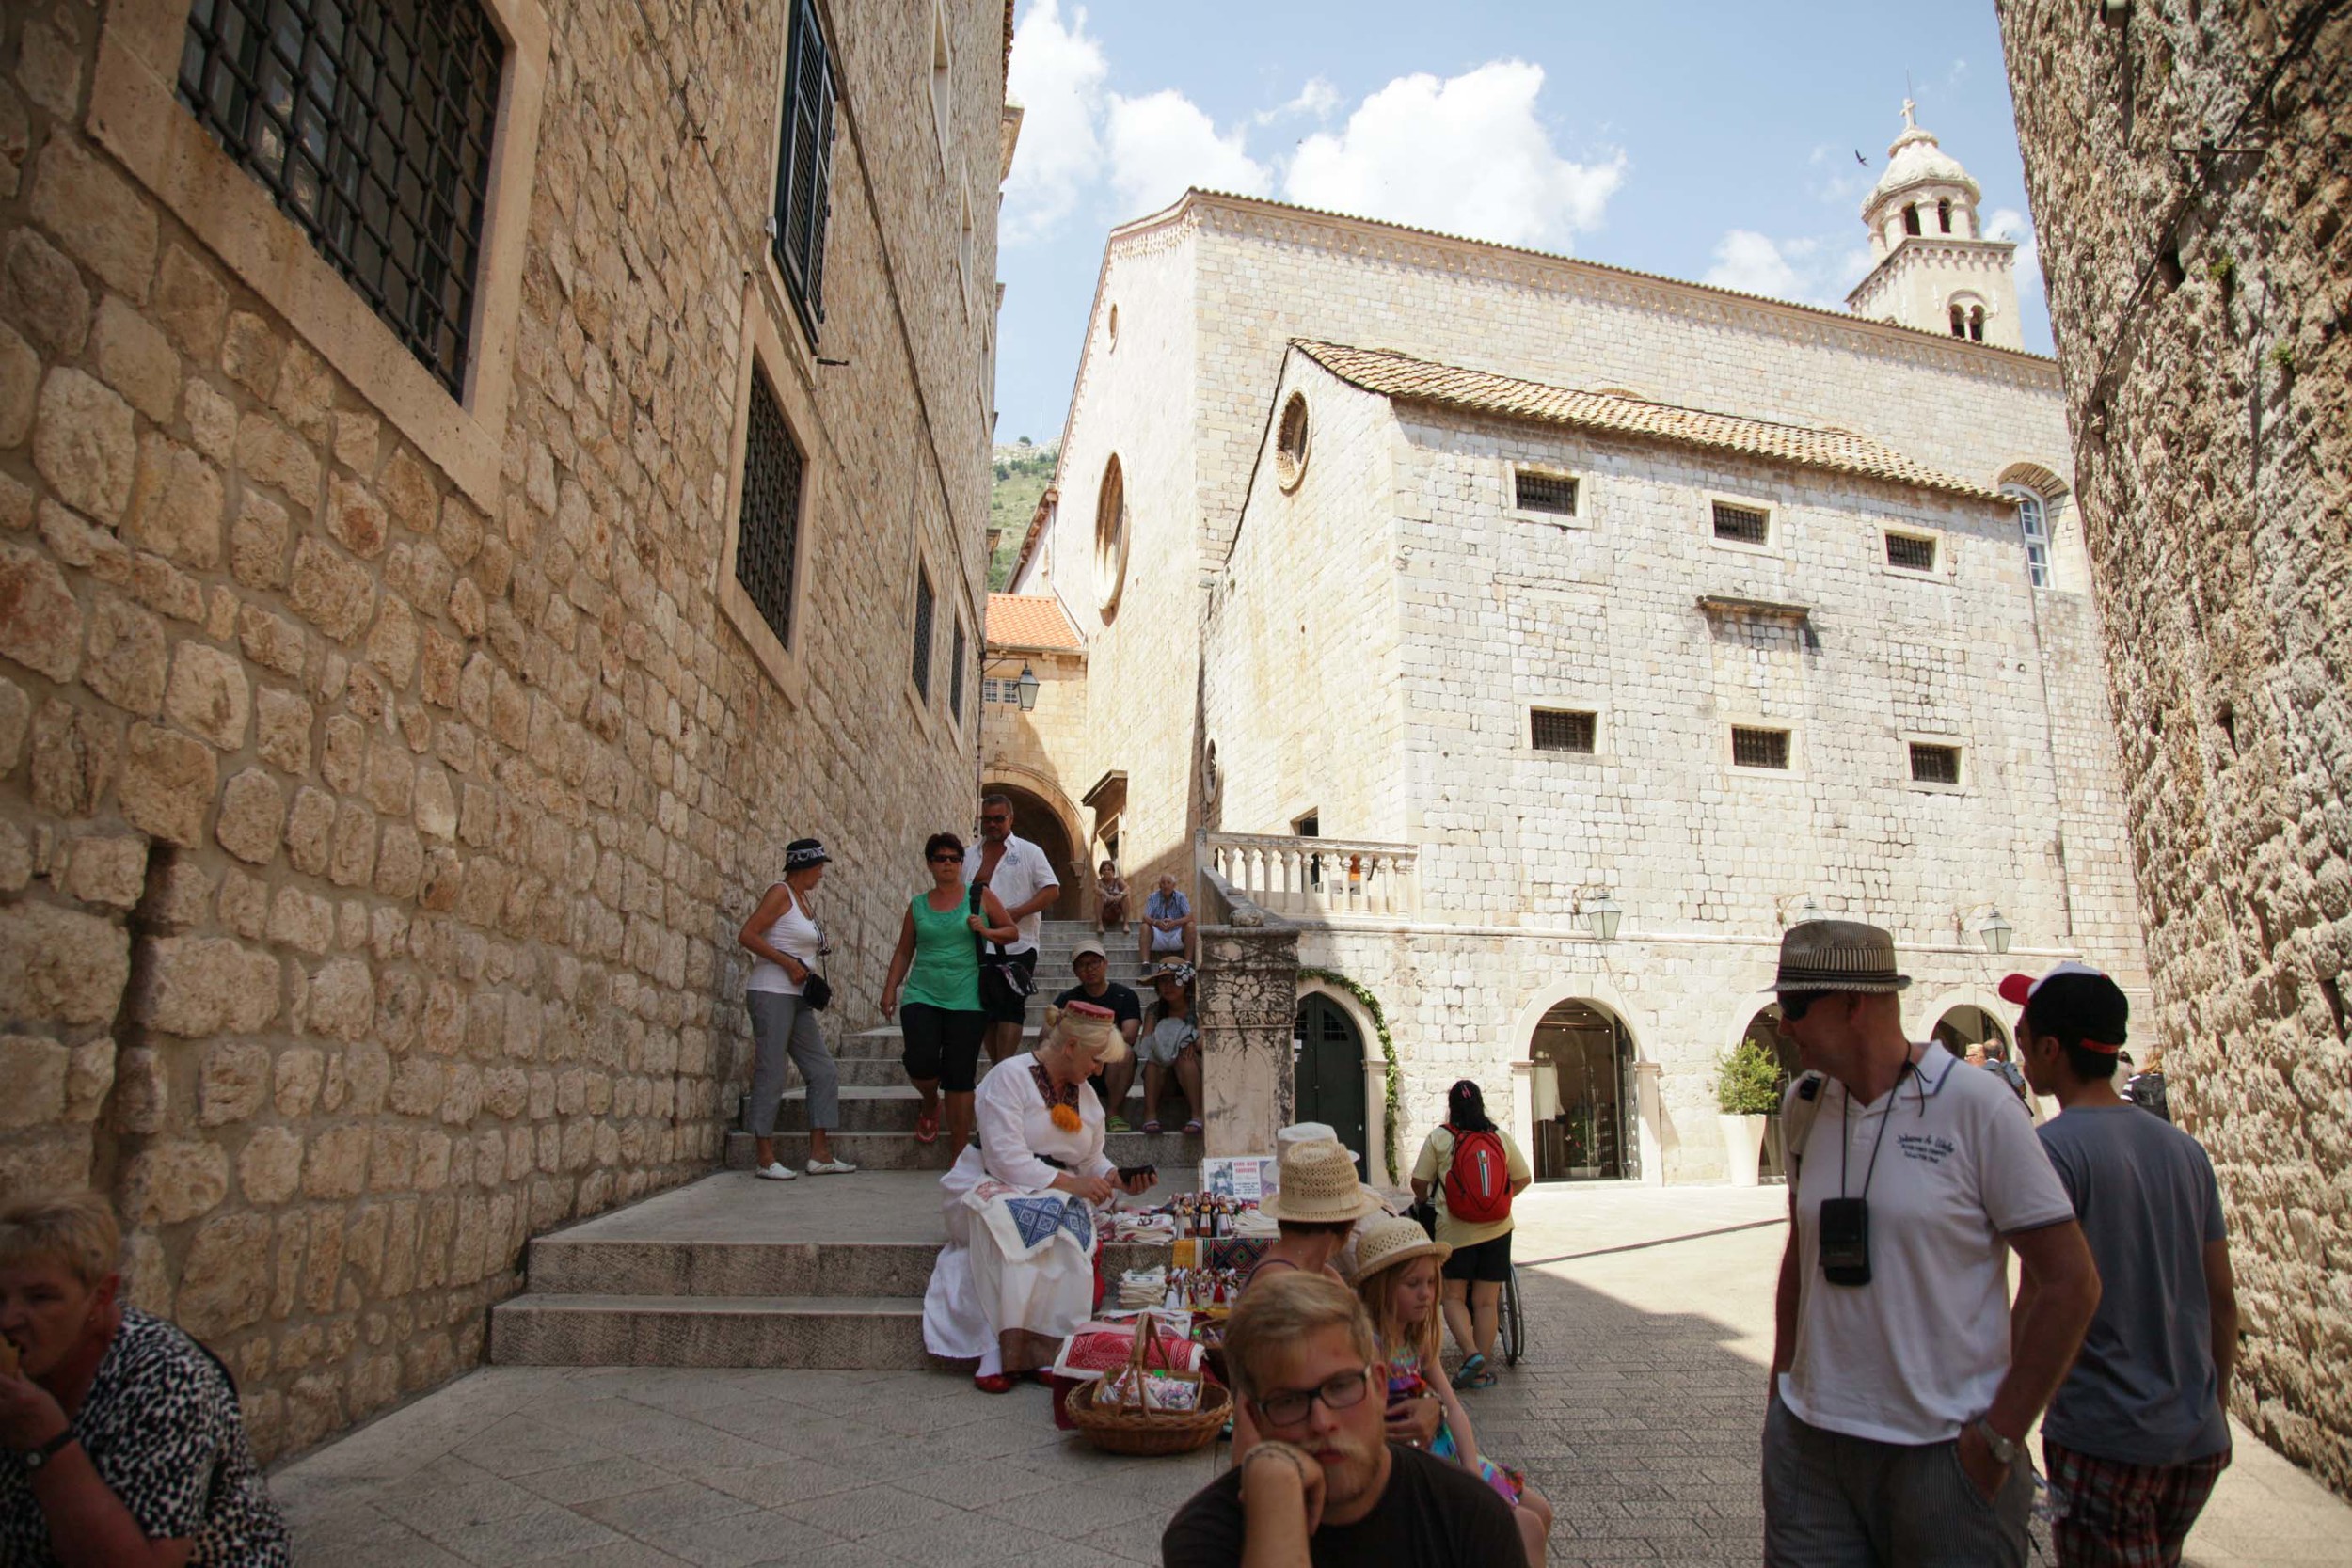
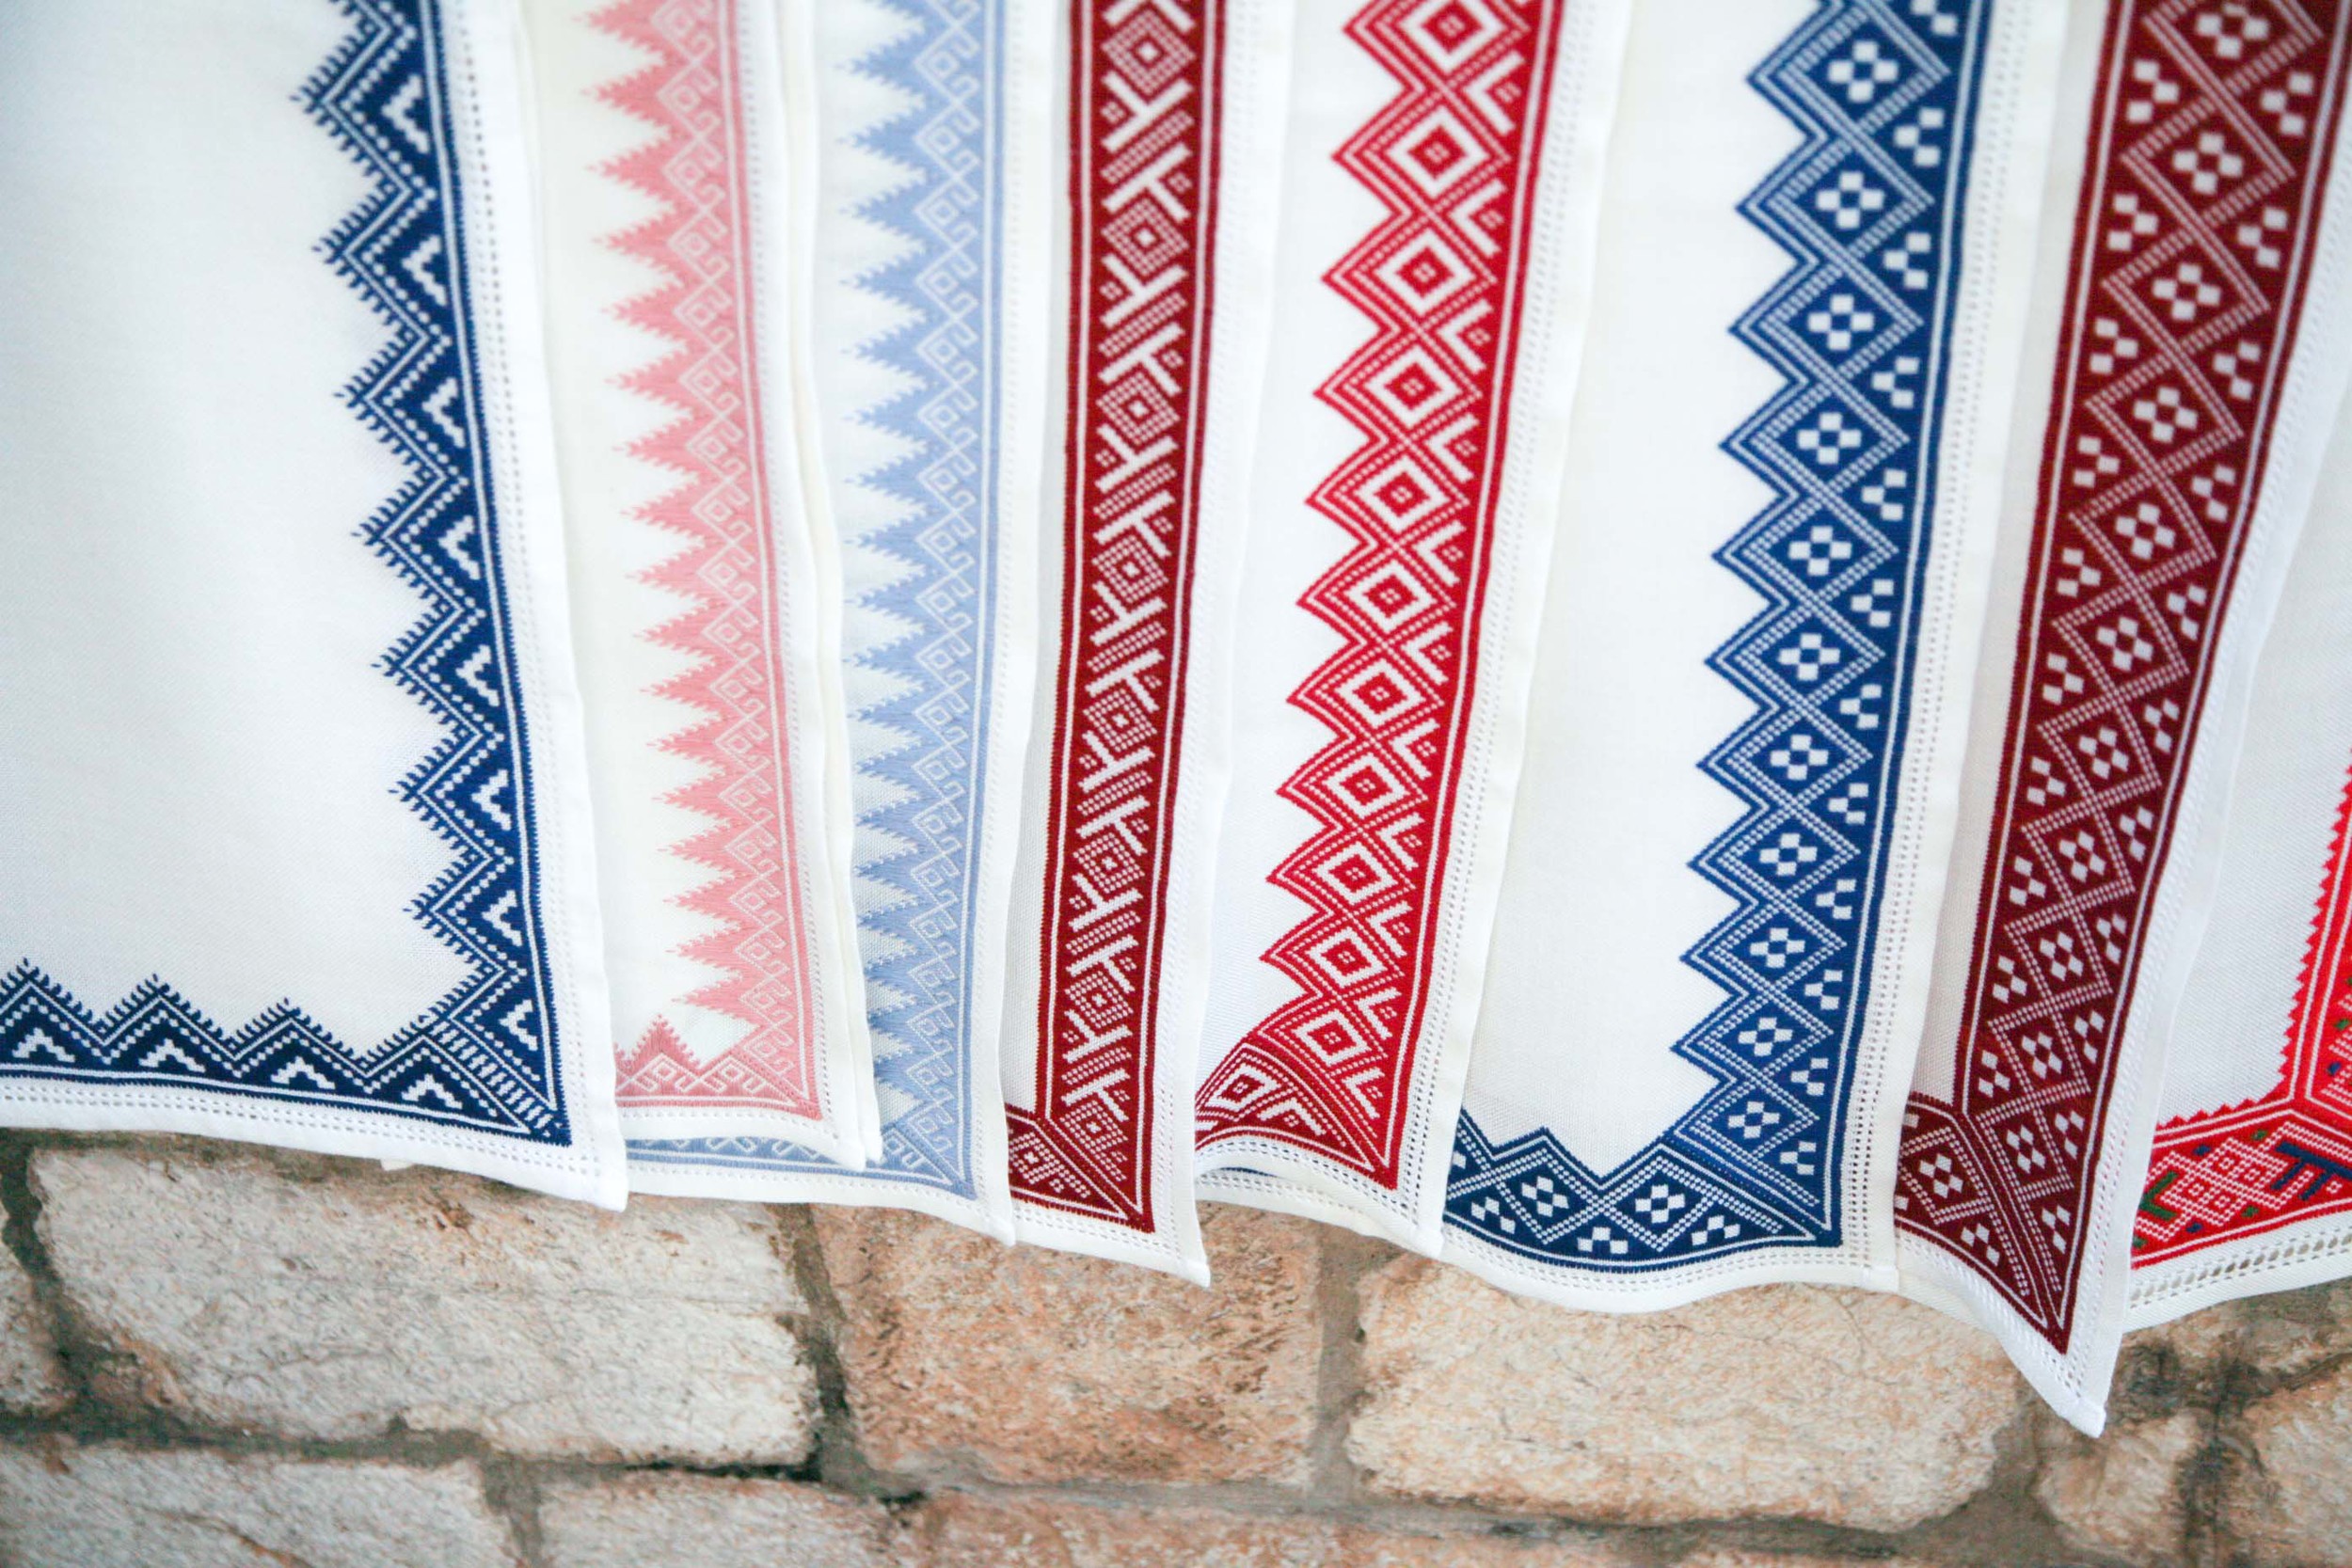
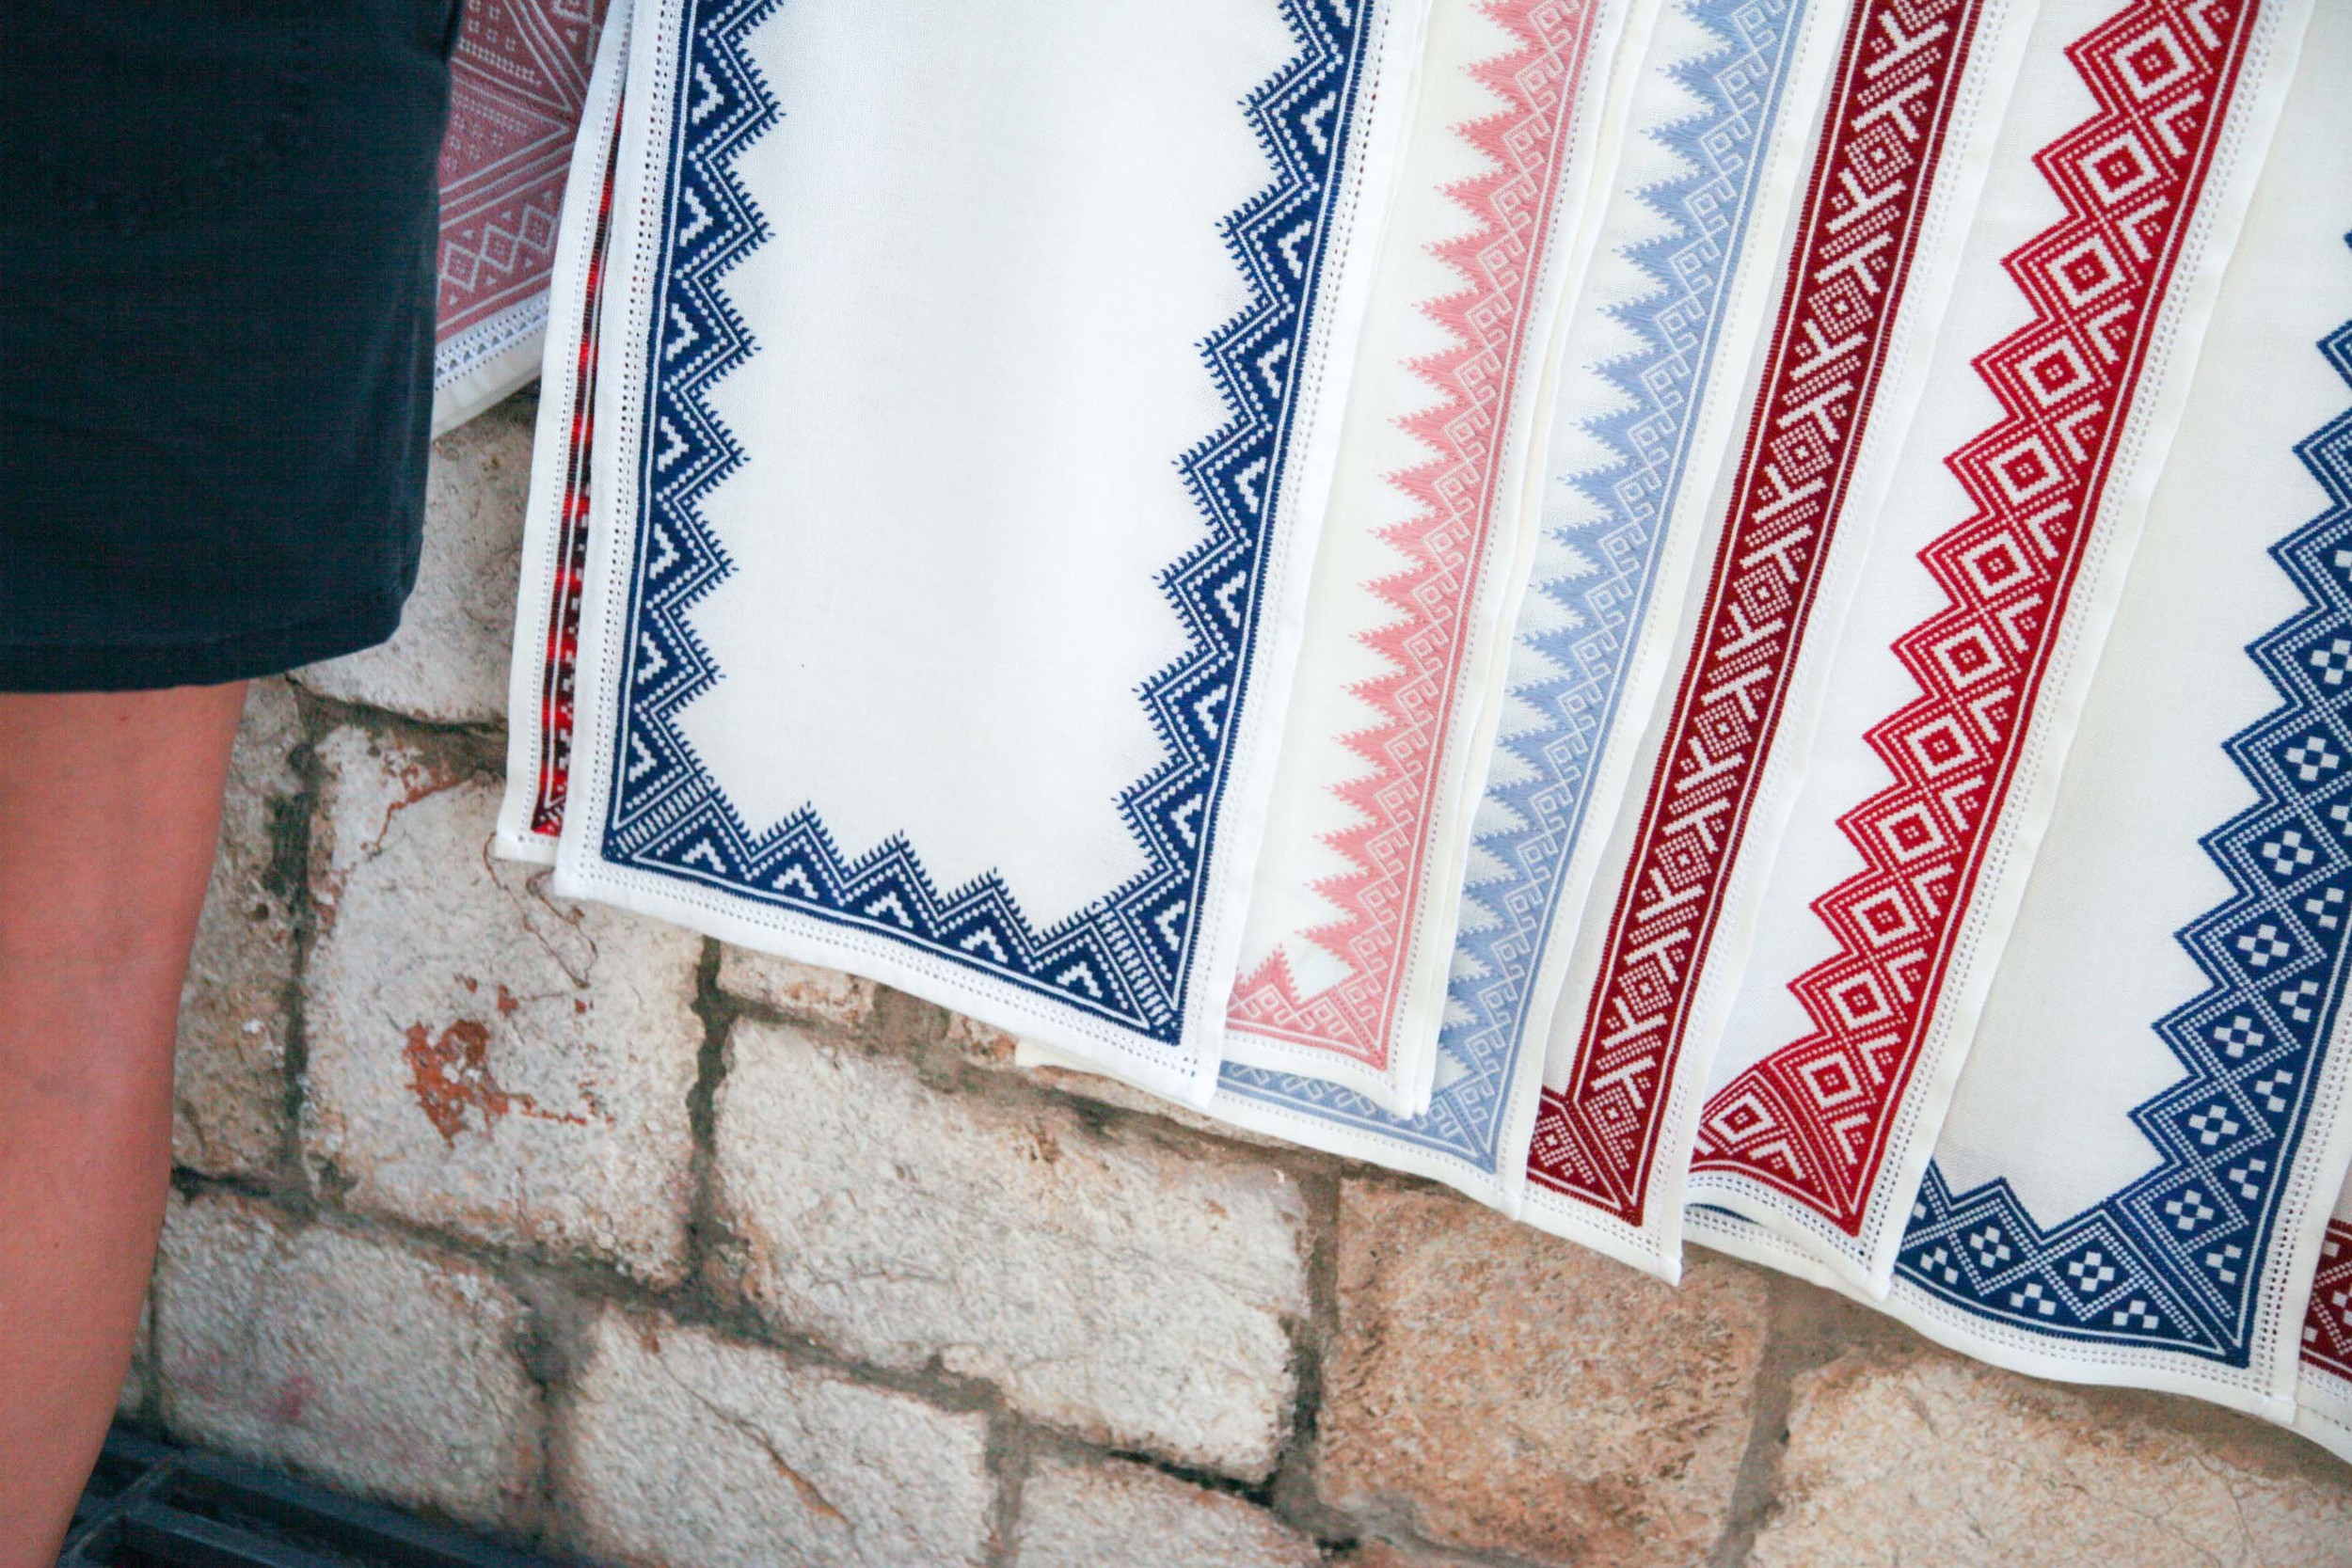
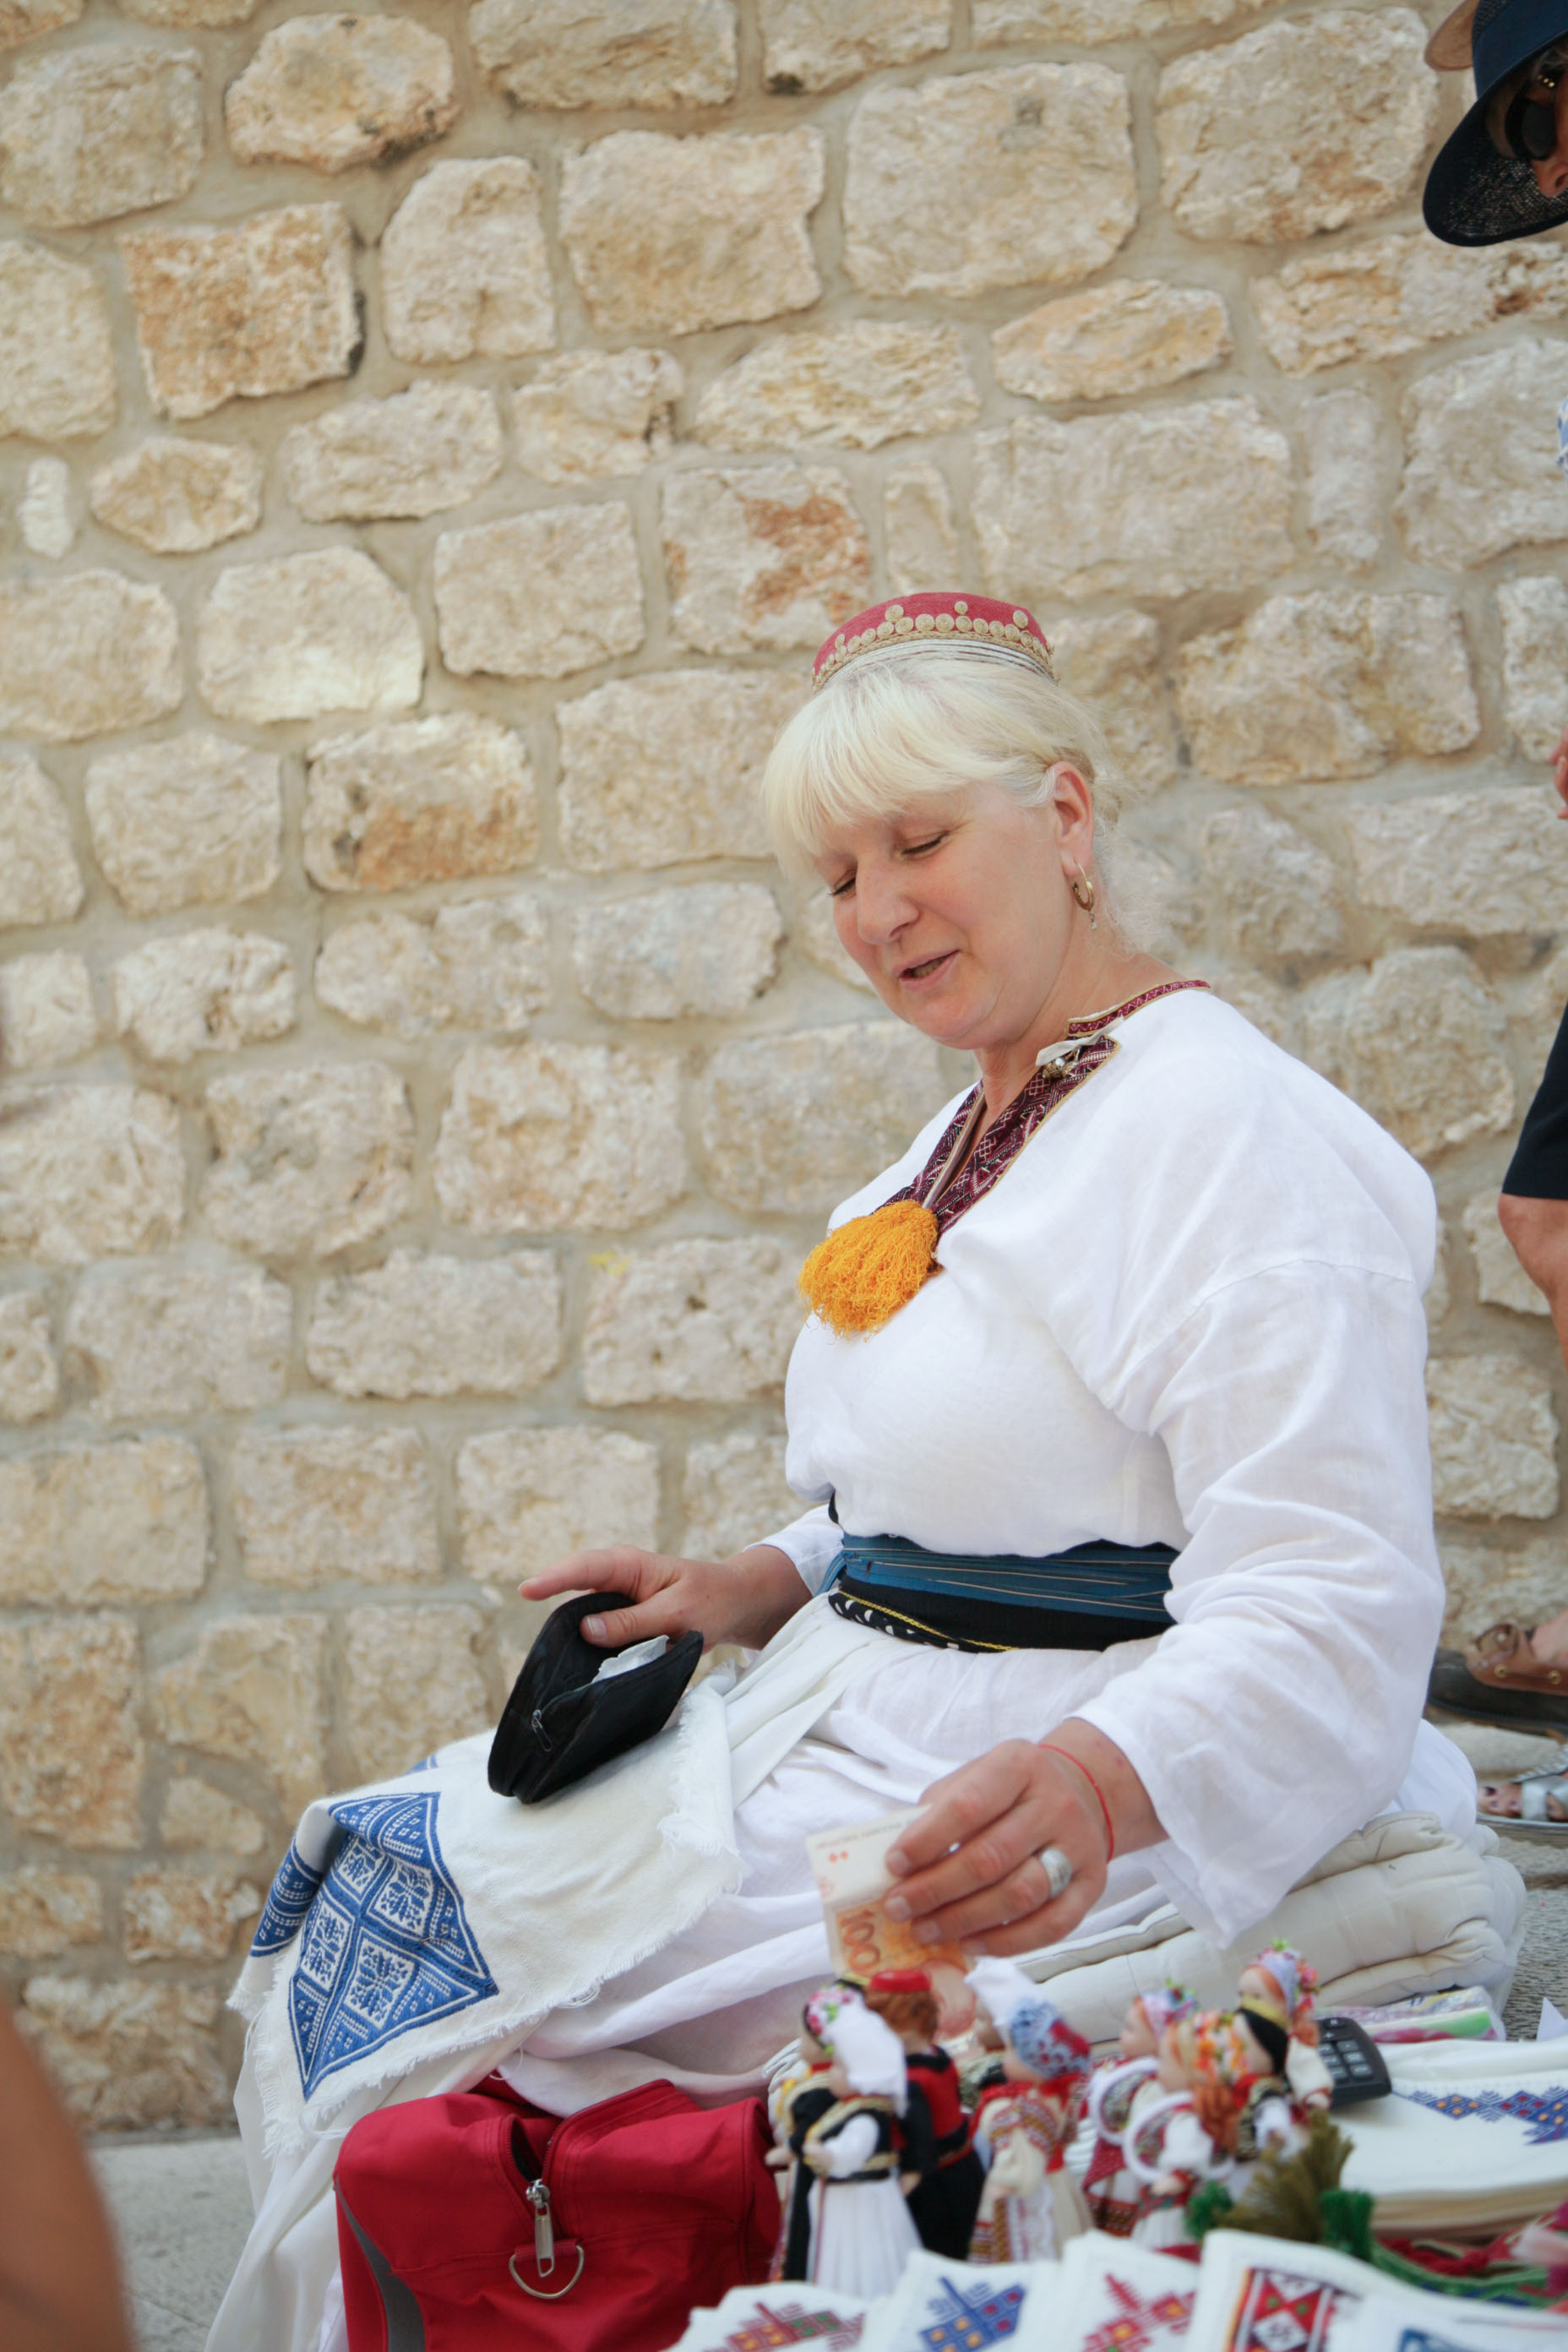
DUBROVNIK, CROATIA
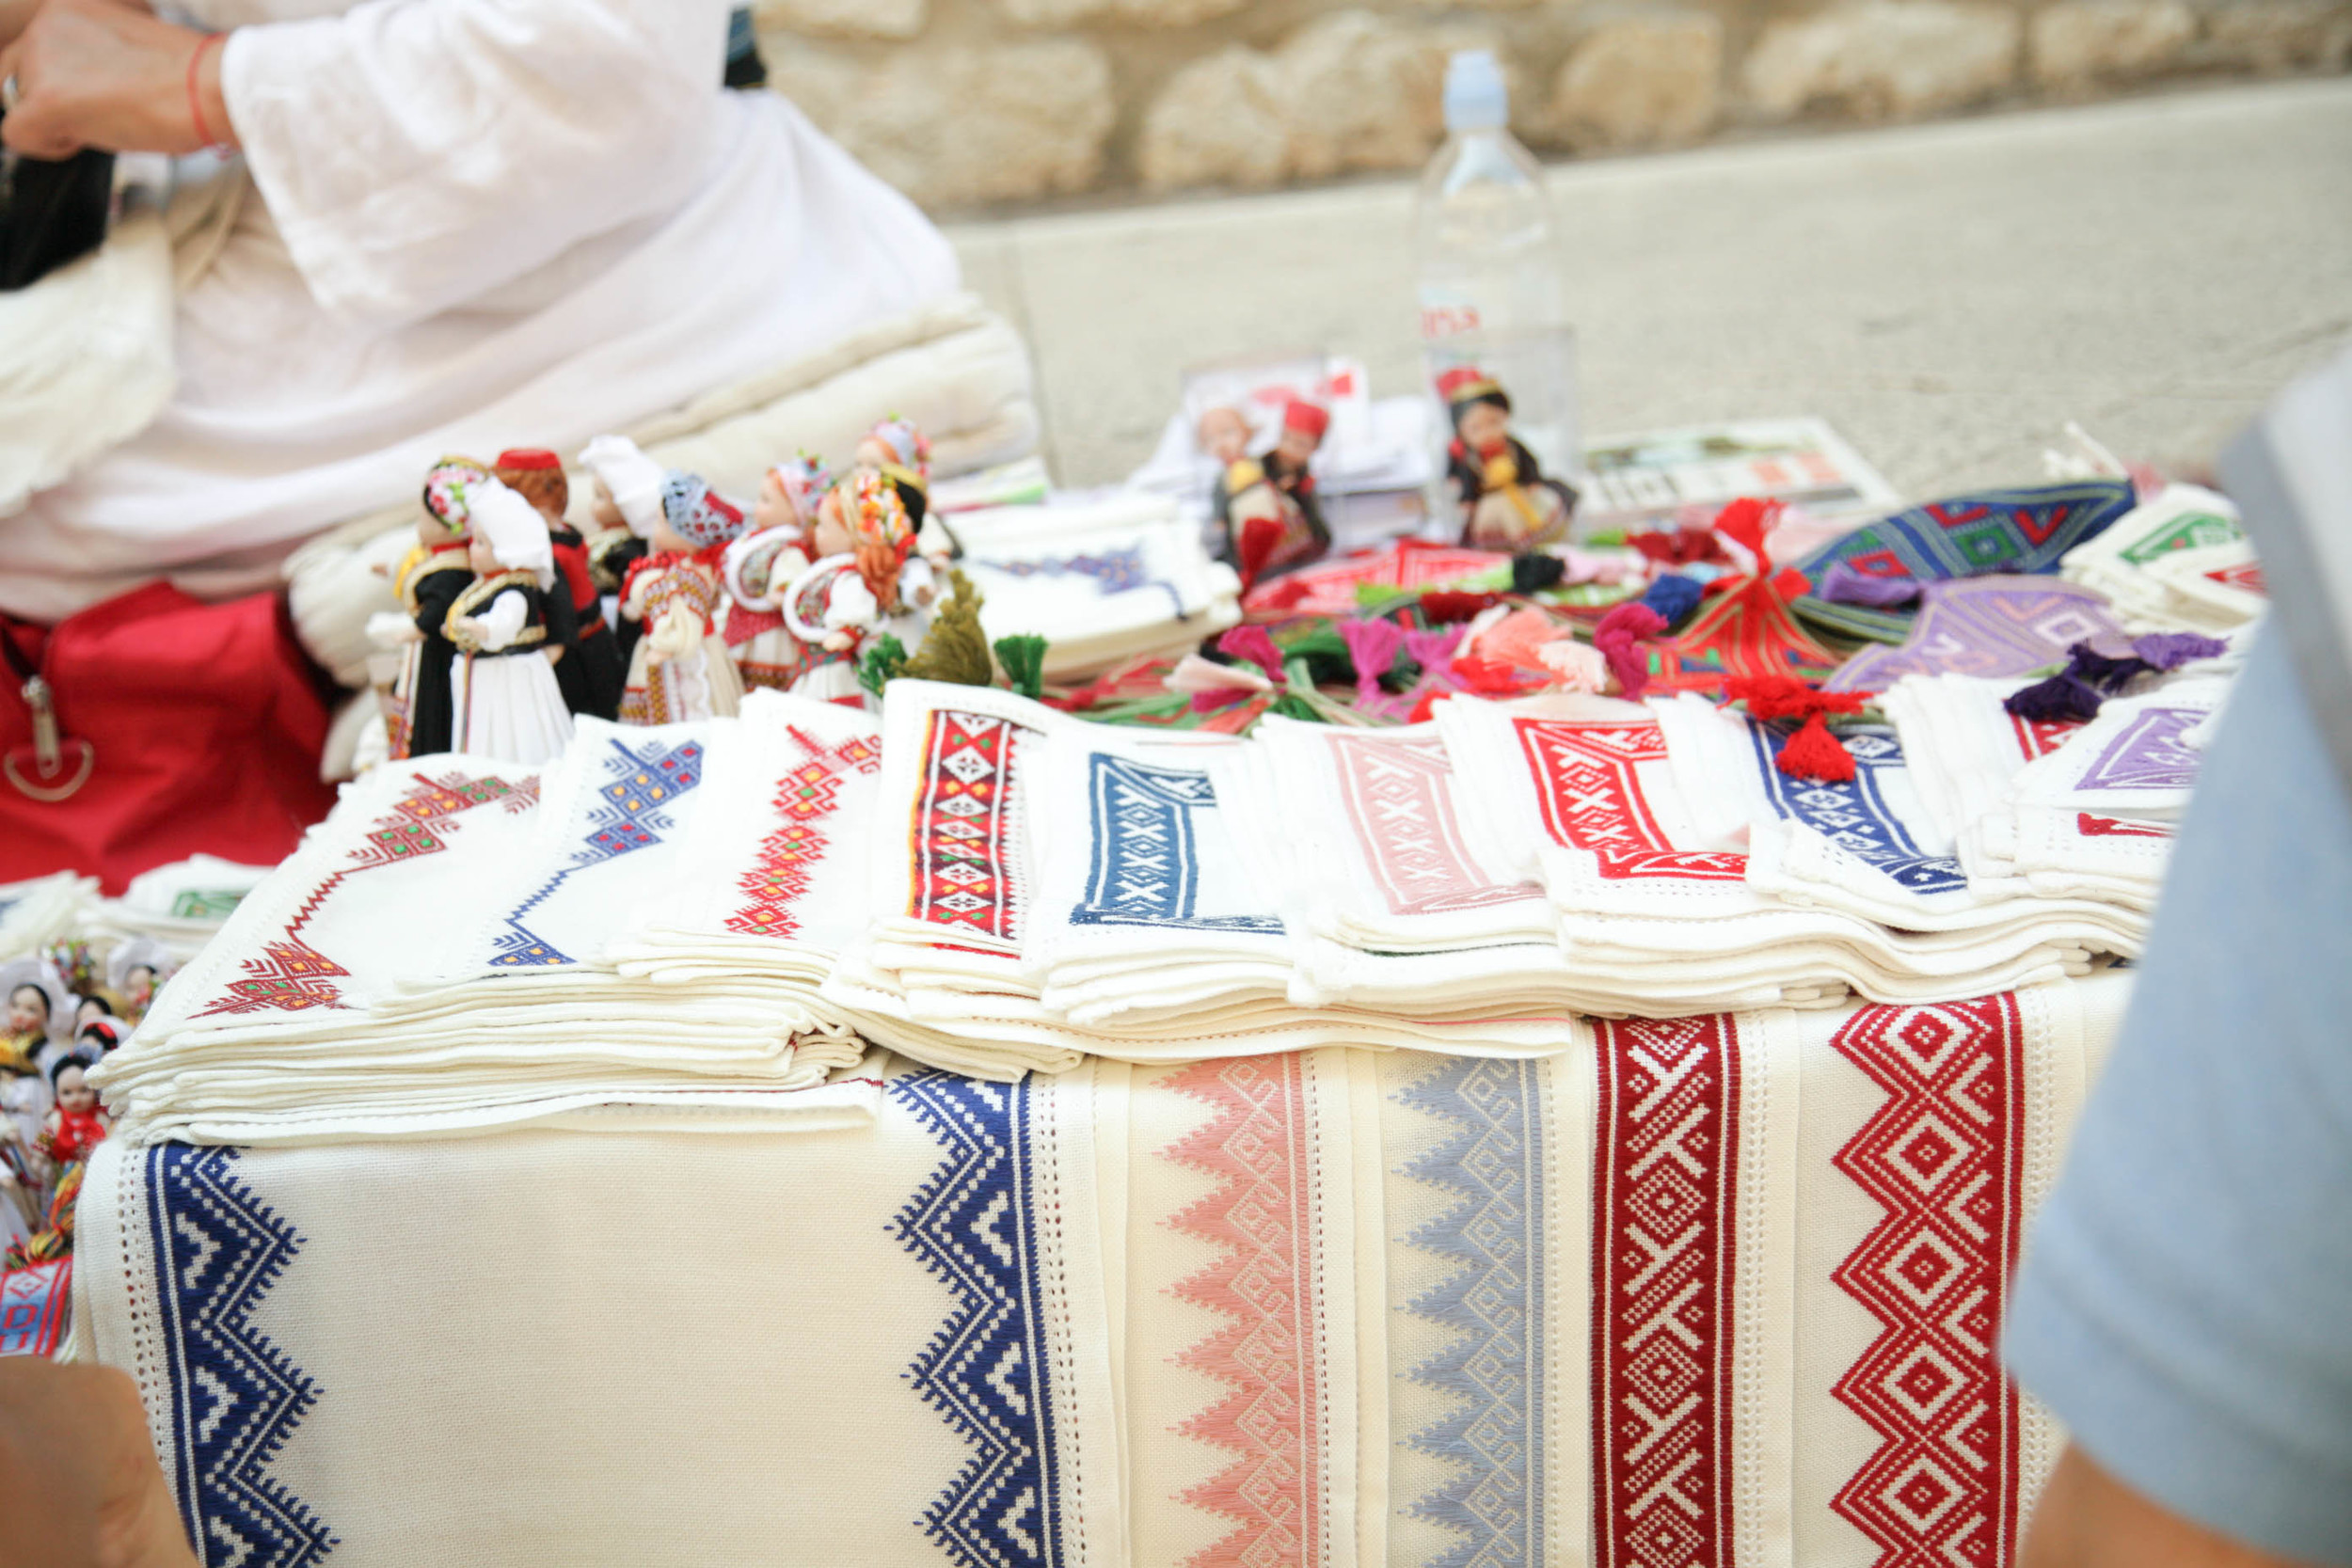
I was expecting more knitting frankly but I didn't see a single bit. Instead I saw many many gorgeous examples of the famous Dubrovnik embroidery. This stuff is truly amazing. I watched a few women for a minute here and there and managed to buy a few small gifts. I wish I had purchased something for myself!
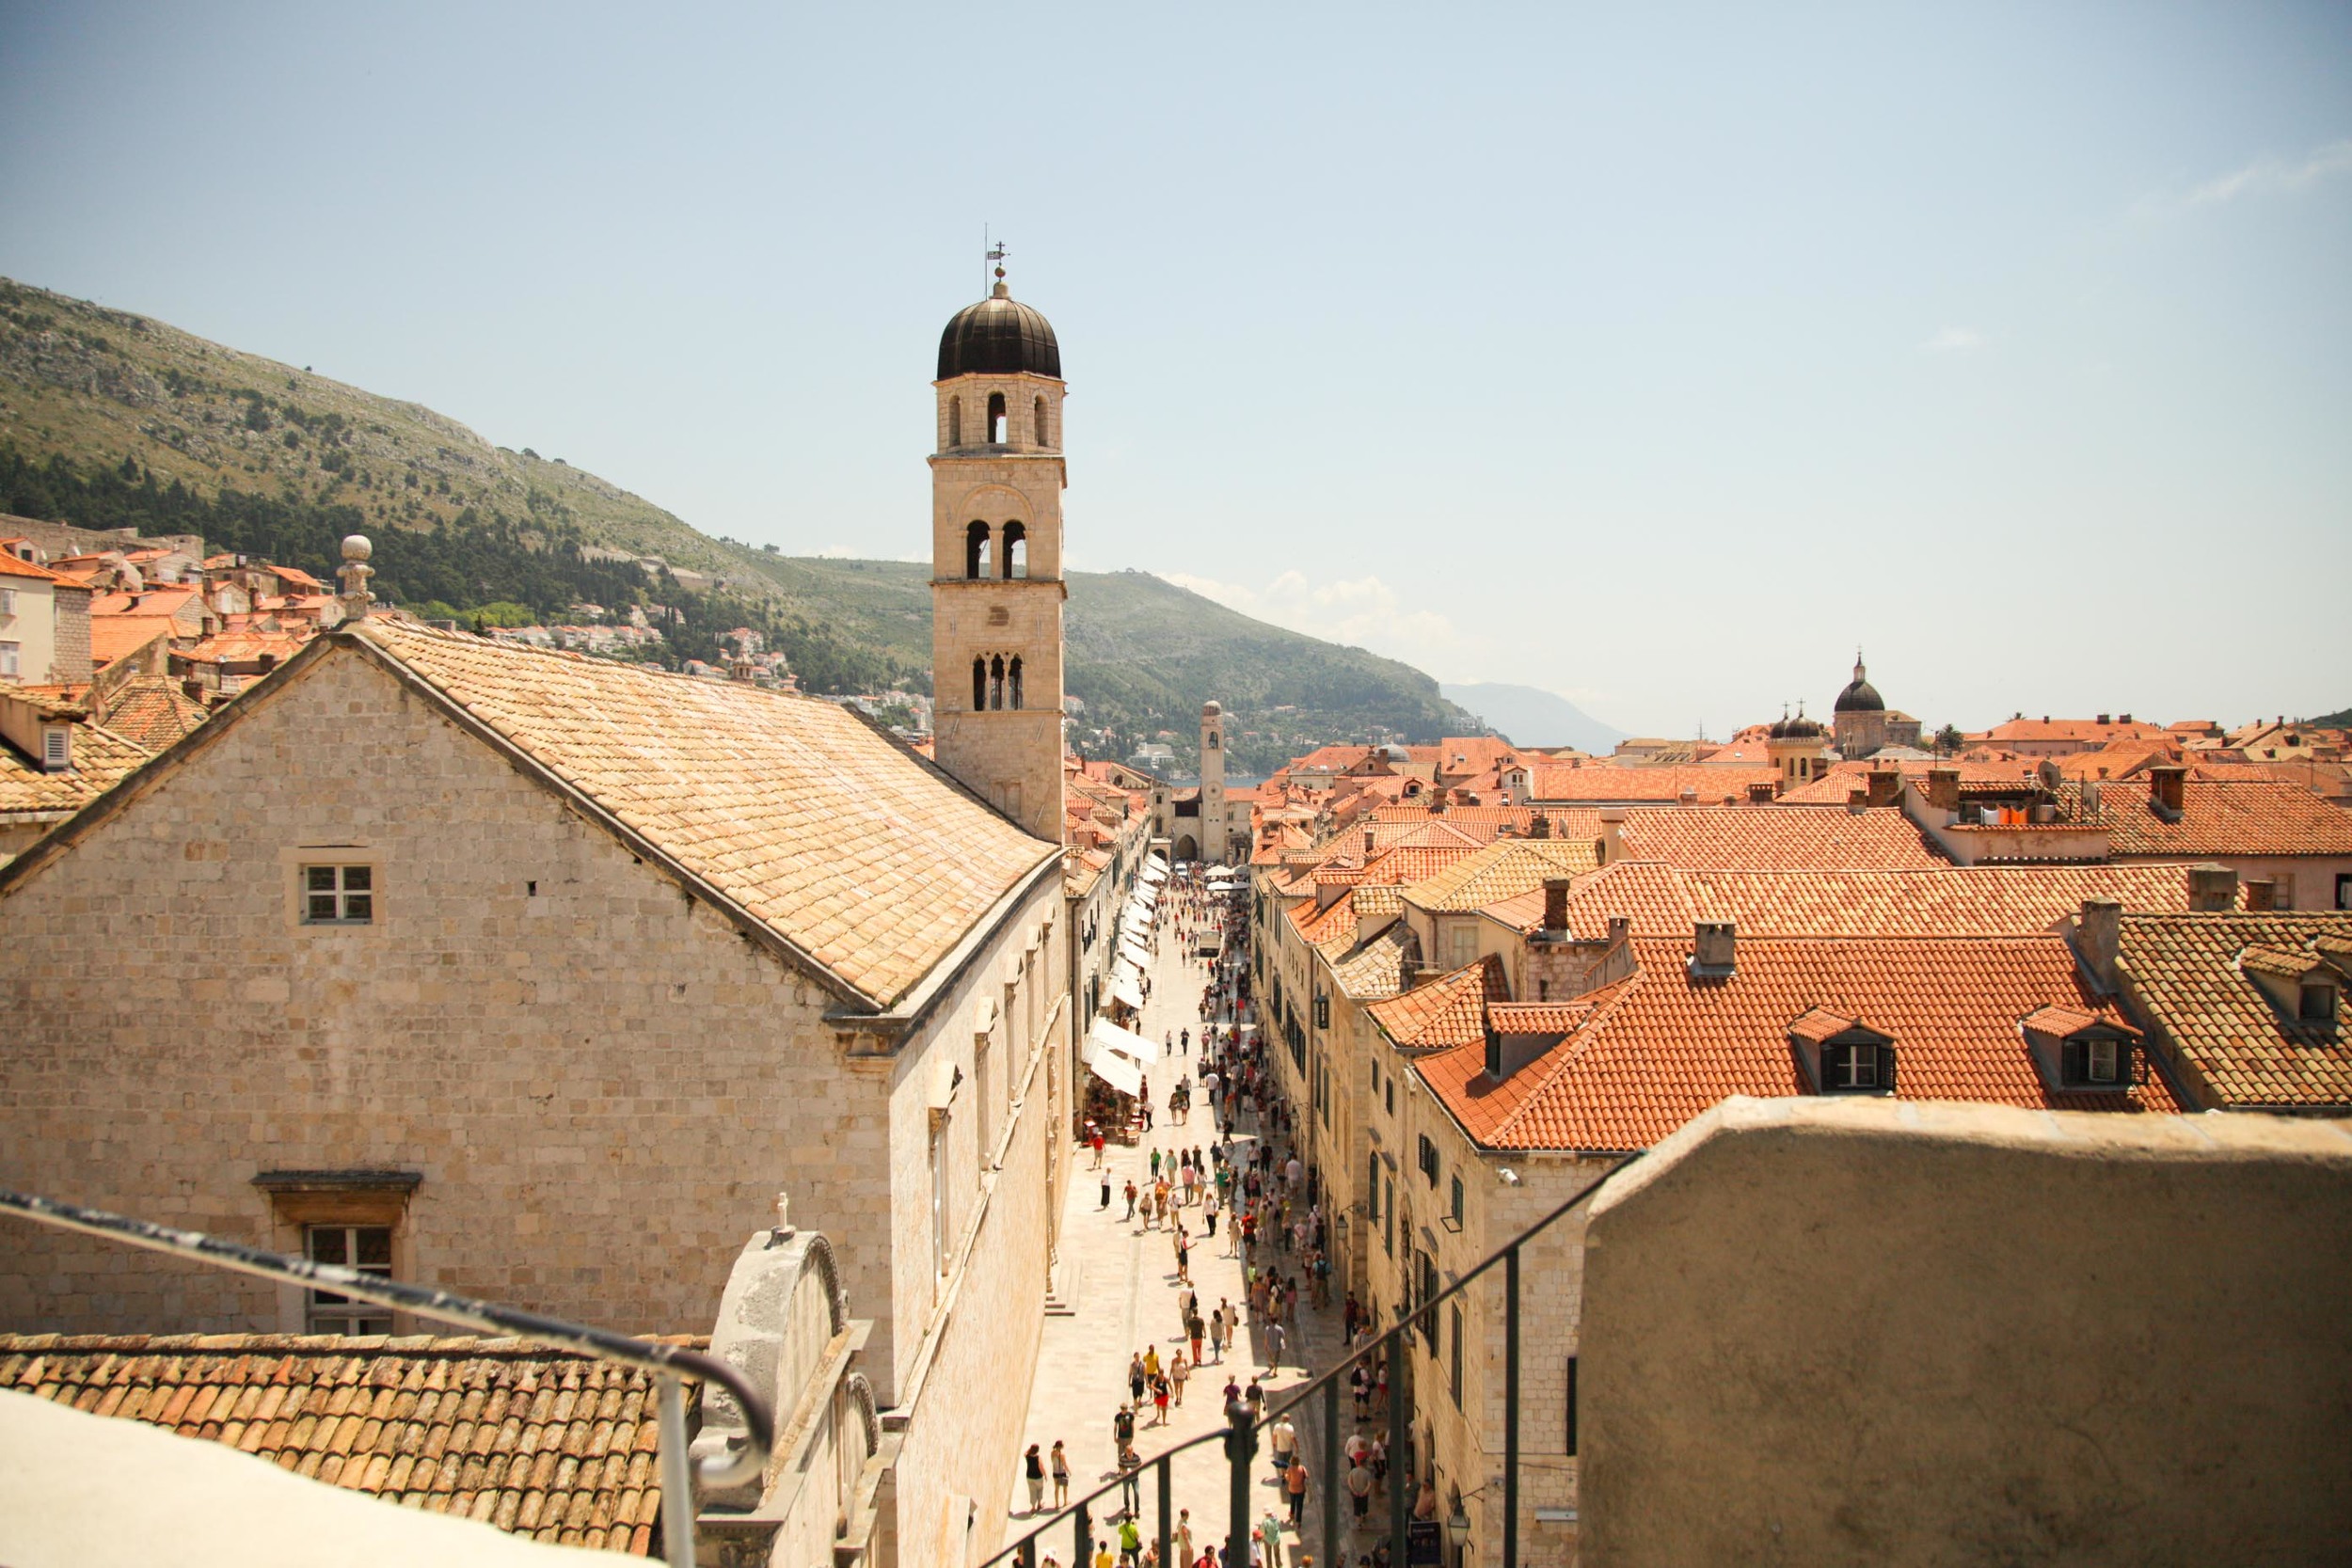
Just a random stunning photo of the stunning Dubrovnik.

Hot and tired kids.

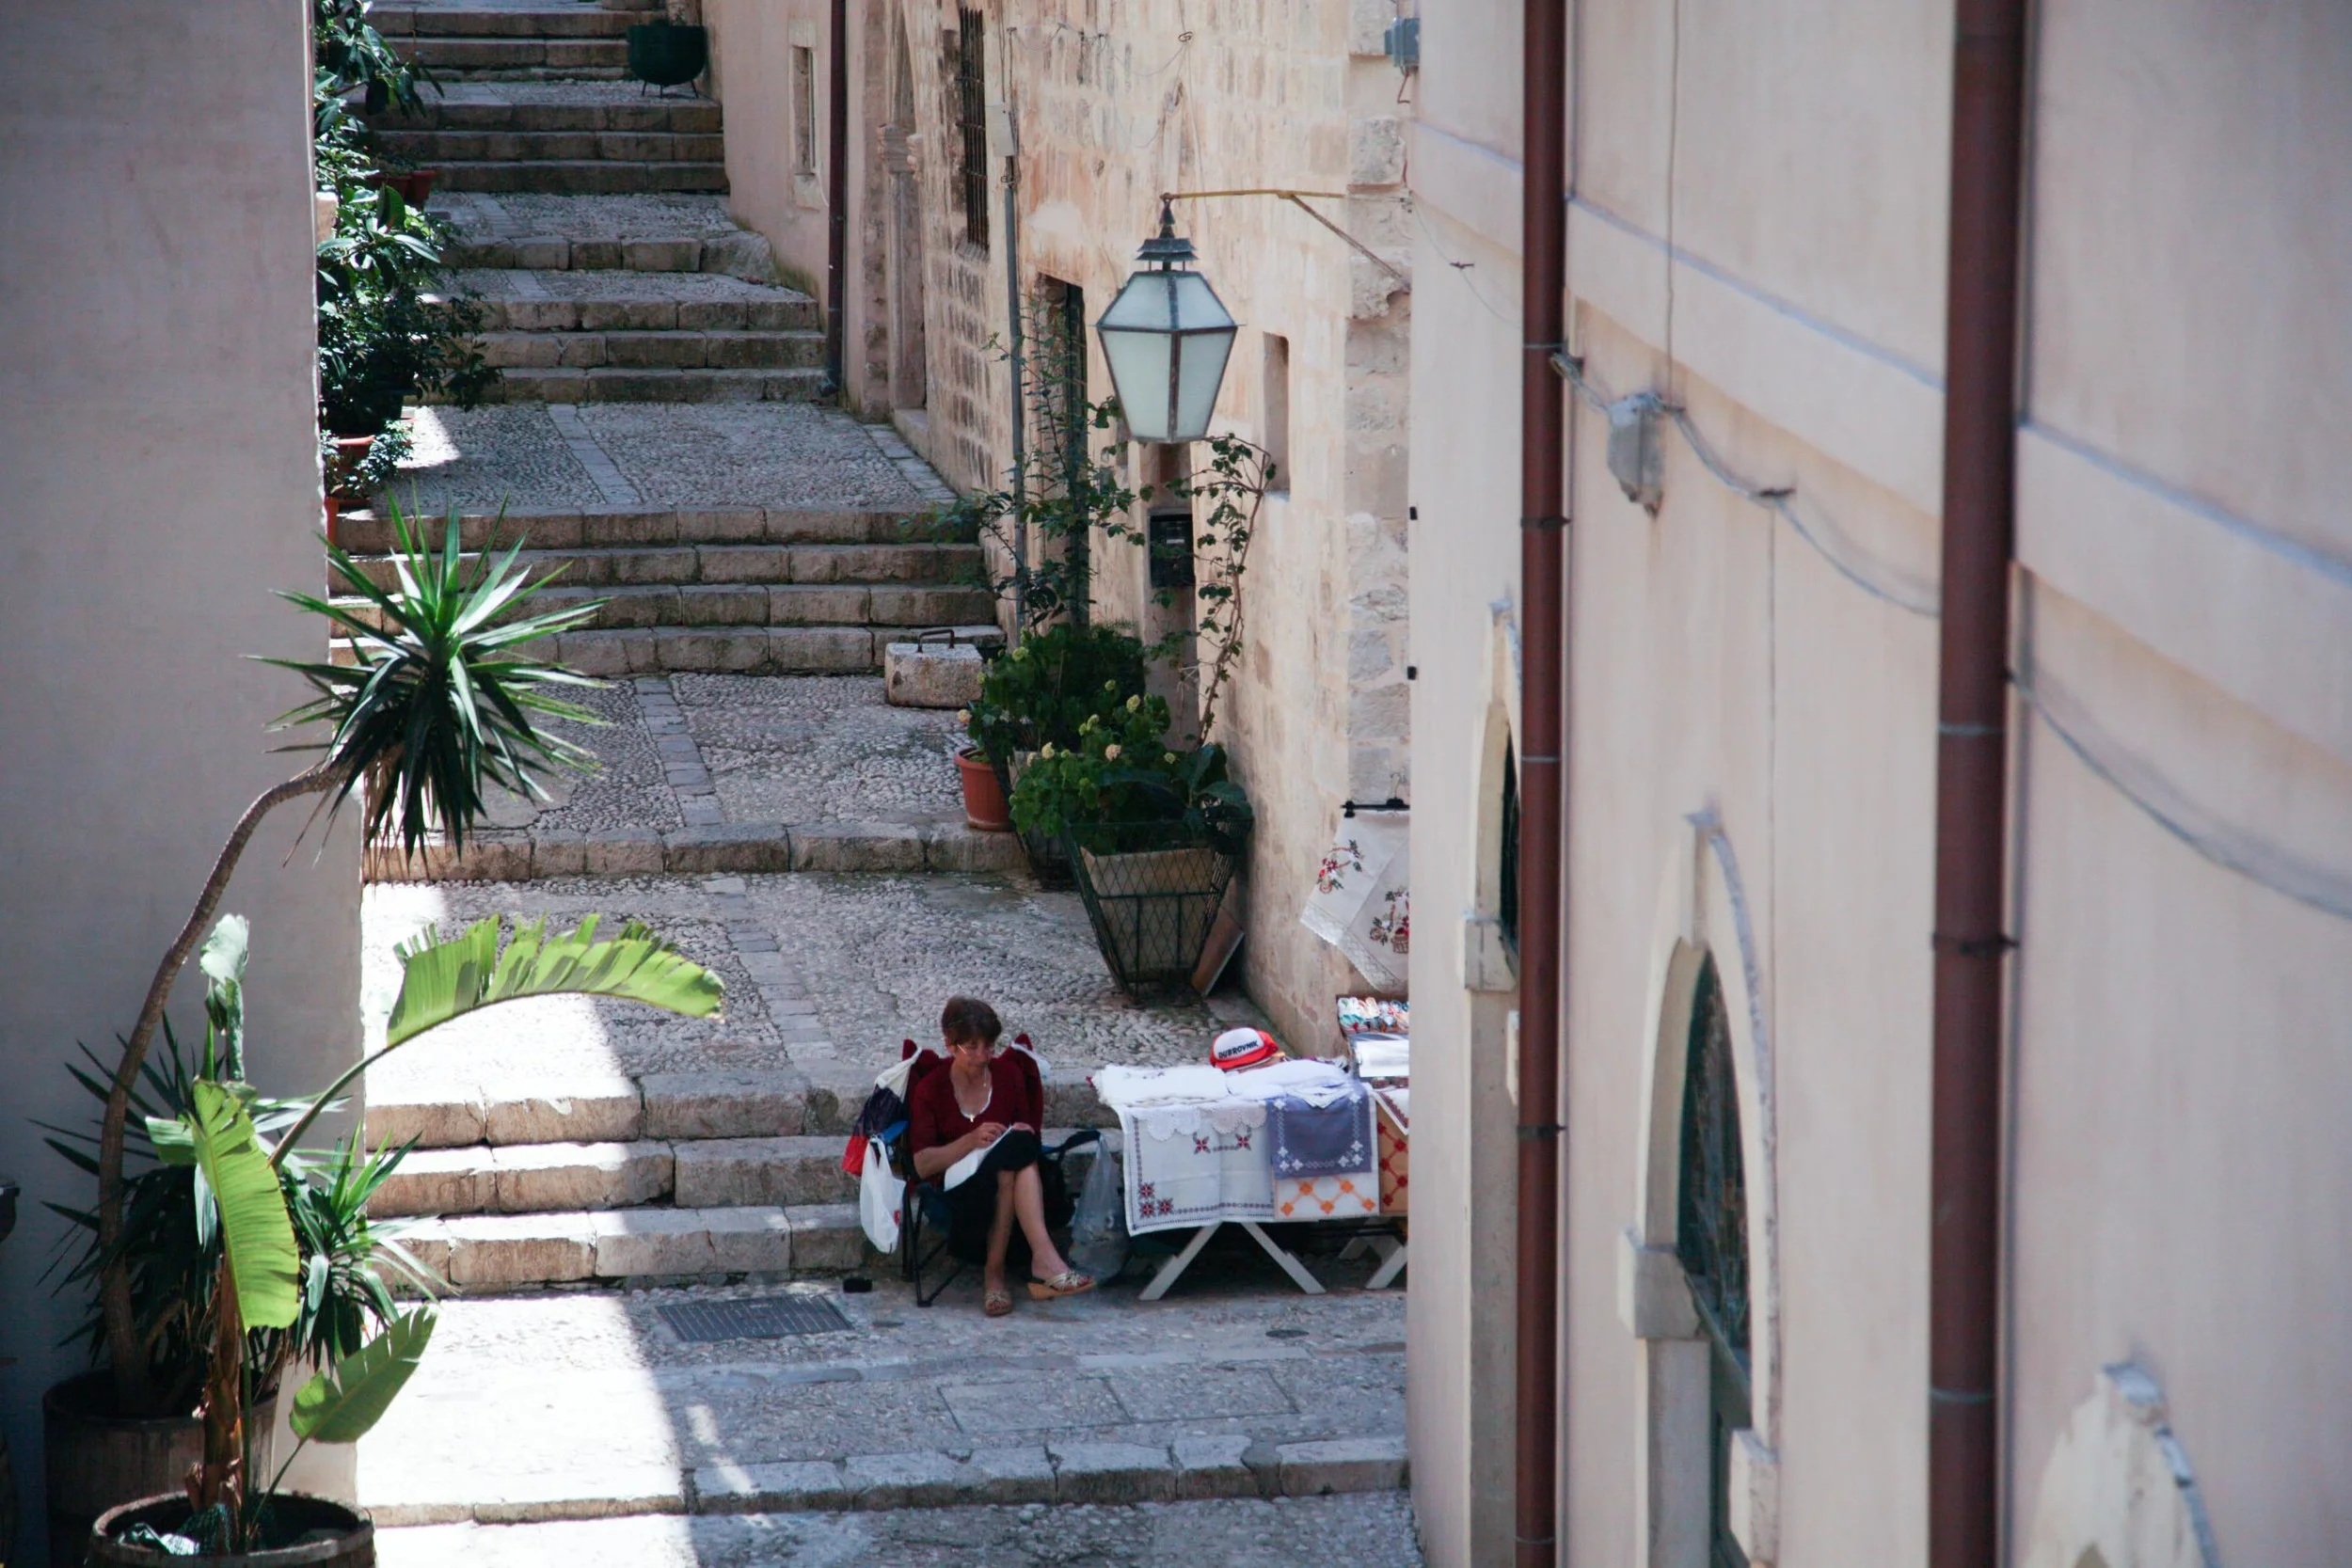
I saw her while walking along the wall - and then made everyone figure out how to wiggle through the backstreets to get to her.
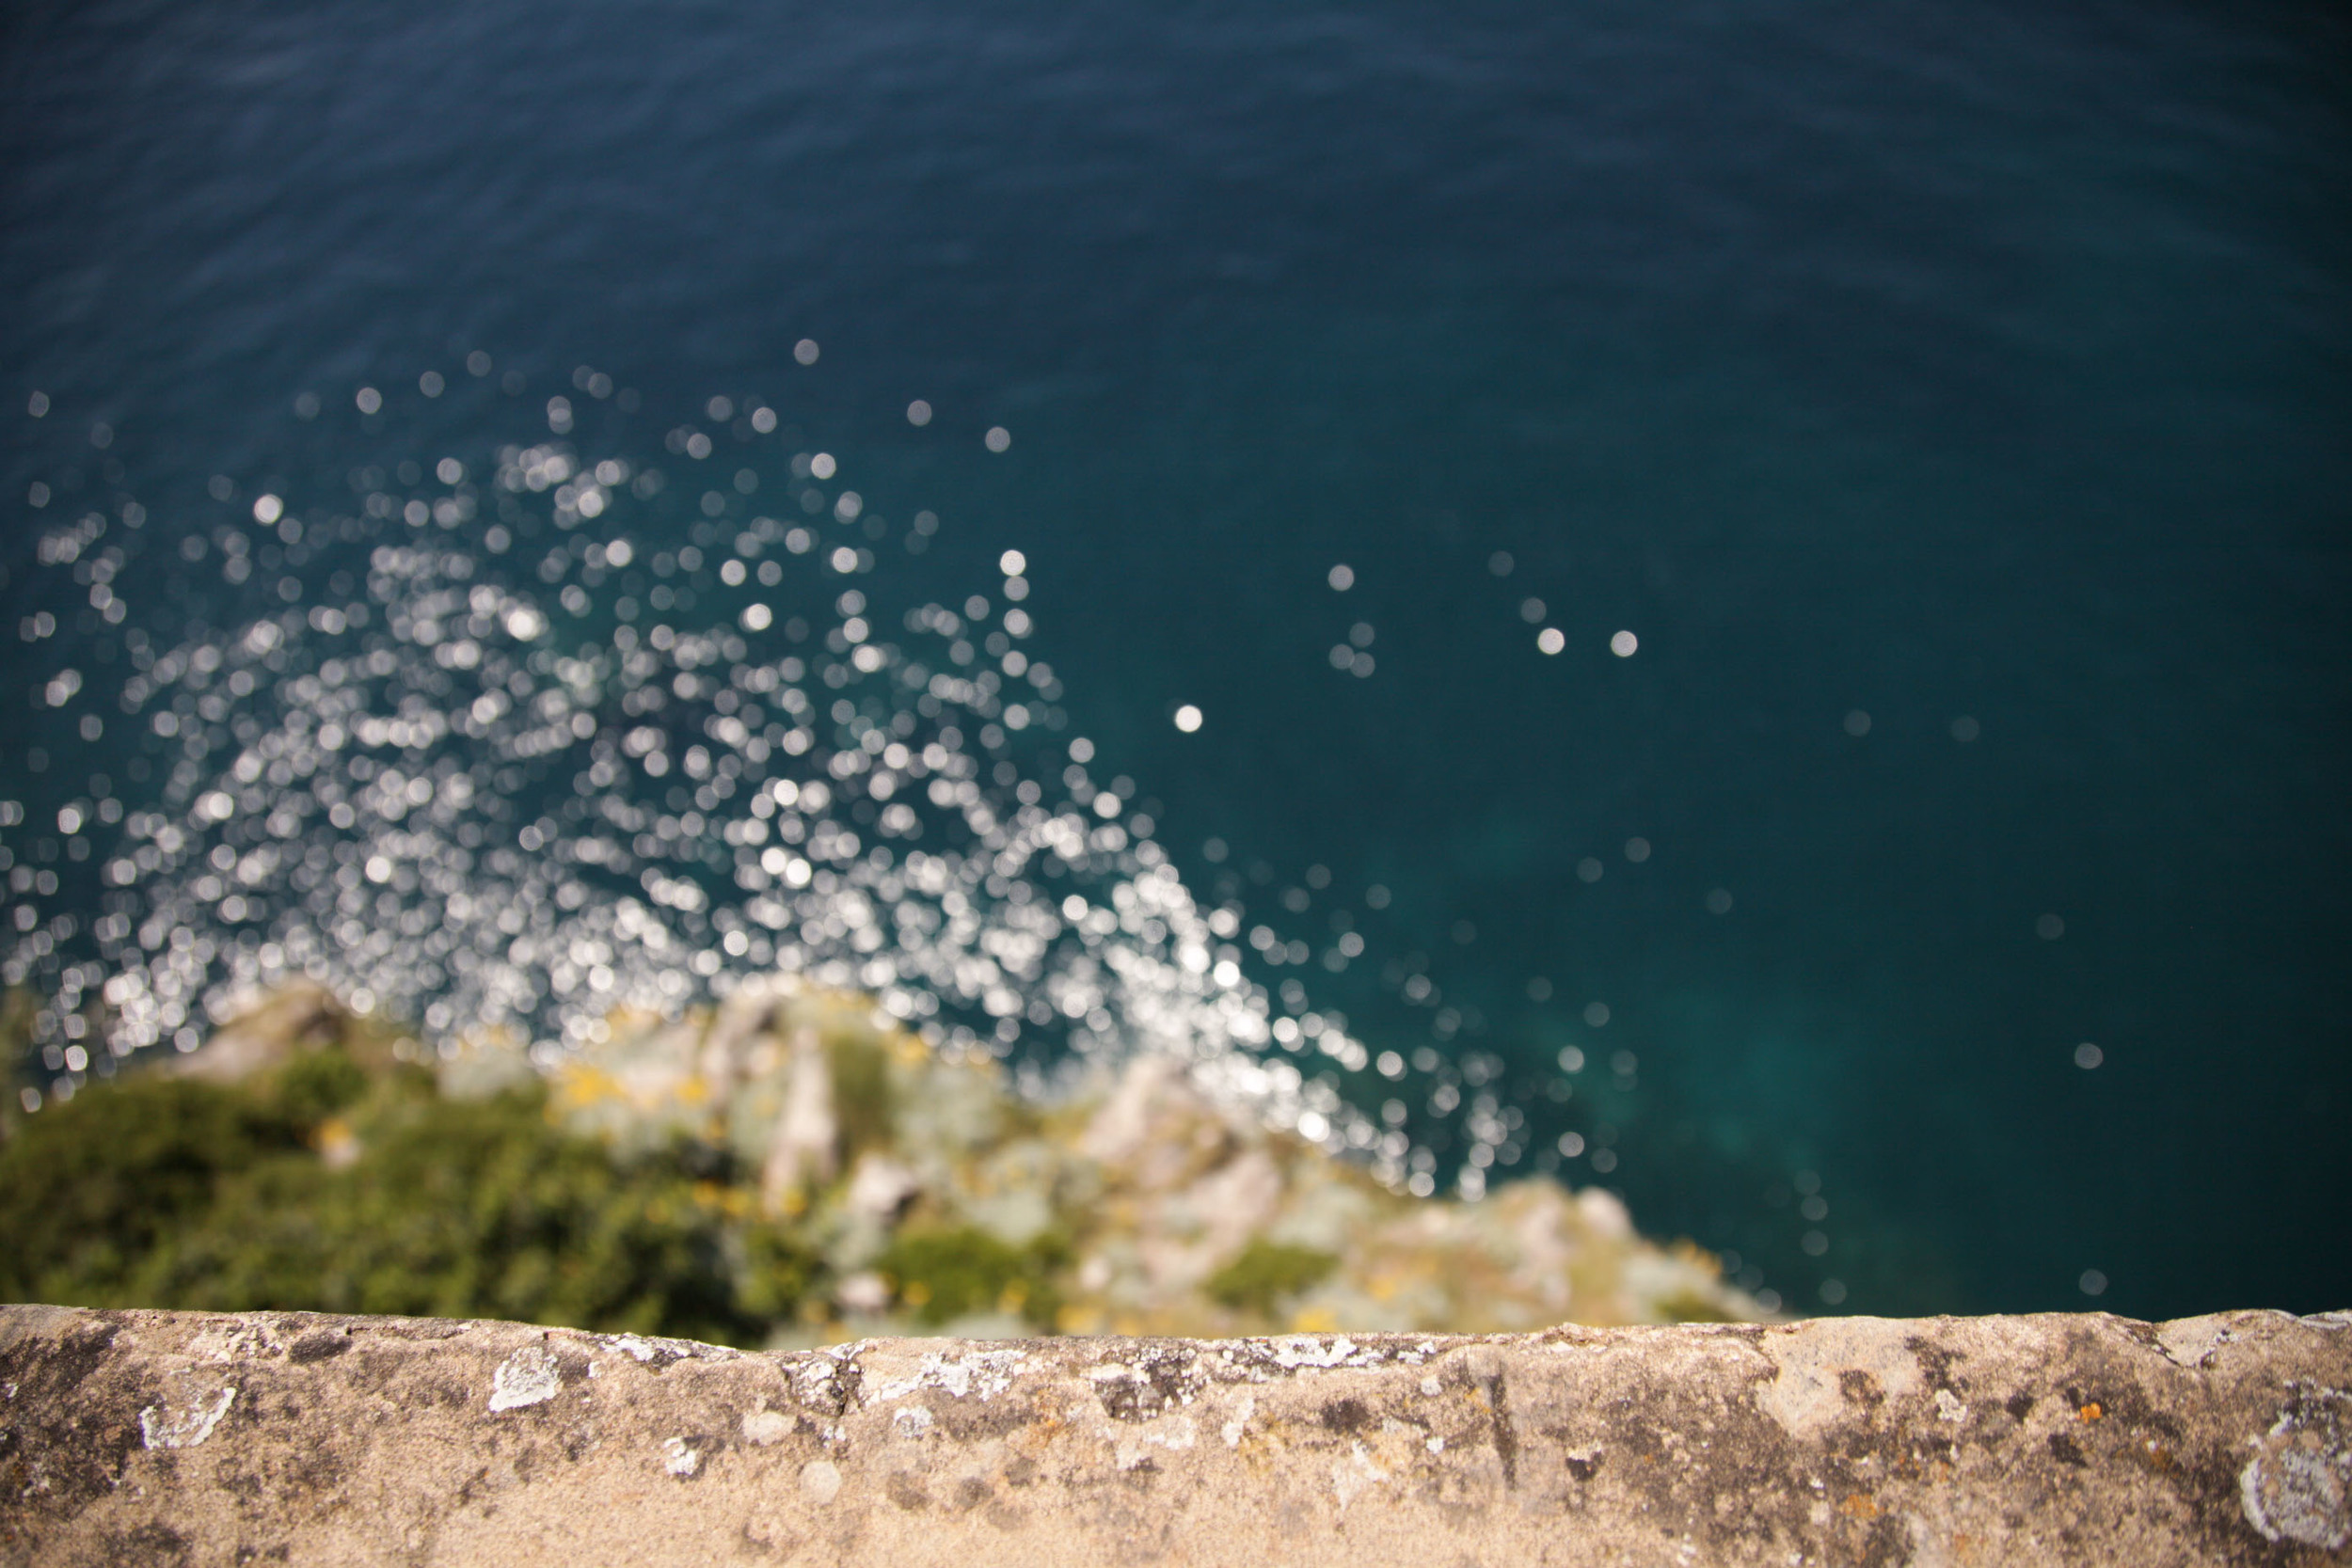
Another view from the wall.

The lady we saw from the wall gave the girls bracelets.

An incredibly bad photo as it was inside but there was an amazing family run business a few streets away from the gate. Their work was a notch or three up from much of what we saw on the street. So incredibly beautiful and detailed.

This man had the most beautiful pair of hand knit socks - on the day though I felt quite bad for him. It was about 35degrees!

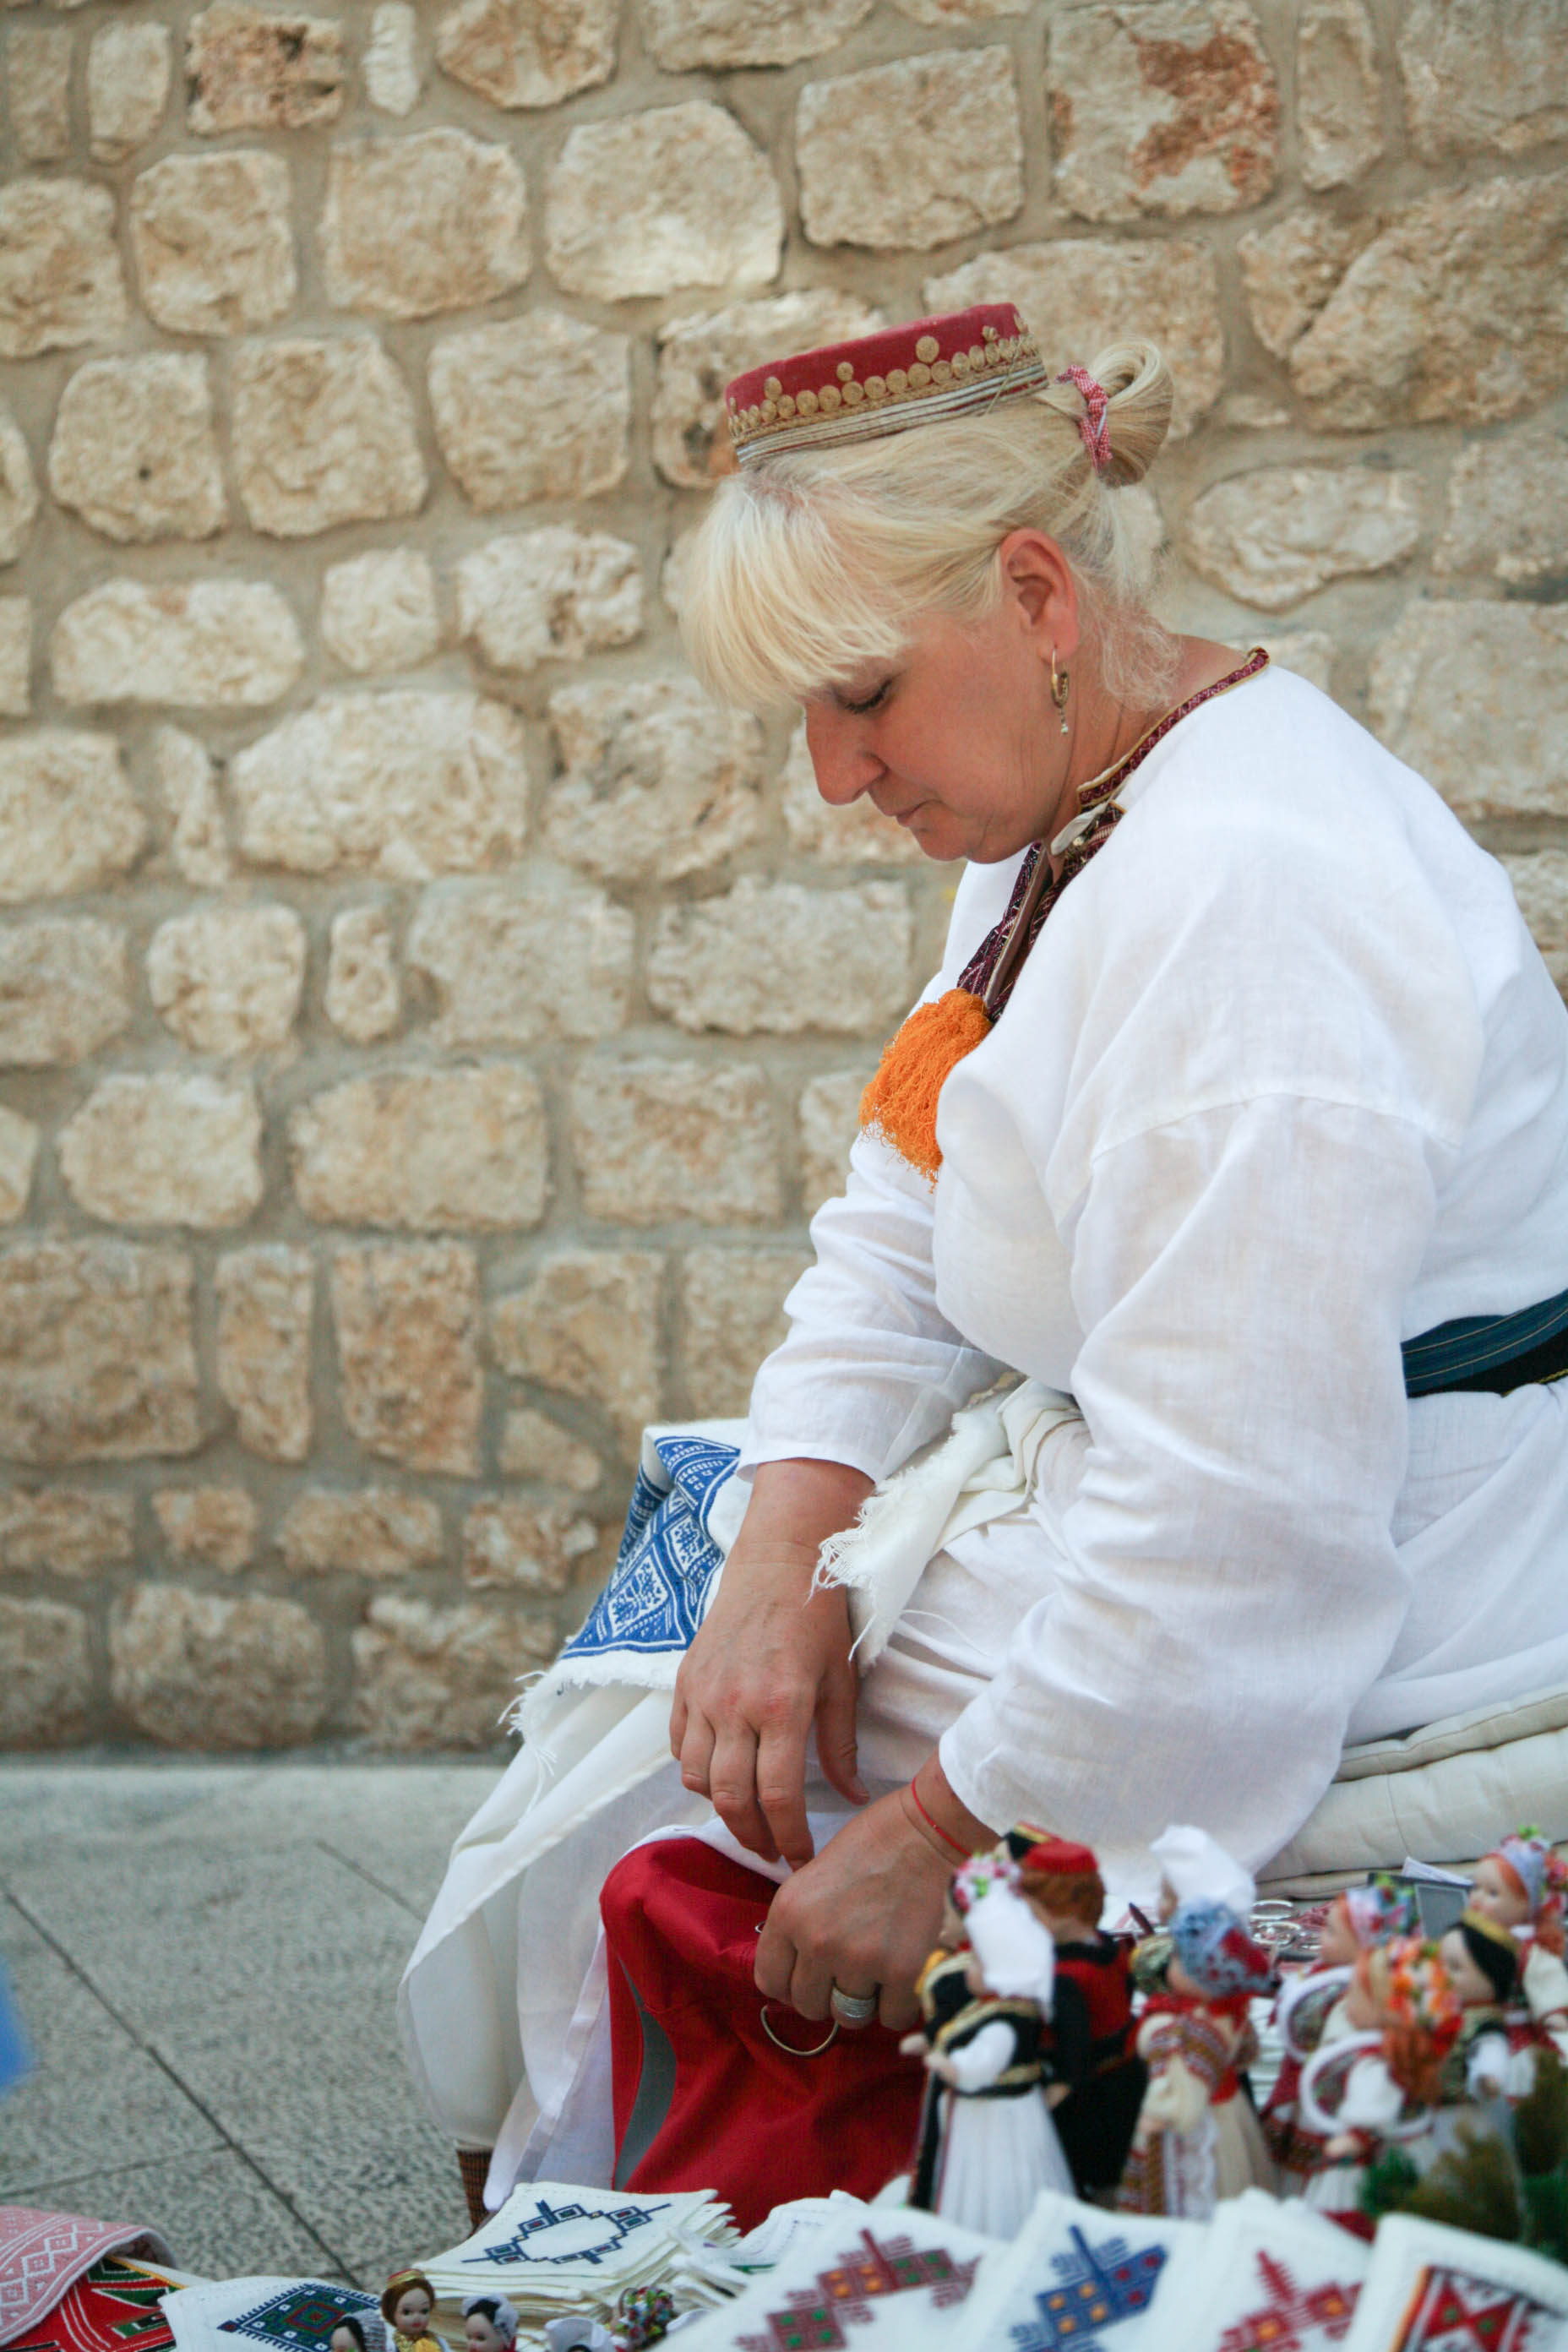
This lady was sewing on the street.
If you want to ask anything about our trip then feel free. I'll do my best to answer.
Felicia x