So I've been doing something quite out of my comfort zone. Working with colour and doing colour work. I have done a little in the past, but nothing too fancy and always something where I wasn't too attached to the project. This time round things are different.
When we got to the UK a few months ago we went to a historic home for the day. It was ace. Best one I have been to. Interesting and beautiful and imaginative and not stuffy. They do reenactments of Tudor life and as part of that they take yarn from their own sheep and dye it using natural dyes.
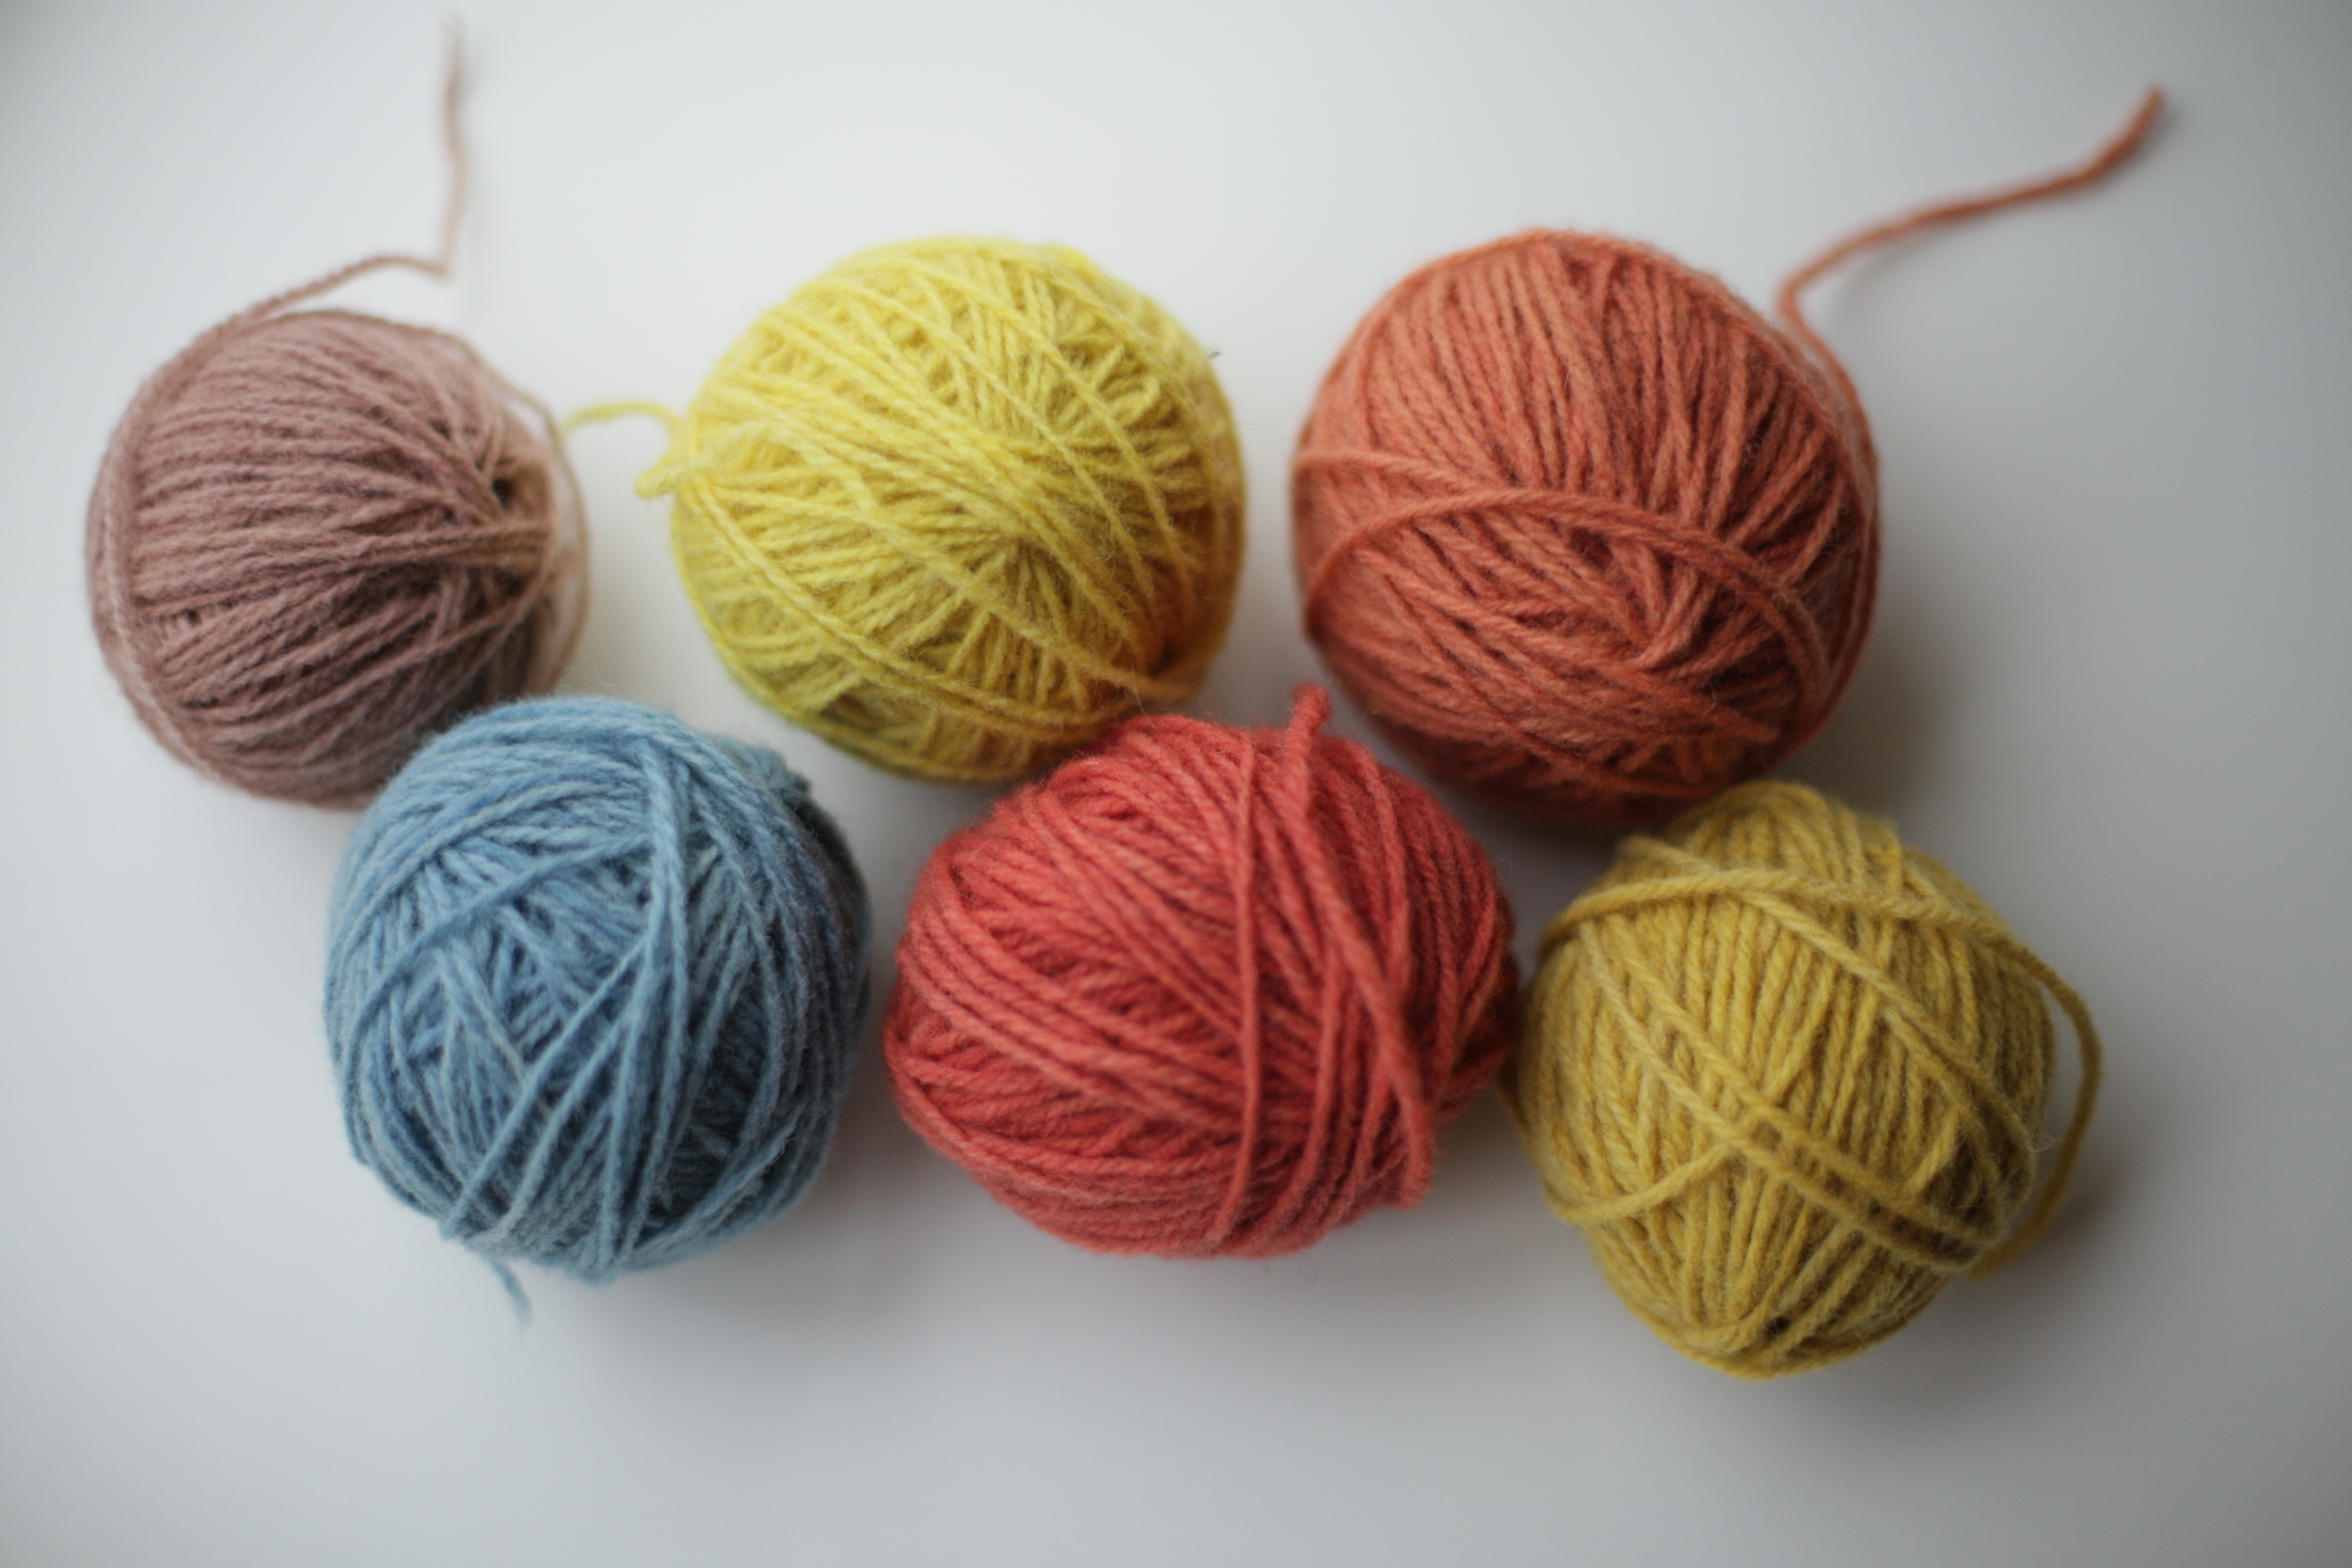
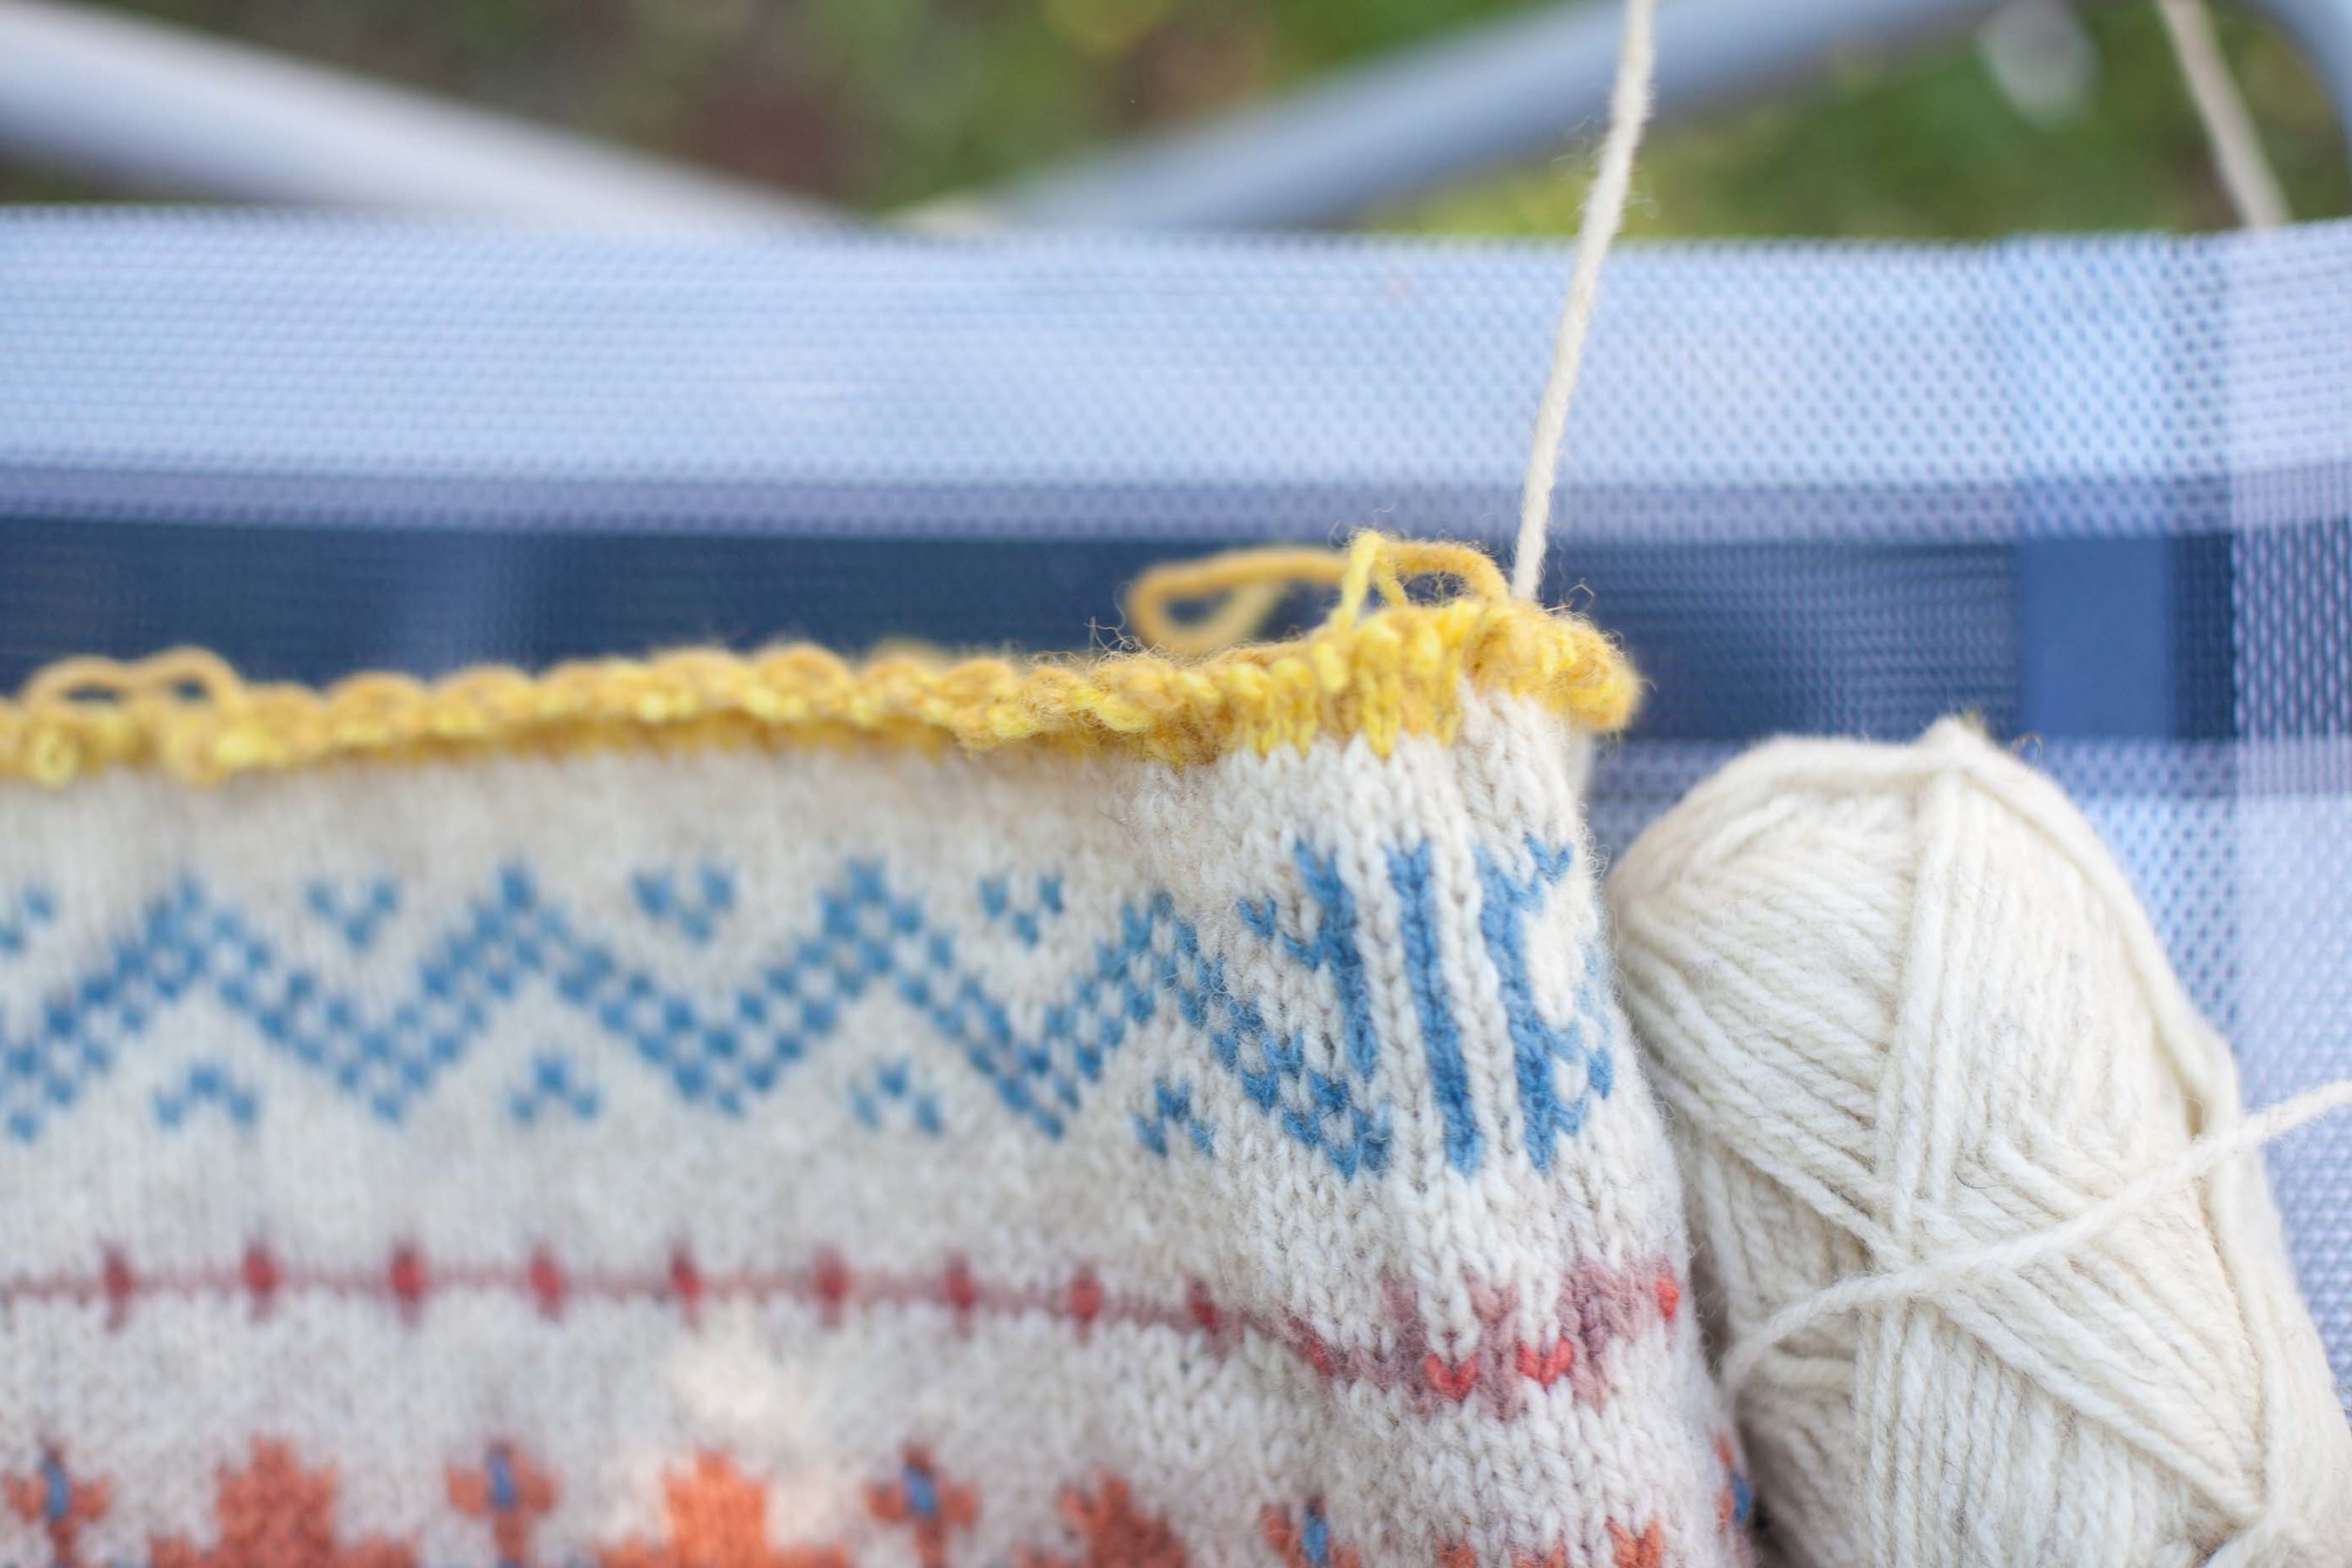
Dyed with Goat Willow, Woad, Dyers Camomile, Madder, Madder again and more Dyers Camomile.
Now although I run a Craft Retreat that does natural dyeing, I don't know anything about it* so love the fact I could access naturally dyed yarn straight from the producer.
(*Luckily Jules does and is running an amazing workshop this year where you get 25 colours from the one dye pot!)
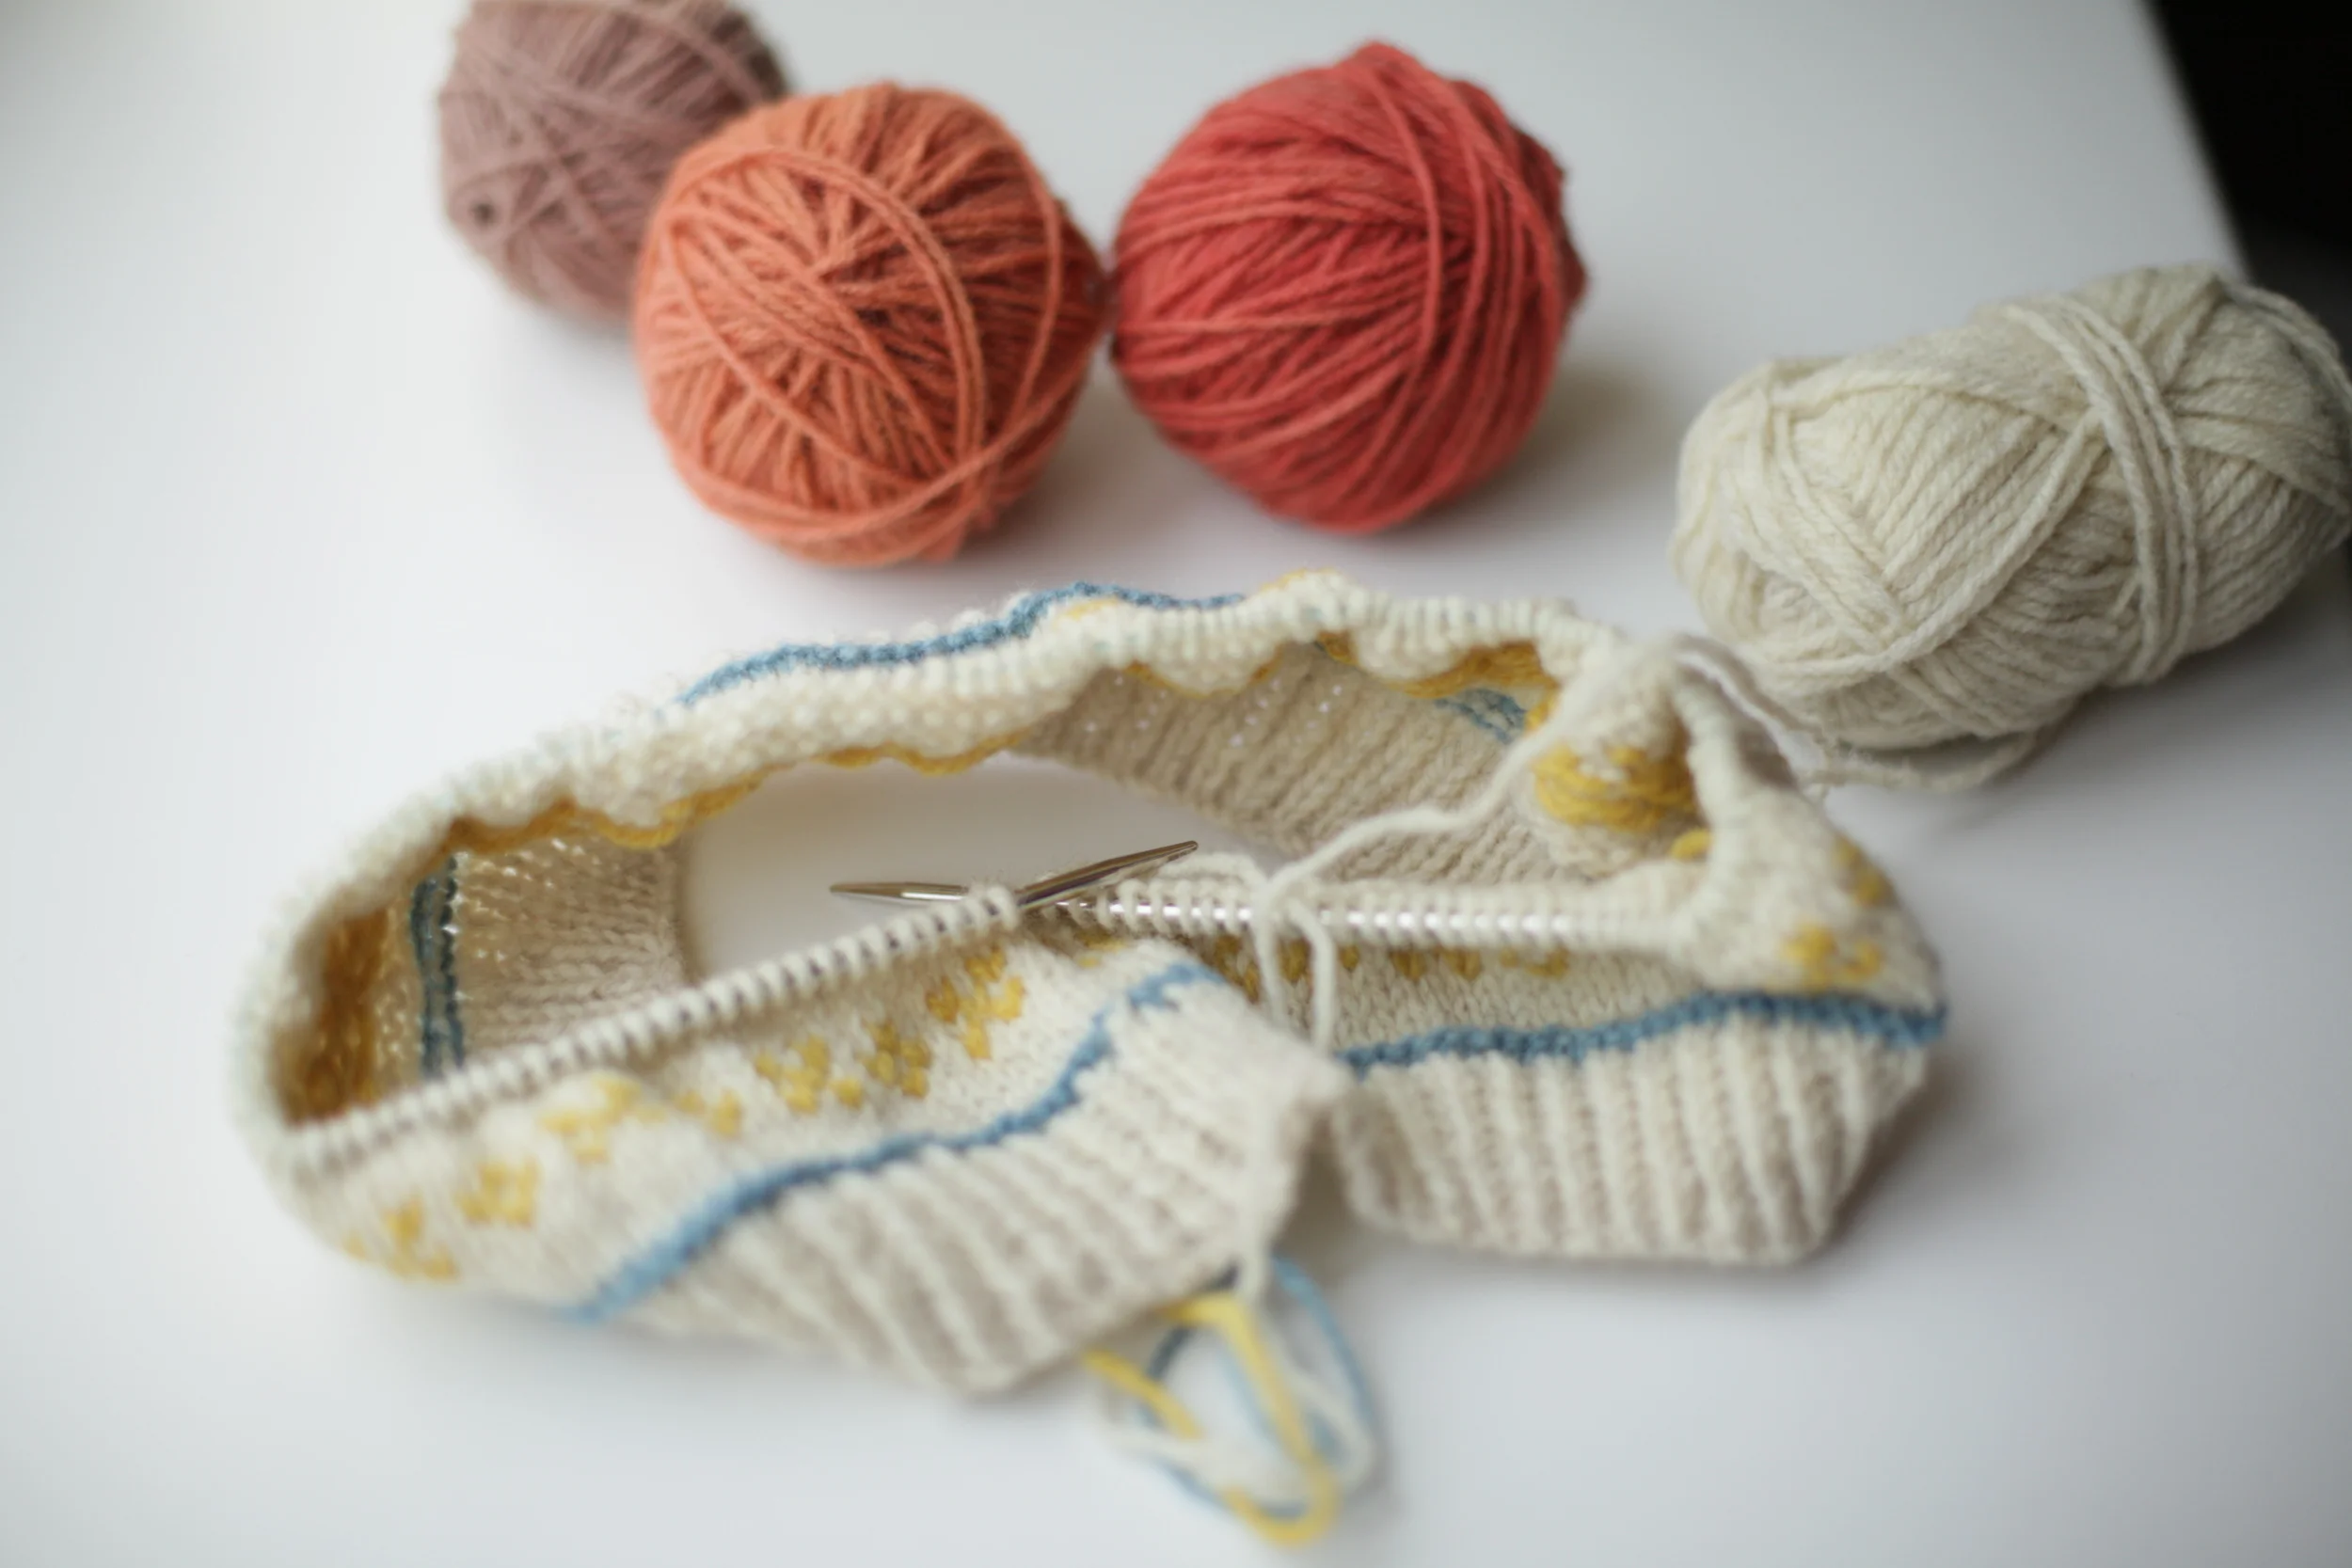
And I love the things that get created from the natural dyeing process. Beautiful colours that go together in a way that commercially dyed colours don't seem to. Semi-solid colours which add such life to a project.
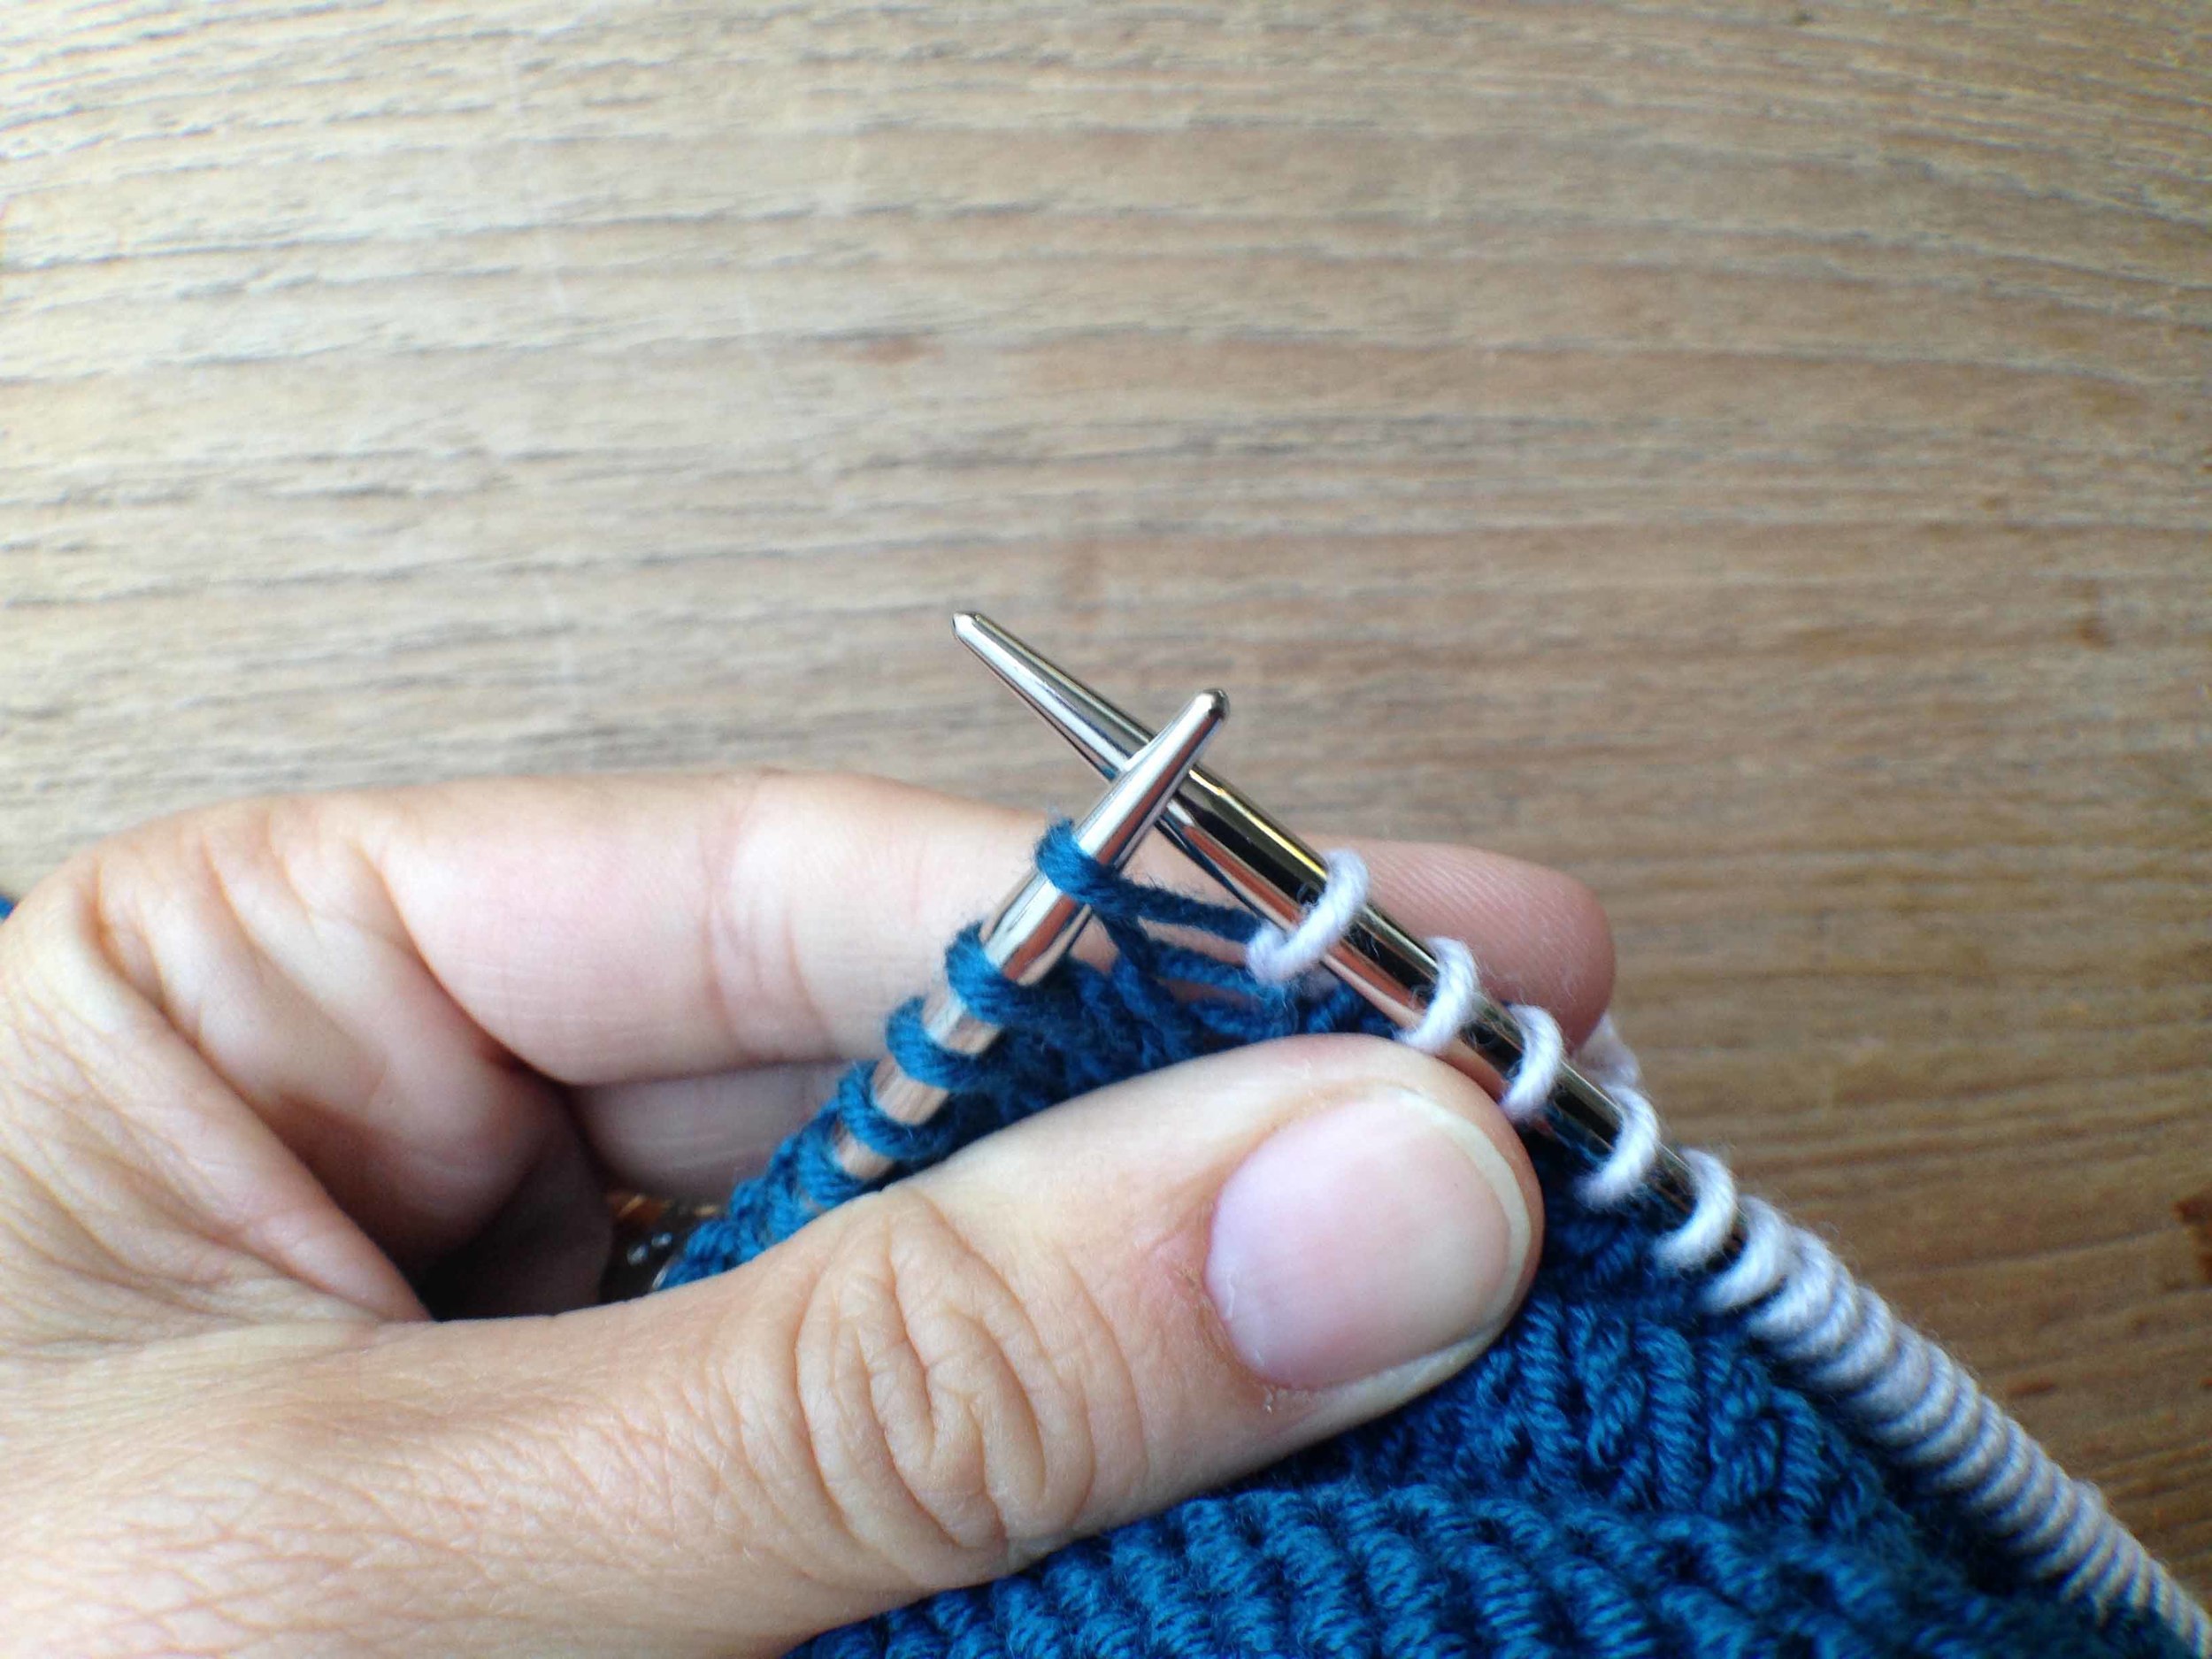
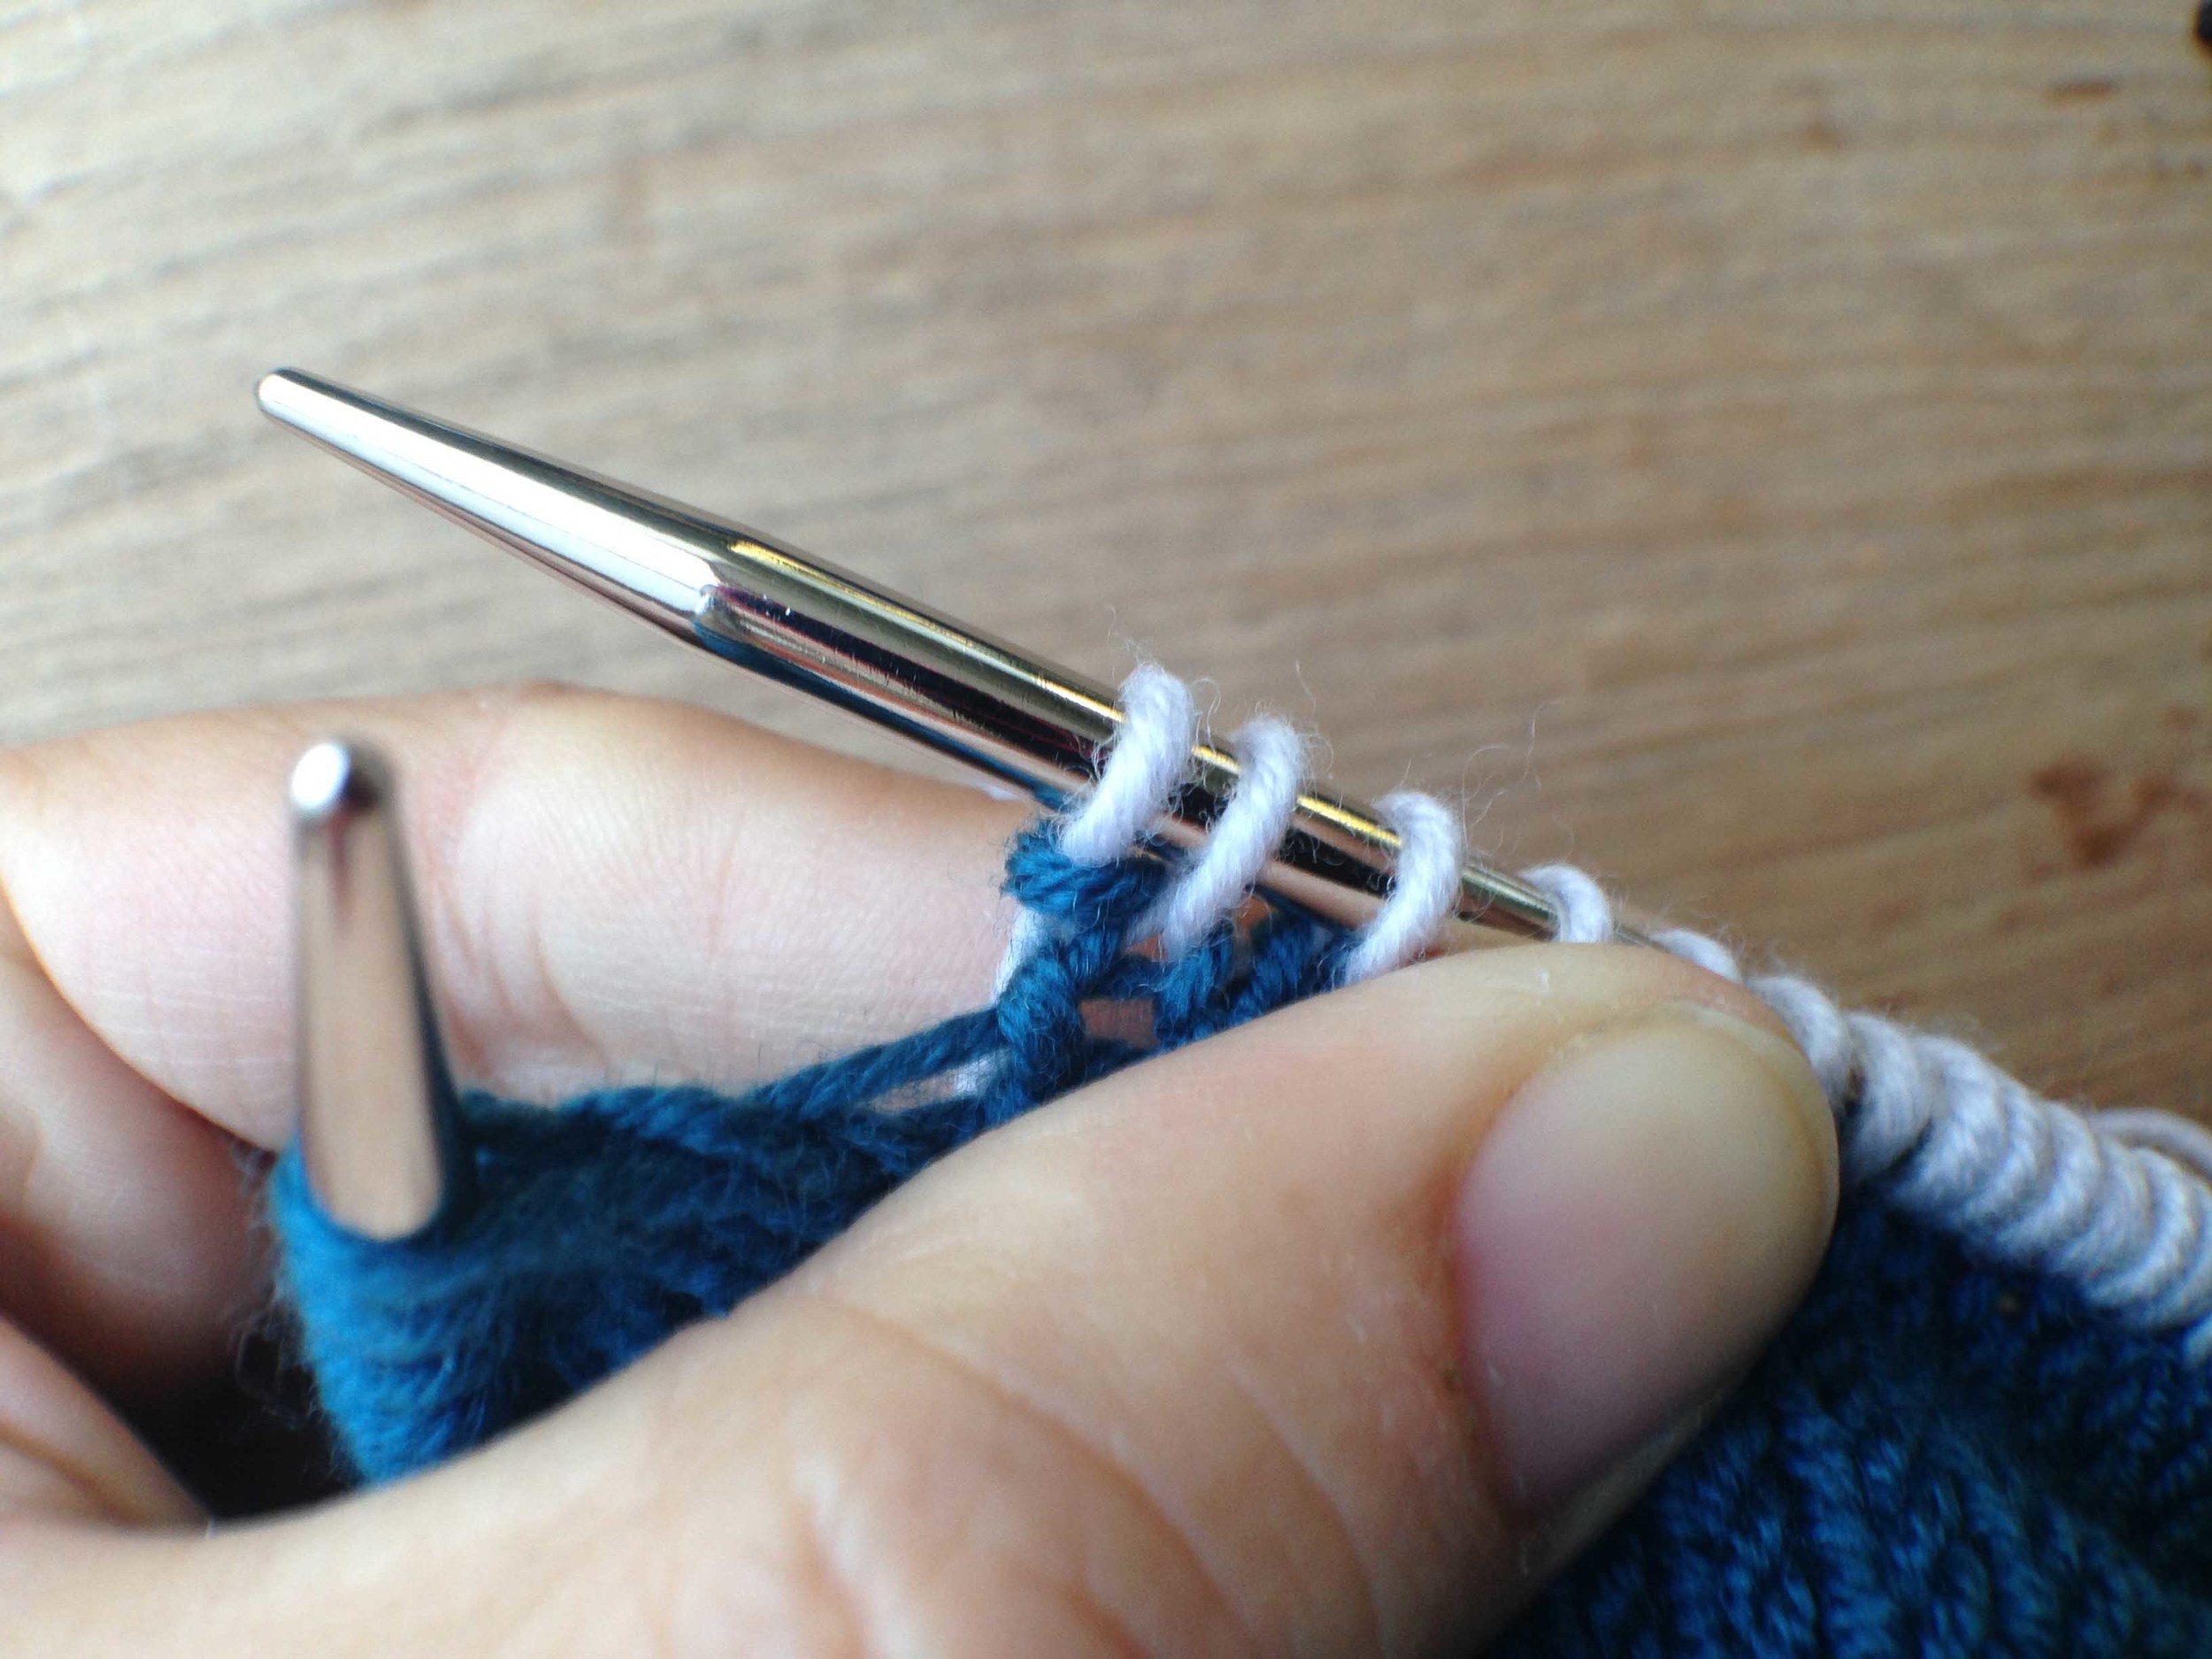
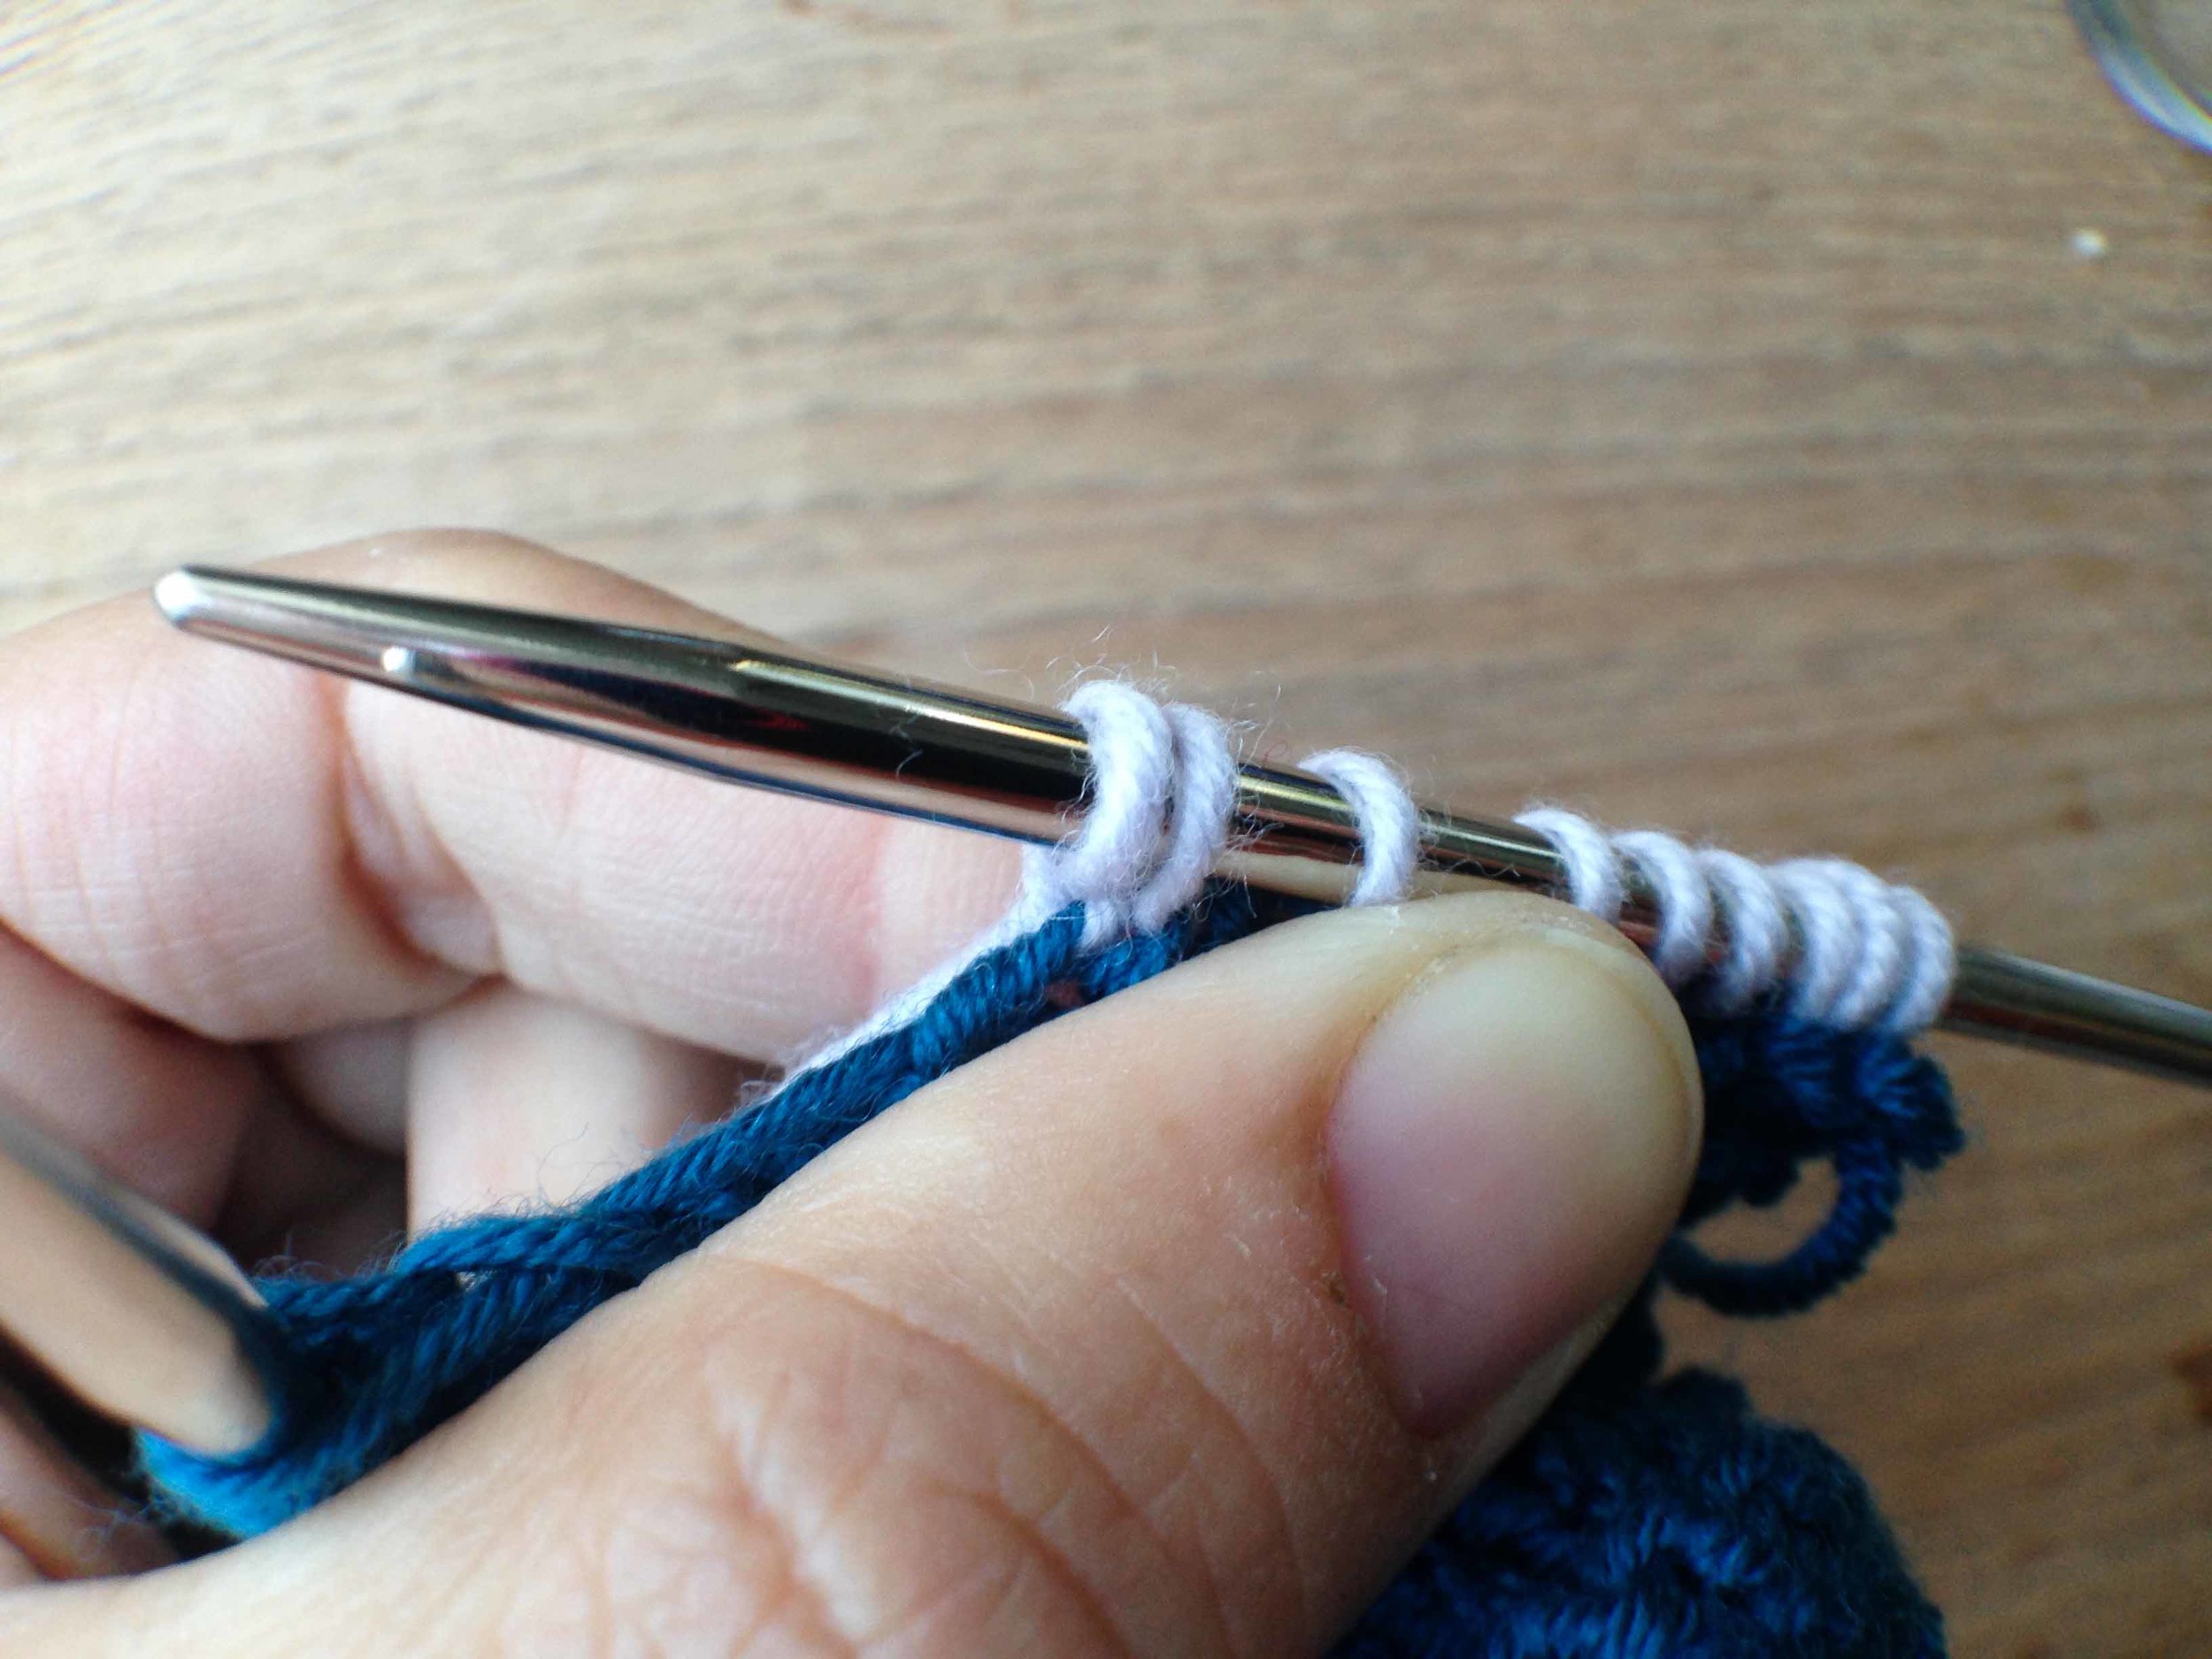
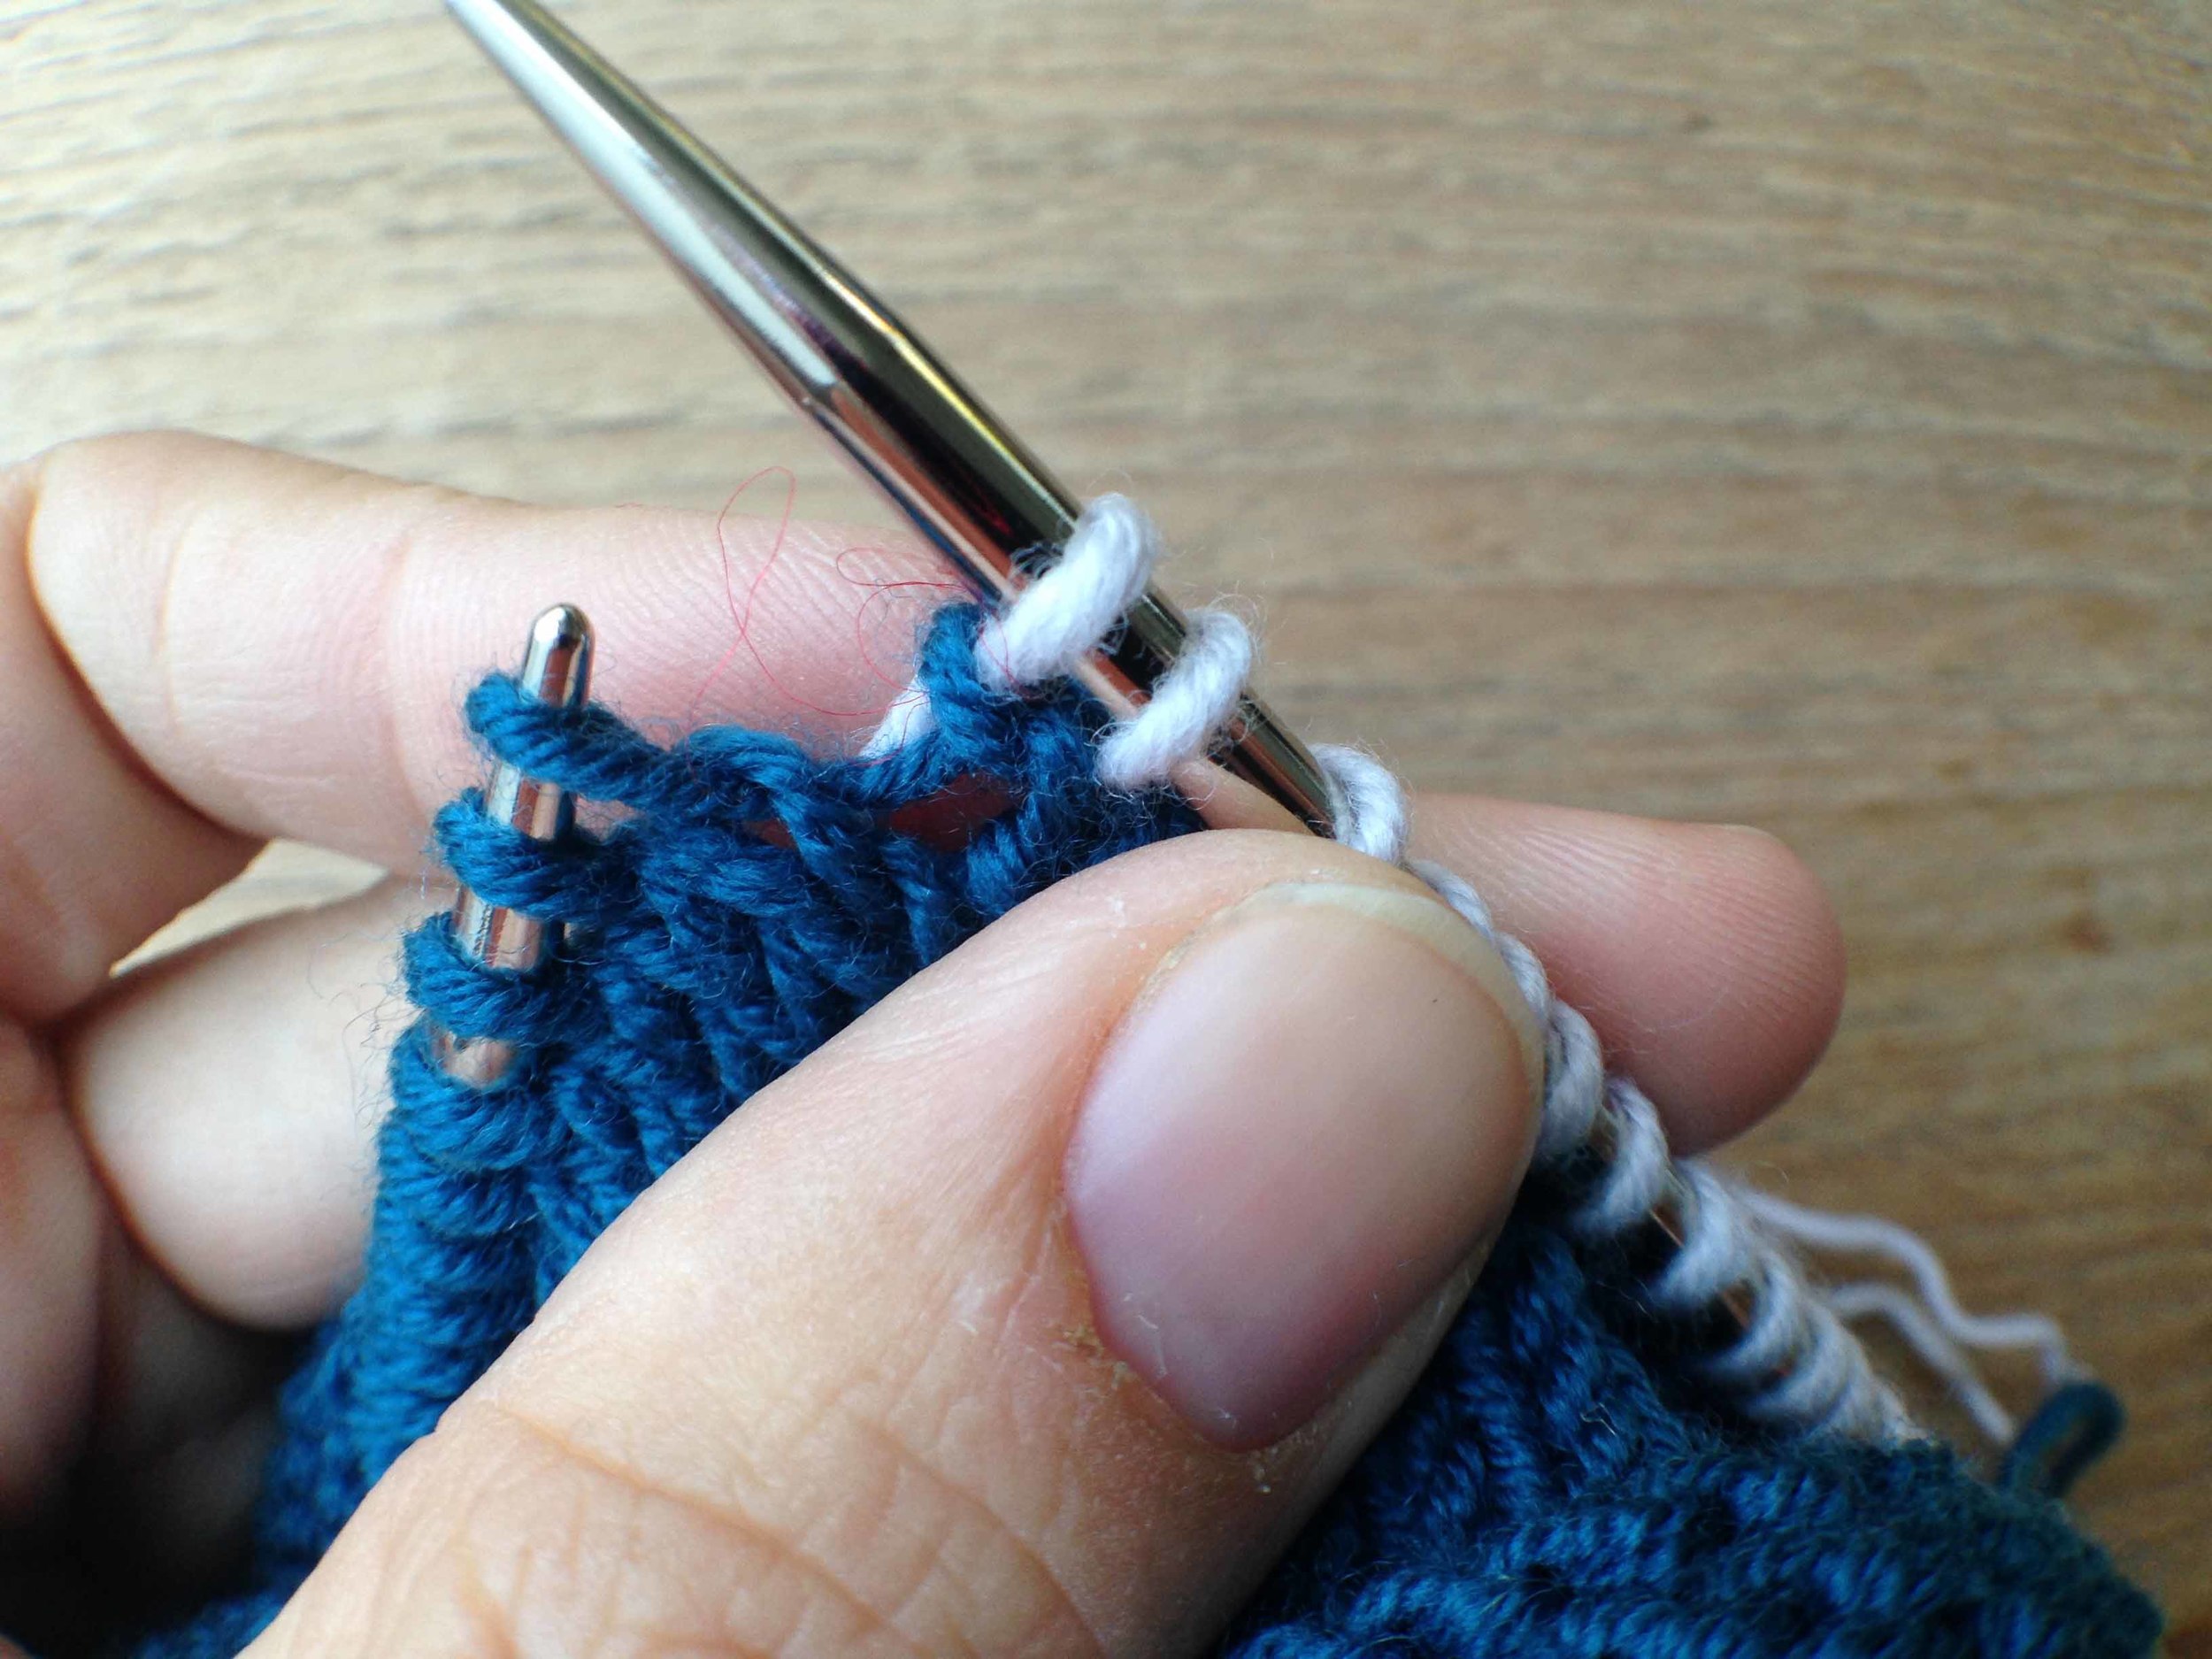
I pulled this start out, did it again and then redid it identical to my first time. Oh yes I did.
And because I loved the materials so much, I got myself into a muddle about creating with them. That old if-I-use-them-then-I-won't-have-them-anymore-so-the-thing-I-create-with-them-has-to-be-wonderful nugget of procrastination. I wanted to use them as colour work with the natural coloured yarn as a backdrop. But they aren't colours I use normally and I really don't know anything about the rules of colour work. There is a bit of art and a bit of science behind it and I don't feel I know much about either yet.
So I started and stopped and started again and then stopped. I finally picked it up again last week and decided to just get on with it. I took away possible procrastination devices by making sure I don't have anything else cast on. That way I can't run away from working out whatever issue I'm having. Do you do that - massive avoidance when things get uncomfortable??
But this time I added an important condition to my thought process, and that was that ripping out was going to be part of the process. Because truthfully I don't know the rules or what I am doing. BUT because I want to love it, I need to trust my gut a little and rip if I really think it isn't working.

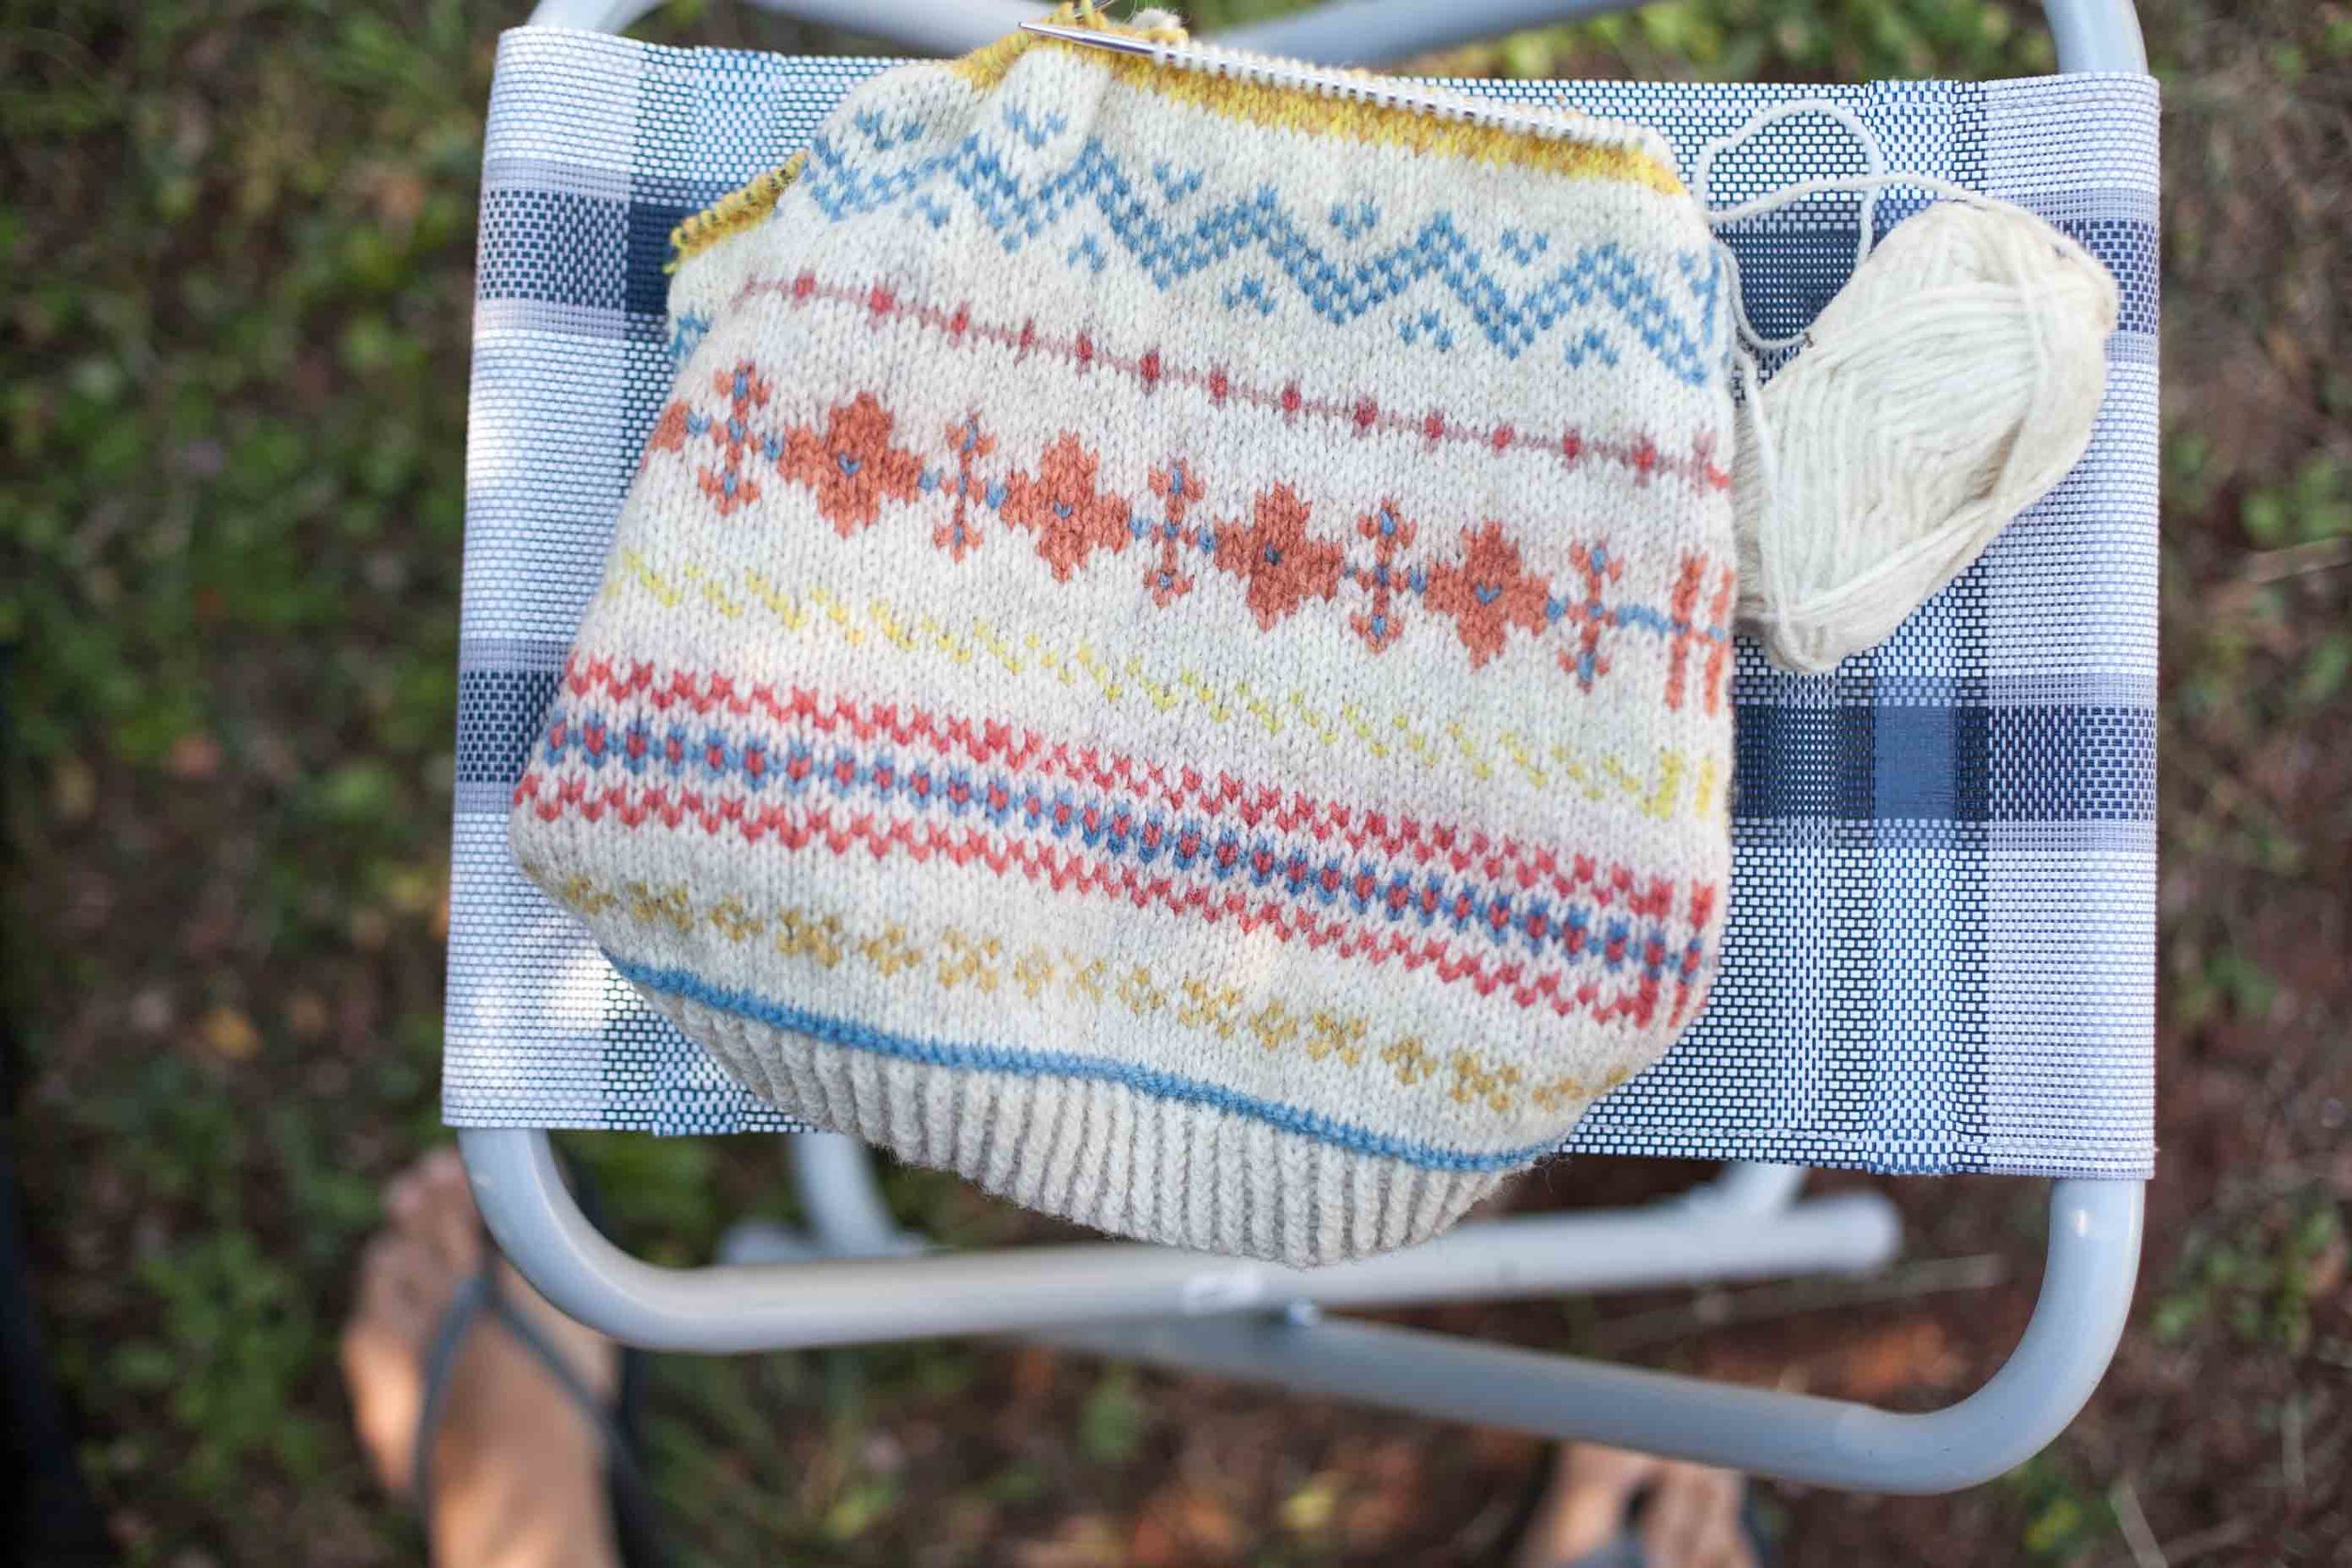
I truly wish I had been taking photos all the way through as this thing has been ripped out many times. Sometimes going back four rows and sometimes going back 20 just to change one thing. Forward and backwards and forwards again. Because the things that work and the things that won't work are not at all obvious to me. Total trial and error.
All the while I have been reminding myself that ripping is not wasting time*. Ripping is part of the process on the way to making something that I will love. And that means there can be joy in the process of ripping. Each time I rip it means that I have learnt something.

Ripping this was fun as I knew it was so so wrong.
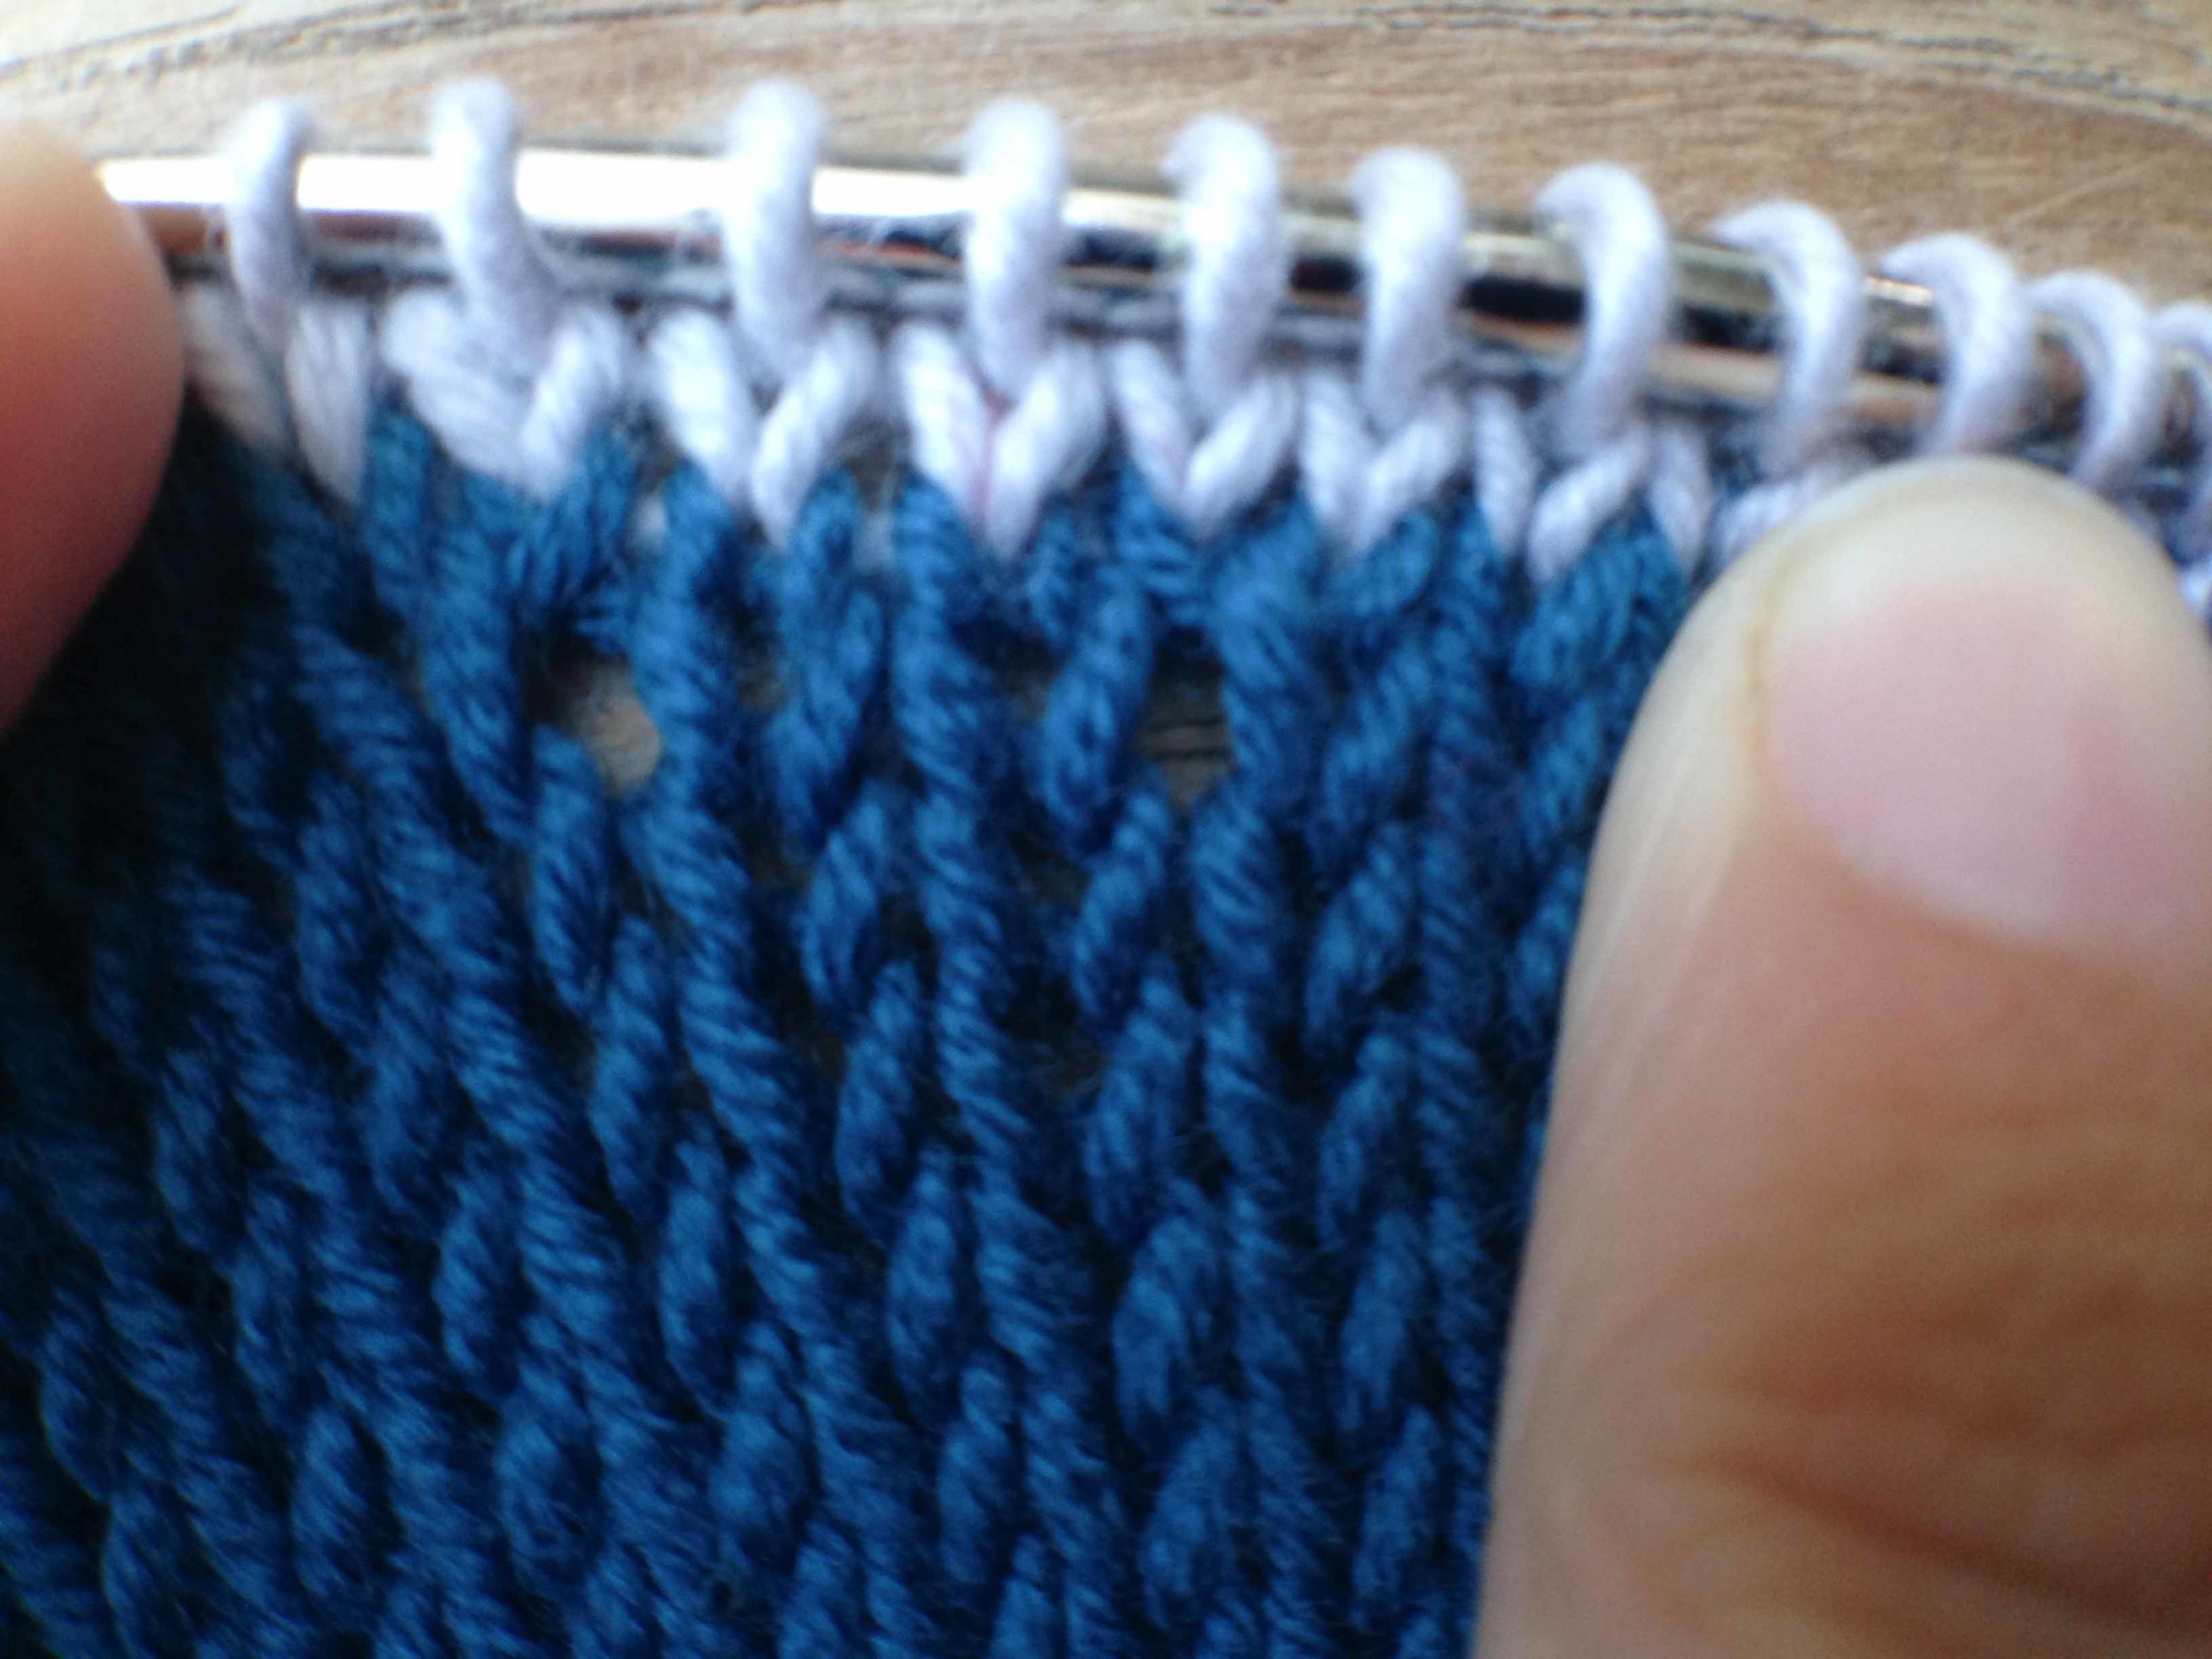
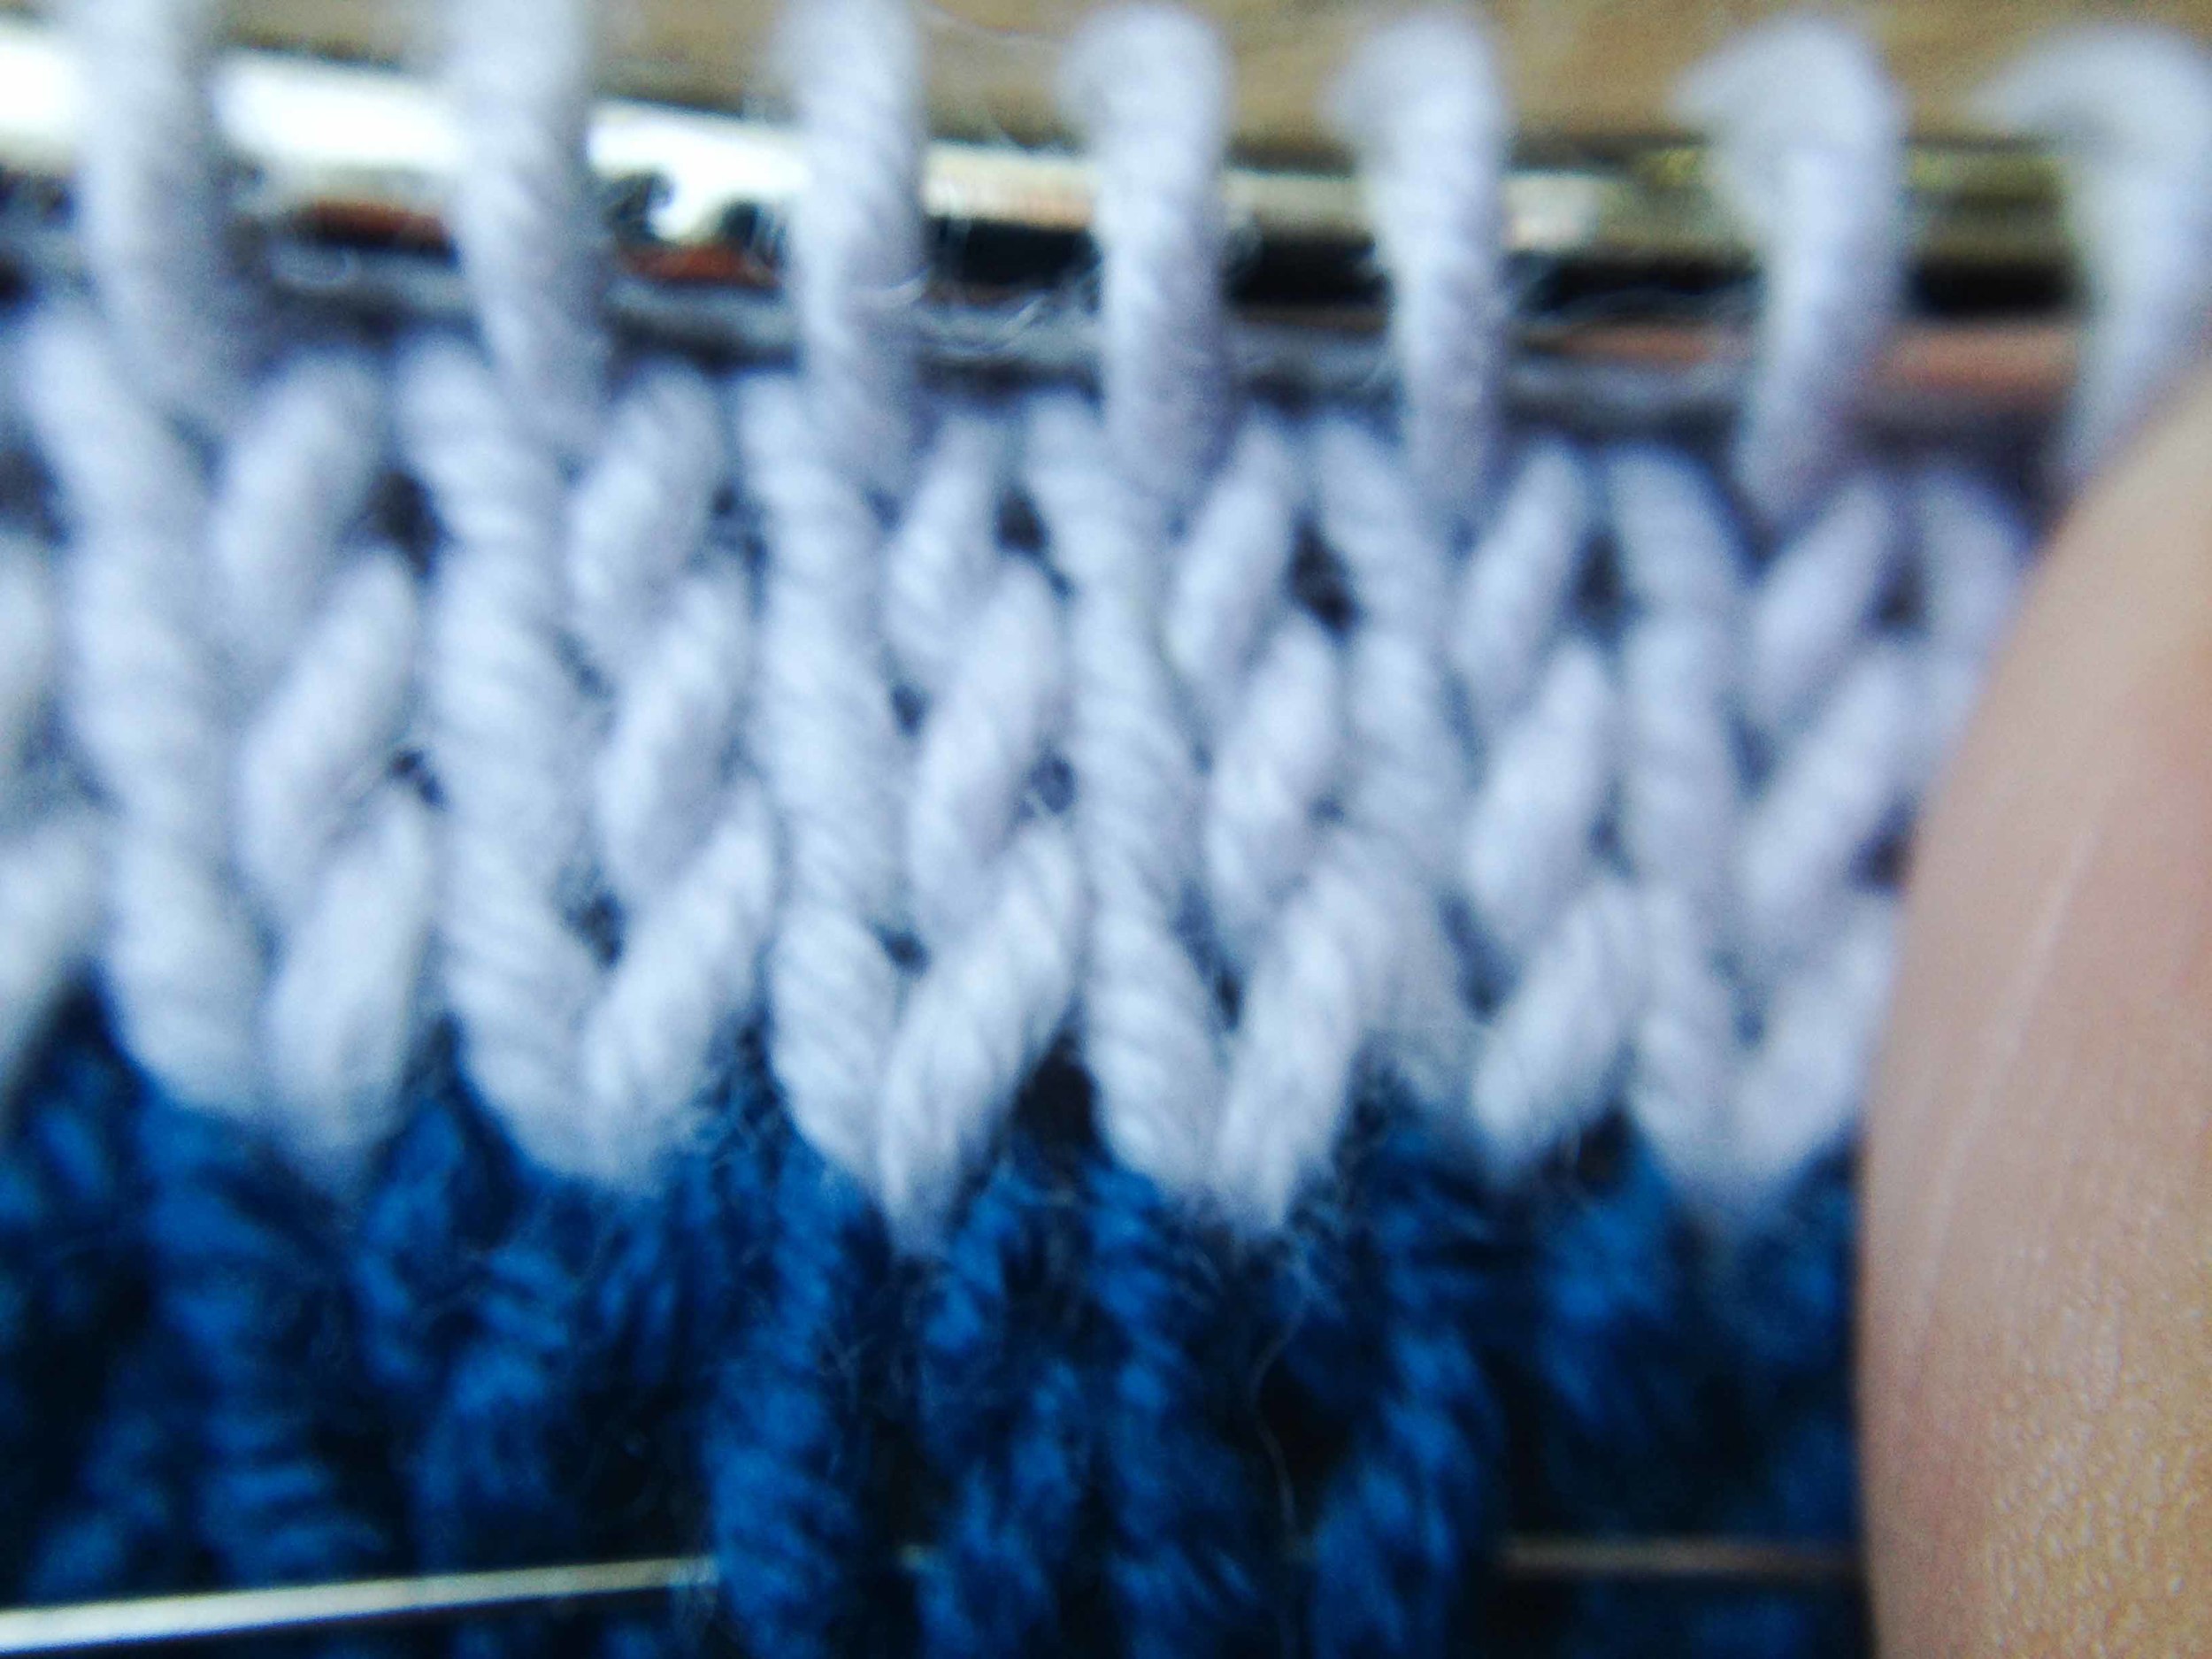
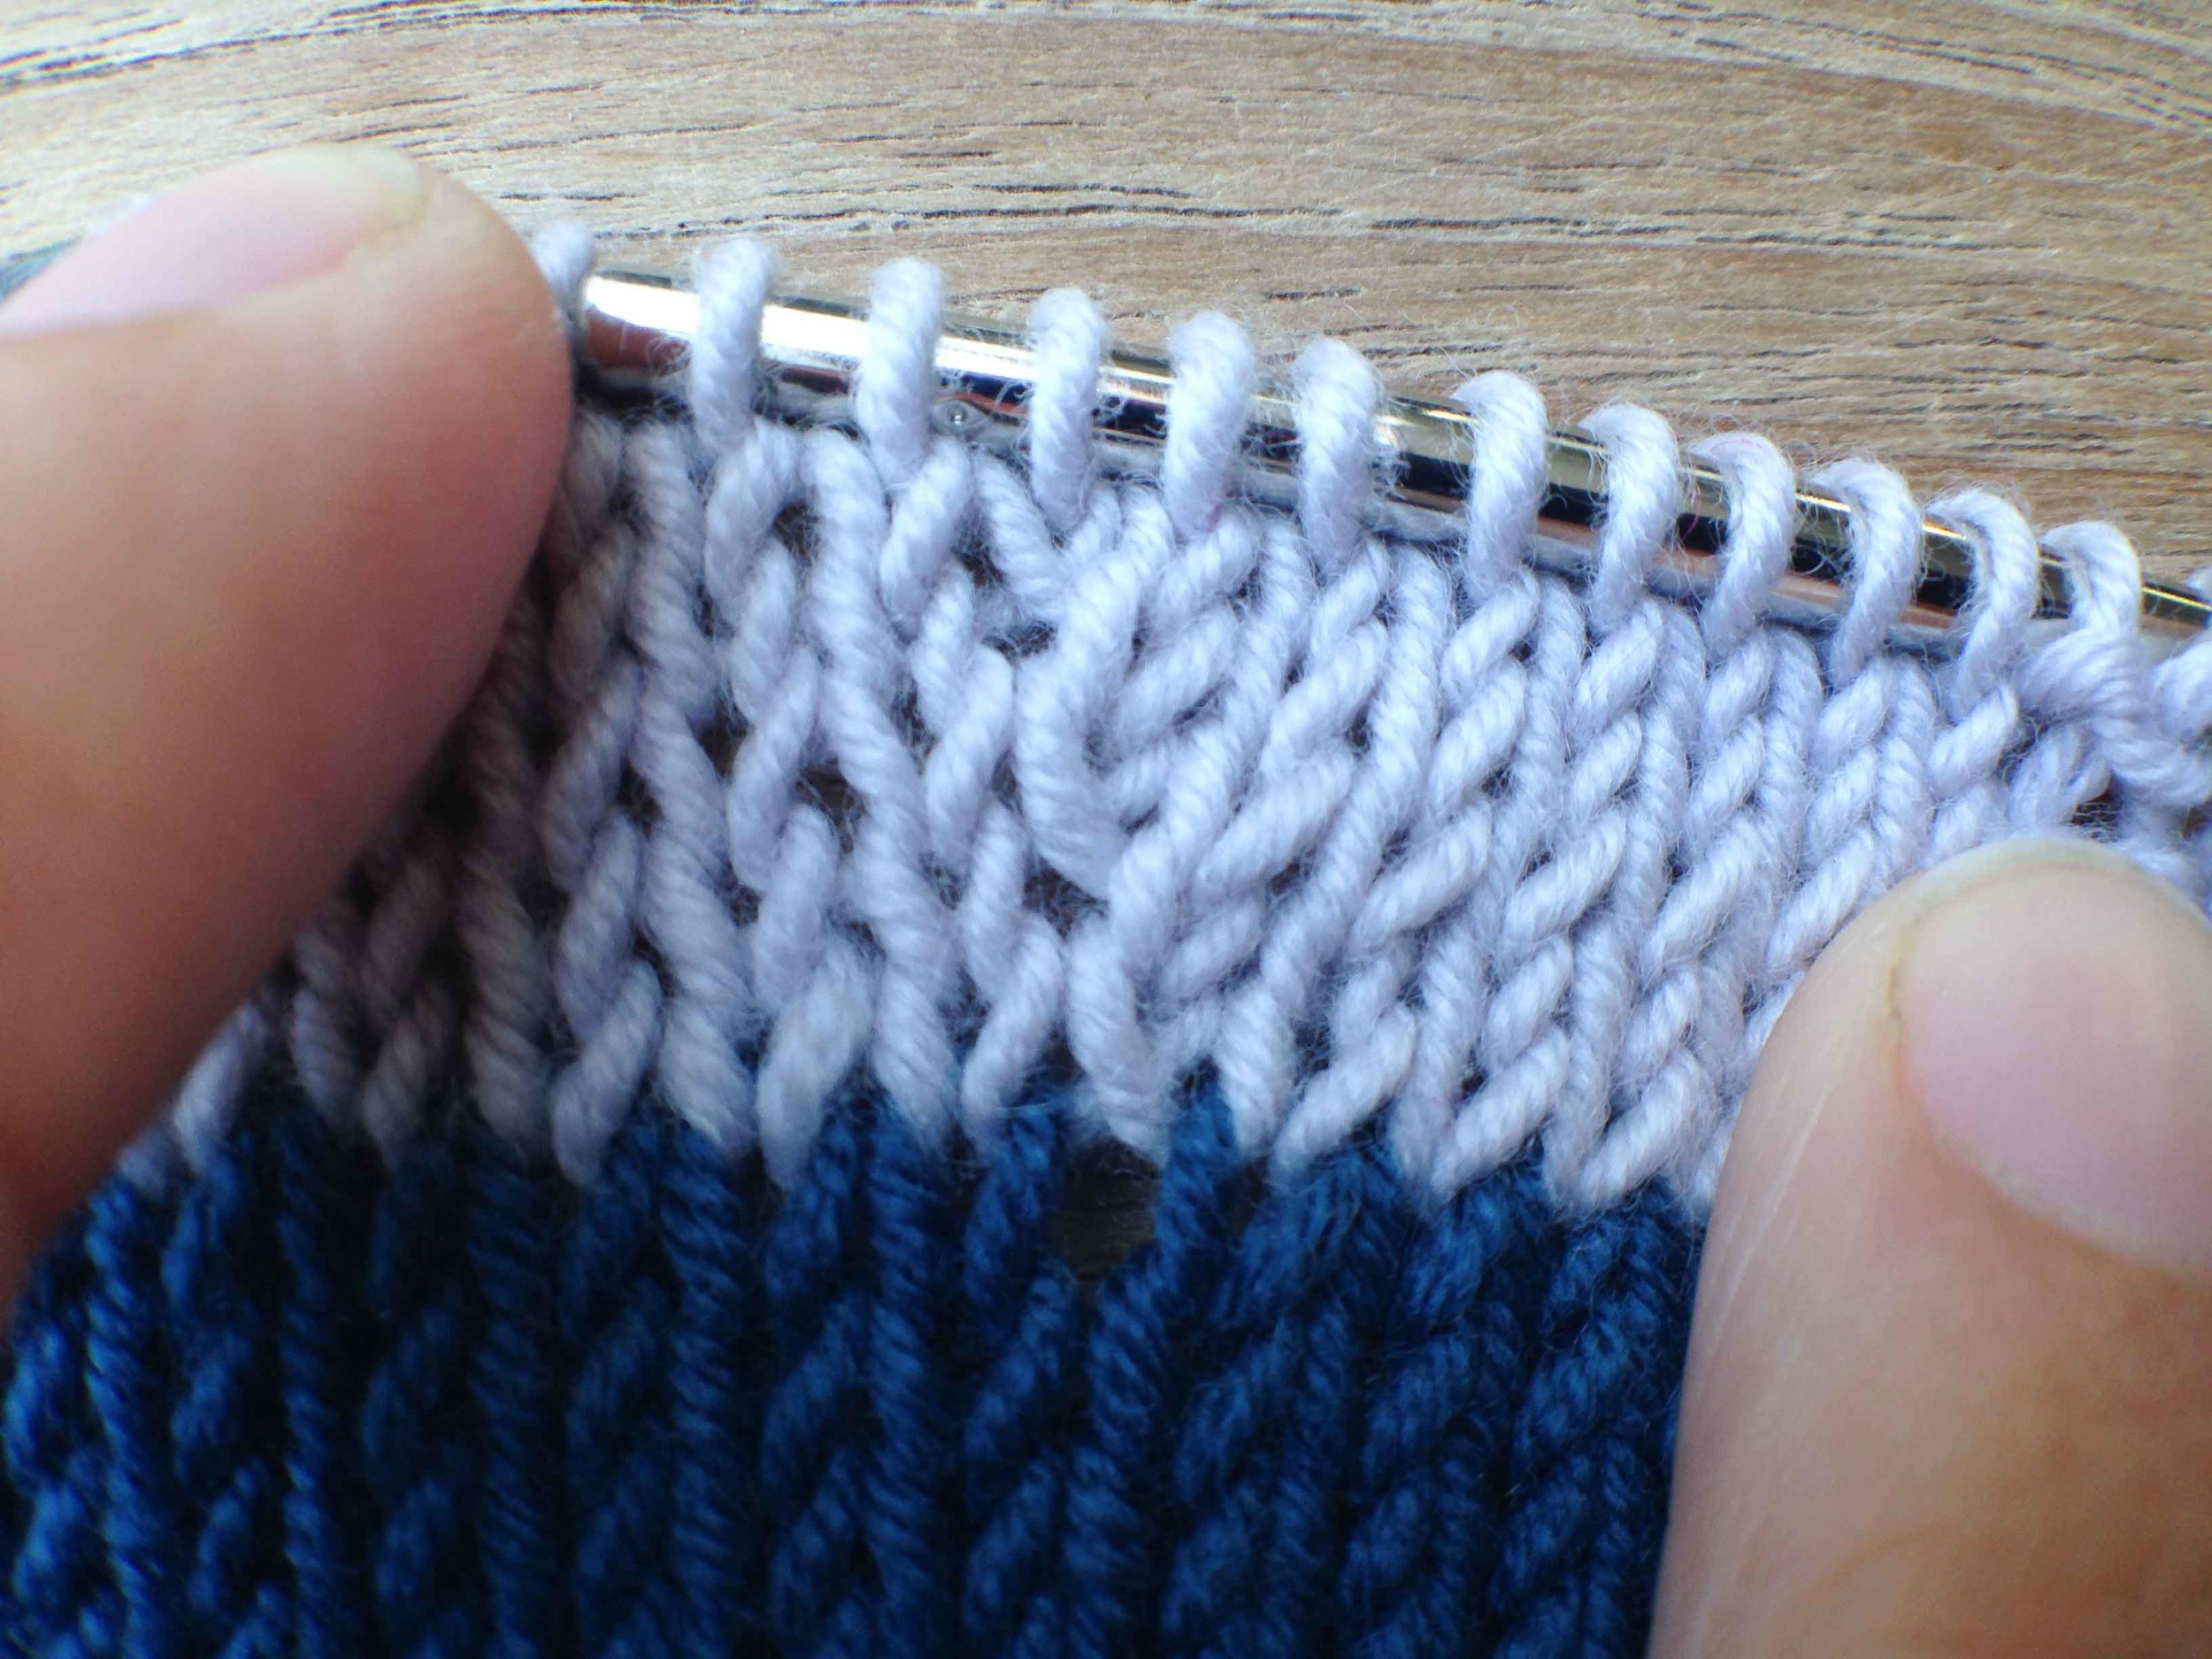
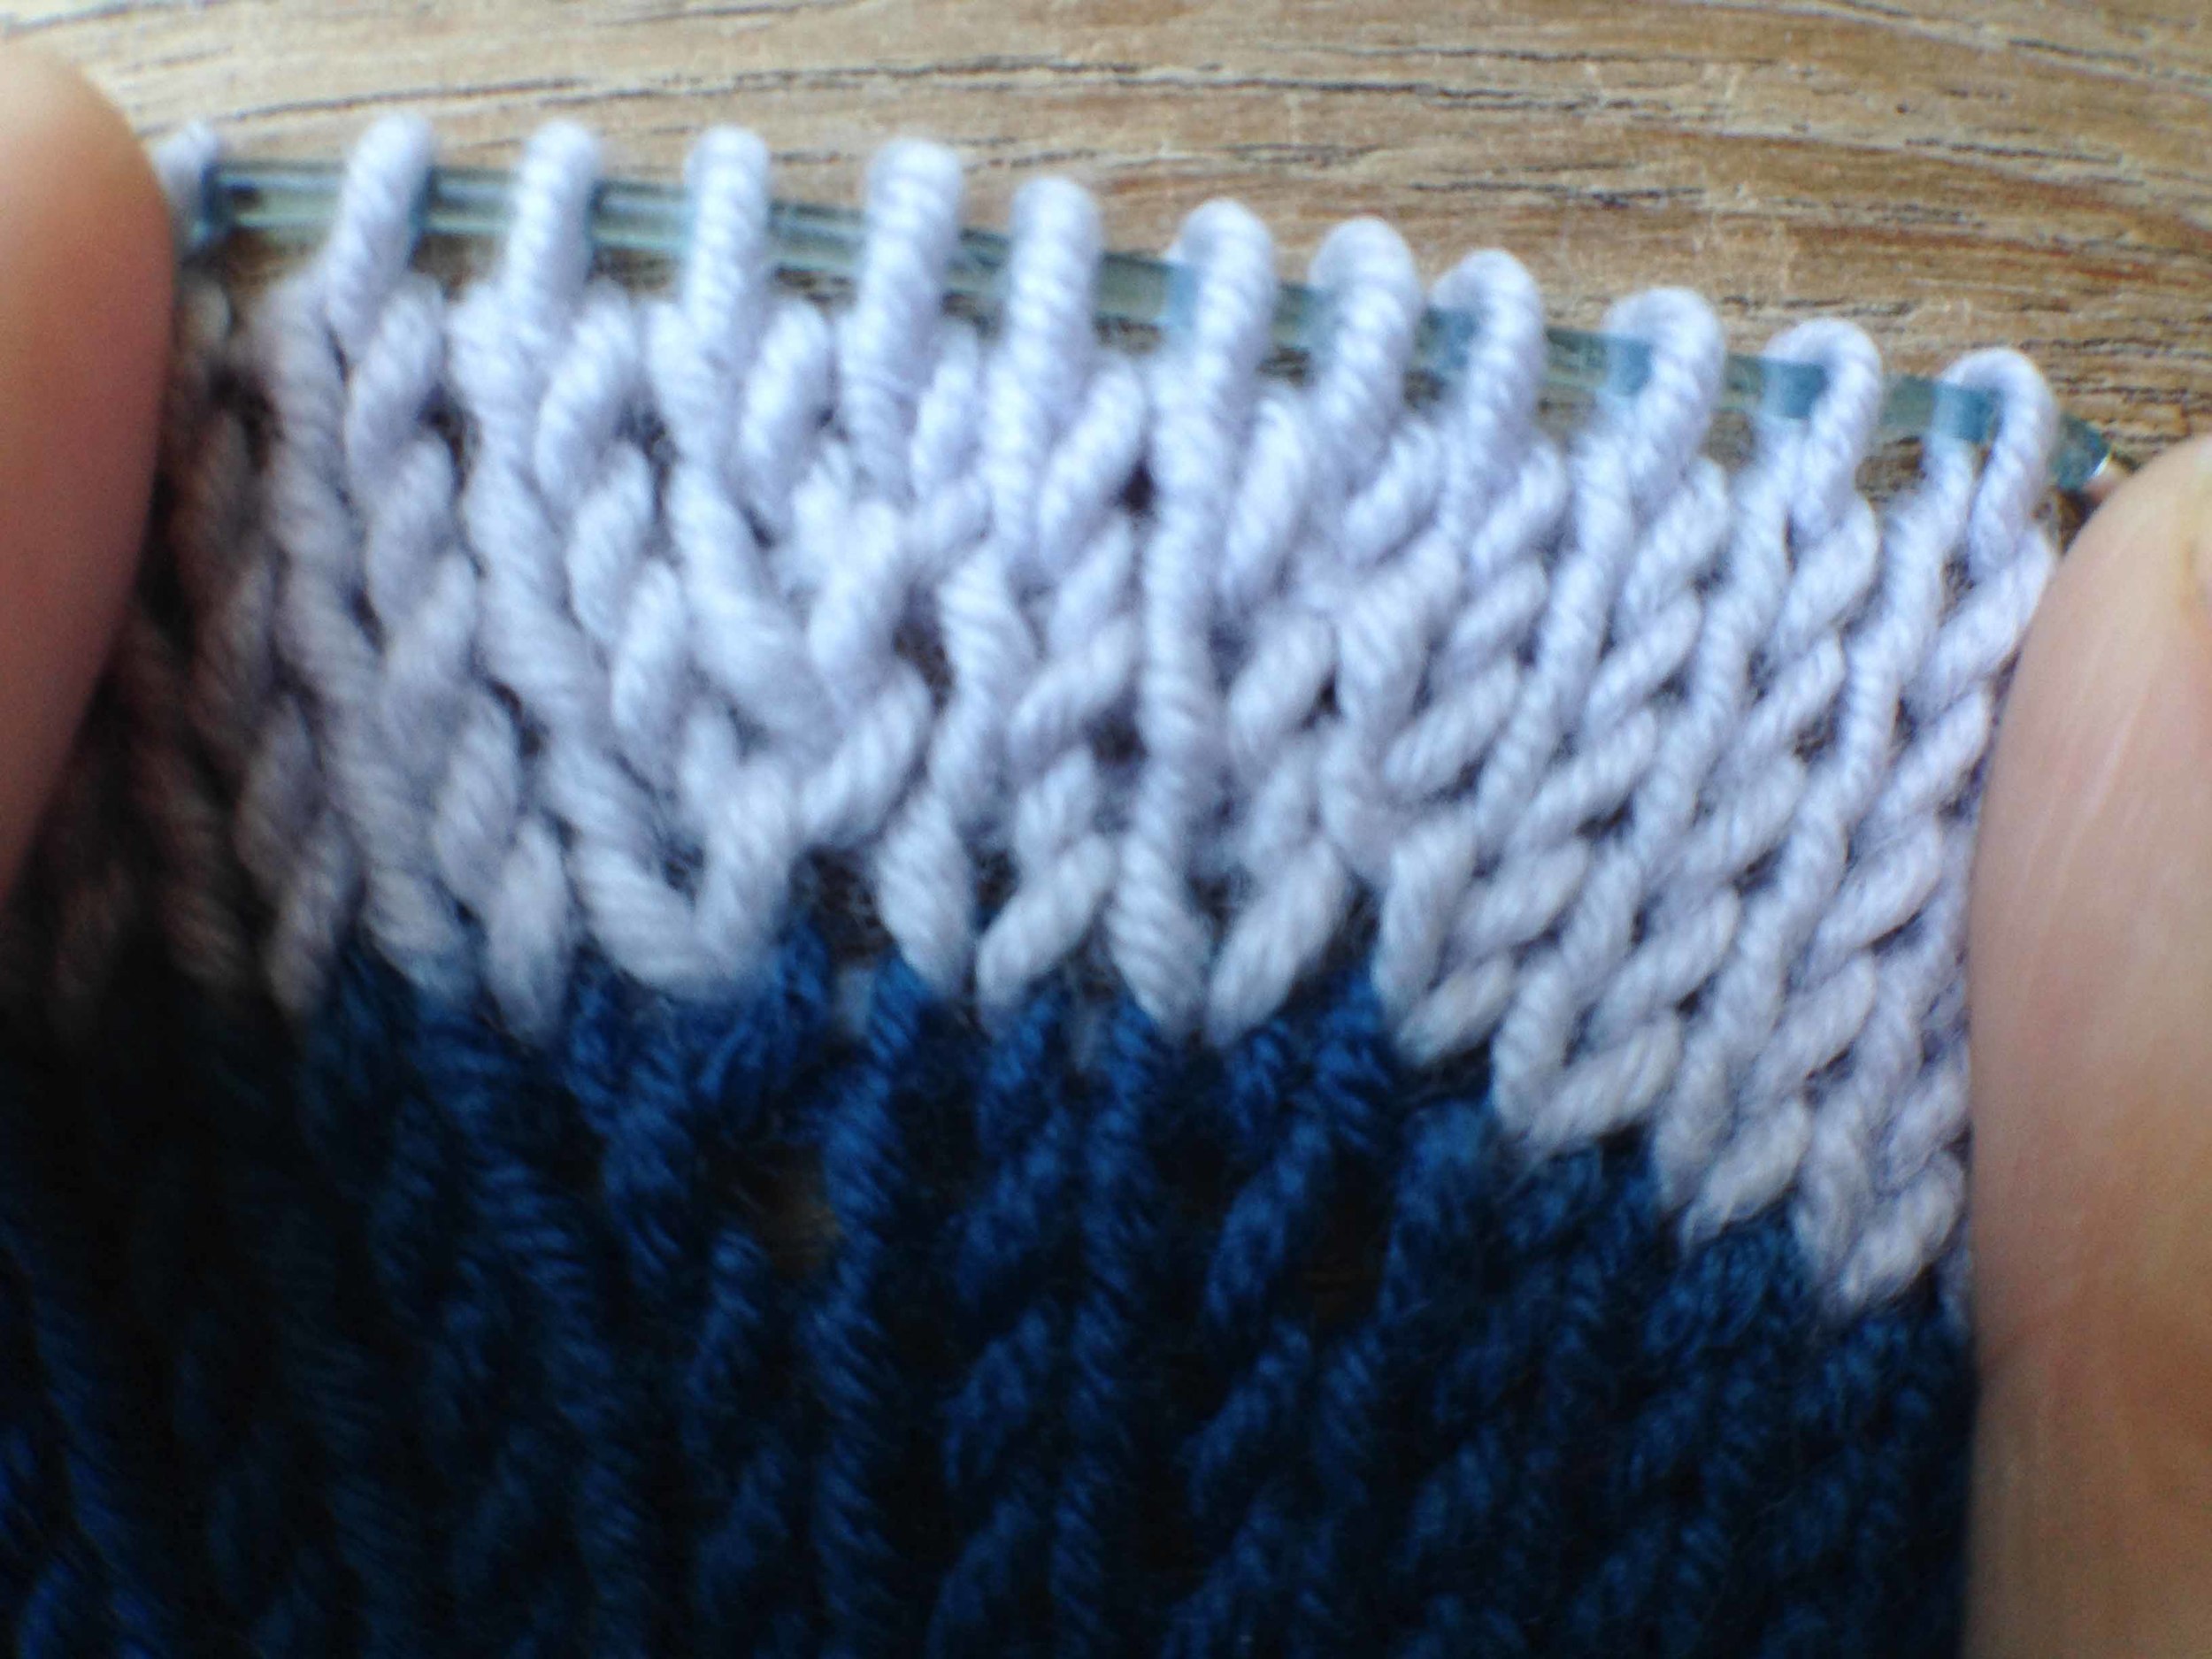
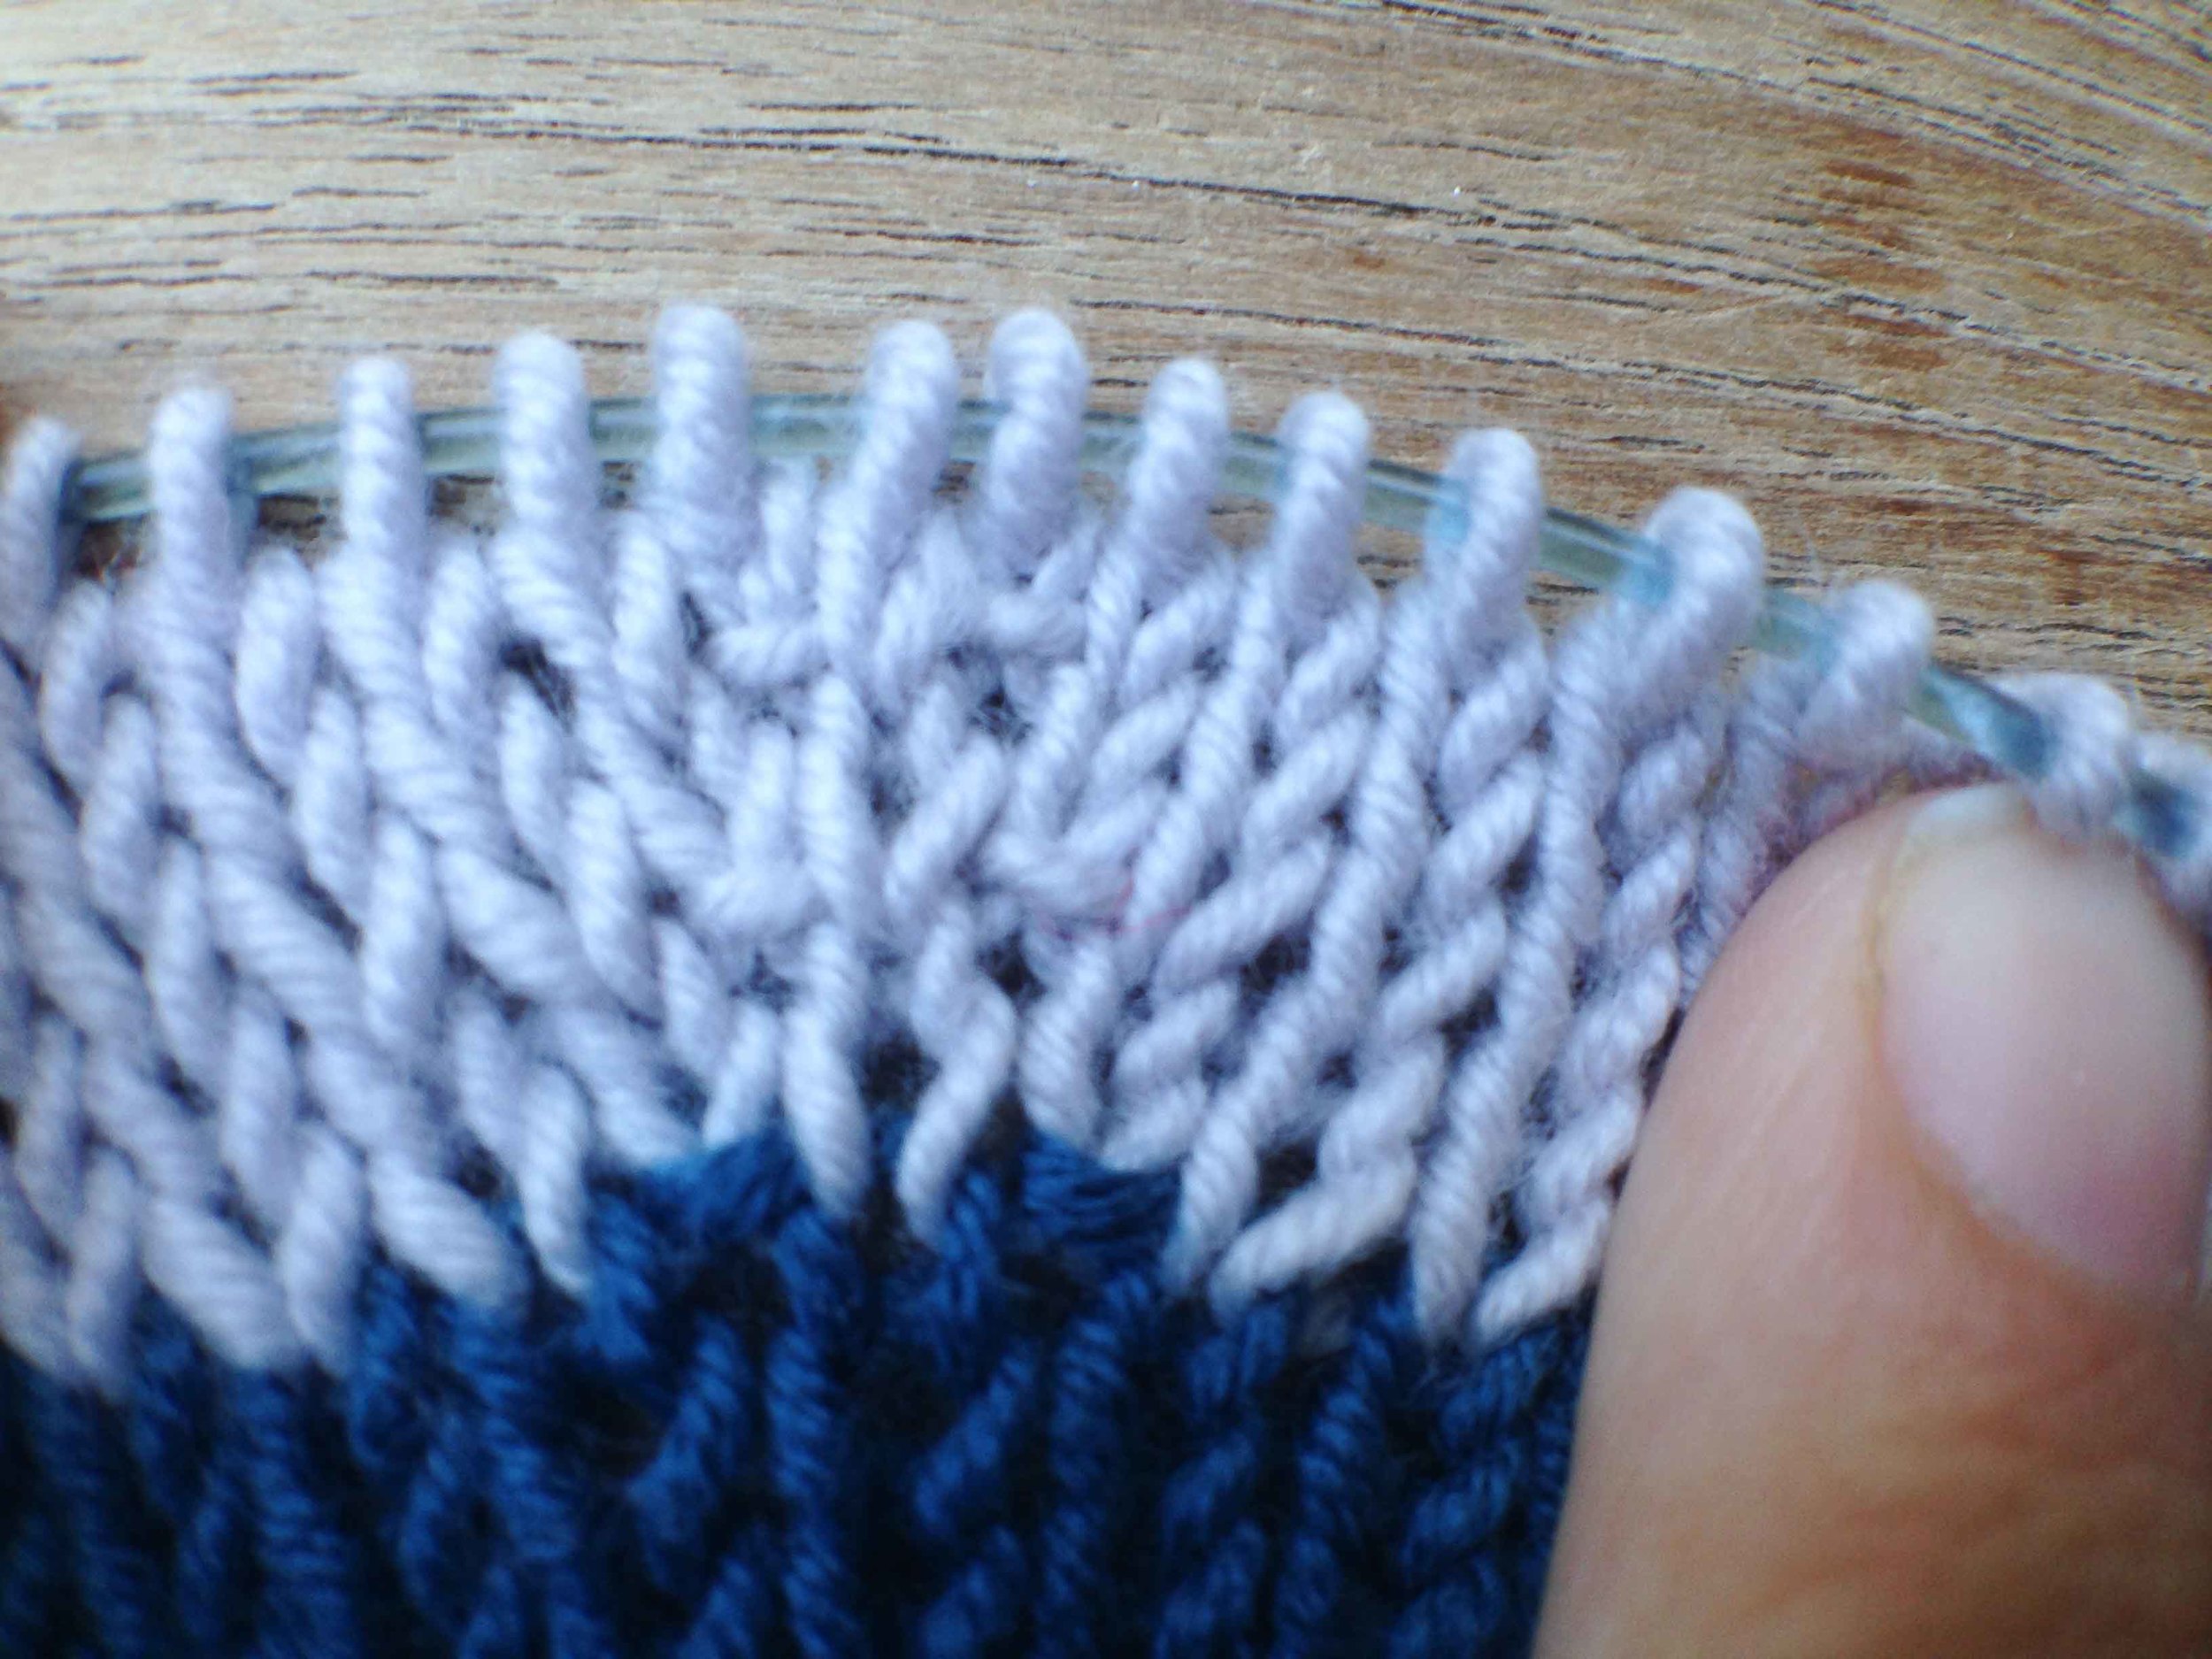
By way of example, let's talk briefly about a lesson I learned about value. When I purchased the yarn I took my B&W image to see what the value of the six colours were that I had. I had three lightish ones and three darkish ones. I had a vision of something stripy and simple with not too many colour combinations as a simple way to start learning about colour work. I planned on doing thin stripes of light value and then thick stripes of darker value colours.
And then I thought I might mix it up again with two lightish value colours in a thin stripe. Well. Who knew that when you use a lightish colour and white you get a low value stripe but when you combine two lightish value colours with no white you get a more mid value blockish type band. The two lights add up to something darker. Now if you had an art degree or some understanding of colour value theory this might be obvious but to me it was a process of trial and error.
Big block of yellow that didn't work. Right before this there was a big block of pink and yellow that didn't work either.
So things I have taken away from this project. Get stuck in. Don't avoid it. Try things. Trust your gut. Go backwards in order to go forwards. Mastery is the goal. So is getting something I love out the other end.
Ripping is not a waste of time because mistakes are how you learn. Who knew?
Any thoughts about this little ramble? Do you feel ripping is painful? Do you avoid doing projects because you are unsure of the outcome?
Till later in the week - seeya campers.
Felicia x
*Many times I have been told of people's fear of ripping. Of their horror at "all that wasted knitting time".