I'm so excited to have seen your tops popping up on instagram - thanks for pinging me with your successes! Makes me glad I got around to posting this little series. If you feel like being inspired yourself then go have a look at the hastag #simplesewing101.
Many of you have been asking about alterations and there is quite a bit to say - so much so that I got stuck writing this as it felt too massive. And I really wanted to have good pictures for you and I haven't had time to take them. So I've finally decided to bite the bullet, use what I've got, and split it up into some more managable pieces. I just saw that I actually started to write this post two months ago so apologies for the wait.
I'm wanted to start with the woven Hemlock alteration I do as that was the first top in the list and go from there. But I found there were a few things to say first. The mashup will be posted on Tuesday.
As I've mentioned before (but really want to stress again) these are not proper dressmaking or drafting alterations. However this type of alteration fits into the spirit of Simple Sewing 101 - the idea that you can make beautiful wearable garments with very few skills. And complicated isn't necessarily best.
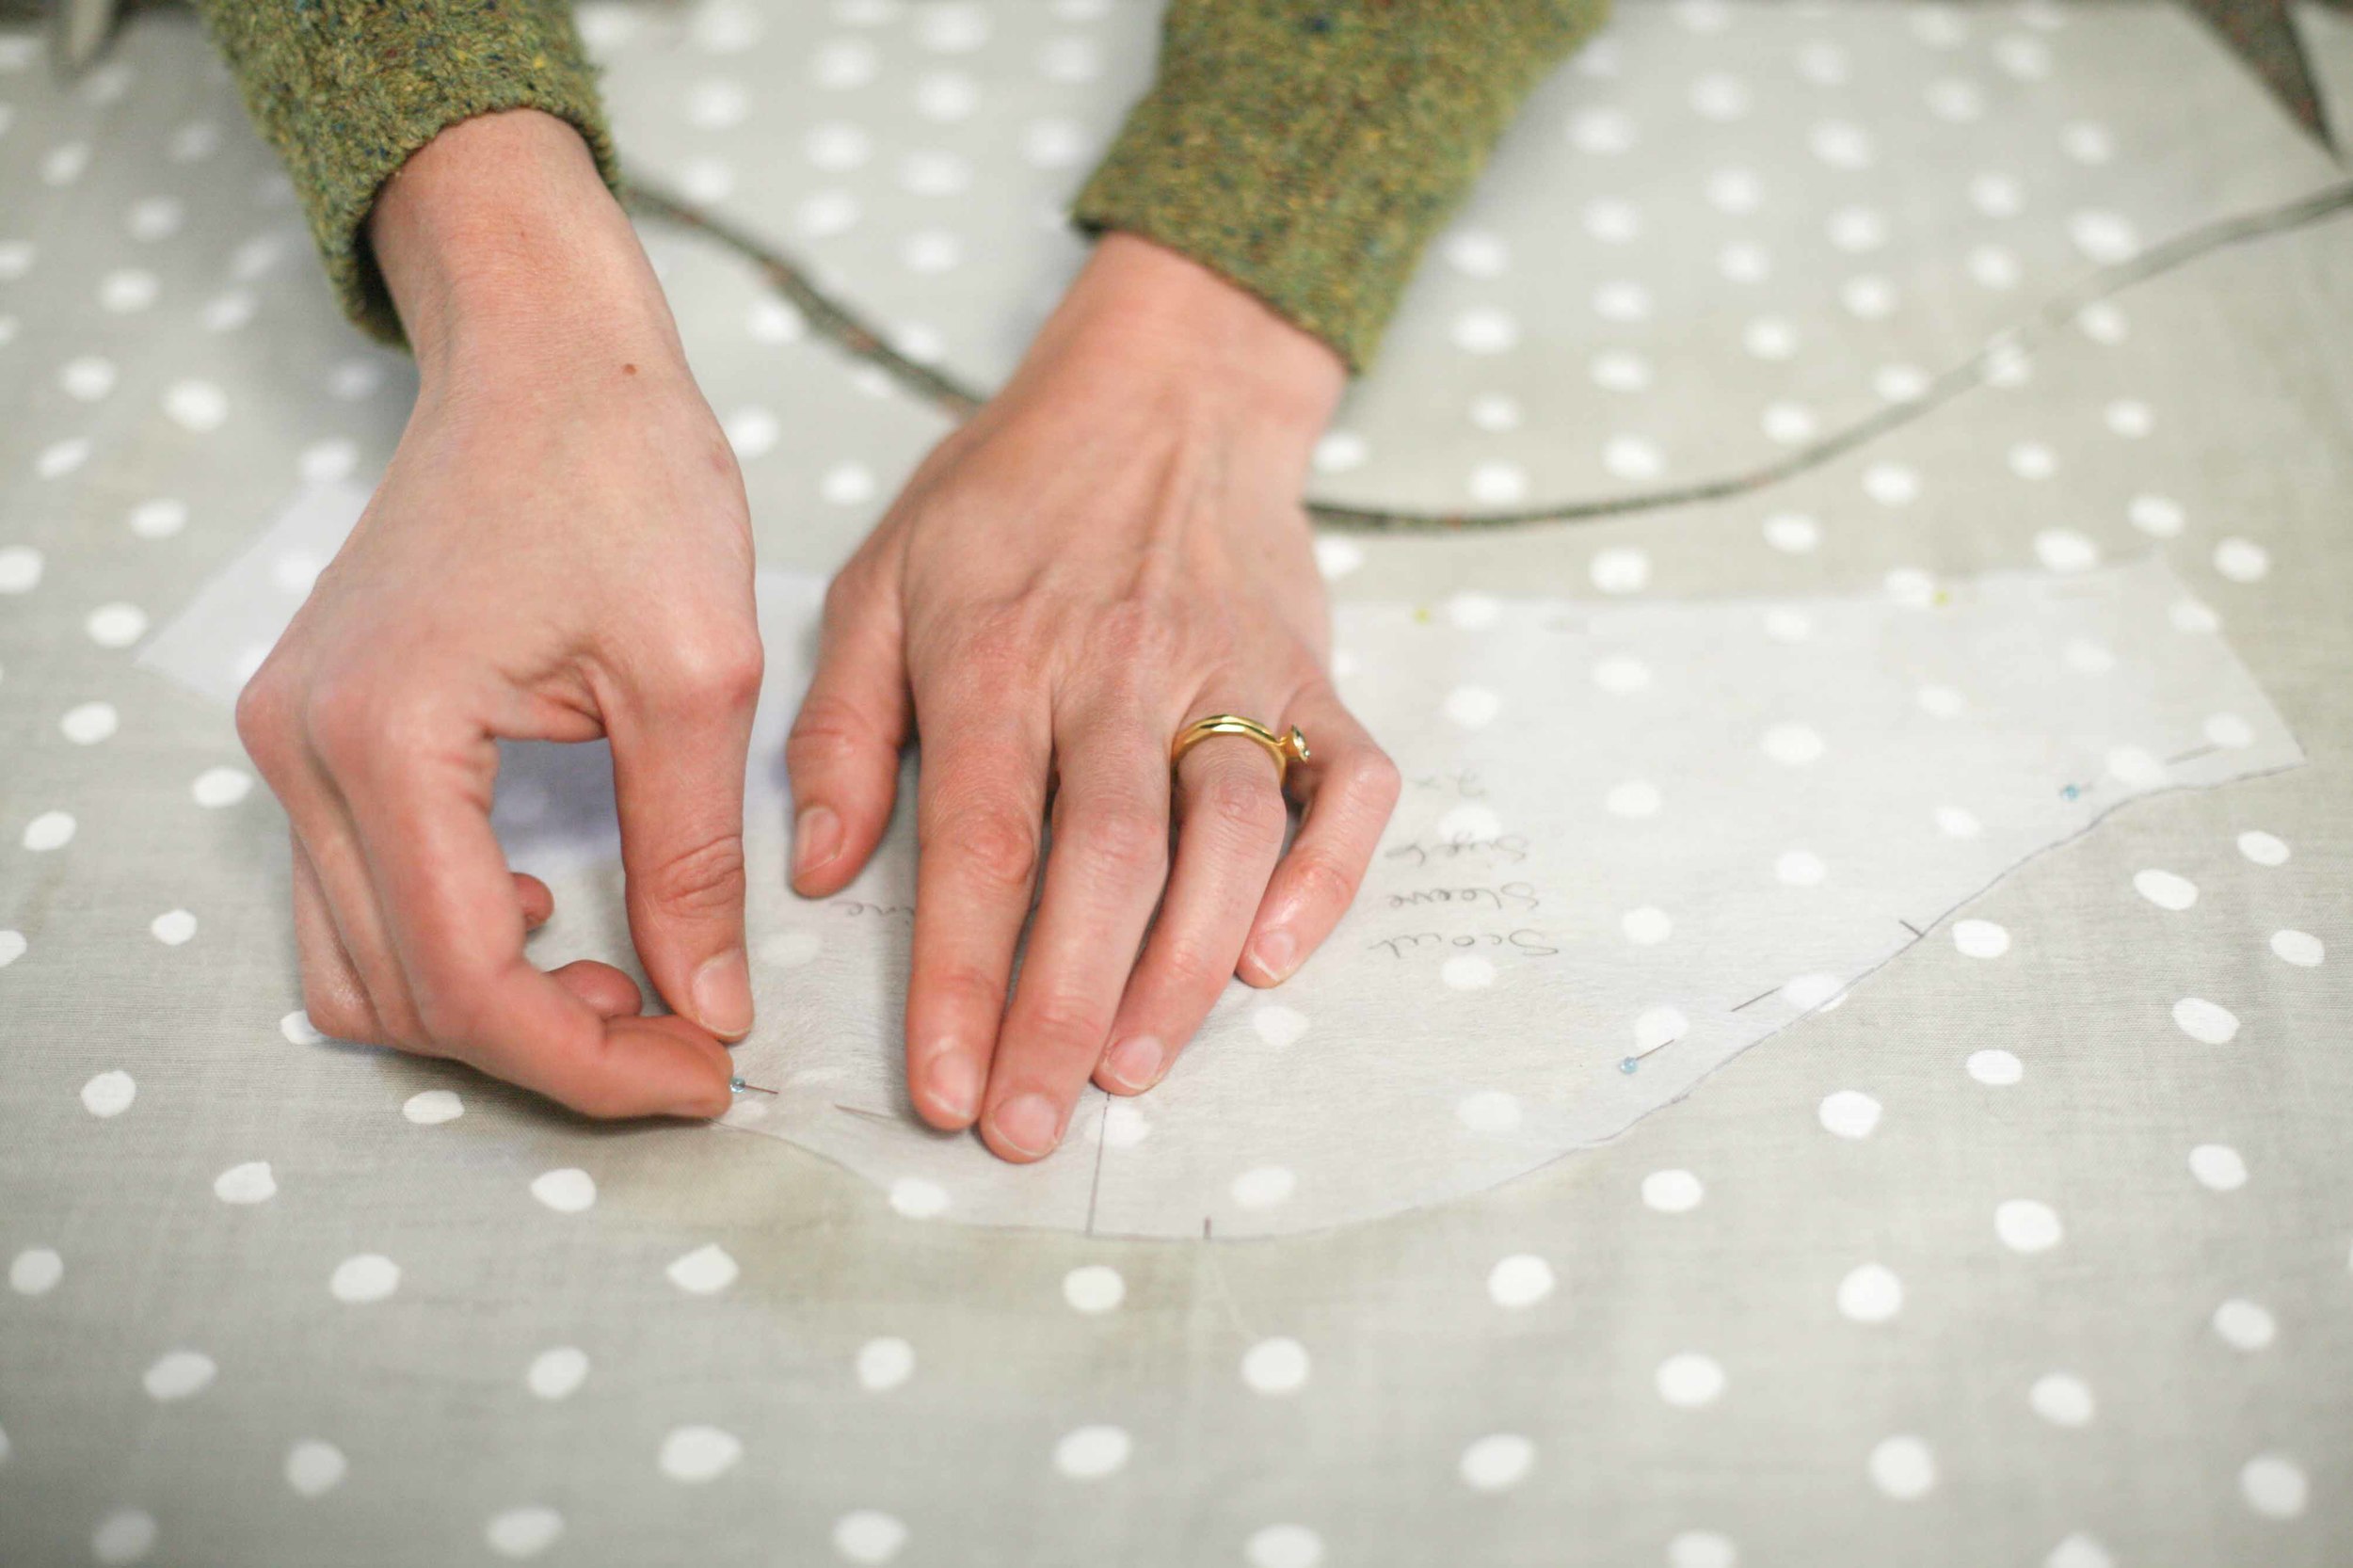
Pattern drafting material
I draw all my patterns up on light interfacing that has no stick on either side. I call it Vilene but I think that is a brand name. I just ask my local sewing store for interfacing for drafting. I often get something slightly different each time but that is totally fine. I purchase about 10m at a time and get them to put it on a roll. It lasts me a year-ish. And is super inexpensive.
The reason you want to draft on this stuff (rather than say paper) is that it is more easily manipulatable. You can fold up the bottom, fold to take out width, etc, without having to redraft the pattern or dealing with the stiffness that is paper. Once I've stuck my pattern pieces together (if it is a pdf) then I draft off the pattern onto the interfacing. It might seem like an unnecessary step but will save you time if you make the pattern more than once. You can fiddle around with your alterations on the vilene before you cut it.

The interfacing is what you see in this picture. Remember to write the pattern name, size, piece name, and then cutting instructions. AND any alterations you have made. I then keep these pieces in A4 envelopes.
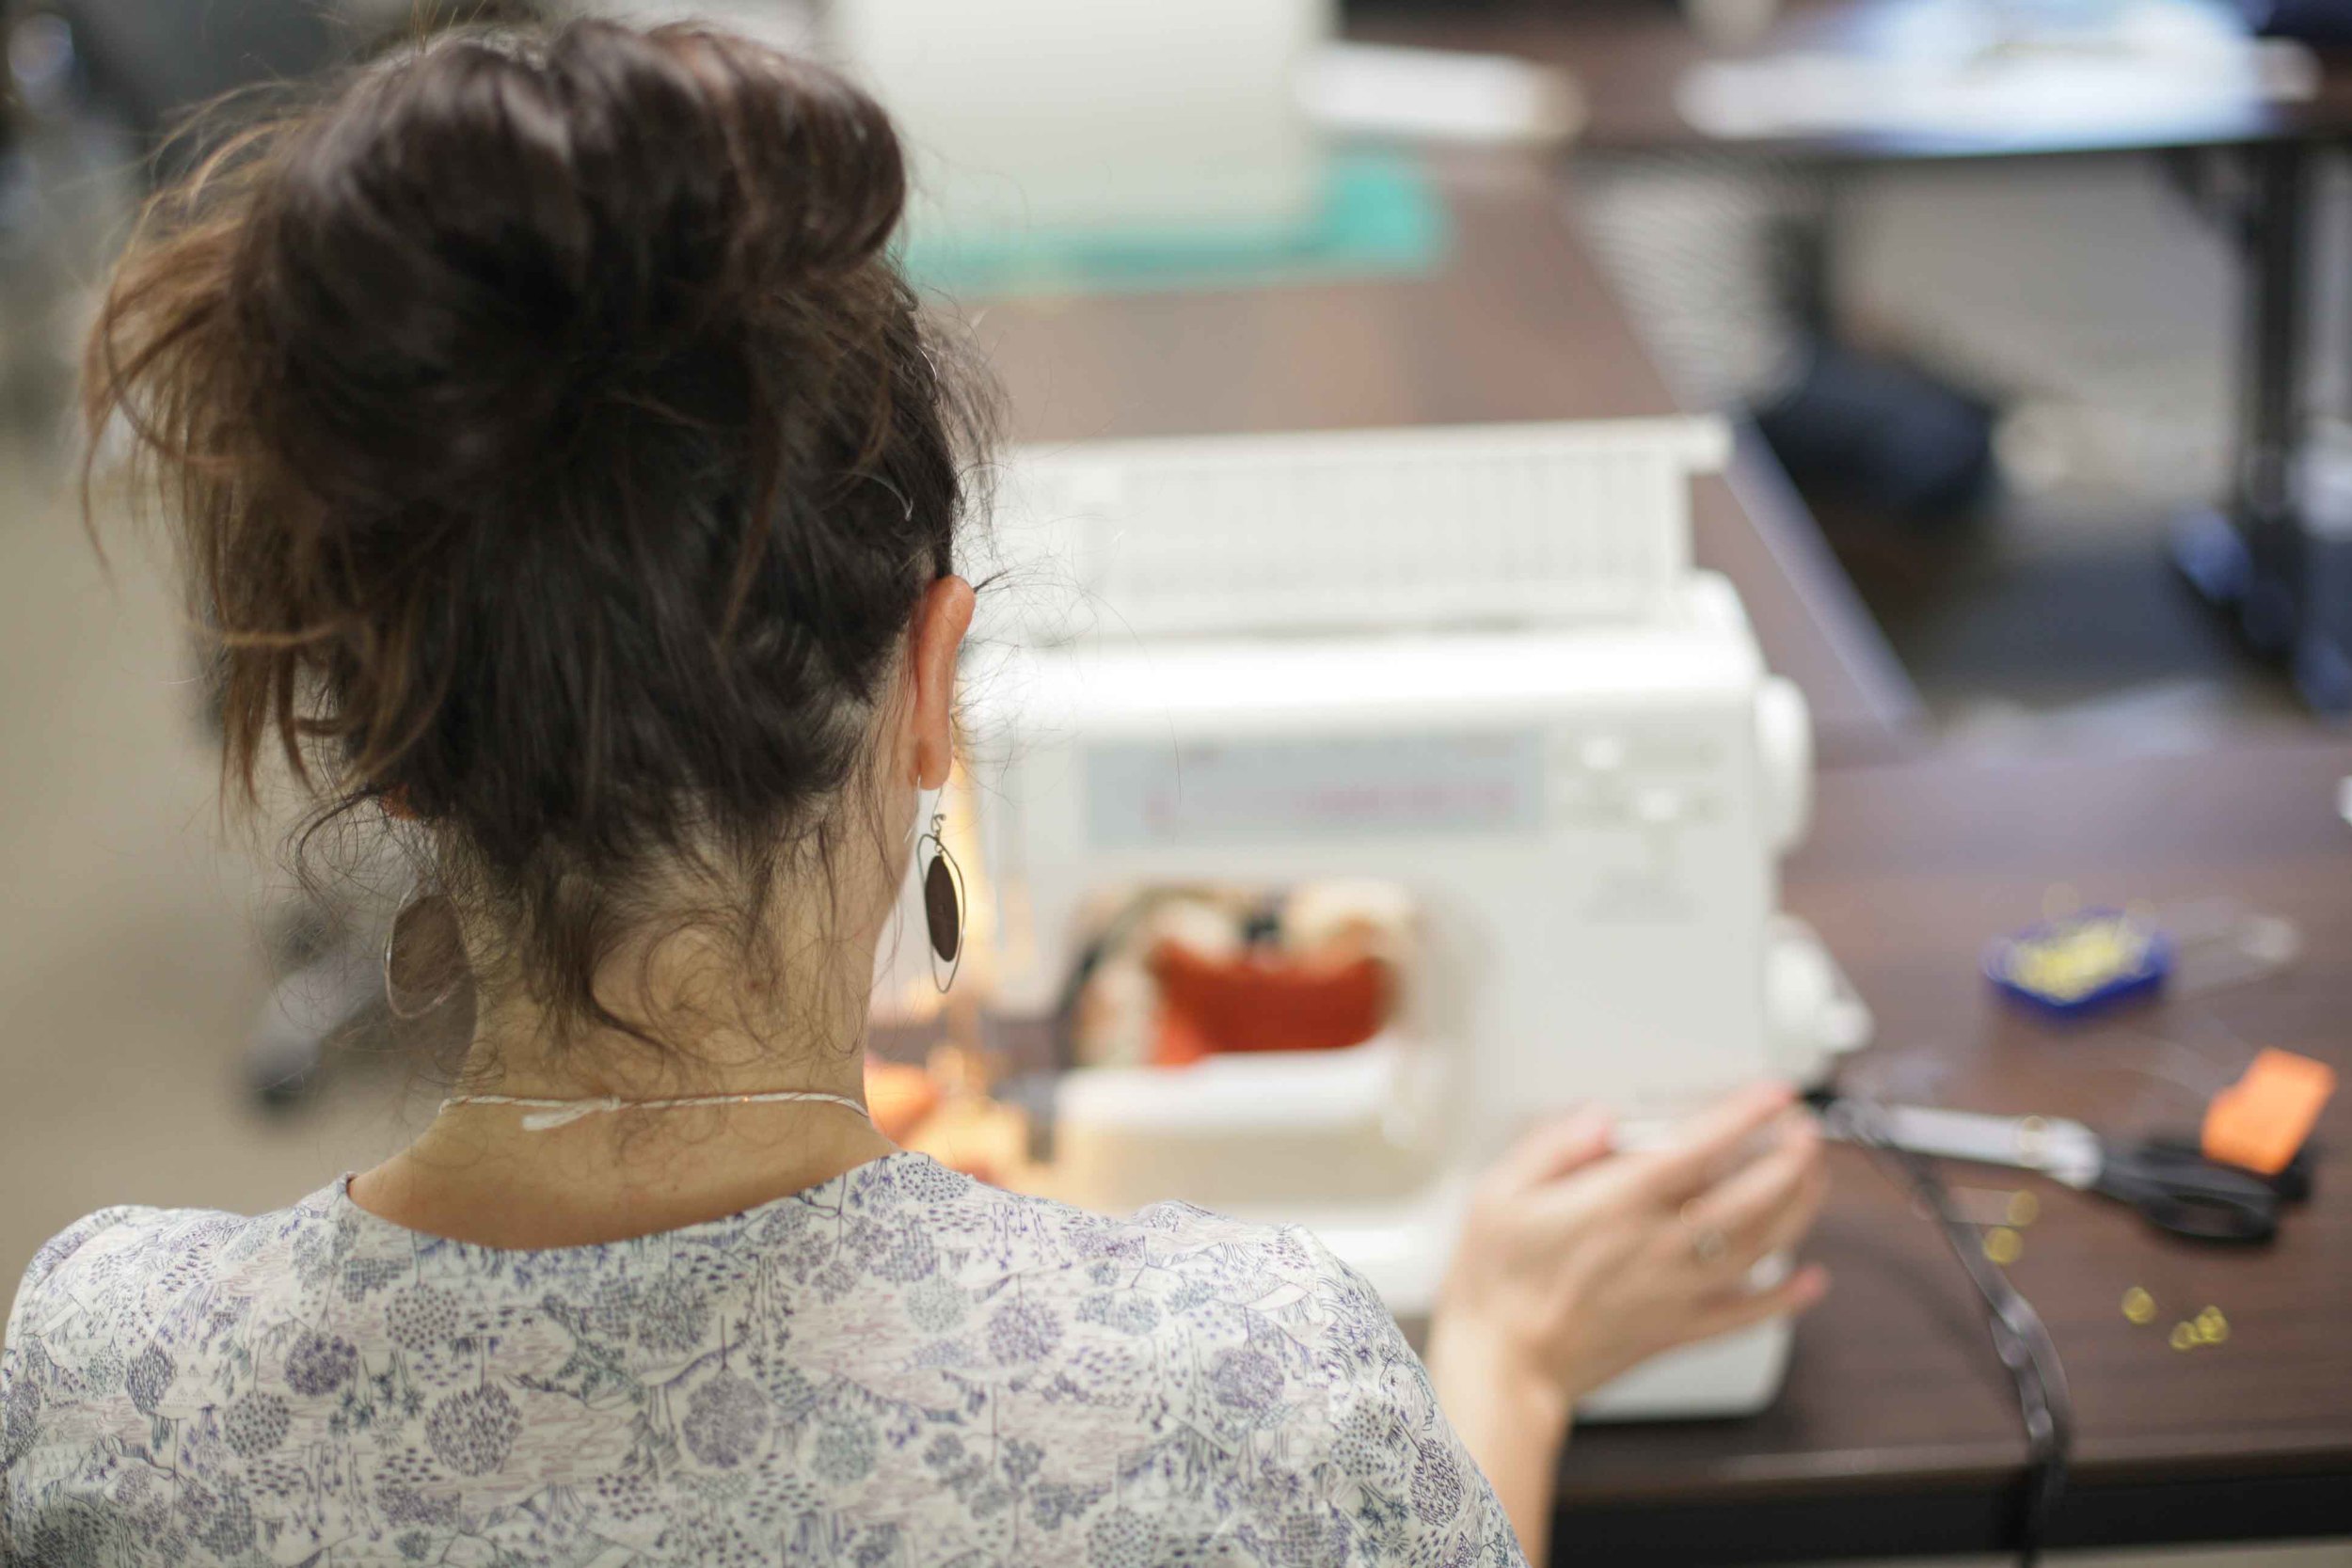
Make a Muslin ;)
Look I am totally lazy about this - my muslins are always wearable rather than just muslins. Each time I make a pattern for the first time I do so out of a less precious fabric. I then use the result a. as a garment, and b. as a learning tool.
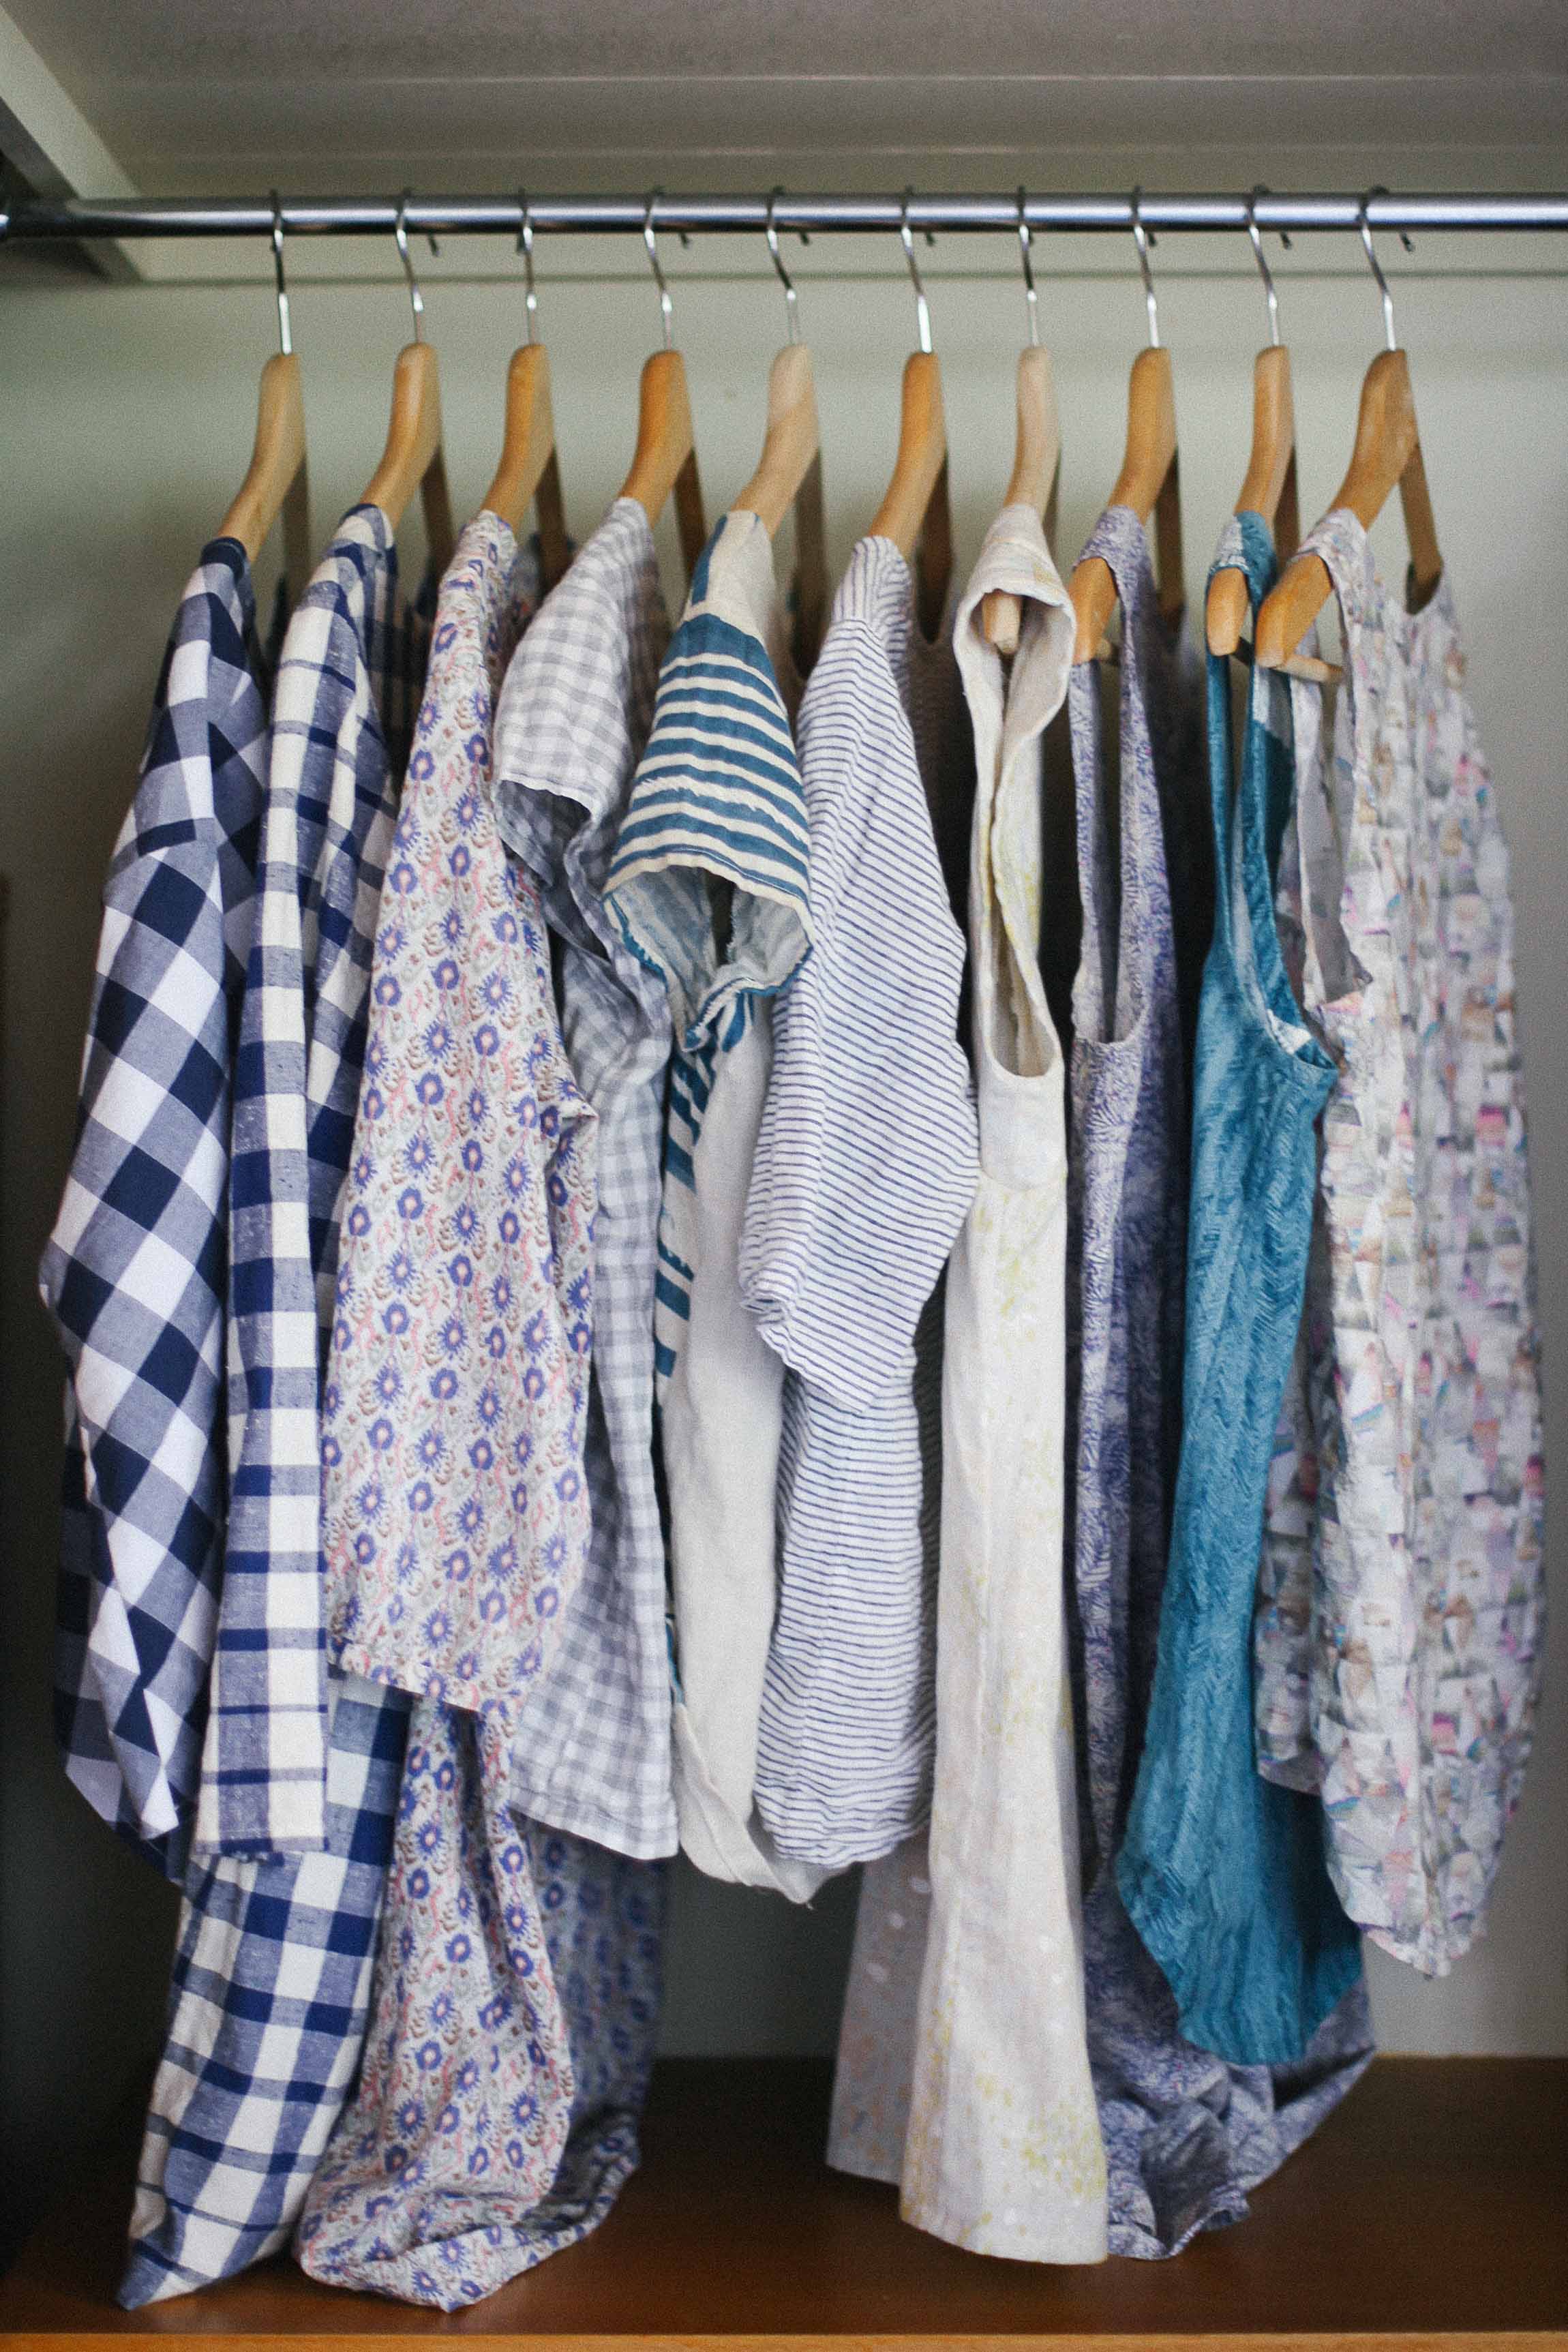
Use your existing clothing to figure out your measurements
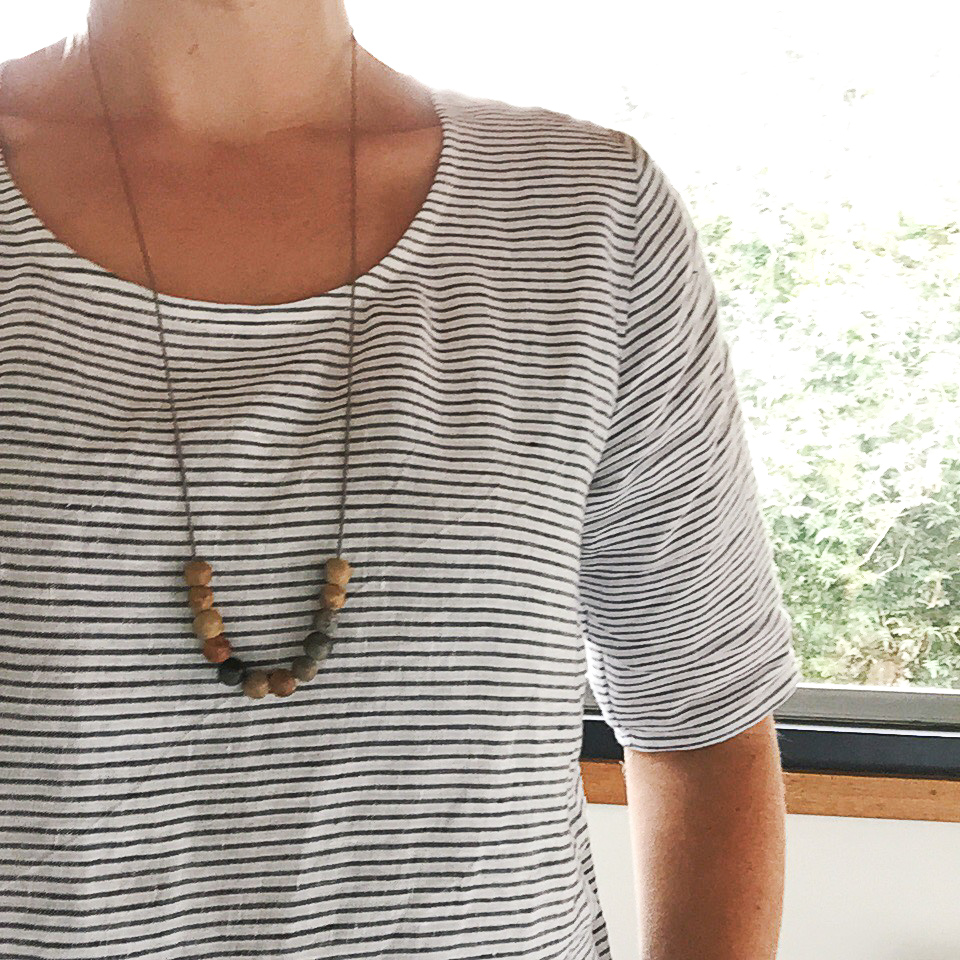
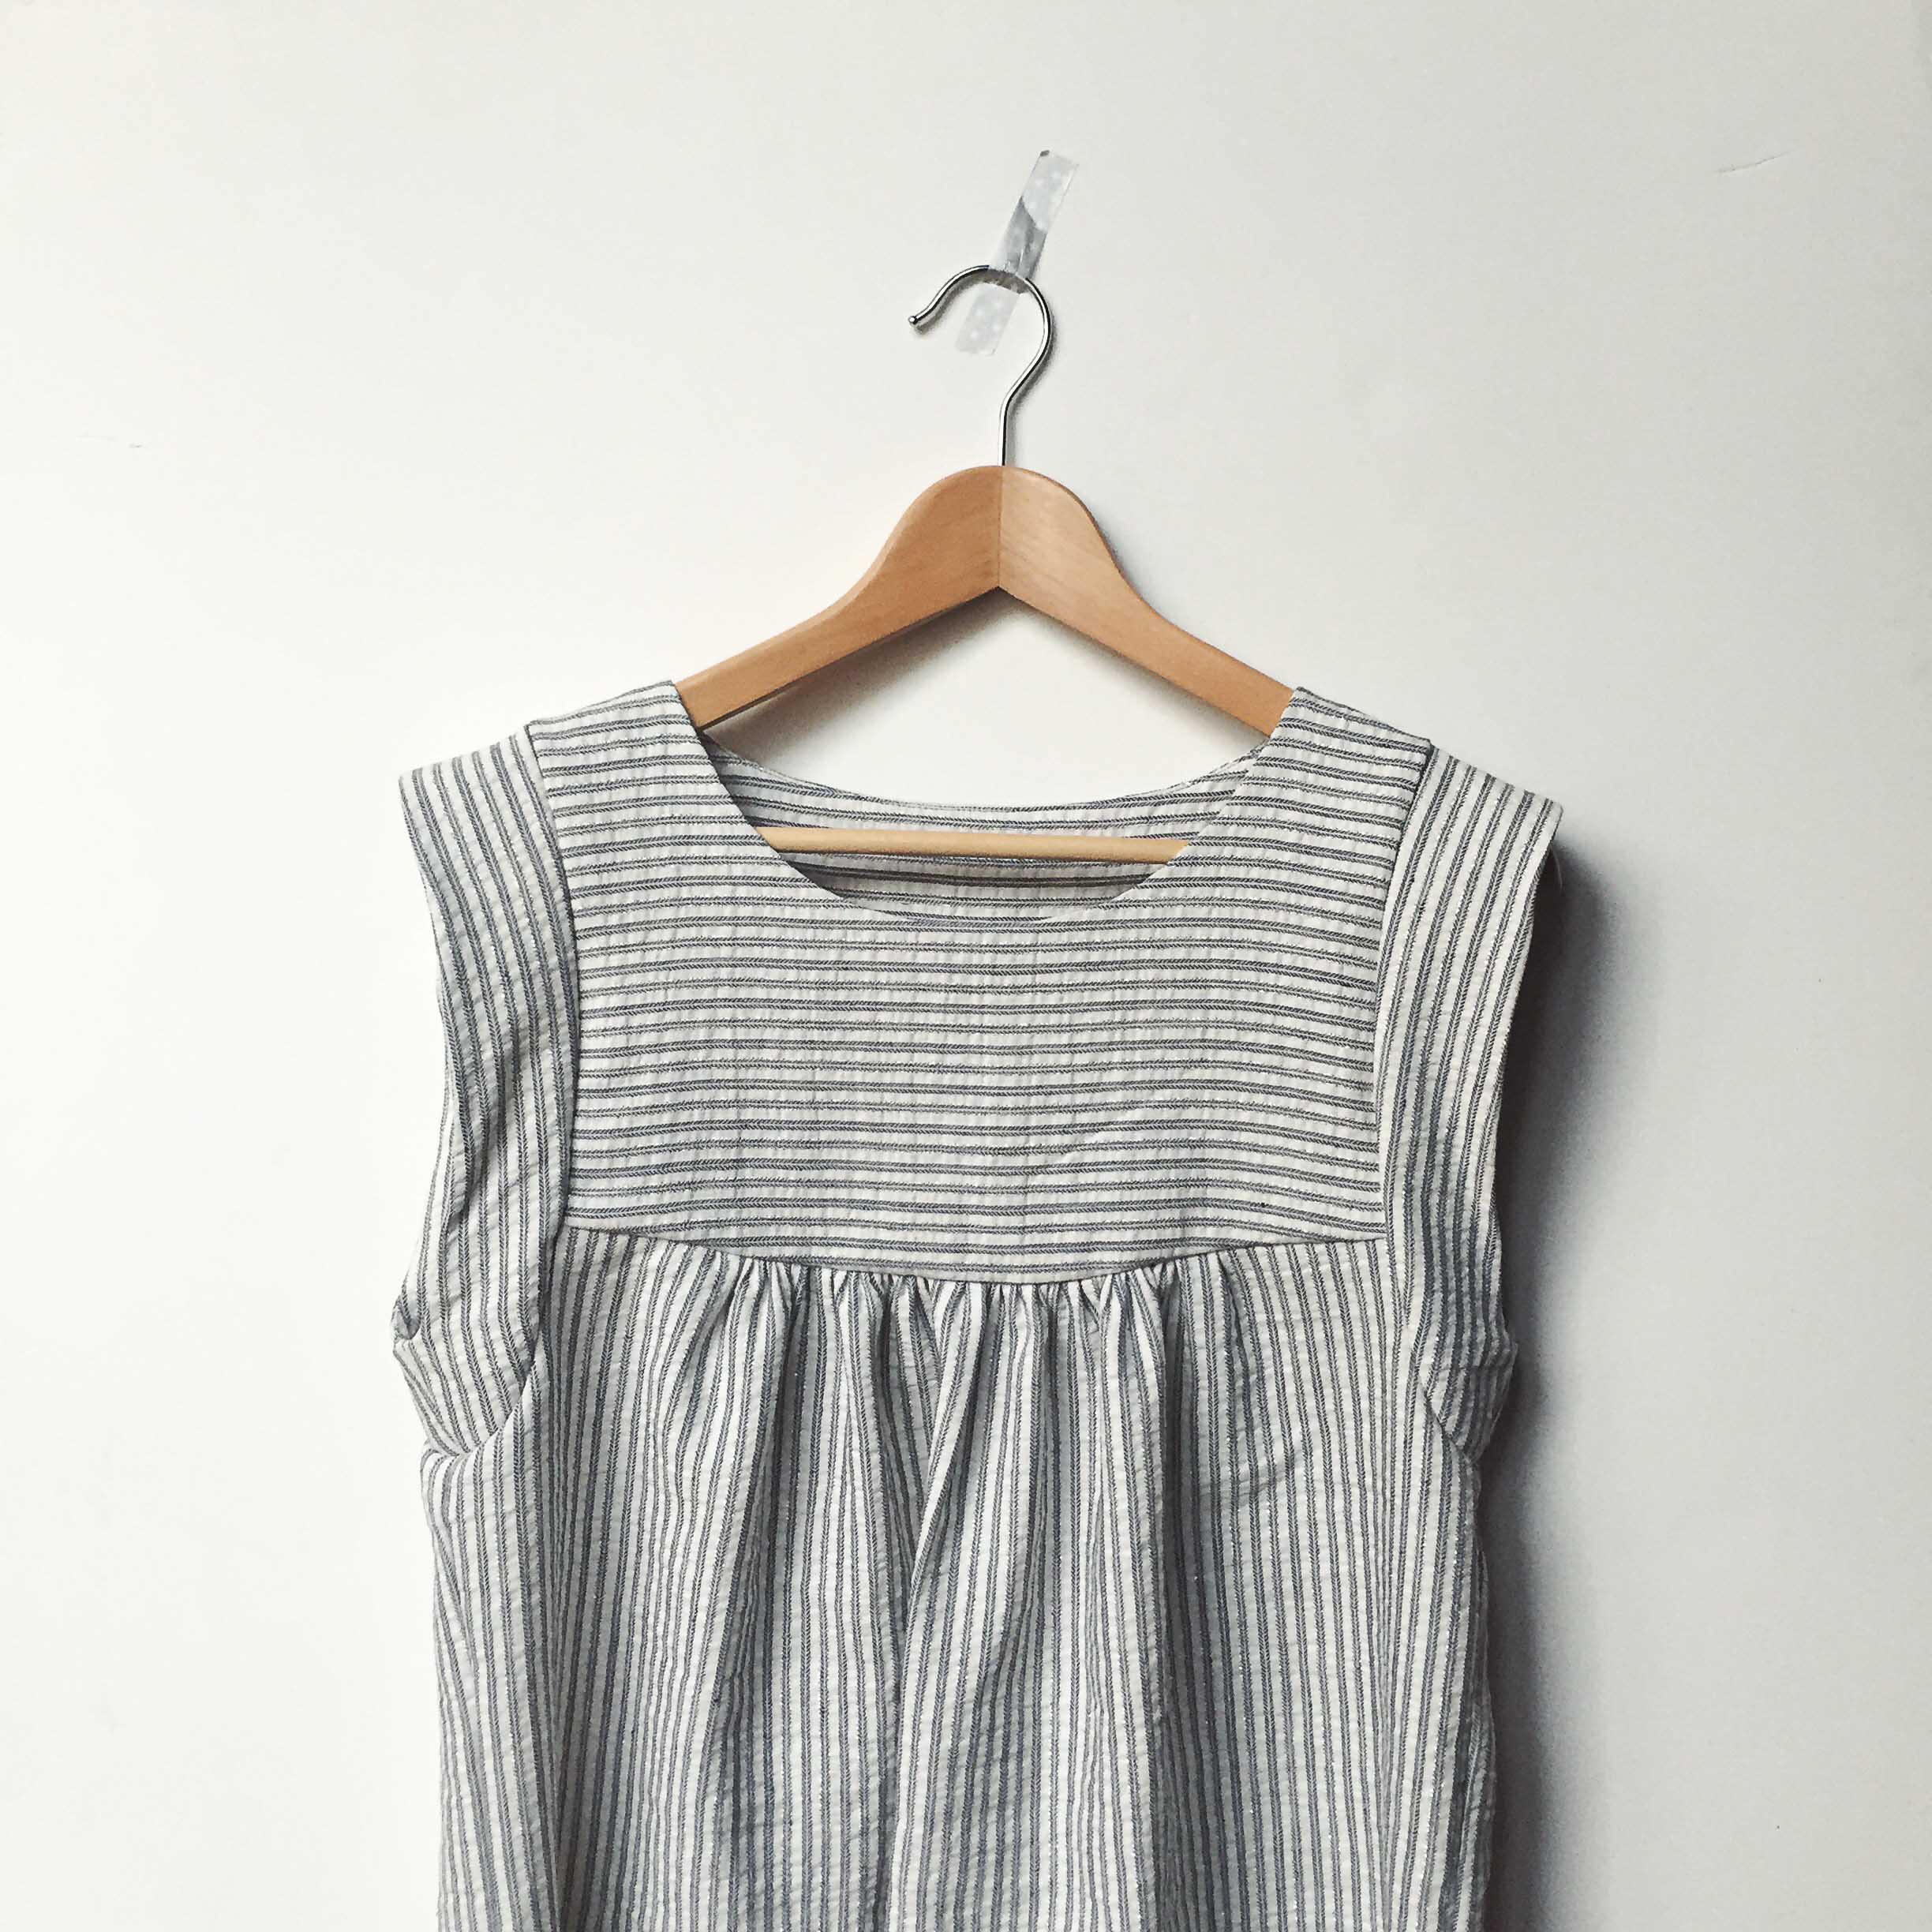
Measure similar tops you have in the wardrobe. Measure the width of the bust, the width of the hem, the height of the armhole, the width of the hip of a tunic (if you are looking to make something like a dress Tova or Wiksten Tank), or even the depth of a neckline that makes you happy. Write these measurements down and refine them each time you make a garment. I know for example that I need at least 4 inches of ease at the hip of the Tova or Tank or anything that goes over my behind so they don't stick to my bum in that super middle-aged nana kinda way.
Another useful measurement is to take length. I use this measurement all the time for both sewing and knitting. I measure from the shoulder point next to the neck down to the bottom of favourite tops, tunics, frocks. For skirts I measure from my natural waist to the hem length I like. Again these measurements are taken from my existing clothing. This saves time, fiddling around and fabric as you have a better idea of whether you need to adjust the pattern before you make your muslin.
The important thing is that you write them down. I think I will remember and never ever do. These measurements will become more useful in time as you have more practice and make more things.
And remember your seam allowance. In many patterns it is 1/2", whereas in others it is 1cm. You need to make sure that your pattern has the width/length you want PLUS the seam allowance. I have screwed this up so many times it has become automatic. One thing I have learnt from much experience is never redraft at night. Unless you have some kind of freaky brain most people are too tired at night to for the logic required to redraft. And no wine.
Redraft
Use your the measurements you took from your existing clothing, and then your muslin, to figure out what you want to change.
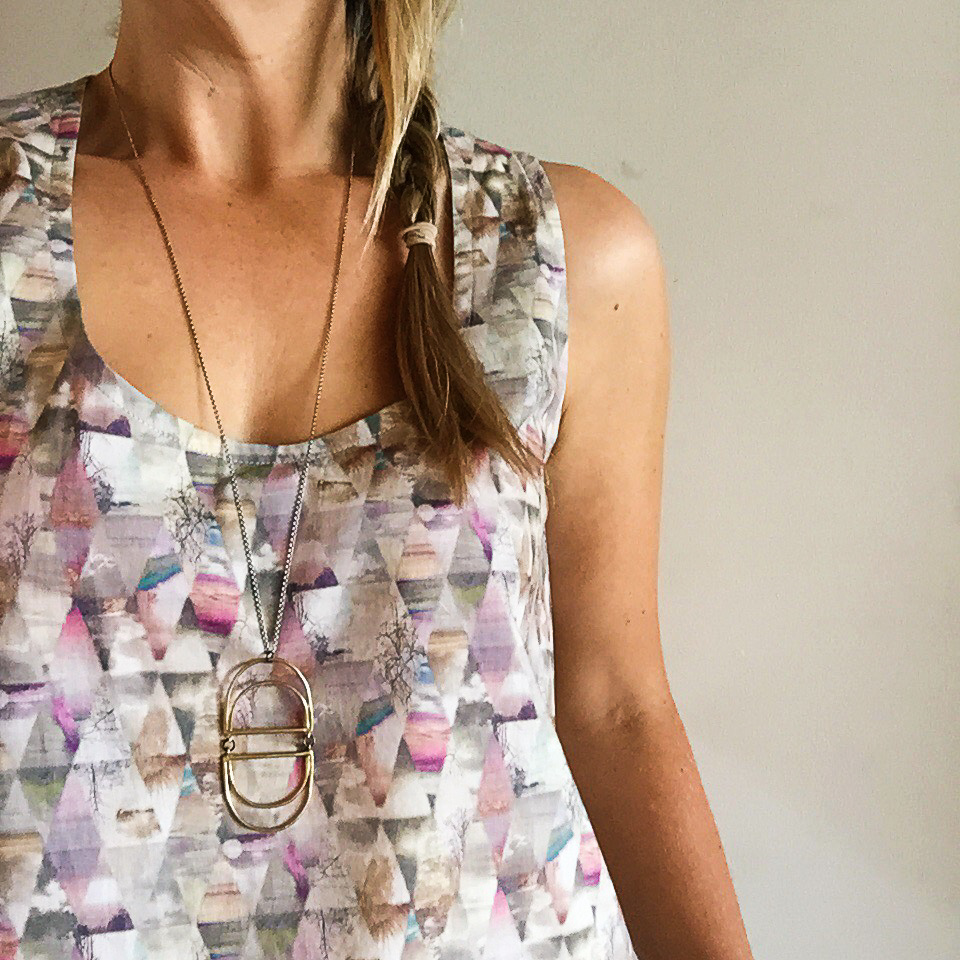
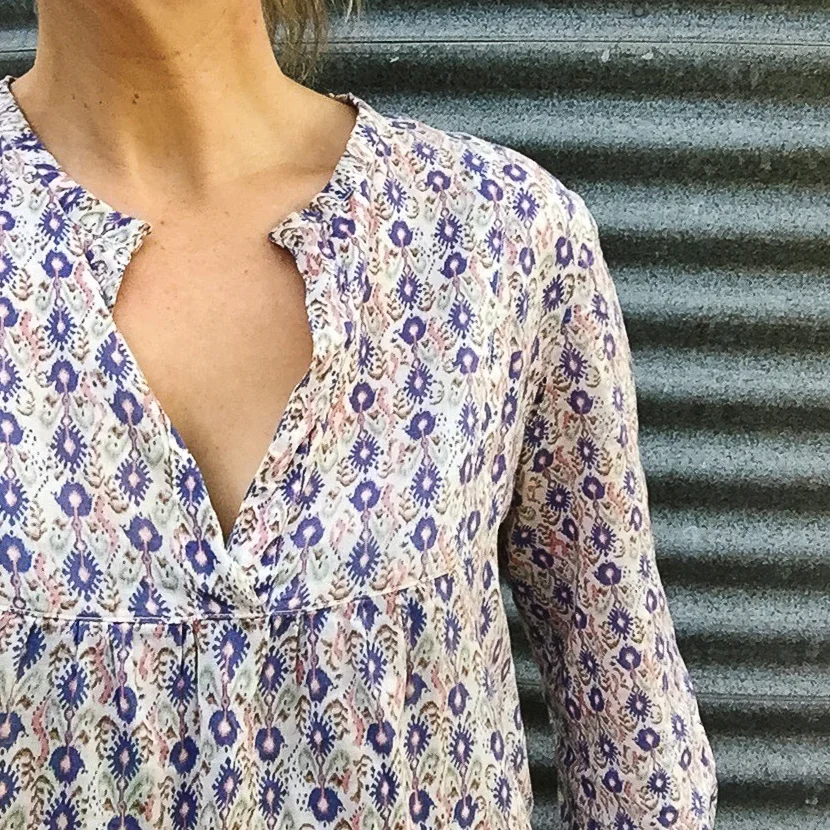
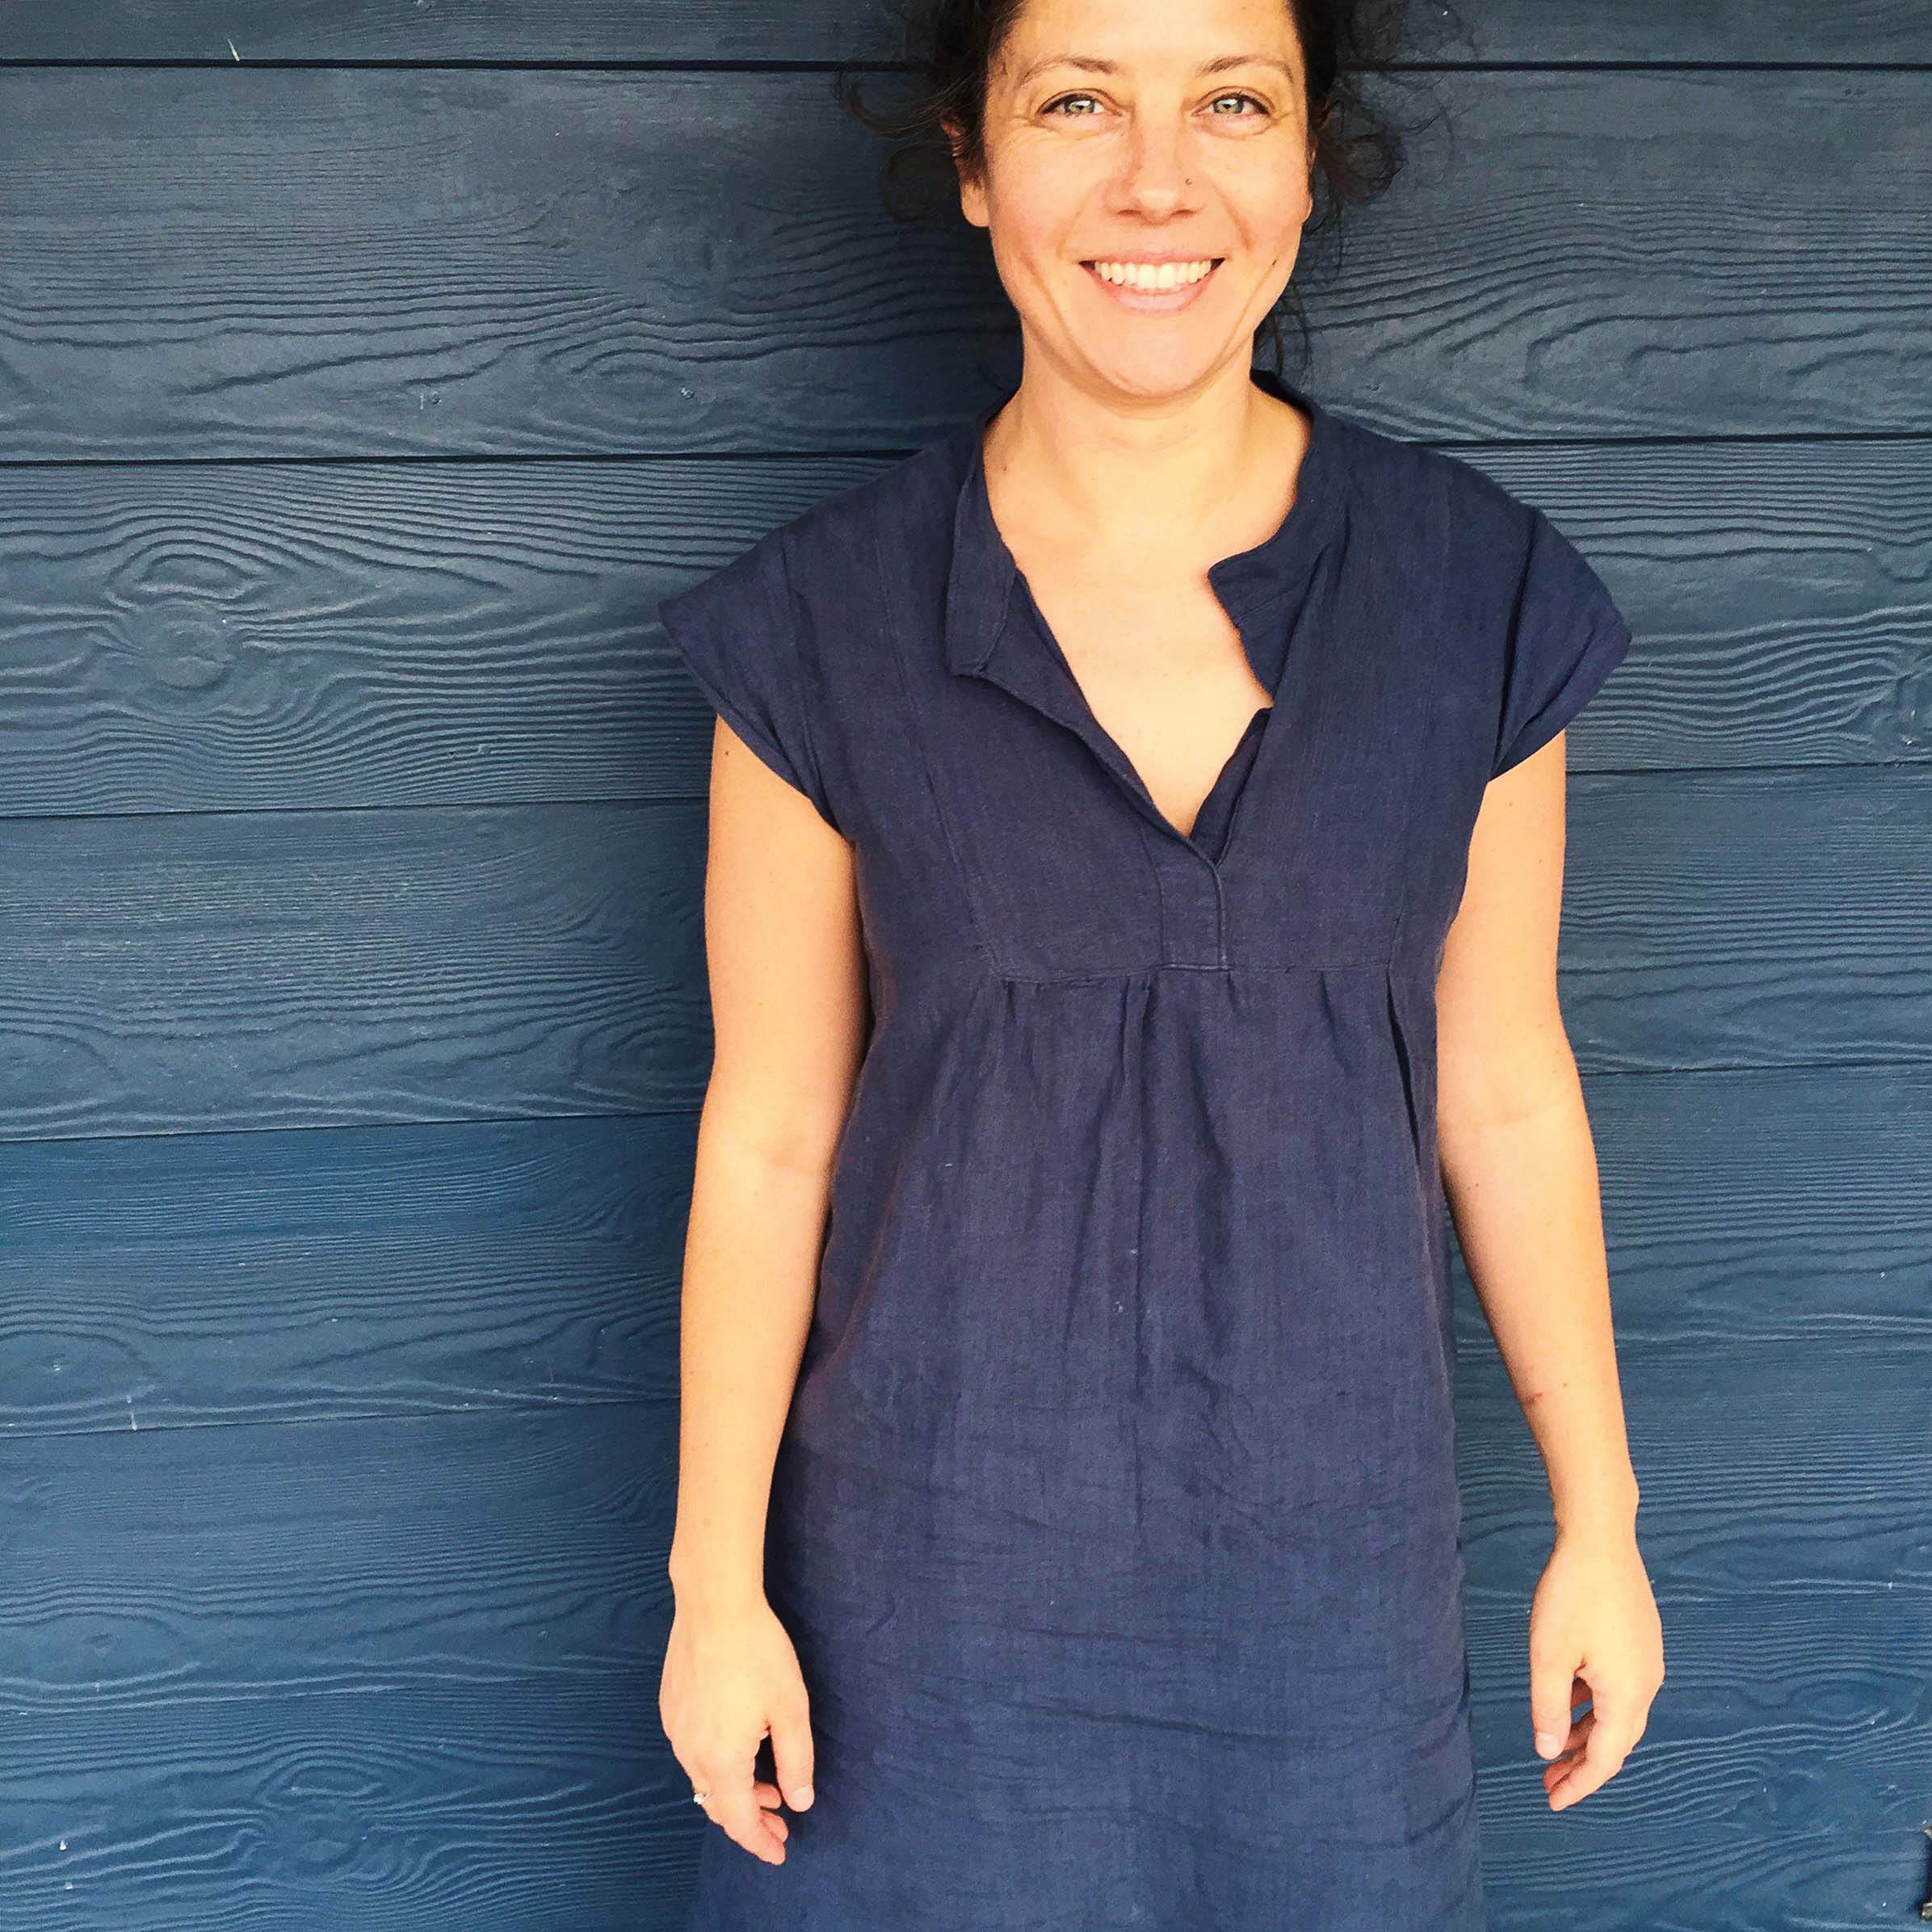
Is your Wiksten Tank flashing too much boob for your liking - then redraw it so that the neckline is higher. Is the hem too high at the front and low at the back - then redraw them. Don't like the width of the straps - make them thinner. You can do it. Easy peasy…..
The key to the redraft is the intersection with an edge - generally you need to make sure you intersect the pattern edge at a perpendicular 90degrees. Say you redraft the neckline of the Wiksten Tank you need to extend the centre line up towards the shoulder and then redraw it an inch or two higher making sure you intersect the fold line at 90degrees. If you don't do this you will end up with a point or a chunk out of the fabric. *
Before you redraft, note the angle at which the pattern intersects the centreline or shoulder line and choose the same angle.
The only thing I would say is that you will make mistakes. Mistakes are OK - expect them and don't worry when you do. I make them regularly and each time I learn. I have been known to throw something half made in the scrap bin. Perfect the pattern using cheaper less precious fabrics first and then make it up in the special stuff.
You can do this for hemlines, necklines, armholes (of tanks), sleeve widths, sleeve lengths. There are good tutorials about. Check out Grainline, By Hand London and Colette as good starting points.
Tuesday's post will be the woven Hemlock/Wiksten tank mashup post.
Felicia x
* I'm not sure I'm explaining this well so please ask questions if I've confused you.